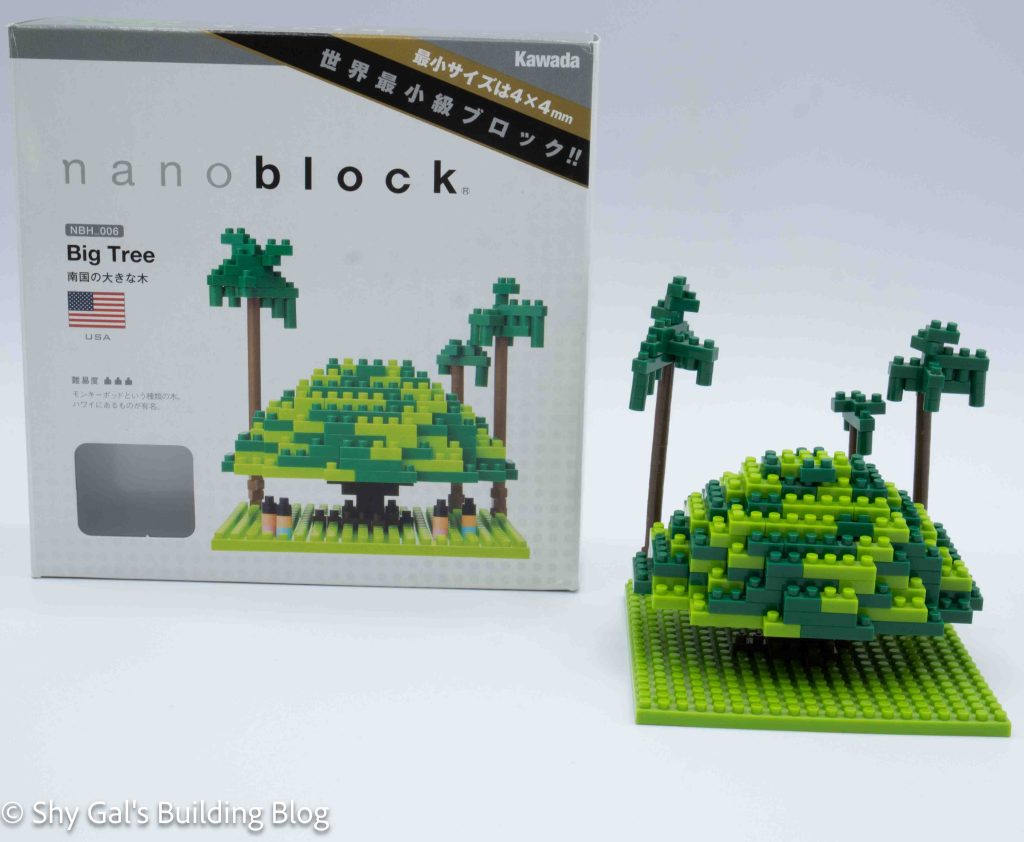
This post is a review of the nanoblock Big Tree build. Big Tree is part of the nanoblock Sights to See collection. Wondering what else is part of the Sights to See collection? Click here for a list.
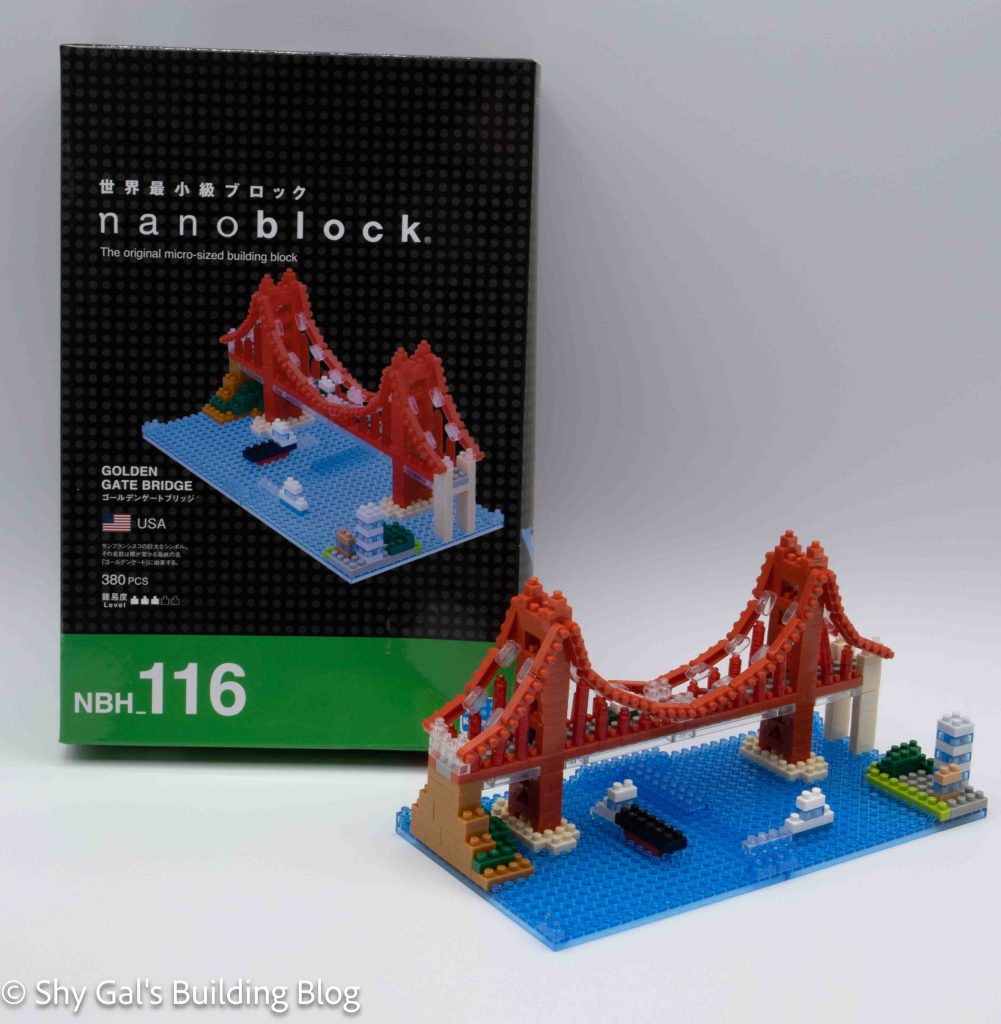
Number: NBH_006
Country: USA
Difficulty Rating: 3/5
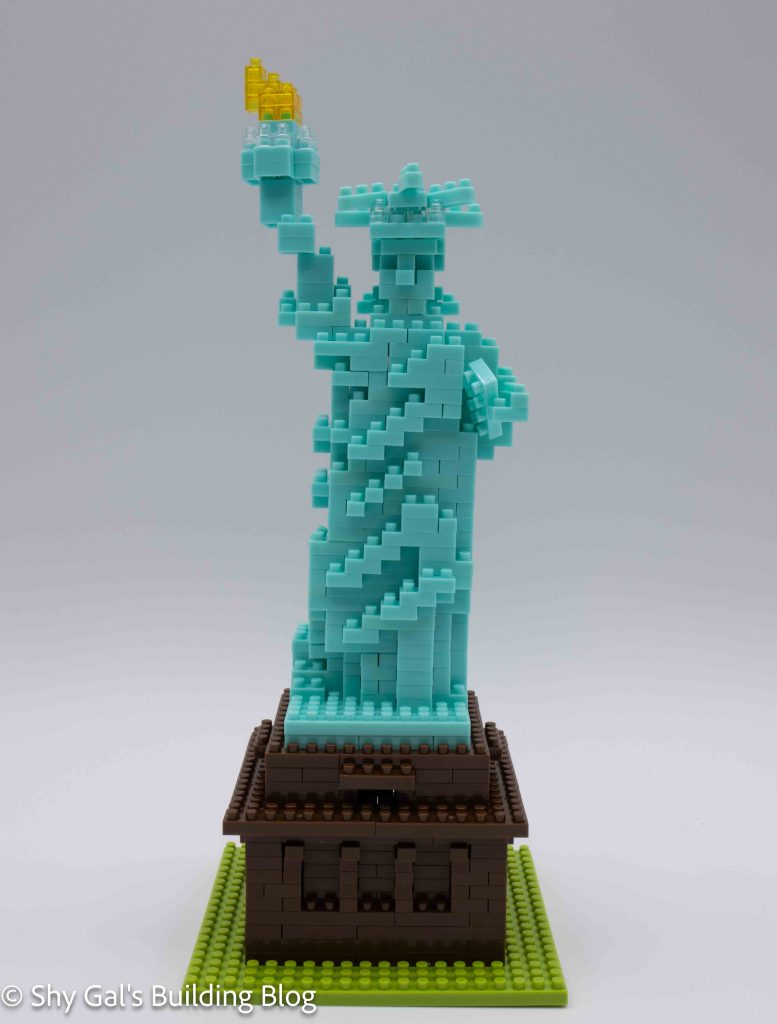
I’m honestly not sure what “Big Tree” nanoblock is referring to with this build. I live in the USA, and there are no particular trees that I know of that have national significance.
The build begins with laying out the base bricks for the 4 trees.
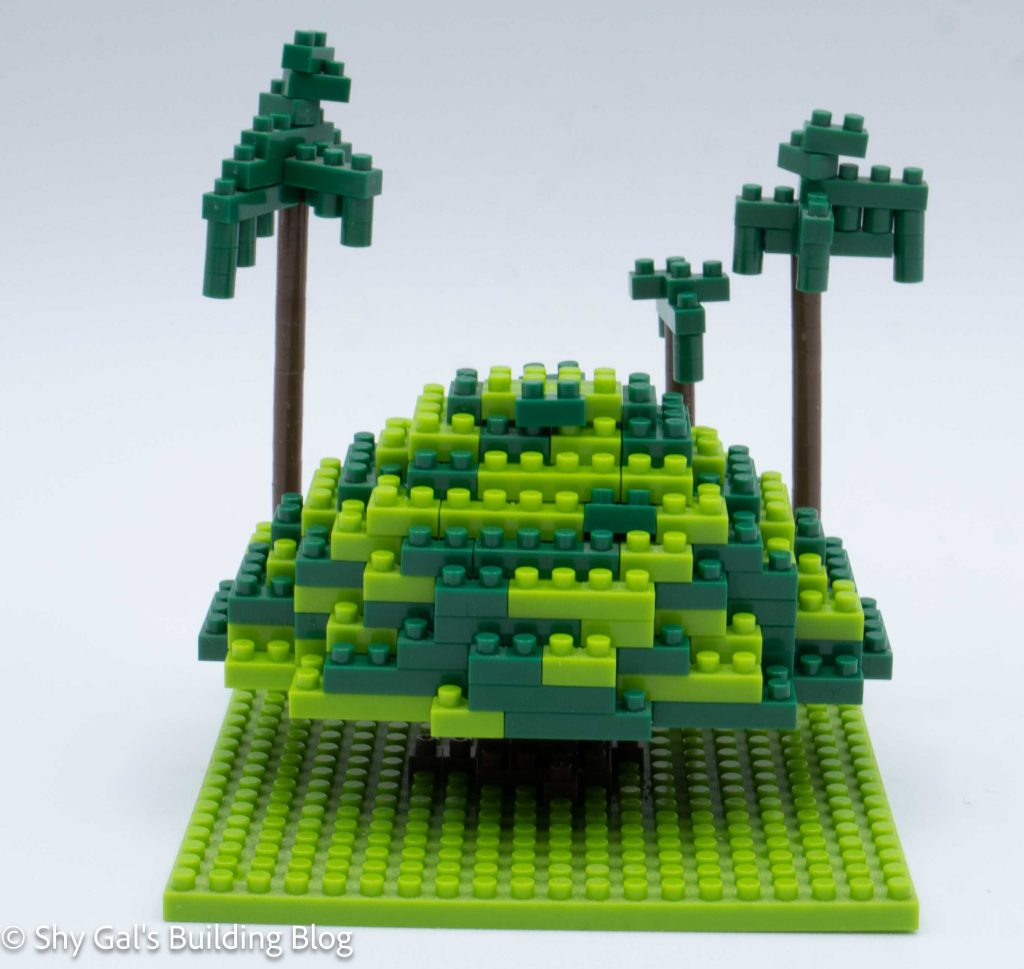
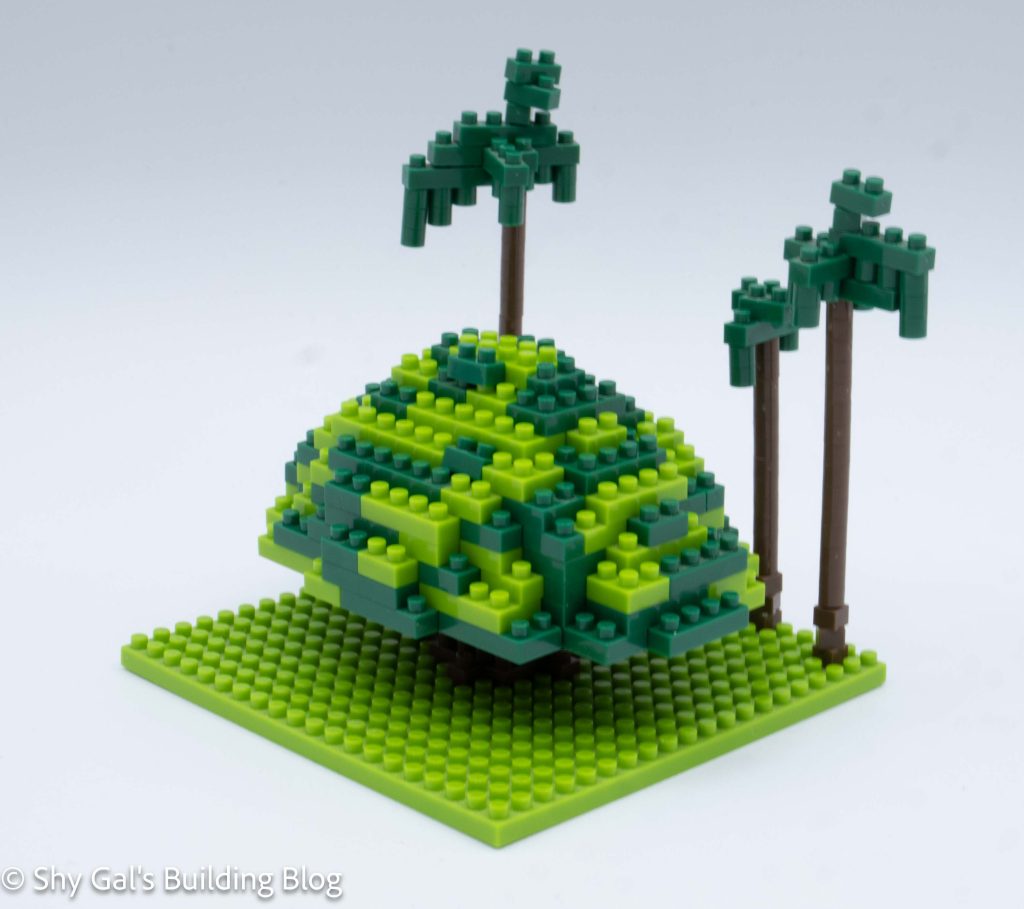
The next step is a pull out set of instructions to build the main body of the tree. This is the main section of the build. The base was too large for my nanoblock pad, so I laid the bricks out on the table. It took several layers for everything to all be locked into place. Once everything was connected, the rest of the tree became very straightforward.
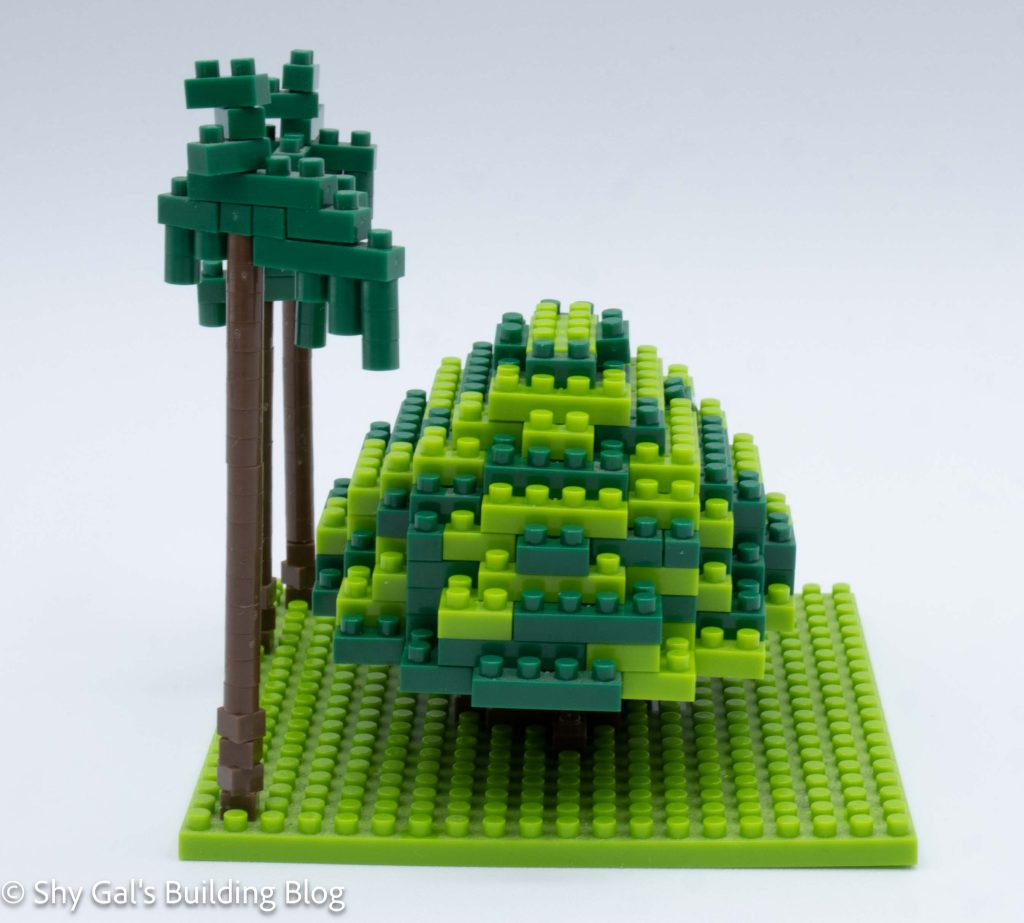
Under the cut there is a small build in the small direction to build the trunk to connect the tree to the base. I almost missed it while I was building the tree.
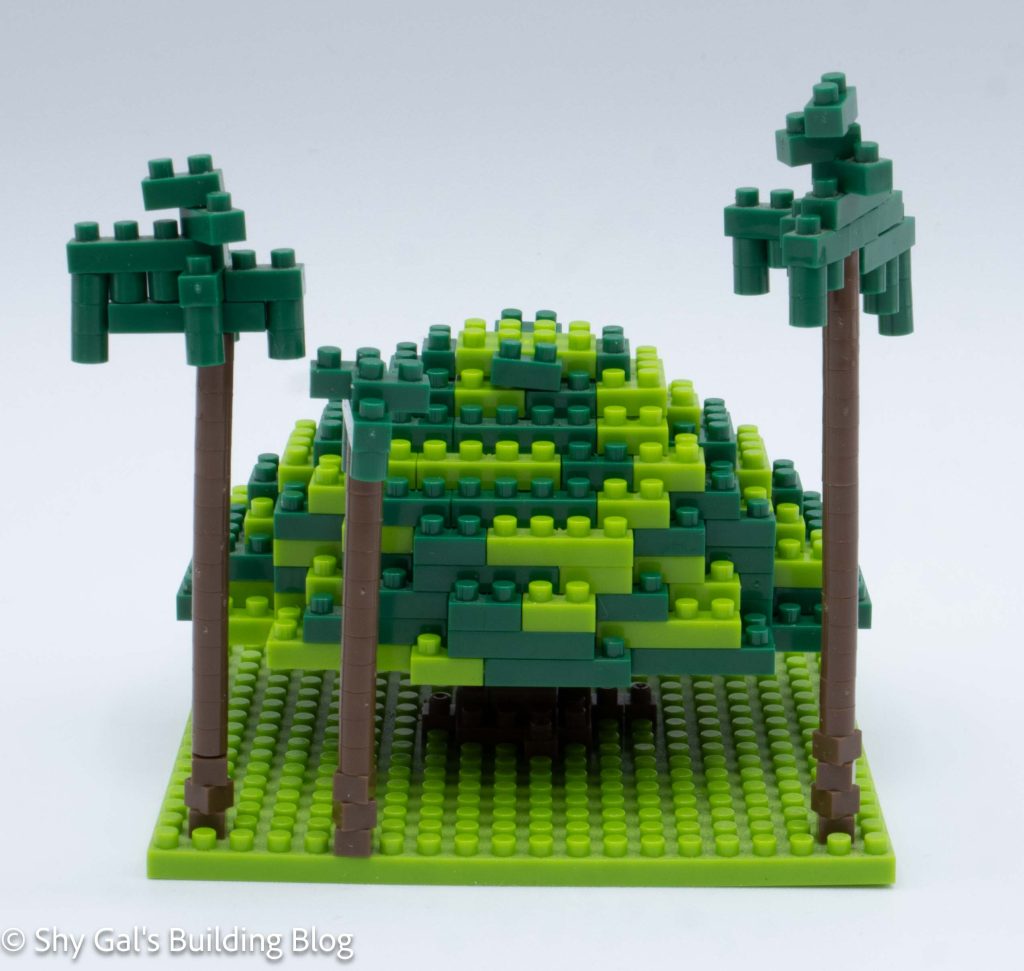
The next step is to build the 3 trees in the background. The trunks are simple towers of bricks. The tops of the tree are a little tricky to build because the instructions are so cramped. I’m not sure that I got them perfect, but I know that it at least gets the point across.
There are instructions on how to build a bunch of nanoids. I didn’t include them because I’m unsure if they fit the scale of the tree.
Things I liked:
- I really enjoyed building the main body of the tree. It starts as a ring with a cross in the middle and ends up in a hollow, closed dome.
Things I didn’t like:
- Overall, I felt the instructions were very cramped. I wish they had been printed front and back, but this was before nanoblock was printing double-sided directions