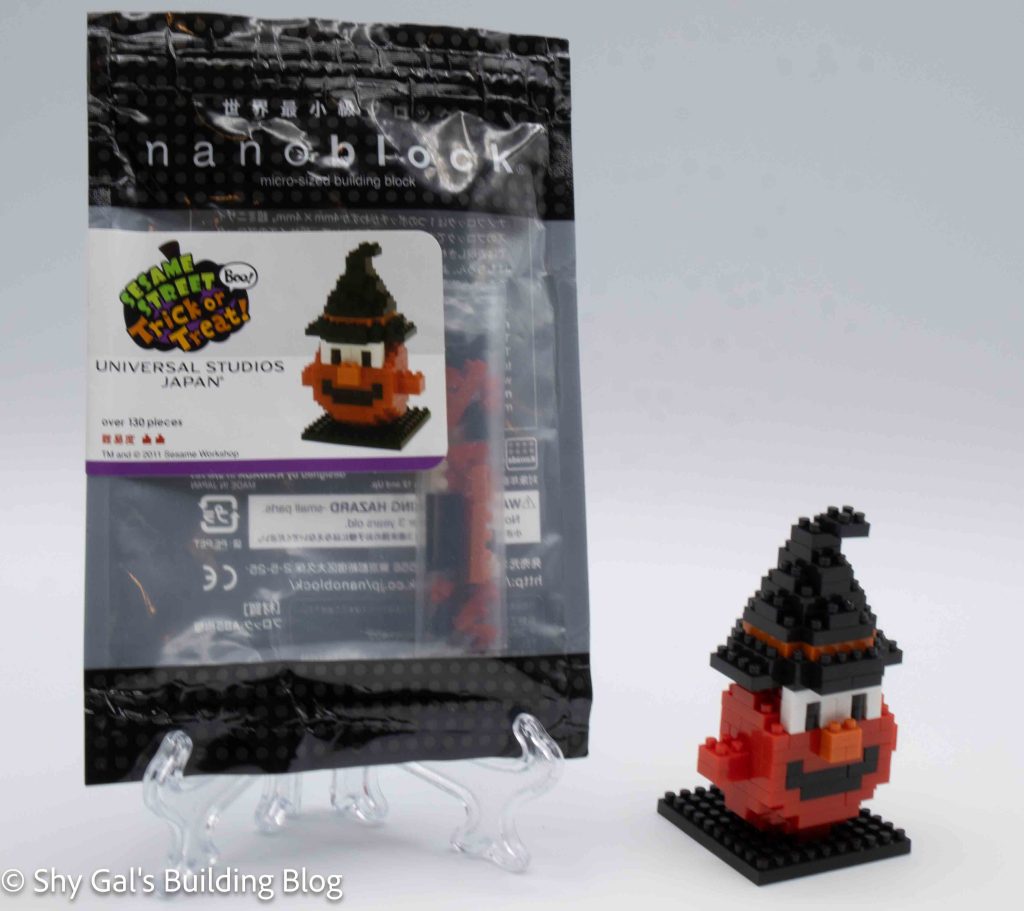
Review of nanoblock Boo! Sesame Street Trick or Treat!

Elmo build and package

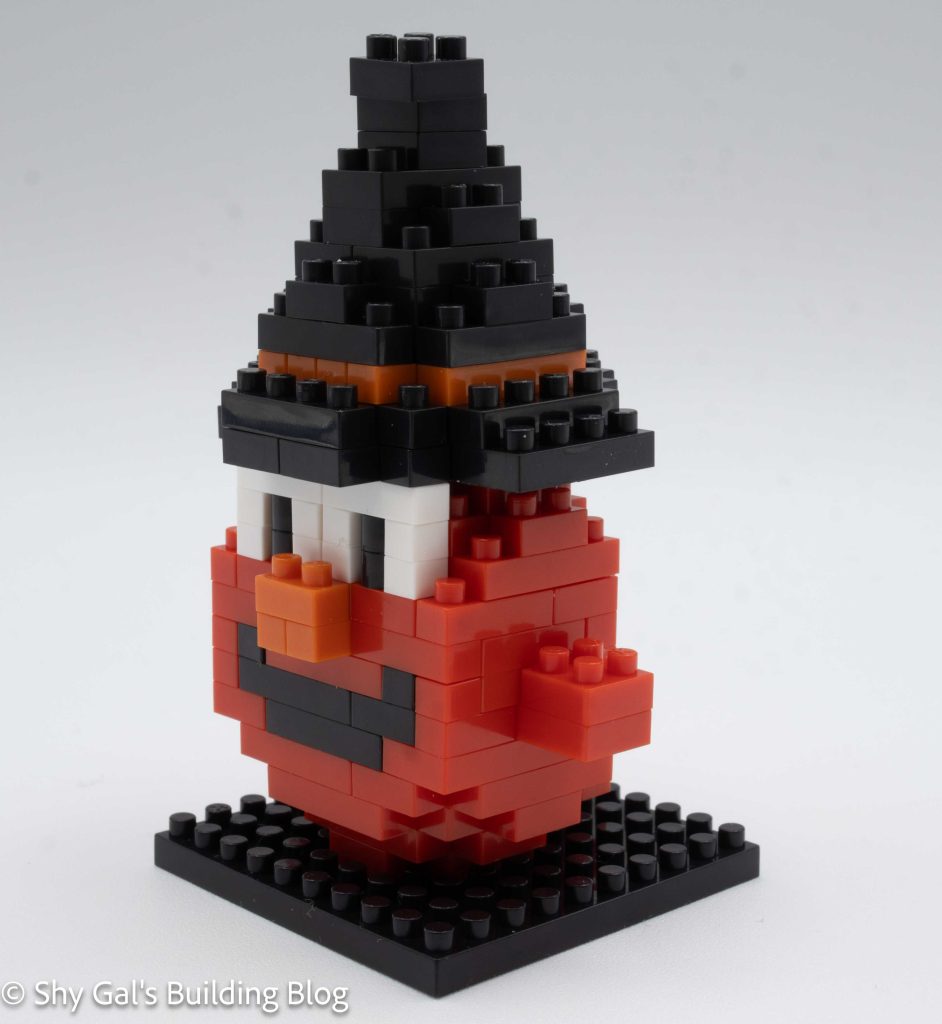
This post is a review of the nanoblock Boo! Sesame Street Trick or Treat! build, which is Elmo as a witch ghost. This build is part of the nanoblock Universal Studios Japan collection. Wondering what else is part of the Universal Studios Japan collection? Click here for a list.

Number of Pieces: 130

Difficulty Rating: 2
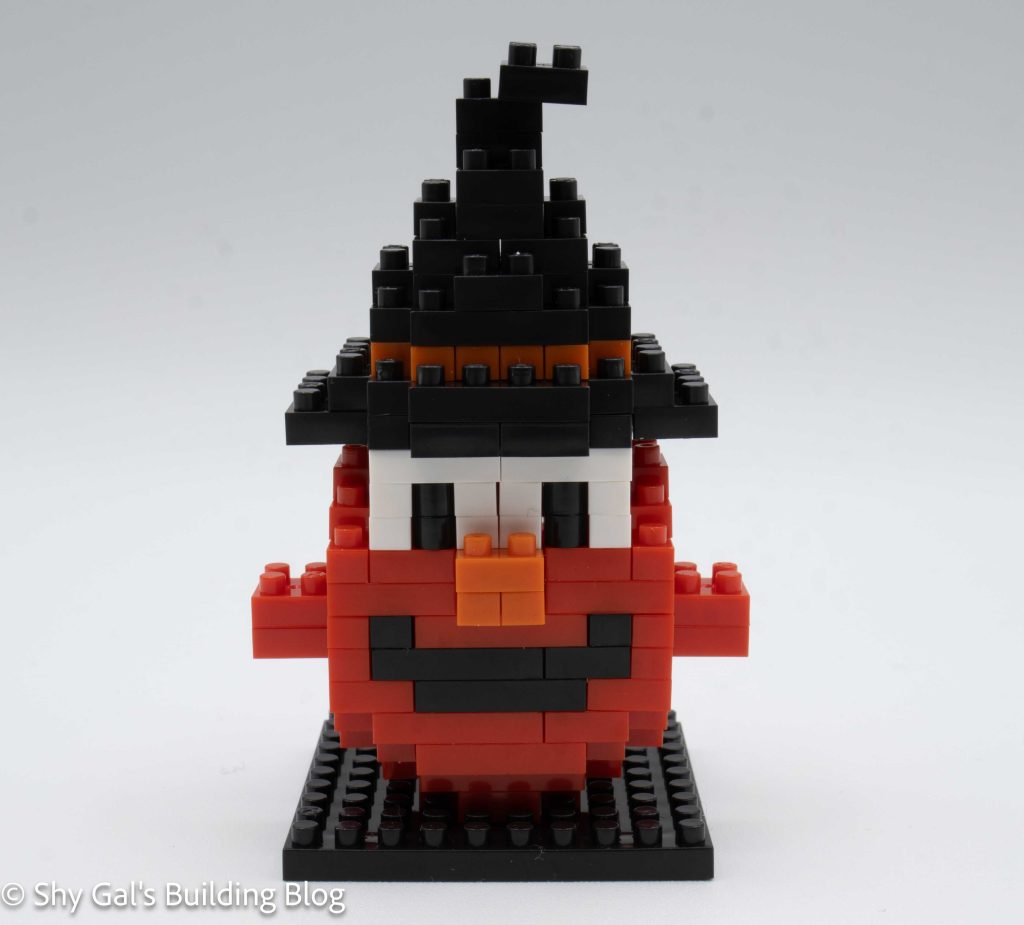
Elmo build front view

I bought this kit as just a set of directions. To build this kit, I needed to buy individual bricks. I bought the bricks via Rakuten using Buyee as a proxy. I ended up getting orange 1x2s instead of orange 2x2s. I completed the build with the 1x2s, but there are a few extra lines on my finished build where there are orange bricks.
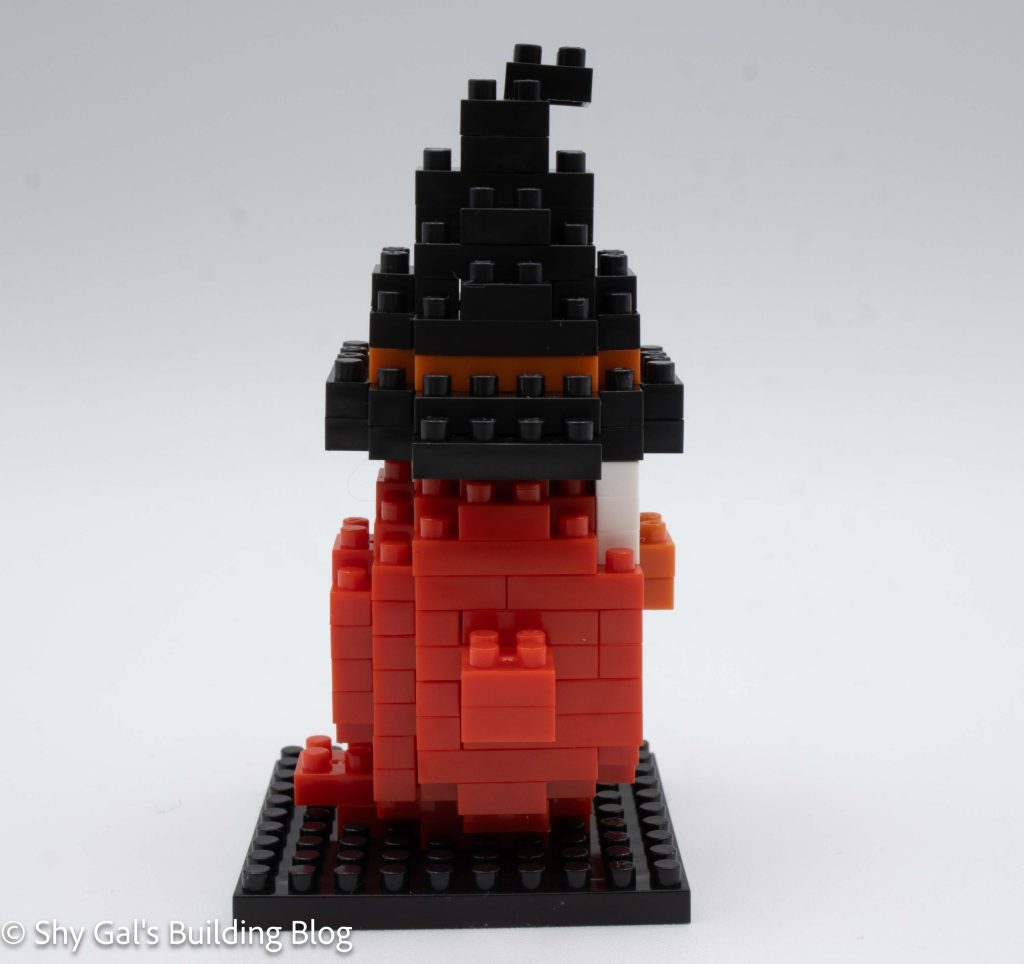
Elmo build side view

This build is broken into 2 parts there is the Elmo section and the hat.

The Elmo section begins with a base 10×10 brick. Then, the build goes up in layers, starting from a very small base. As I got to the top of Elmo, it was a bit tippy as I put on the next layer. A few times, the main section of Elmo would pop off the base, so I needed to line the body back up and reattach it to the base.
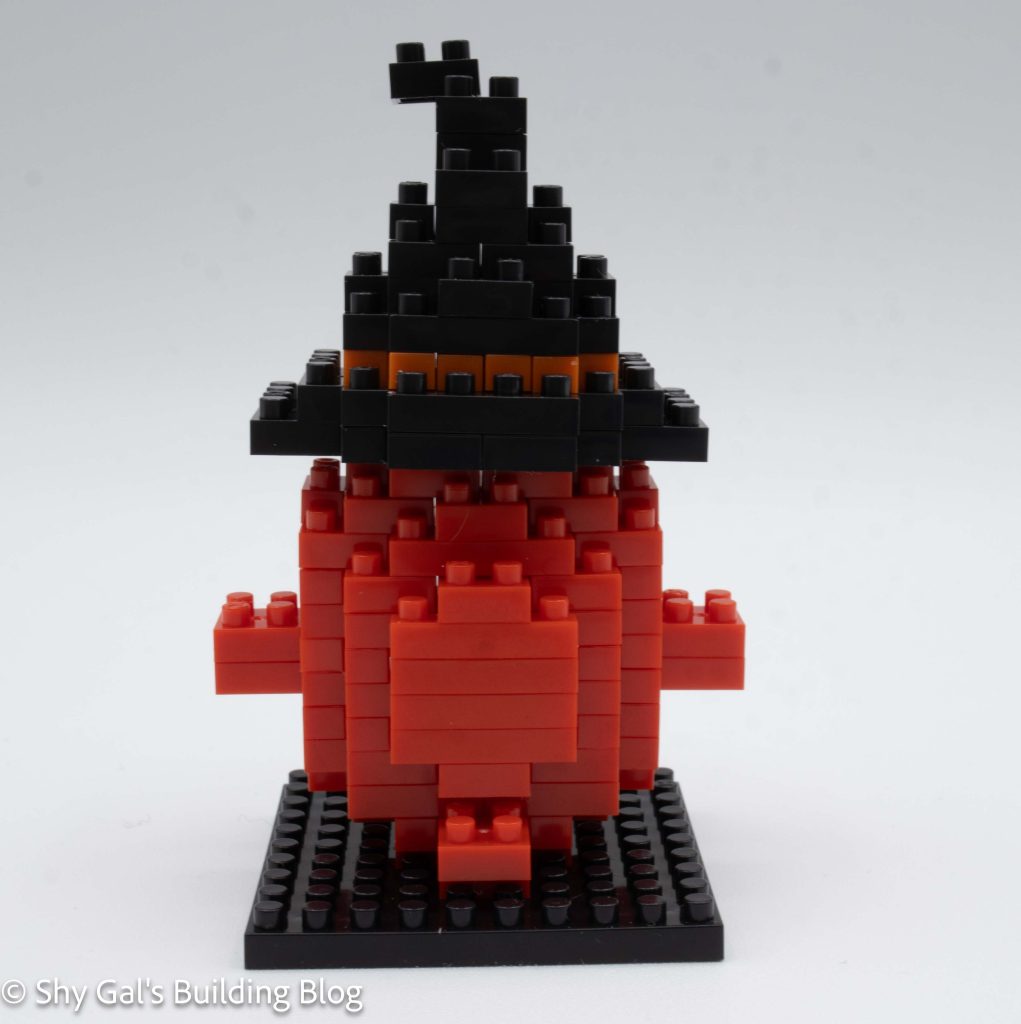
Elmo build back view

The hat section begins with a base layer of black bricks. I lay the bricks on my nanoblock pad as a starting point. The hat is very straightforward and goes up in layers. There is a break in all the black because an orange ribbon is going around the hat.
Elmo build front 3/4 view

Things I liked:

  • I really like how there is a band on the hat. Normally, witch hats are just solid black, so the extra detail is nice

Things I didn’t like:

  • I don’t like how tippy Elmo is on the base. I think if the bottom couple of layers had more bricks, then it may have fallen off less when building
Review of nanoblock Universal Globe

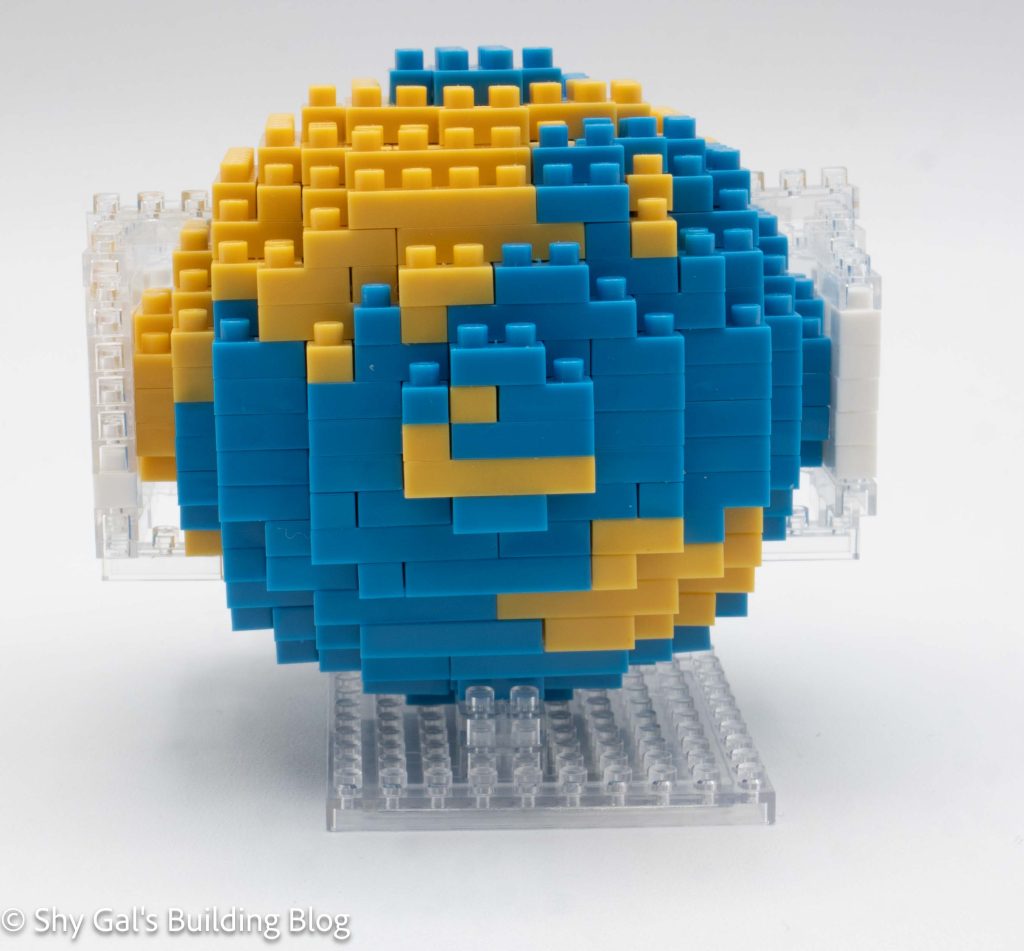
Universal Globe build front view

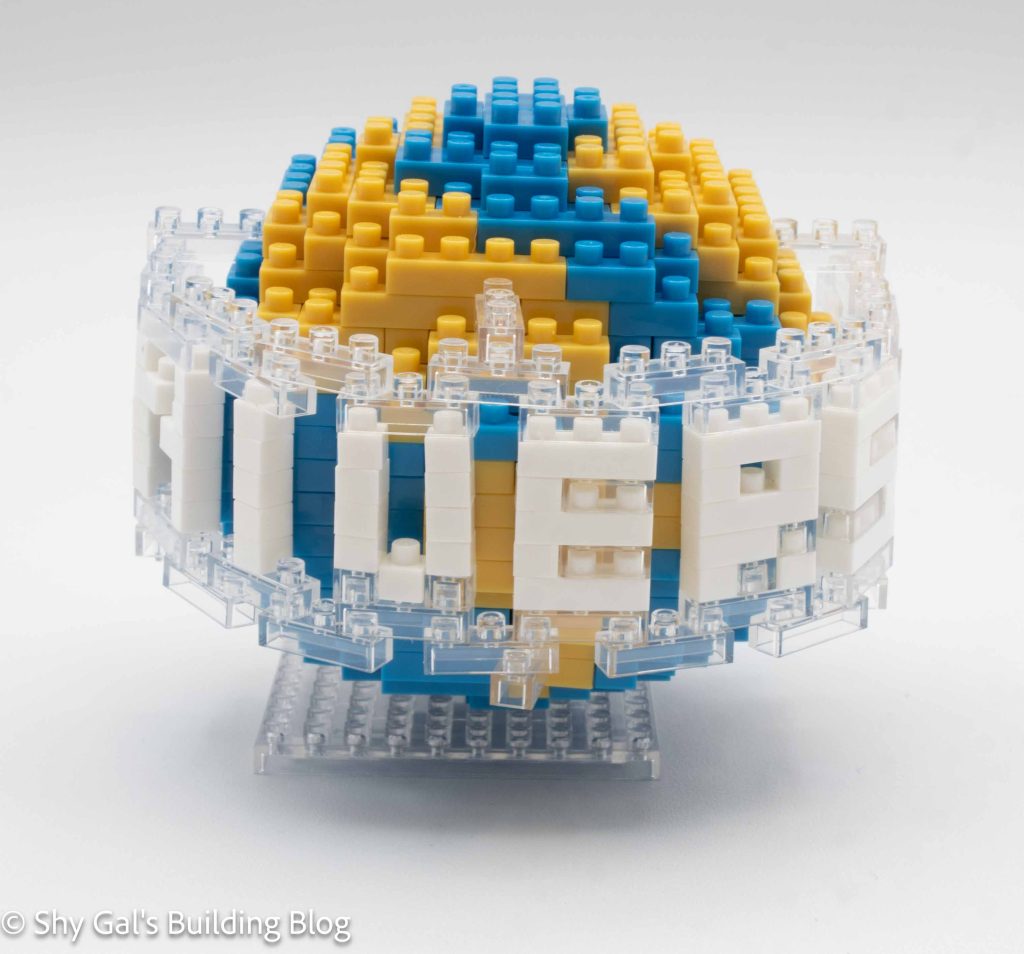
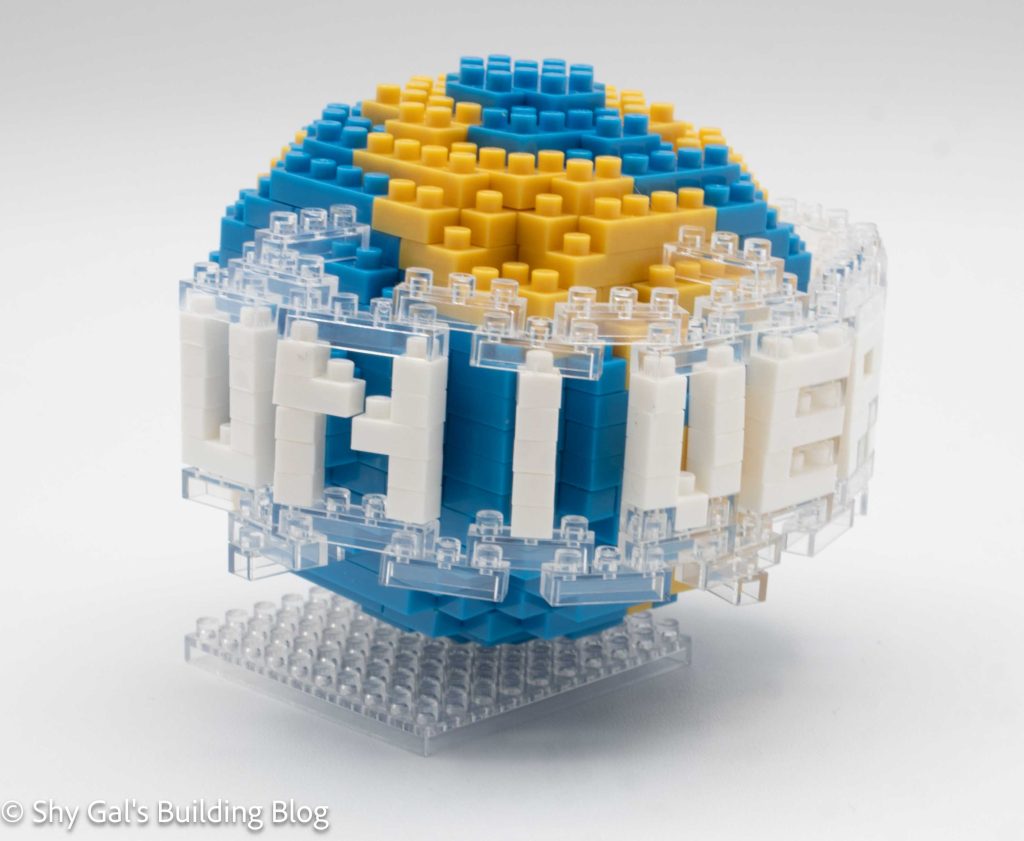
This post is a review of the nanoblock Universal Globe build. Universal Globe is one of the Universal Studios Japan (USJ) nanoblock kits. Wondering what else is part of the USJ builds collection? Click Here for a list.

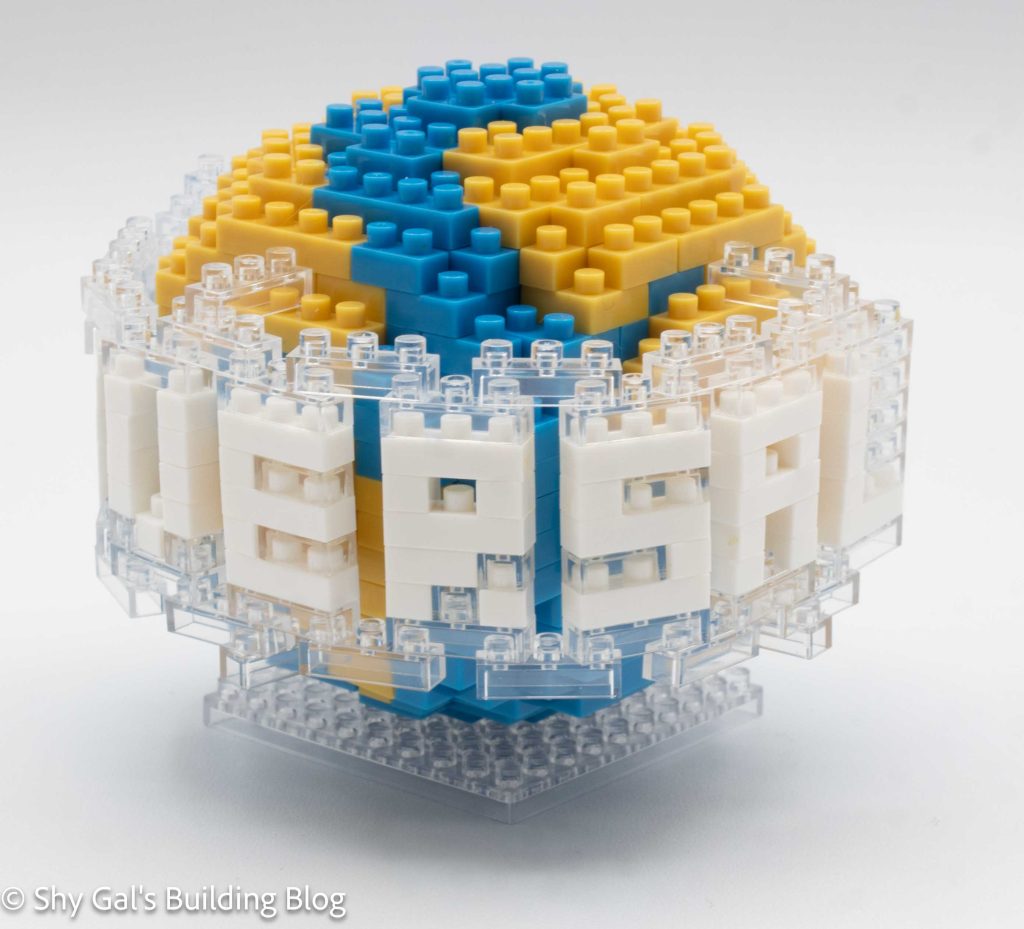
This build has 3 distinct parts. There is the upper hemisphere, the lower hemisphere, and the Universal sign.

Universal Globe build side view

The upper hemisphere is a fairly normal nanoblock build. I could lay the first layer out on my nanoblock pad; it took up a lot of the pad. It built up in layers, continuously getting smaller until the hemisphere closes up. I needed to be careful to ensure that I used the right color and size for each brick I placed.

The lower hemisphere was by far the hardest part of the build. Like the top section, I needed to be careful to ensure I used the right brick. However, the lower hemisphere is built upsidedown. Building upsidedown is challenging because it is tricky to ensure things are lined up and square. It was also hard to tell where there were gaps because so many sections of bricks were built in a previous step.

Universal Globe build back view

The last section of the build is the Universal sign that surrounds the globe. There is a fairly straightforward diagram for how to make the sign. It is a bit hard to tell which bricks are clear and which are white. When it came time to attach the sign, the directions made no sense. I attached it close to what the directions say, but not exactly right.

Universal Globe side view

Things I liked:

  • The final sphere actually looks round, like a sphere

Things I didn’t like:

  • The directions to attach the Universal to the globe made no sense

Review of nanoblock Jurassic Park – Velociraptor

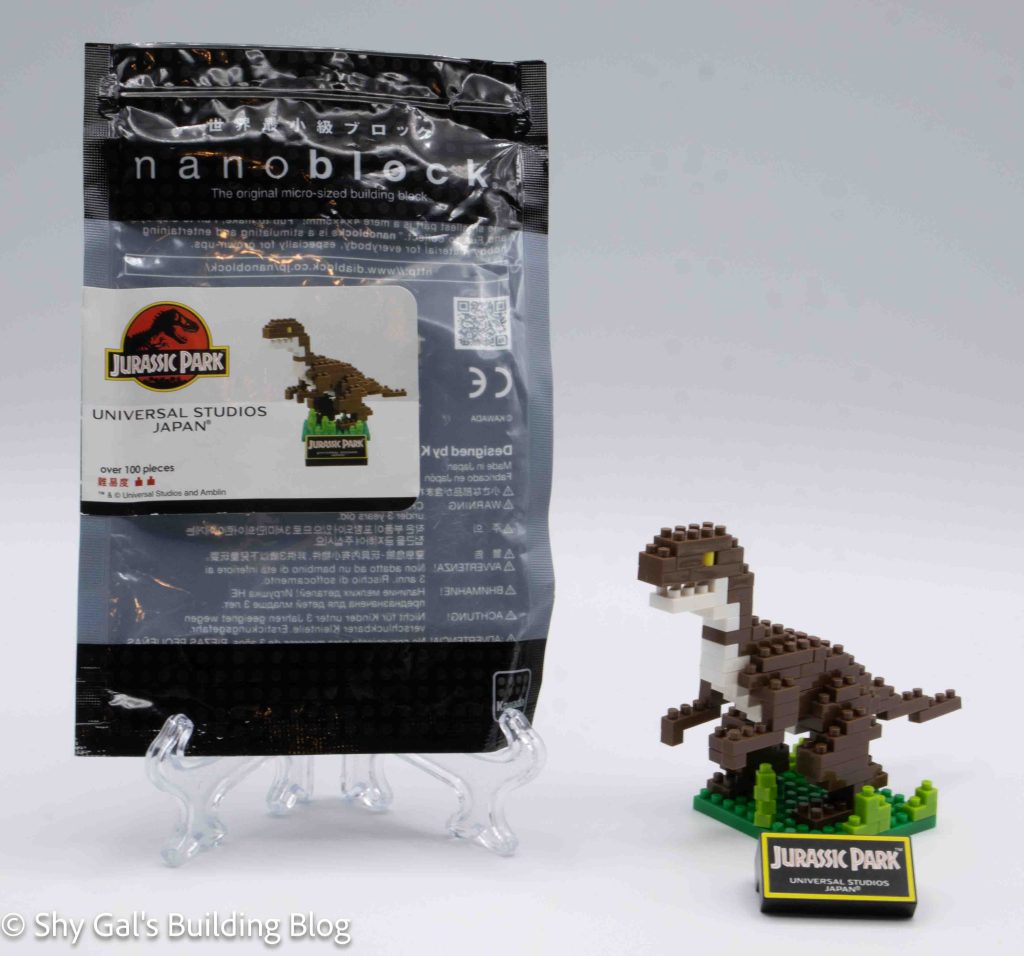
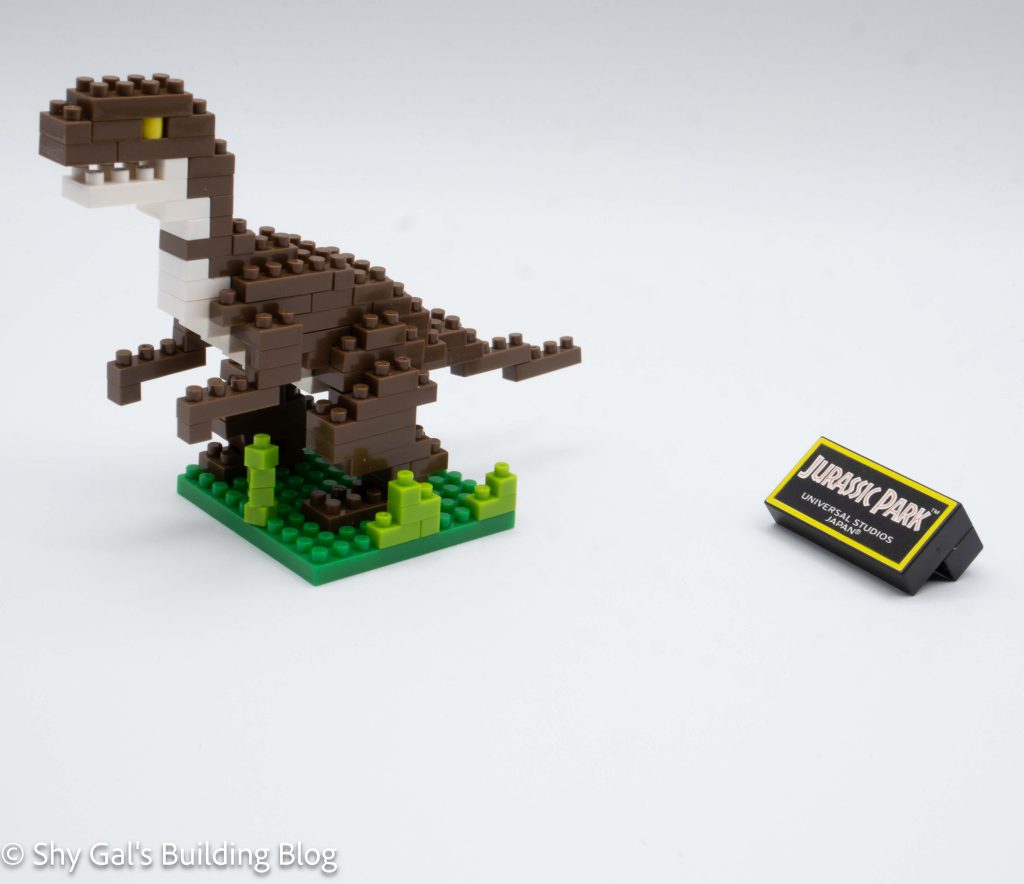
Jurassic Park - Velociraptor build and package

This post is a review of the nanoblock Jurassic Park – Velociraptor build. Jurassic Park – Velociraptor is part of the nanoblock Universal Studio Japan collection. Wondering what else is part of the Universal Studios Japan collection? Click here for a list.

Jurassic Park - Velociraptor build front view

Number of Pieces: 100

Difficulty Rating: 2

Jurassic Park - Velociraptor build front 3/4 view

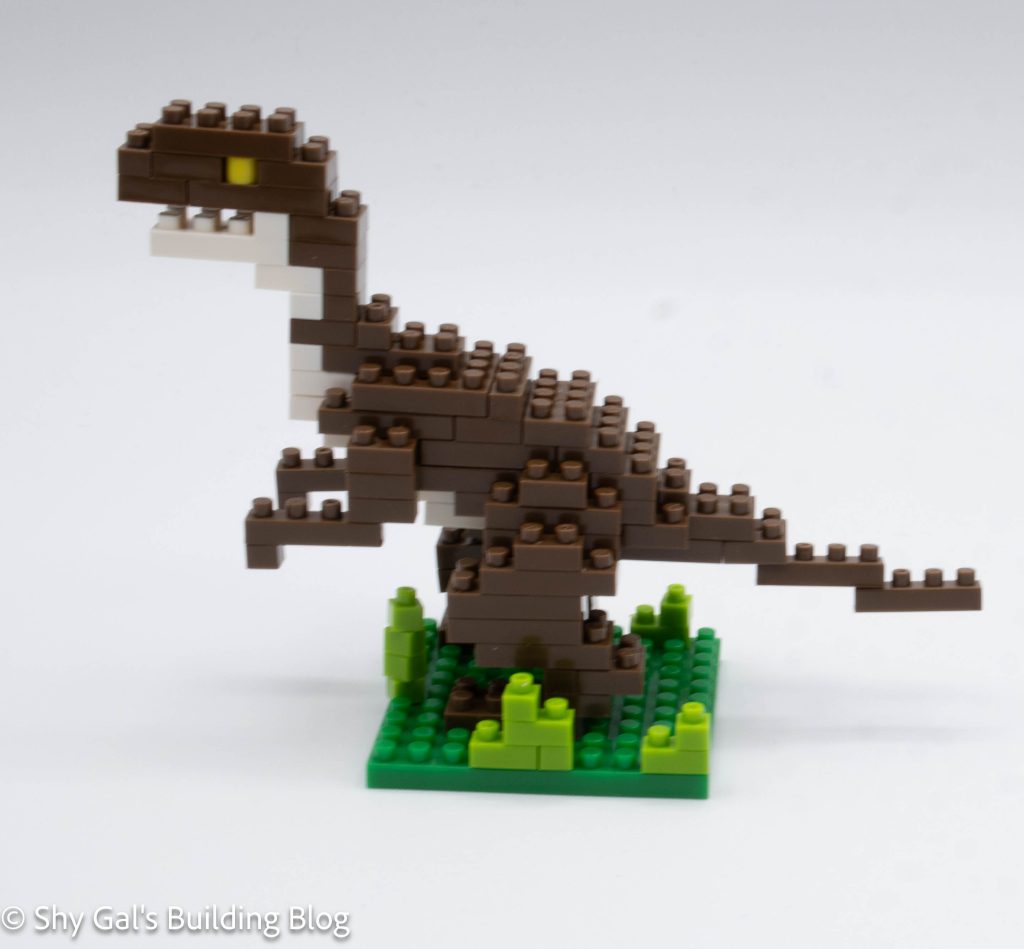
The build begins by building the body of the Velociraptor. I laid the bricks out on my nanoblock pad. The body goes up fairly straightforward layers creating a curve to the body.

The next step is to build is the build. The head is built separately and attached to the body.

The build is now flipped over, and details are added to the bottom of the build. First, some details are added to the bottom, and the arms are added.

Jurassic Park - Velociraptor build side view

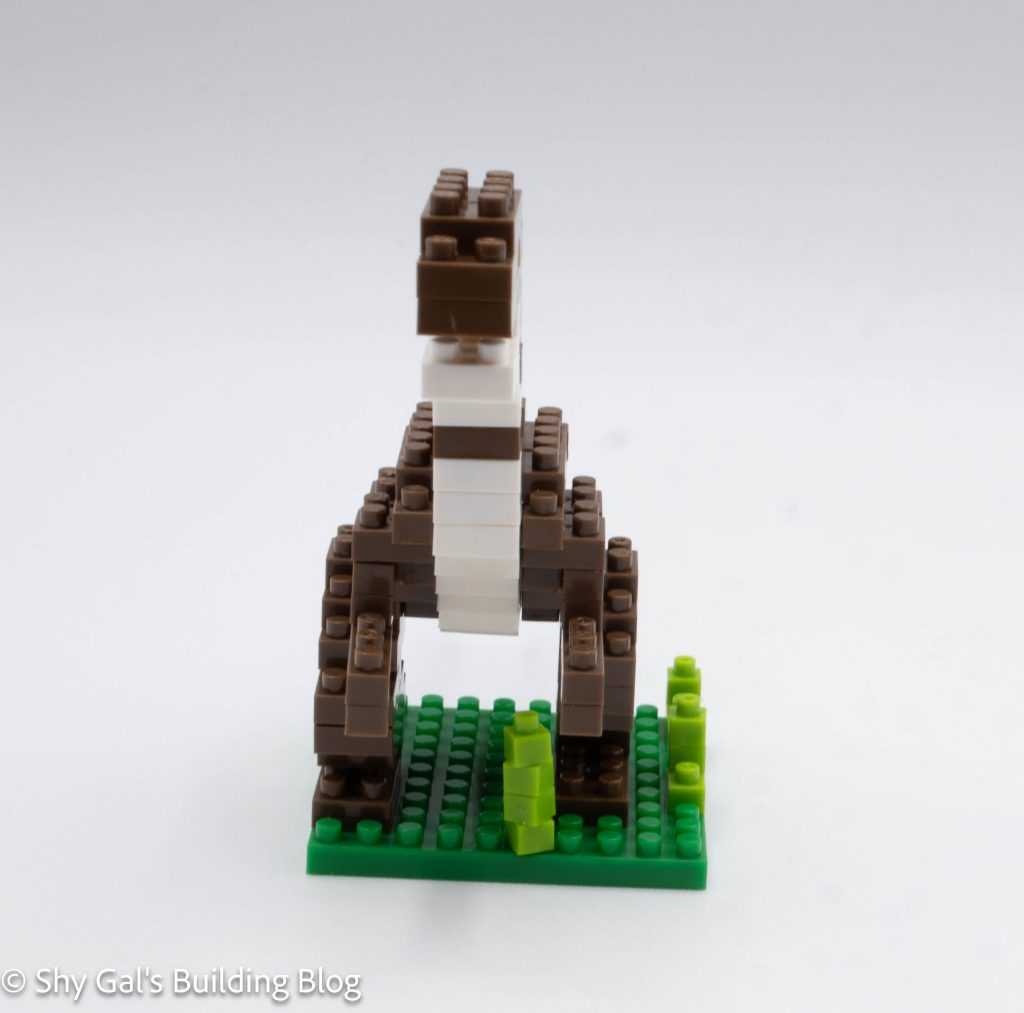
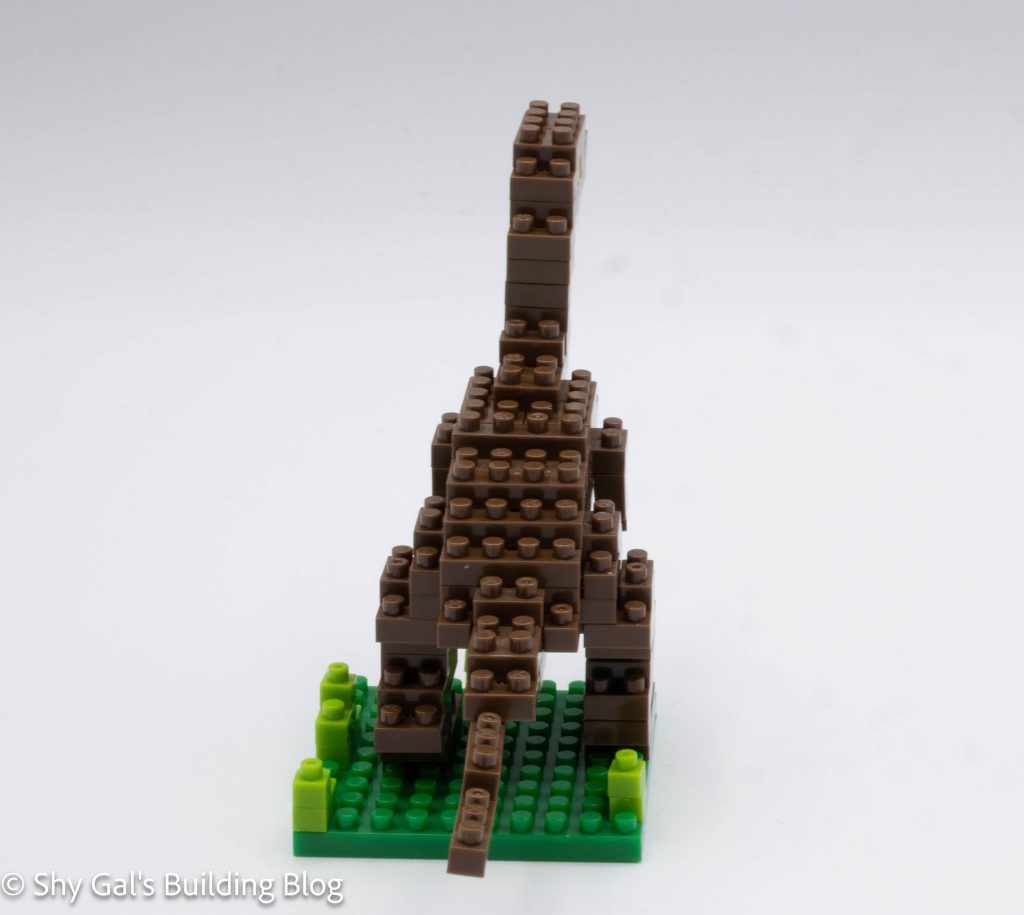
The legs and tail are added. The legs aren’t symmetrical, which was a bit surprising and unexpected.

The velociraptor is then attached to the base. It was a bit tricky to get the dinosaur to stand on the base. I ended up popping off the bottom of the legs and placing the feet on the base. Then I added the grass around the dinosaur.

Jurassic Park - Velociraptor build back view

Things I liked:

  • I like the sign that comes with the kit. It was just 1 large brick, so the sticker lay smoothly

Things I didn’t like:

  • I feel that the grass isn’t really needed for the finished build

Review of nanoblock Bob

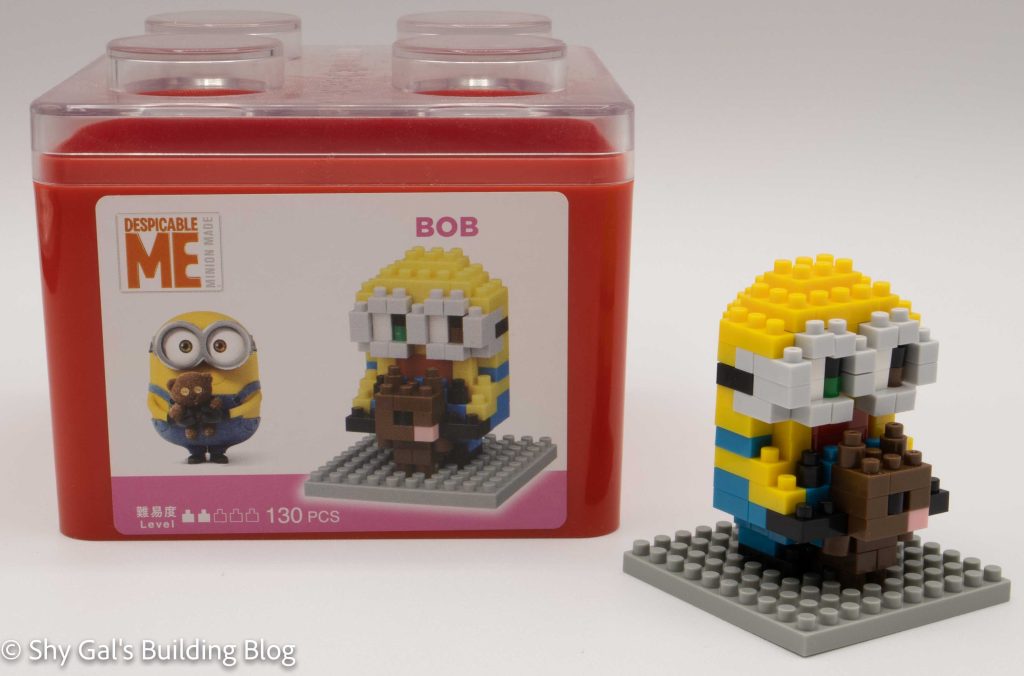
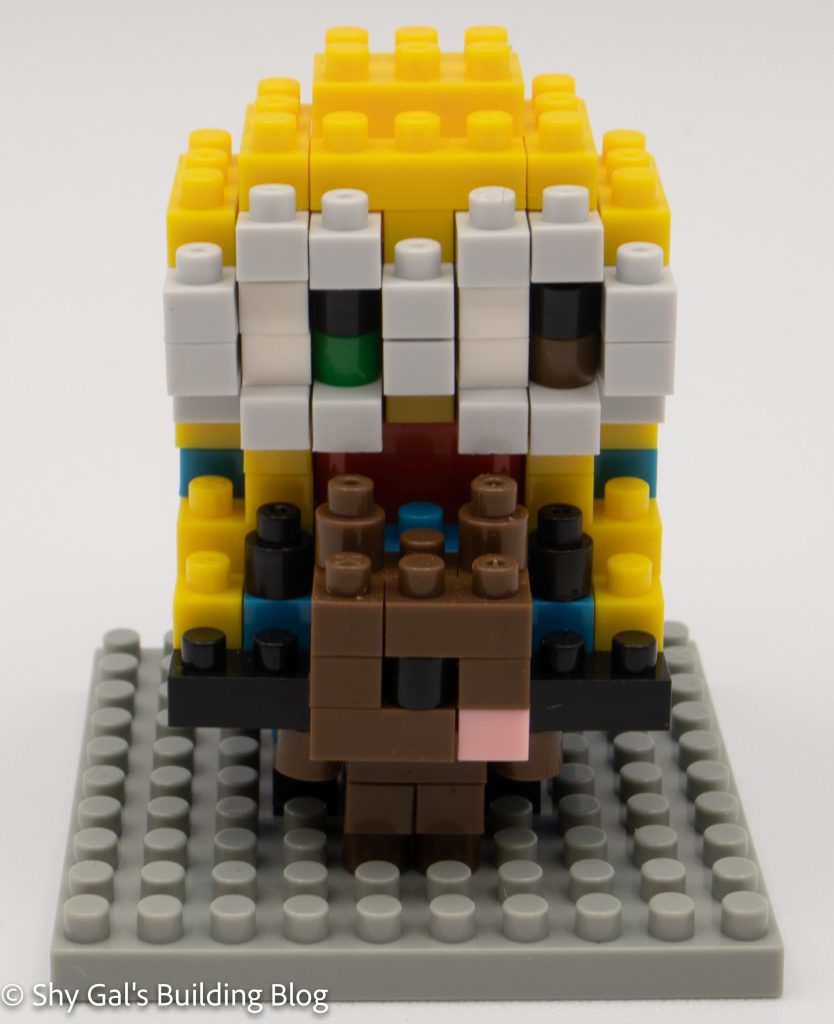
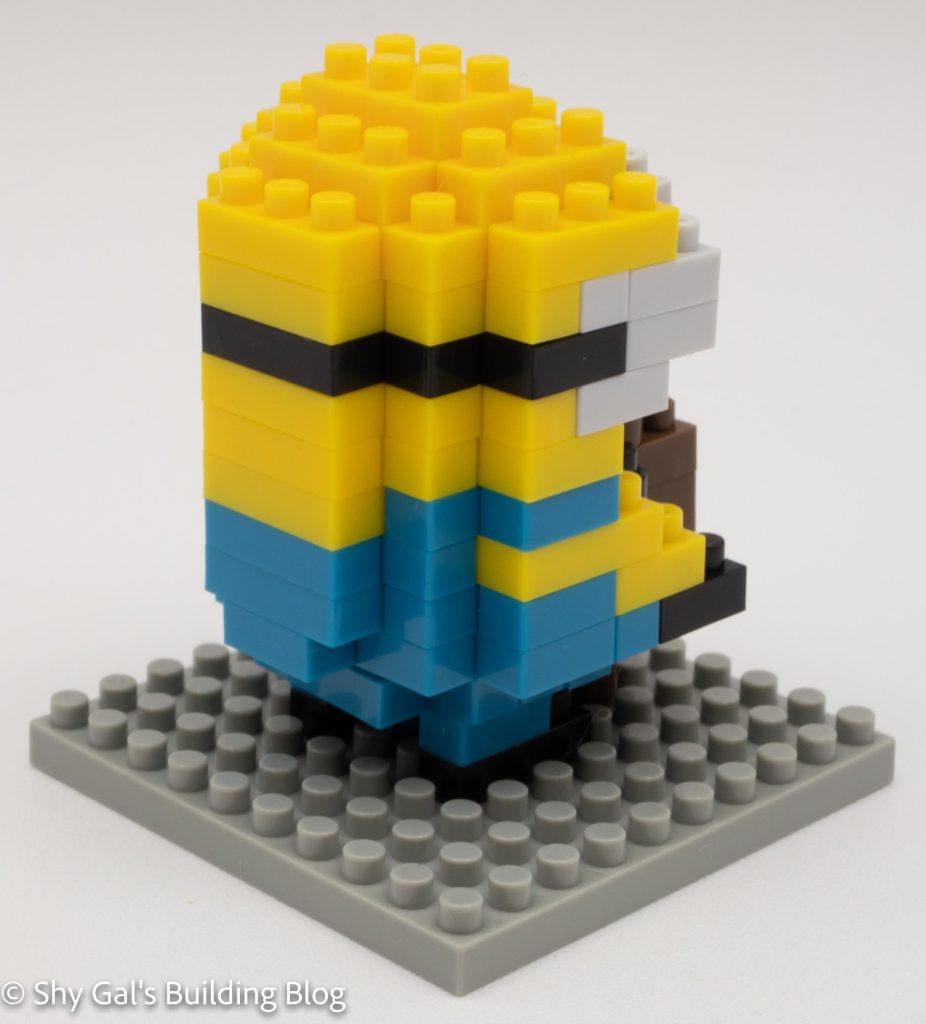
Bob box and build

This post is a review of the nanoblock Bob build. Bob is one of the Universal Studios Japan (USJ) nanoblock kits. Wondering what else is part of the USJ builds collection? Click here for a list.

Difficulty Rating: 2/5

Bob is of the several minions that have jobs. He has different color eyes and is holding a one-eyed teddy bear.

Bob font view

The build begins with a base with several colors to create the bear, Bob’s hands, and body.

You build up layer by layer from the base layer, forming the bear and Bob. I like how they make various depths with an inset mouth and goggles that stick out.

The layers continue up, and the build becomes more yellow. Once you build the yellow layer, you make the strap for the goggles. Then you layer on the yellow to finish the minion’s head.

Next, you flip over the build and add a little more detail to the bear and Bob’s legs.

The final step is to start building on the base. First, you add the feet of both the minion and the bear. Next, you add the legs. The final step is to add the minion body onto the legs.

Bob back 3/4 view

Things I liked:

  • The eye details on both the minion and the bear

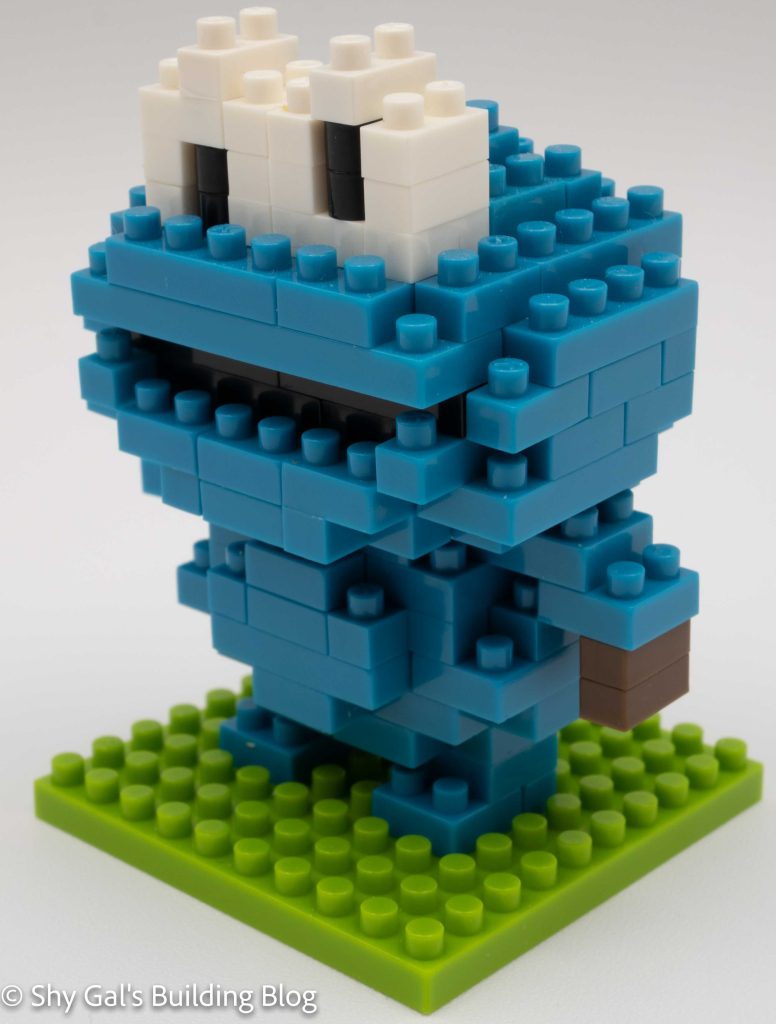
Review of nanoblock Cookie Monster

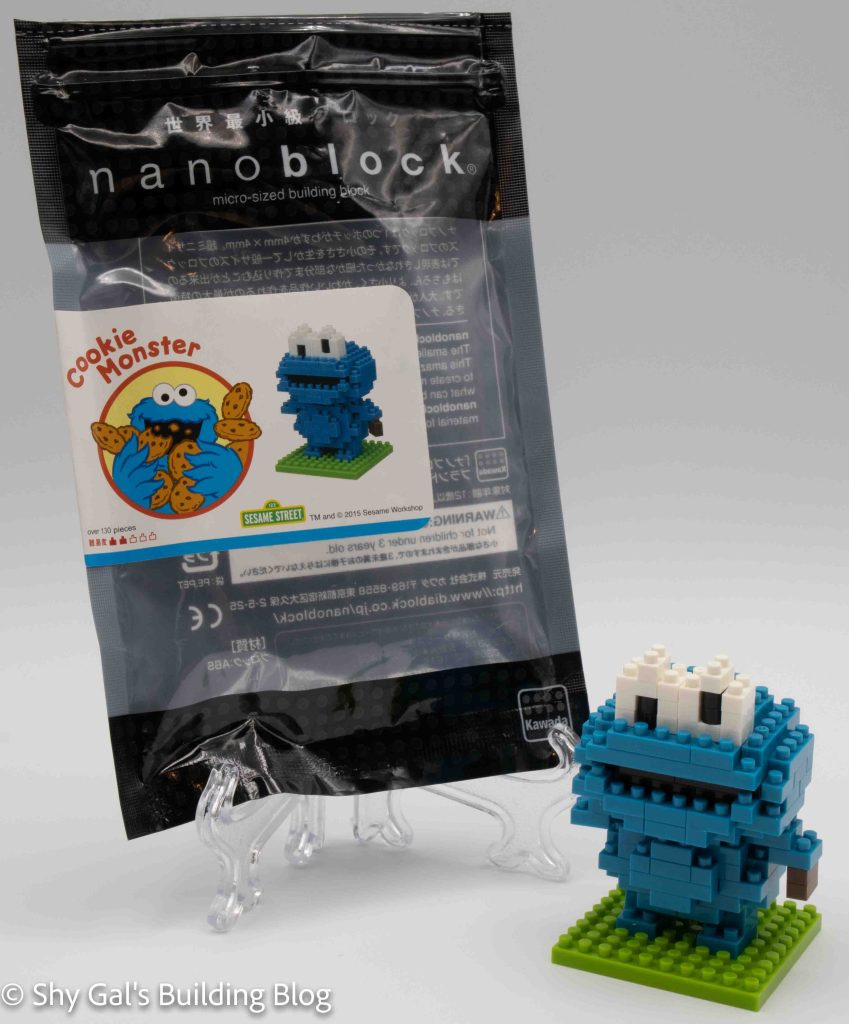
Cookie Monster build and packaging

This post is a review of the nanoblock Cookie Monster build. Cookie Monster is one of the Universal Studios Japan (USJ) nanoblock kits. Wondering what else is part of the USJ builds collection? Click here for a list.

Number of Pieces: 130

Difficulty Rating: 2/5

Cookie Monster is one of the many puppets on Sesame Street. He is a blue monster that loves to eat cookies.

This nanoblock set would have originally only been available at Universal Studios Japan, so I had to get it on eBay.

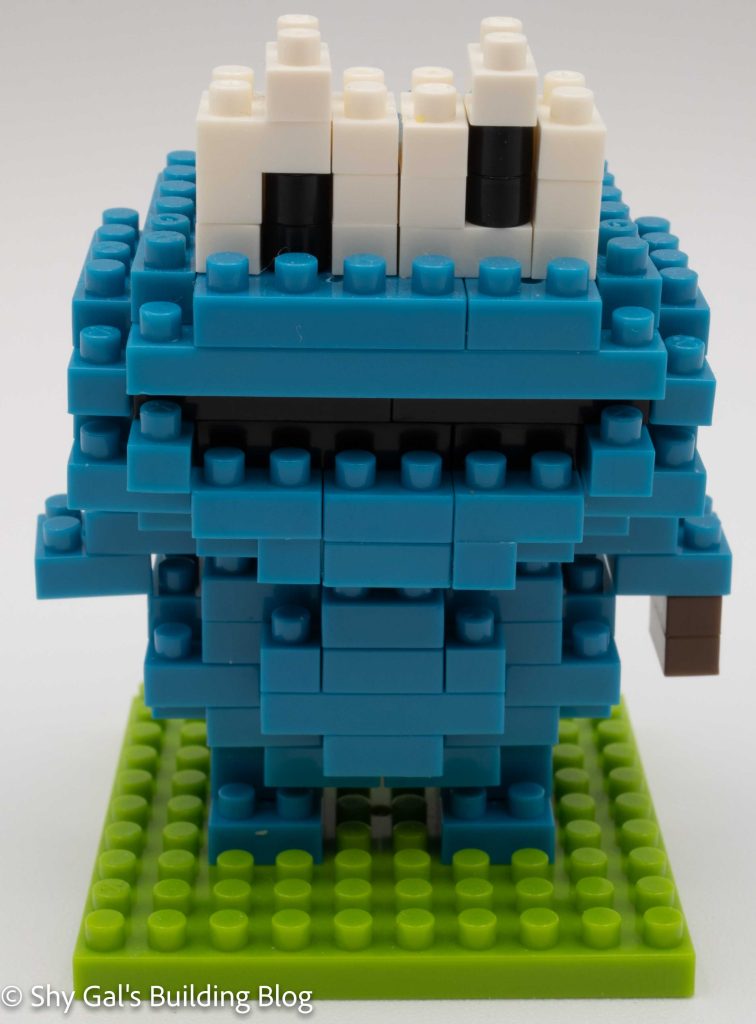
Cookie Monster front view

This build is broken into 2 parts, the head, and the body. The body starts with a 10×10 green base. You then add the feet and begin to build the body. Since you have the feet and the legs added, you add a base layer of the body. You then build up in layers to create the entire body. You add an adorable cookie into his left hand.

Once you have completed all the body layers, it’s time to build Cookie’s head. The head starts with a base layer of bricks. You then build up the layers for the head. A super lovely detail is that Cookie Monster’s mouth is inset to look like the shadowing is appropriate. You continue to add layers until you close up the head. You add the eyes. They are offset, so they look like googly eyes.

Cookie Monster 3/4 front view

Things I liked:

  • The detail of holding a cookie
  • The googly eyes

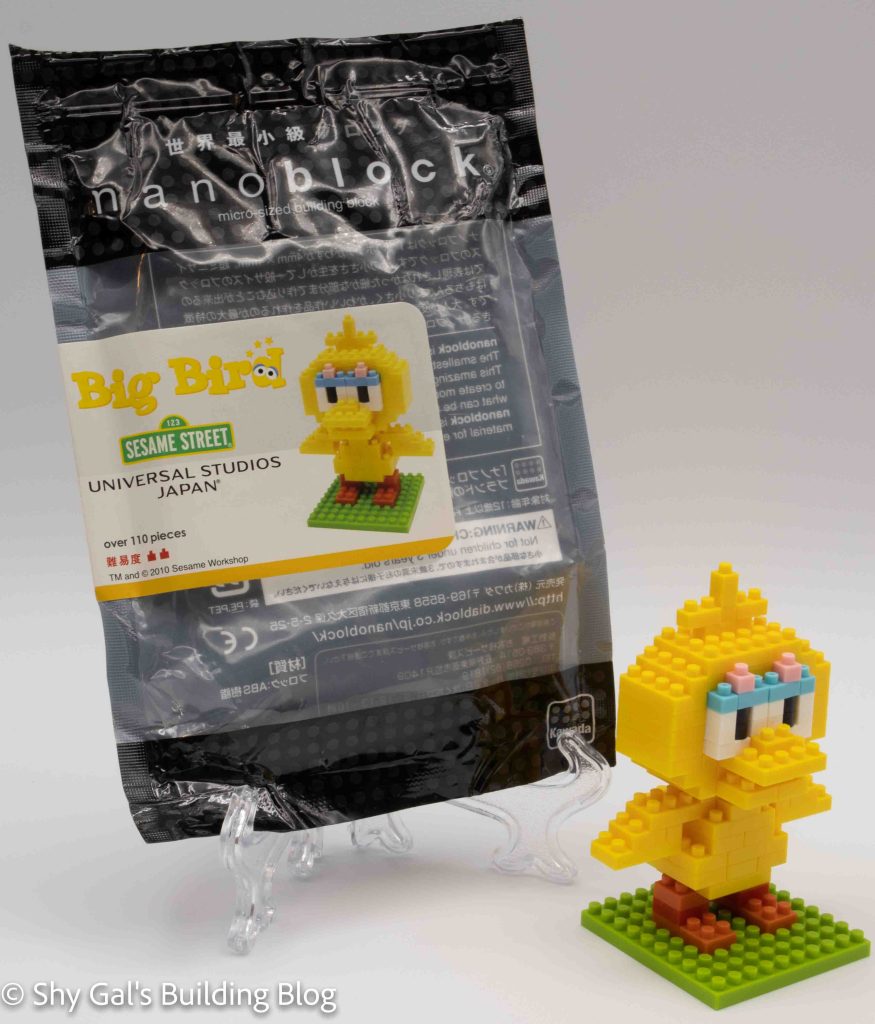
Review of nanoblock Big Bird

This post is a review of the nanoblock Big Bird build. Big Bird is one of the Universal Studios Japan (USJ) nanoblock kits. Wondering what else is part of the USJ builds collection? Click here for a list.

Number of Pieces: 110

Difficulty Rating: 2/5

Big Bird is one of the many puppets from Sesame Street. He is a 6-year-old bird who has been a cast member for decades. He is most known for his childlike wonder and wanting to learn about everything.

This nanoblock set would have originally only been available at Universal Studios Japan, so I had to get it on eBay.

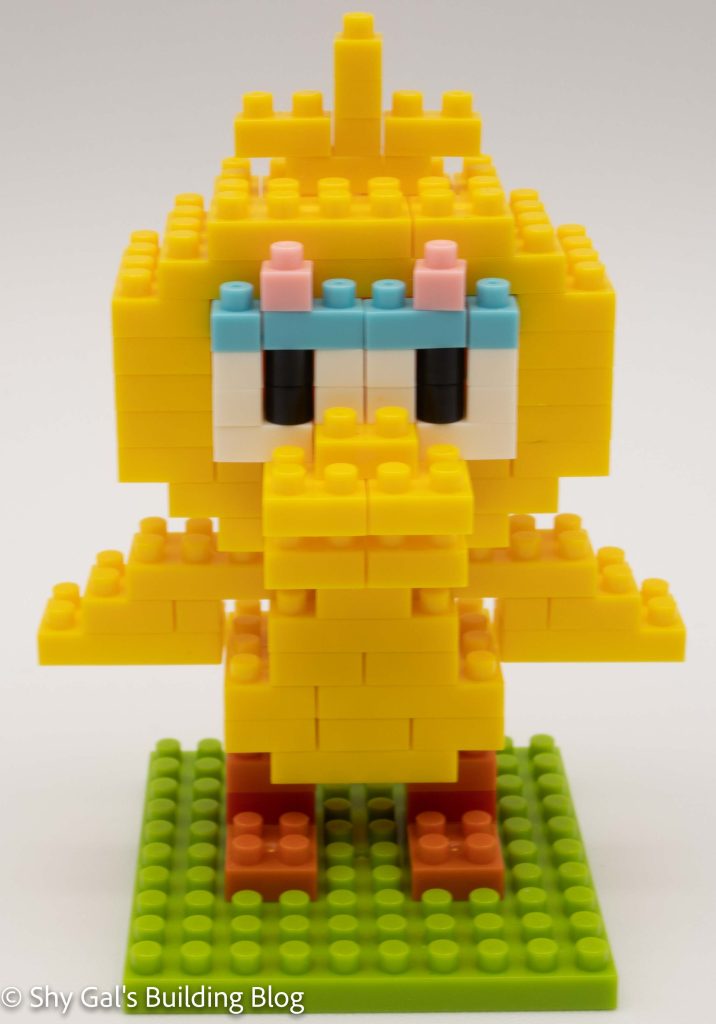
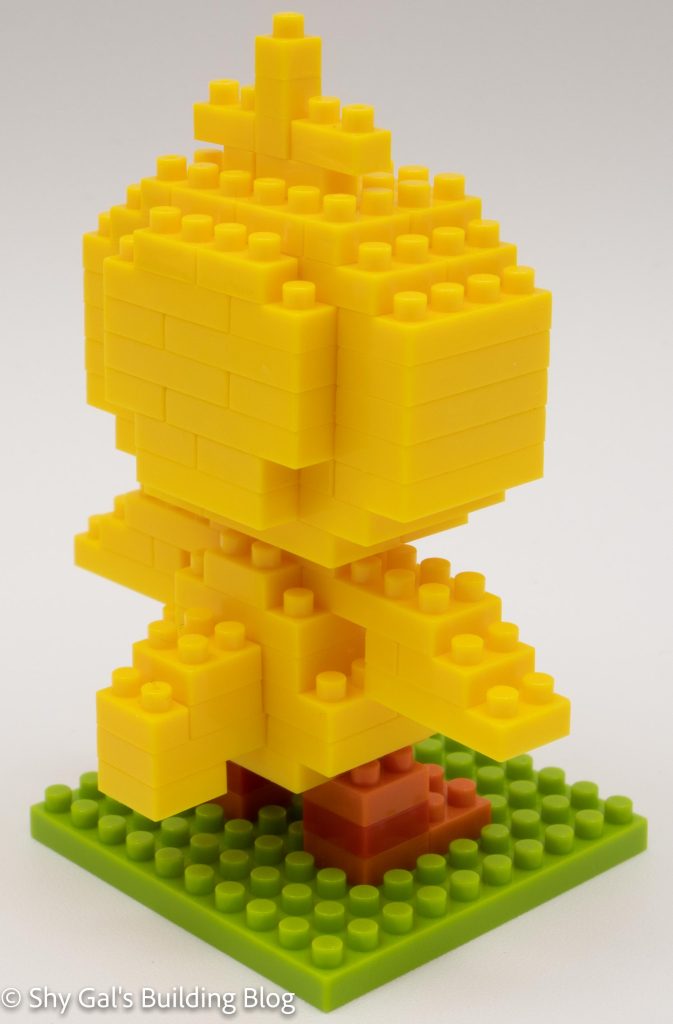
This build comprises 2 significant parts, the head, and the body. Big Bird comes on with a green 10×10 base. You first add legs to the base. I appreciate the fact that they kept the stripes on the legs. After you build the legs, you make the base for the body. Next, you add the rest of the body, including the wings, in layers to create the body.

Then it is time to build the head. For the head, you begin with the base and add layers. You will change from yellow to add the eyes and eyelids. After several layers, you will add the feathers at the top of Big Bird’s head.

Things I liked:

  • The color details on the legs and eyelids

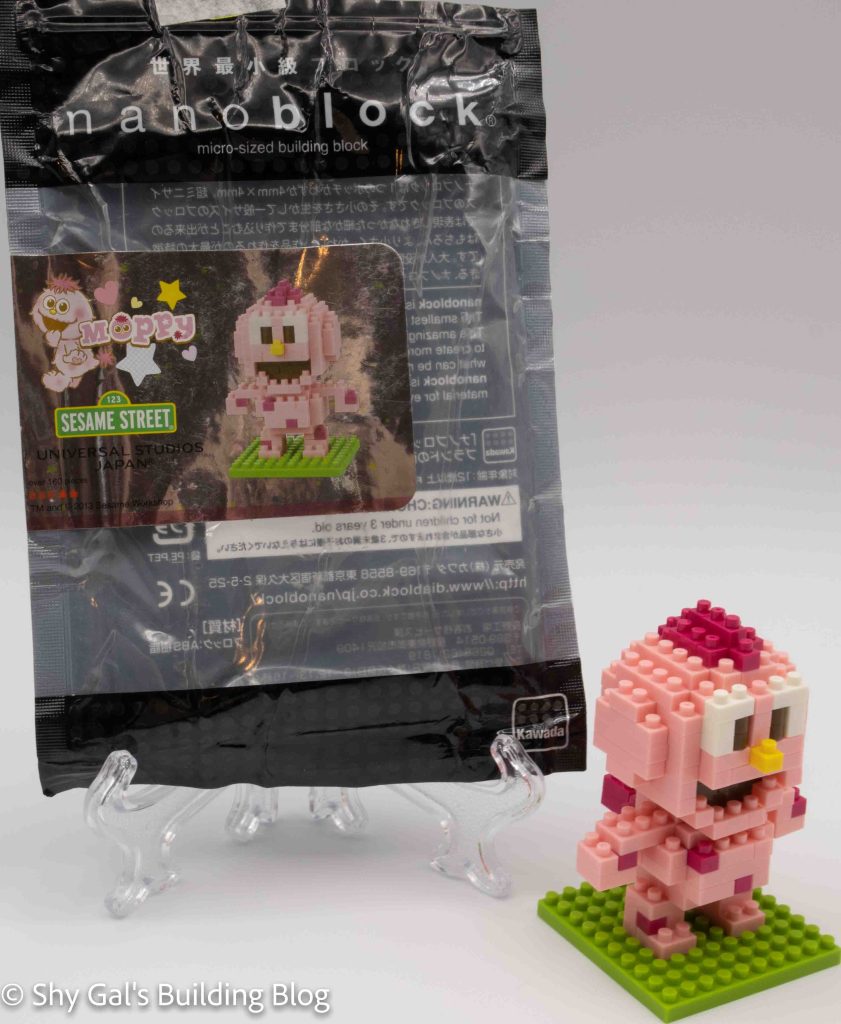
Review of nanoblock Moppy

Moppy build and packaging

This post is a review of the nanoblock Moppy build. Moppy is one of the Universal Studios Japan (USJ) nanoblock kits. Wondering what else is part of the USJ builds collection? Click here for a list.

Number of Pieces: 160

Difficulty Rating: 2/5

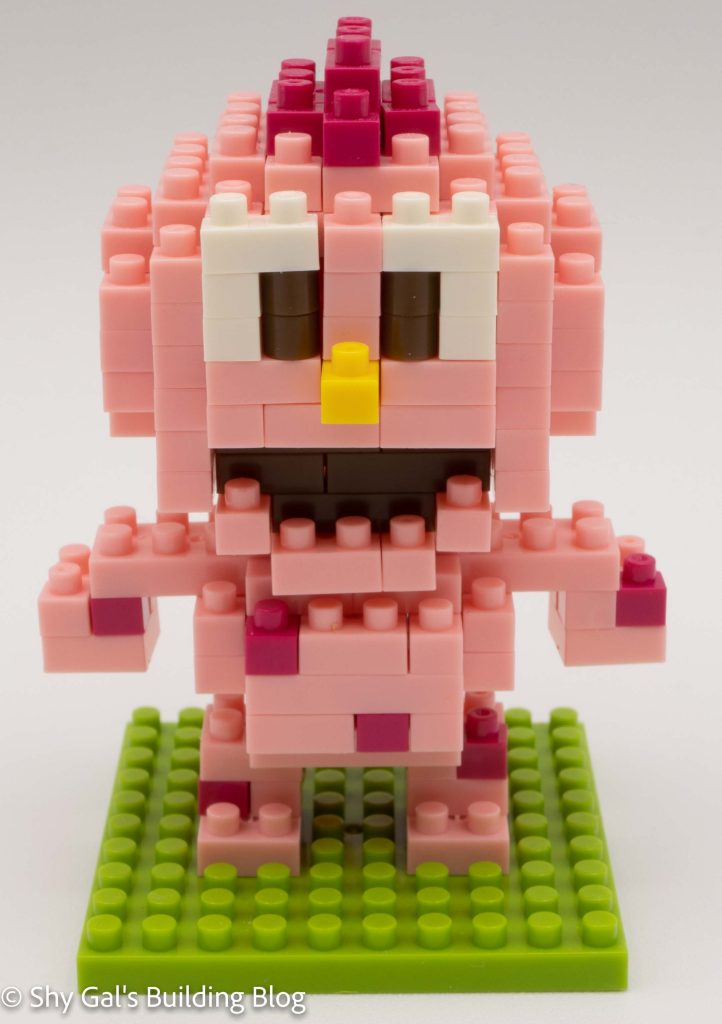
Moppy is a muppet that was created especially for Universal Studios Japan. He is a light pink furry muppet with dark pink spots and what appears to be pink hair. For more information about this little-known muppet, check out Muppet Wiki.

This nanoblock set would have originally only been available at Universal Studios Japan, so I had to get it on eBay. I mainly got this set to have a complete set for Sesame Street Universal Studios Japan.

Moppy front view

Moppy is broken up into 3 different builds. There is the head, body, and feet on a base. This build has several random dark pink spots representing the dark pink spots Moppy has. The feet are the most straightforward feature, 3 layers of each foot on a 10×10 base.

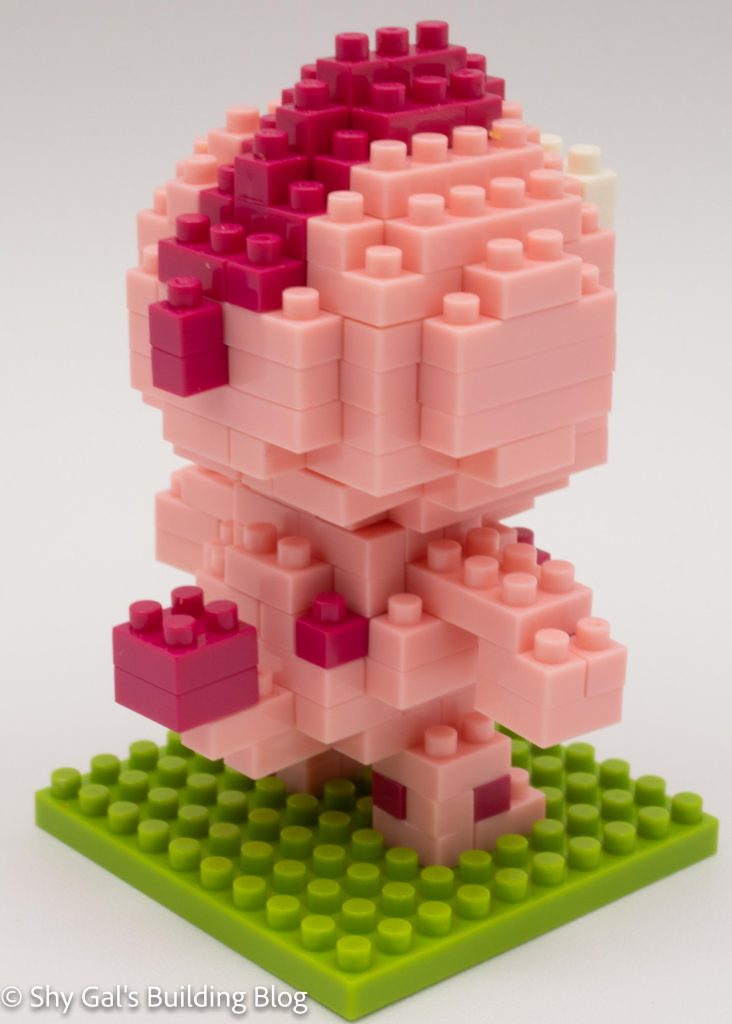
The second build for this muppet is the body. You start with a base layer of bricks and build up the body in layers. There is a pair of 2×2 bricks that create a tail puff. The top of the body is a little tricky at the top layers. This is because of the arms hanging off the body that you add.

The final part you get to build is the head. The head begins with a base layer and builds up to create a sphere. In addition to the pink spots, you add the eyes, nose, and pink hair.

Moppy 3/4 back view

Things I liked:

  • The detail of adding the tail puff

Things I didn’t like:

  • Doesn’t really capture the muppet’s cuteness

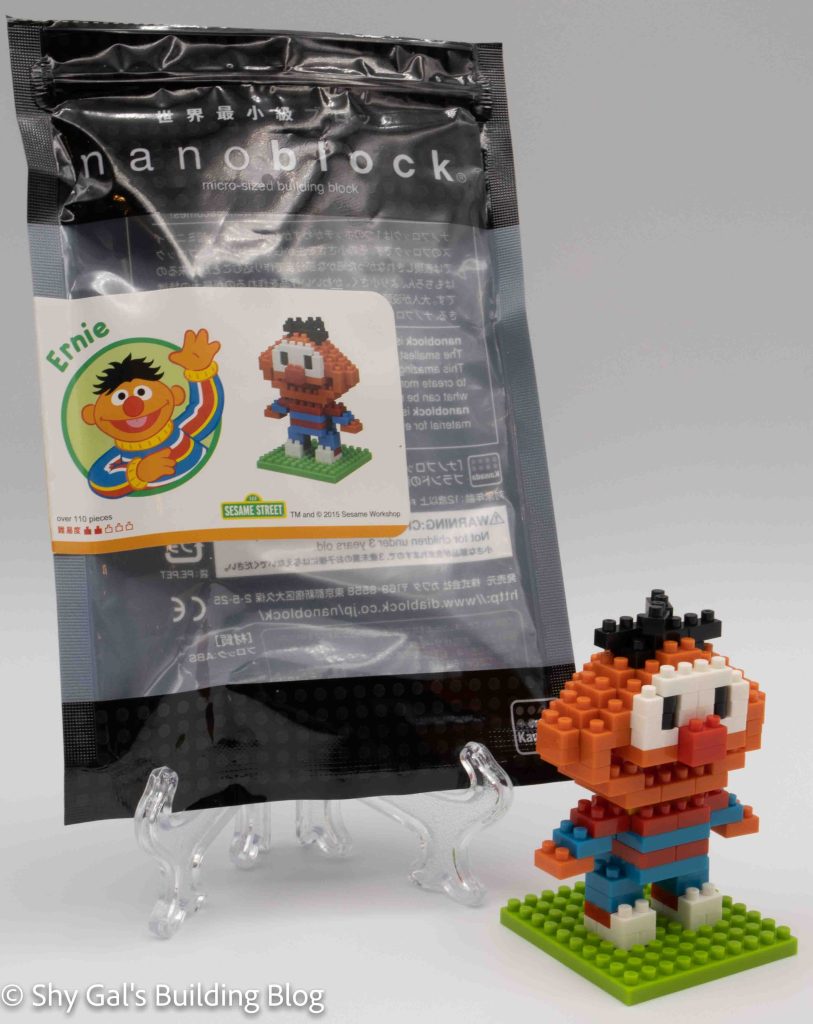
Review of Nanoblock Ernie

Ernie build and packaging

This post is a review of the nanoblock Ernie build. Ernie is one of the Universal Studios Japan (USJ) nanoblock kits. Wondering what else is part of the USJ builds collection? Click here for a list.

Number of Pieces: 110

Difficulty Rating: 2/5

Ernie is one of the muppets that live on Sesame Street. He lives with Bert and constantly annoys him. Ernie is always connected with rubber ducks because of his friend Rubber Ducky.

This set would have originally only been available at Universal Studios Japan, so I had to get it on eBay.

Ernie front view

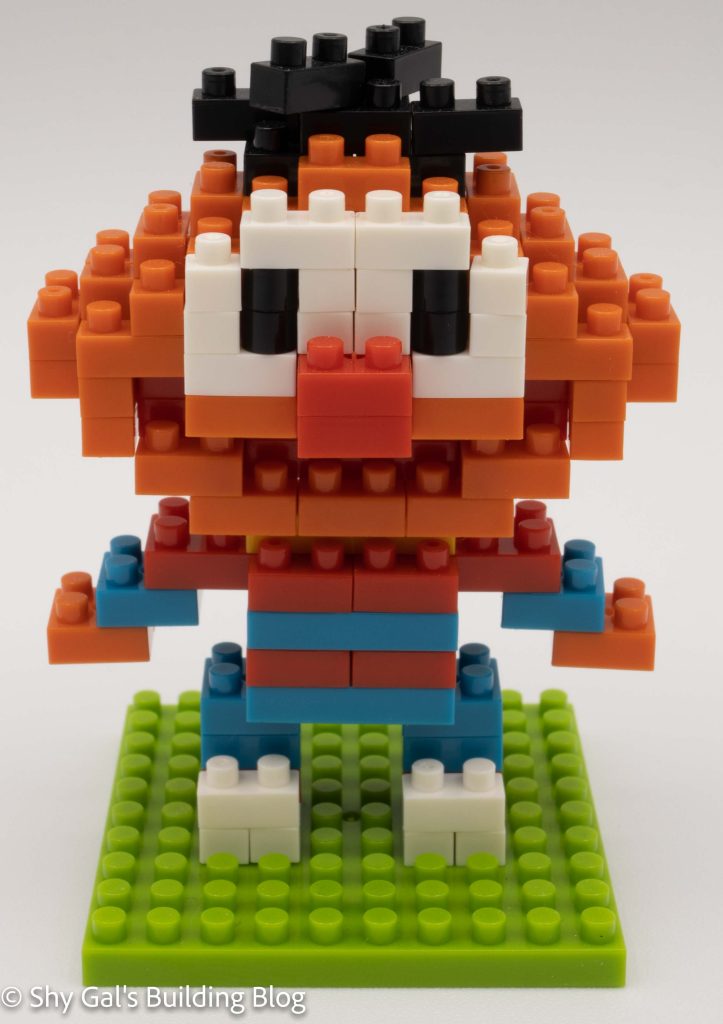
This nanoblock build is broken into 2 parts, the head, and the body. The body begins by building the white sneakers on a 10×10 base. Next, you build up the blue pants by adding layers of bricks. Then you add the stripy shirt with a yellow shirt collar. You also add the arms, which expands the stripes and the hands.

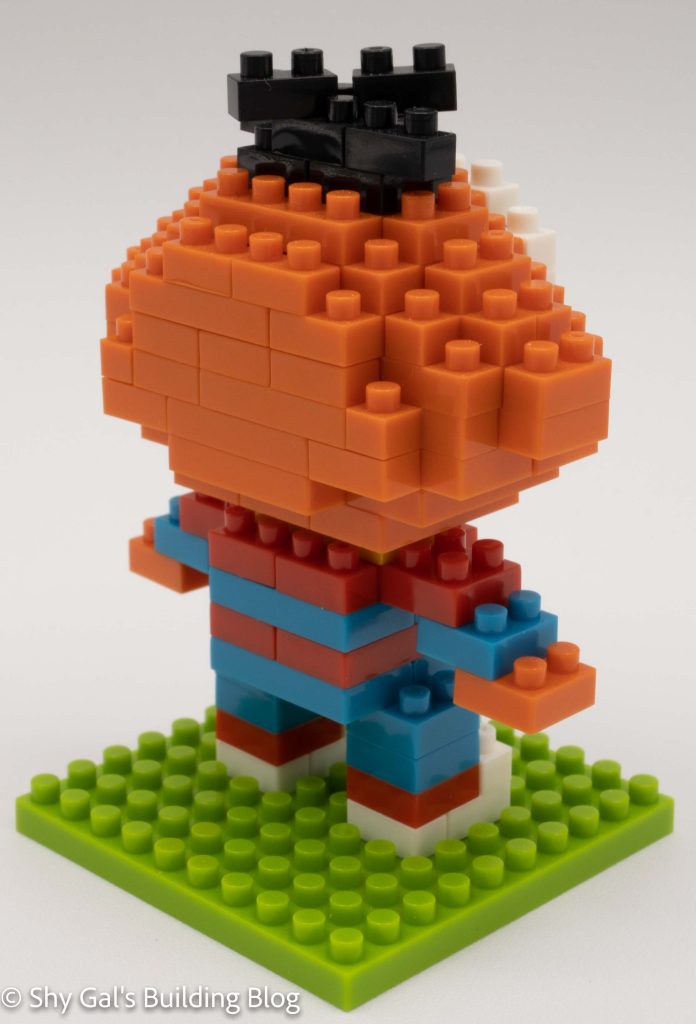
Then it is time to build the head. You begin with a base layer of bricks. Next, you add on more layers of bricks. By adding these bricks, you will create the inset mouth. Continue adding layers until you close up the head. Once you close the head, the final step is to add Ernie’s messy hair.

Ernie 3/4 Back View

Things I liked:

  • The messy hair detail
  • The fact they kept his striped shirt

Review of nanoblock Bert

Bert build and packaging

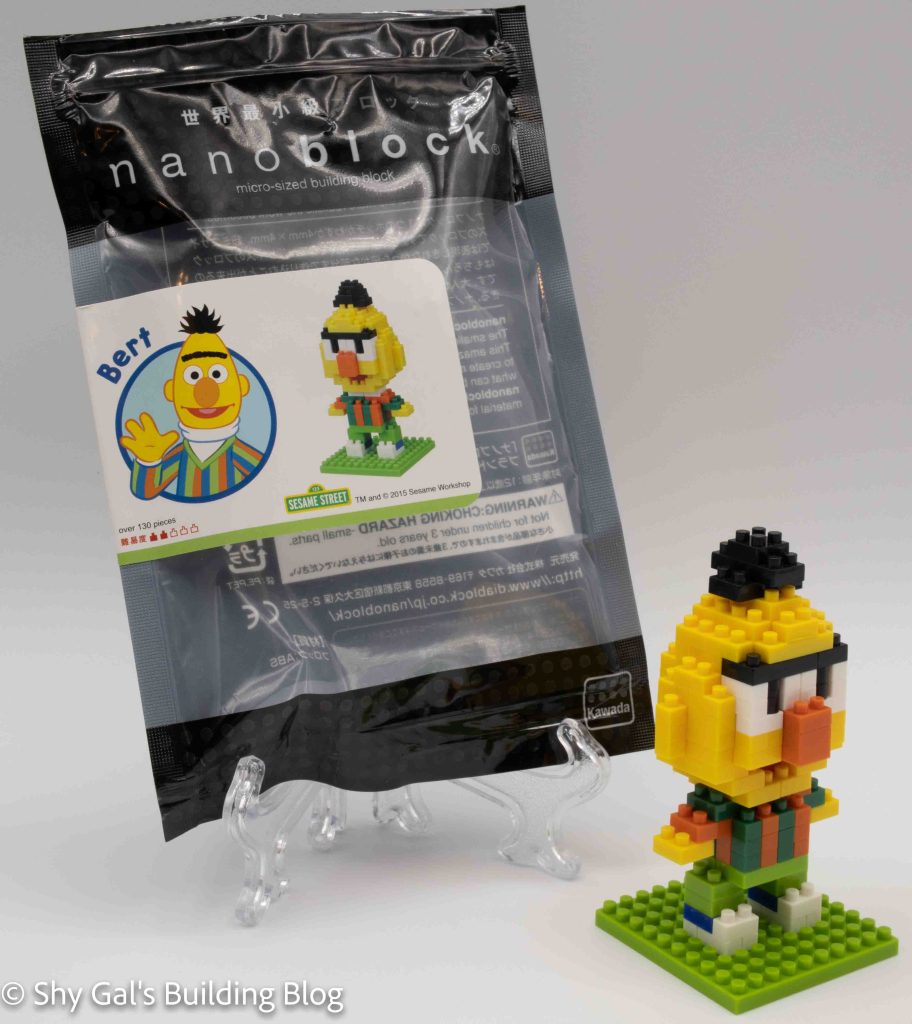
This post is a review of the nanoblock Bert build. Bert is one of the Universal Studios Japan (USJ) nanoblock kits. Wondering what else is part of the USJ builds collection? Click here for a list.

Number of Pieces: 130

Difficulty Rating: 2/5

Bert is one of the muppets that live on Sesame Street. He likes paperclips and pigeons. Bert lives with the overly energetic Ernie and is regularly annoyed by Ernie.

This nanoblock set would have originally only been available at Universal Studios Japan, so I had to get it on eBay.

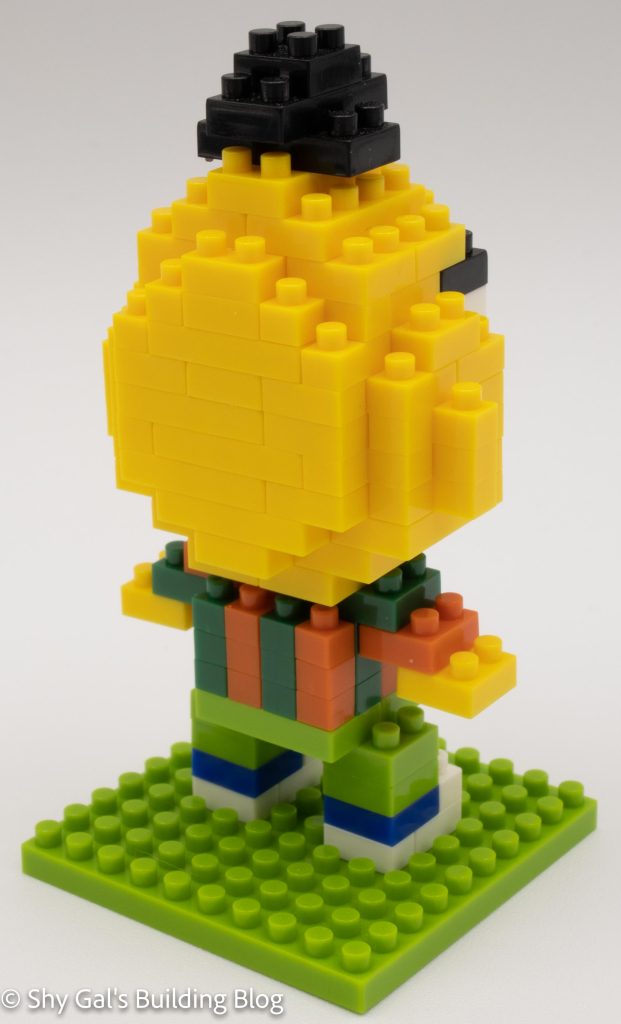
Bert Front View

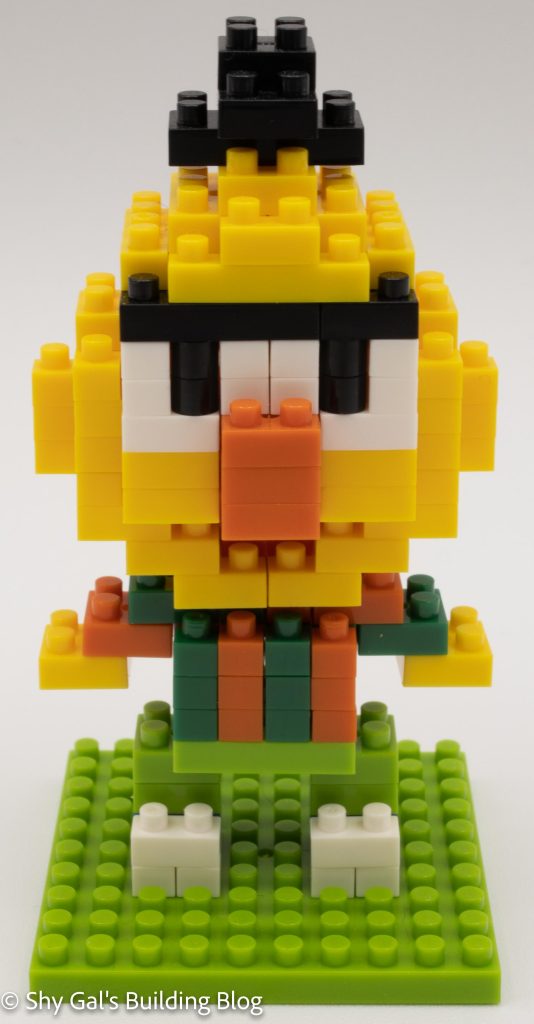
There are 2 parts to this build: the head and the body. Bert’s body begins by putting shoes on a 10×10 green base. Next, you layer up the legs using just green bricks. Then you build the striped shirt out of orange and dark green bricks. The final step of the body build is to attach the arms and hands.

After you finish the body, you need to build Bert’s head. The head starts with a base of yellow bricks. You then build up layers creating an inset mouth. After making the mouth, you go directly to Bert’s massive nose in the next layer. You continue adding layers and details like eyes until you reach the top of the yellow head. The last step for this build is to add the hair, which is basically a pyramid stacked on the top. Now that you have the completed head attach it to the body and have a completed build.

Bert 3/4 Back View

Things I liked:

  • The detail of the stripy shirt

Things I didn’t like:

  • The pyramid of hair

Review of nanoblock Elmo

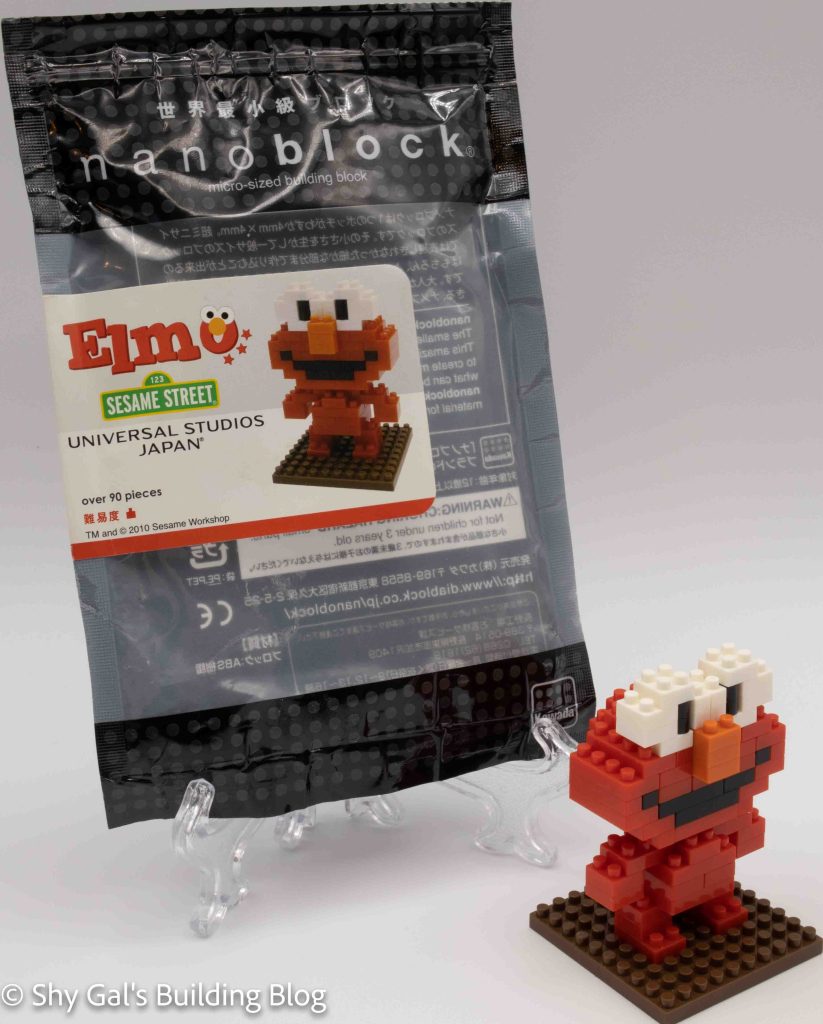
Elmo build and bag

This post is a review of the nanoblock Elmo build. Elmo is one of the Universal Studios Japan (USJ) nanoblock kits. Wondering what else is part of the USJ builds collection? Click here for a list.

Number of Pieces: 90

Difficulty Rating: 1/5

Elmo is a muppet monster that lives with his parents on Sesame Street. He is a very curious little monster.

This nanoblock set would have originally only been available at Universal Studios Japan, so I had to get it on eBay.

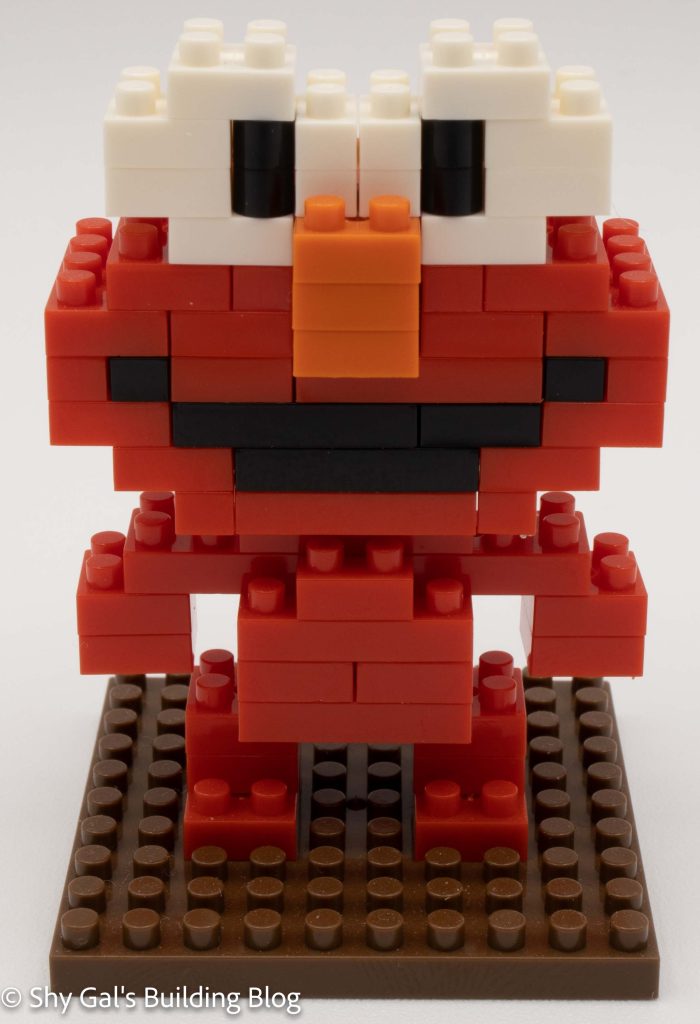
Elmo Front View

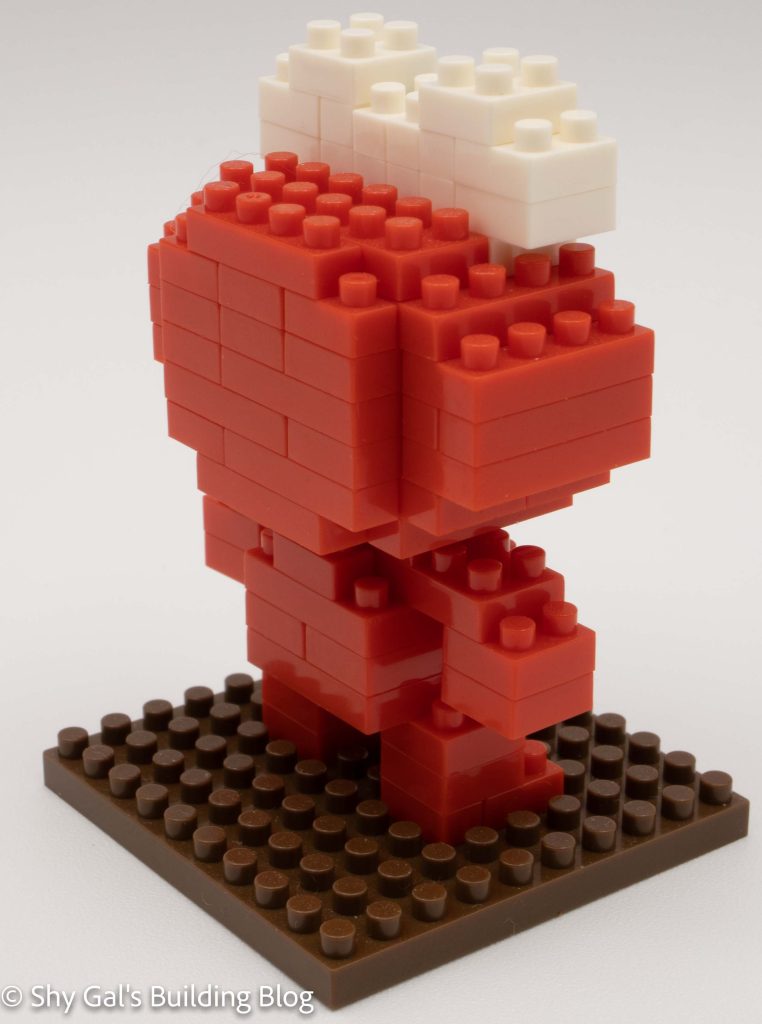
This build is broken into 2 parts: a body and a head. Elmo stands on a brown 10×10 base. The first step is to add the feet to the base. After adding the feet, you add the legs and the torso to the bottom. Then you add the little arms and lock the arms to the body with a brick.

Once you have completed the body, it’s time to move on to the head. The head starts with a base of red bricks. You then build the head up in layers. Unlike the other Sesame Street builds, the mouth isn’t inset and is flat with the rest of the mouth. So you simply build up the head by adding layers. They add the details of the mouth, nose, and eyes.

Elmo 3/4 Back View

Things I liked:

  • Simple build
  • Unique base from the other Sesame Street