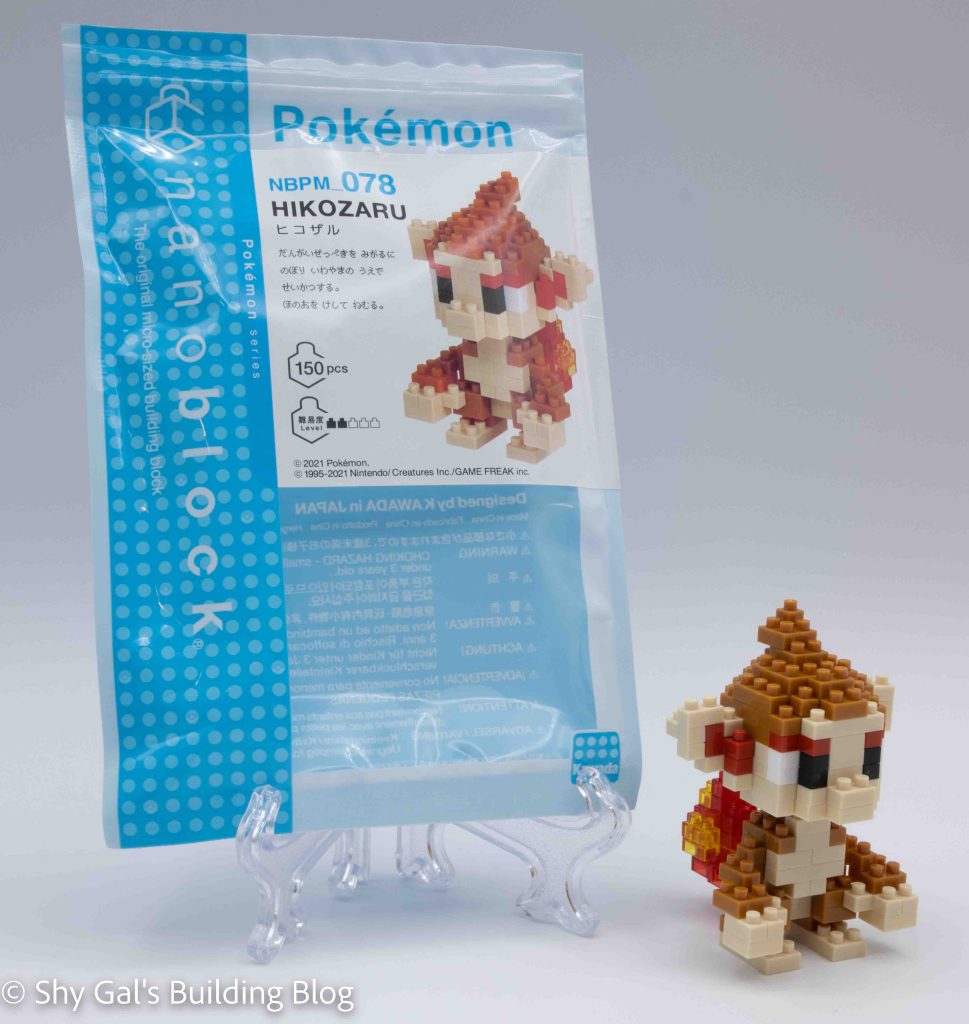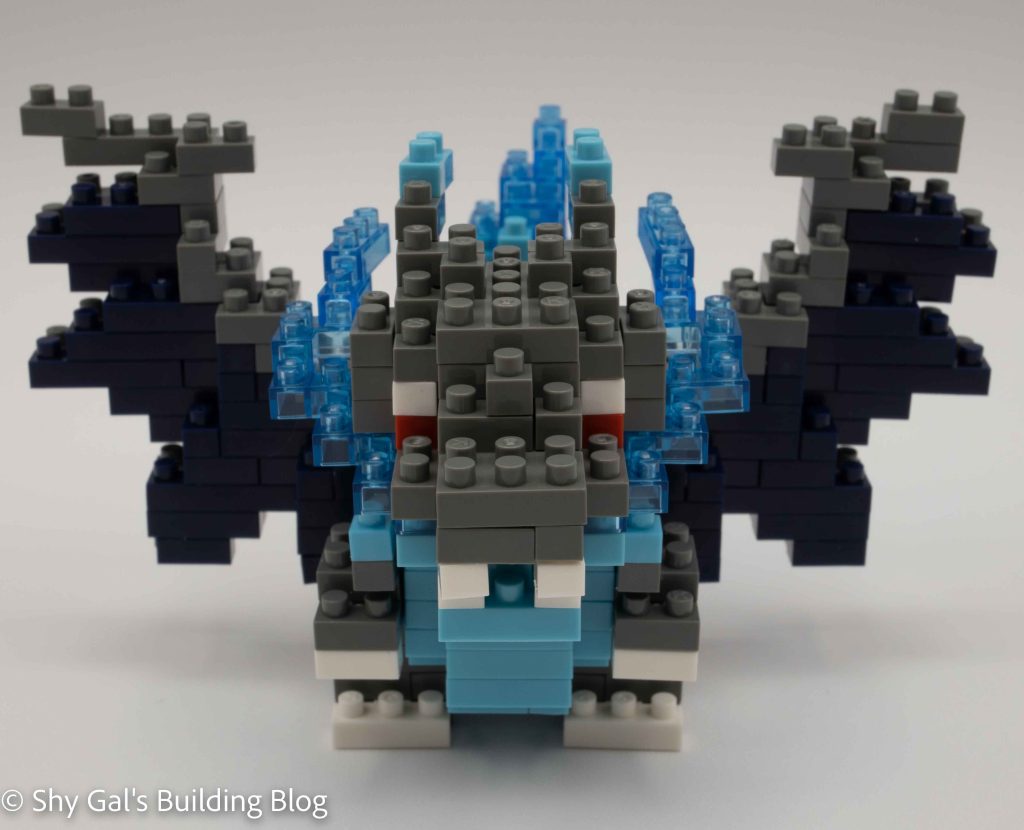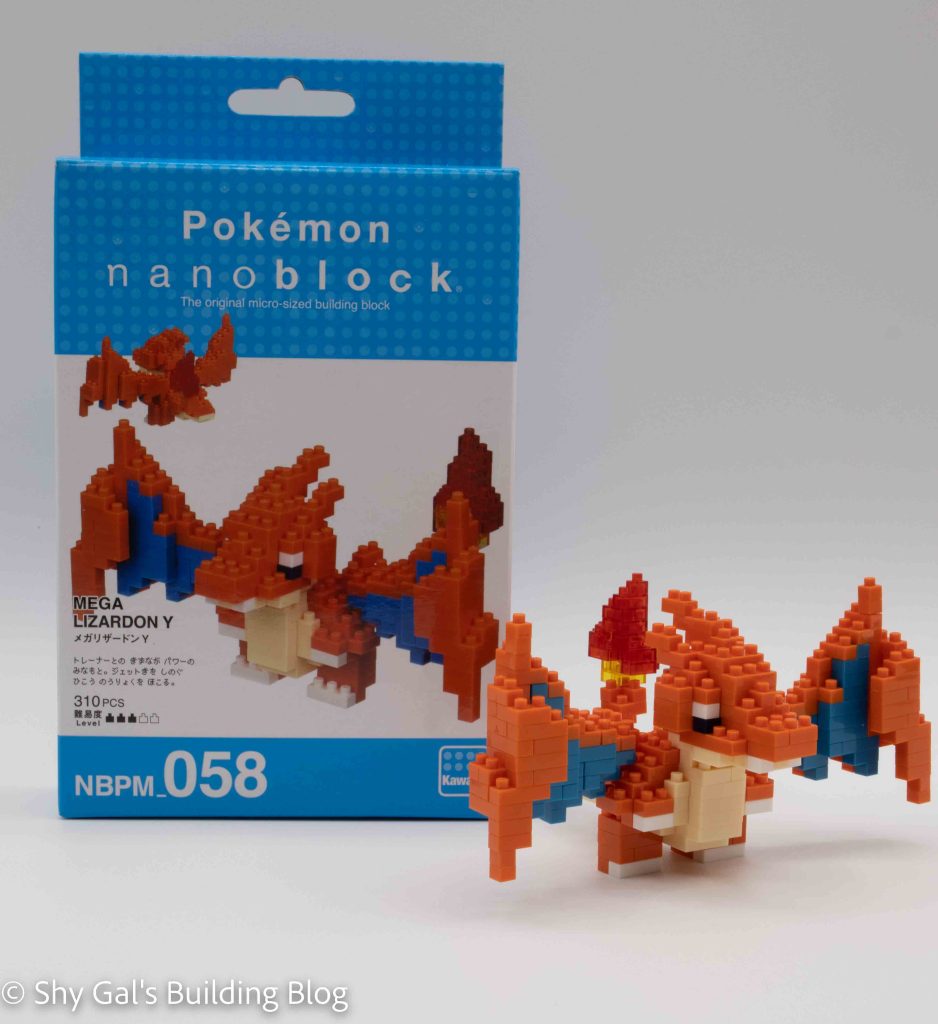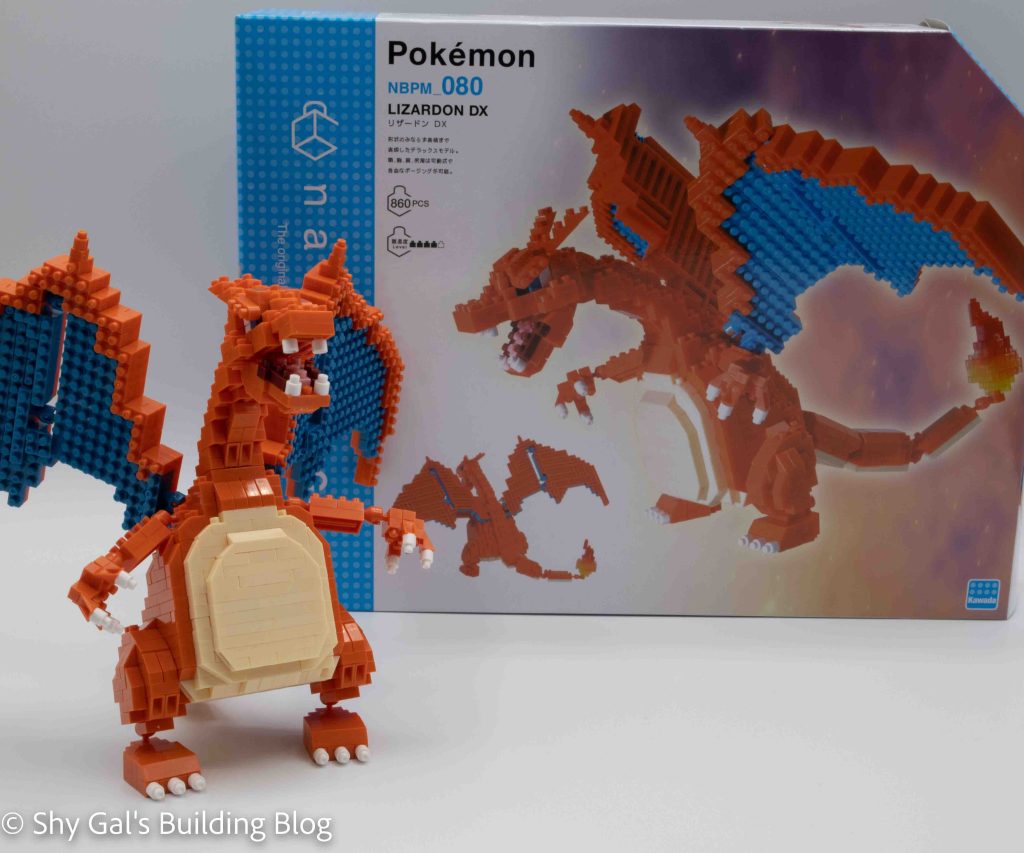
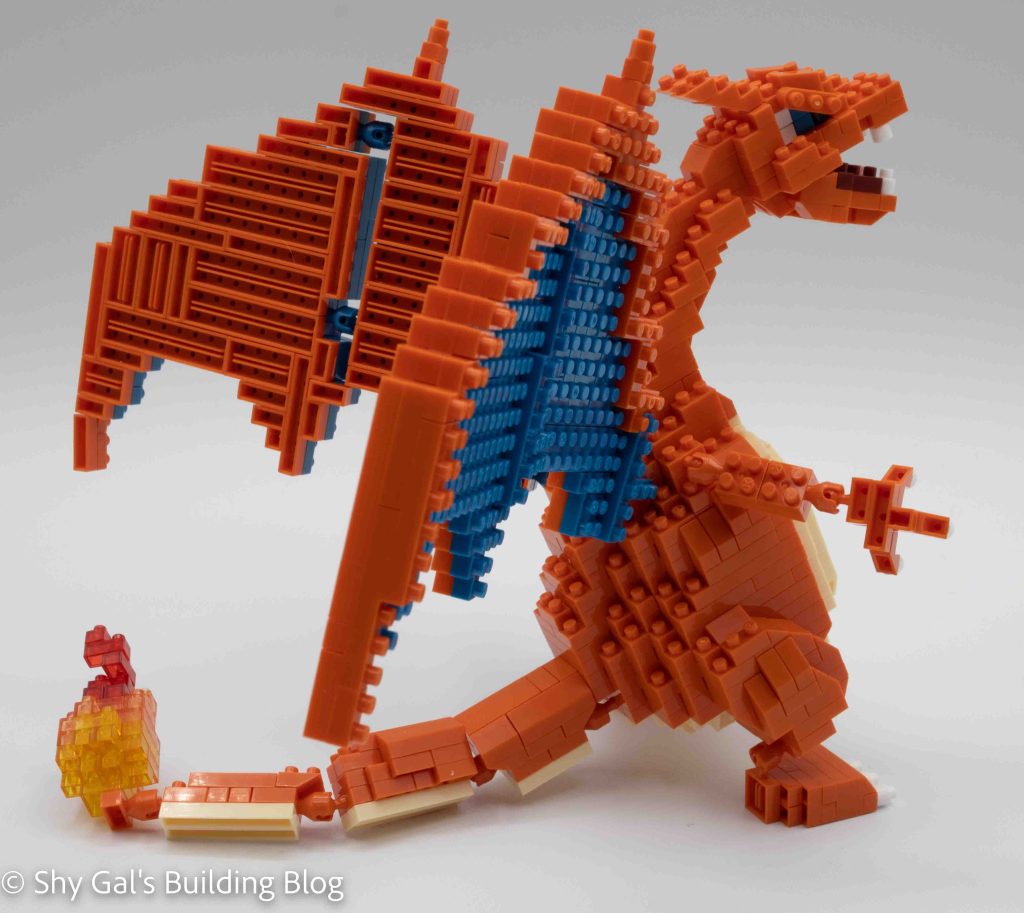
This post is a review of the nanoblock Charizard DX build. Charizard DX is part of the nanoblock Pokemon collection. Wondering what else is part of the Pokemon Collection? Click Here for a list.
Names:
- English: Charizard DX
- Japanese: Lizardon DX
Number: NBPM_080
Number of Pieces: 860
Difficulty Rating: 4/5
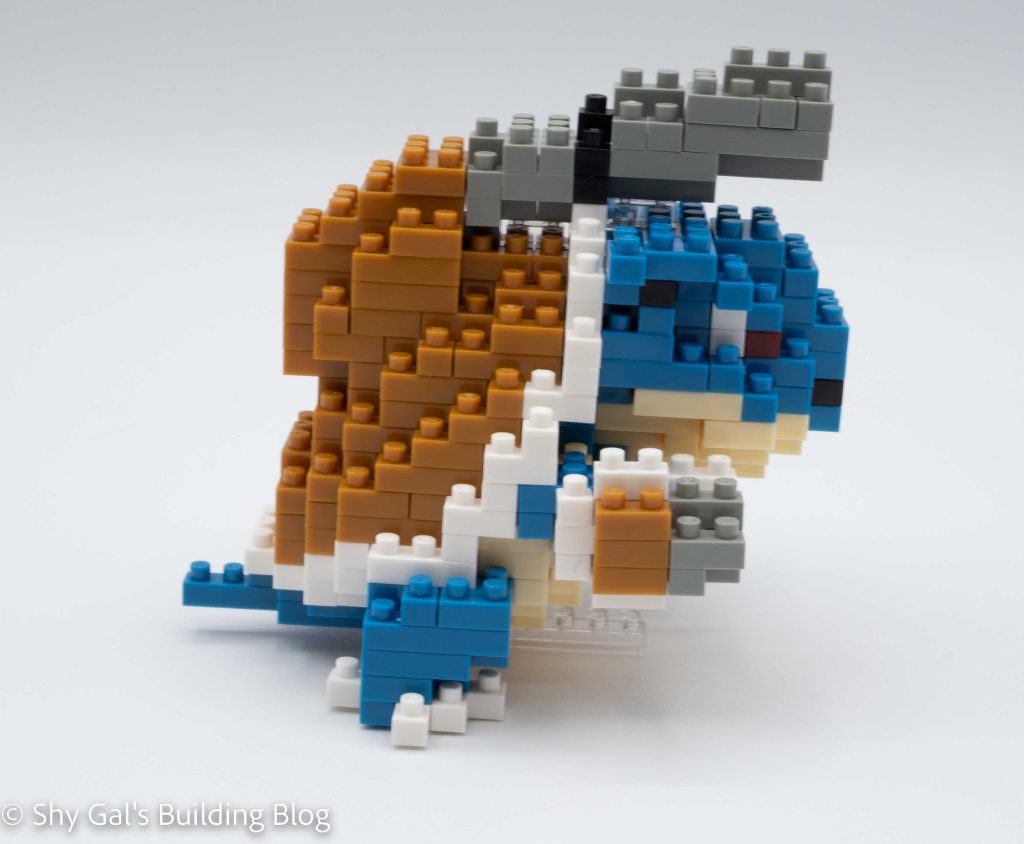
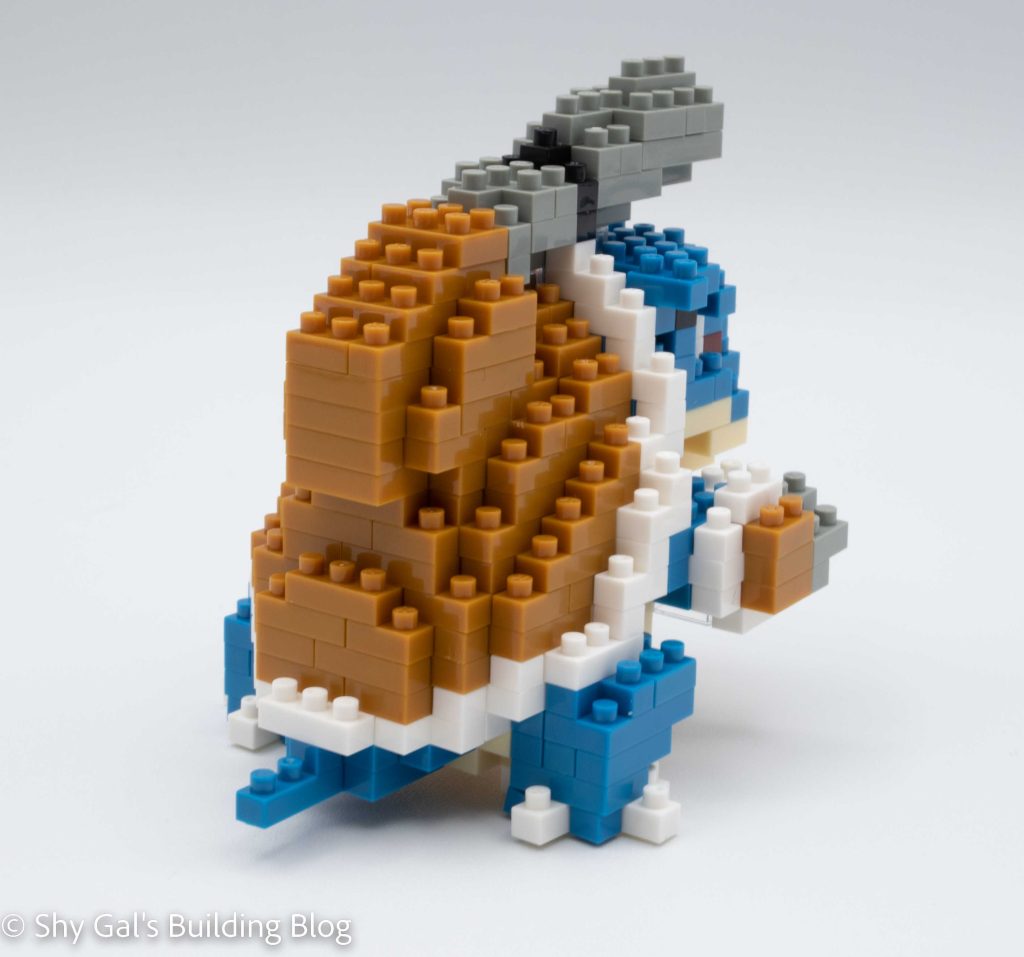
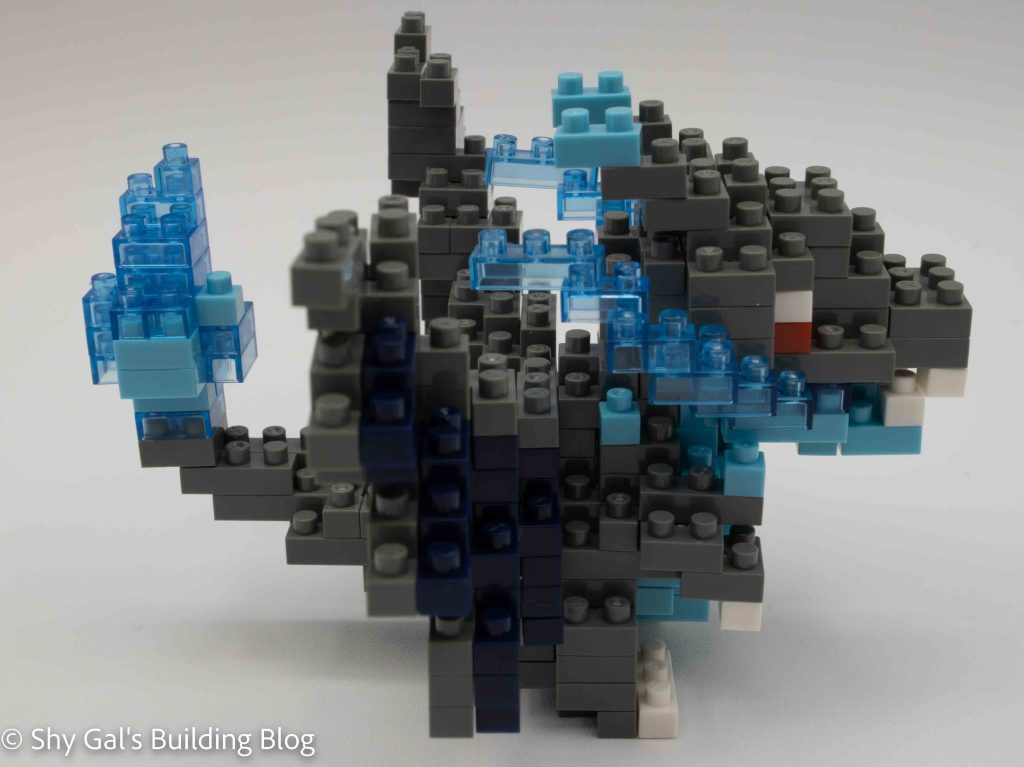
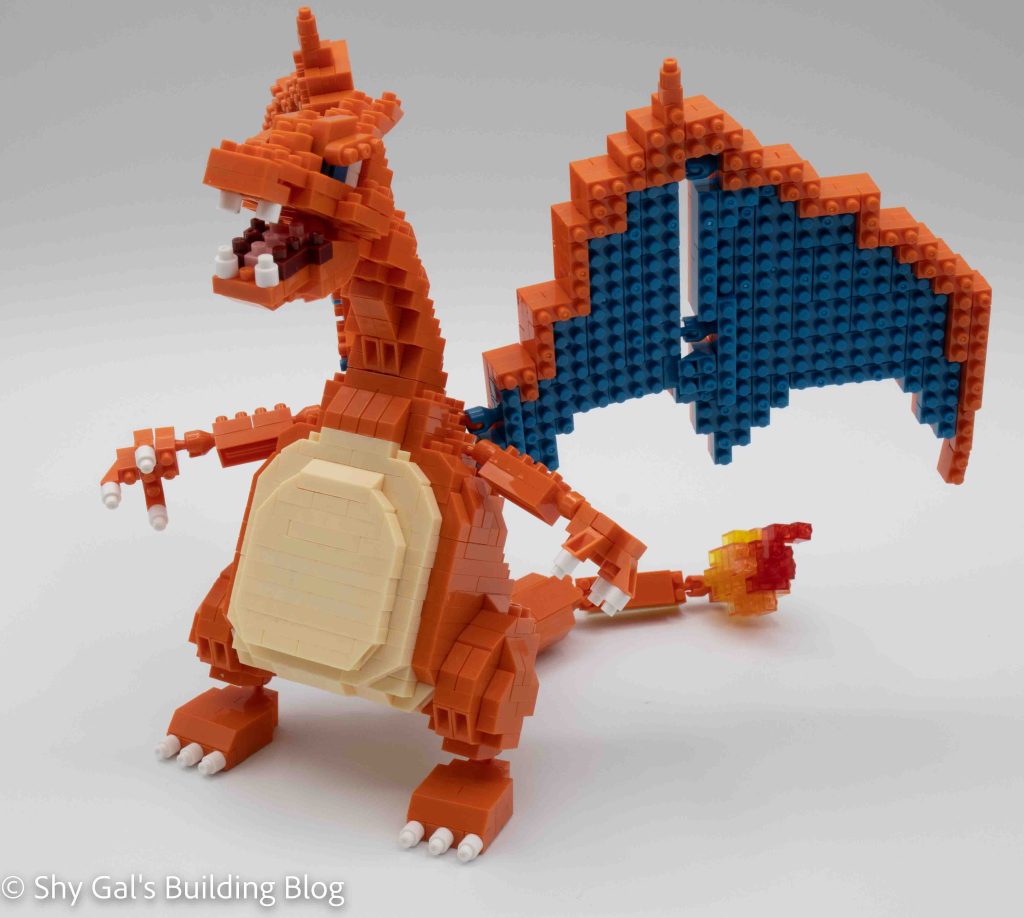
This is the deluxe build for Charizard. It has a lot more detail than the original Charizard build. It is a much larger build made in pieces and held together with ball joints. I did the build over a few days, so I recommend having a safe place to leave the build spread out while you are working on it.
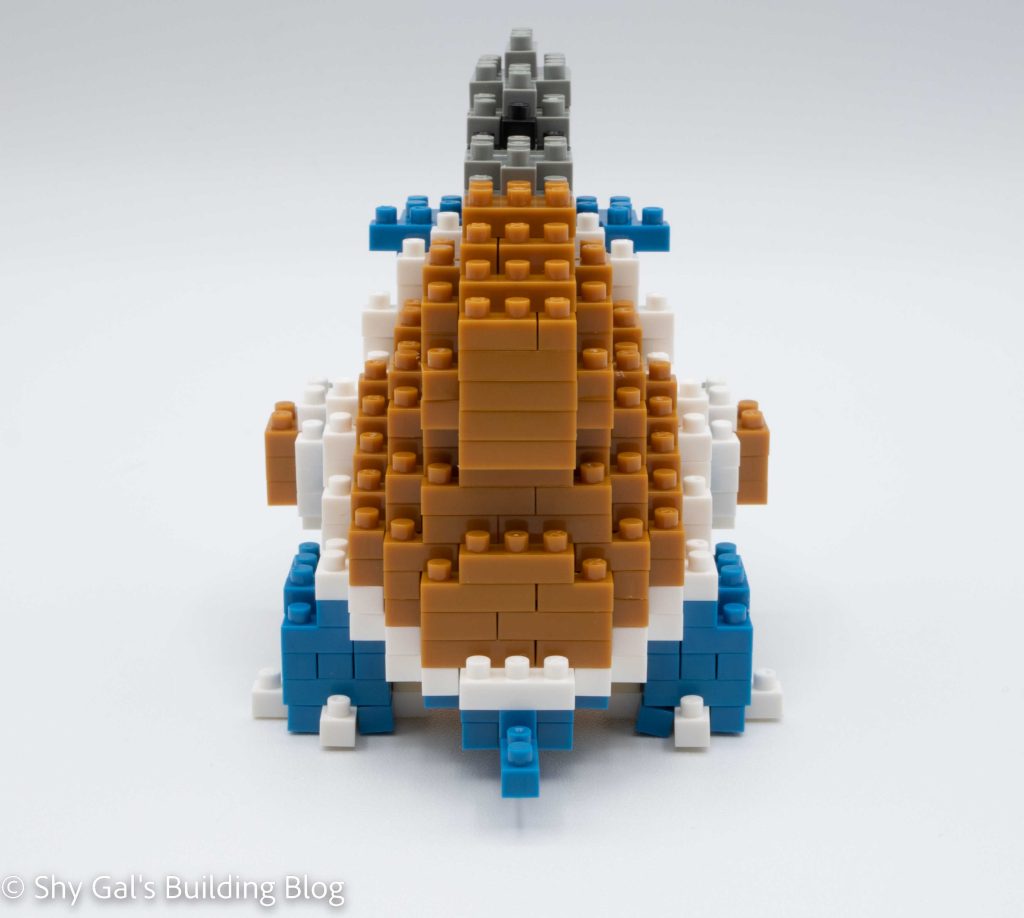
The nanoblock build begins by creating a base for the body. It takes about 6 steps to make the entire base of cream and orange bricks. You then continue the body by building up rings that get smaller until it closes the body. This build includes slanted pieces that I find stab my fingers when I push them into place.
The next step is to add the feet and arms via ball joints. The feet are built by stacking bricks to create a base to stand on. You attach the feet to a ball joint attached to the body. I had a hard time getting the ball joints lined up to stabilize the feet. You also build arms through a chain of ball joins. The hands are pretty fragile.
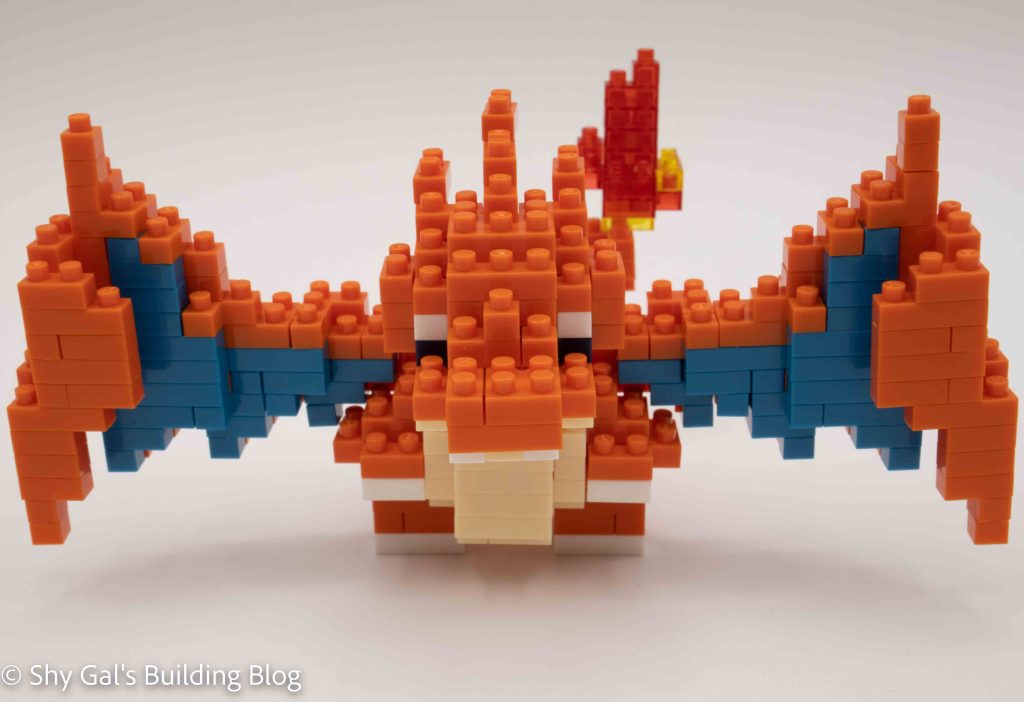
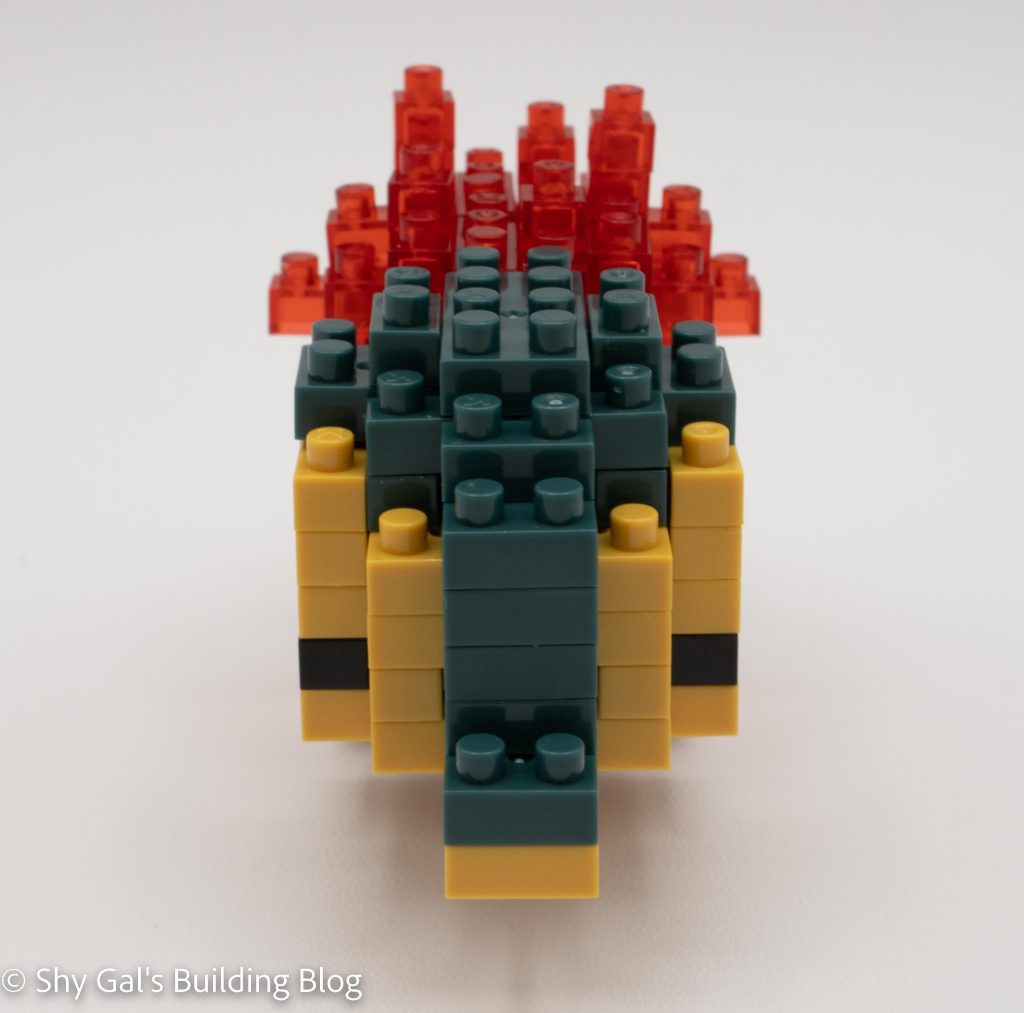
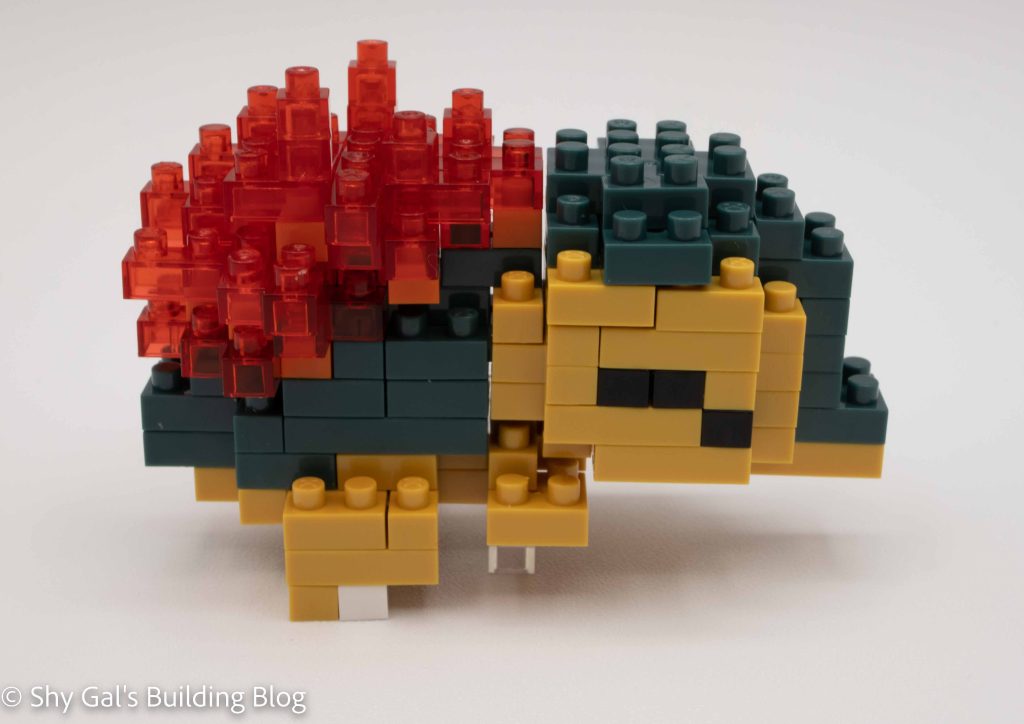
Now it is time to build the main section of the head. It is tricky because the head is generally only 3 bricks thick, so there isn’t much overlap, so it’s easy to push the bricks apart. The head is generally just building chunks of bricks onto other chunks until you have a completed head. When I attached the neck, I realized that I had attached the lower jaw in the wrong place, and the whole head fell apart when I moved it.
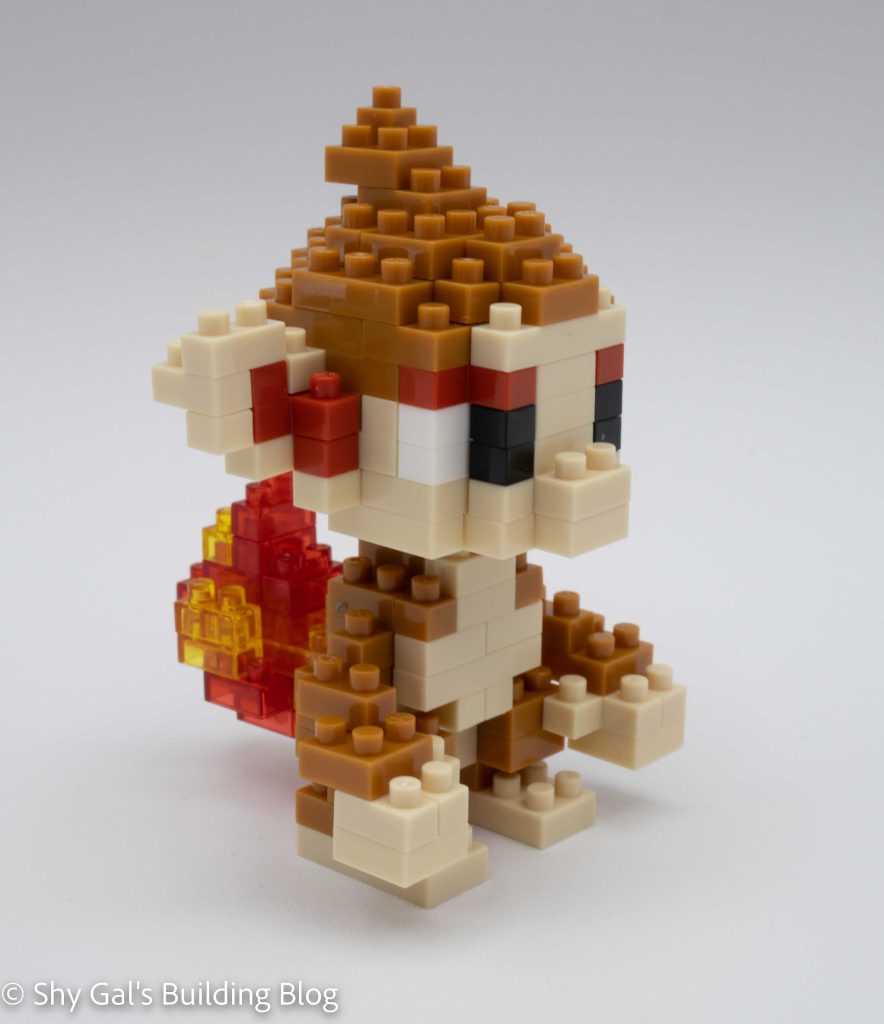
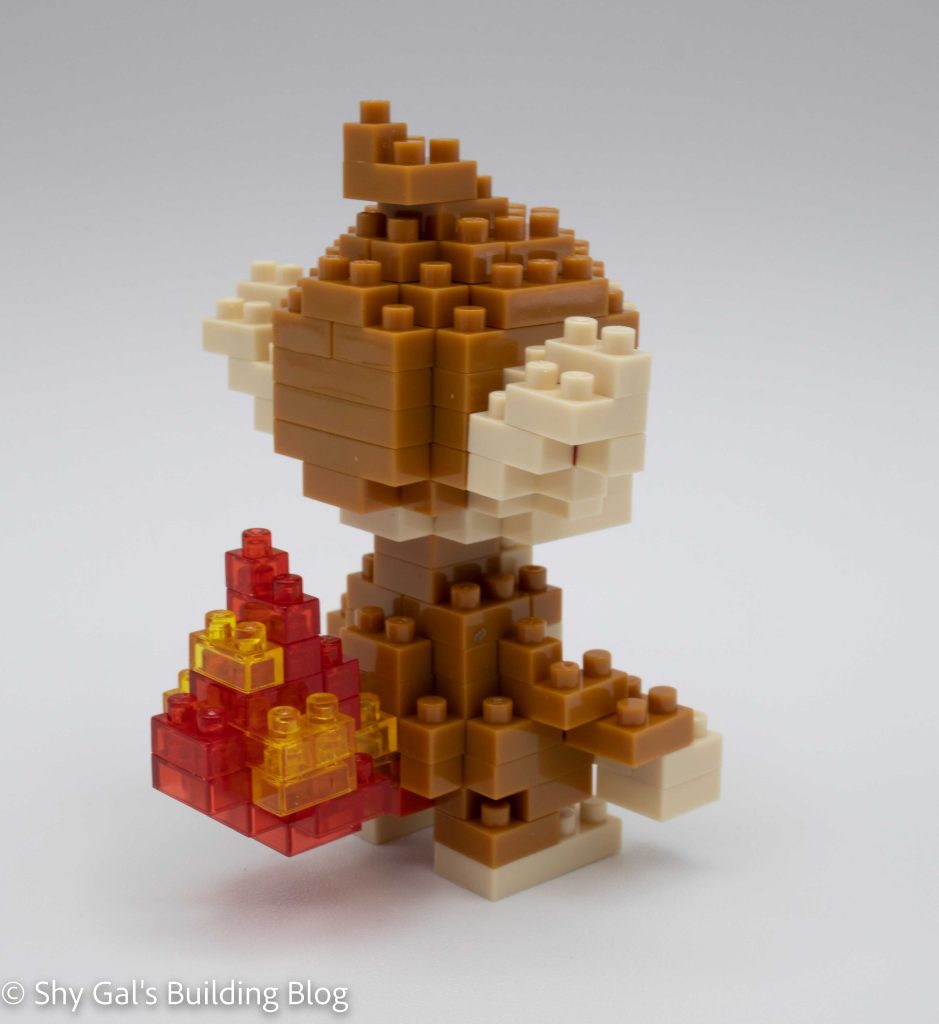
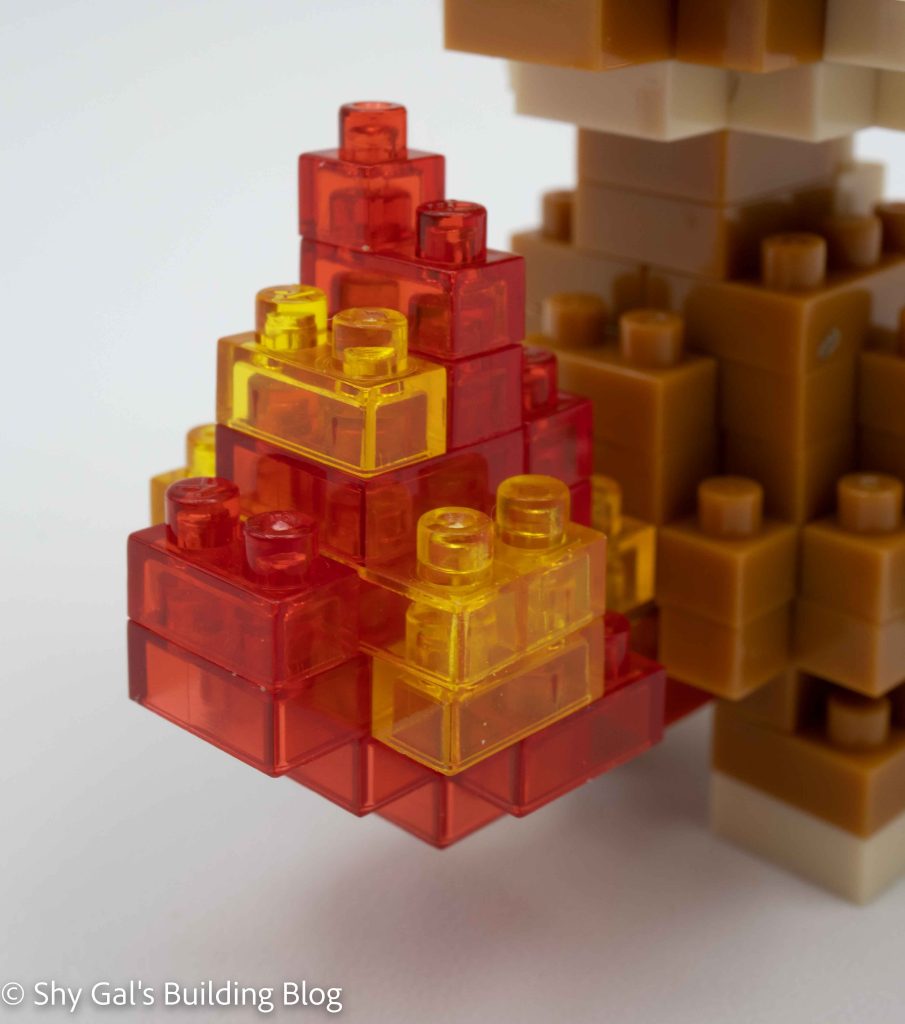
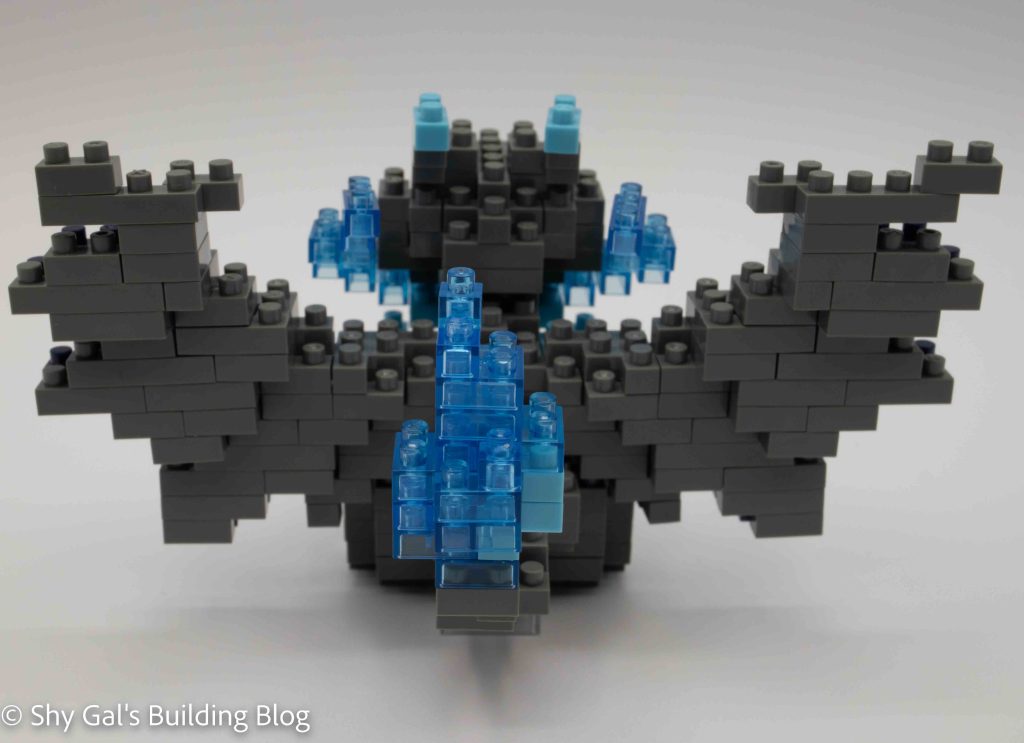
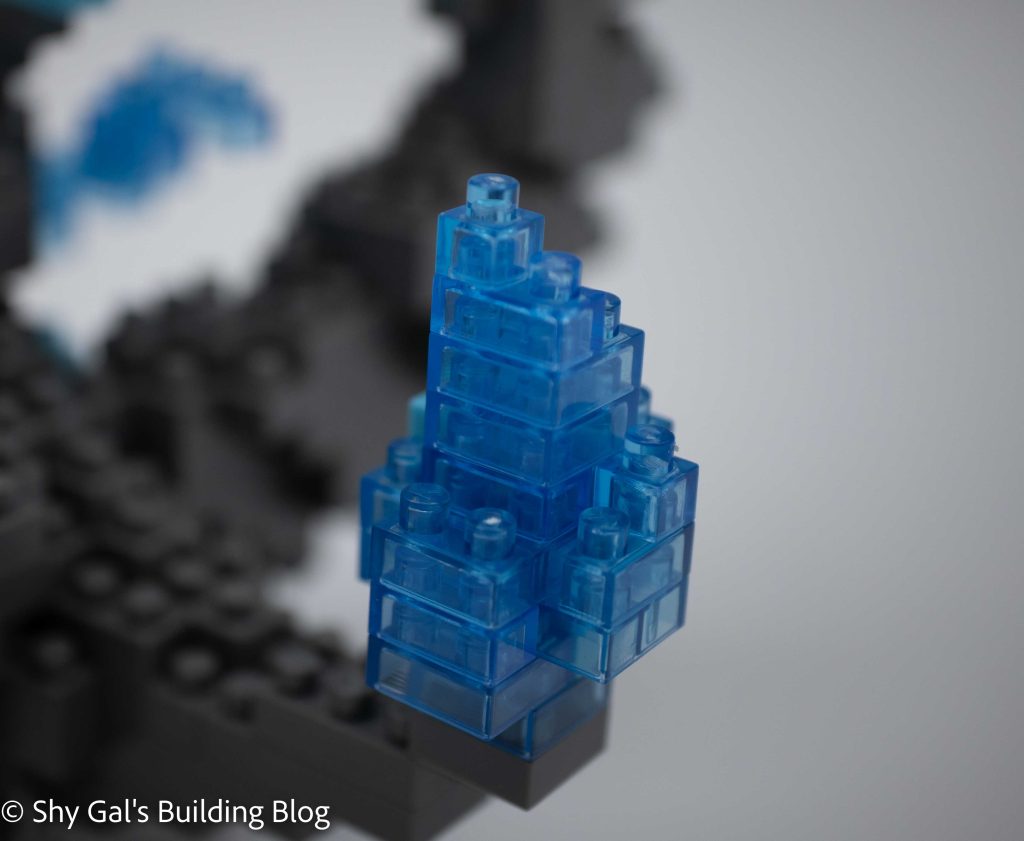
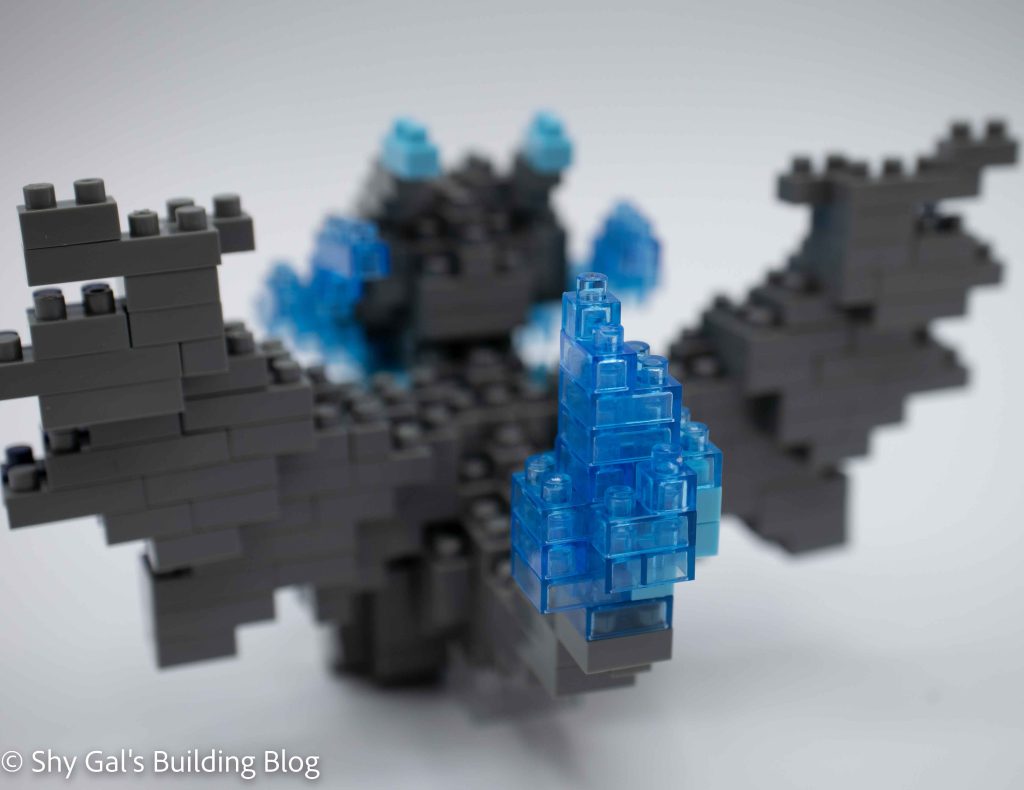
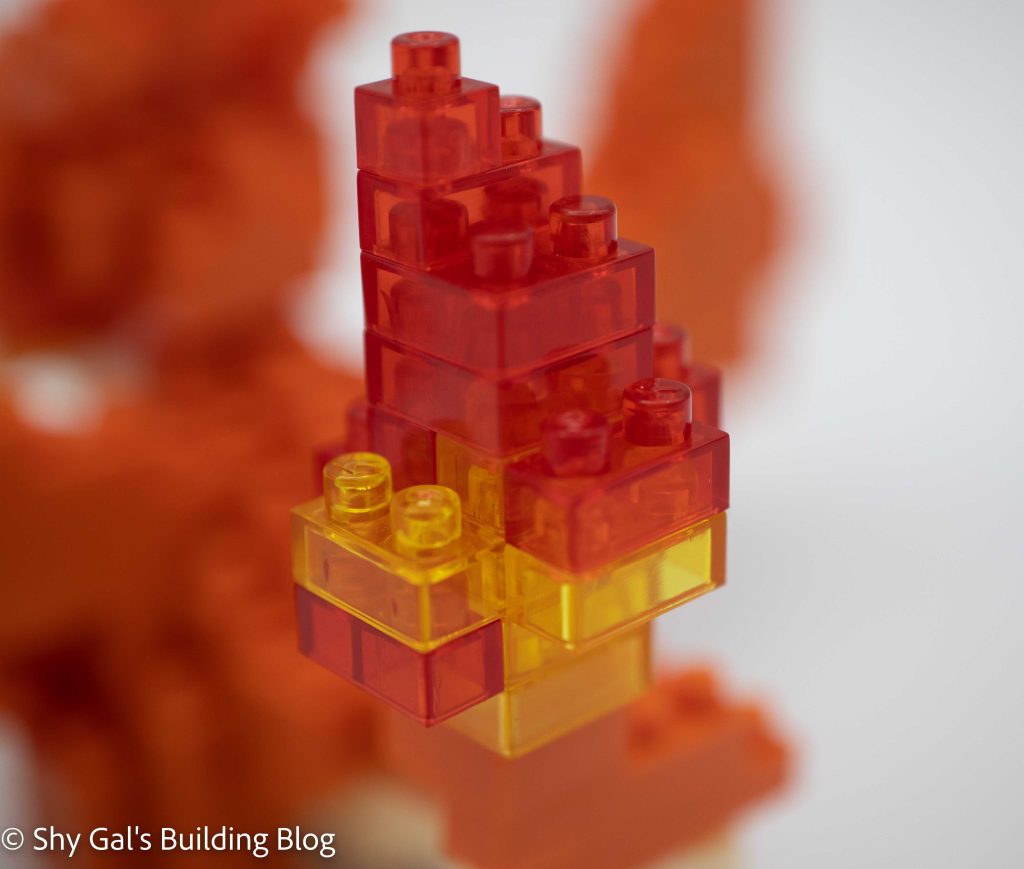
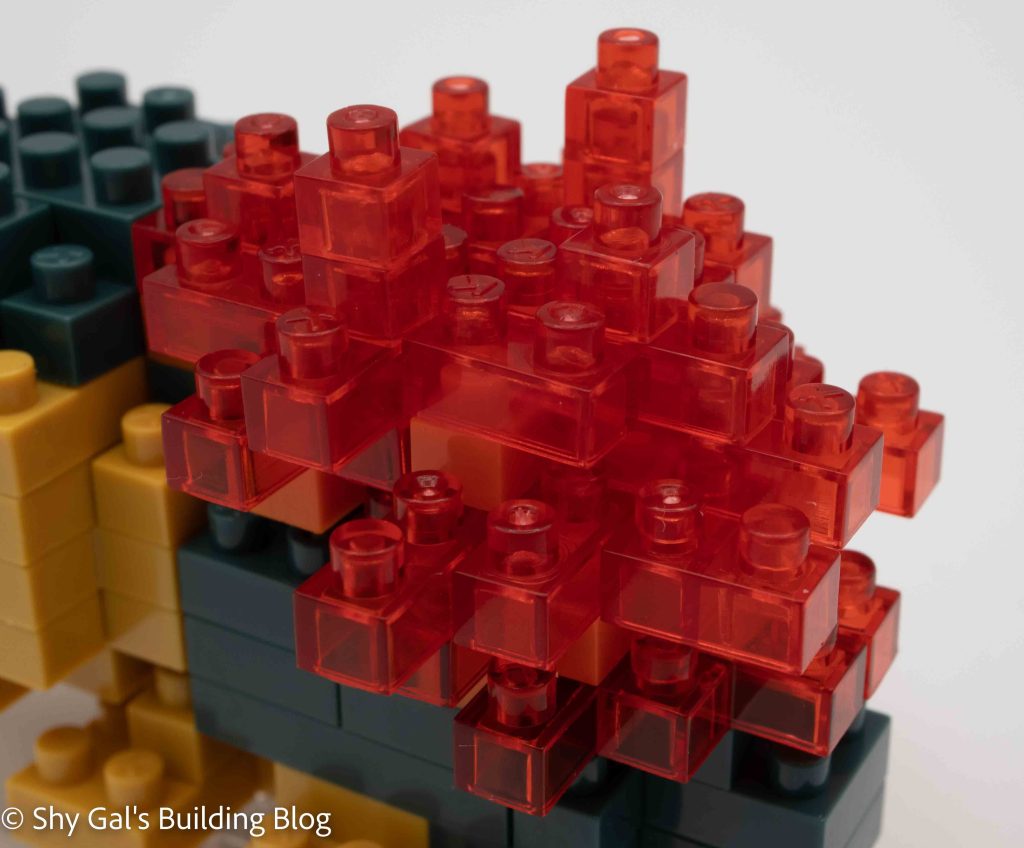
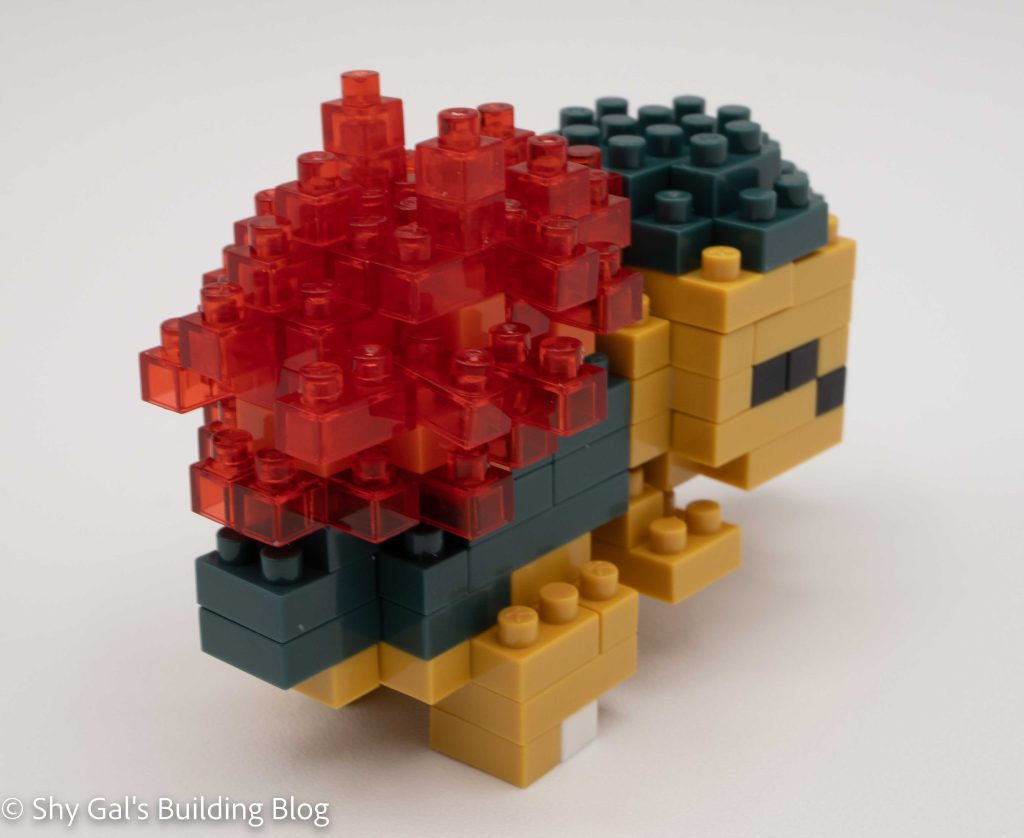
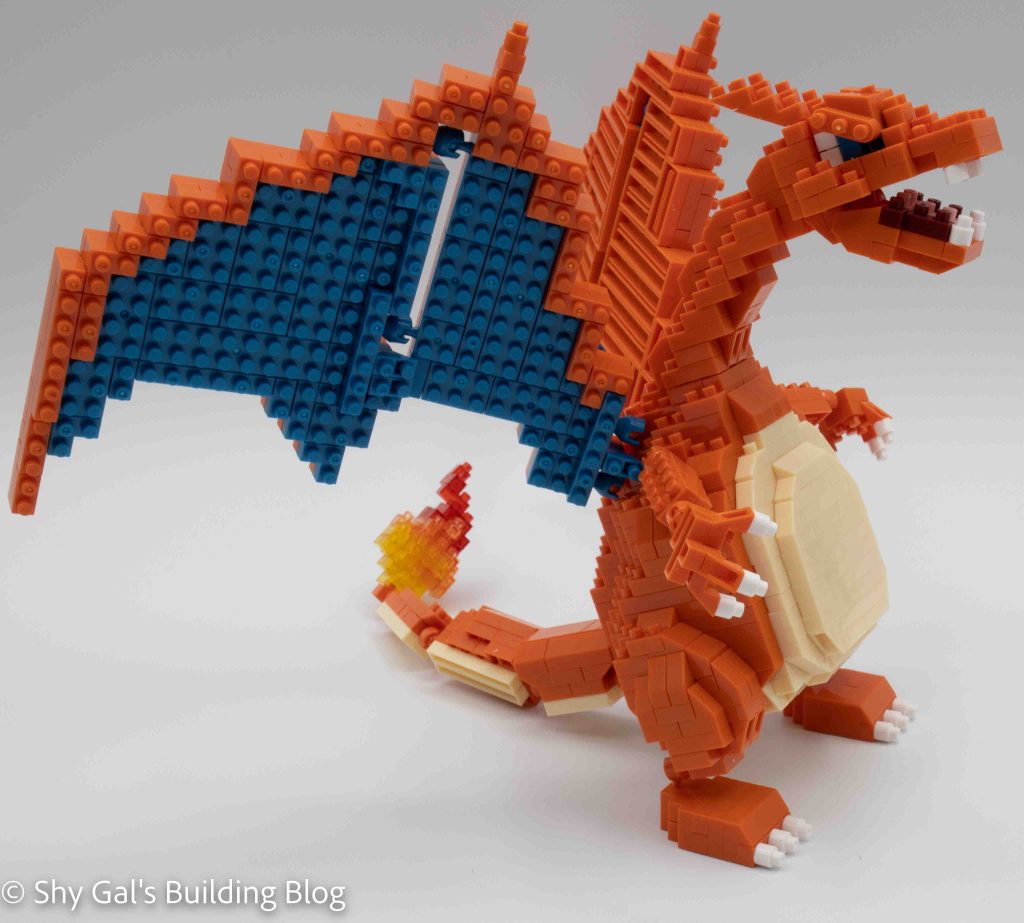
The following stages are to add the neck and tail. Both are very straightforward builds. The neck is a solid build that you eventually attach the head onto. The tail is a chain of bricks held together by ball joints. The tail includes the clear flame, which is a stack of clear bricks. As a warning, the tail likes to fall off the 1×2 brick that holds the flame.
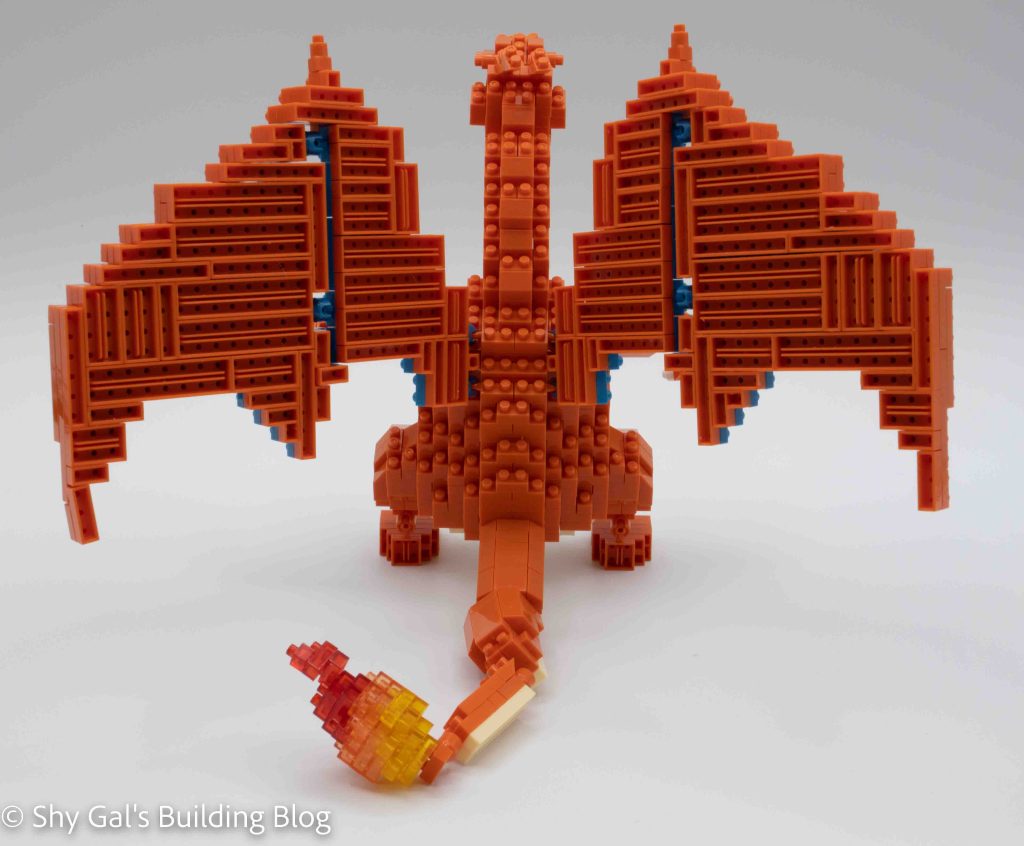
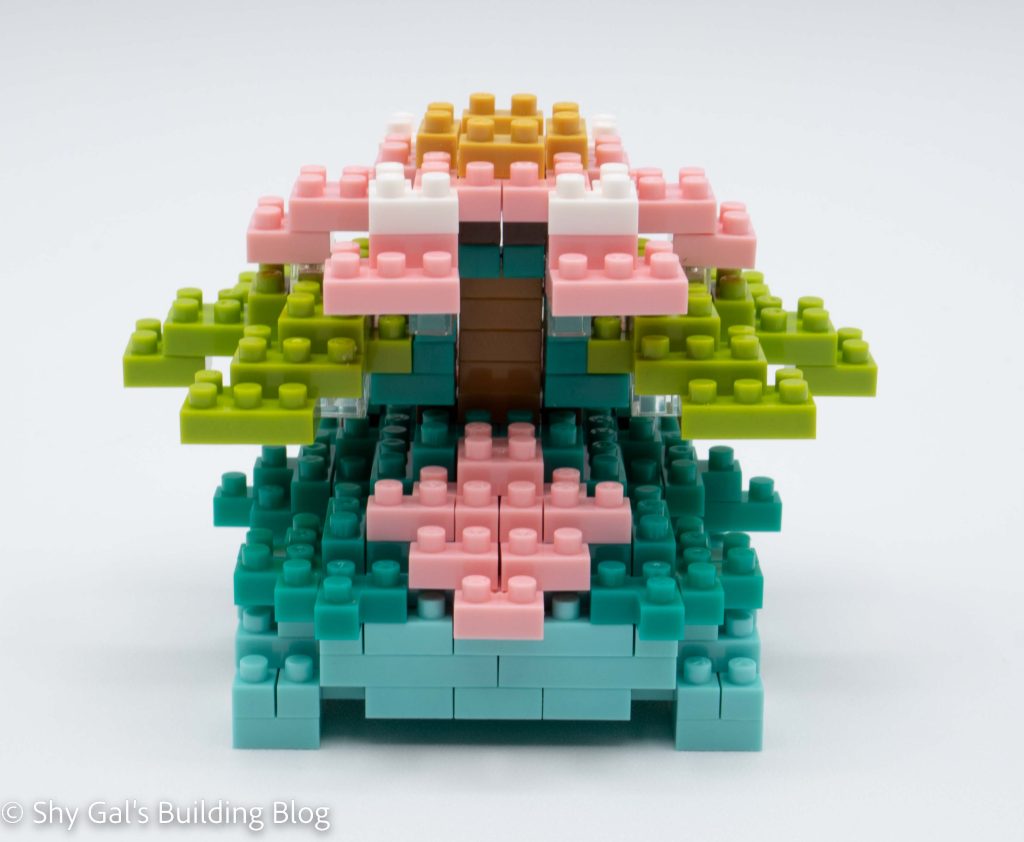
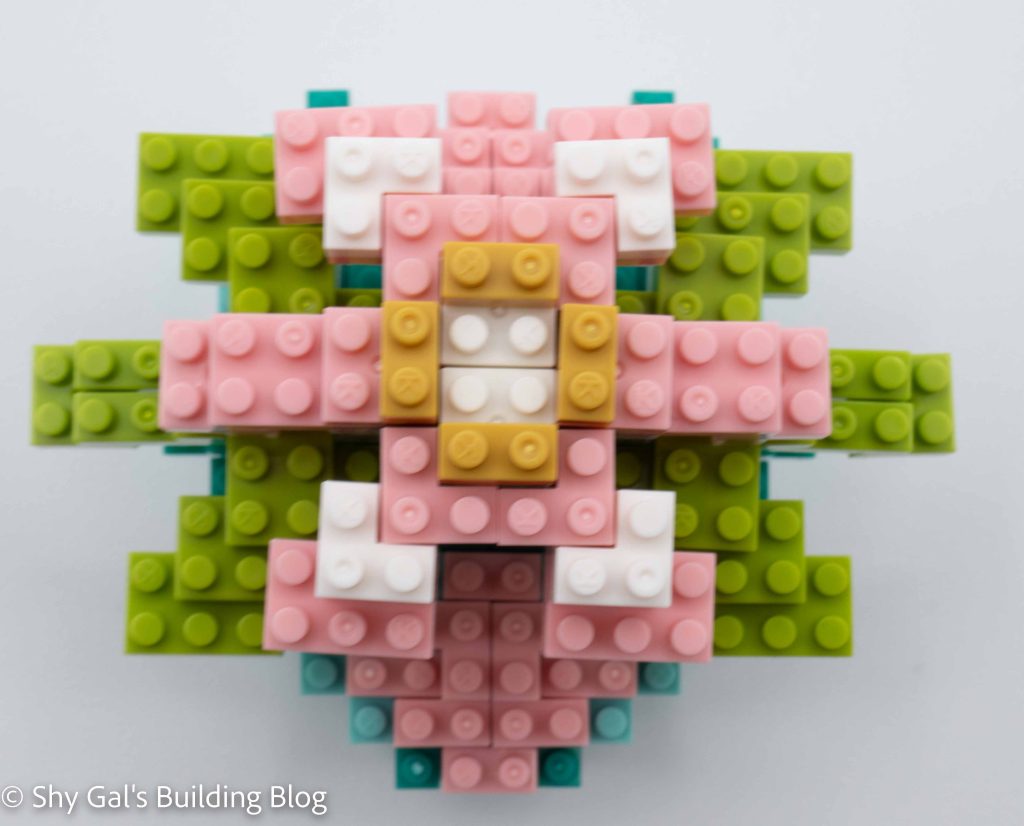
The final stage of the build is to build the mirrored wings. These are large pieces that are 2-3 layers thick. They are built by creating smaller pieces that connect to the base. The directions are very straightforward and easy to follow. Once you make the wings, you attach them to the body, completing your build.
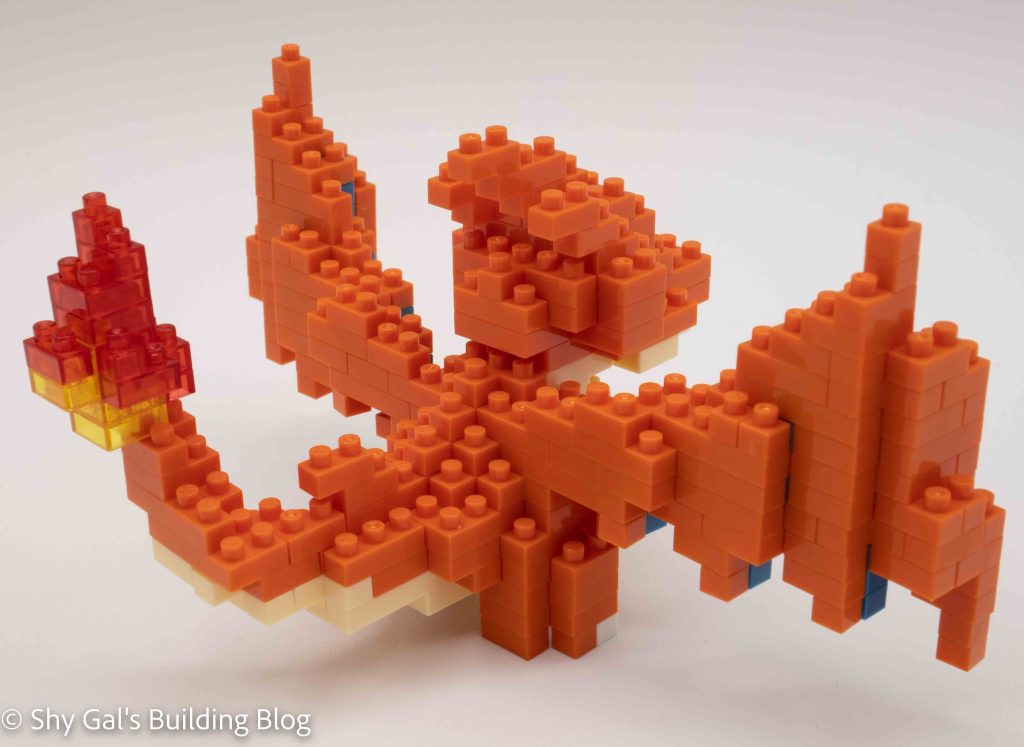
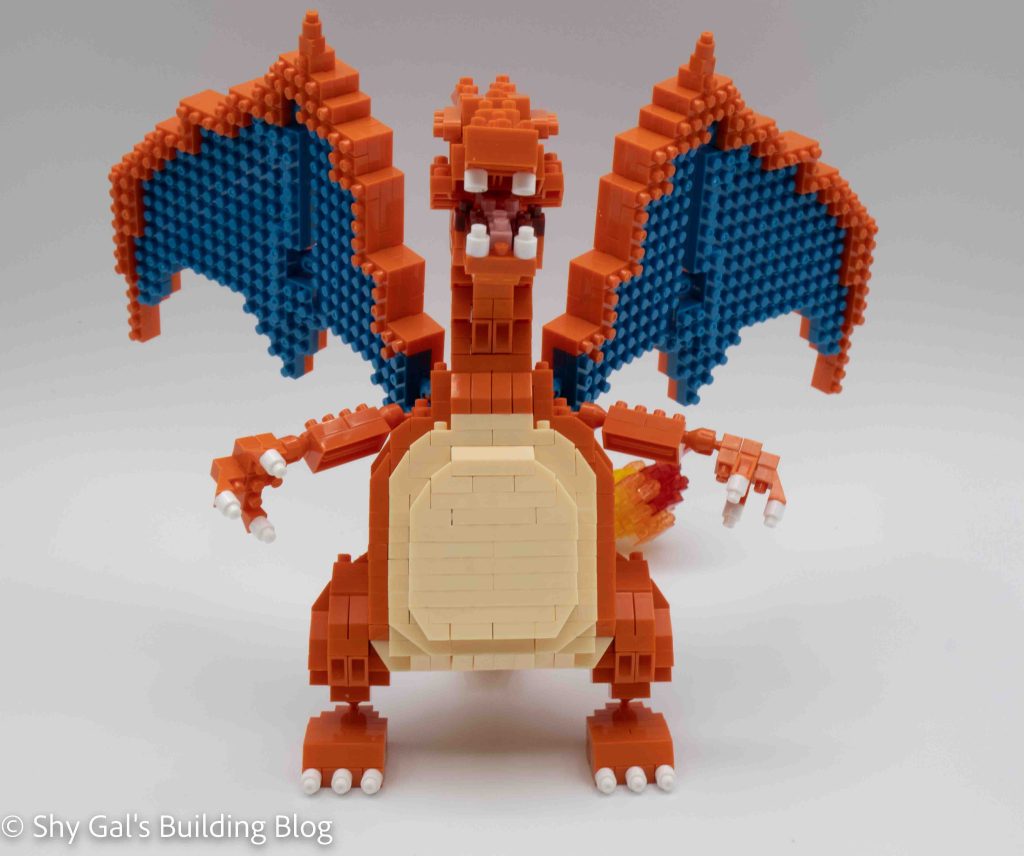
Overall I’m not sure how I feel about the build. This is the second deluxe Pokemon I’ve done, the other being Pikachu, and the detail is excellent. This is the 4th Charizard type build that nanoblock has made, and while it has the most detail, I would have rather had a different Pokemon. I found the final build to be very fragile and had difficulty posing it to get the photos because the flame kept falling off.
Things I liked:
- The amount of detail in the build
Things I didn’t like:
- The head isn’t layered super stable and tended to fall apart