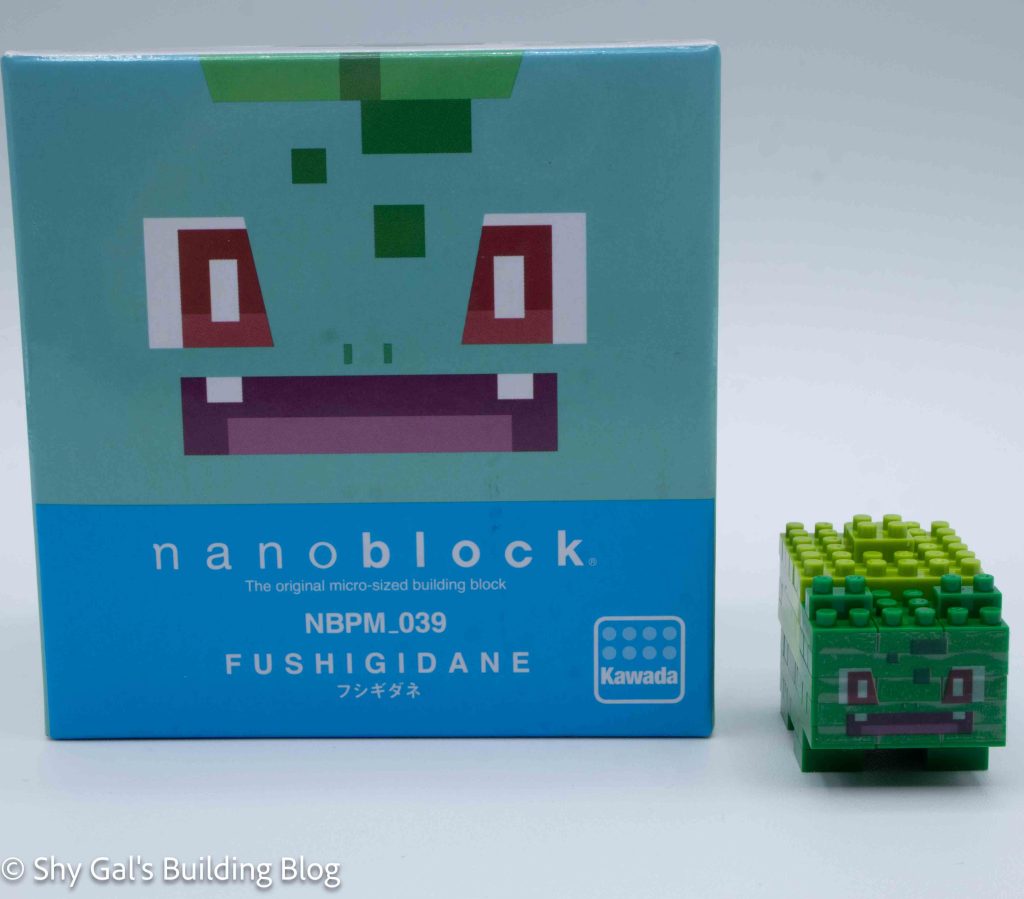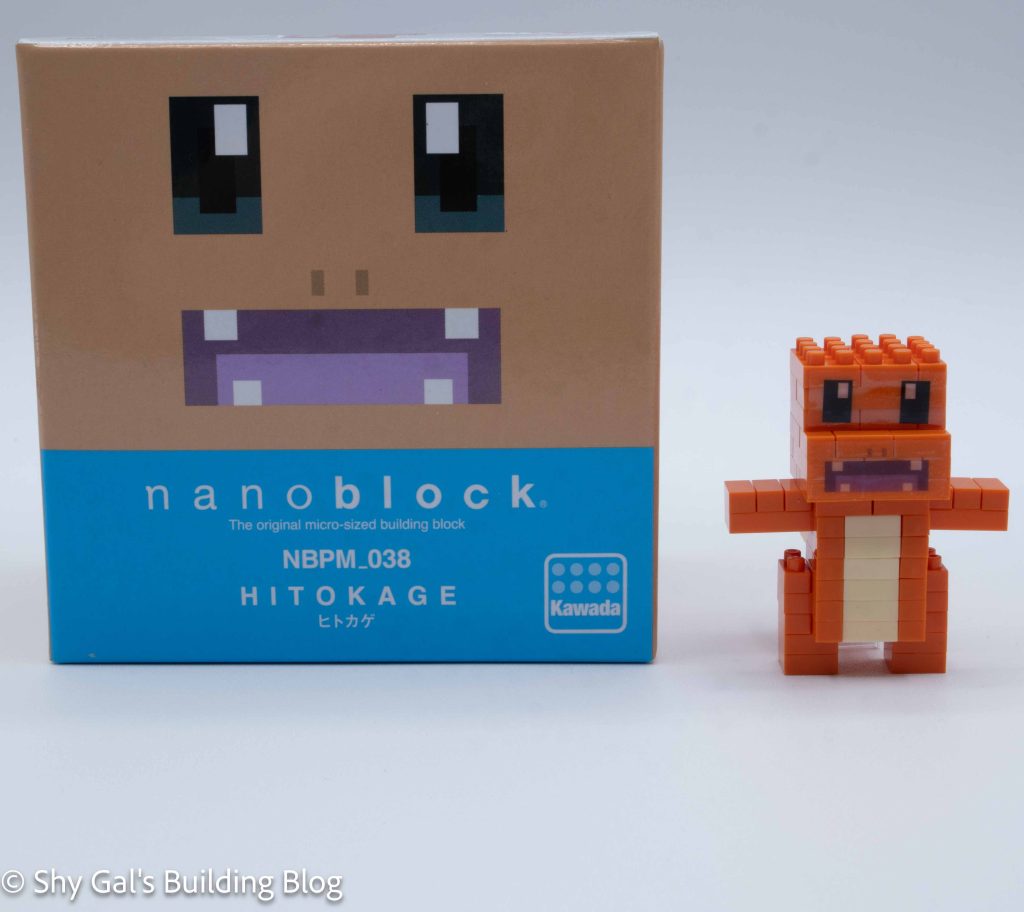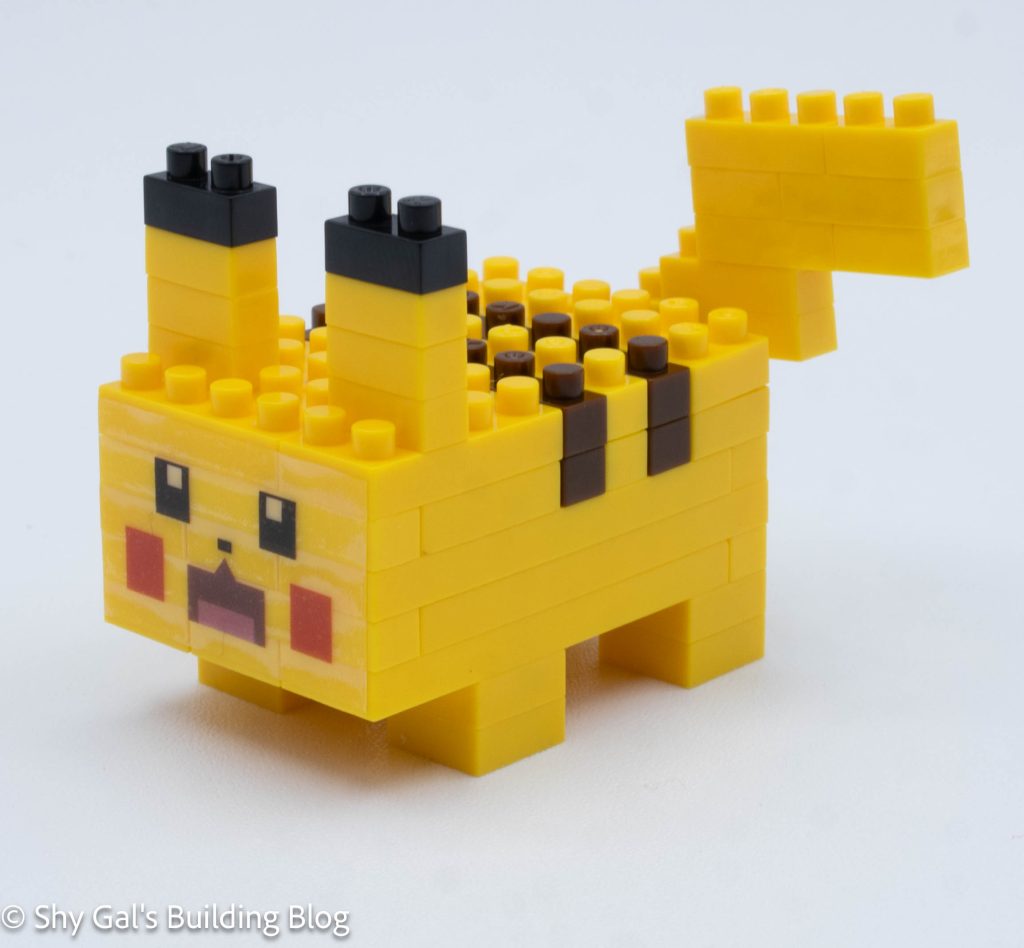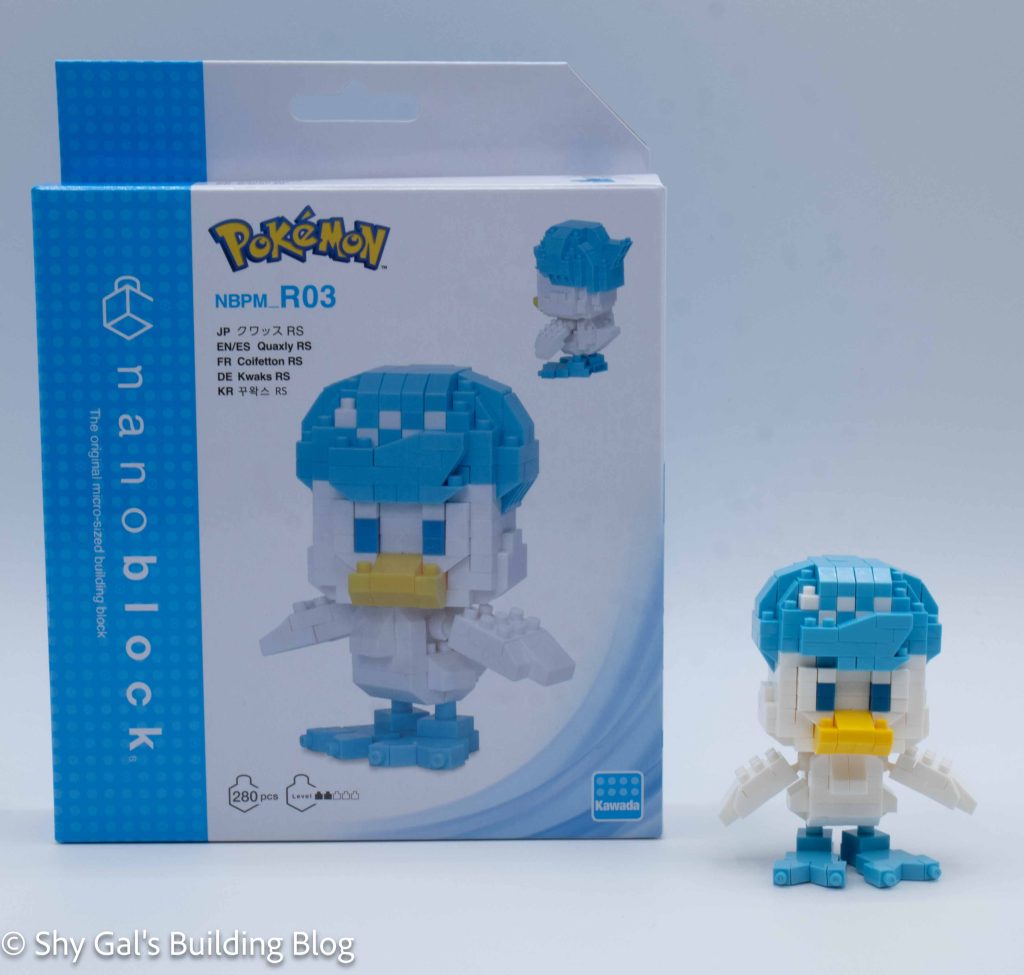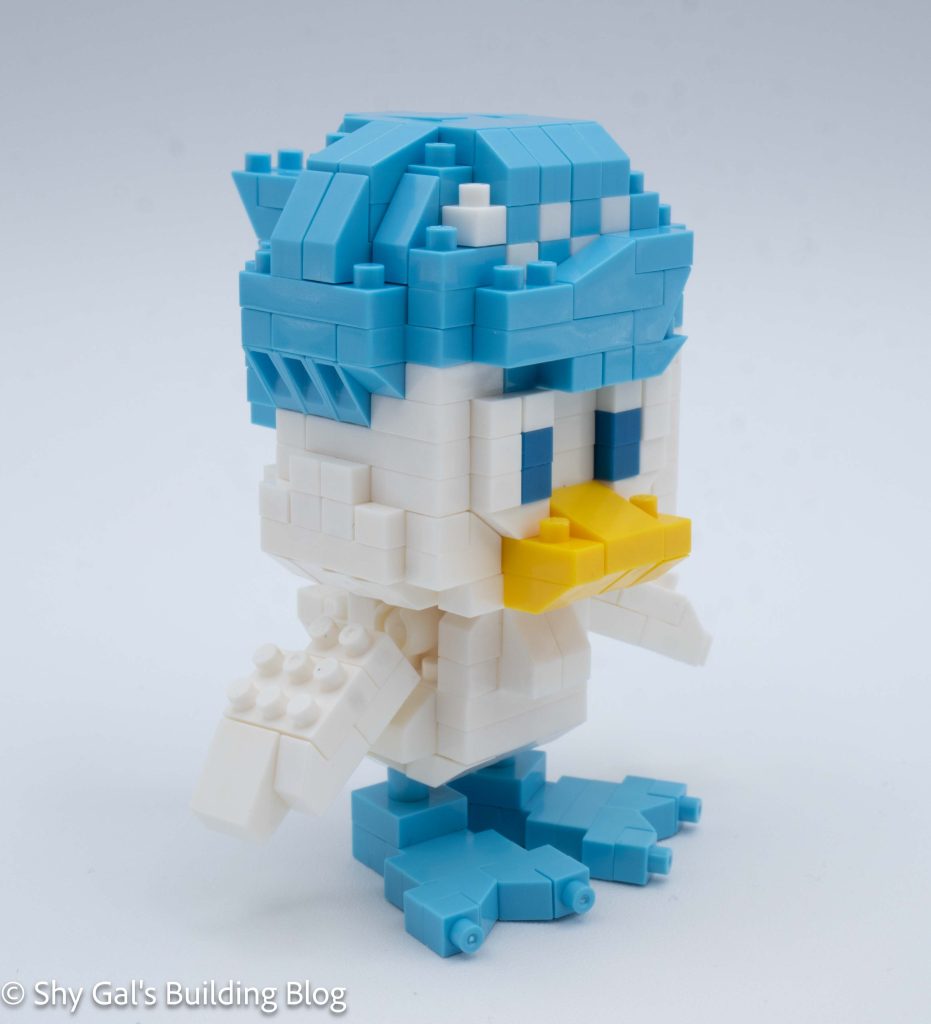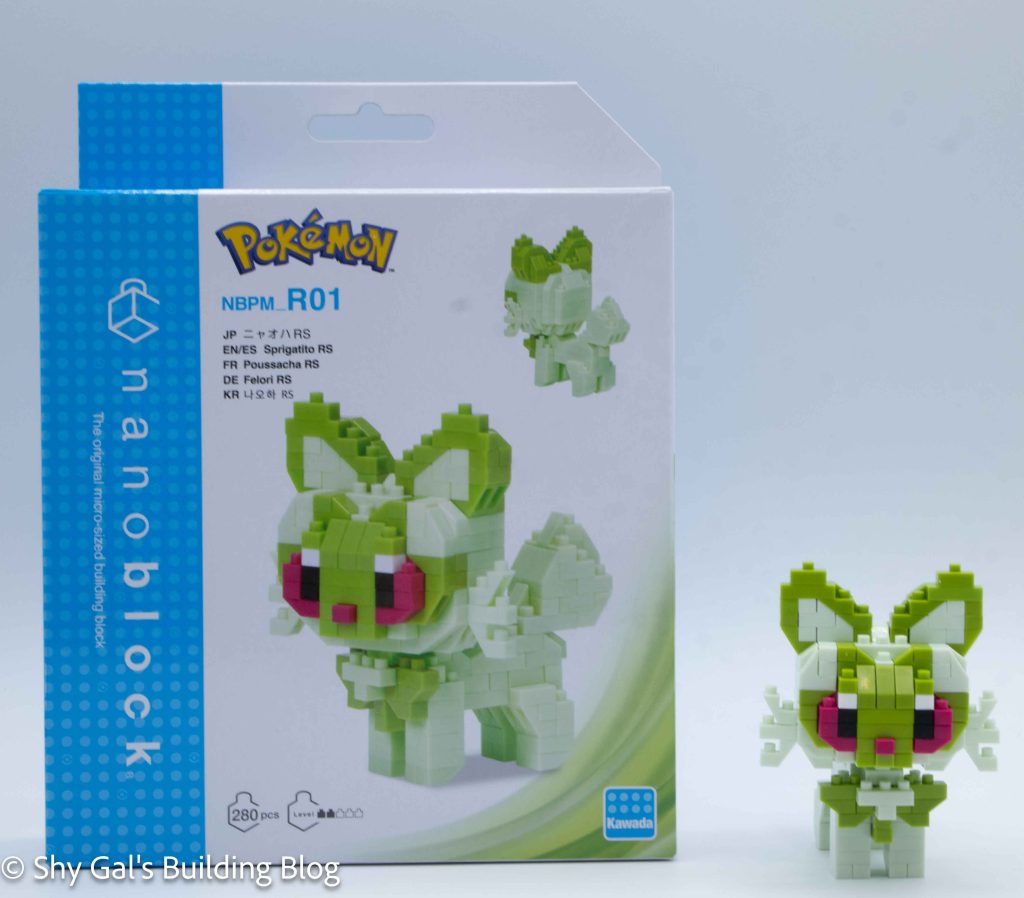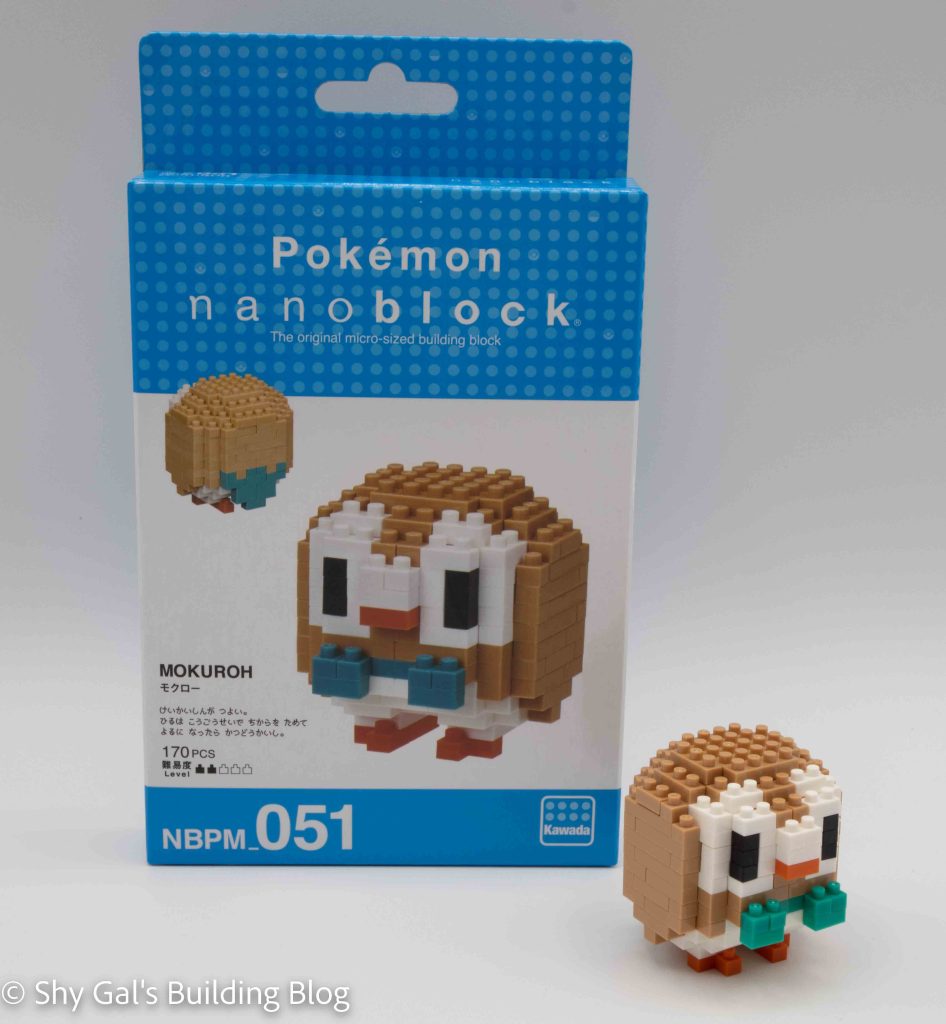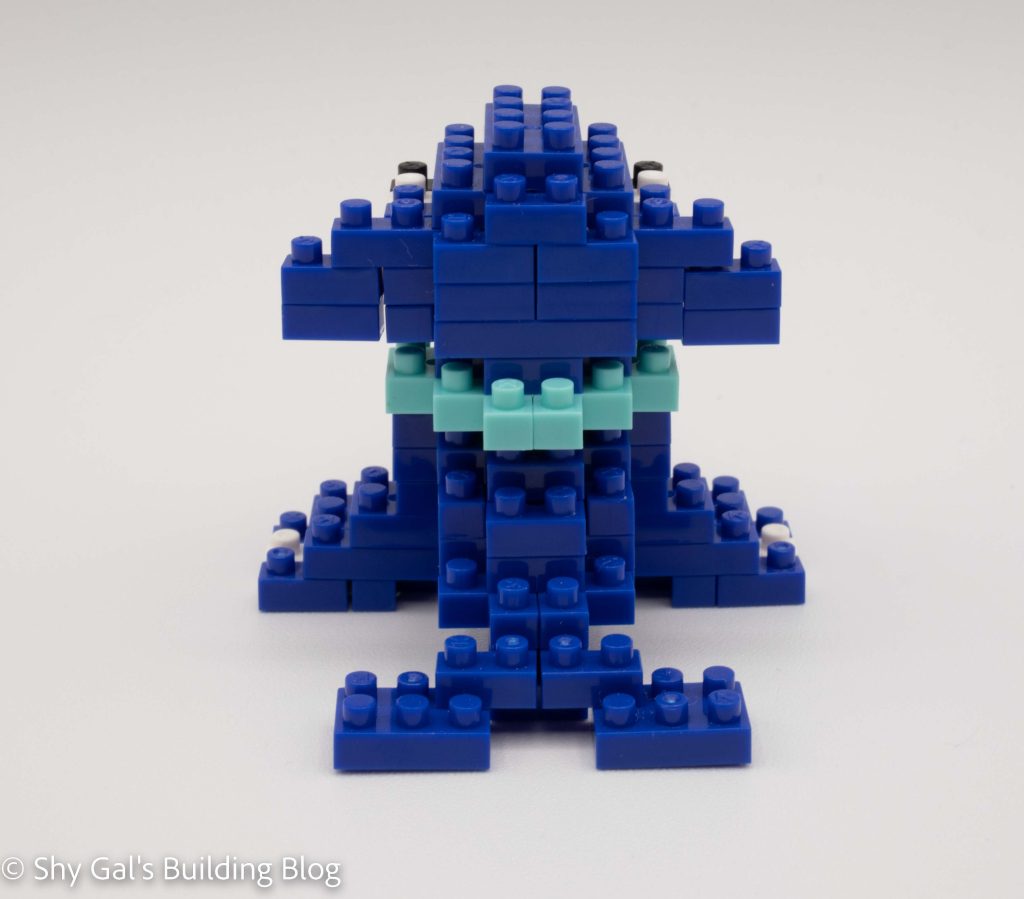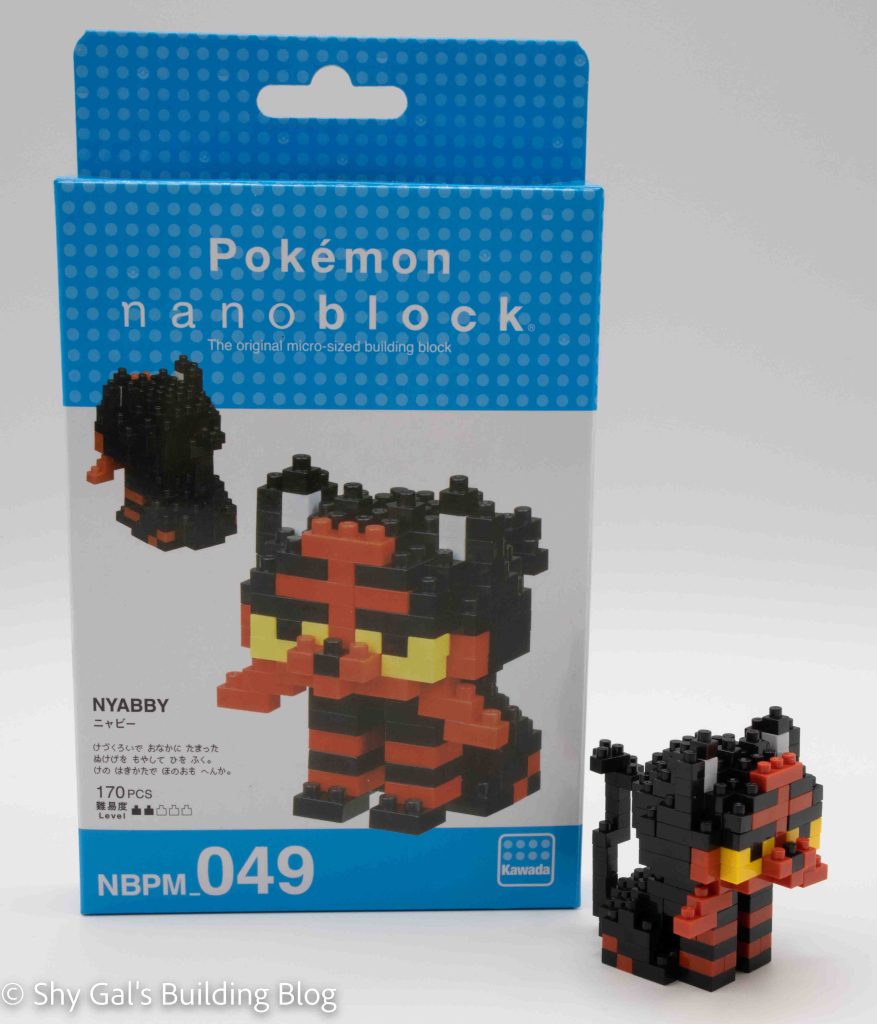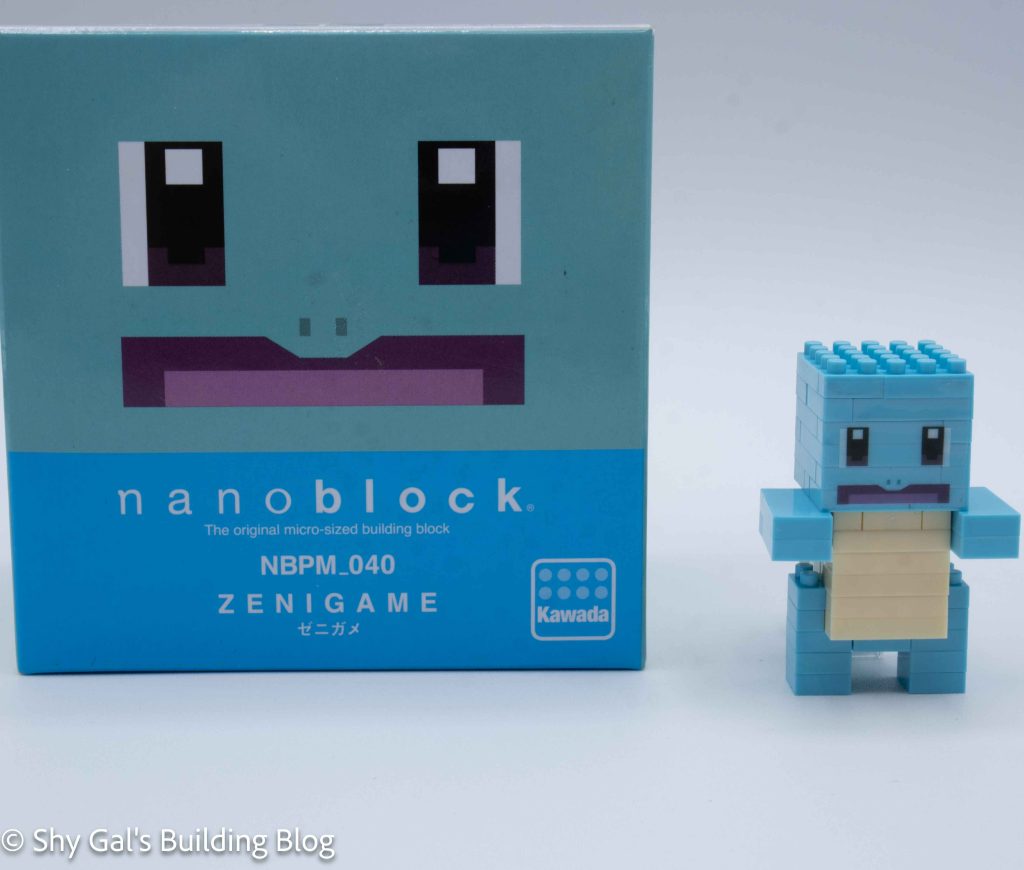
This post is a review of the nanoblock Pokemon Quest Squirtle build. Pokemon Quest Squirtle is part of the nanoblock Pokemon collection. Wondering what else is part of the Pokemon collection? Click here for a list.
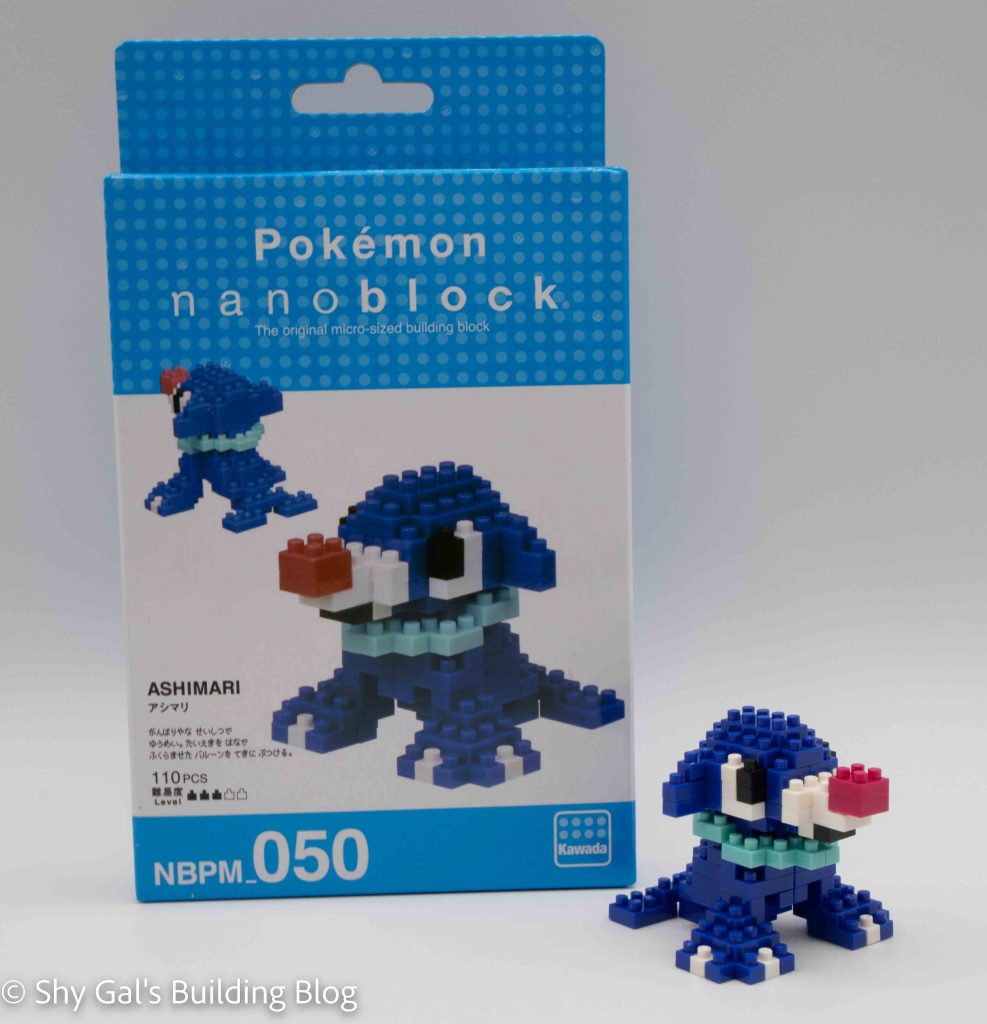
Number: NBPM_040
Number of Pieces: 80
Difficulty Rating: 2/5
I began this kit by laying the base layer out on my nanoblock pad.
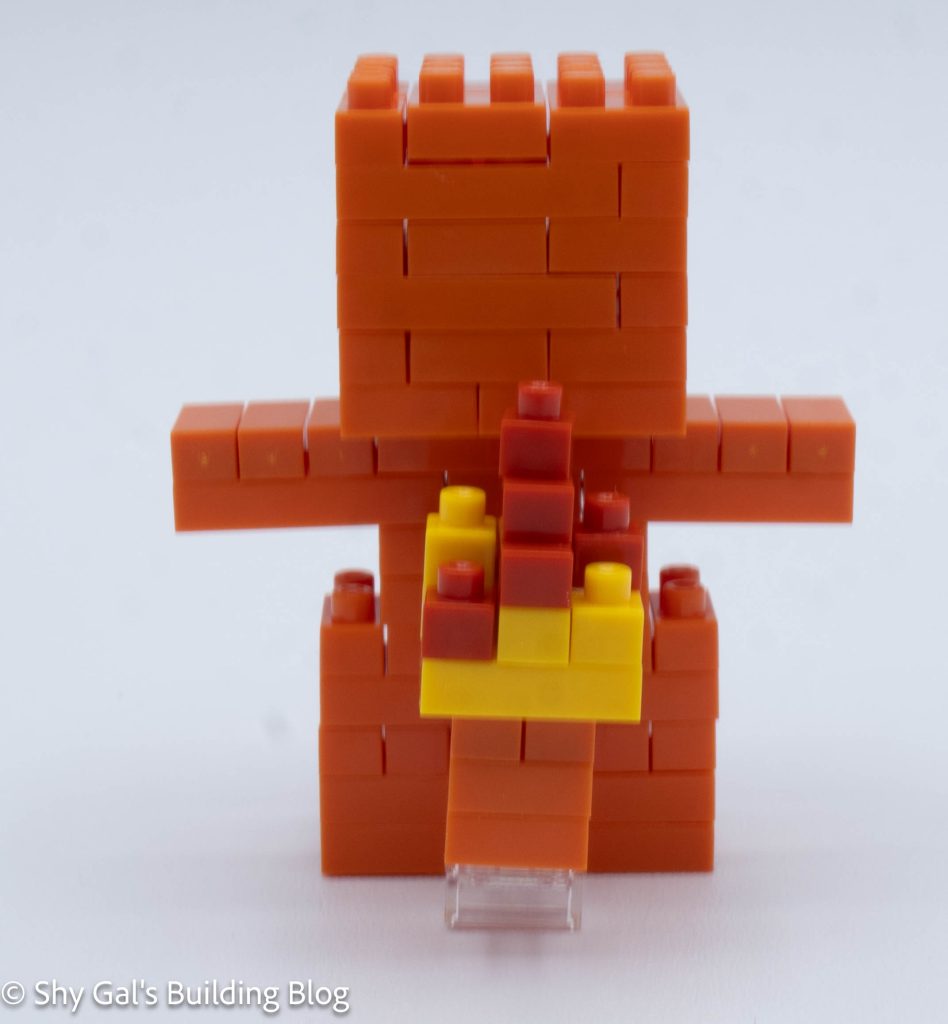
The second layer adds the stomach and shell outline.

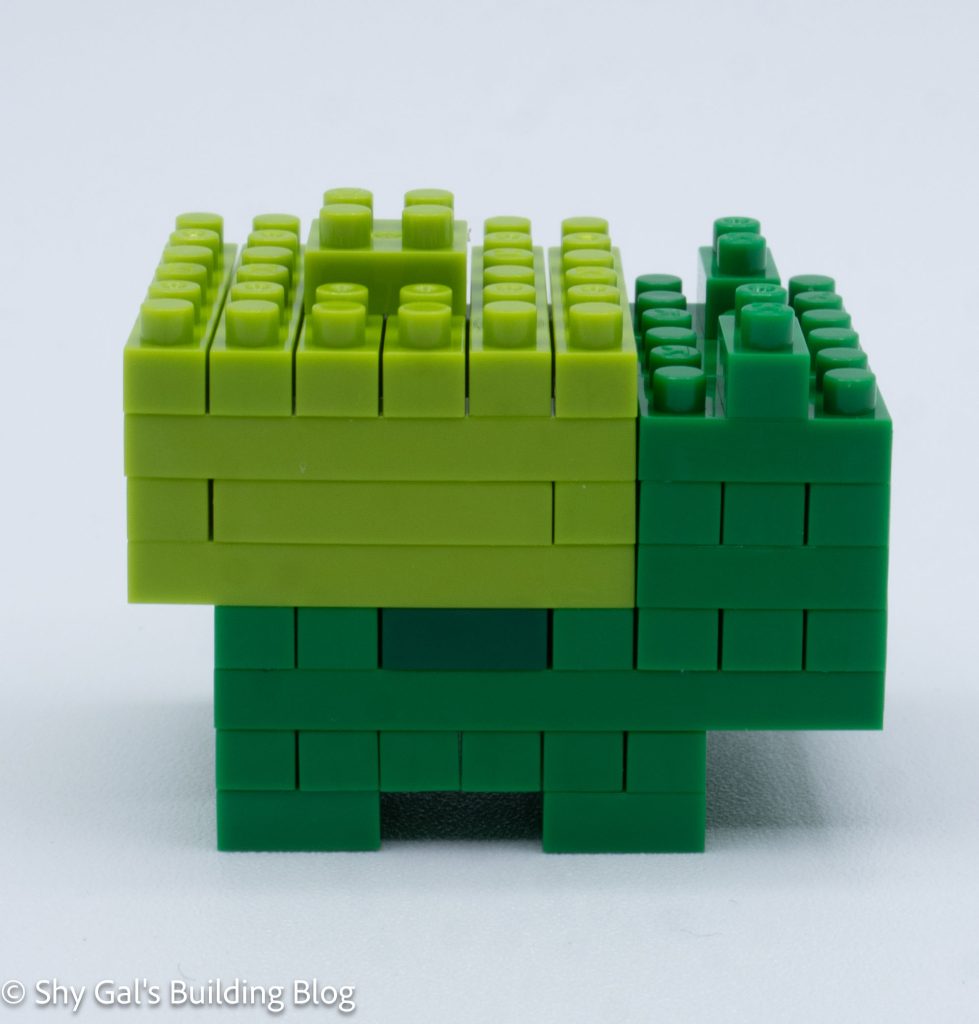
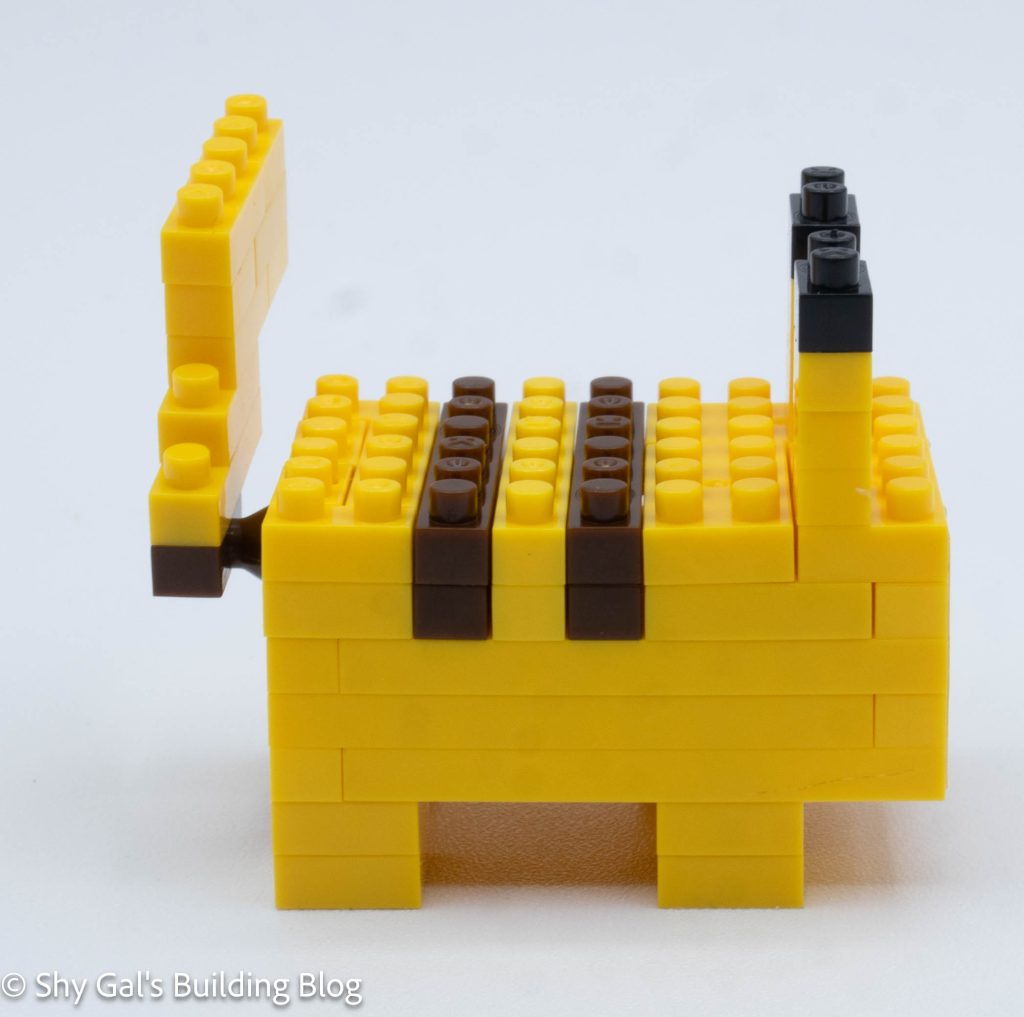
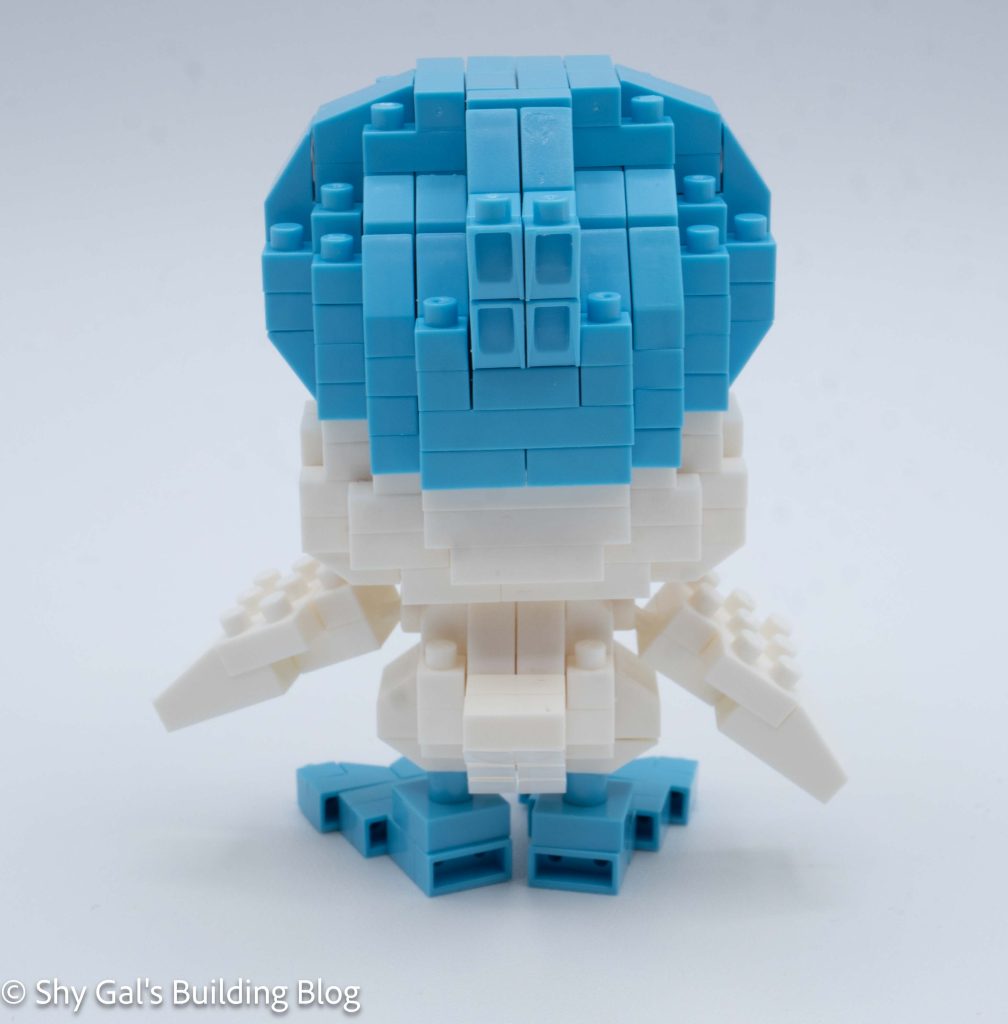
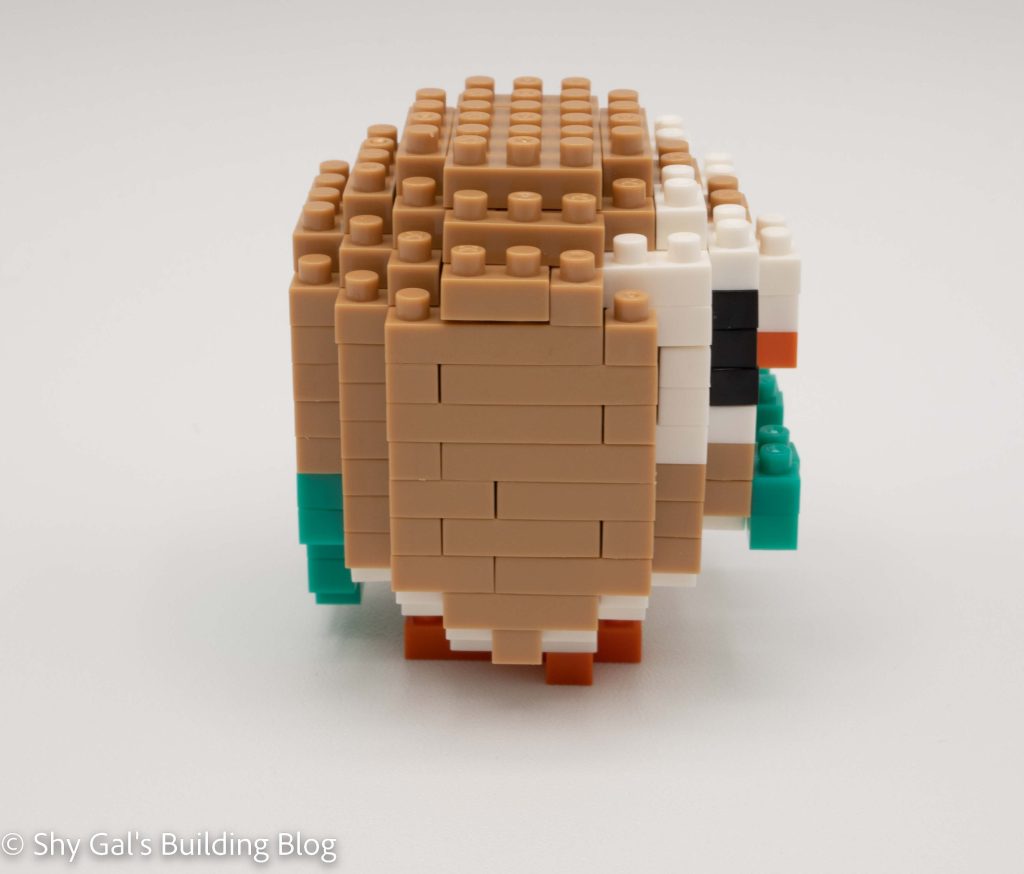
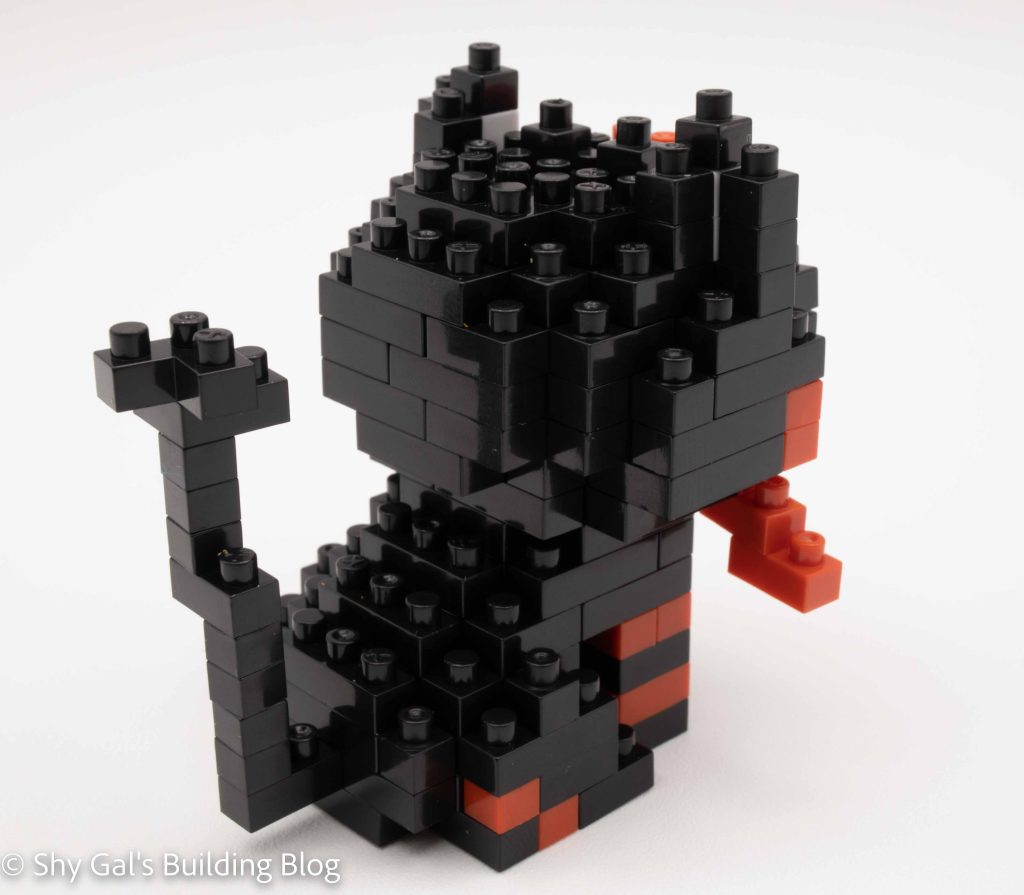
The next several layers create the stomach and shell. It closes up with flat-topped bricks with a couple of studs where the head attaches.
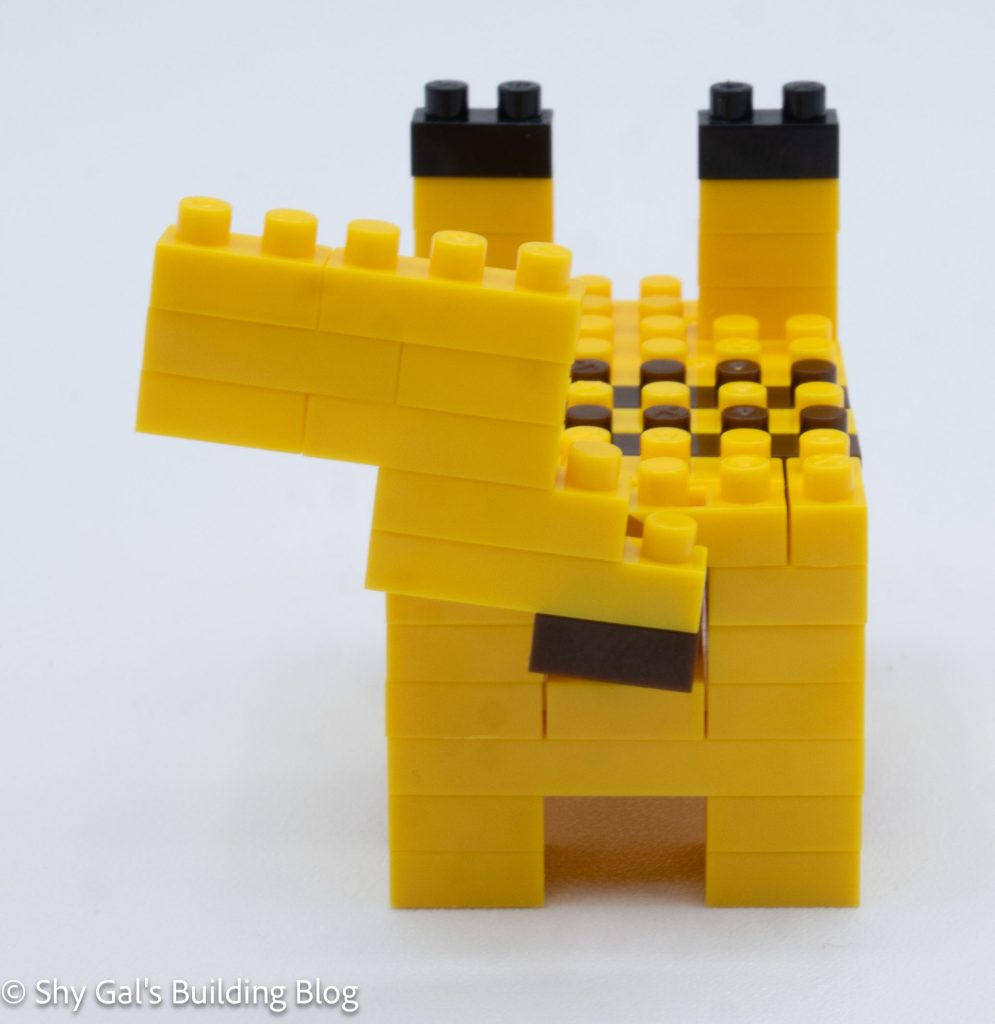
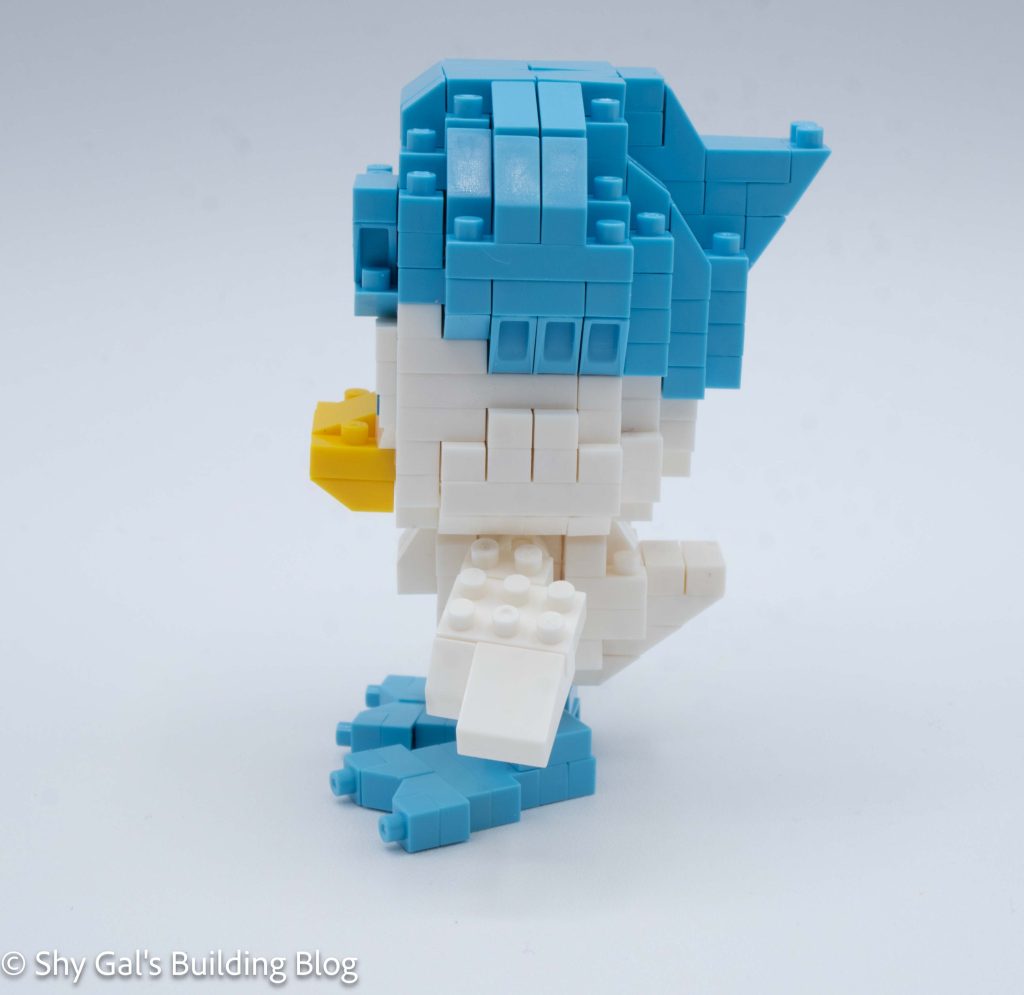
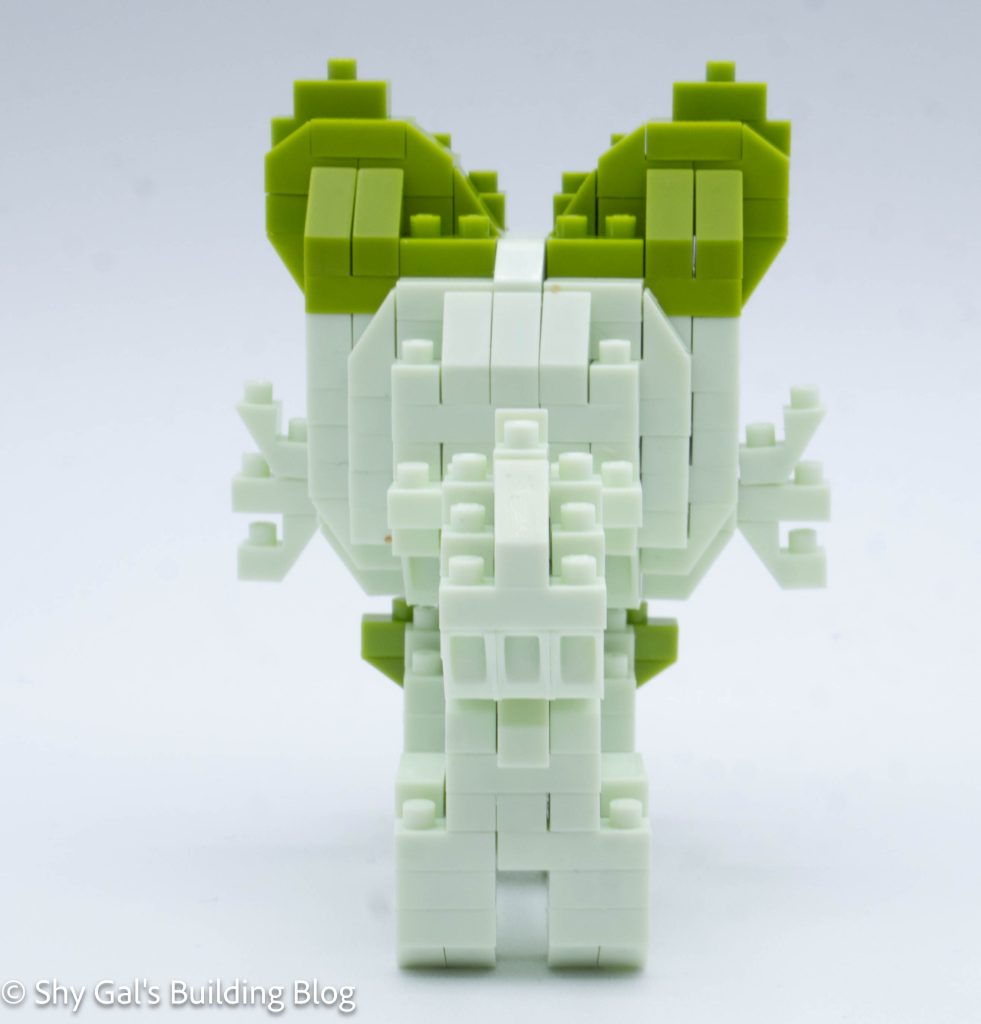
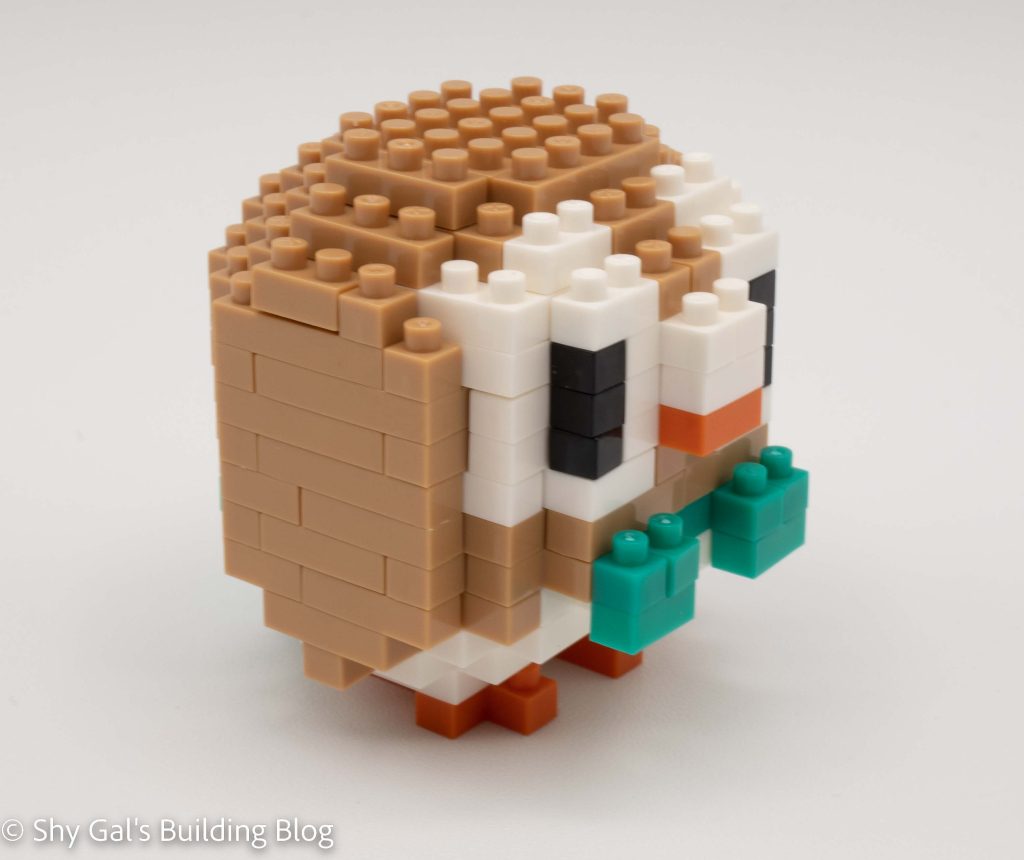
Then I connected the arms.
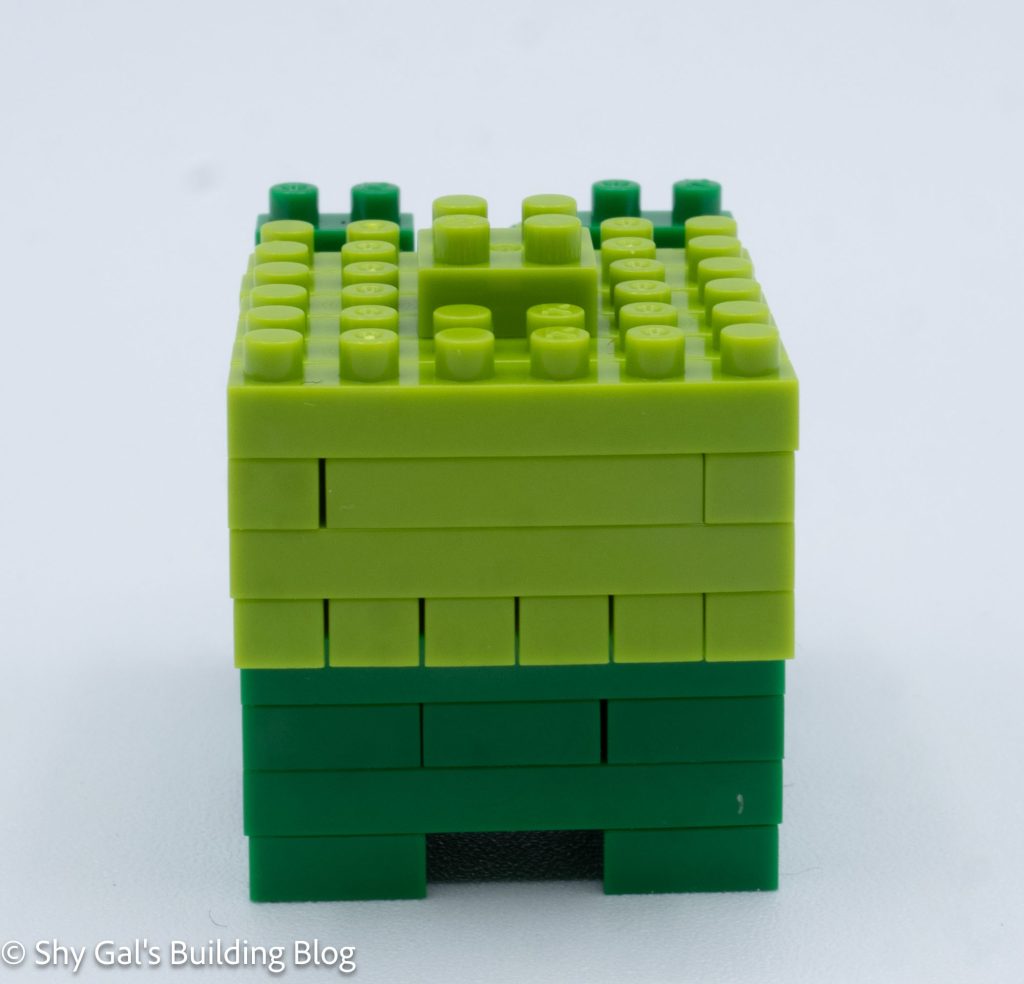
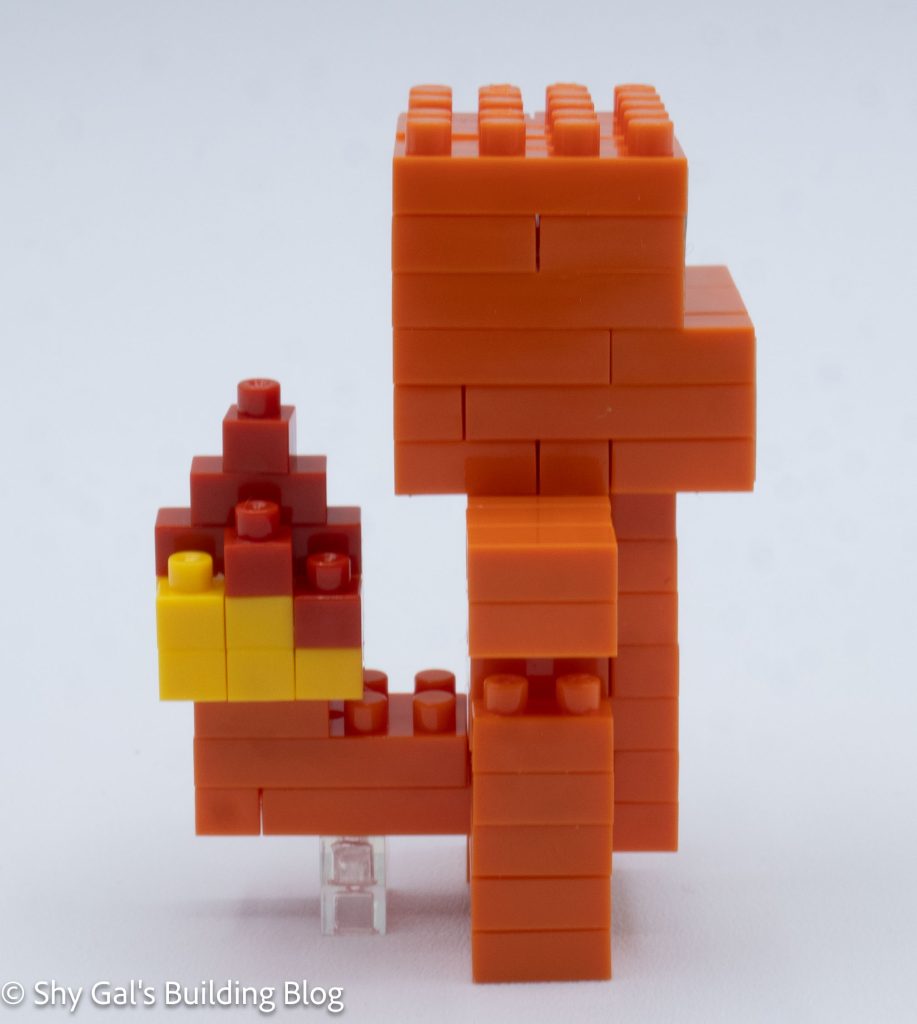
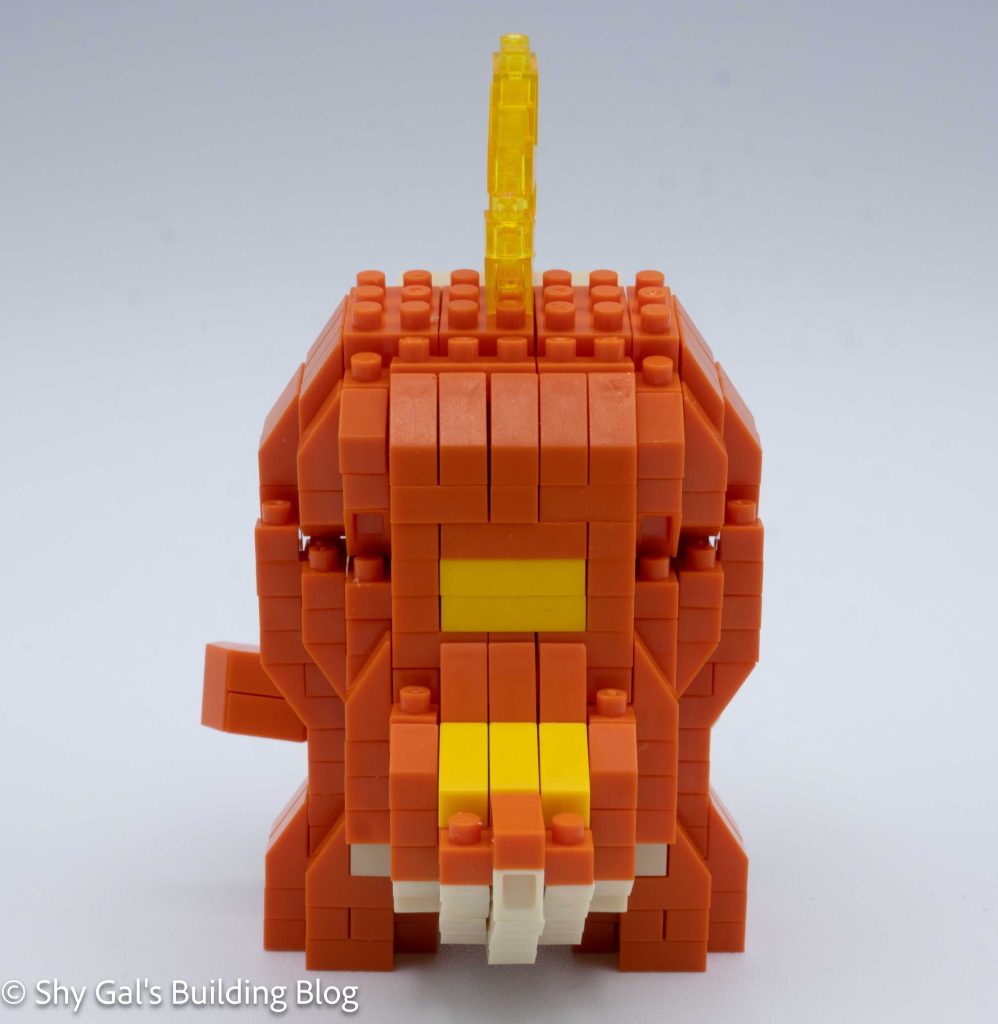
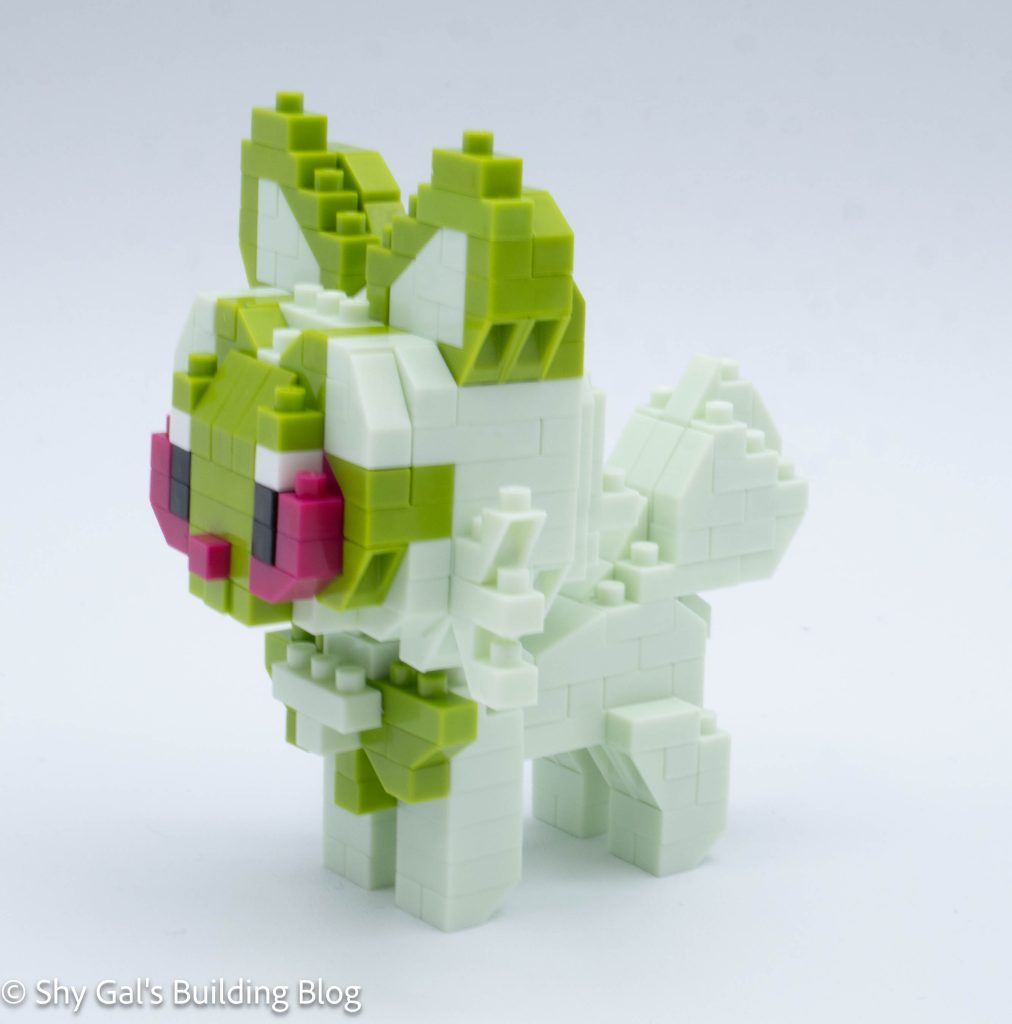
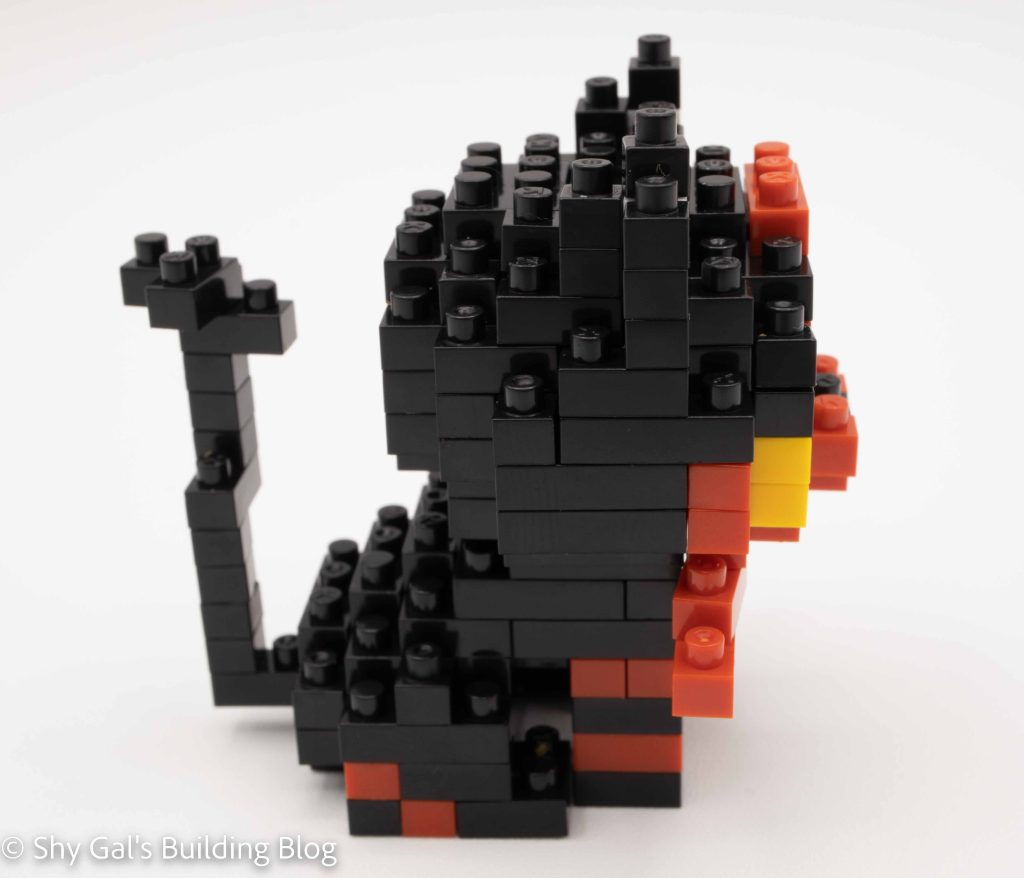
The next step is to build the head off the body. I needed to be careful to ensure the crossbars on the base were correct so that I could attach the head. After building the head, I attached it to the body.
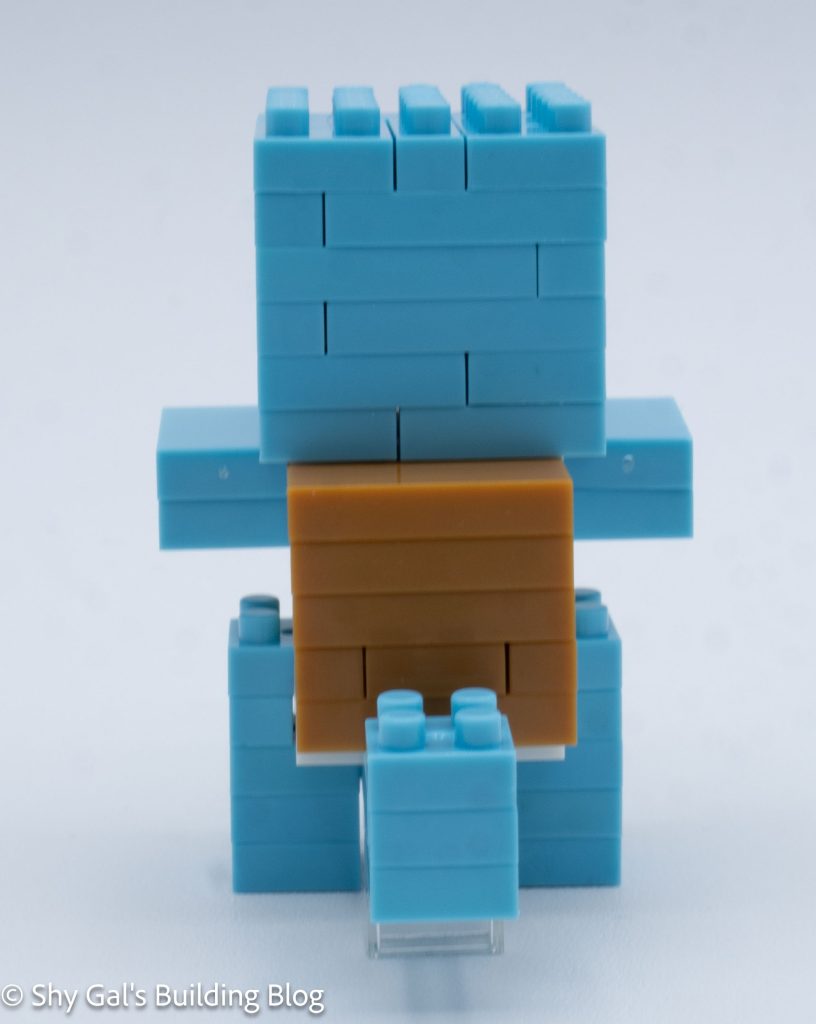
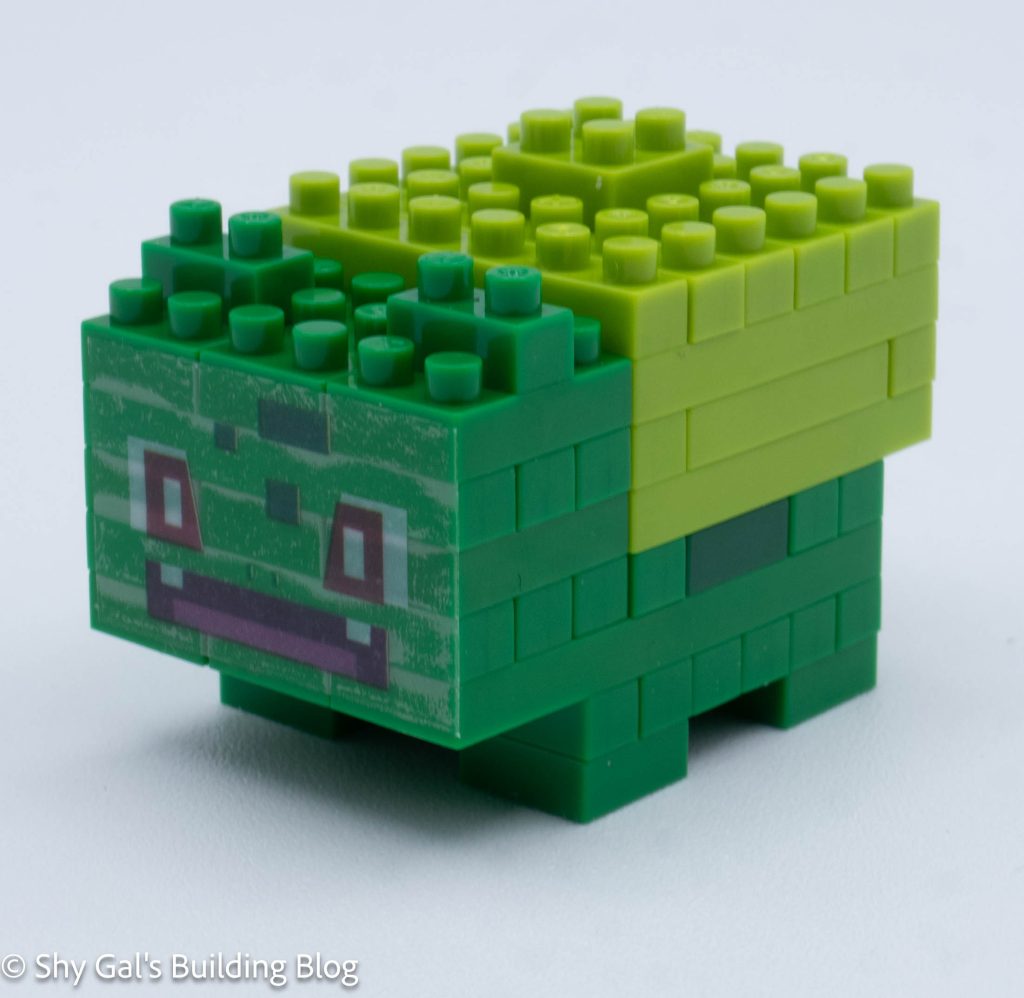
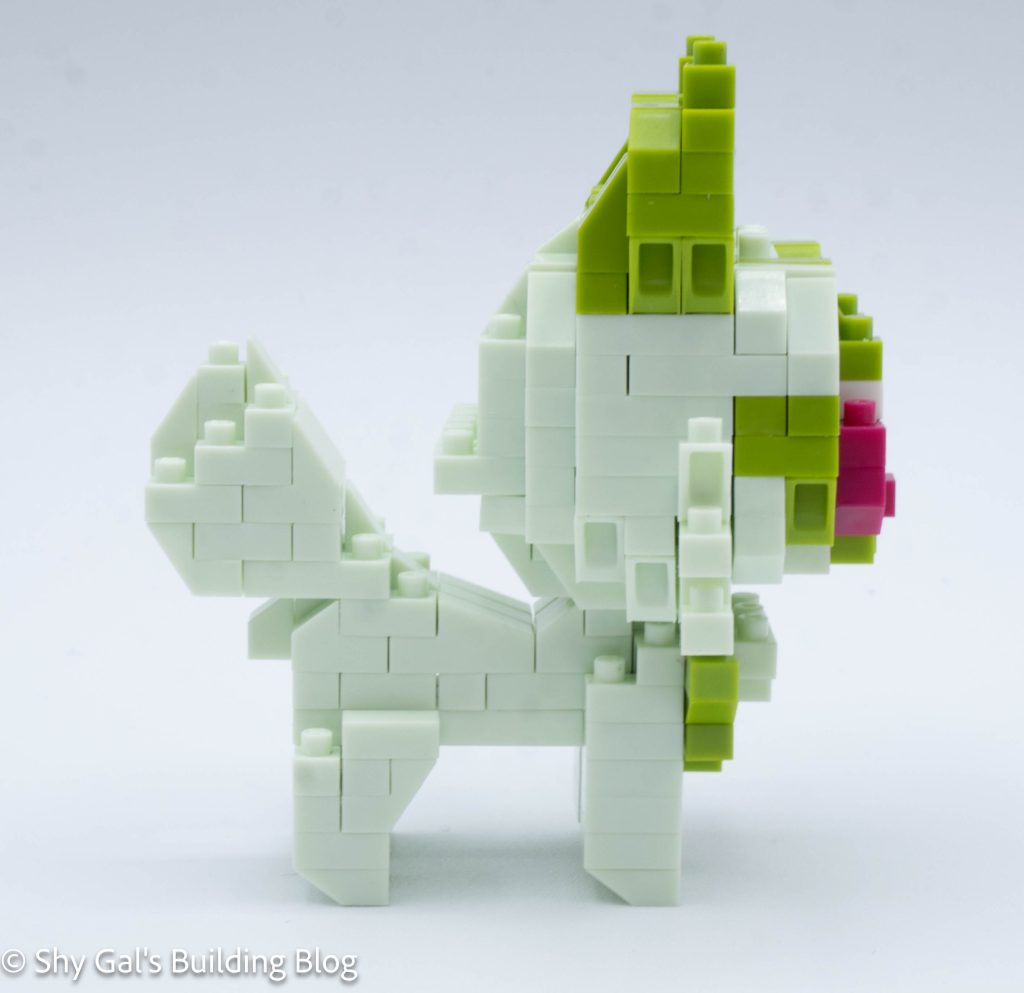
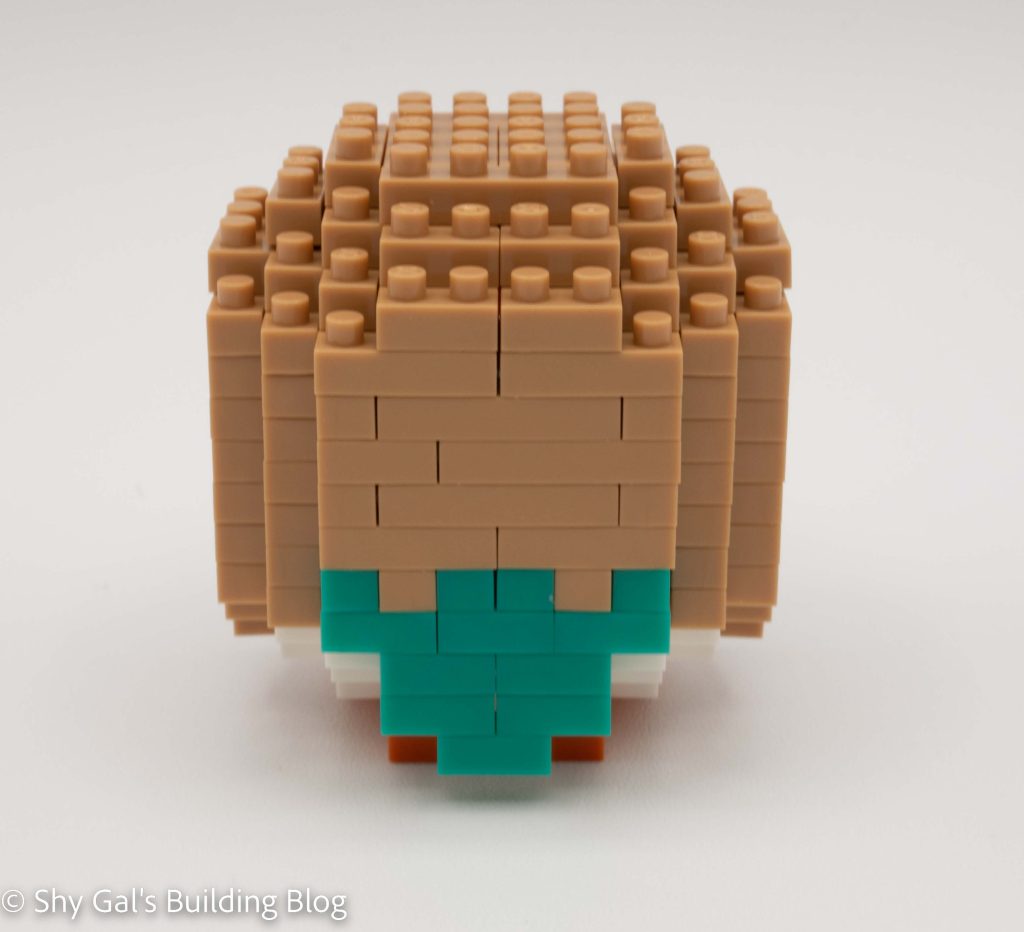
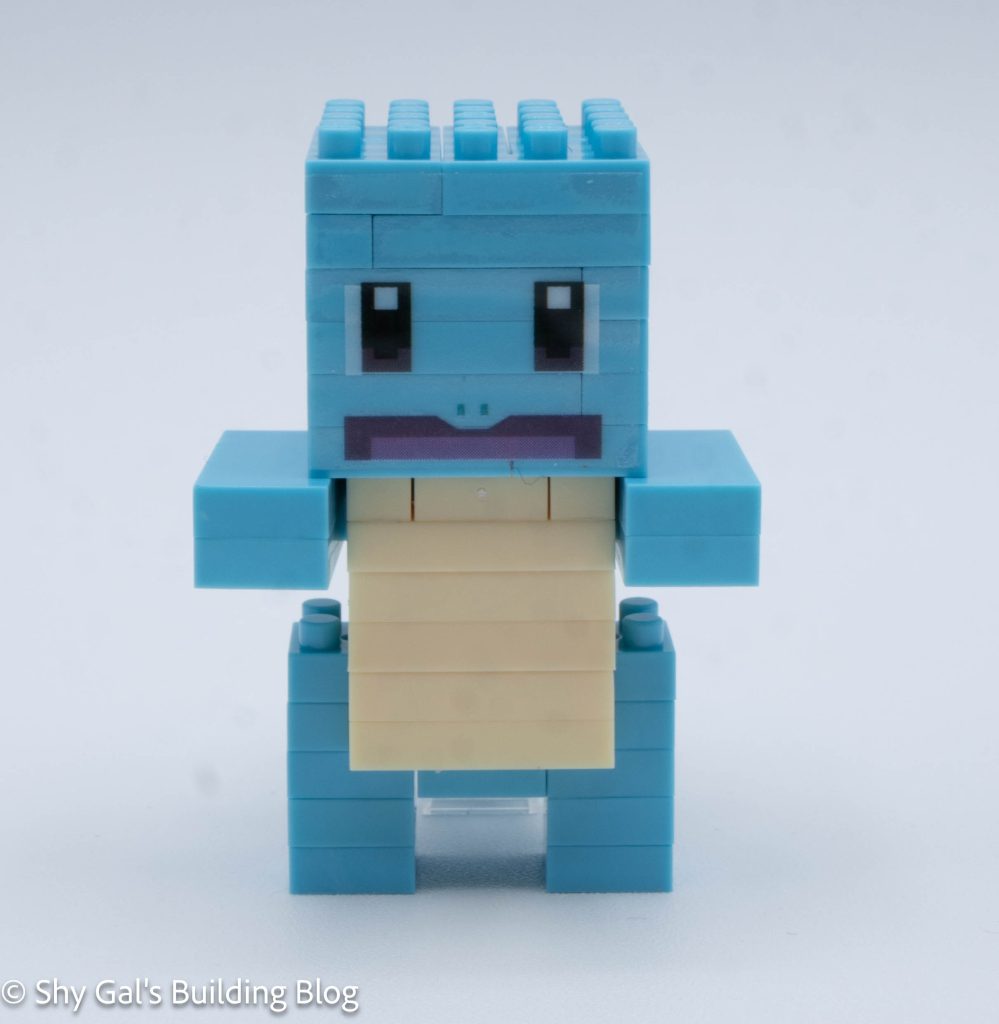
I added the legs and a support so that the final build can stand.
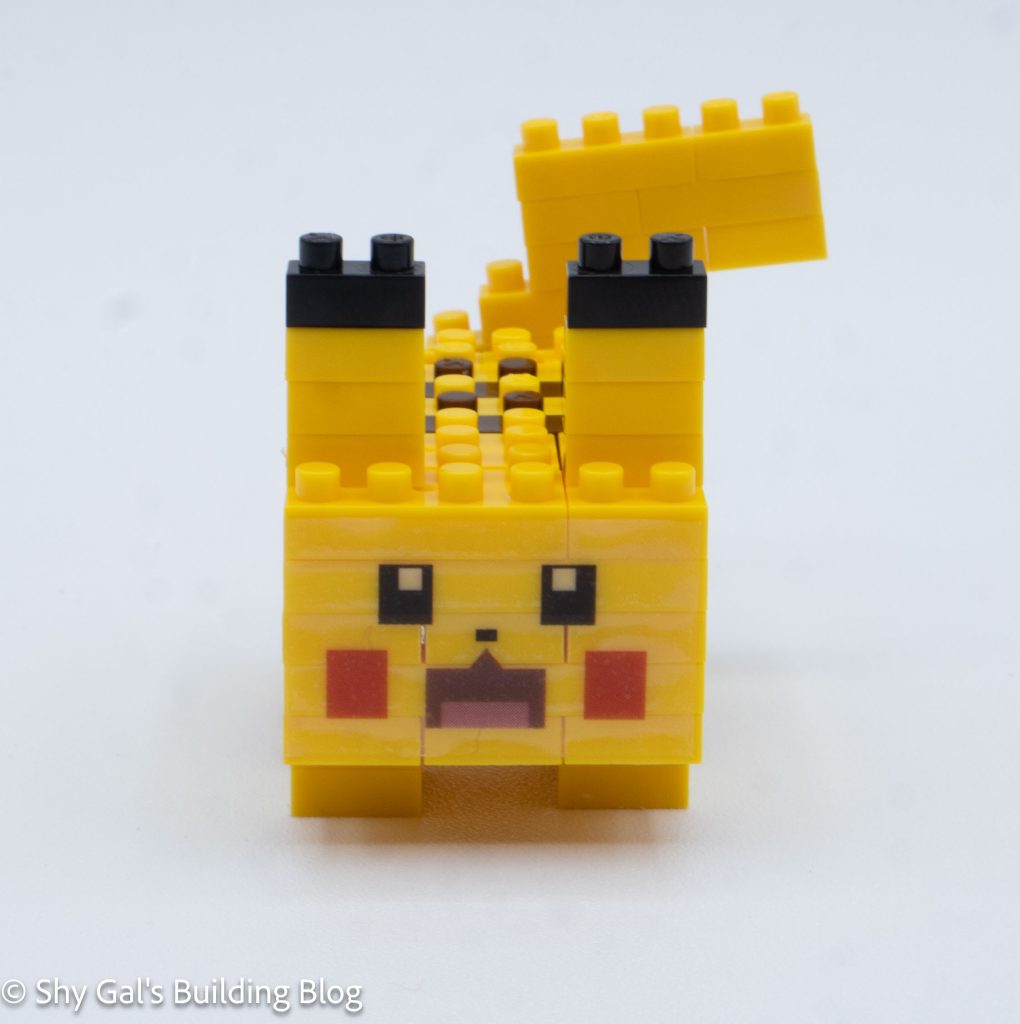
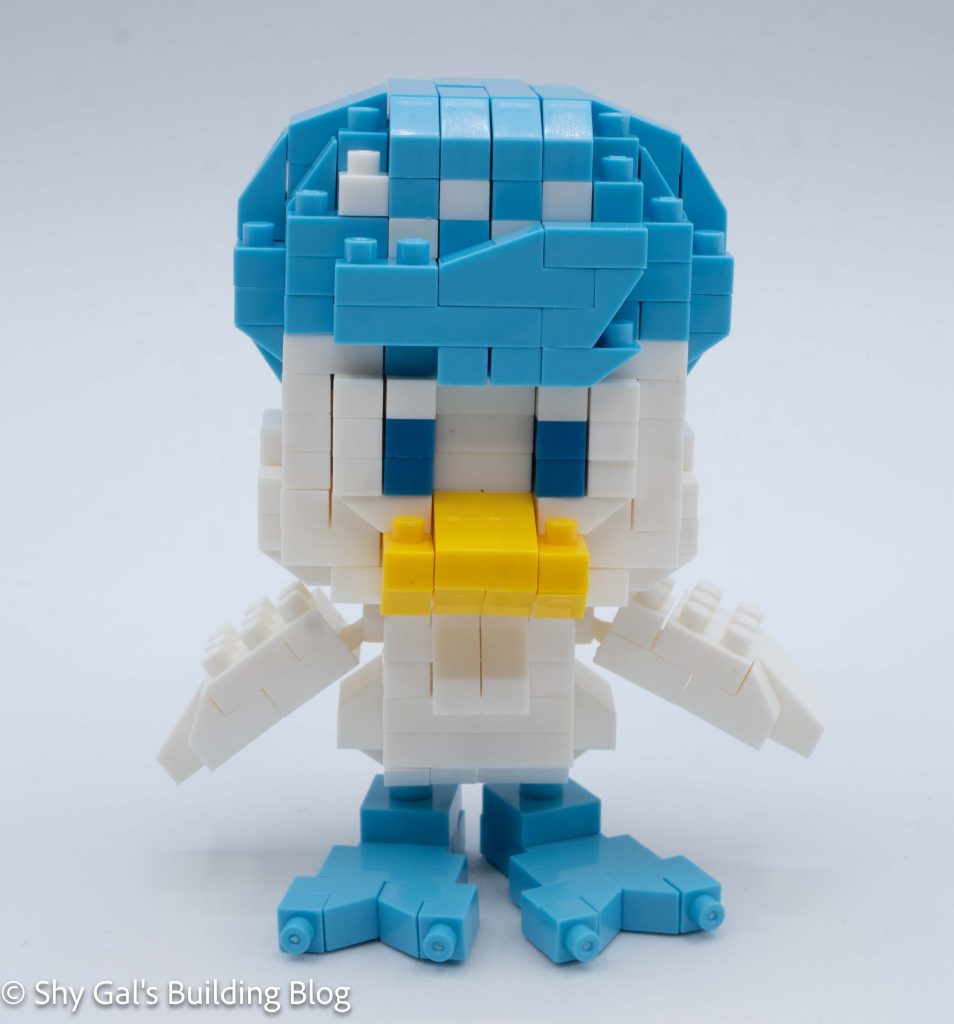
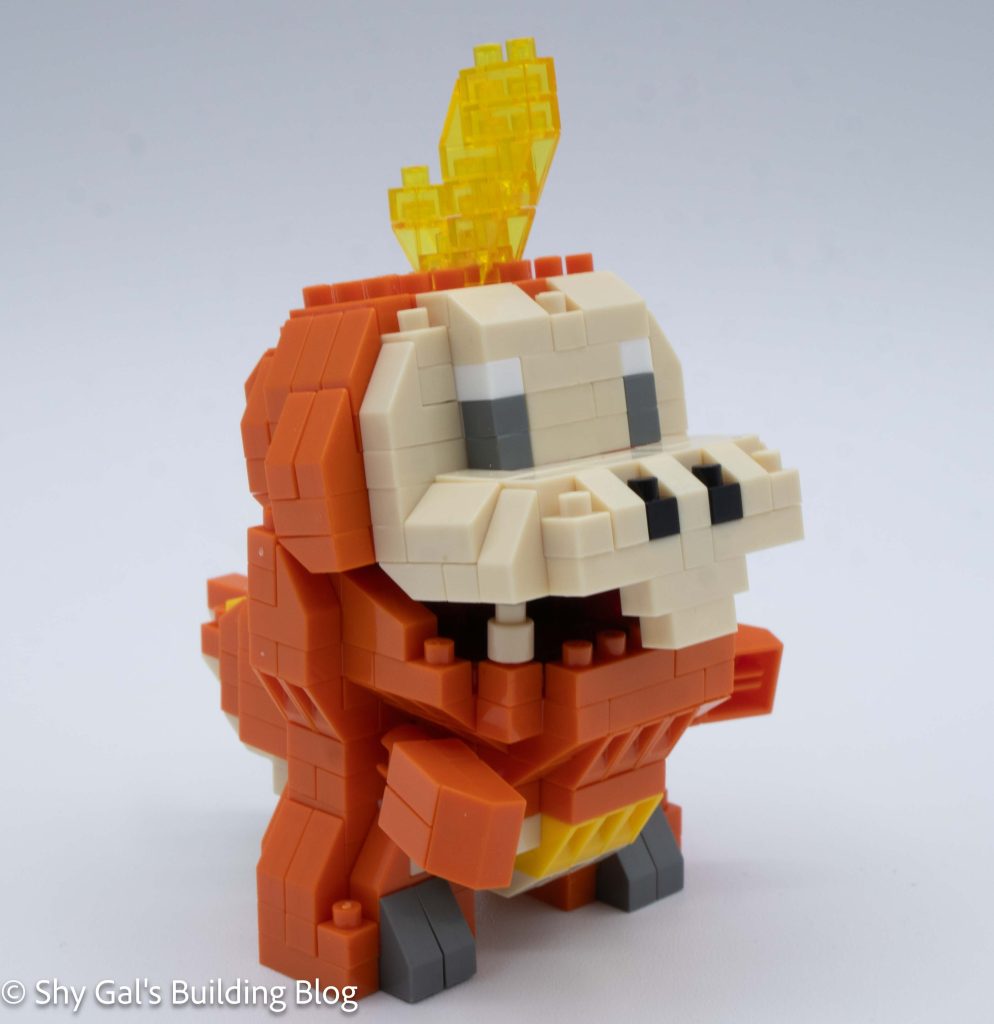
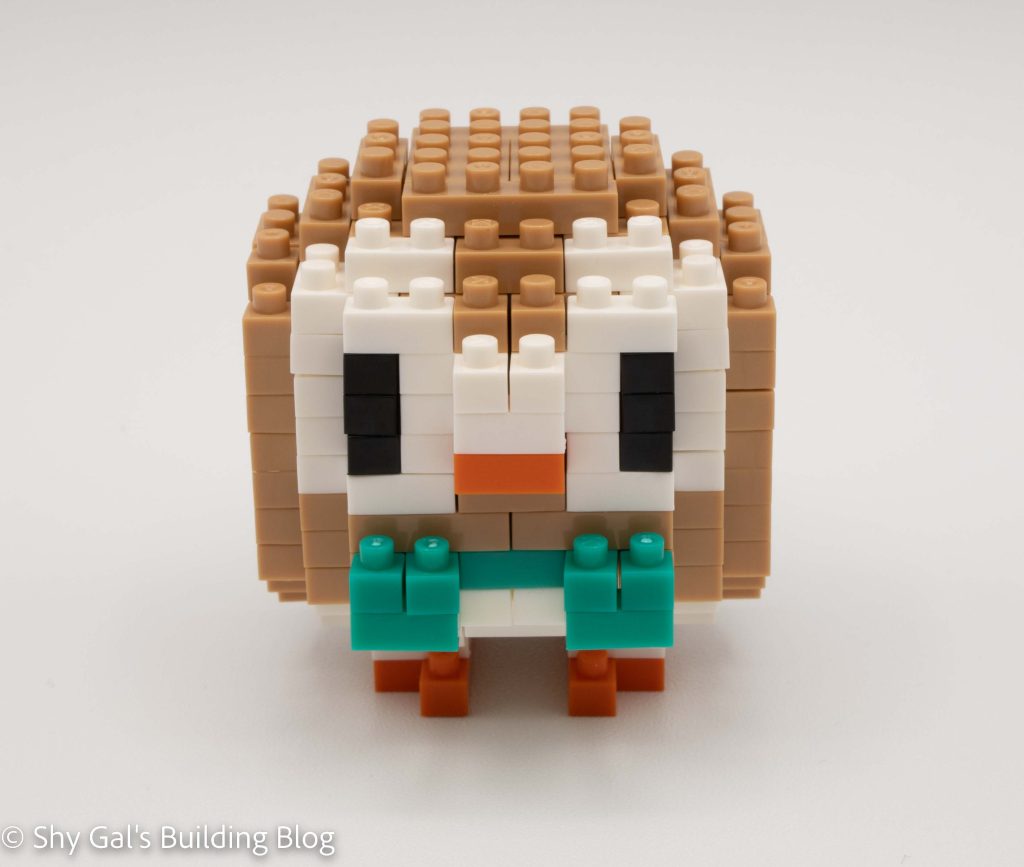
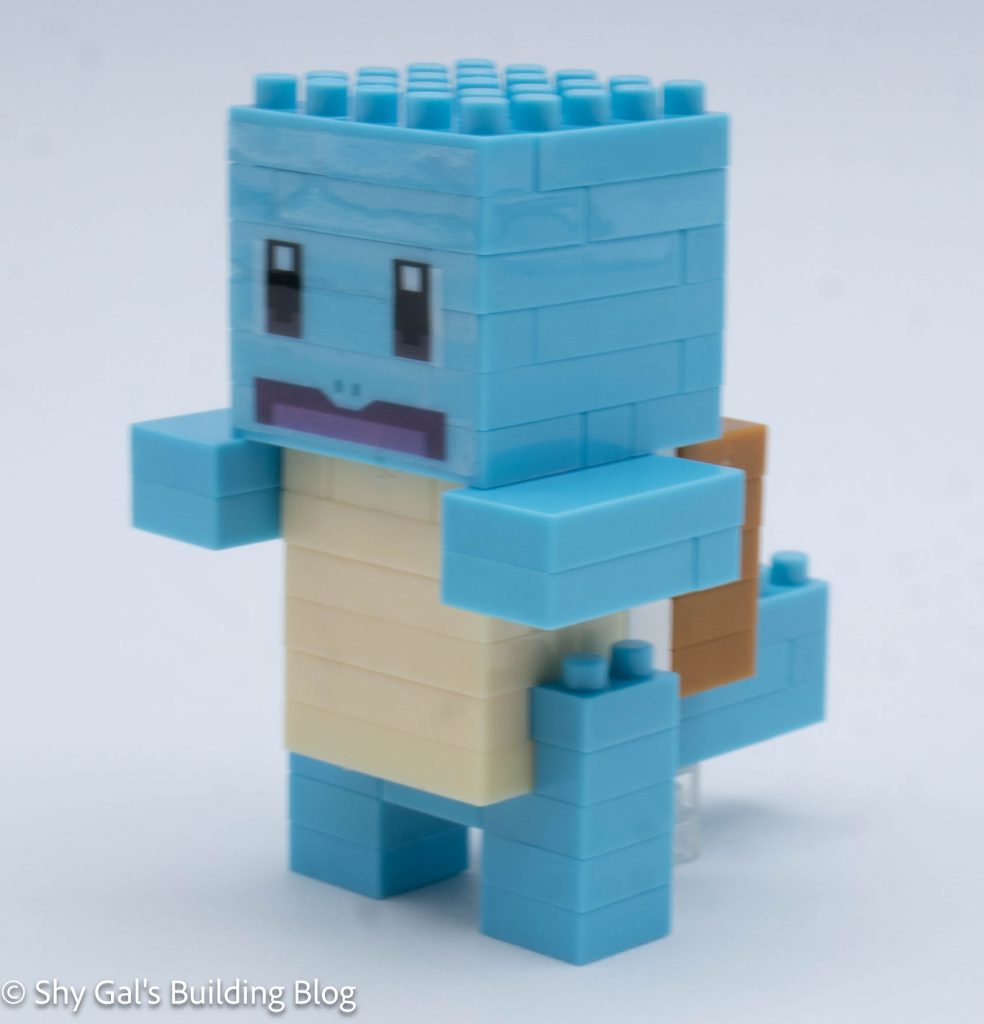
The final step is to attach the sticker that has Squirtle’s face on it.
Things I liked:
- I liked how simple the build was
Things I didn’t like:
- I wish the build didn’t have a sticker, but it is required for the face