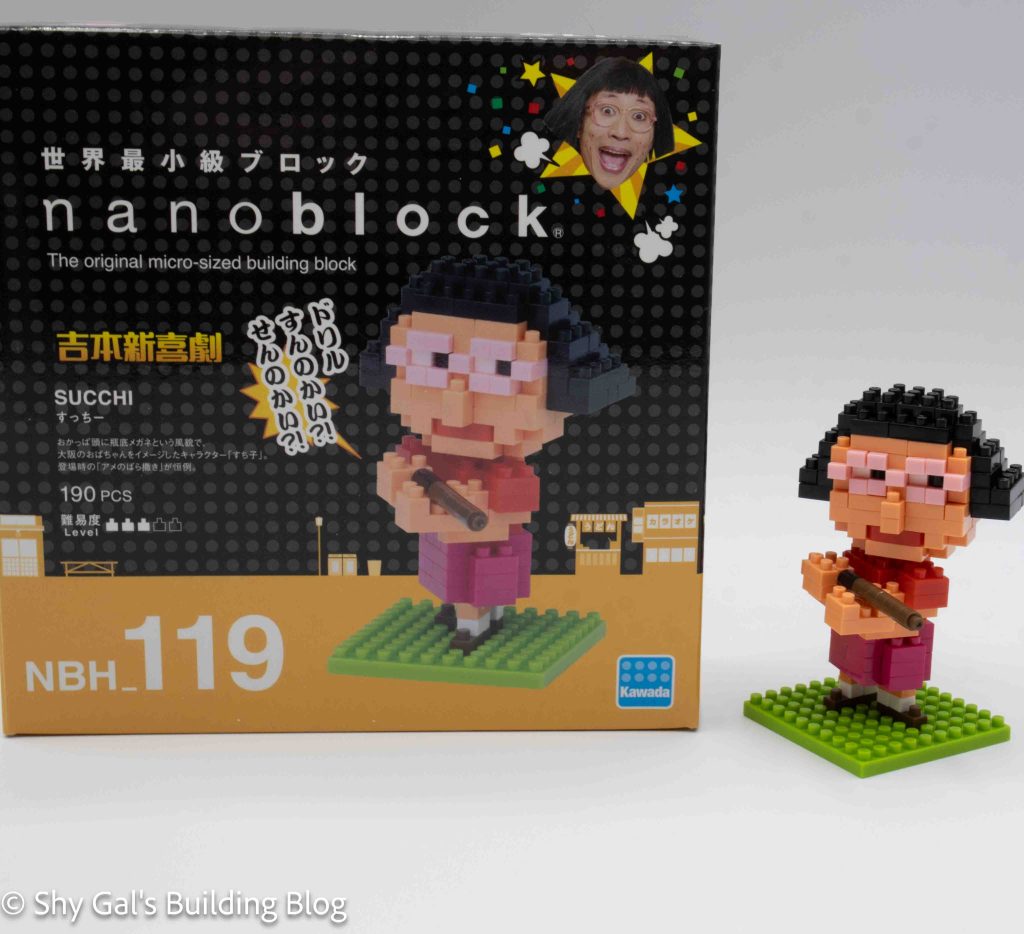
This post is a review of the nanoblock miffy & house build. miffy & house is part of the nanoblock Sights to See collection. Wondering what else is part of the Sights to See collection? Click here for a list.
Number: NBH_013
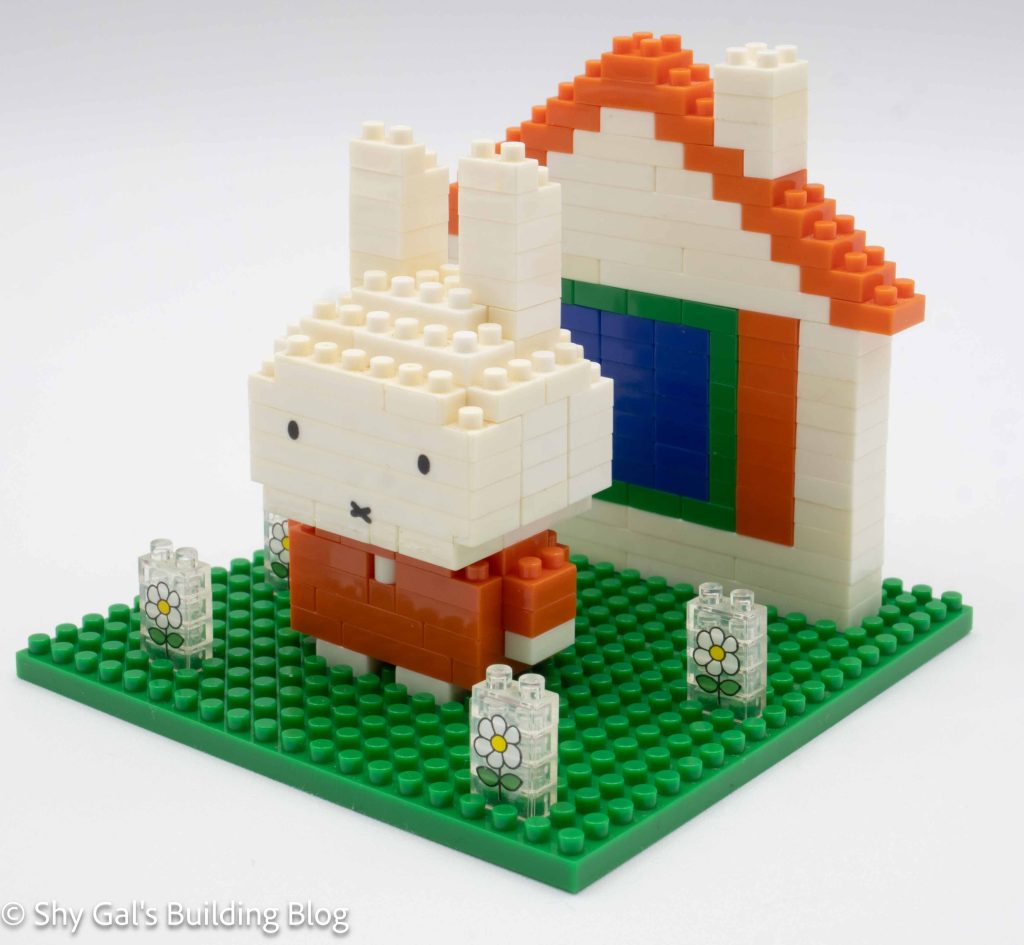
I bought this kit used. This means miffy had already been built because a sticker is used to create the face. I didn’t get a box when I bought this kit, so I don’t know how many pieces or what the difficulty is.
I bought this kit used, knowing I would at least get the instructions. I ended additionally getting all the bricks to complete the kit. Sadly, however, the white has become yellow with age. The discolored bricks may be visible in my photographs.
The instructions for this kit didn’t include the kit number, so I needed to look that up to get the correct number.
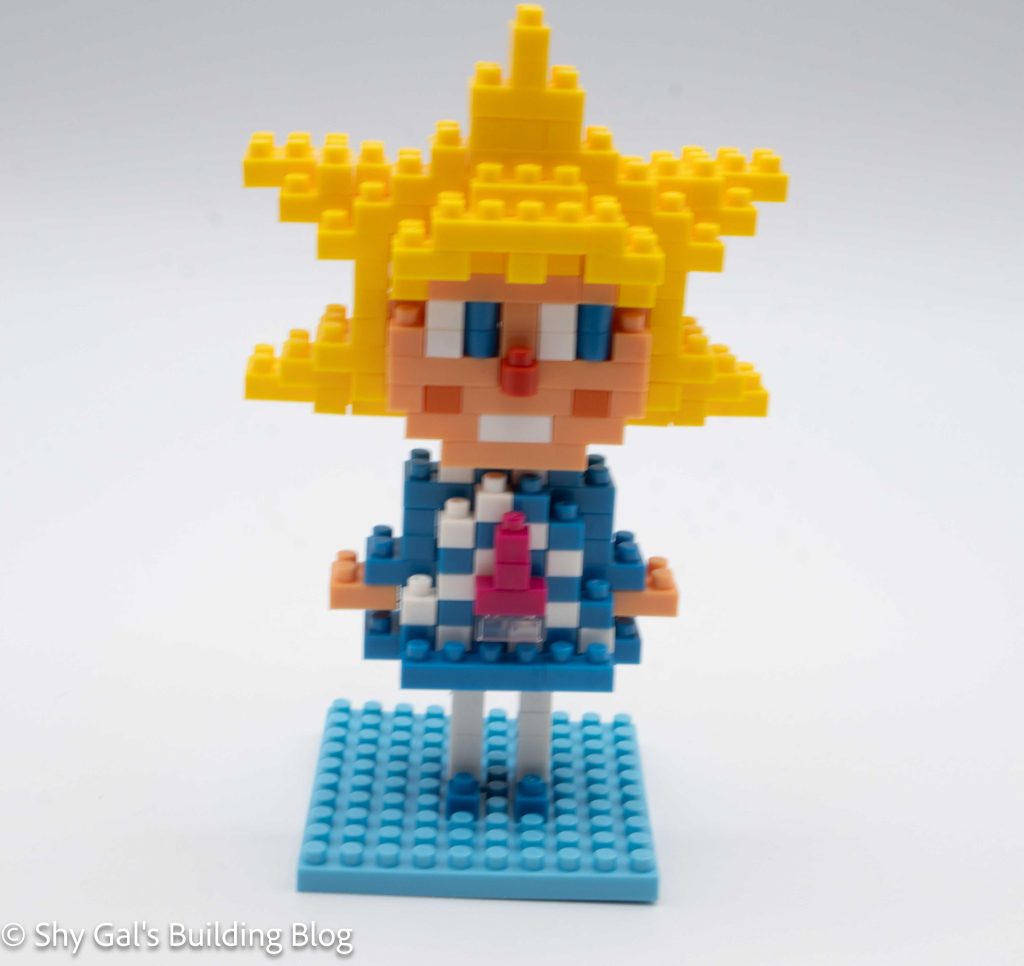
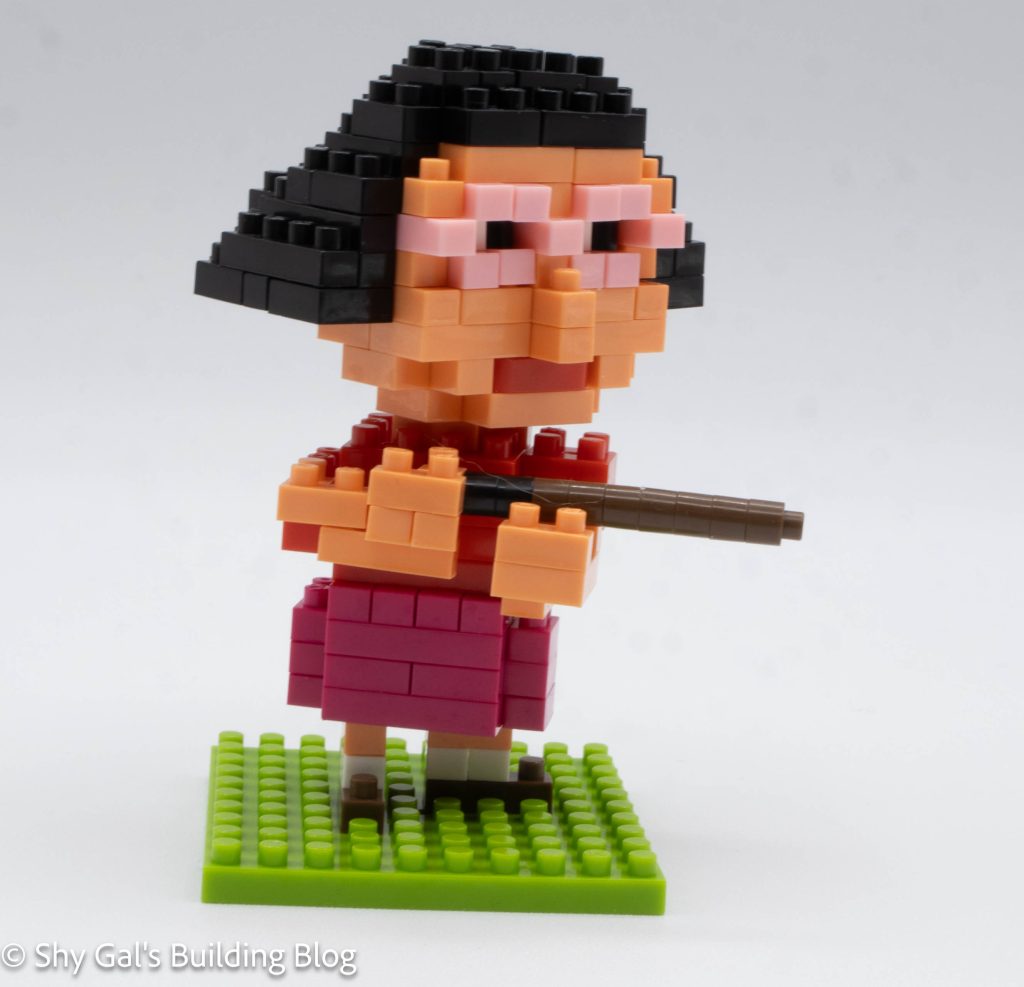
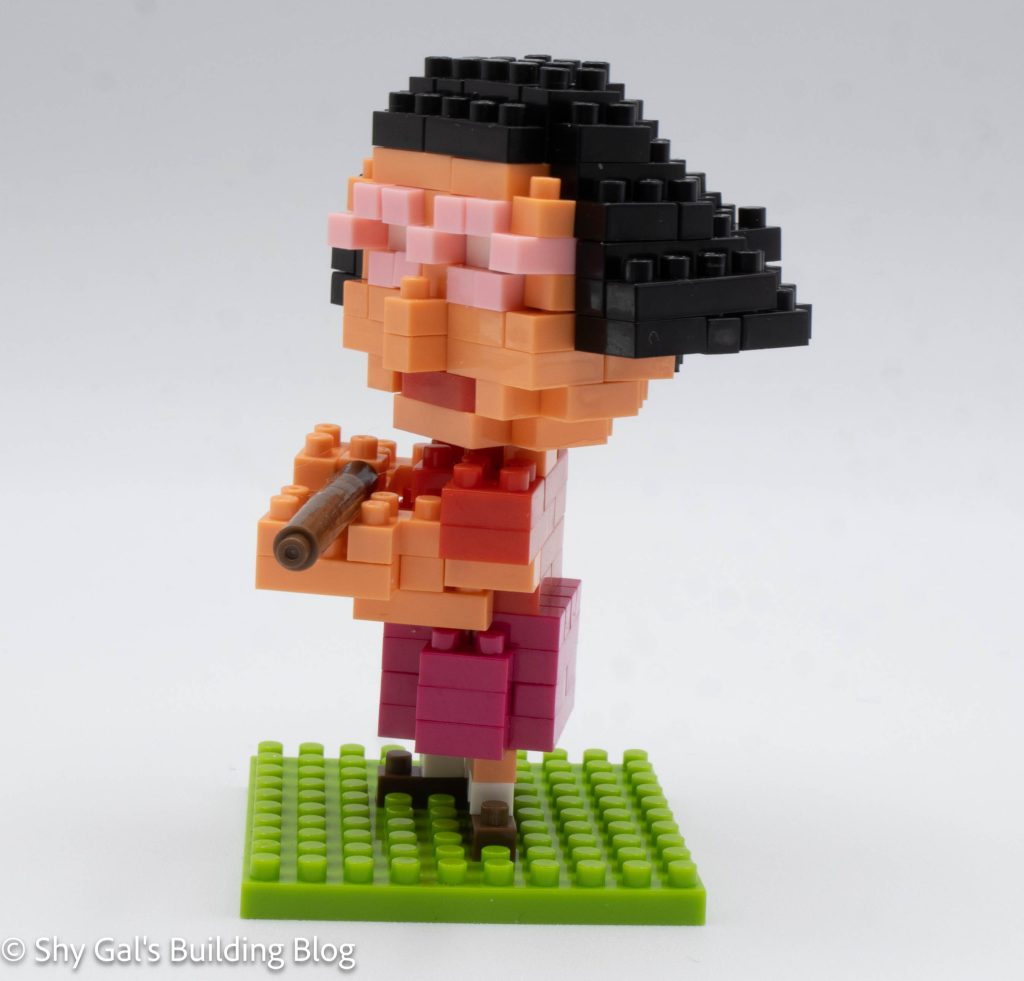
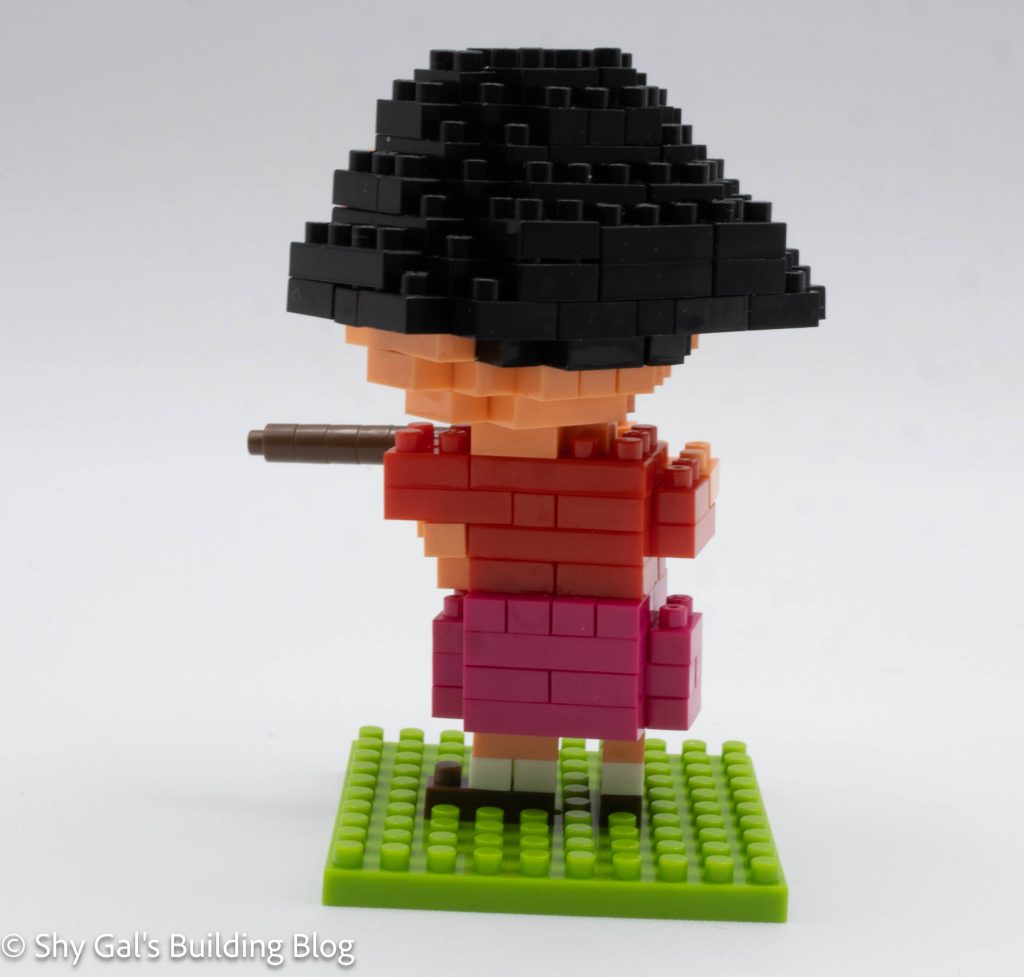
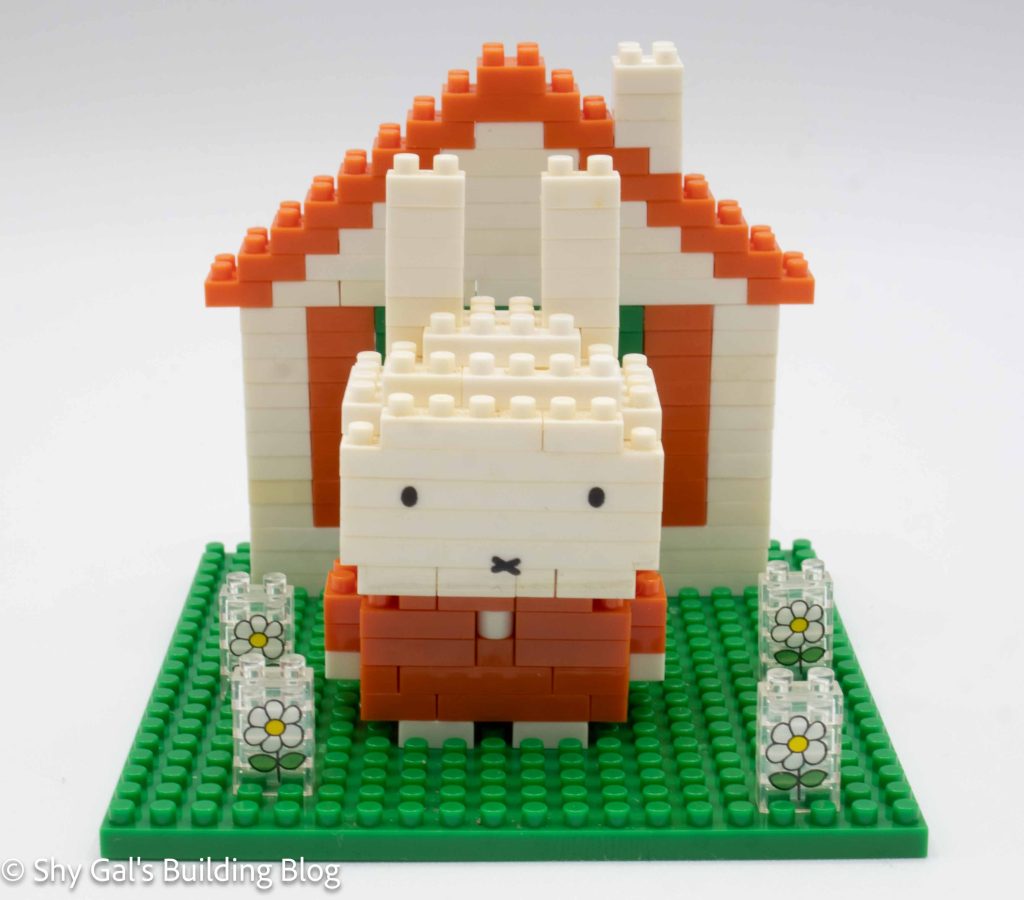
This build is miffy, standing on a green patch of grass with flowers and a house behind her.
Since this kit uses stickers to create the face, miffy came already built. I looked at the instructions to build her and they are very straightforward. The only thing that isn’t clear is when to add the sticker. This is because the kit is so old that there are no English instructions for how to complete the kit.
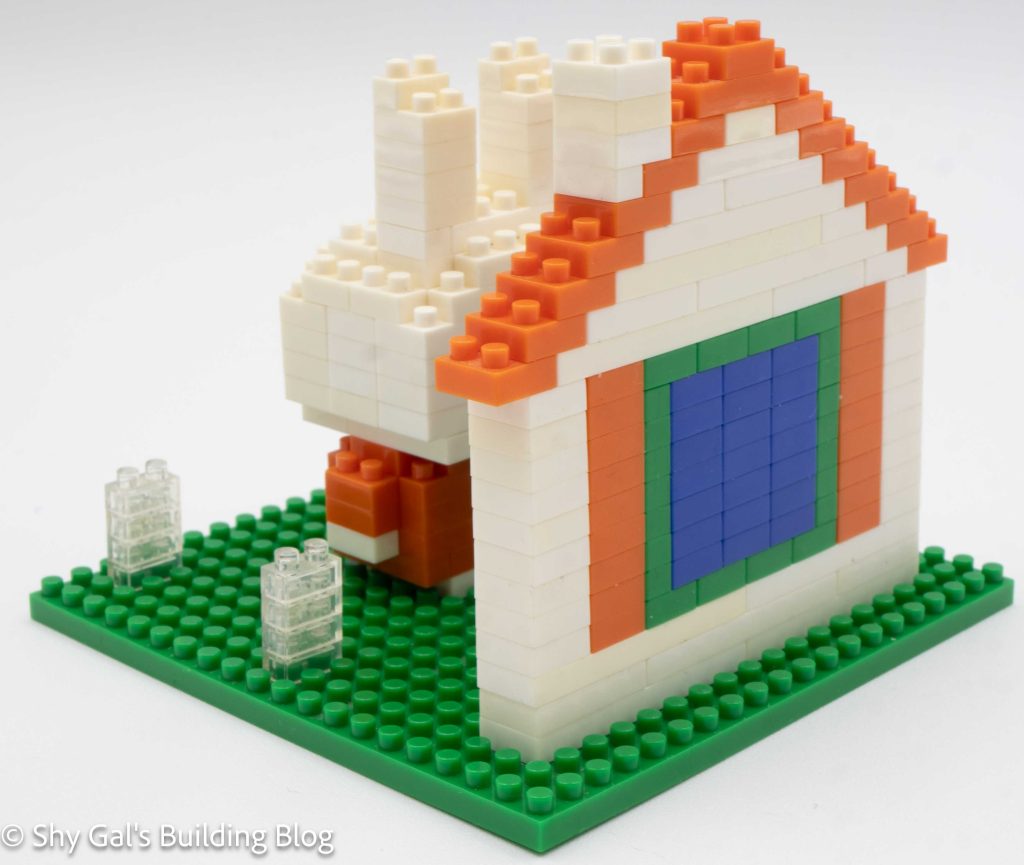
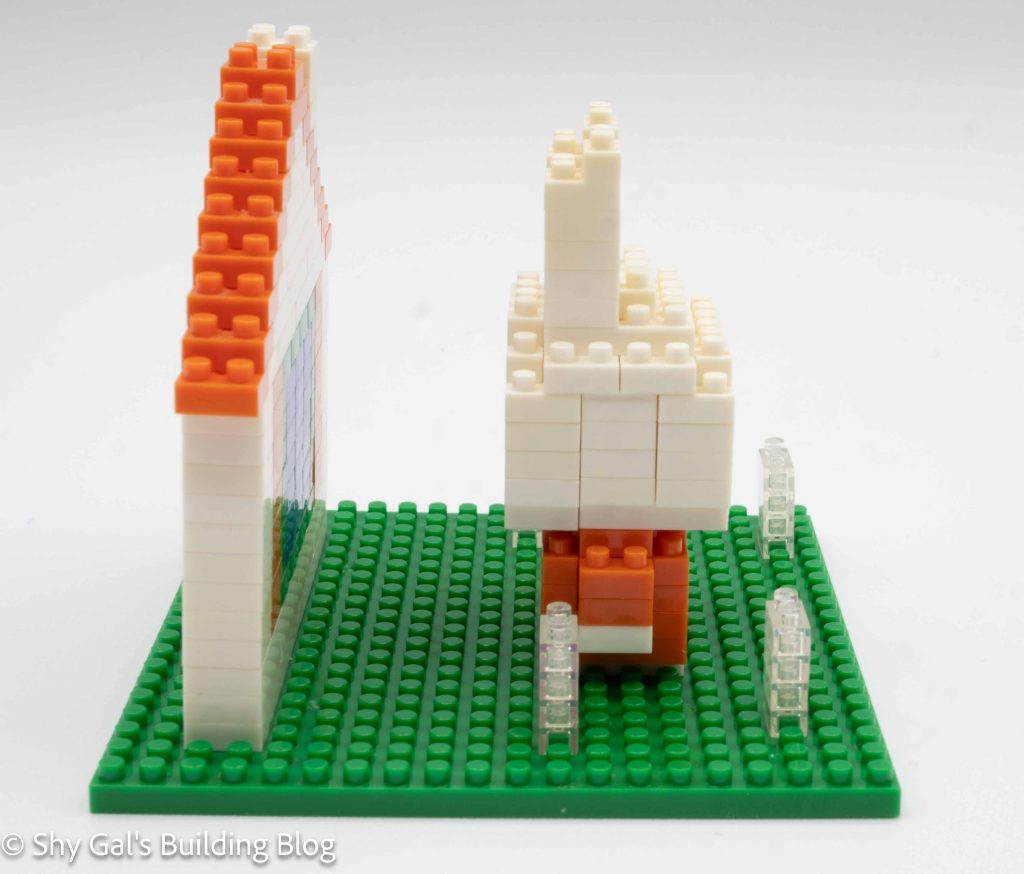
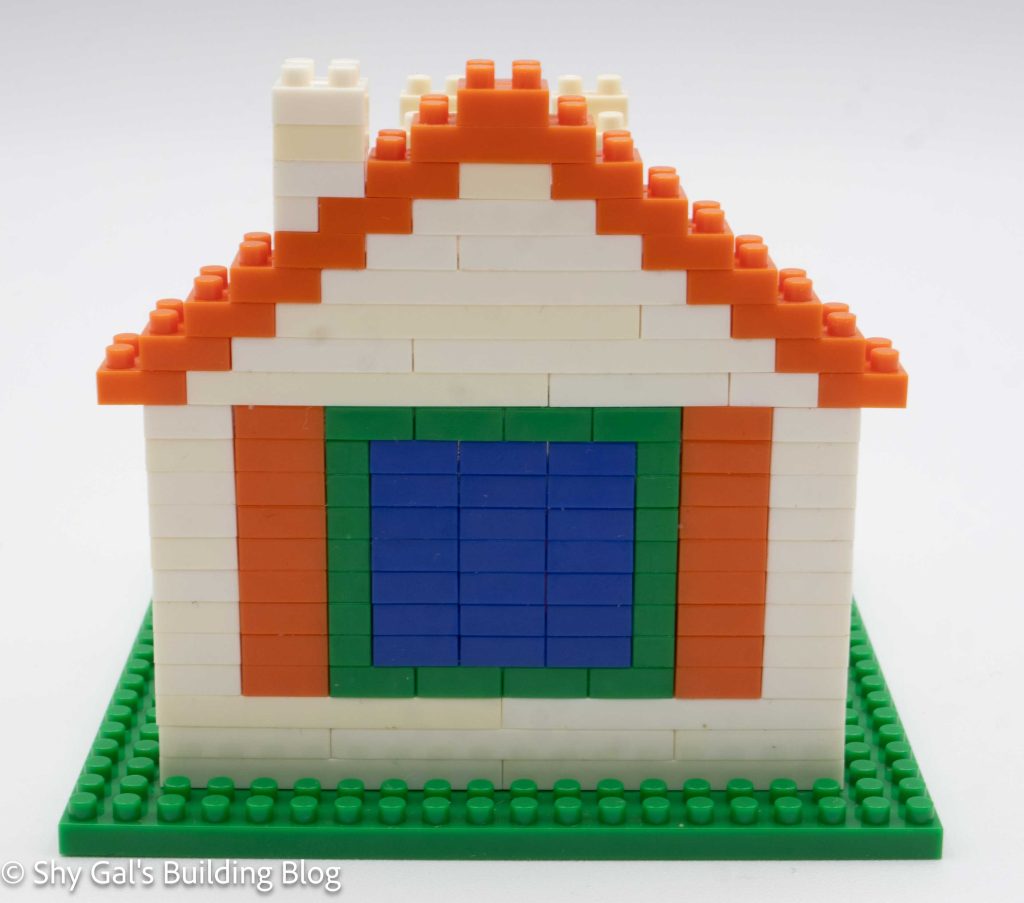
The house section of the build is also fairly simple. The hardest part is step 2, where several towers of bricks are added with no overlap so the tower can easily be pushed off. Once I added the first couple steps of the roof, all the towers were locked into place and no longer moved.
The flowers also came completed in my kit because they have stickers but were very straightforward if I needed to build them myself
Things I liked:
- I like the flowers on the clear bricks and how they add some nice detail to the build
Things I didn’t like:
- I’m not a fan of stickers that cover multiple bricks because it means I can’t take the build parts to store it