Review of nanoblock Rilakkuma CN-23

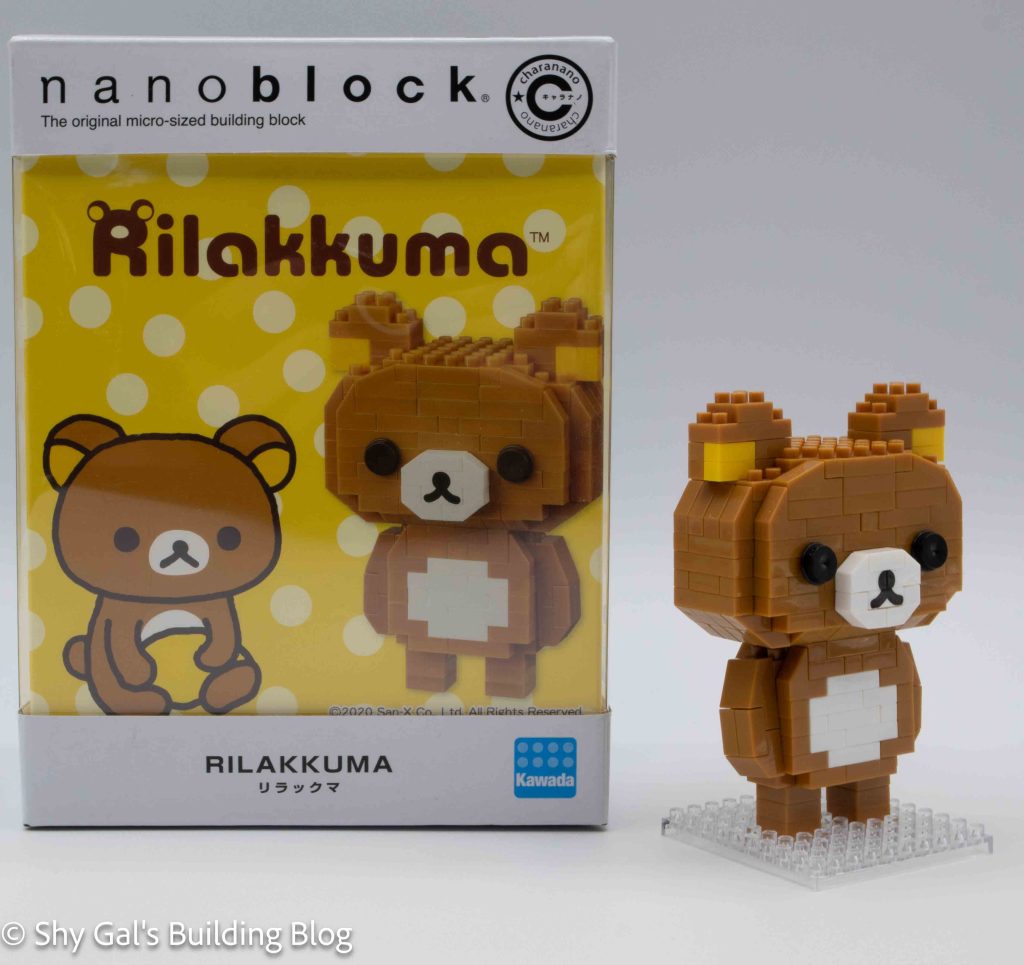
Rilakkuma build and box

This post is a review of the nanoblock Rilakkuma build. Rilakkuma is part of the nanoblock charanano collection. Wondering what else is part of the charanano collection? Click here for a list.
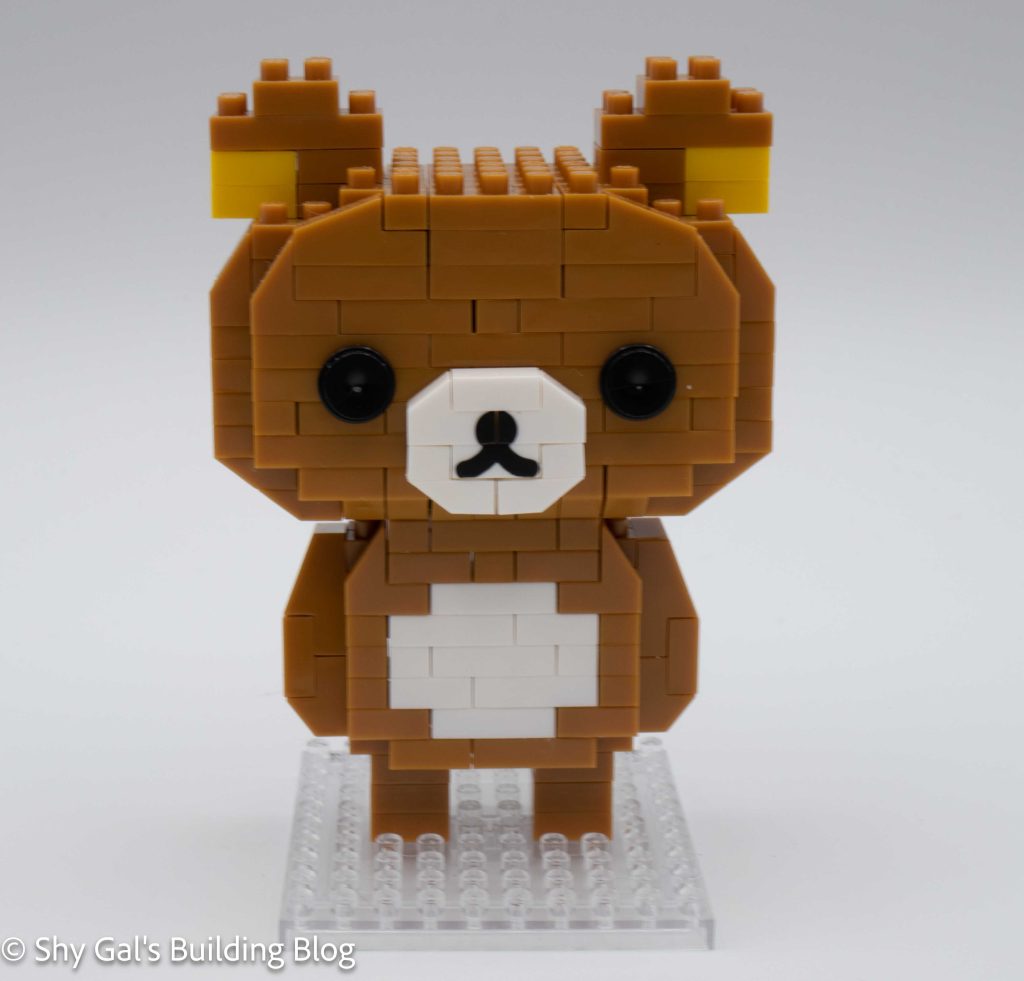
Rilakkuma build front view

Number: CN-23

Number of Pieces:

Difficulty Rating: 2/5
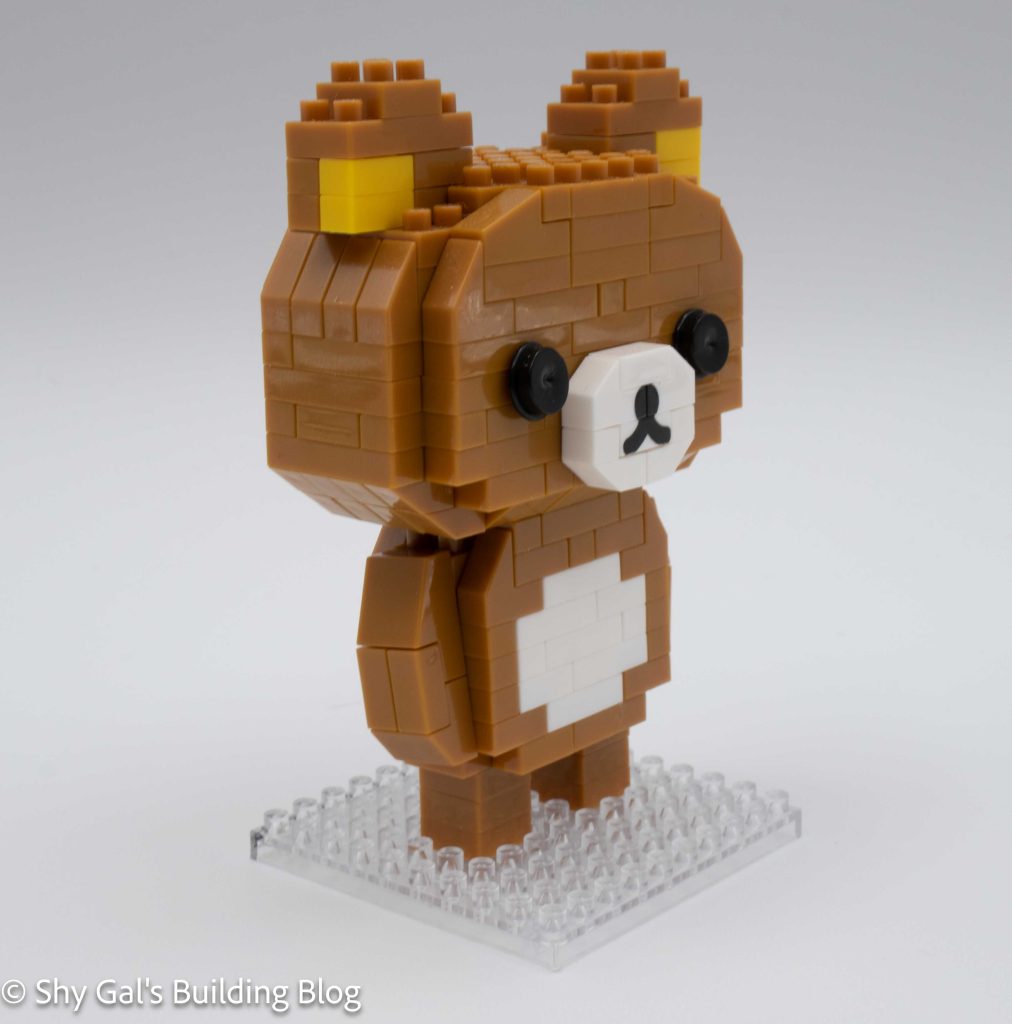
Rilakkuma build front 3/4 view

There are several Rilakkuma builds created by nanoblock. Most of the builds are part of the character line. This bear is unique because it is part of the charanano line. This line is unique because the finished model comes in a display box, so you don’t have to dust the model.
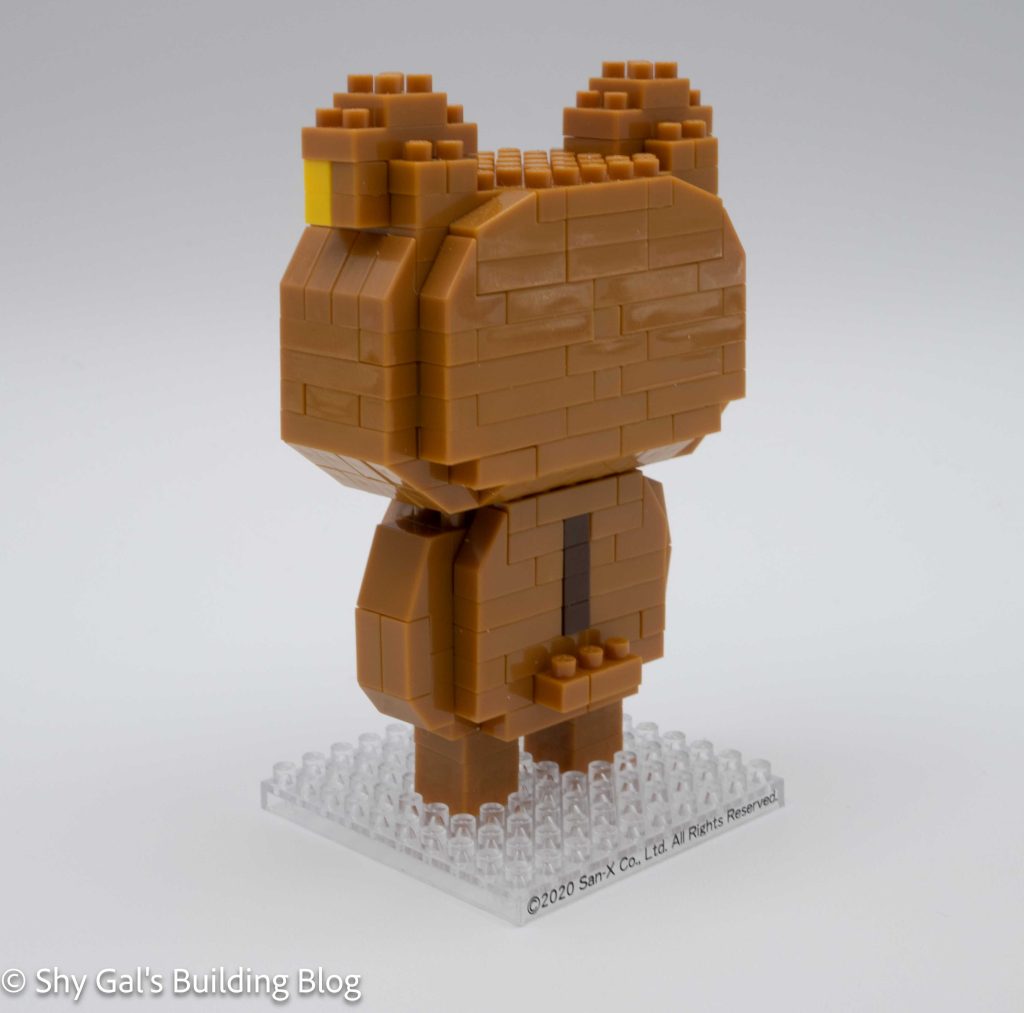
Rilakkuma build back 3/4 view

This build is split between the head and the body. You begin with a base layer of brown. Next, you add layers using brown and white. Once you reach the top of the body, you build and attach the arms. The final step of the body is to take the base, attach the legs, and attach the body to the legs. The next step is to build the head. The head begins with a brown base. You add layers of brown to create the head. After a few layers, you add a custom brick that makes the nose. Once you add the nose, you add a layer with a gap for the eyes. Next, you add the eyes, which are also unique because they are more like circles on a pole instead of a brick. You hold the eye brick in place with 2×2 bricks. After adding the face details, you build the head in layers. In the layer where you close off the head, you add the golden brown for the inside of the ears. Then, you build up the ears to complete the head. The final step is to attach the head to the body.
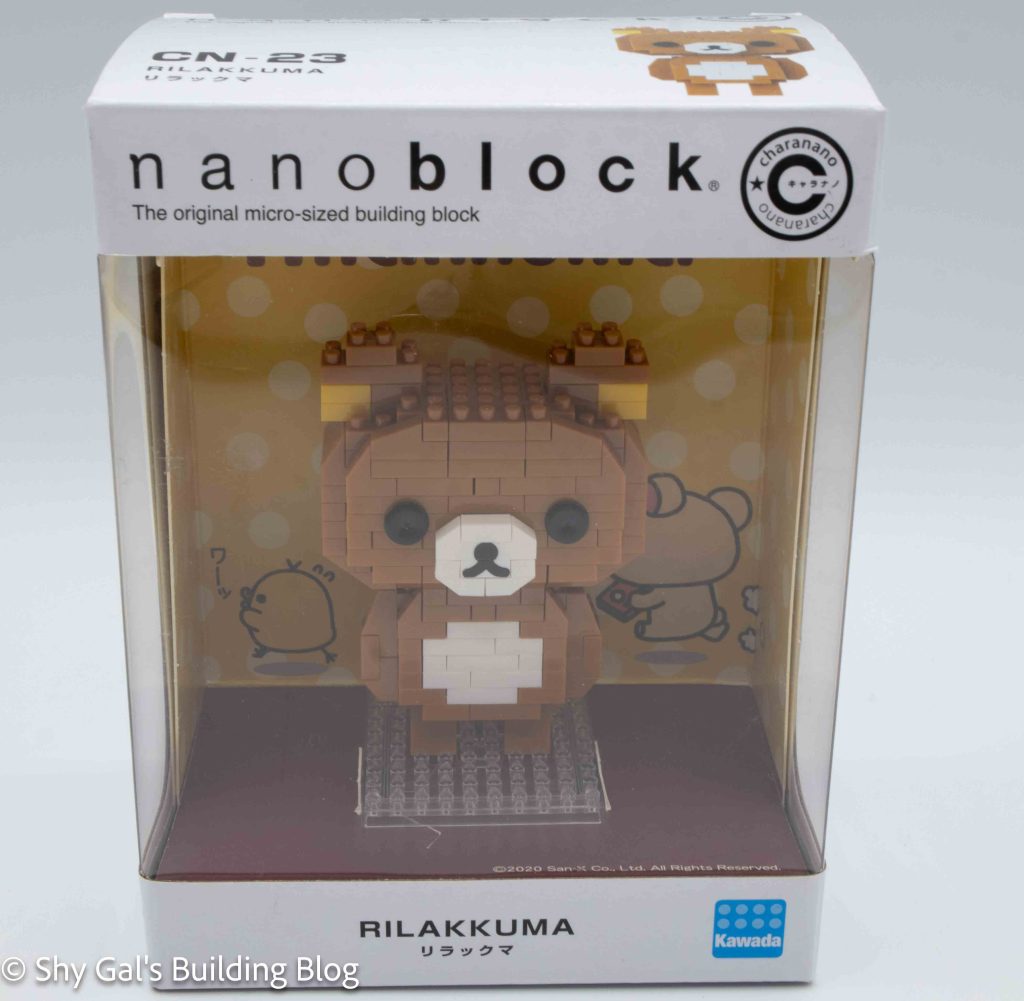
Rilakkuma build inside box

Things I liked:

  • The custom nose brick and how it looks like it’s made of bricks
  • The round eye bricks
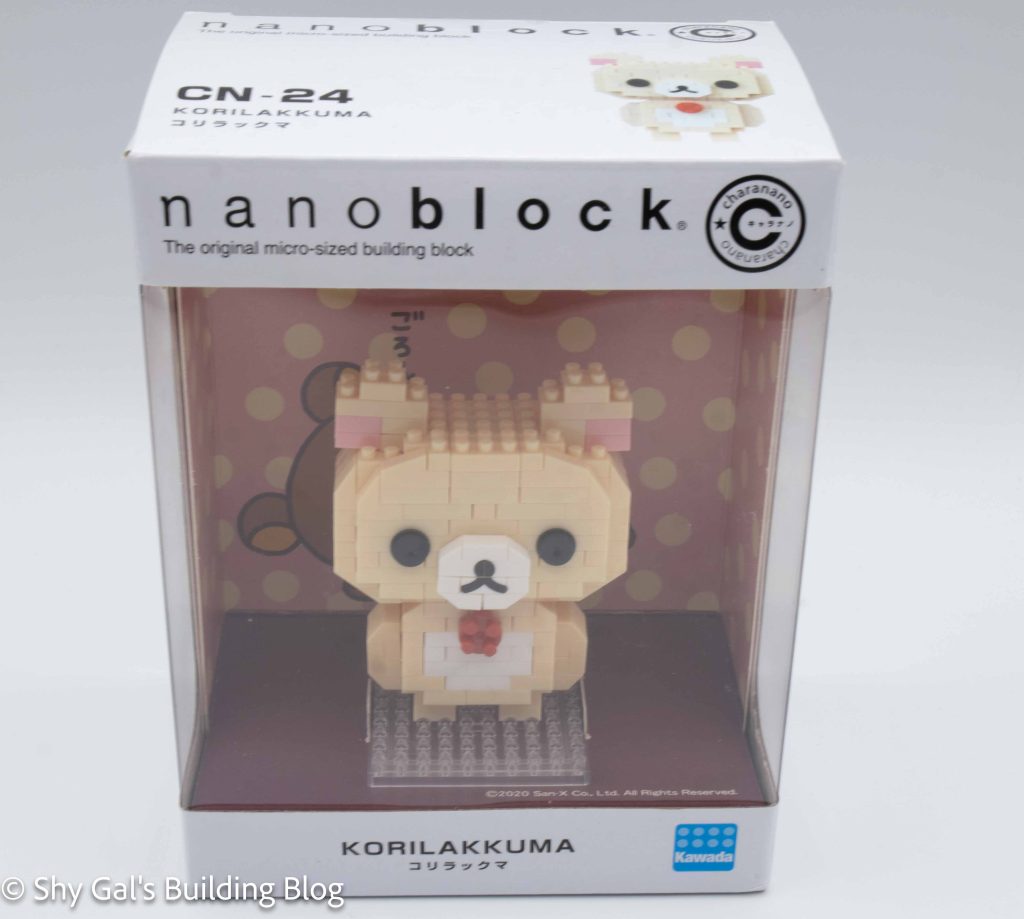
Review of nanoblock Korilakkuma CN-24

Korilakkuma build and box

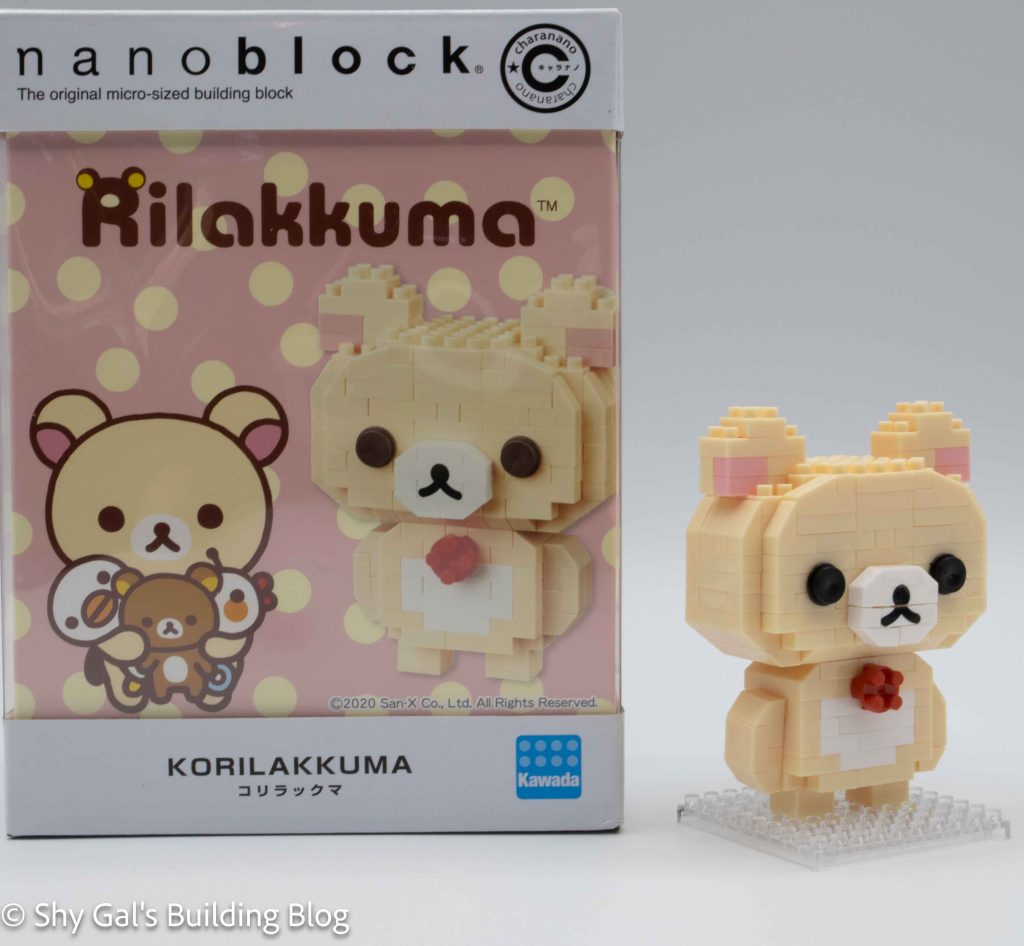
This post is a review of the nanoblock Korilakkuma build. Korilakkuma is part of the nanoblock charanano collection. Wondering what else is part of the charanano collection? Click here for a list.

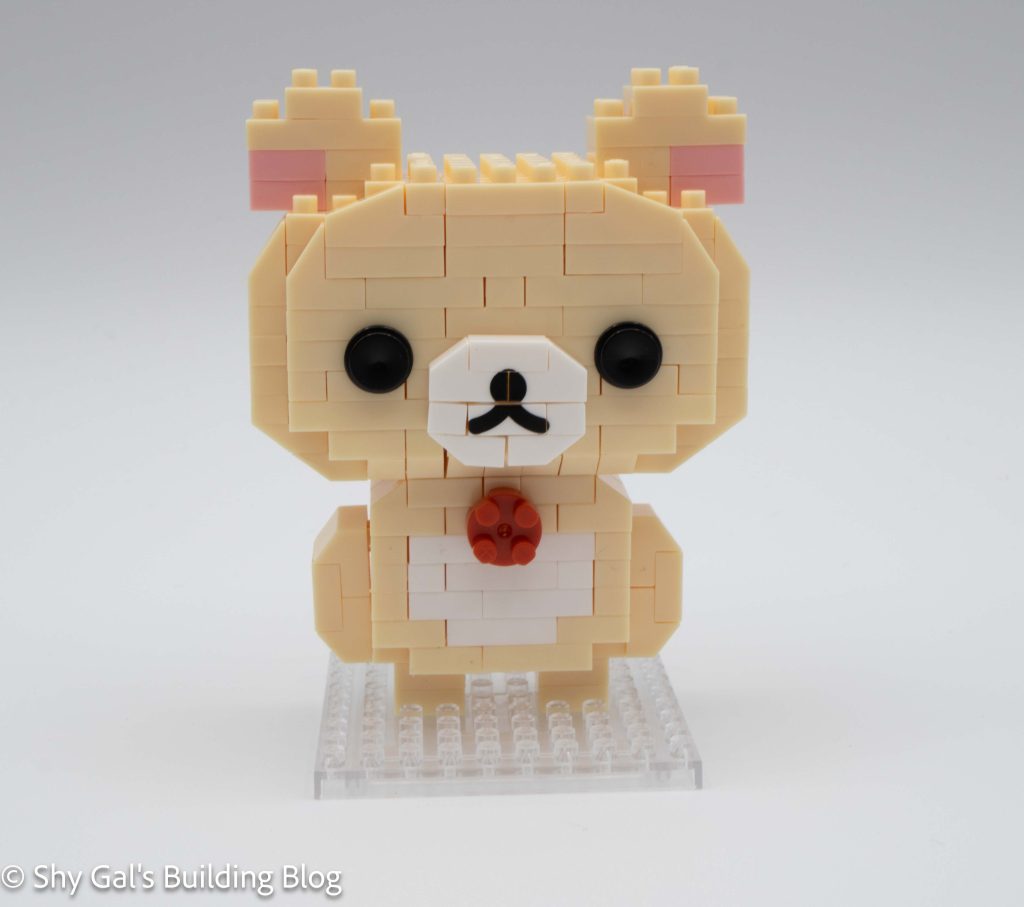
Korilakkuma build front view

Number: CN-24

Number of Pieces:

Difficulty Rating: 2/5

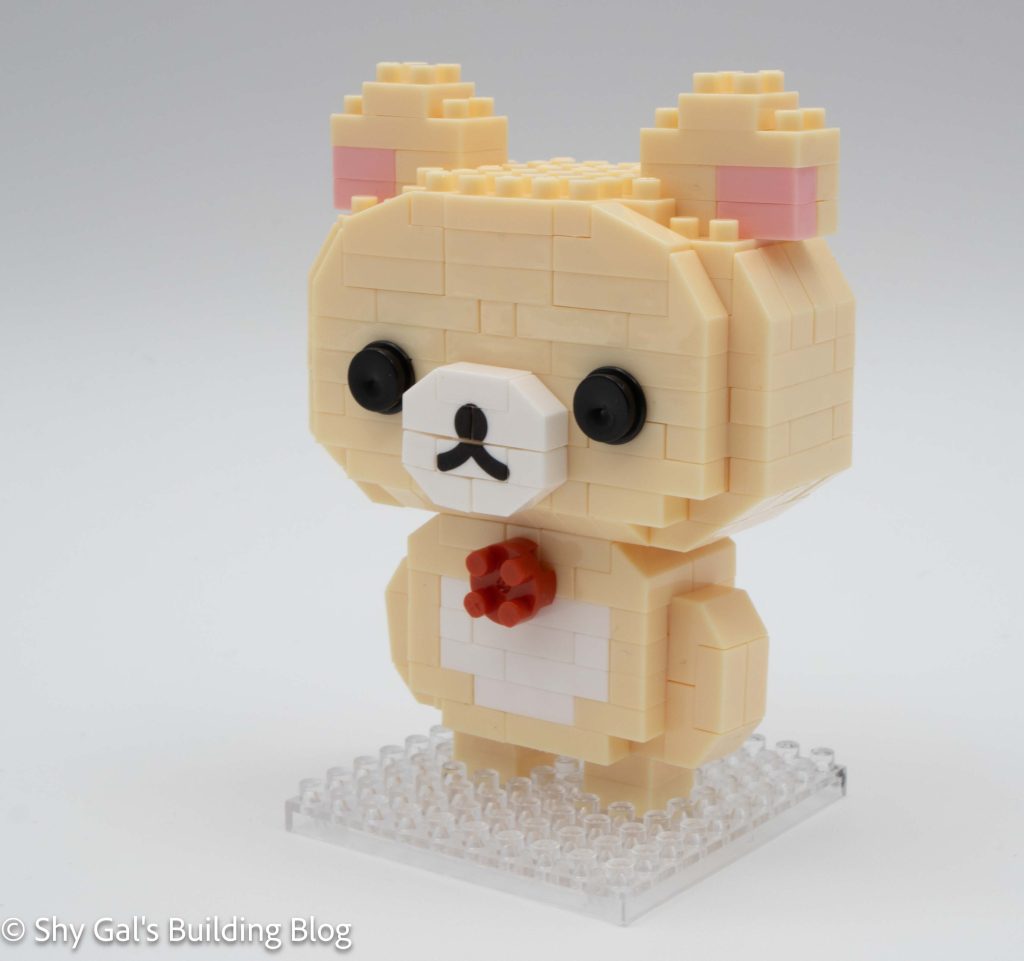
Korilakkuma build front 3/4 view

There are several Rilakkuma builds created by nanoblock. Most of the builds are part of the character line. This Korilakkuma is part of the charanano line. This line is unique because the finished model comes in a display box, so you don’t have to dust the model.

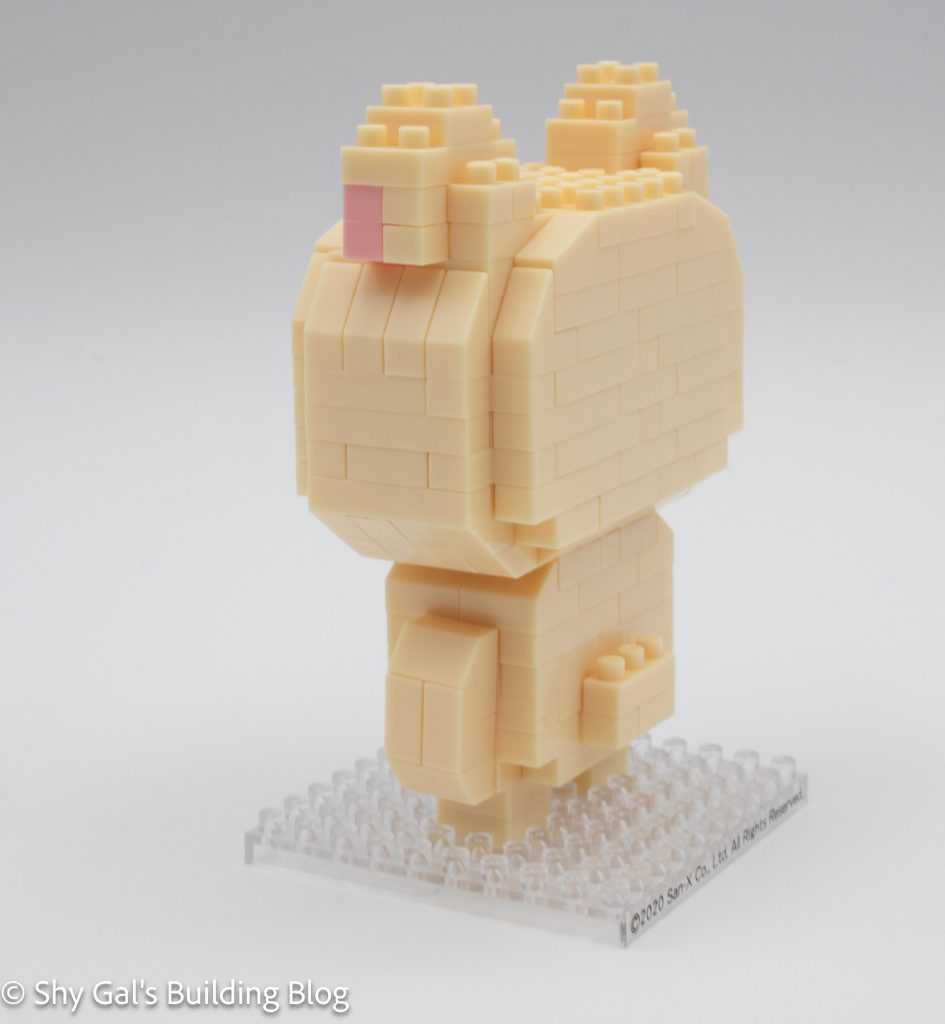
Korilakkuma build back 3/4 view

This build is split between the head and the body. You begin with a base layer of cream. Next, you add layers using cream and white. While building up, you add the red button on the top of the stomach. Once you reach the top of the body, you build and attach the arms. The final step of the body is to take the base, attach the legs, and attach the body to the legs. The next step is to build the head. The head begins with a base of cream. You add layers of cream to create the head. After a few layers, you add a custom brick that makes the nose. Once you add the nose, you add a layer with a gap for the eyes. Next, you add the eyes, which are also unique because they are more like circles on a pole instead of a brick. You hold the eye brick in place with 2×2 bricks. After adding the face details, you build the head in layers. In the layer where you close off the head, you add pink for the inside of the ears. Then, you build up the ears to complete the head. The final step is to attach the head to the body.

Korilakkuma build inside box

Things I liked:

  • The custom nose brick and how it looks like it’s made of bricks
  • The round eye bricks
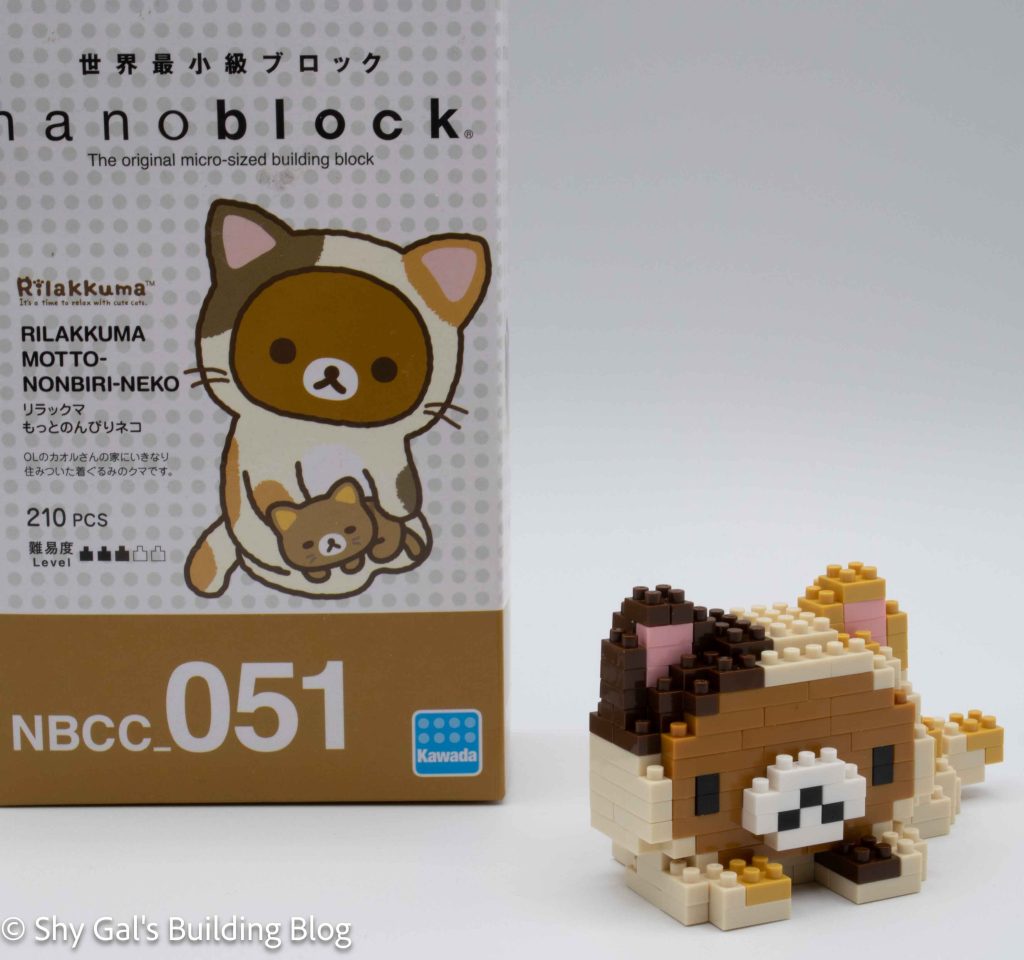
Review of nanoblock Rilakkuma Motto-Nonbiri-Neko NBCC_051

Rilakkuma Motto-Nonbiri-Neko build and box

This post is a review of the nanoblock Rilakkuma Motto-Nonbiri-Neko build. Rilakkuma Motto-Nonbiri-Neko is part of the nanoblock Character collection. Wondering what else is part of the Character Collection? Click Here for a list.

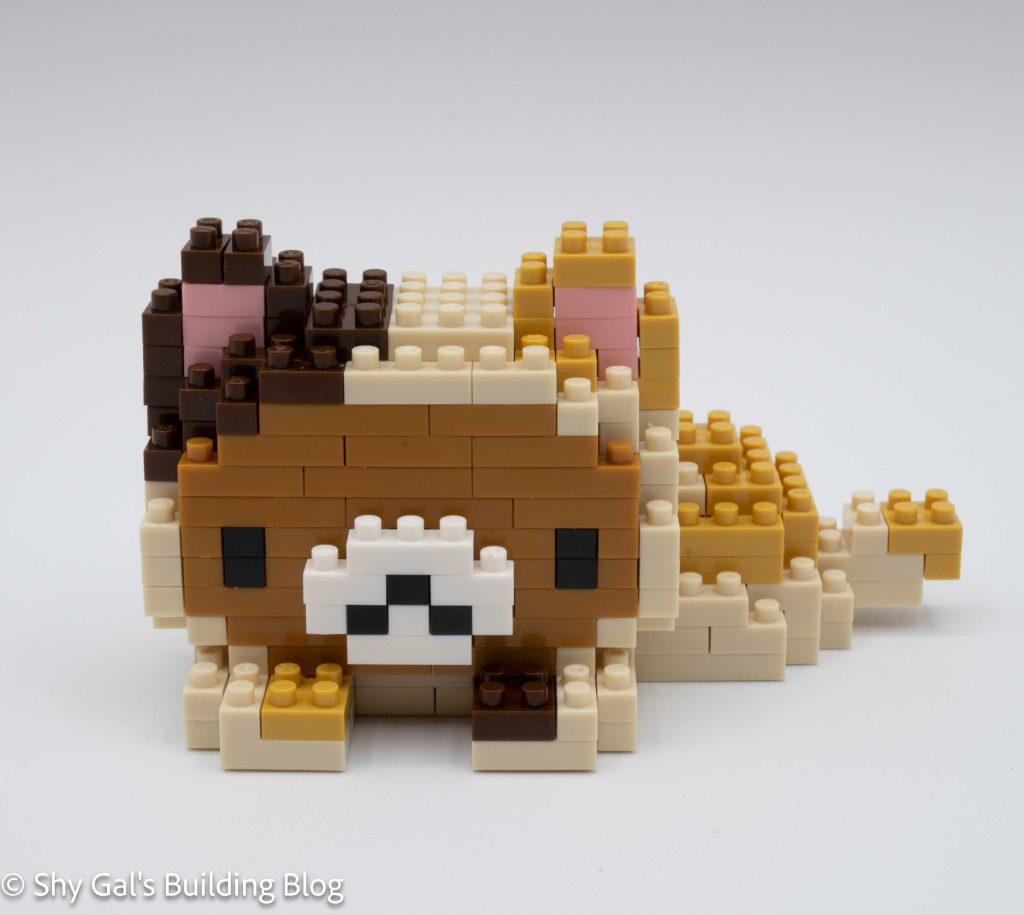
Rilakkuma Motto-Nonbiri-Neko build front view

Number: NBCC_051

Number of Pieces: 210

Difficulty Rating: 3/5

Rilakkuma Motto-Nonbiri-Neko build back view

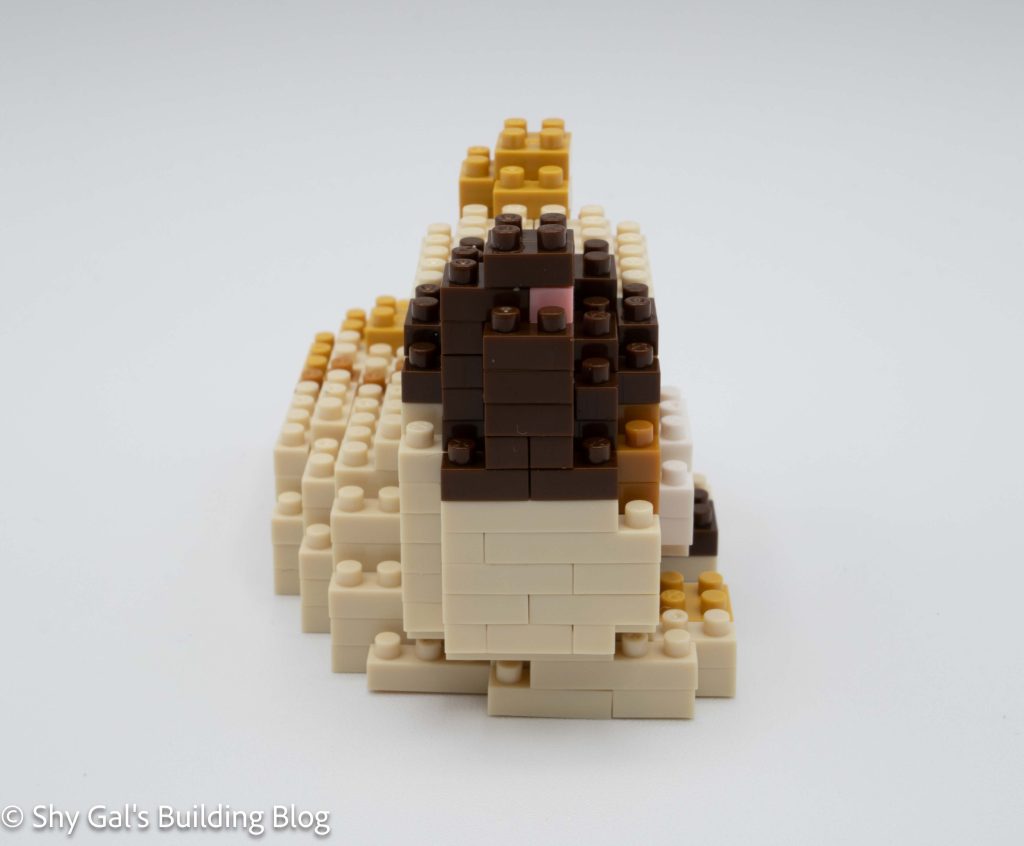
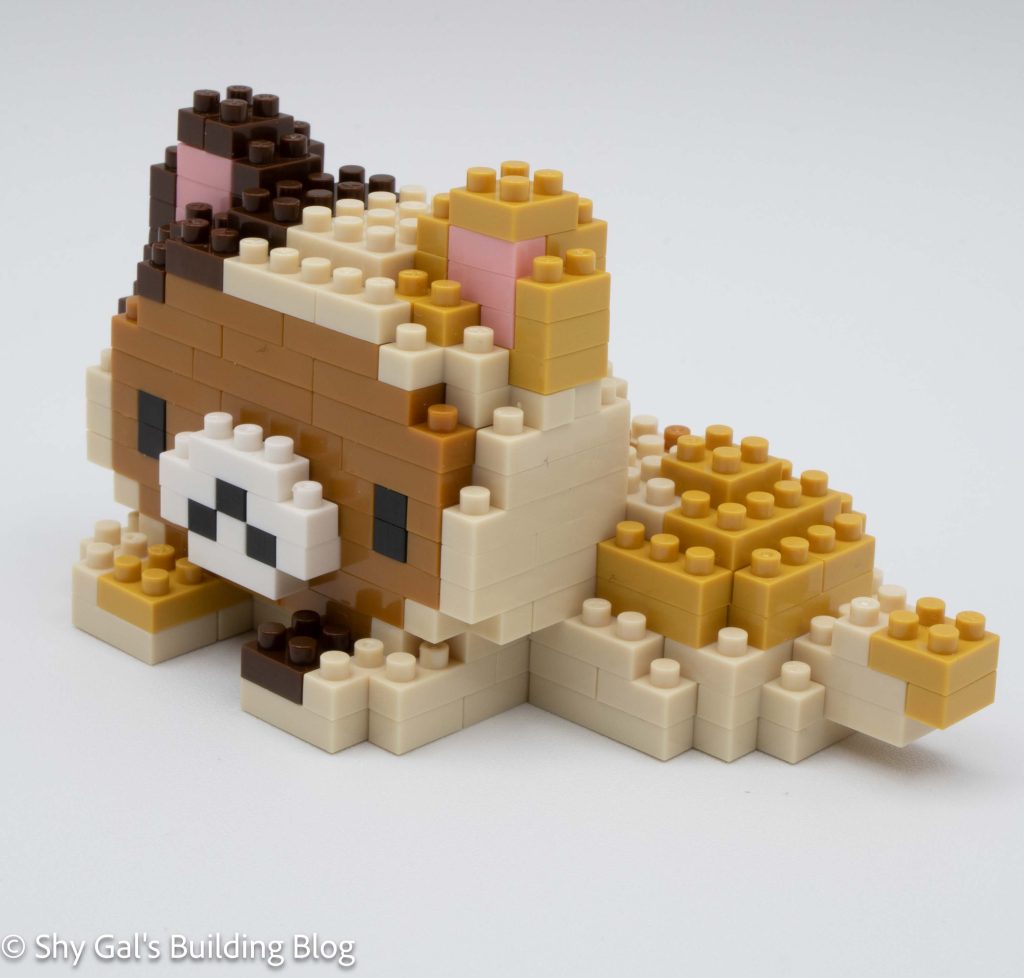
This version of Rilakkuma is dressed up in a cream and brown spotted cat costume. He is lying on his stomach with his paws out like a cat.

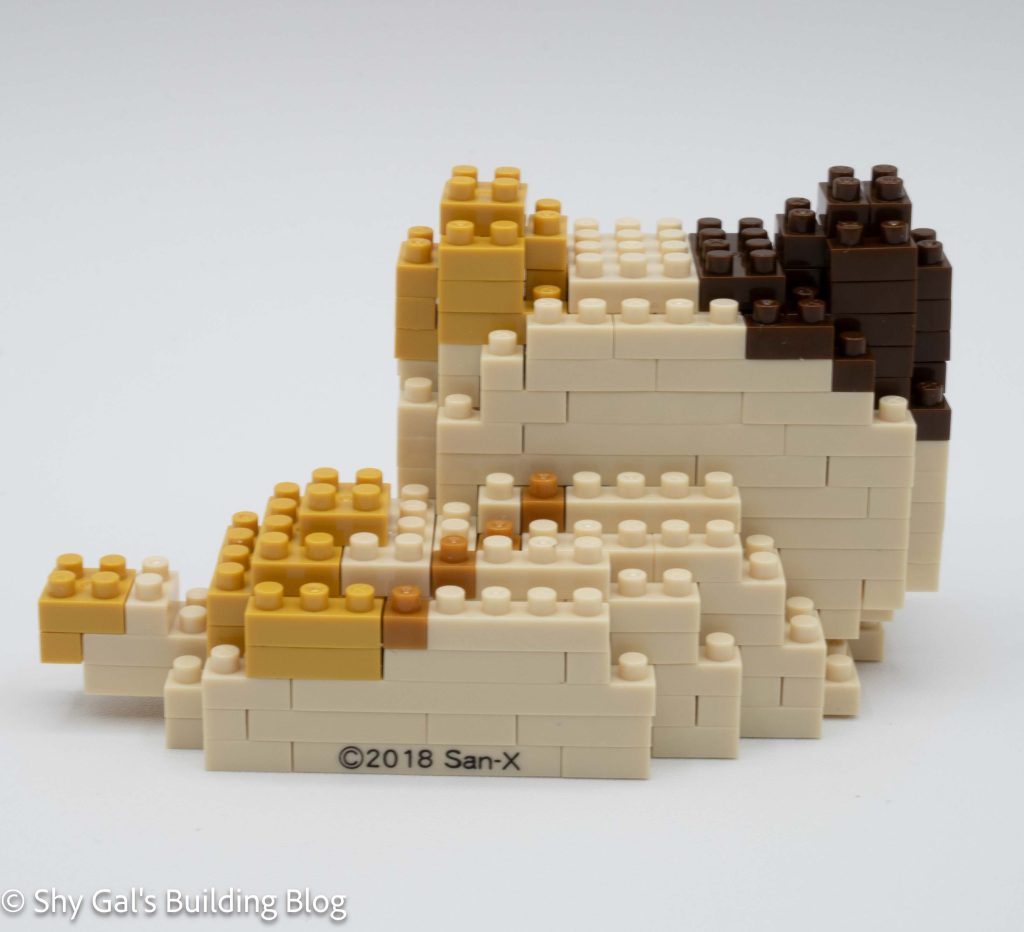
This build started with a large complete base of cream bricks. A custom-printed brick says 2018 San-X to identify the copyright on the build.

Rilakkuma Motto-Nonbiri-Neko build side view

The rest of the build is built in layers. The first four or five layers focus on the head and the body. After step six, the main focus is continuing to build the head. As you add the various layers, you primarily focus on adding cream bricks and the variously colored spots. The details of the face are created with black and white bricks.

Overall I really like this build. I think that it is a really cute costume for Rilakkuma.

Rilakkuma Motto-Nonbiri-Neko build 3/4 view

Things I liked:

  • I think the catsuit is really cute

Things I didn’t like:

  • There are some places around the head where the costume doesn’t look complete, and like there may be blocks missing

Review of nanoblock Korilakkuma Panda de Goron NBH_112

Korilakkuma Panda de Goron build and box

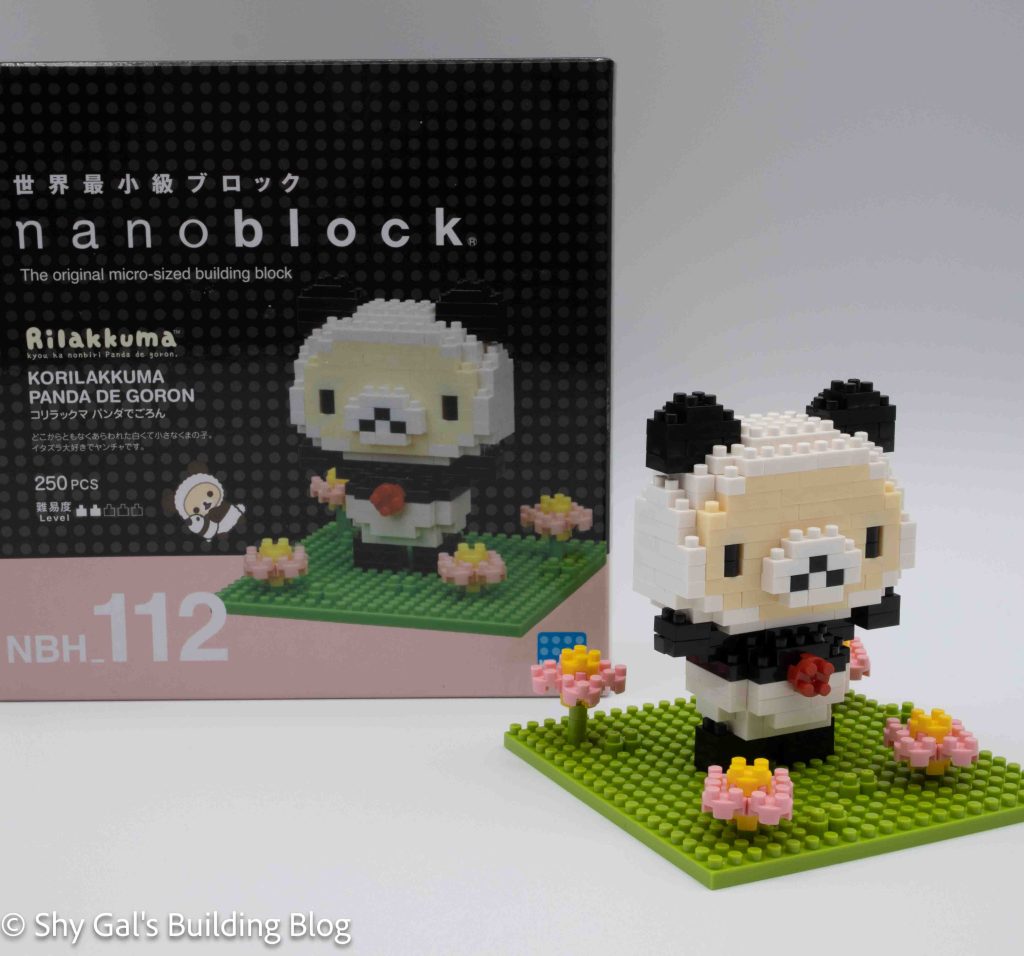
This post is a review of the nanoblock Korilakkuma Panda de Goron build. Korilakkuma Panda de Goron is part of the nanoblock Sights to See collection. Wondering what else is part of the Sights to See collection? Click here for a list.

Number: NBH_112

Number of Pieces: 250

Difficulty Rating: 2/5

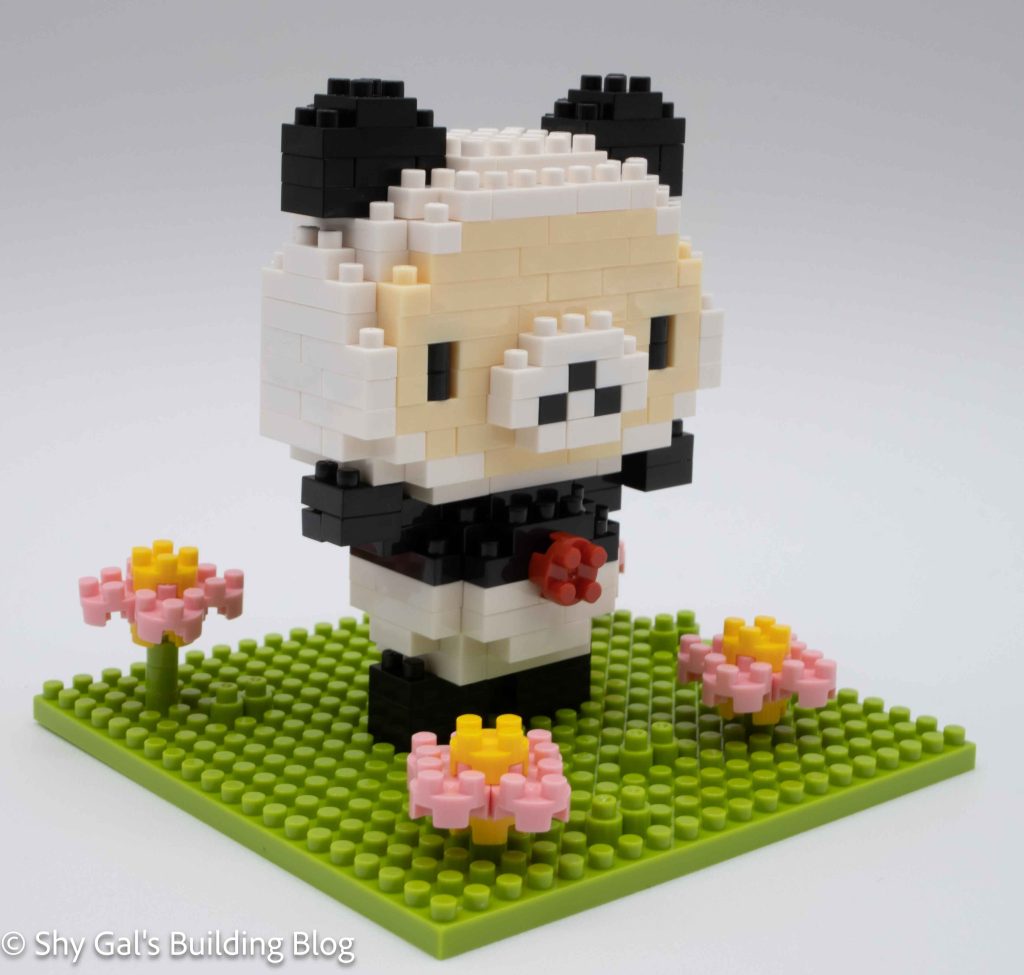
Korilakkuma Panda de Goron build front view

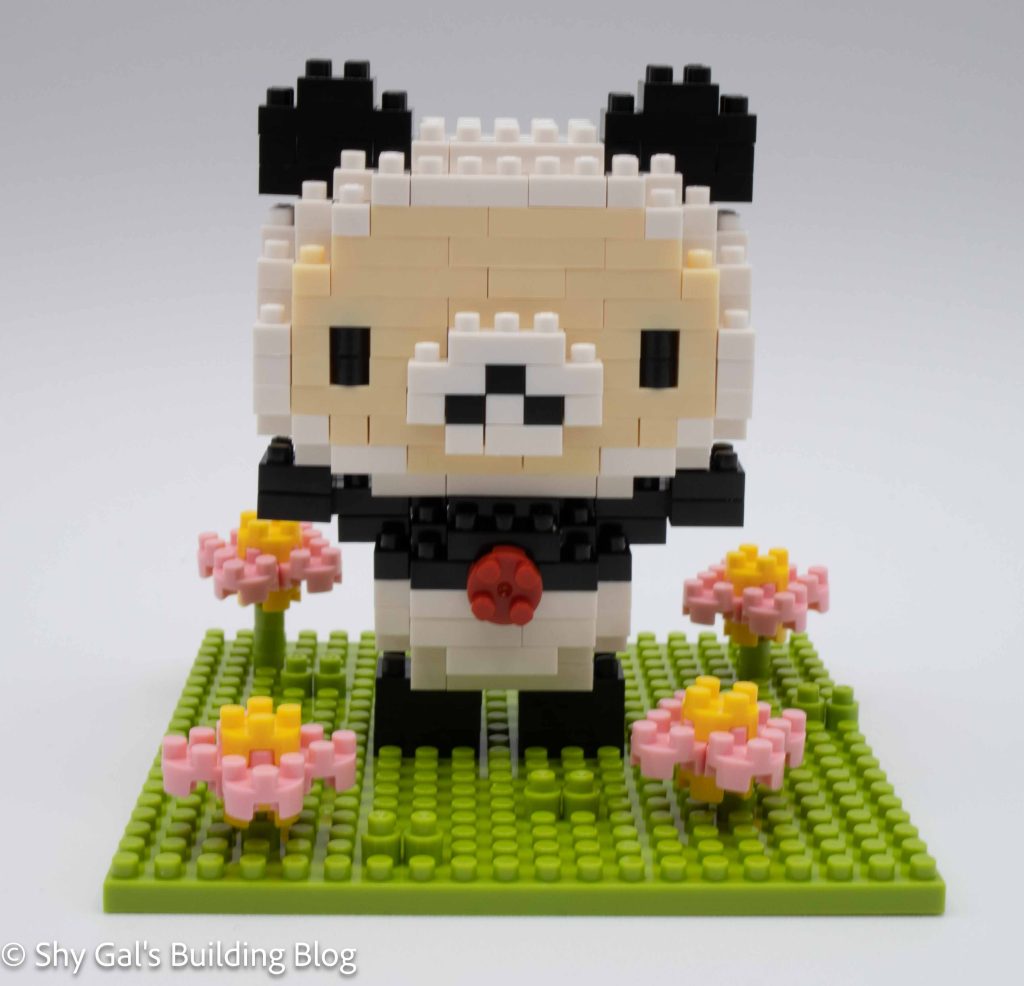
This is a build of Korilakkuma from the Rilakkuma line dressed up as a panda bear.

The build is made up of 2 sections. There is the base with the body and Korilakkuma’s head.

Korilakkuma Panda de Goron build front 3/4 view

The first couple of steps of the base requires the most work to get the bricks in the right place. This is because you are putting bricks on the 20×20 base to act as bases for the bear and the flowers.

After getting the base set up, you build the body of the panda costume. I really like that nanoblock kept the detail of Korilakkuma’s red bell in the build. Building the flowers was very straightforward but unique because of the use of round bricks.

Korilakkuma Panda de Goron build side view

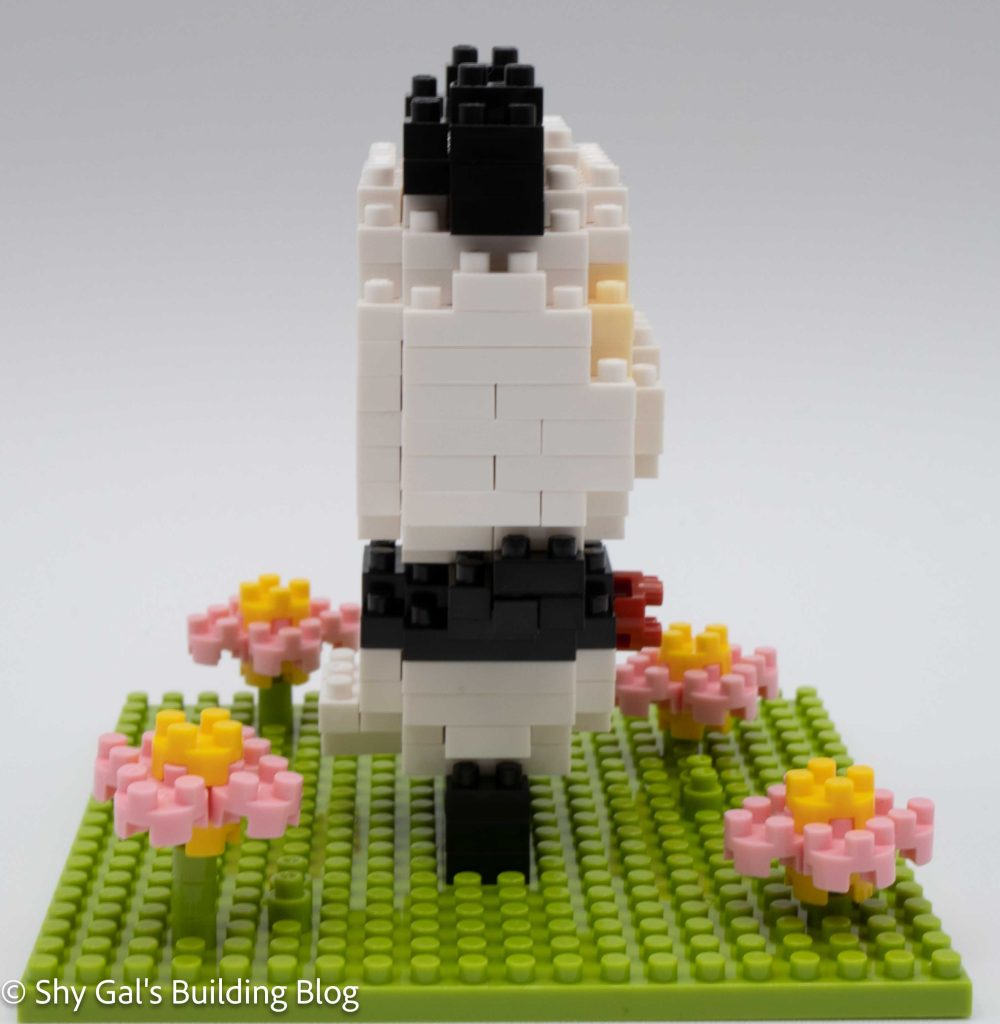
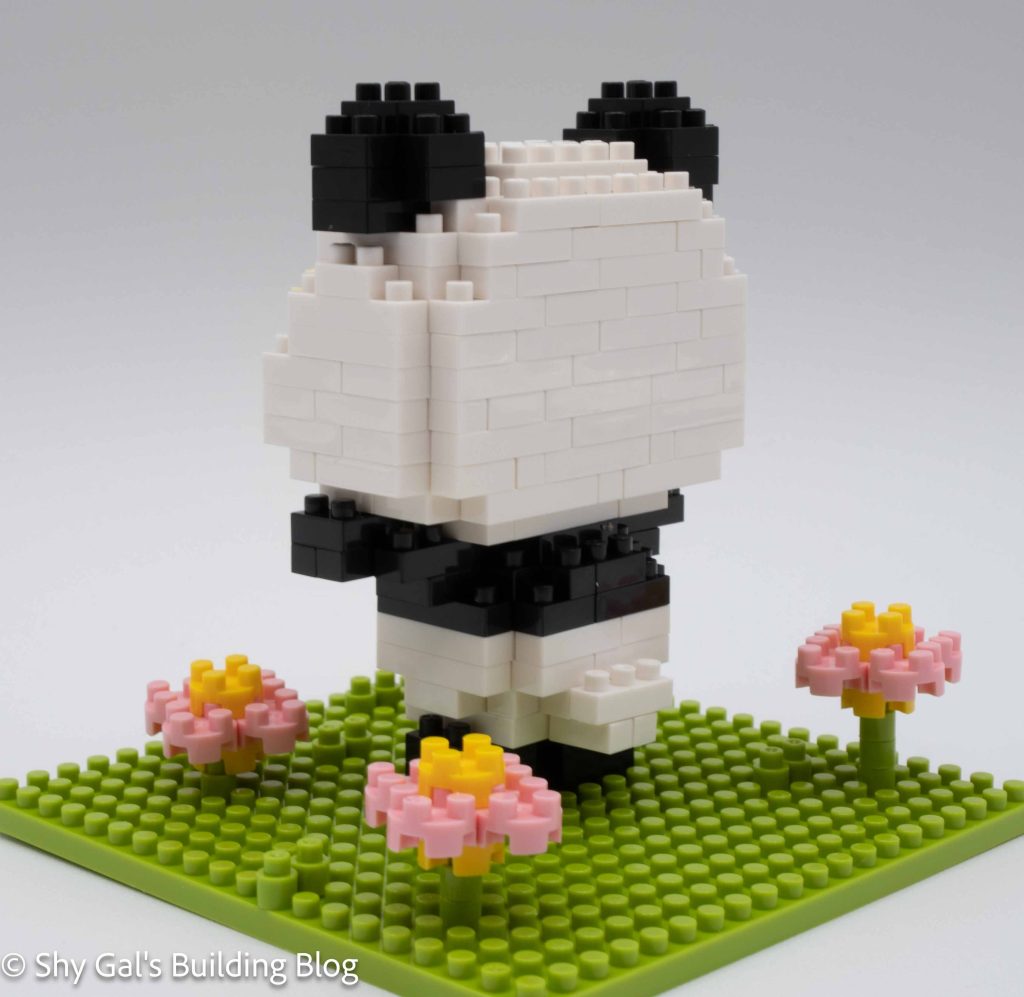
The head is pretty straightforward. It begins with a base layer and builds up in layers. As I got to the end, I was worried because there was a gap in the head. It ended up being ok because the holes were covered by the ears. It was tricky to figure out exactly where the head was attached to the body, but I was able to figure it out.

Korilakkuma Panda de Goron build back 3/4 view

Things I liked:

  • I think the flowers that are in the build. I think they are cute.

Things I didn’t like:

  • It was a bit confusing how the head actually attaches.

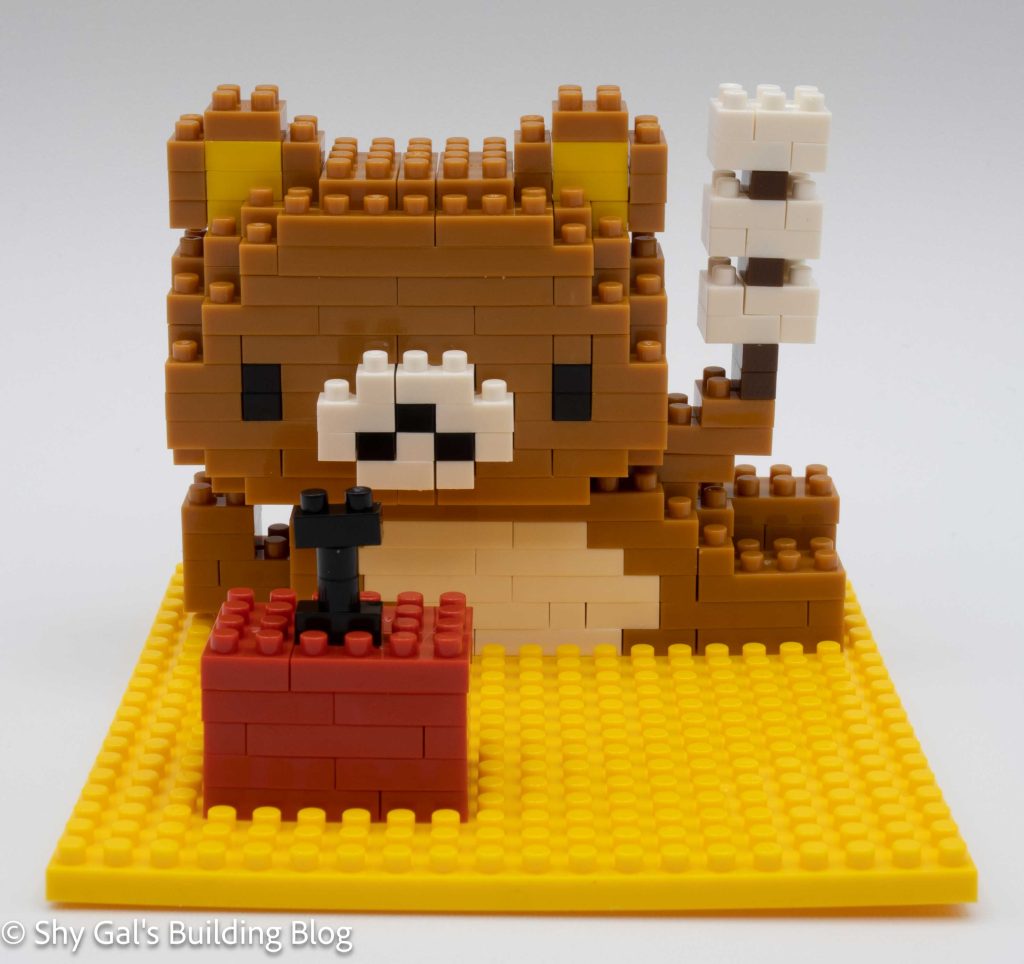
Review of nanoblock Rilakkuma no oyatsu time NBH_041

Rilakkuma no oyatsu time build and box

This post is a review of the nanoblock Rilakkuma no oyatsu build. Rilakkuma no oyatsu is part of the nanoblock Sights to See collection. Wondering what else is part of the Sights to See Collection? Click here for a list.

Number: NBH_041

Difficulty Rating: 2

Rilakkuma no oyatsu time build front view

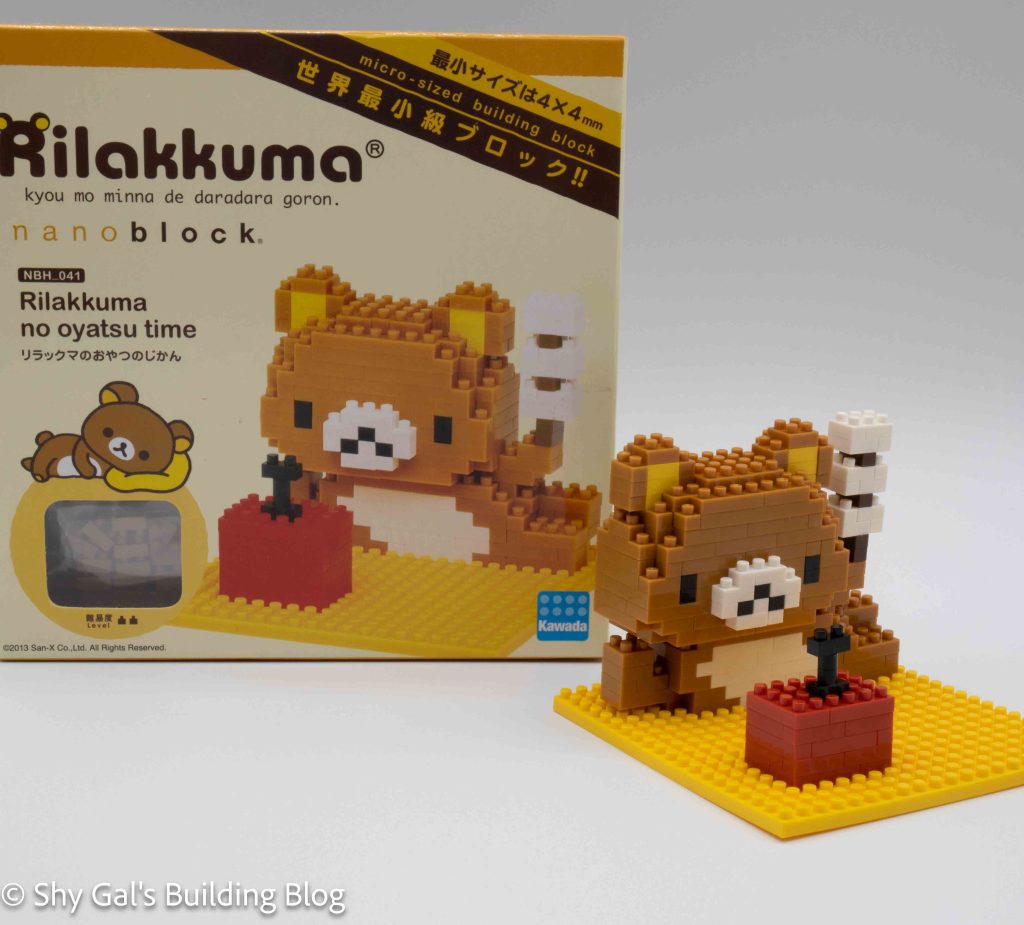
This is a build of Rilakkuma relaxing eating and afternoon snack. According to Google, oyatsu “refers to an afternoon snack that was originally eaten at yatsudoki (approximately 2 p.m.) according to the old Japanese way of counting time.”

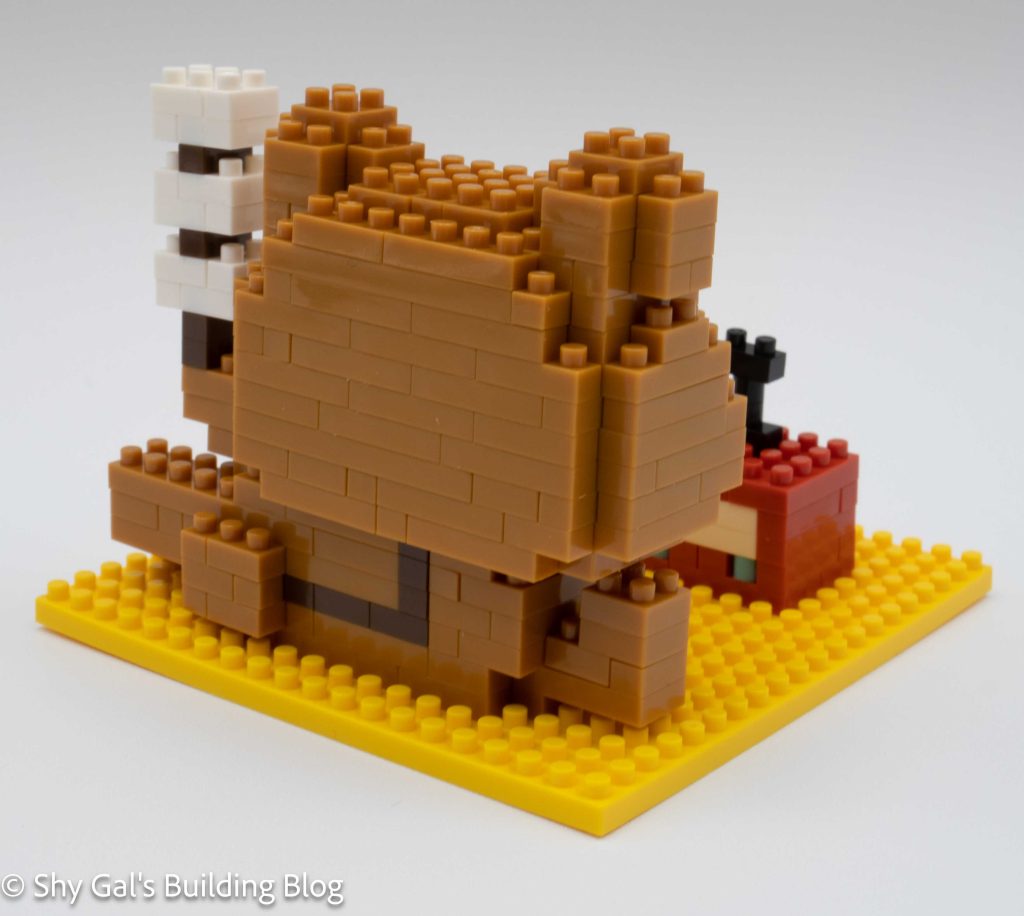
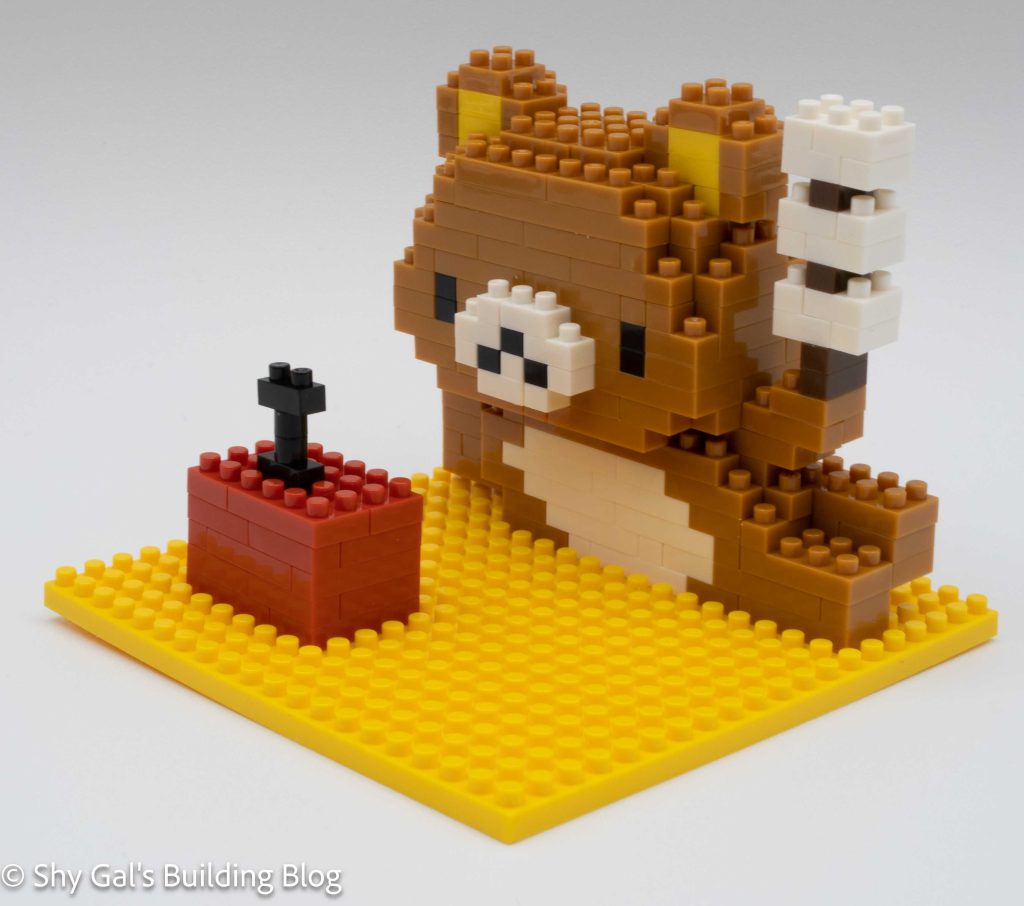
The build shows Rilakkuma lying on his side, eating a snack, and watching tv.

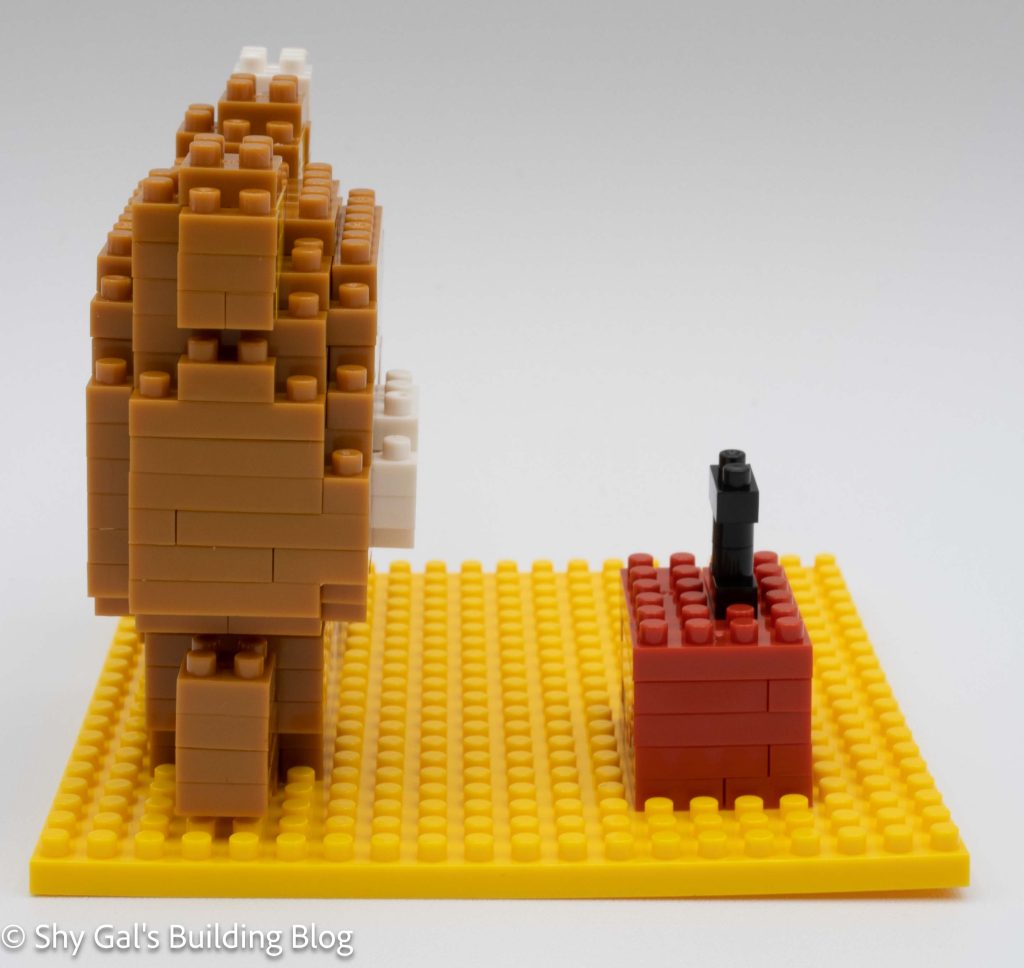
Rilakkuma no oyatsu time build side view

This build is made of 2 parts. There is the base with the tv and the body. There is also the head.

The first section is building the body and tv. Both sections are built-in layers. The tv is super straightforward. I had a bit of difficulty keeping track of exactly which step I was on while I was building the body. It was easy to get back on track.

Rilakkuma no oyatsu time build back 3/4 view

The other major section was the head. It goes straight up in layers. It was a bit of a challenge to tell exactly which bricks to use when due to the coloring. I think backlines between the bricks would have been easier to see the differences.

The last step is to put everything together and add the final details. It was a bit hard to tell exactly where exactly the head went, but I was able to get something that looks close to right. There are also very straightforward details of the antenna and snack.

Rilakkuma no oyatsu time build front 3/4 view

Things I liked:

  • I think it is a cute build, but I’m not sure why it’s part of the Sights to See collection

Things I didn’t like:

  • I thought the red thing was an apple, not a tv. But it must be a tv based on the details on the box