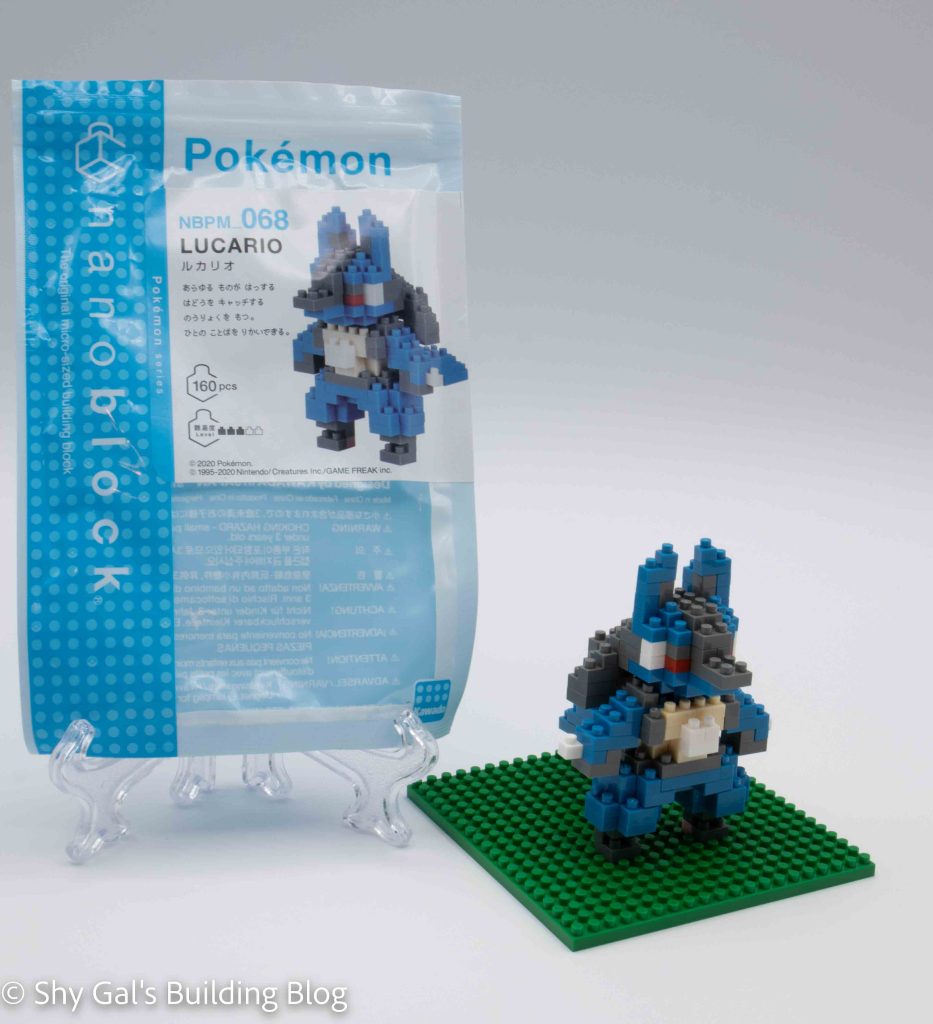
This post is a review of the nanoblock Lucario build. Lucario is part of the nanoblock Pokemon collection. Wondering what else is part of the Pokemon Collection? Click Here for a list.
Number: NBPM_068
Number of Pieces: 160
Difficulty Rating: 3/5
Lucario is one of the most popular fighting pokemon. I’m pretty sure it’s been in the regional Pokedex of every generation 4. At least, it feels like that is the situation.
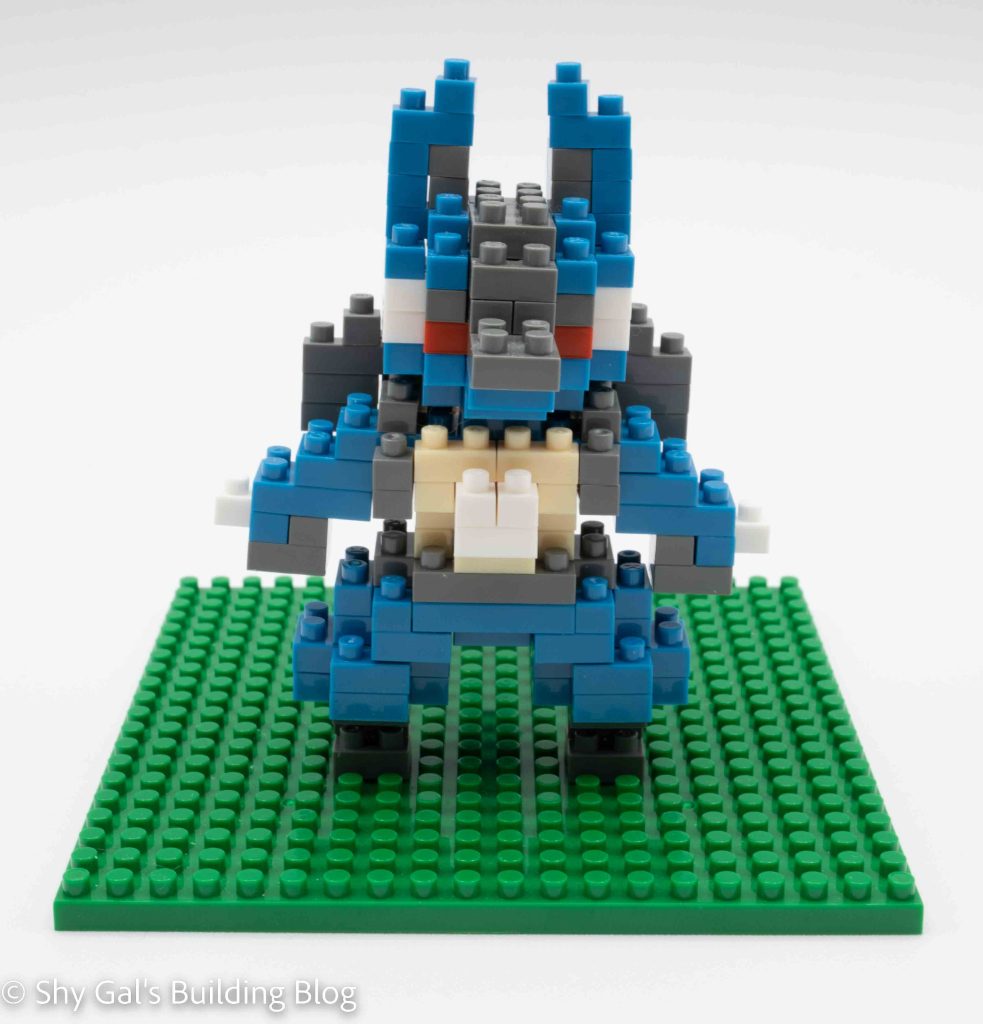
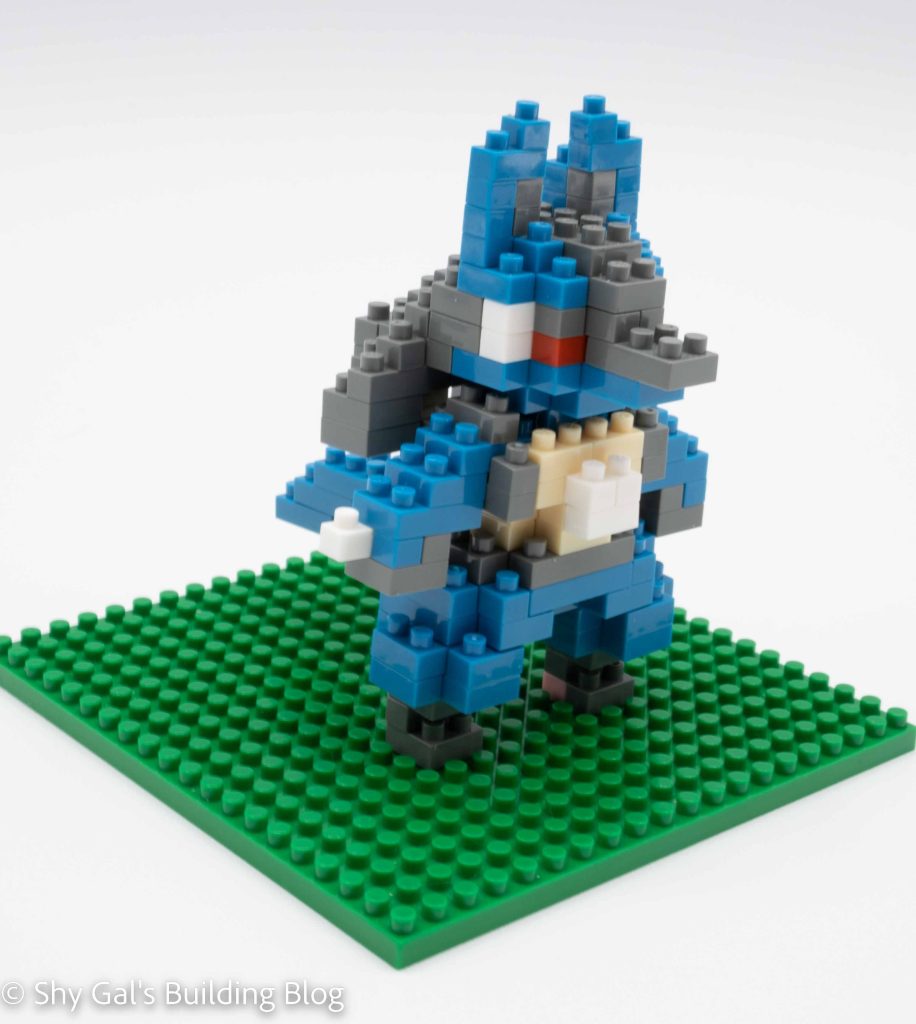
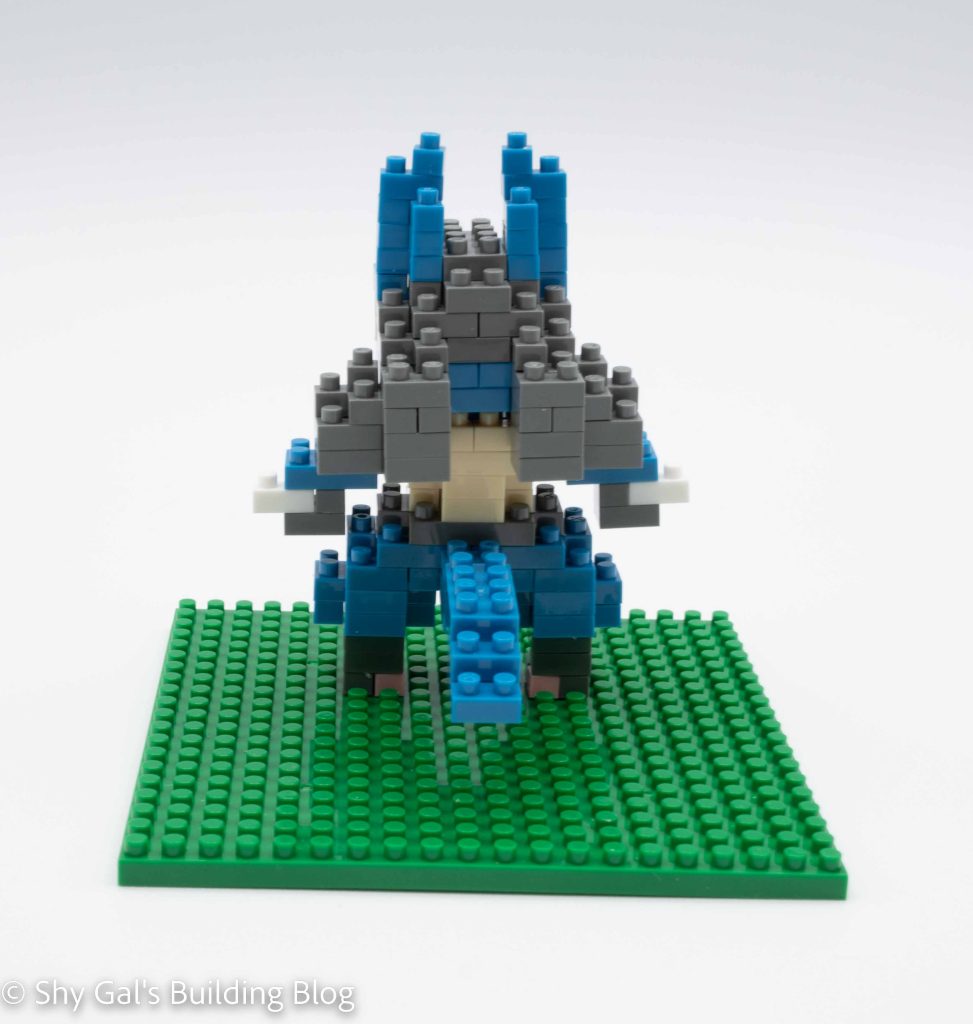
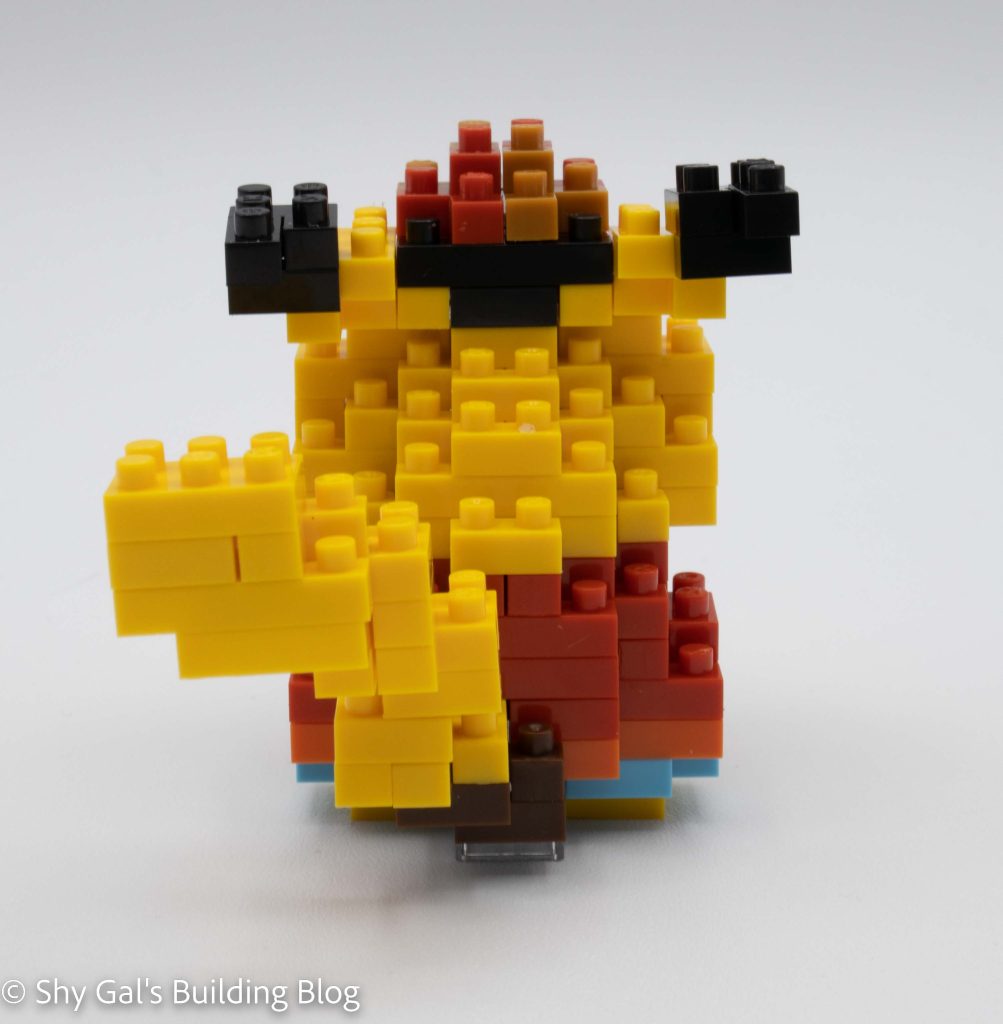
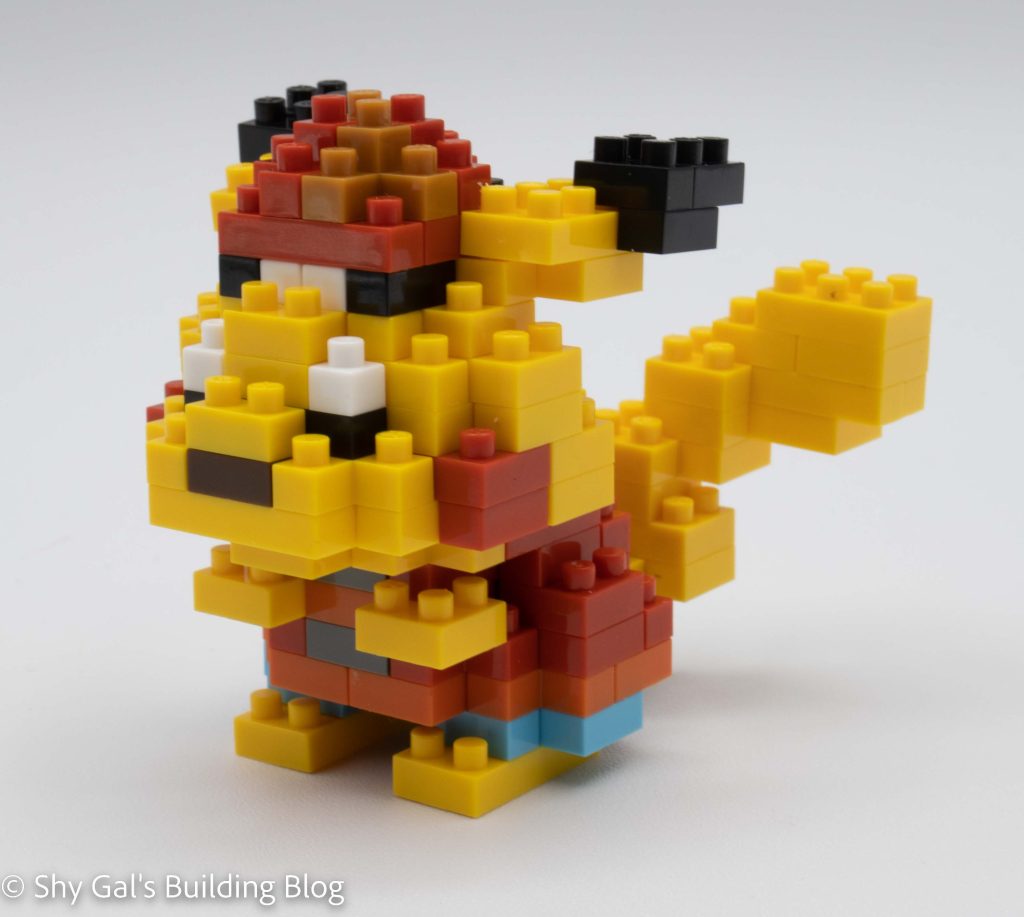
The build for Lucario is very detailed, with over 20 steps. Generally, the number of steps on a pokemon, in my experience, is 10-15 steps. Lucario is tall, so it’s building up the height. There is a lot of detail in the head to create the face.
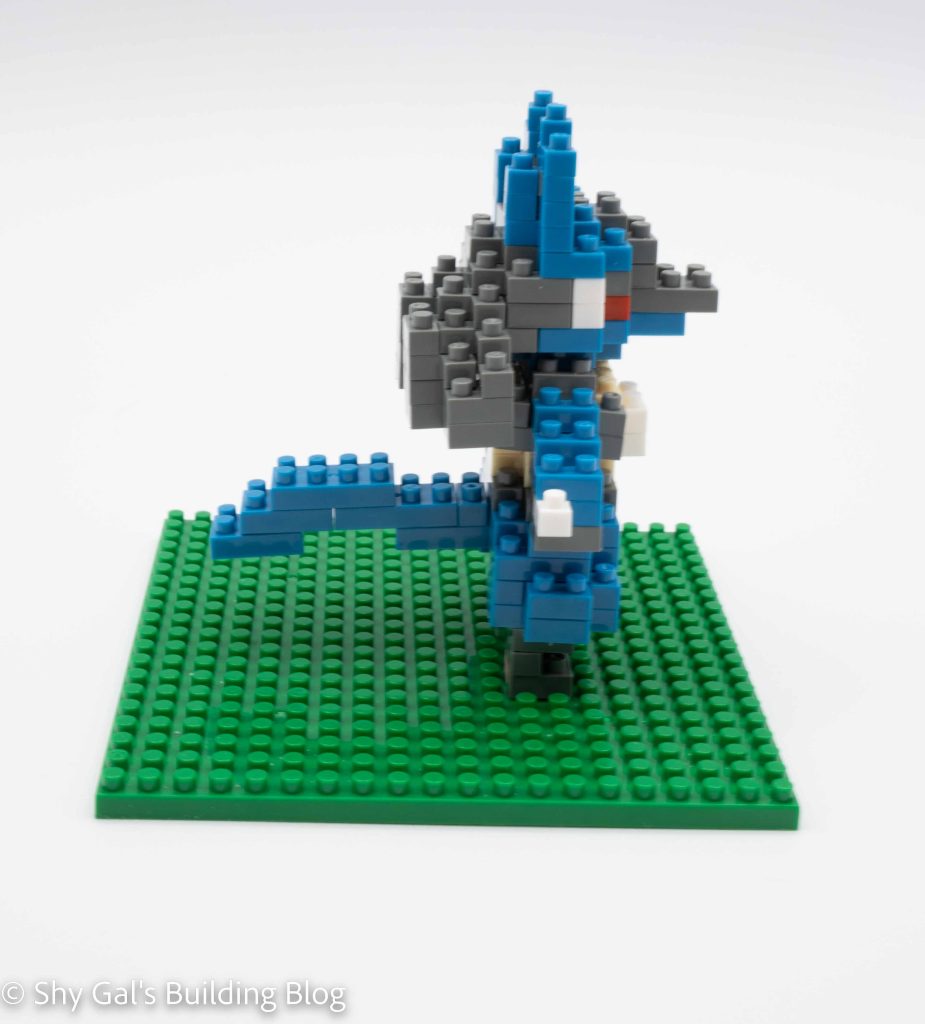
I was surprised to learn that nanoblock was making Lucario. He has a very trim body, basically an hourglass, in the game and I imagined it would not translate into blocks well. Sadly, in this case, the body is much thicker than it is in the games. I also noticed that Lucario’s tail is heavy and knocks the model off balance. I put mine on a base so that it can stand up safely.
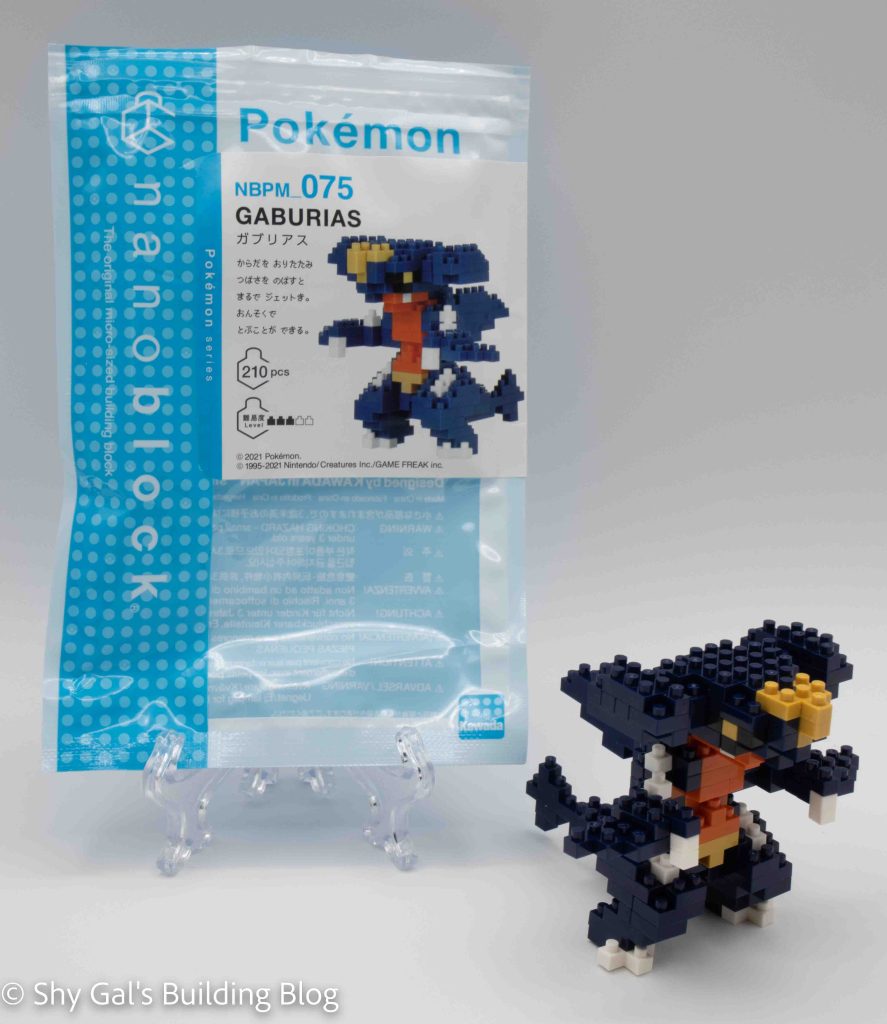
This post is a review of the nanoblock Garchomp build. Garchomp is part of the nanoblock Pokemon collection. Wondering what else is part of the Pokemon Collection? Click Here for a list.
Names:
English: Garchomp
Japanese: Gaburias
Number: NBPM_075
Number of Pieces: 210
Difficulty Rating: 3/10
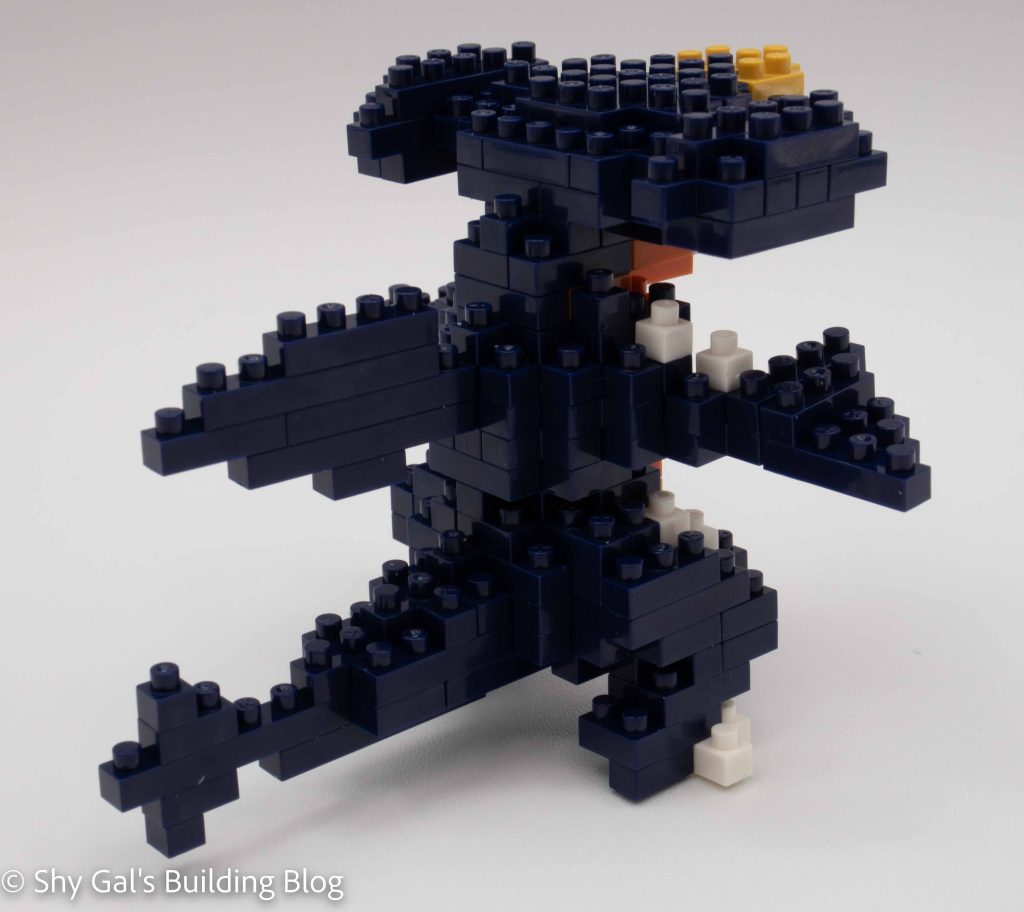
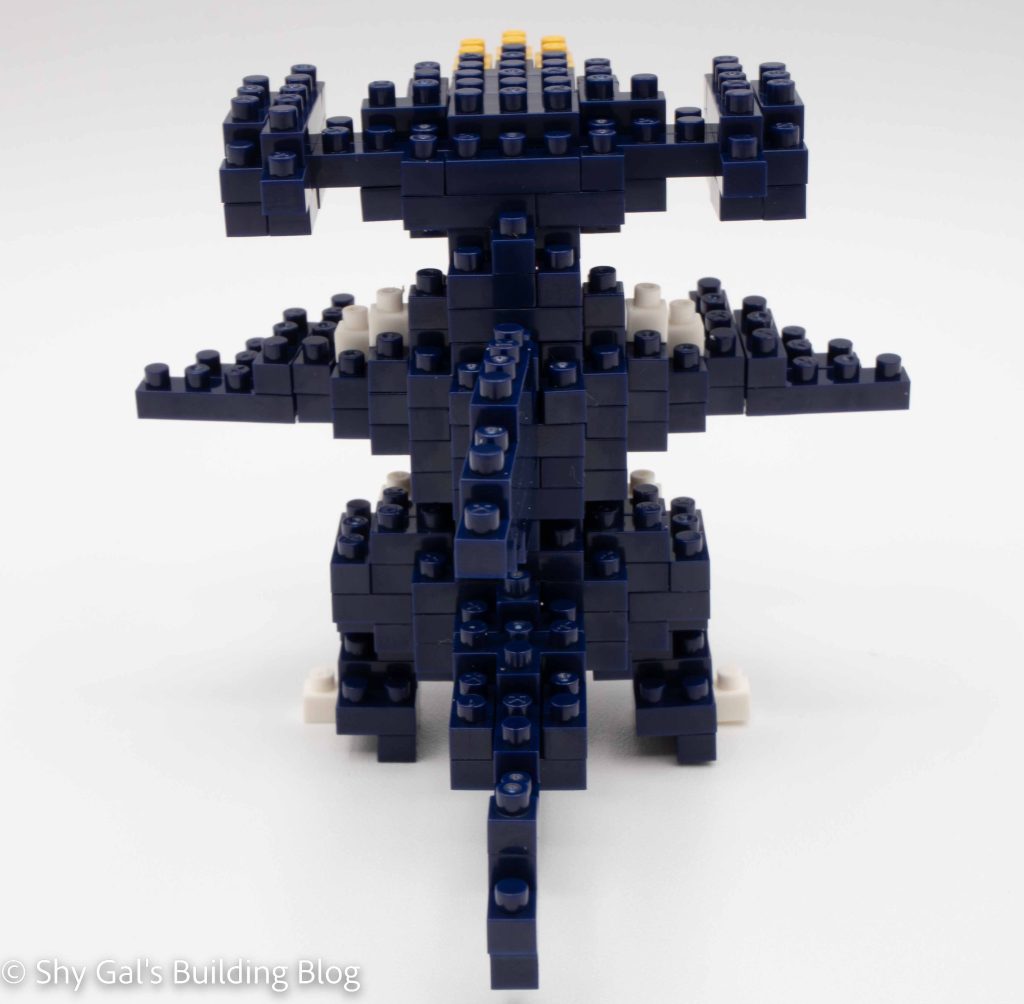
Garchomp is ground/dragon Pokemon that was released in generation 4. It is the final evolution of Gible and looks a bit like a hammerhead shark. It is also the last Pokemon that the generation 4 champion Cynthia.
When I started the nanoblock build, I made a couple of observations. First, it is hard to tell the difference between the black bricks and the navy that makes up most of the build. I was also worried that I would need a base plate because I was concerned the figure would be tippy.
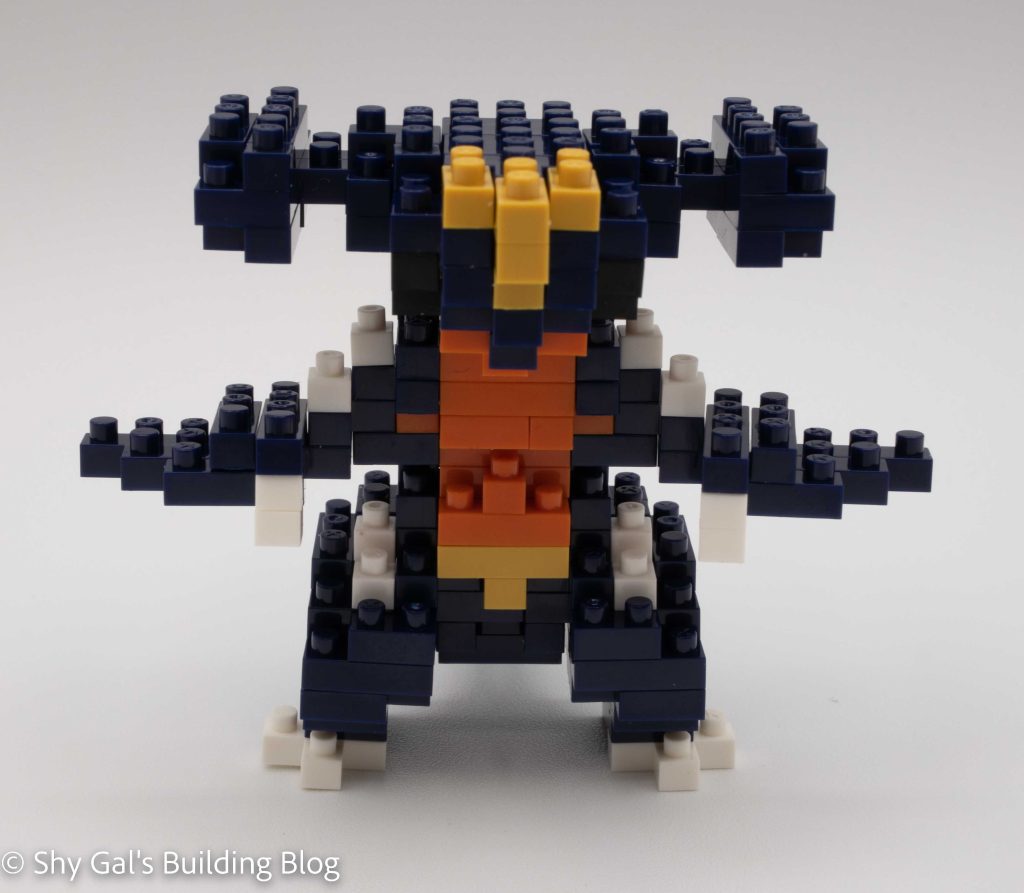
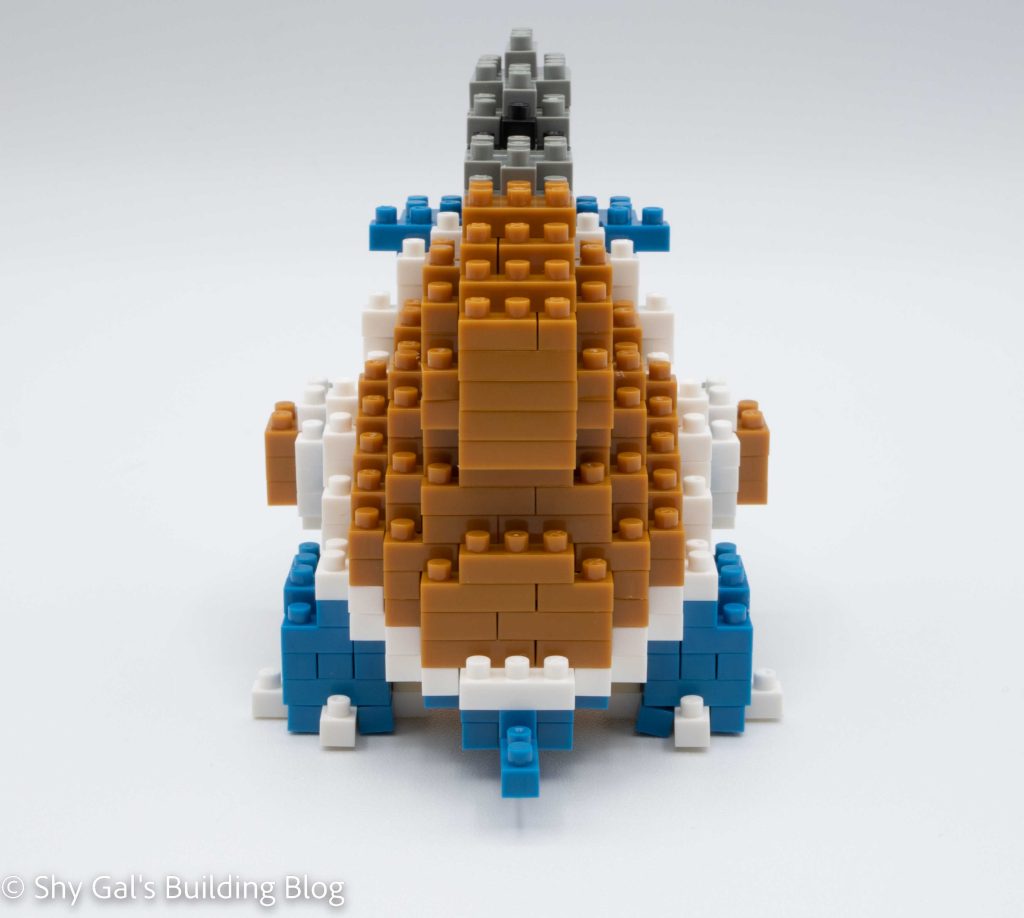
You begin with a base of navy bricks. In the second step, you begin to build the front of Garchomp since he has a tail sticking off the back end of the base. As you build up the layers, you make the orange stomach and the navy back of Pokemon. In step 6, you build the arms, which hang off by a stud. The arms are fragile and may break off as you continue to build. It is relatively easy to reattach the arms if they do break off.
Once you attach the arms, you build and attach the back fins. You then add a few layers to lock the arms and fin in place. Then it’s time to move on to the head.
You begin the head with a base and build it up in layers. In the layers, you add eyes surrounded by black. After a few layers, you add the distinct head to create the hammerhead shape. Then you add a final layer and attach the head. Please note once you attach the head, the build is temporarily no longer able to stand on its own, so be careful when you put it down.
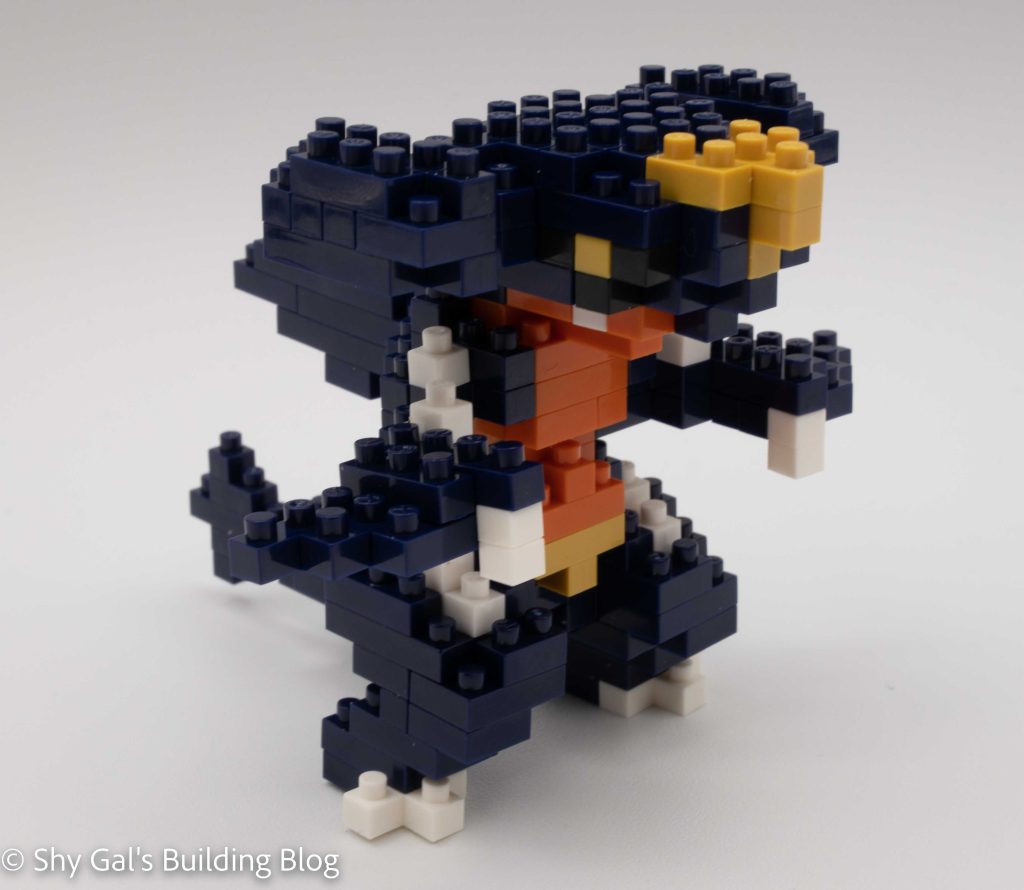
It’s then time to finish up the build by adding the final details. You first build 2 legs that mirror each other and attach them to the Garchomp. Your build will once again stand on its own. The final detail is to finally finish the tail to complete the build.
Overall, I felt this build should be a 4/5, not a 3/5, because it was difficult, and bits kept breaking off as I tried to build the layers. I was presently surprised that the feet are wide enough to keep the build upright. It is a very fragile build, so I don’t recommend putting it near the edge of a shelf where it could fall super easily.
Things I liked:
I really like the amount of detail in the nanoblock build
Things I didn’t like:
I feel like the arms are a bit weak and likely to break if you move the build a lot
This post is a review of the nanoblock Piplup build. Piplup is part of the nanoblock Pokemon collection. Wondering what else is part of the Pokemon Collection? Click here for a list.
Names:
English: Piplup
Japanese: Pochama
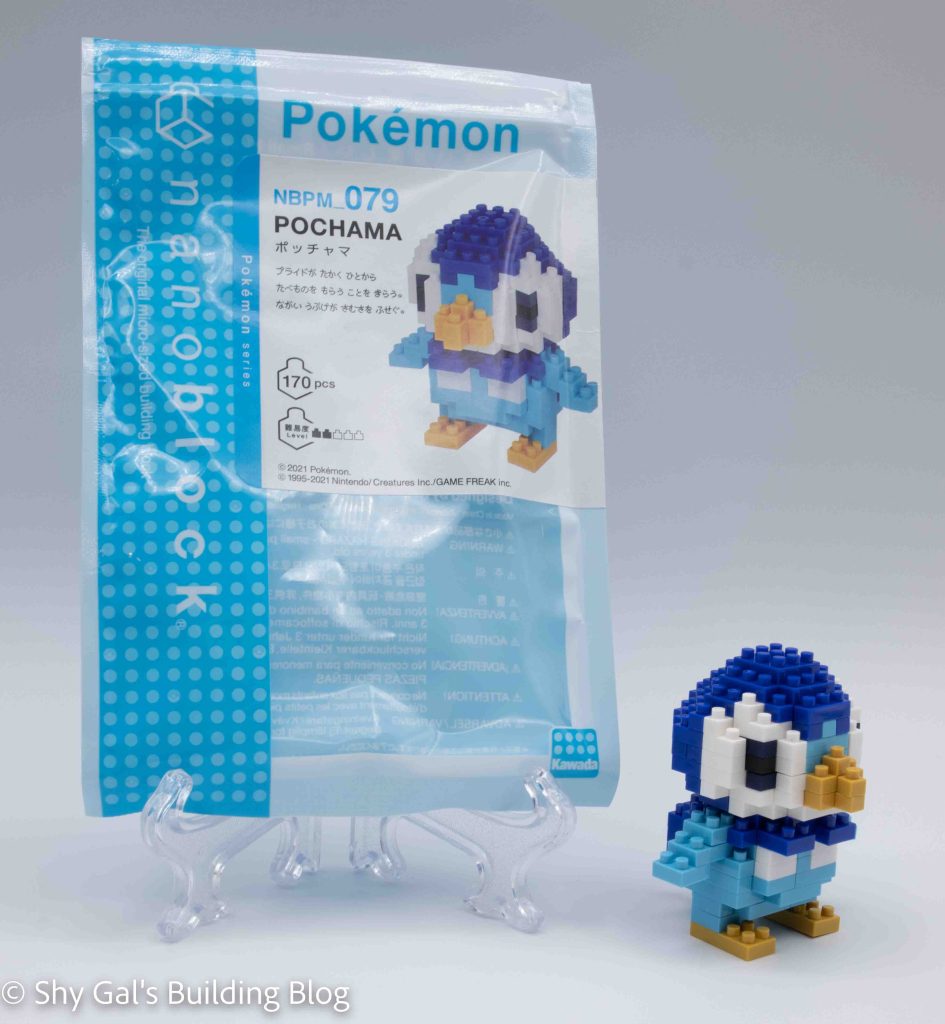
Number: NBPM_079
Number of Pieces: 170
Difficulty Rating: 2/5
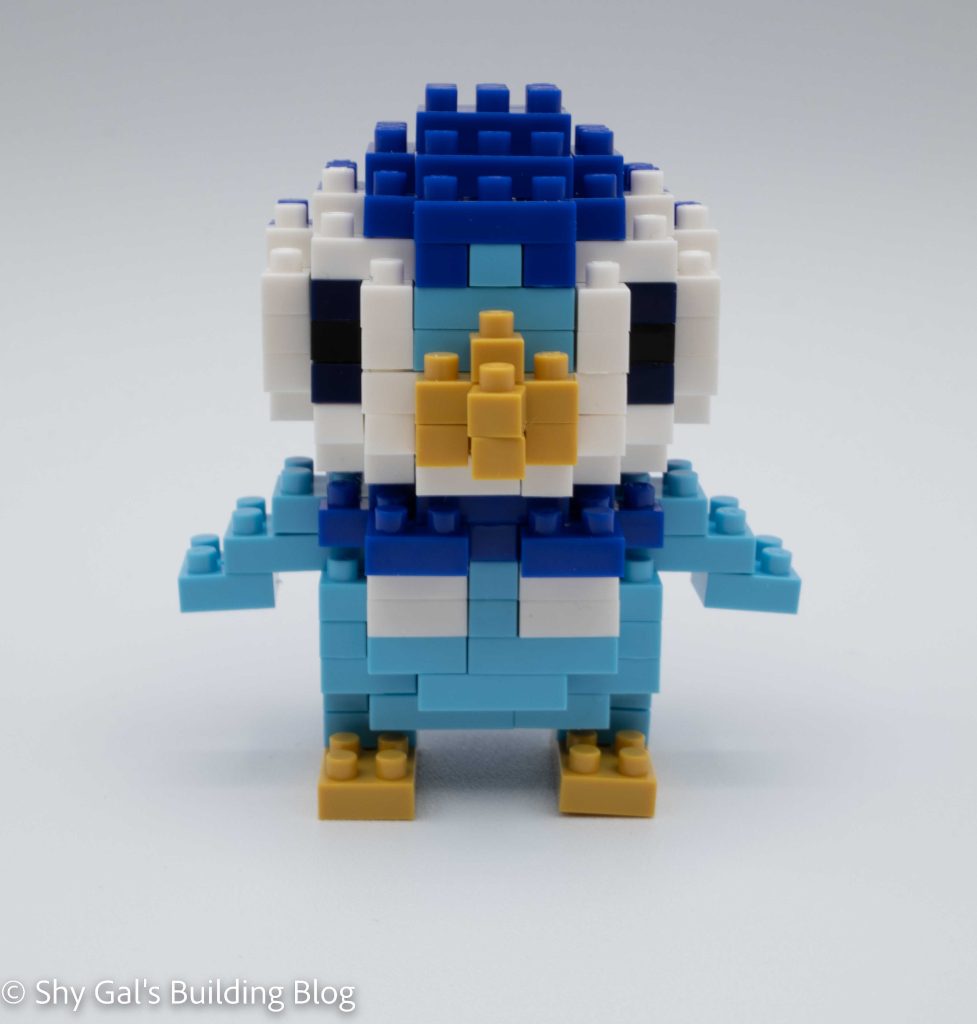
The nanoblock build for Piplup has 2 parts. There is the head and the body.
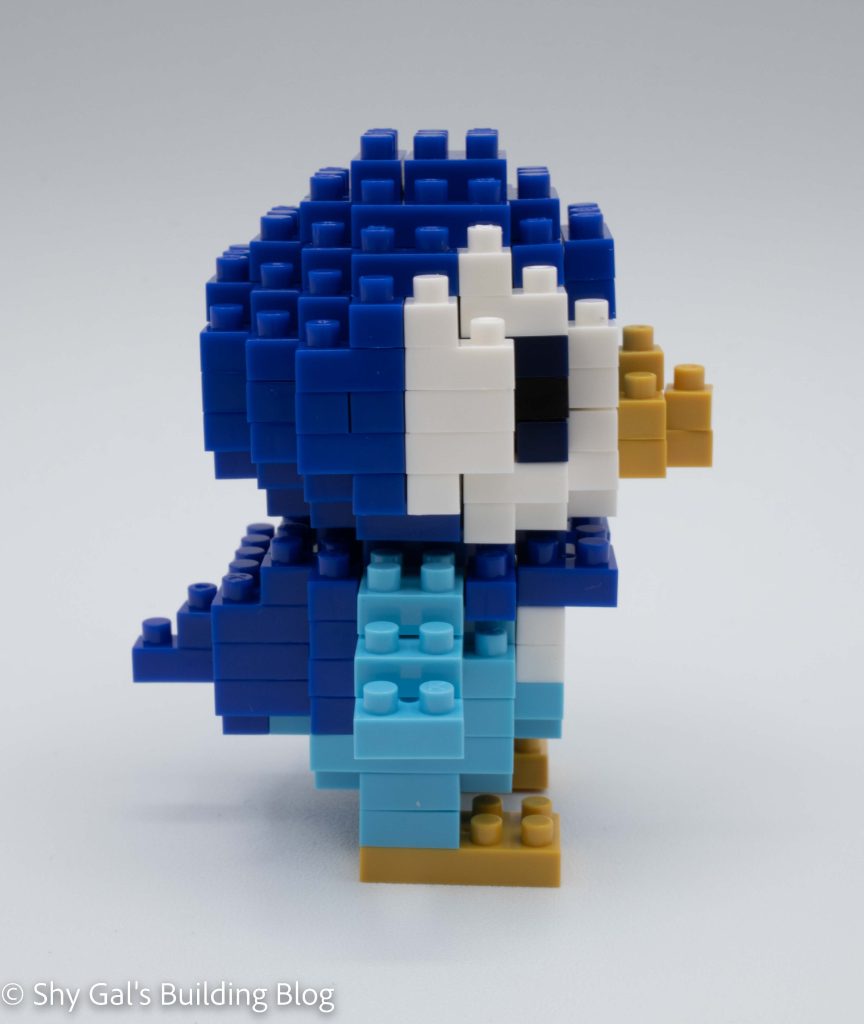
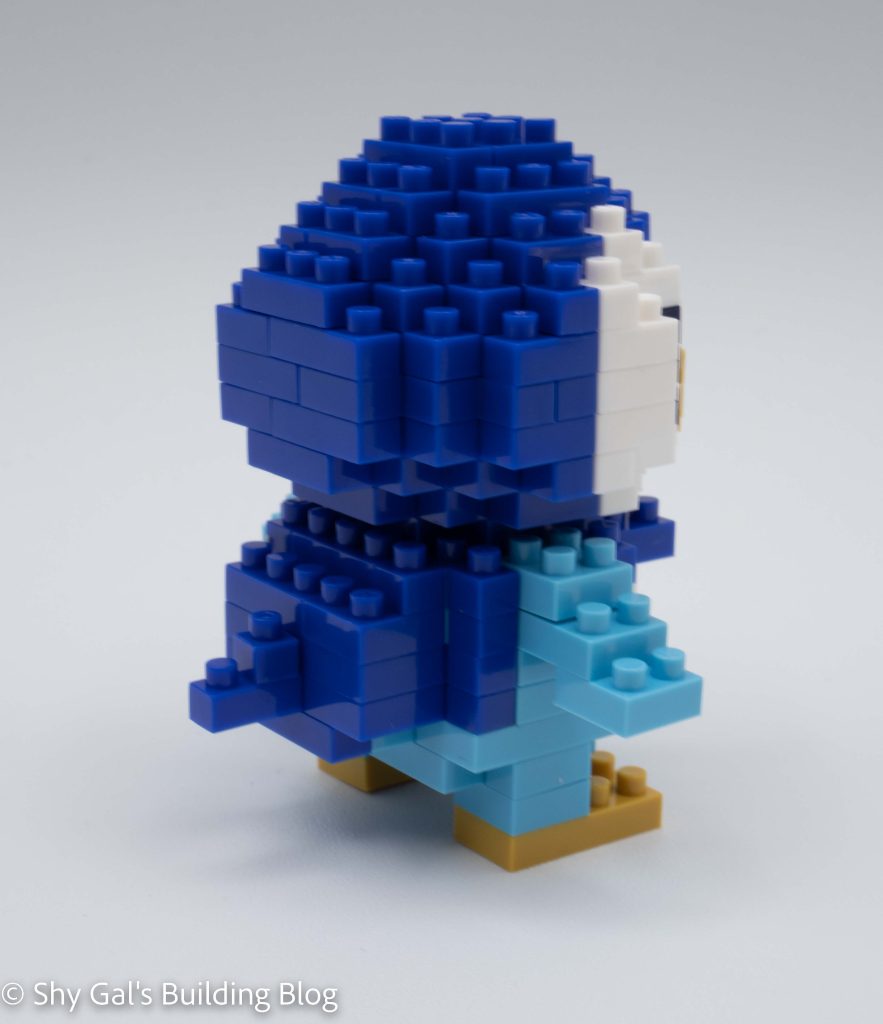
The section you build is the body. It begins with a layer of bricks in various shades of blue. The body is then built up using layers of blue bricks. In building layers, you add the white for the spots on Piplup’s chest. You also add Piplup’s wings.
The second part of the build is the head. The head begins with a layer of blue and white bricks. The head is built by adding layers of bricks. As you add the layers of bricks, you add the details of the beak and eyes. In my opinion, they are super large for the build, so it looks a little funny. The beak looks closer to yellow than the gold bricks that come with a kit in the directions. When finishing the head, I had the unusual problem that the top layer caved in a bit, so adding the final layer of bricks was challenging.
To finish the build, there are a couple steps. First, you need to attach the head to the body. It is a bit challenging to tell where exactly where the head goes. Then you add a final bottom layer of bricks. The final step is to add the feet to the build.
Things I liked:
Piplup is one of my favorite pokemon, so I’m glad we got a build for him
Things I didn’t like:
His eyes are huge and look too big
I’m not sure if changing out the gold bricks with yellow bricks would look better
This post is a review of the nanoblock Chimchar build. Chimchar is part of the nanoblock Pokemon collection. Wondering what else is part of the Pokemon Collection? Click here for a list.
Names:
English: Chimchar
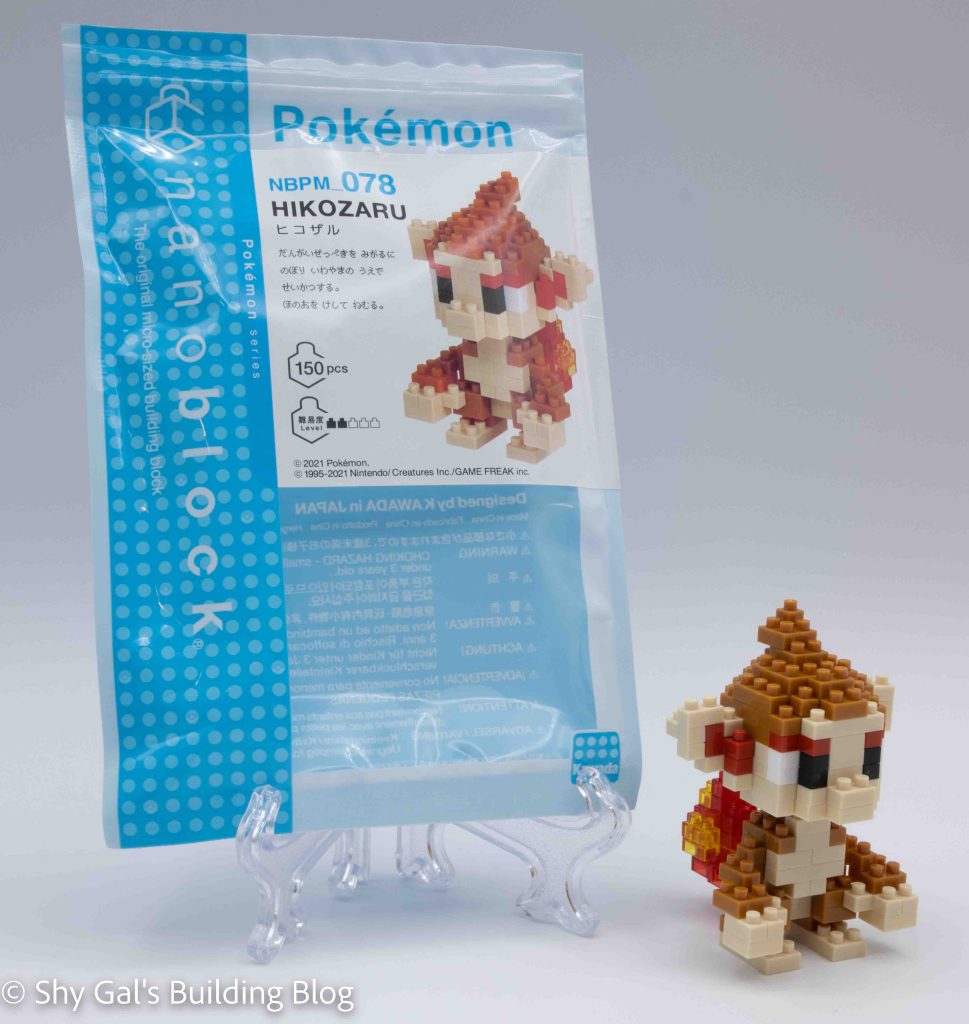
Japanese: Hikozaru
Number: NBPM_078
Number of Pieces: 150
Difficulty Rating: 2/5
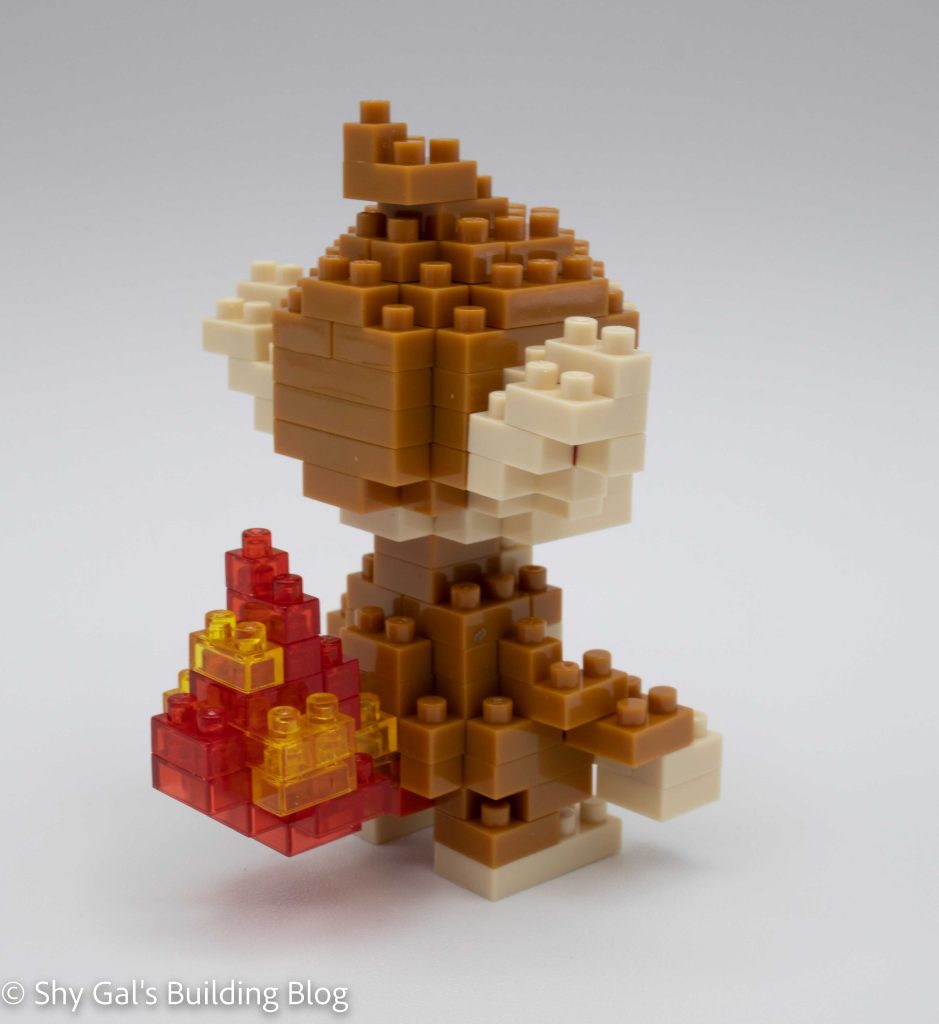
The Chimchar nanoblock build has 2 parts. There is a head and a body.
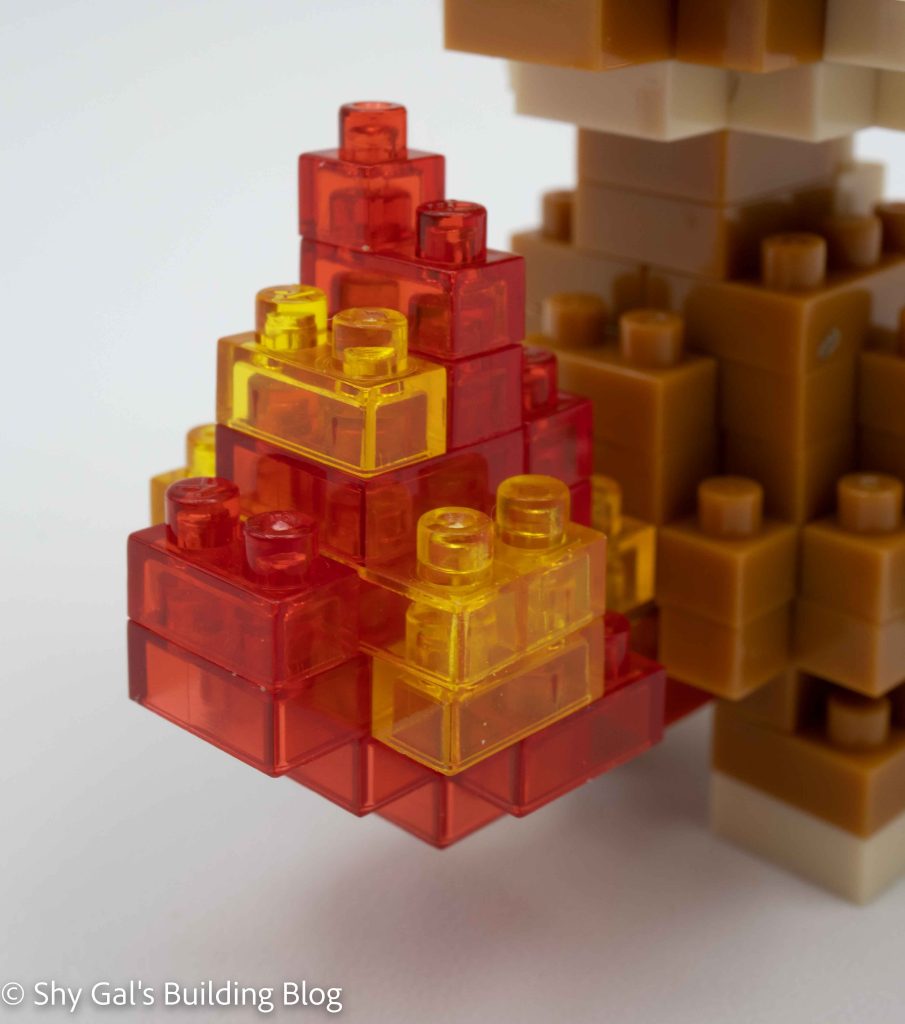
The build begins with the body. It begins with a layer of bricks, including clear bricks. The clear bricks will become Chimchar’s flame tail. This is a detail that mirrors the builds of the Charmander family.
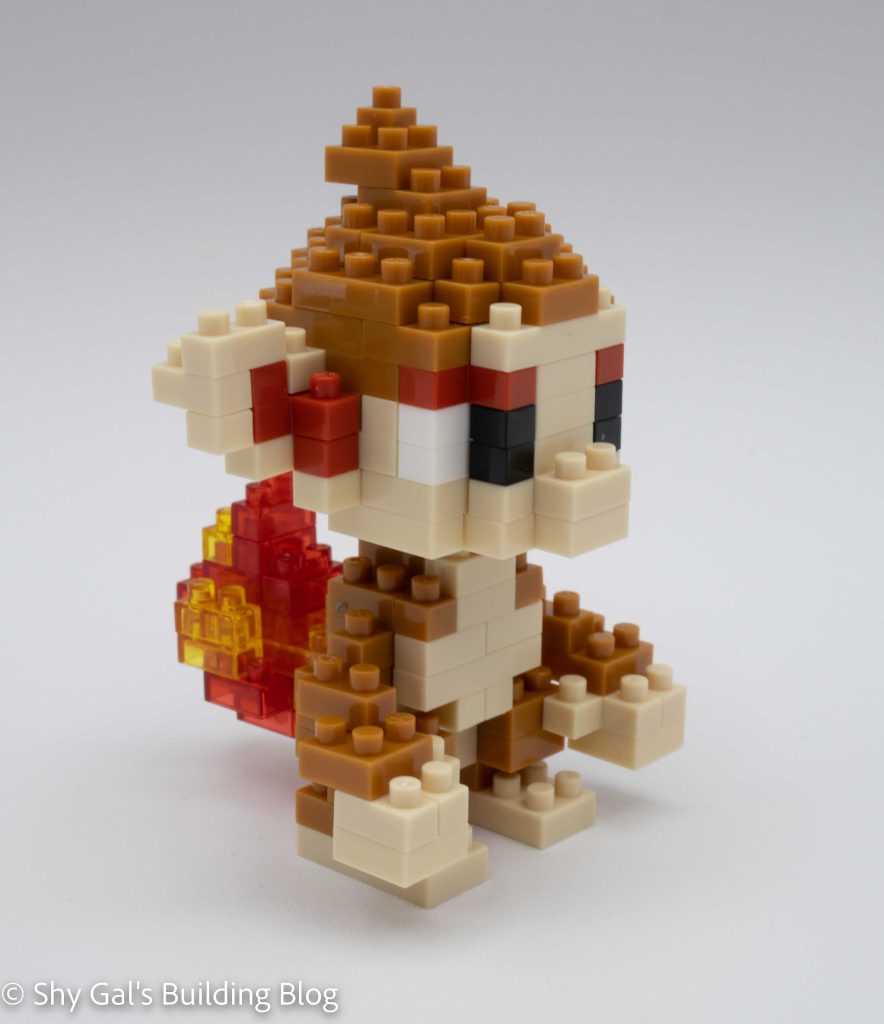
The rest of the body is made of cream and brown bricks. The body and the tail are built together in layers of bricks. At some point, you attach the arms. This can be a tricky step because the bricks are chained together. Meaning it is easy for a brick lower in the chain to fall off even after the top is secured. You finish building the body by eventually adding the feet.
After building the body you move on to the head. The head begins with a layer of cream bricks. The head is built up in layers of mostly brown and cream. As you build the layers, you add the details of the eyes, nose, and ears.
The build is completed by combining the head and the body. I personally had some difficulty lining up the head so it was straight on the body.
Things I liked:
The clear blocks for the flame on the tail are similar to how they are used in the Charmander family.
Things I didn’t like:
It was a pain to get the head centered when I combined the head and the body
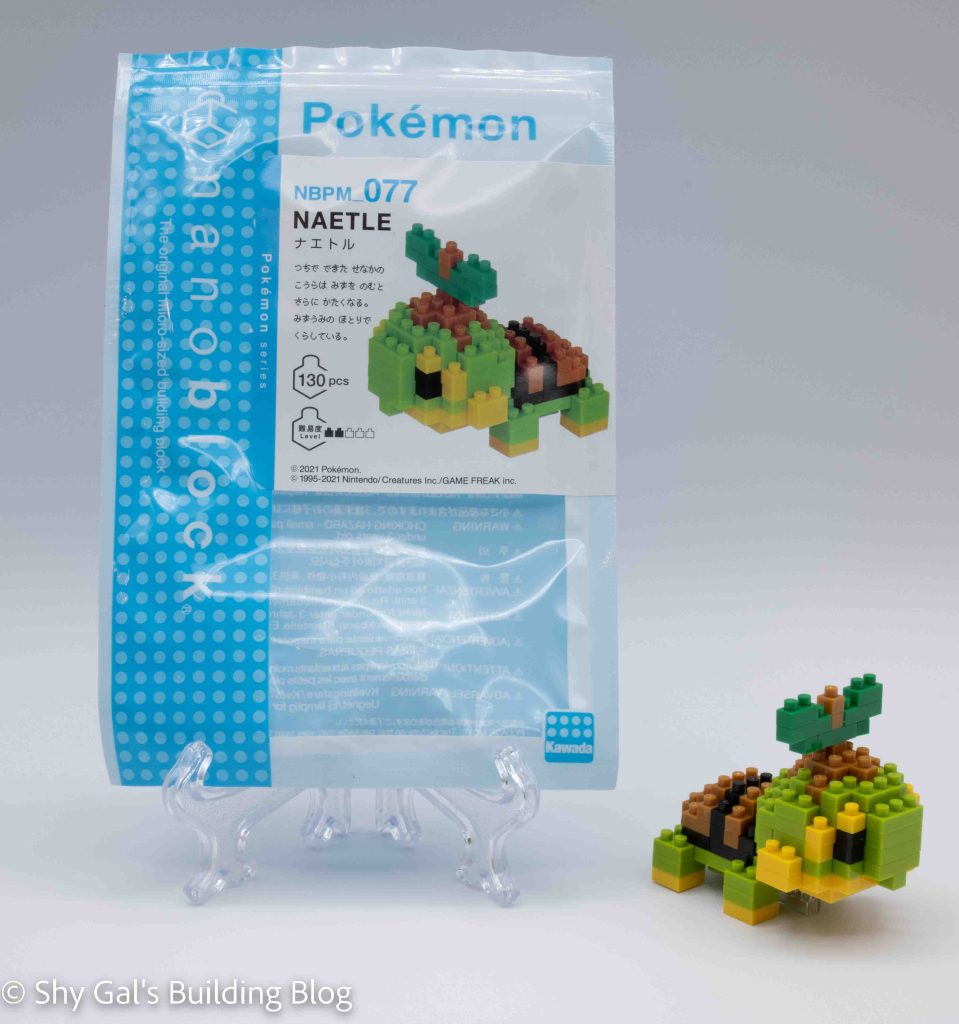
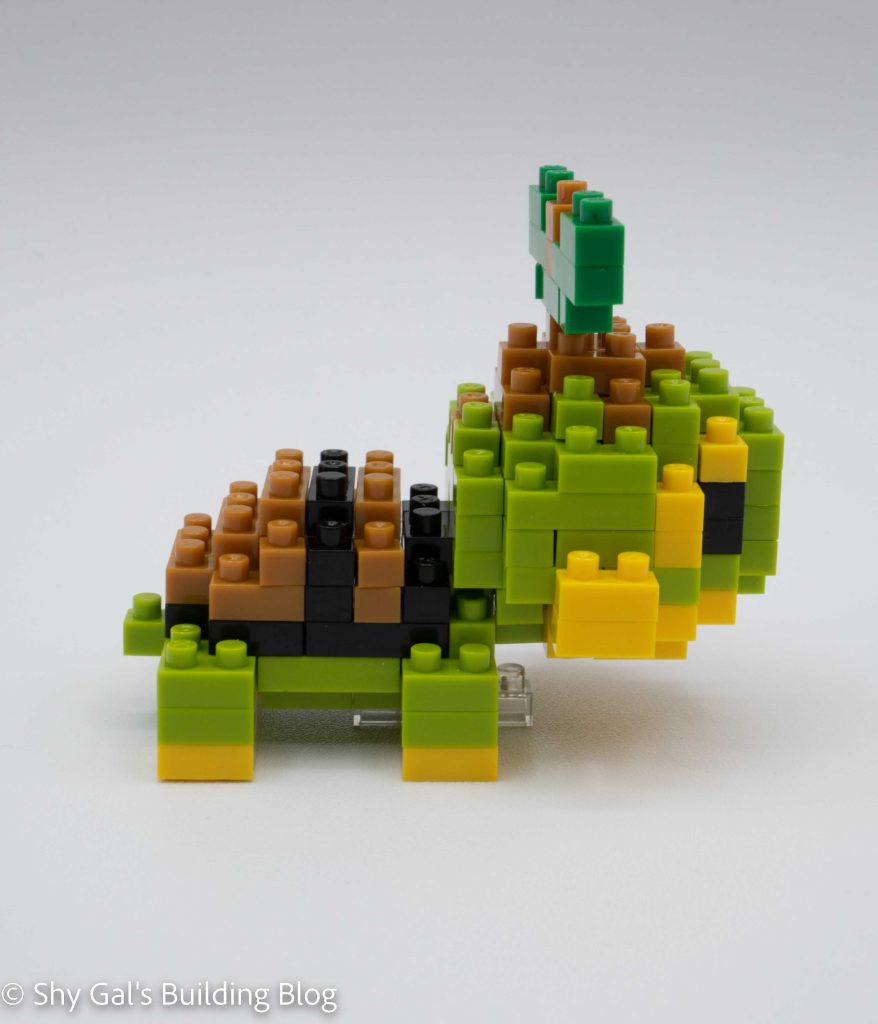
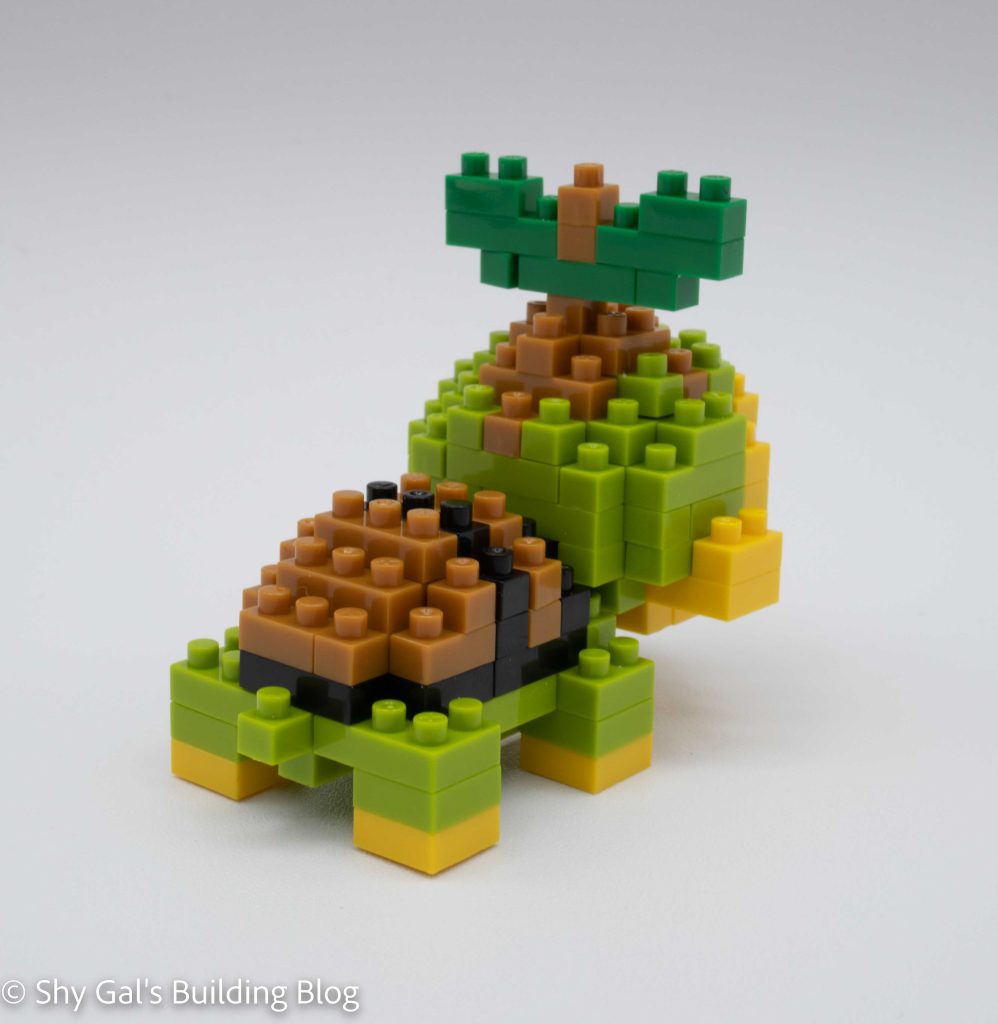
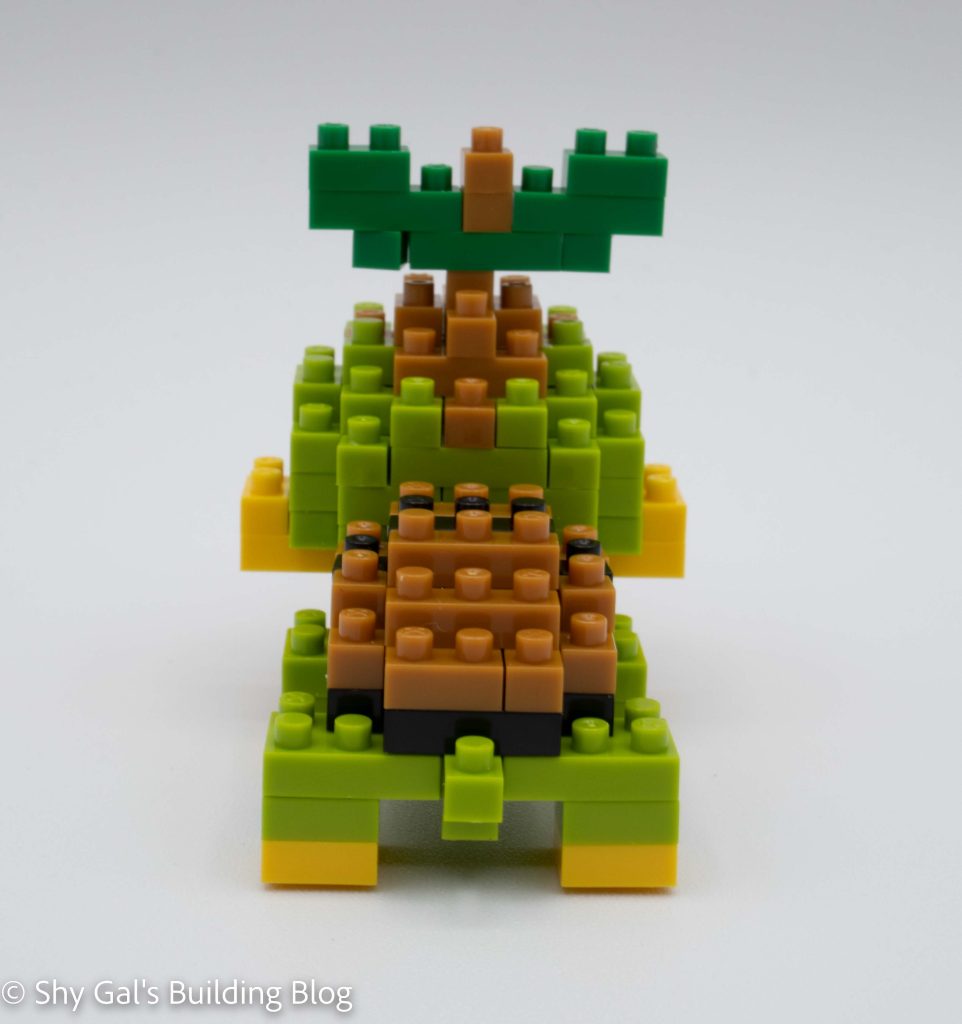
This post is a review of the nanoblock Turtwig build. Turtwig is part of the nanoblock Pokemon collection. Wondering what else is part of the Pokemon Collection? Click here for a list.
Names:
English: Turtwig
Japanese: Naetle
Number: NBPM_077
Number of Pieces: 130
Difficulty Rating: 2/5
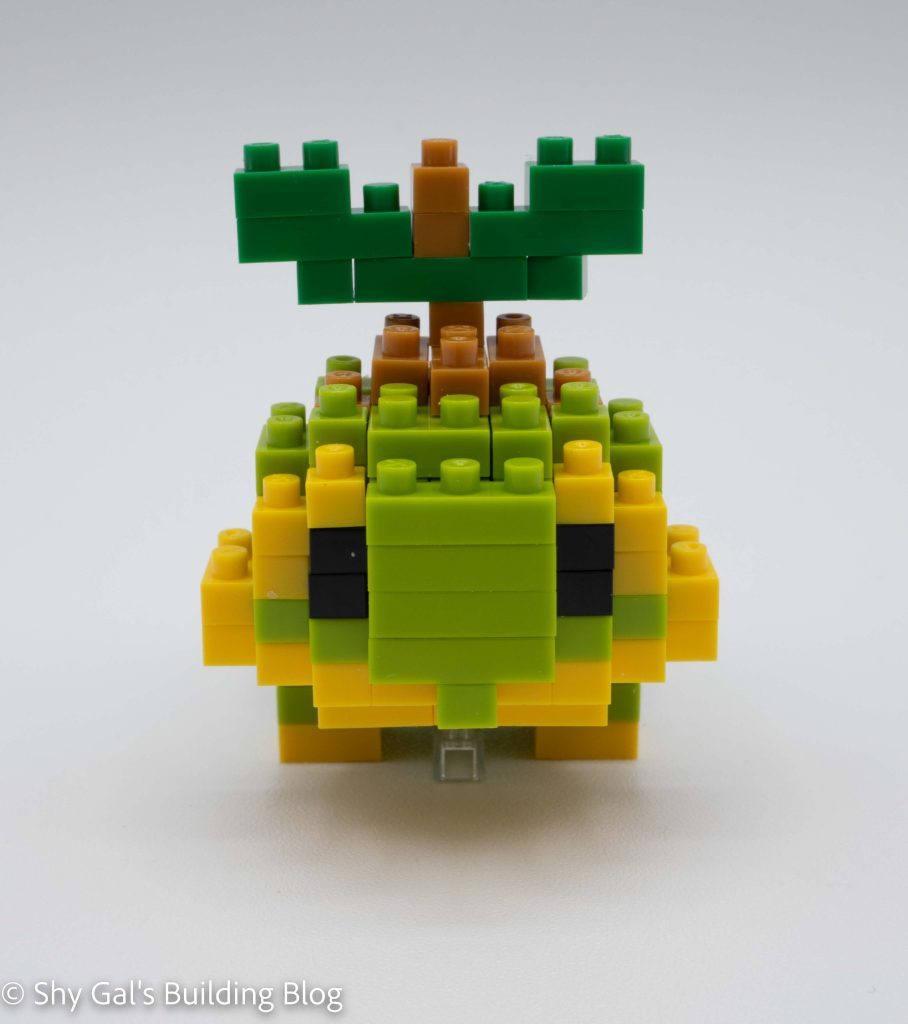
This build is made up of 2 major parts. There is the head and the body.
The head begins with a layer of yellow and green bricks. The head is built in layers of green, yellow, and black bricks. The eyes are added by having black bricks that remain visible. Once the head is mostly built, you add a cap of brown to complete the head.
The next chunk that is built is the body. Like the head, the body is built in layers. In this case, the base is green. Using brown and black bricks, you then build the hump on Turtwig’s back. After you build him up, you flip the build over and add the feet and a brick to keep the build from tipping over due to the size of the head.
Now that you have the 2 major pieces, it is time to combine the head and the body. The final step is to add the leaf on Turtwig’s head.
Things I liked:
I think it’s a cute build
Things I didn’t like:
The starters keep getting a bit bigger, so they don’t match in size to the other starters
I think the leaf on his head would look better if it was the lighter green
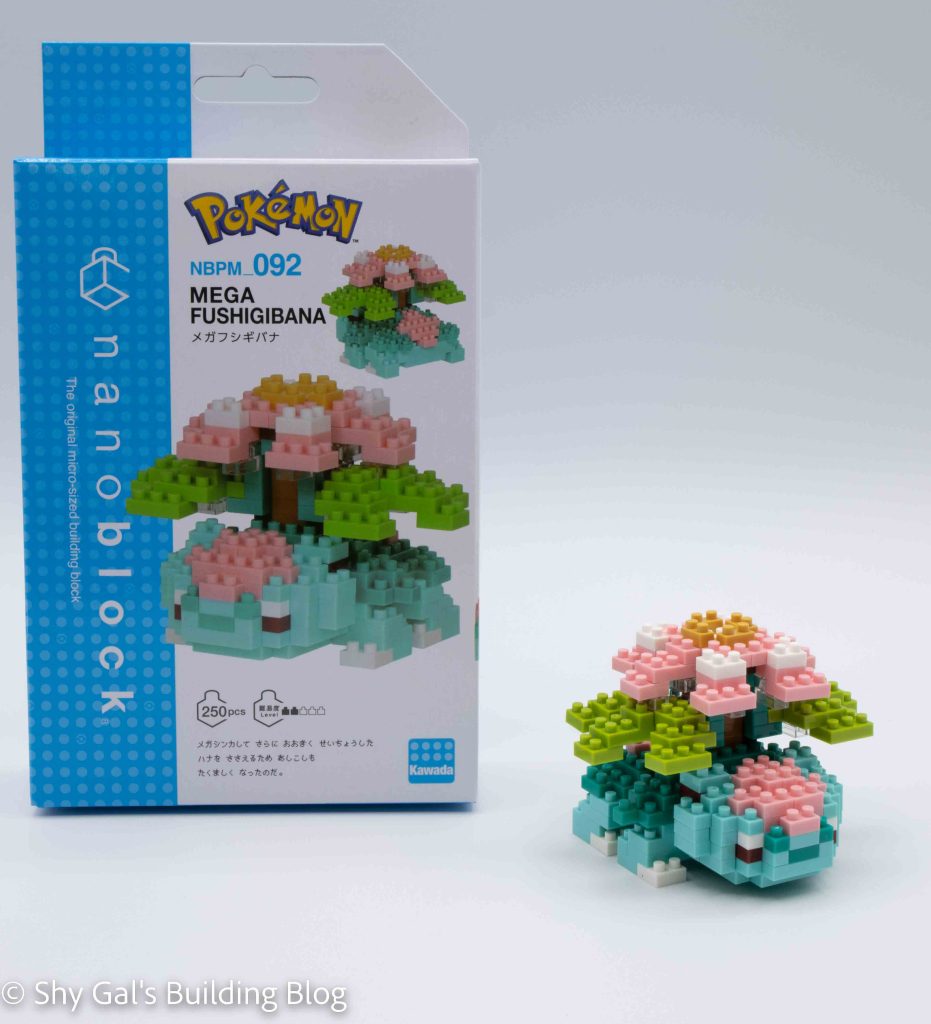
This post is a review of the nanoblock Mega Venusaur build. Mega Venusaur is part of the nanoblock Pokemon collection. Wondering what else is part of the Pokemon collection? Click here for a list.
Names:
English: Mega Venusaur
Japanese: Mega Fushigibana
Number: NBPM_092
Number of Pieces: 250
Difficulty Rating: 3/5
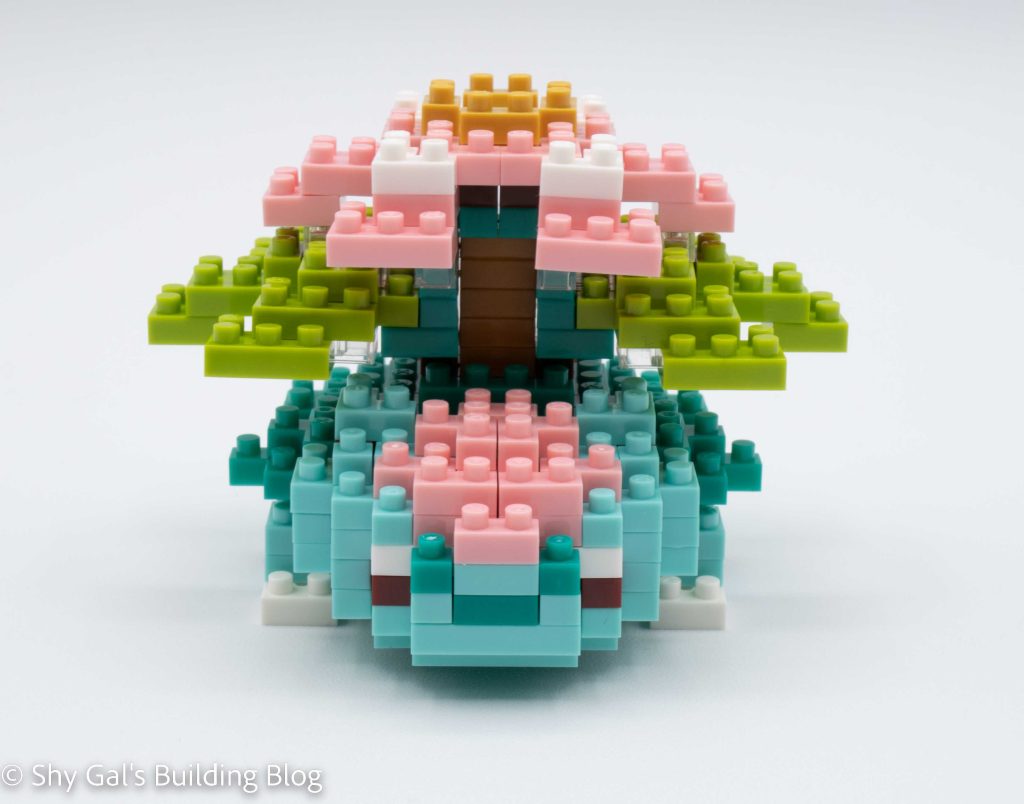
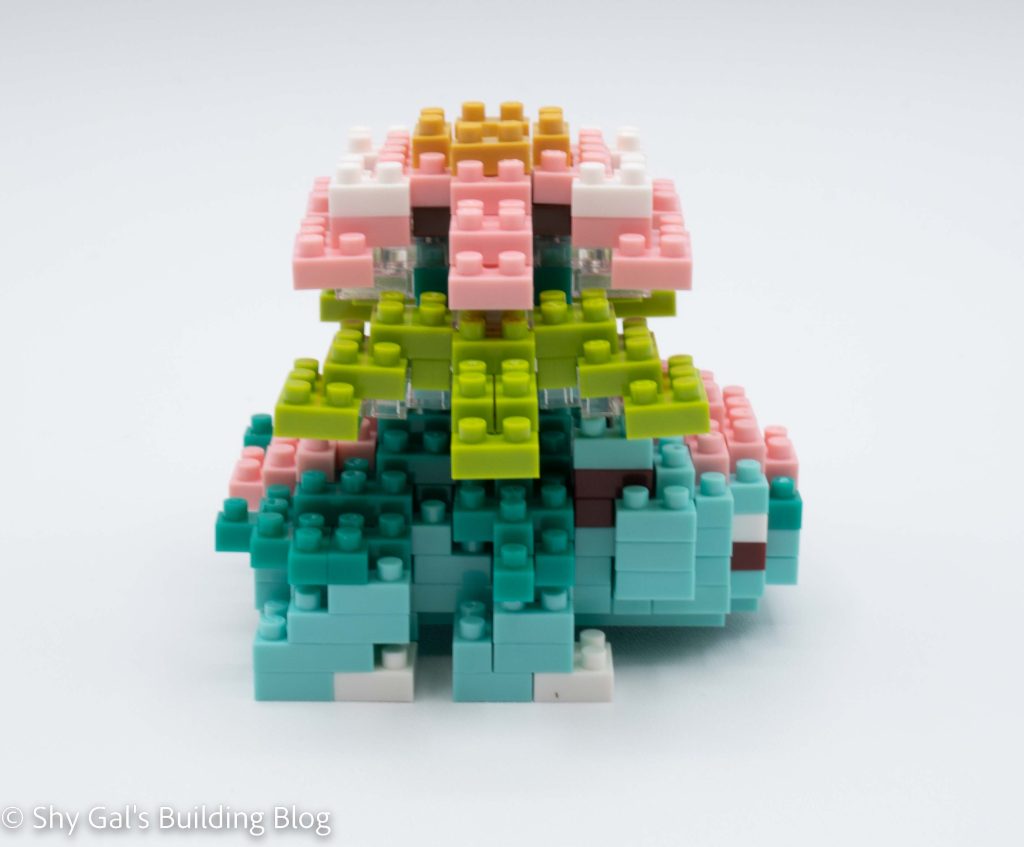
Mega Venusaur is the mega evolution of Venusaur. This build is similar in size to the original Venusaur build. Mega Venusaur looks like a normal Venusaur, except the flower on its back is taller and much larger.
This build has 2 major sections. There is the body and the flower on Mega Venusaur’s back.
The first section you build is the body. The first few steps create a large base. from there, the body is built in straightforward layers. The hardest part is noticing there is a dark red and dark brown brick, and the red is used to create the eyes. I didn’t notice the colors, so I needed to take sections of the build apart to fix the mistake.
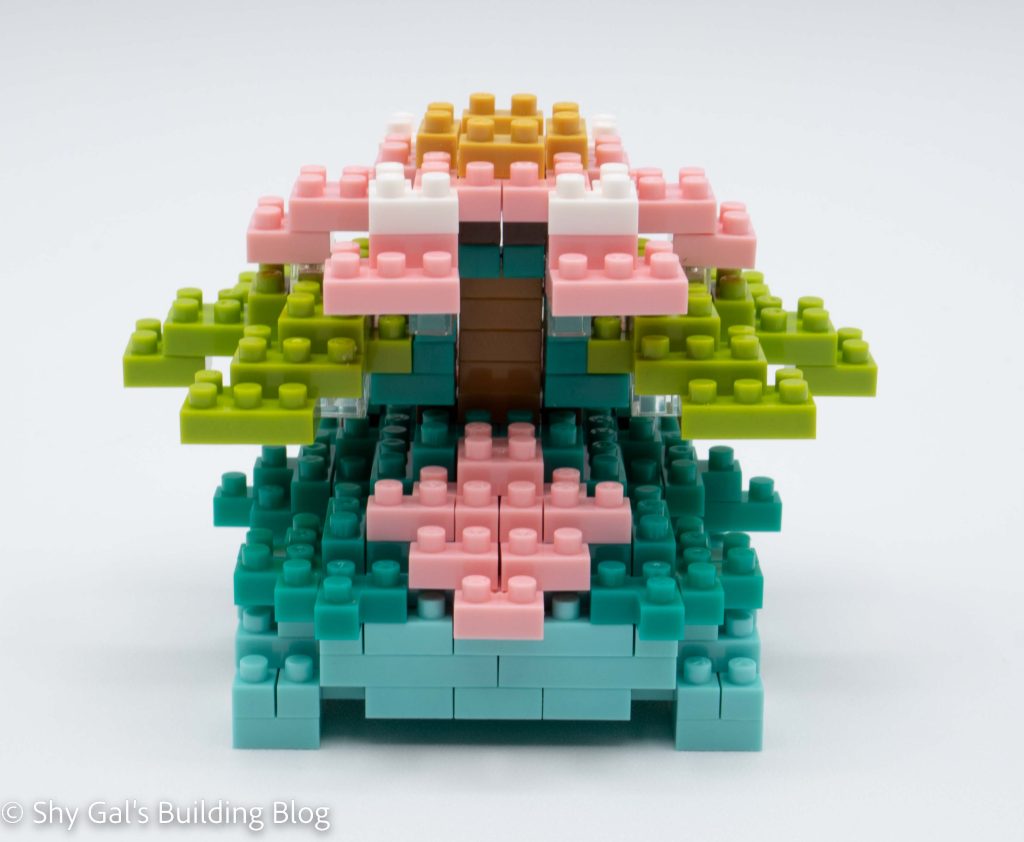
The body adds details to the build, such as the shadows under the leaves and the pink from the flowers on Venusaur.
After building the body, it’s time to build the flower on Mega Venusaur’s back.
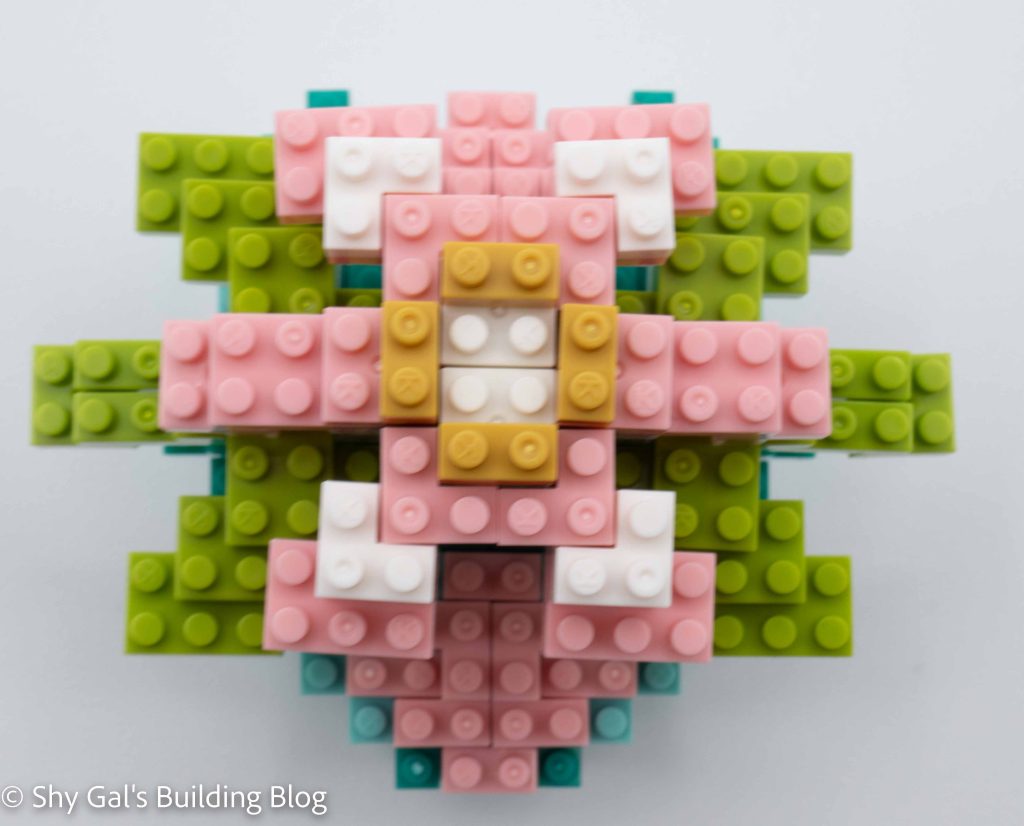
The flower’s first steps create the leaves on one side of the flower. Next, you build leaves for the other side. Then you build the center stem of the flower. The first 3 parts of the flower are combined to create the base of the flower.
After building the base, it’s time to build the actual flower. The directions for building the flower are very straightforward.
The final step is to connect the flower to the body.
Things I liked:
I really like that the side is pretty close to the original Venusaur
This post is a review of the nanoblock Mega Blastoise build. Mega Blastoise is part of the nanoblock Pokemon collection. Wondering what else is part of the Pokemon collection? Click here for a list.
Names:
English: Mega Blastoise
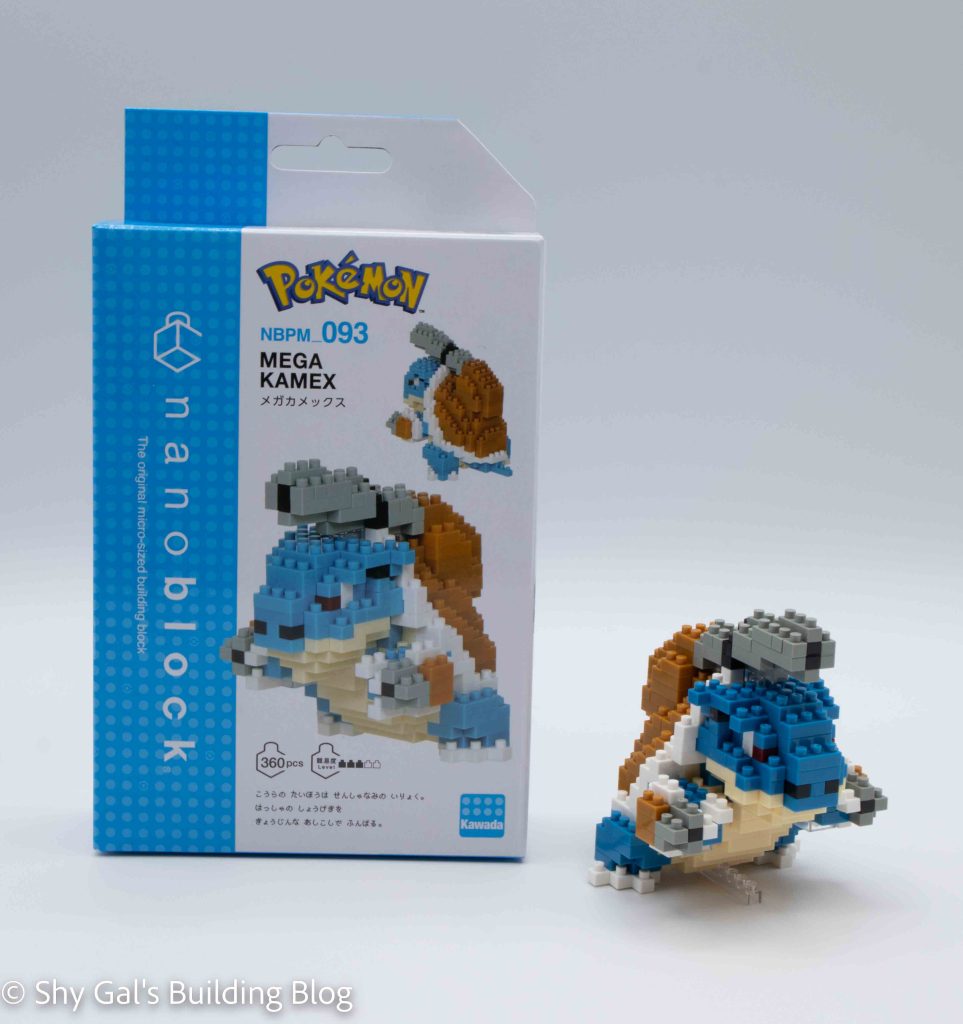
Japanese: Mega Kamex
Number: NBPM_093
Number of Pieces: 360
Difficulty Rating: 3/5
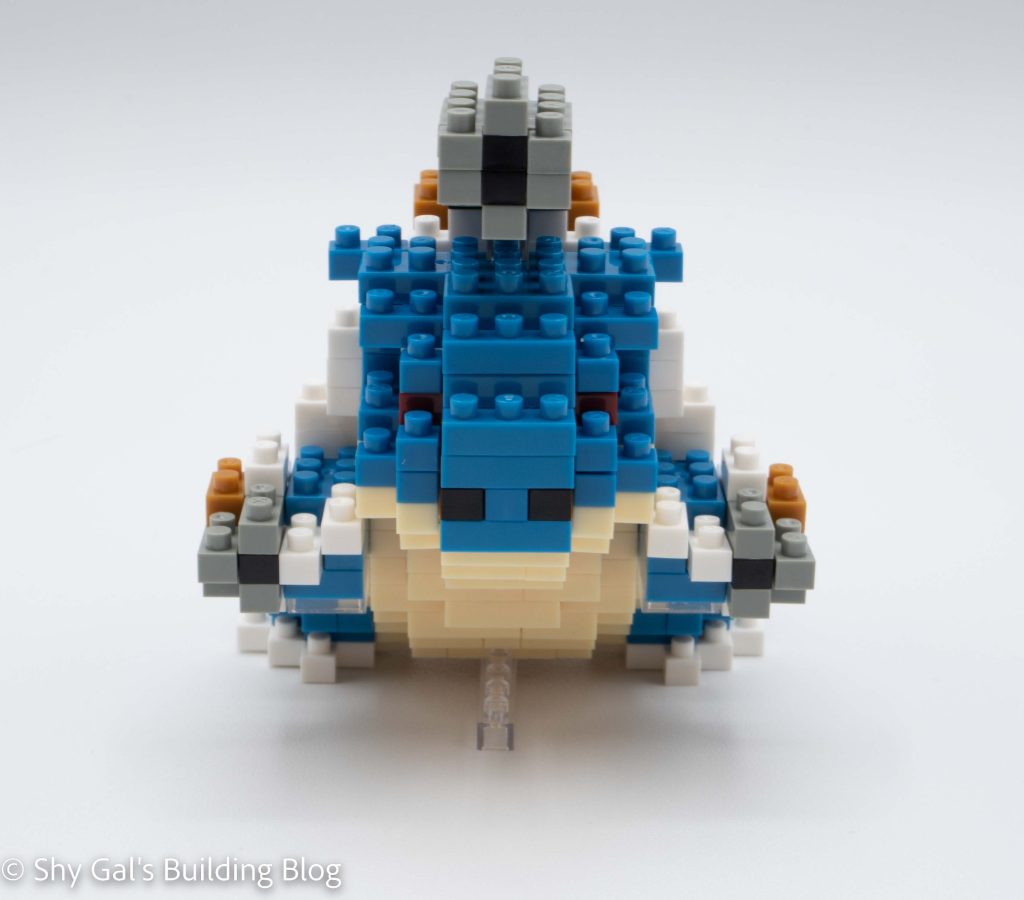
Mega Blastoise is the mega evolution of Blastoise. This build is similar in size to the original Blastoise build. Mega Blastoise looks like a normal Blastoise, except its cannons are on its hands and the center of the back.
The build begins by creating the base layers of cream and blue. Each section is built separately and connected together to create a complete base.
The next several steps are building the body in layers. It was a bit tricky because the base and layers were flexible for the first several steps, so the build kept sliding apart. After a few layers, there was enough overlap, so the build was much more solid.
The next step is to build the arm cannons. The cannons are straightforward and attached easily. The next step is to lock the arms in place and begin working on the head.
The main section of the build is completed in layers. Once you start working on the head, the build will tip over if you set the build down.
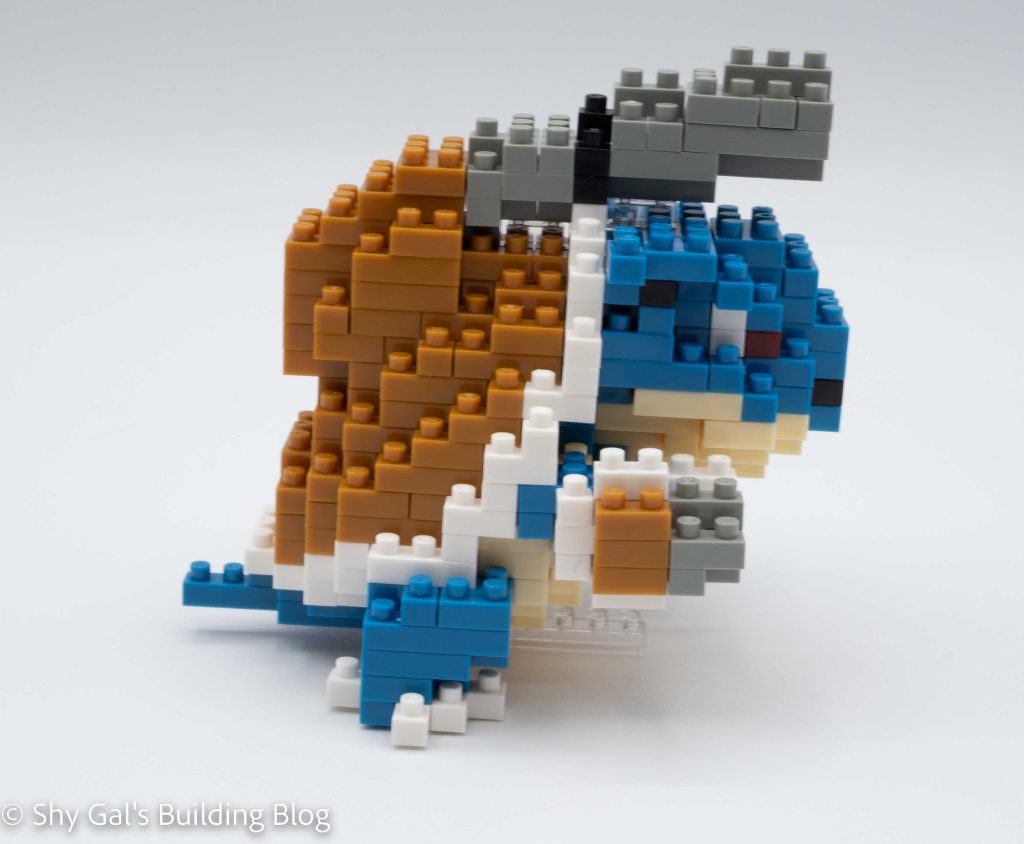
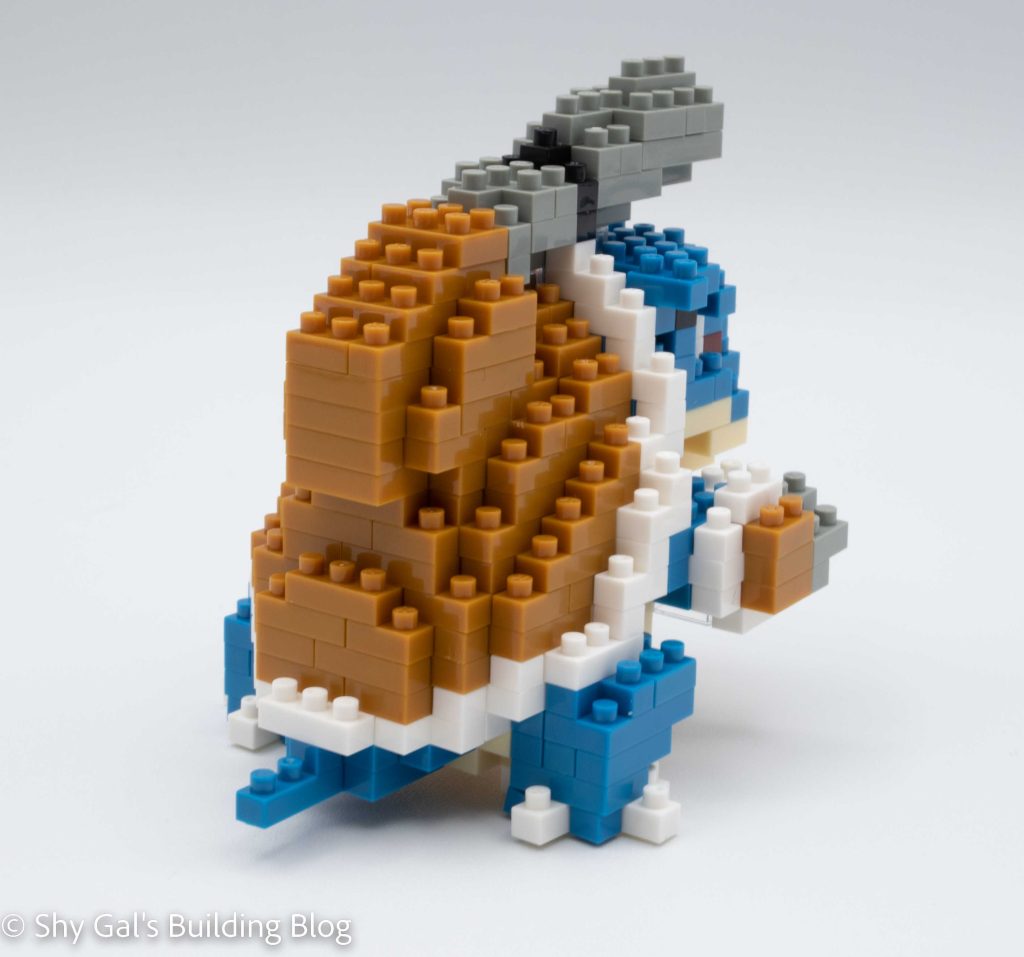
The next step is to build the cannon on Mega Blastoise’s back. The cannon is fairly straightforward but flexible, so it is tricky to line up in the first couple of steps.
The final step is to finish off the feet. This step is by far the hardest of the build. It is hard to see where exactly you need to put the bricks. I could figure it out by looking at the box and the instructions.
Things I liked:
I really like that the side is pretty close to the original Blastoise
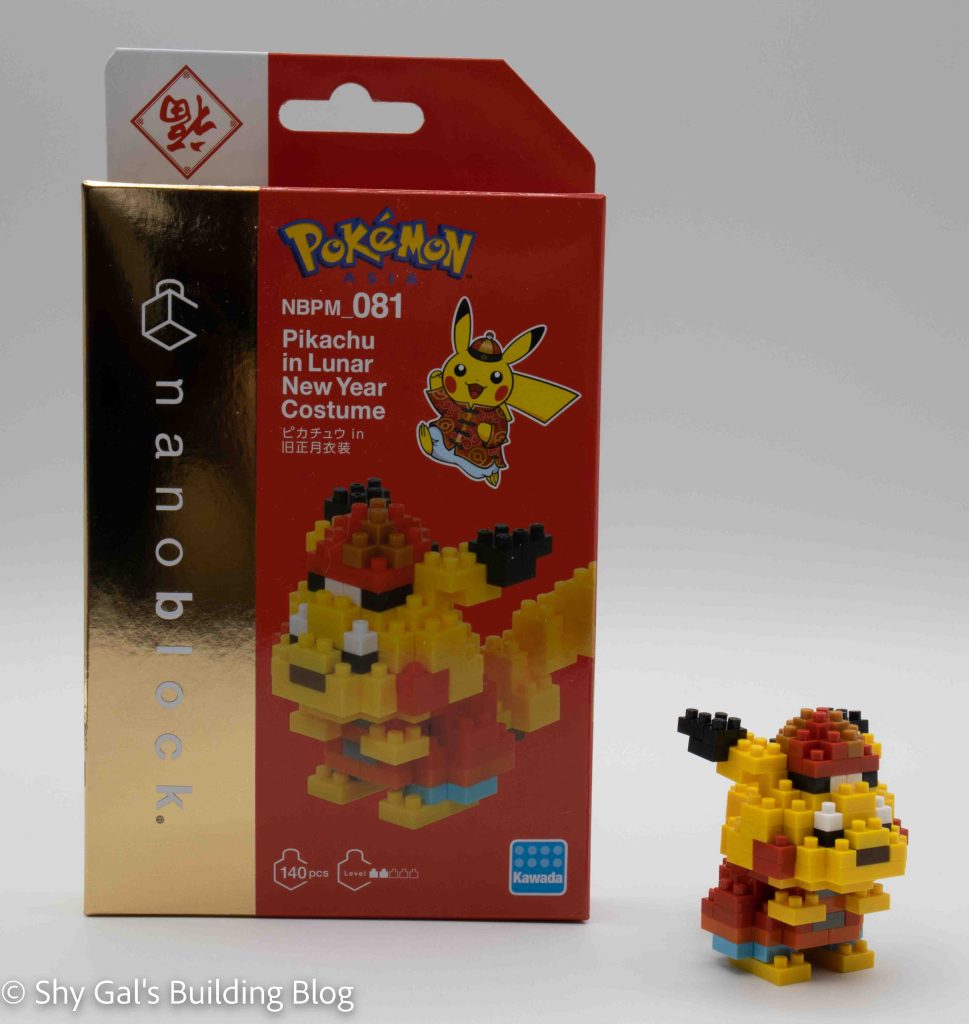
This post reviews the nanoblock Pikachu in Lunar New Year Costume build. Pikachu in Lunar New Year Costume is part of the nanoblock Pokemon collection. Wondering what else is part of the Pokemon collection? Click here for a list.
Number: NBPM_081
Number of Pieces: 140
Difficulty Rating: 2/5
This Pikachu looks similar to the original NBPM_001 Pikachu, except this Pikachu is wearing a Chinese-style jacket, hat, and hat. I like that the front of the jacket has grey bricks representing Chinese-style jacket ties.
Since it has been so long since I’ve built NBPM_001, I can’t really compare the 2 builds, but the final Pikachus are similar.
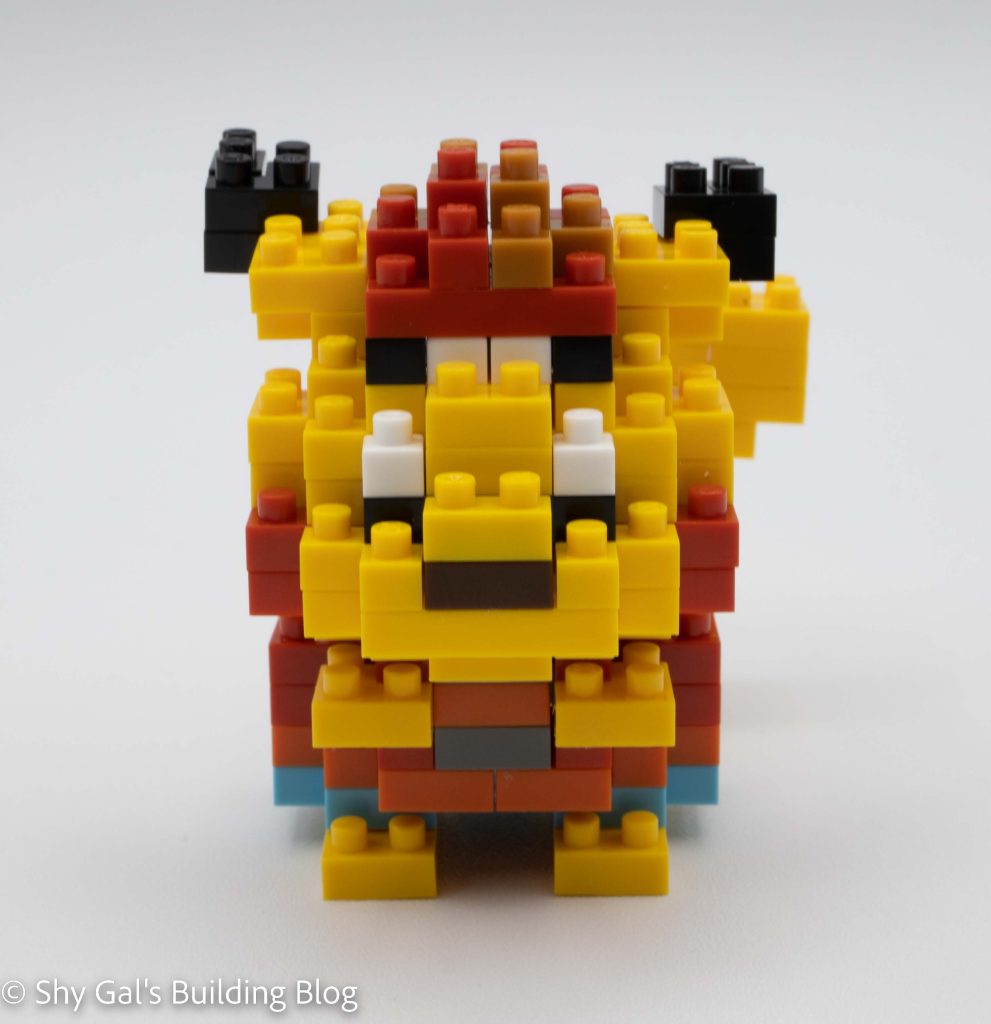
The first step is to lay out the base layer, Pikachu’s pants. I built most of Pikachu on my nanoblock pad.
The next 5 steps are to create the Chinese-style jacket. The details building jacket includes having dark grey for the fasteners in the front. You also add Pikachu’s front paws.
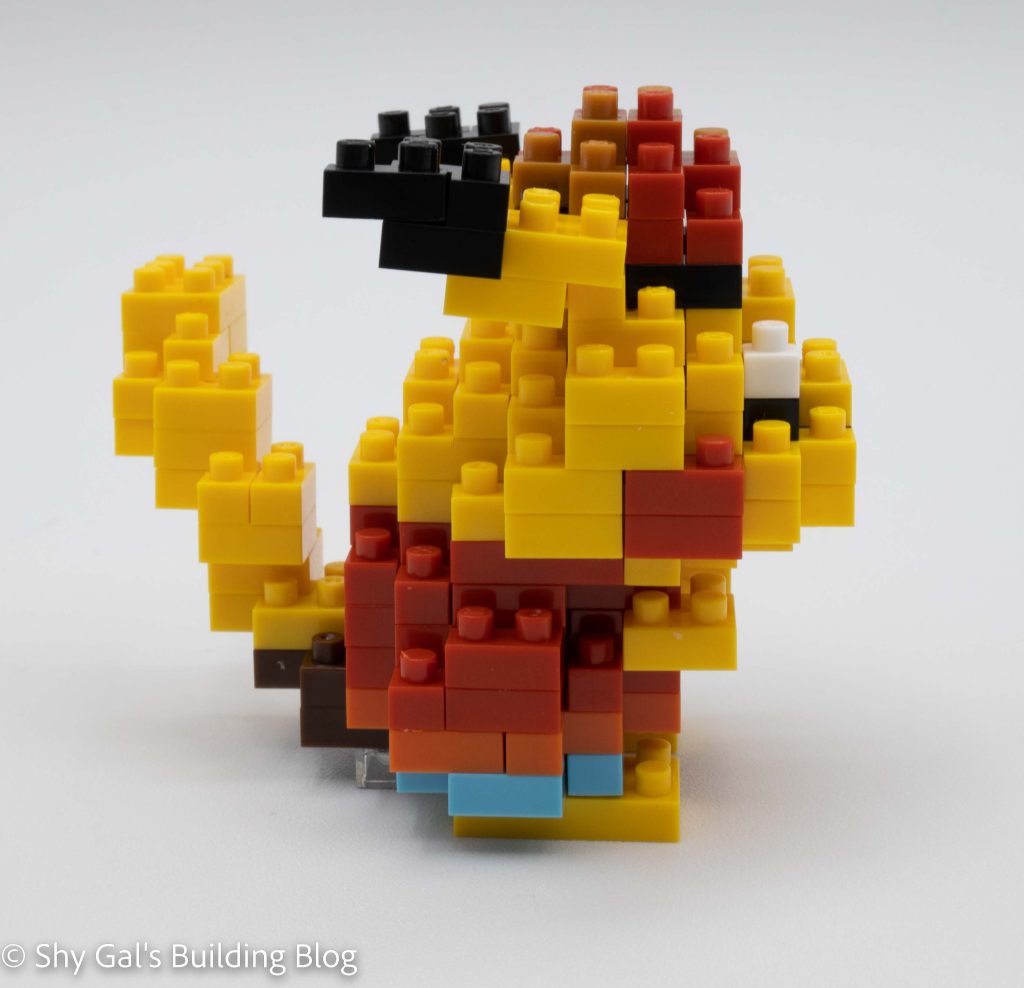
After building the jacket, it is time to build Pikachu’s head. The head is straightforward and has simple layers but adds a lot of detail. You add the nose and the eyes. The other thing that makes this build unique is that Pikachu wears a hat. The hat is straightforward. I’m not a fan of the brown in the hat and wish it had been a different color.
Then it’s time to finish the details by adding the feet, ears, and tail. The feet are simply 2×4 bricks attached to the bottom of the build. There is also a clear block to keep the build from tipping. The ears are each a simple 3 layers of bricks attached to the head. The tail is by far the trickiest part of the build. Several layers of bricks are stacked together to create the zig-zag tail. It was also hard to tell how exactly to connect the tail to the body.
Things I liked:
I think the costume is a cute and creative detail and is unique to the build
Things I didn’t like:
It was hard to figure out how to attach the tail
The brown on the hat is a little random compared to all the other colors in the build
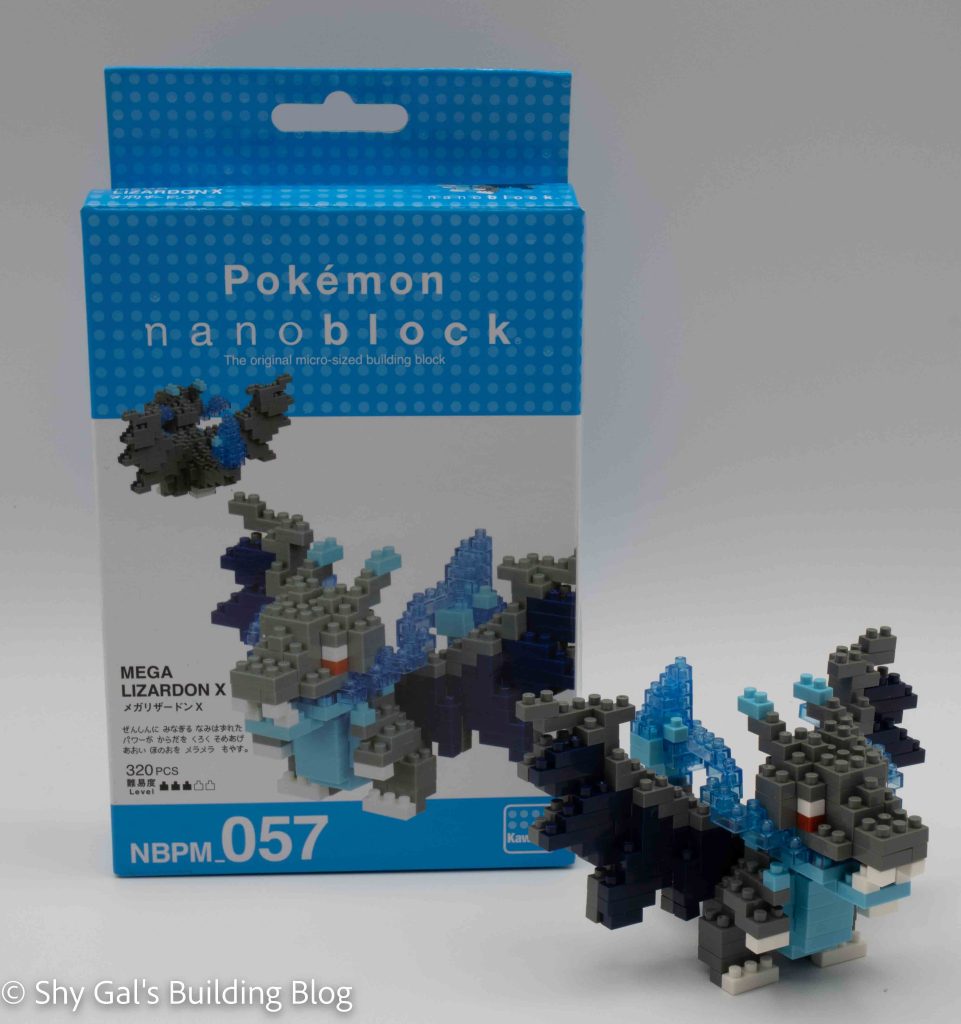
This post is a review of the nanoblock Mega Charizard X build. Mega Charizard X is part of the nanoblock Pokemon collection. Wondering what else is part of the Pokemon Collection? Click Here for a list.
Names:
English: Mega Charizard X
Japanese: Mega Lizardon X
Number: NBPM_057
Number of Pieces: 320
Difficulty Rating: 3/5
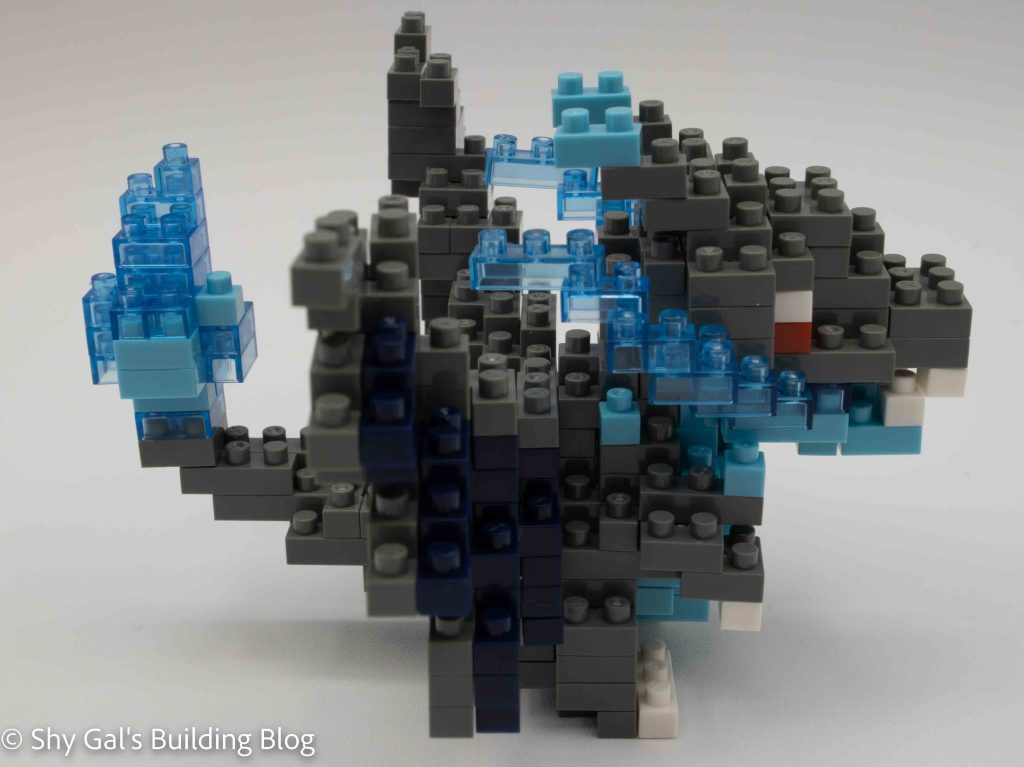
Mega Charizard X was originally in Pokemon X. Mega is used to describe Pokemon that have mega evolved, which was introduced in generation 6. Pokemon X has its own mega evolution named Mega Charizard X. Mega Charizard is grey with blue flames instead of the standard orange.
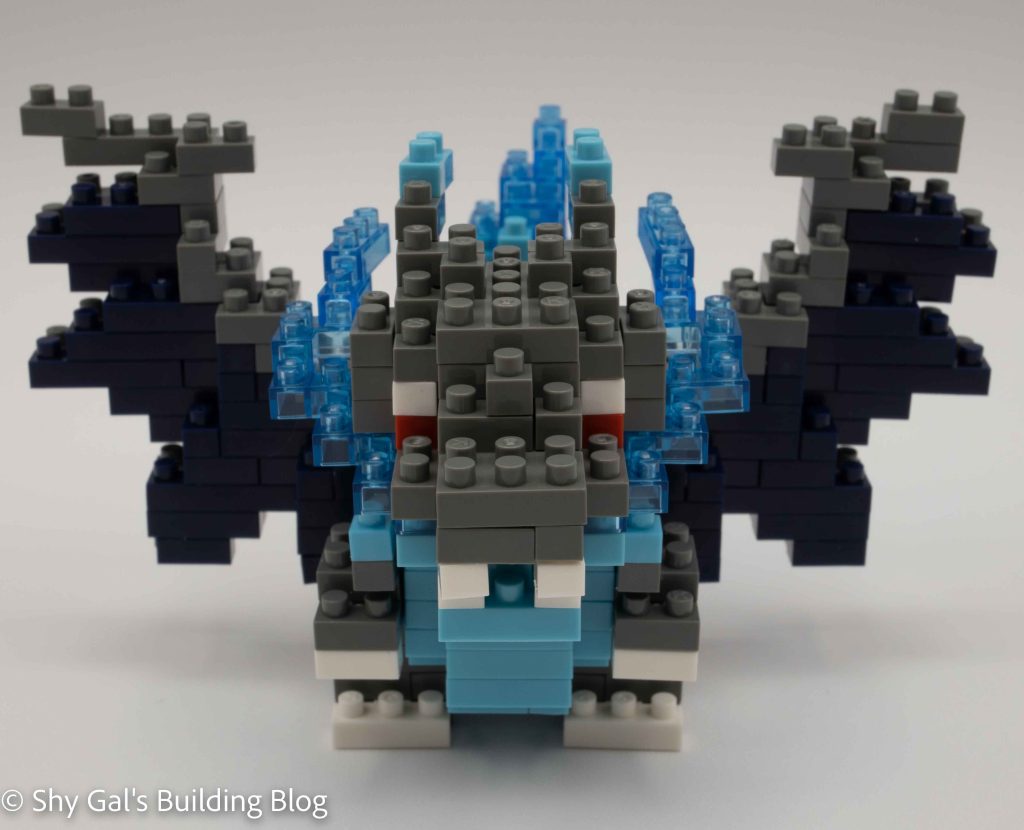
This built is breaks the building focus into several parts. There is the body, wings, tail flame, and head. Overall the directions are clear as to which colors to use and when.
You begin by building the body. You start with a base layer and build up. The arms on my build are a bit loose and feel like they want to fall off the studs holding them in place. The build is straightforward other than the last step when you flip the build upside down. It is hard to tell where exactly where the underside bricks go.
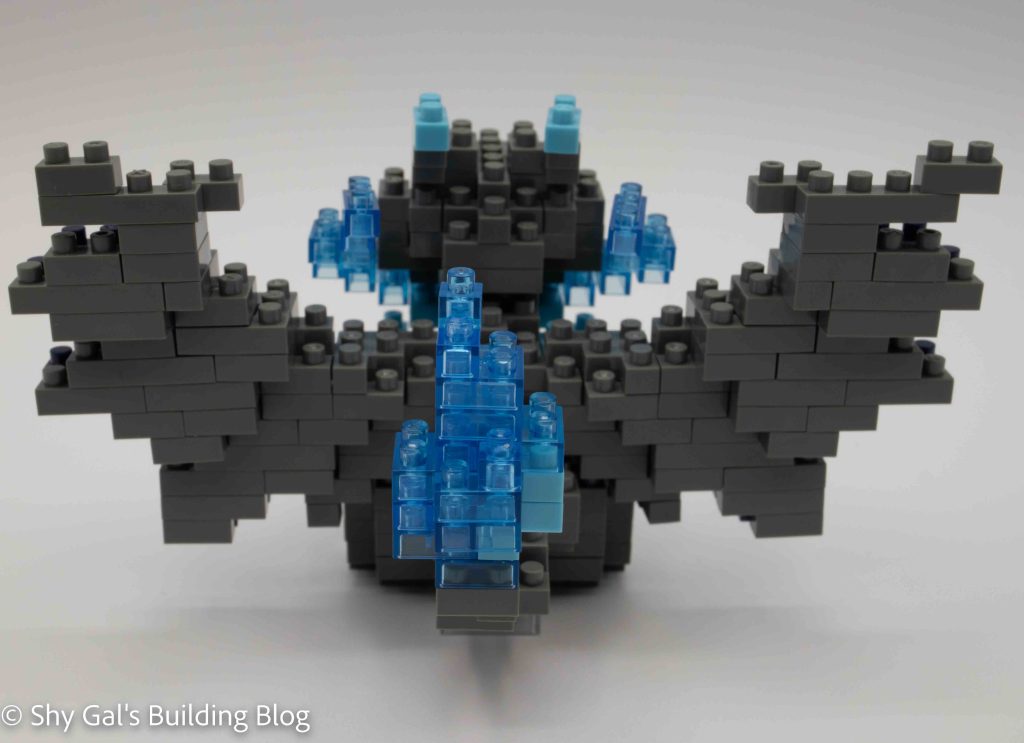
The next step is to build the pair of wings. I have trouble getting wings to line up because they are so narrow. The directions are clear as to when and where to use each brick. They nicely and solidly attached to the body and didn’t cause the body to tip, which was nice.
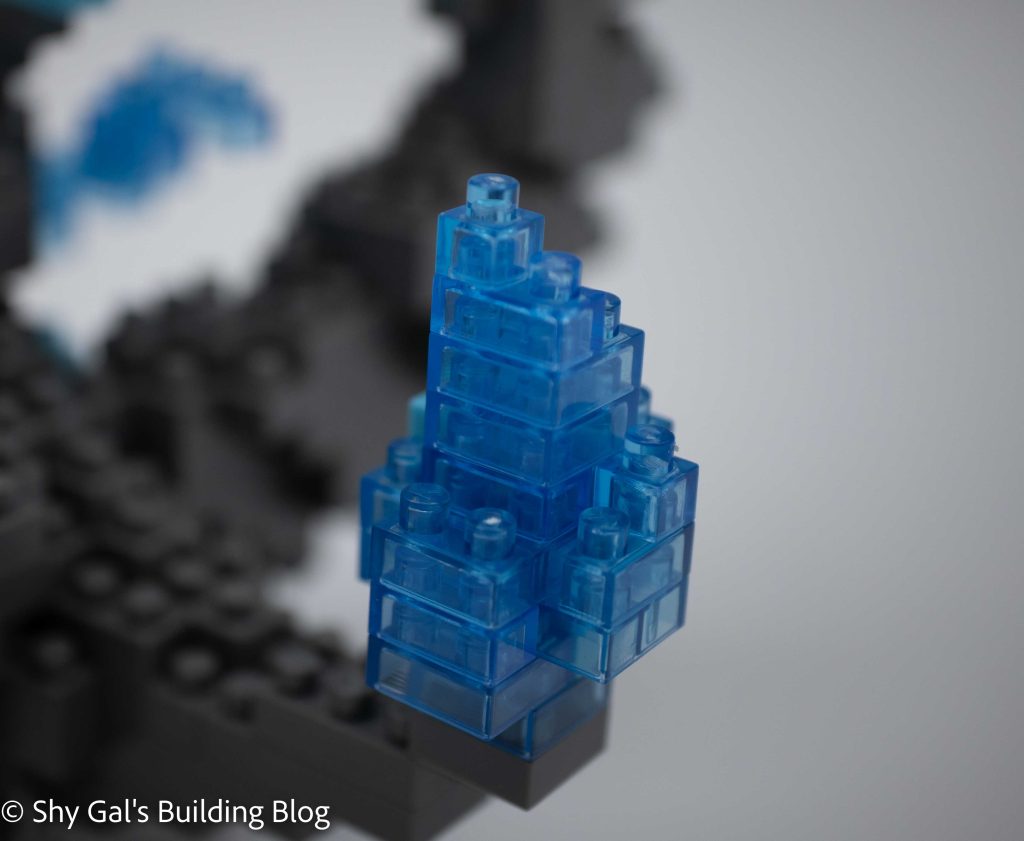
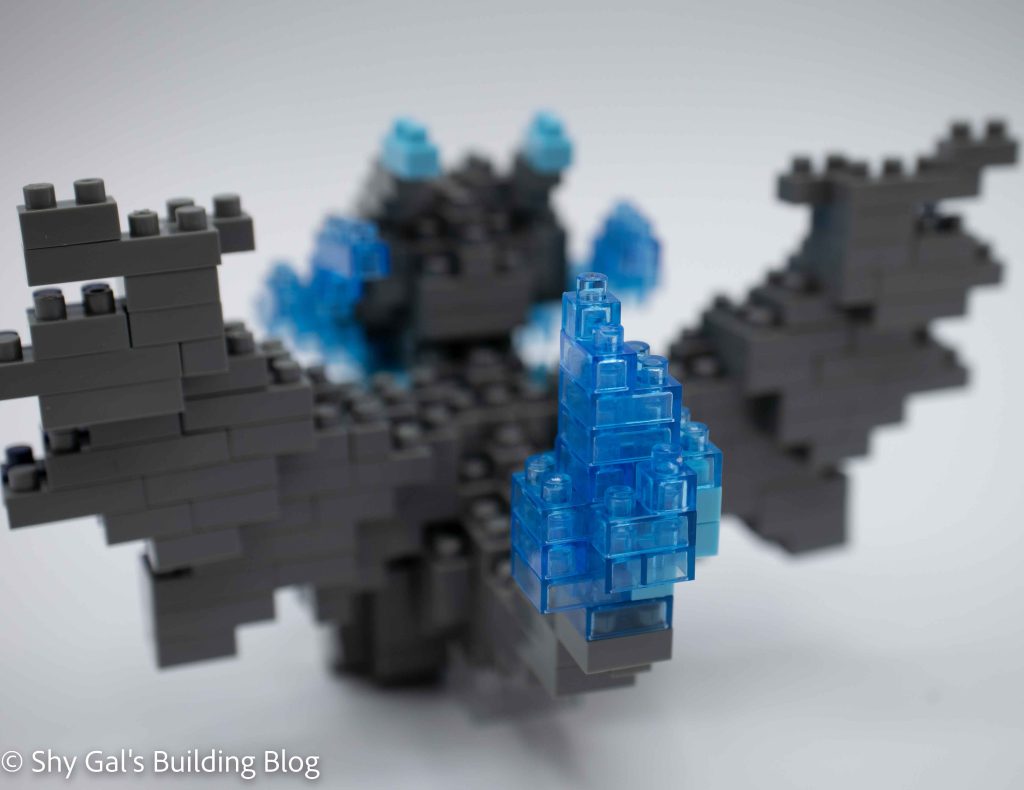
Then you build the tail flame using clear blue and pastel blue bricks. It was tricky to attach to the body because it’s a 2×2 brick going onto a single stud.
The final part of the build is the head. You begin with a base layer and build up in layers. As you build up the main section of the head, you will also add the flames coming out of the Charizard’s mouth. The flames are one of several brick chains on the head that you will build in the process of creating the head.
Things I liked:
The use of multiple shades of blue
Things I didn’t like:
I’m not sure I needed another Charizard build I would rather have had a different Pokemon
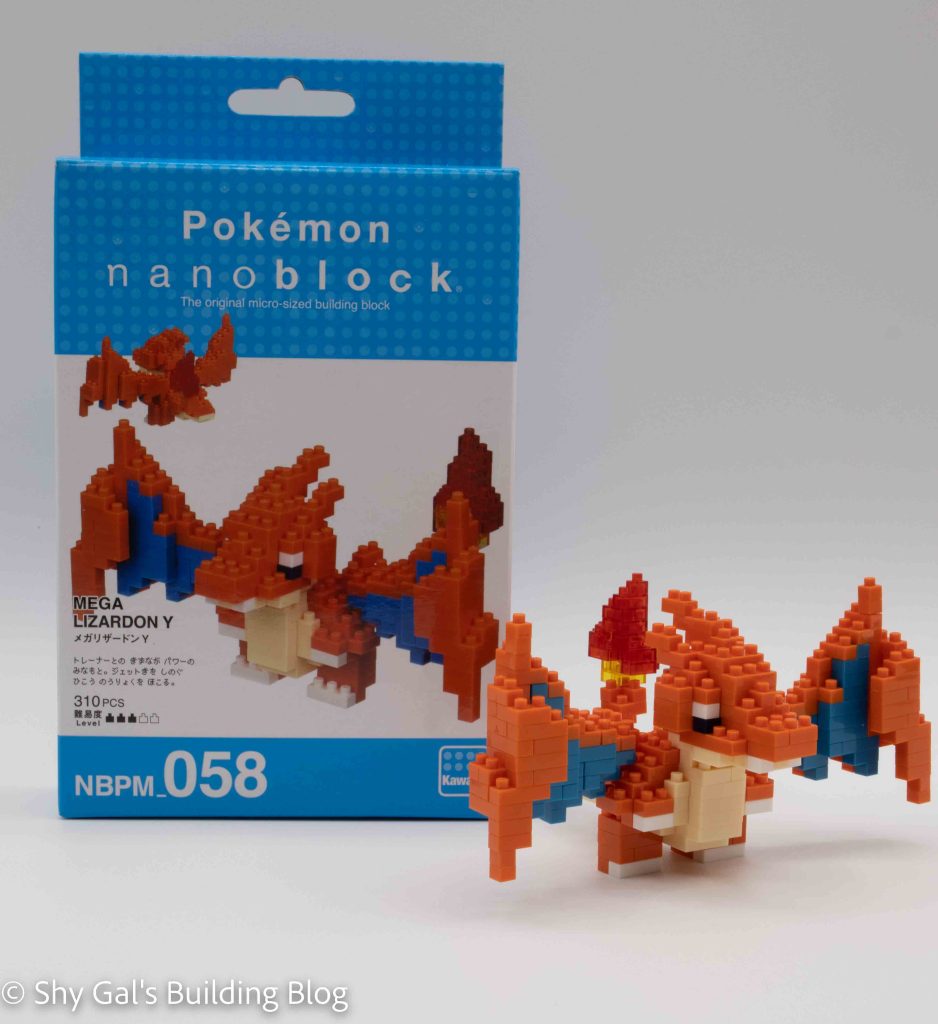
This post is a review of the nanoblock Mega Charizard Y build. Mega Charizard Y is part of the nanoblock Pokemon collection. Wondering what else is part of the Pokemon Collection? Click Here for a list.
Names:
English: Mega Charizard Y
Japanese: Mega Lizardon Y
Number: NBPM_058
Number of Pieces: 310
Difficulty Rating: 3/5
Mega Charizard Y was originally in Pokemon Y. Mega is used to describe Pokemon that have mega evolved, which was introduced in generation 6. Pokemon X has its own mega evolution named Mega Charizard X. Mega Charizard Y looks like a more powerful version of a regular Charizard.
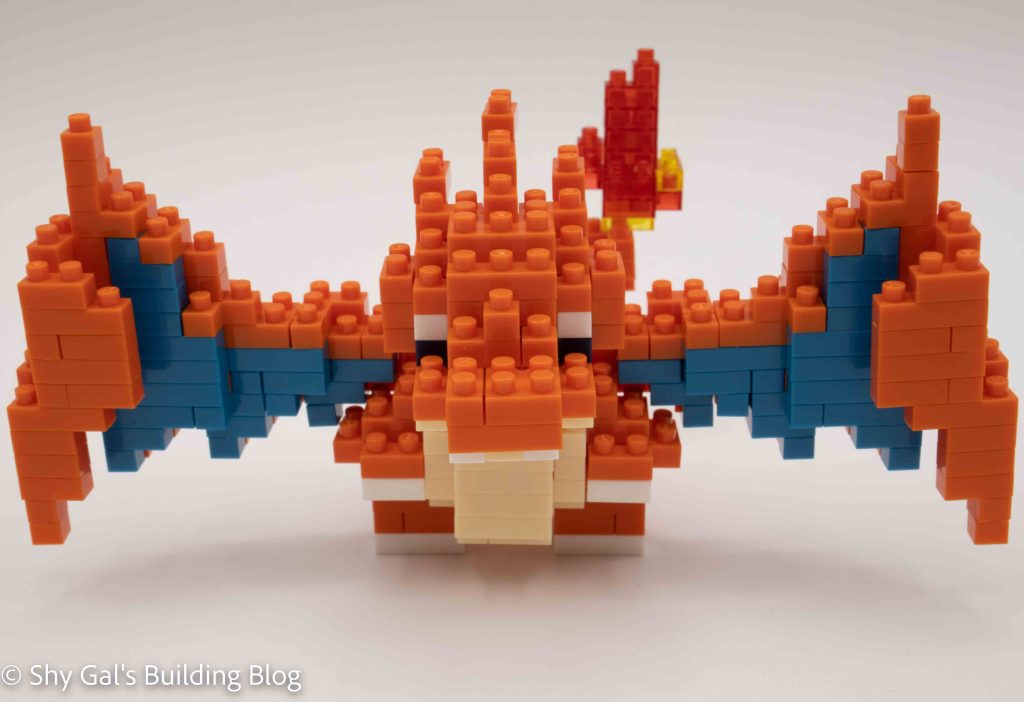
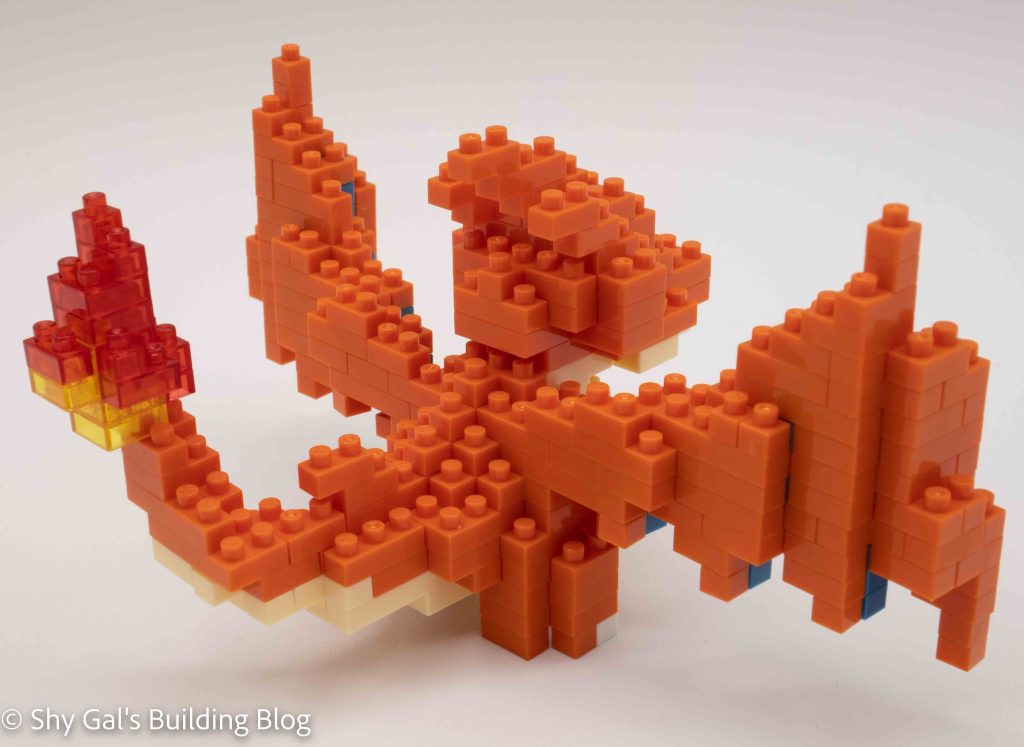
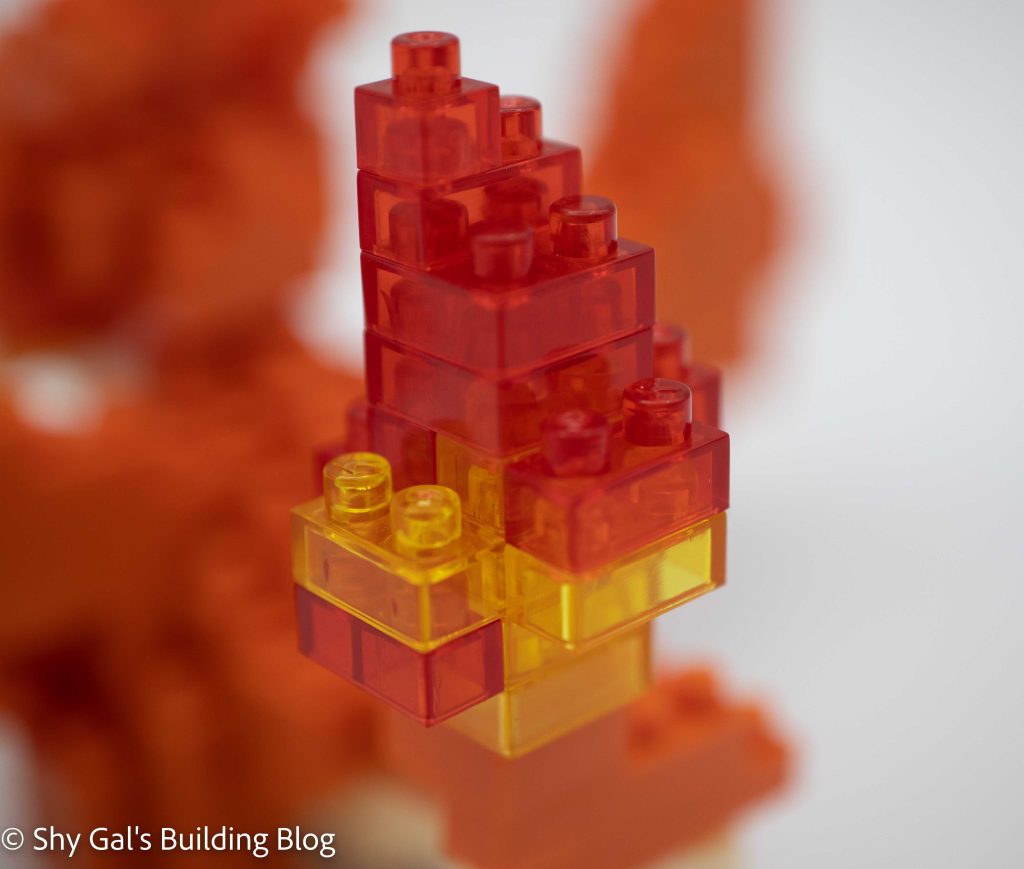
Overall the build for Charizard Y is quite similar to regular Charizard. You first build your body which is the normal start with a base layer and build up. Next, you make the wings which are the most detailed part of the build. This is because of the layering of blue and orange so that you don’t see how the blue and orange are held together. Finally, you build a tail flame and a head with straightforward directions.