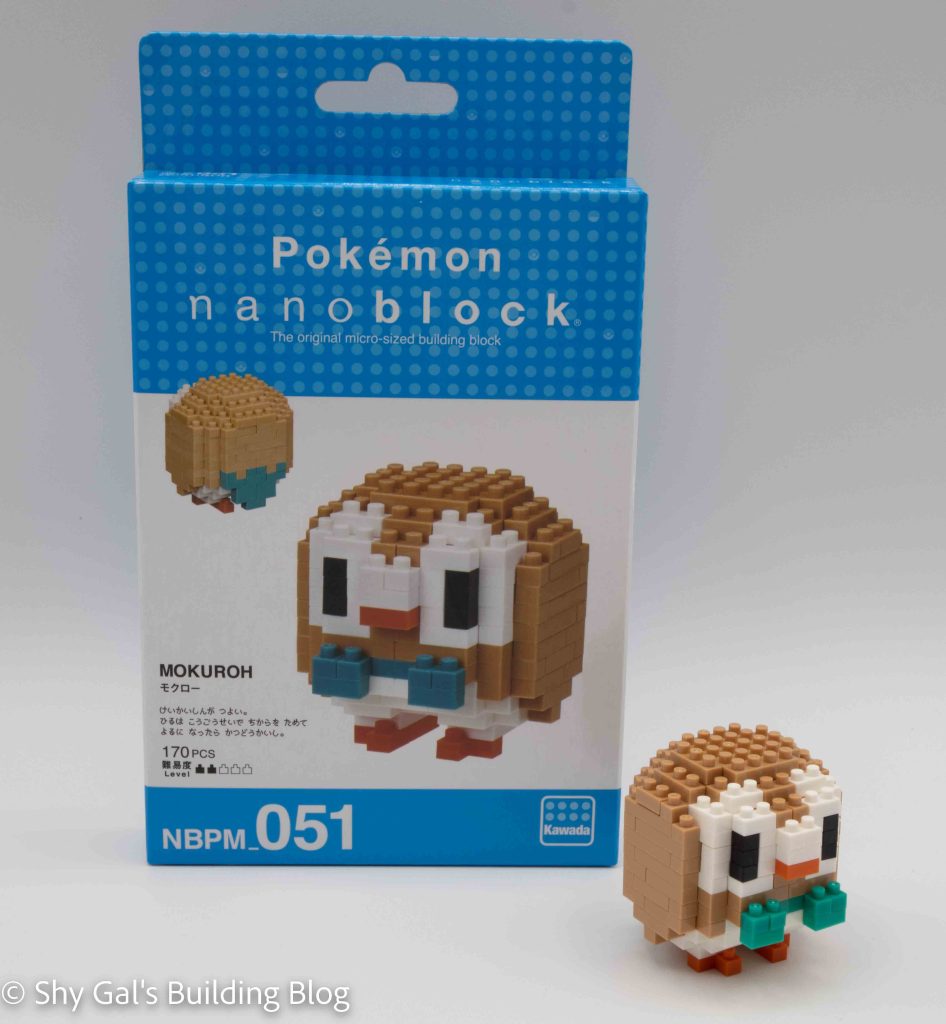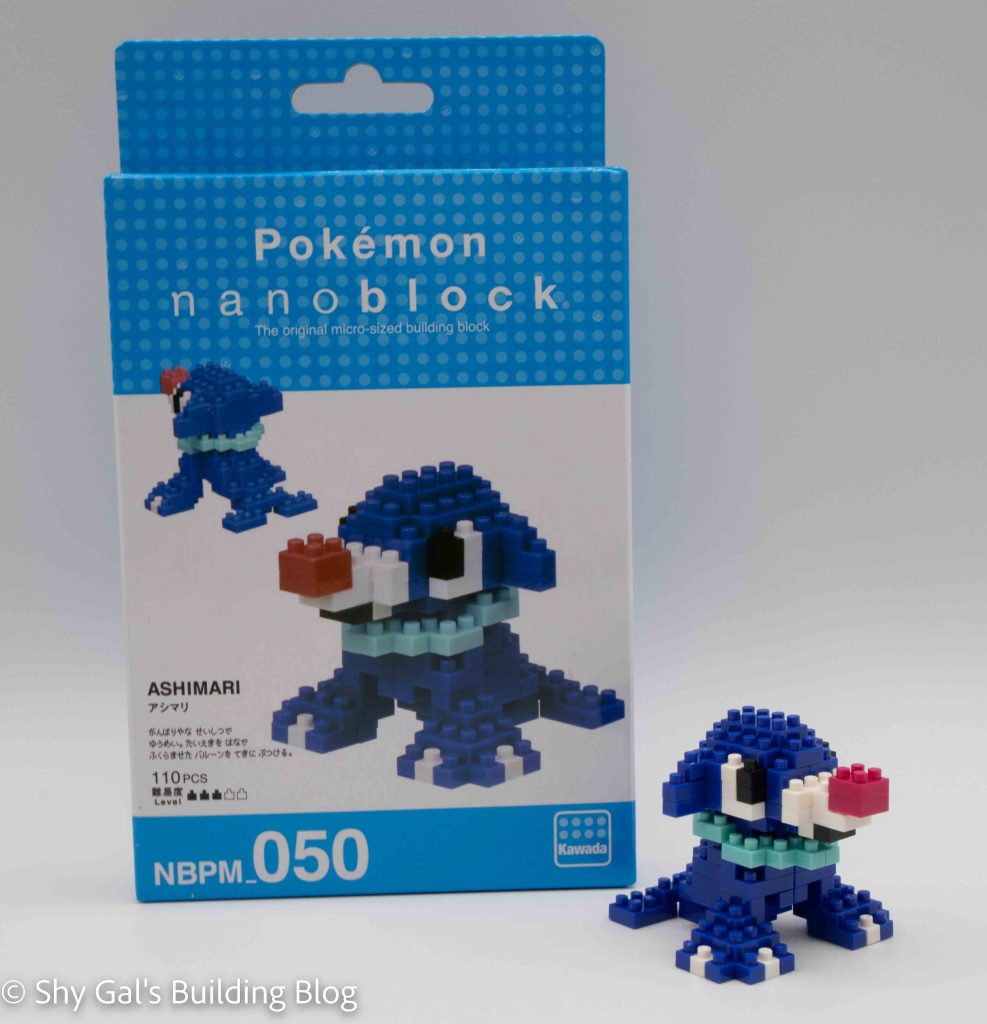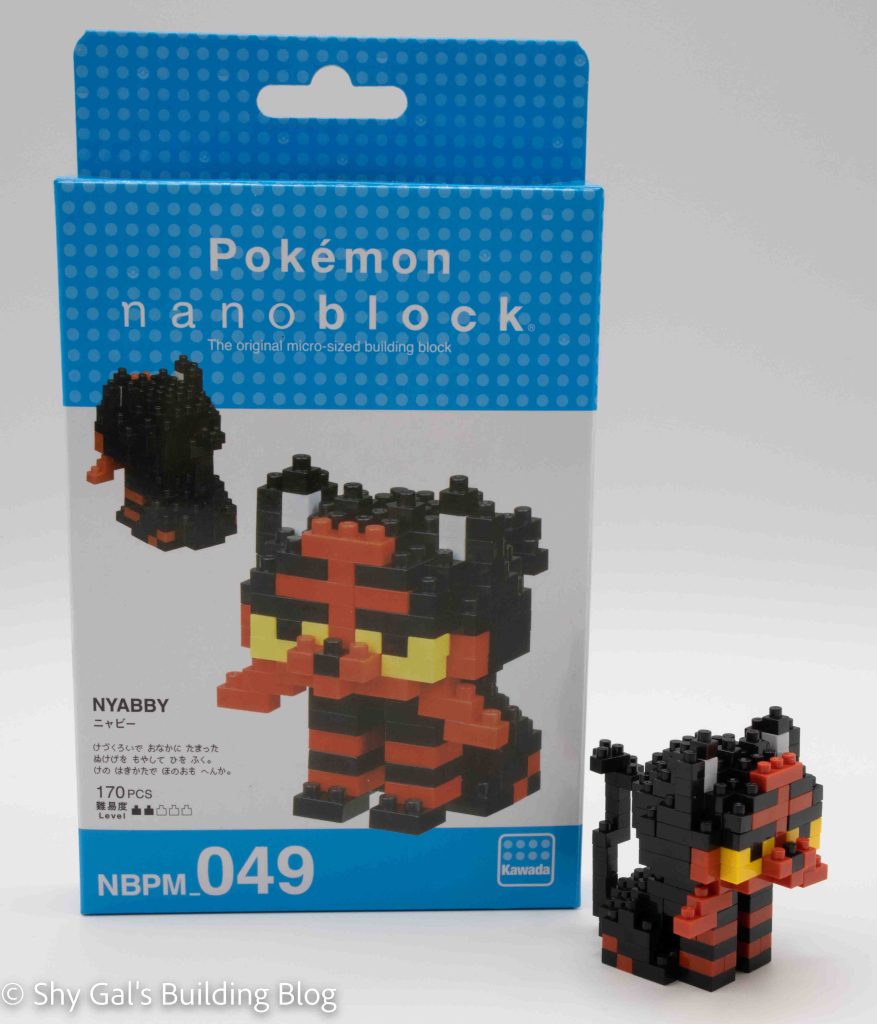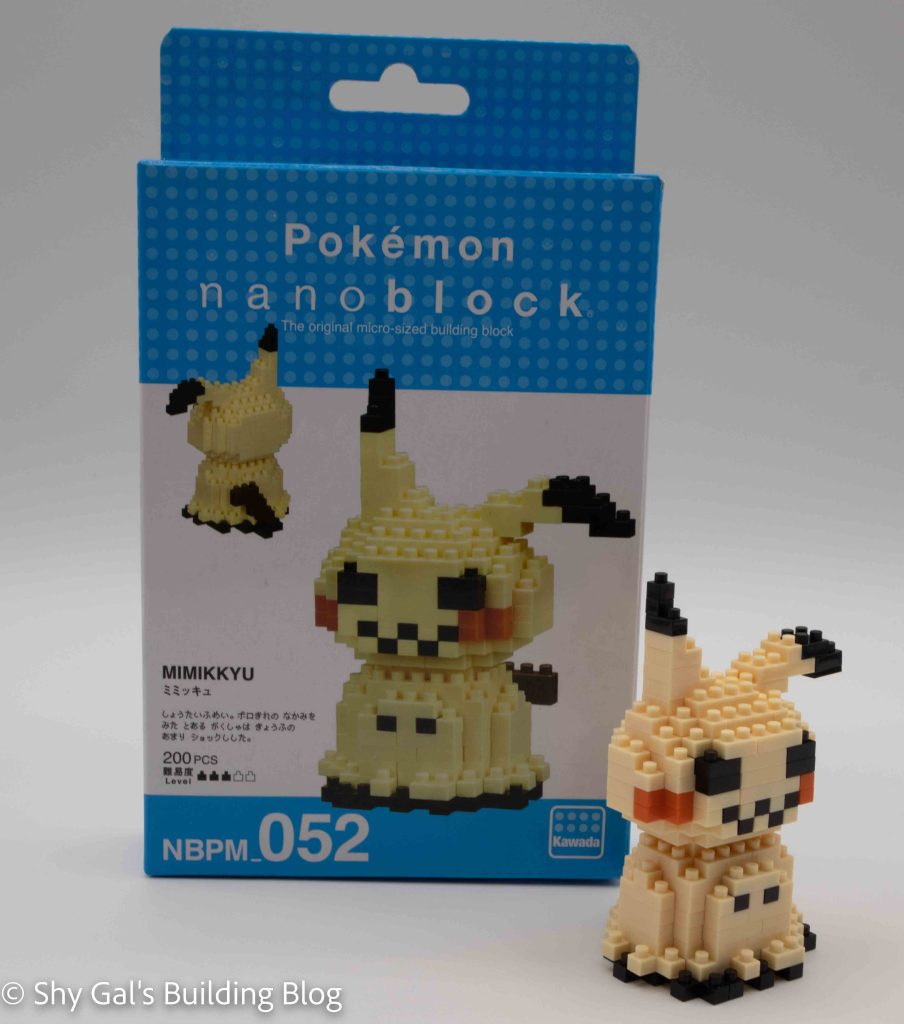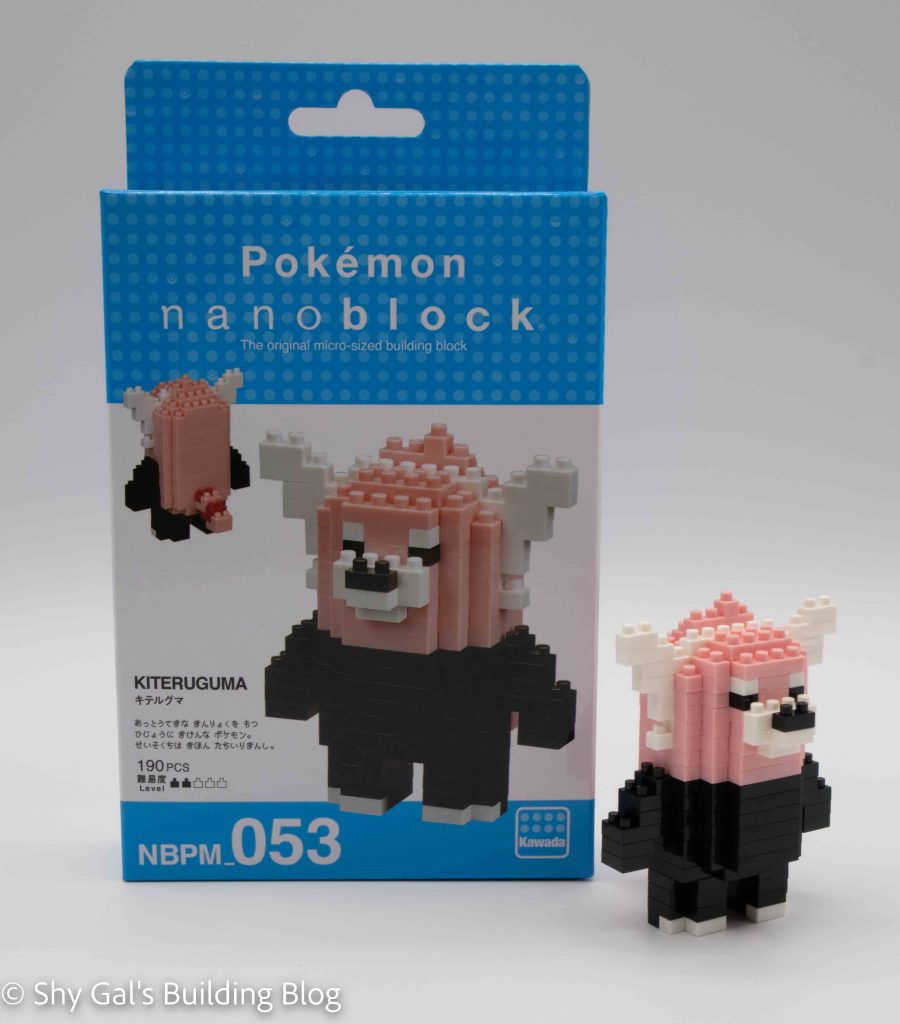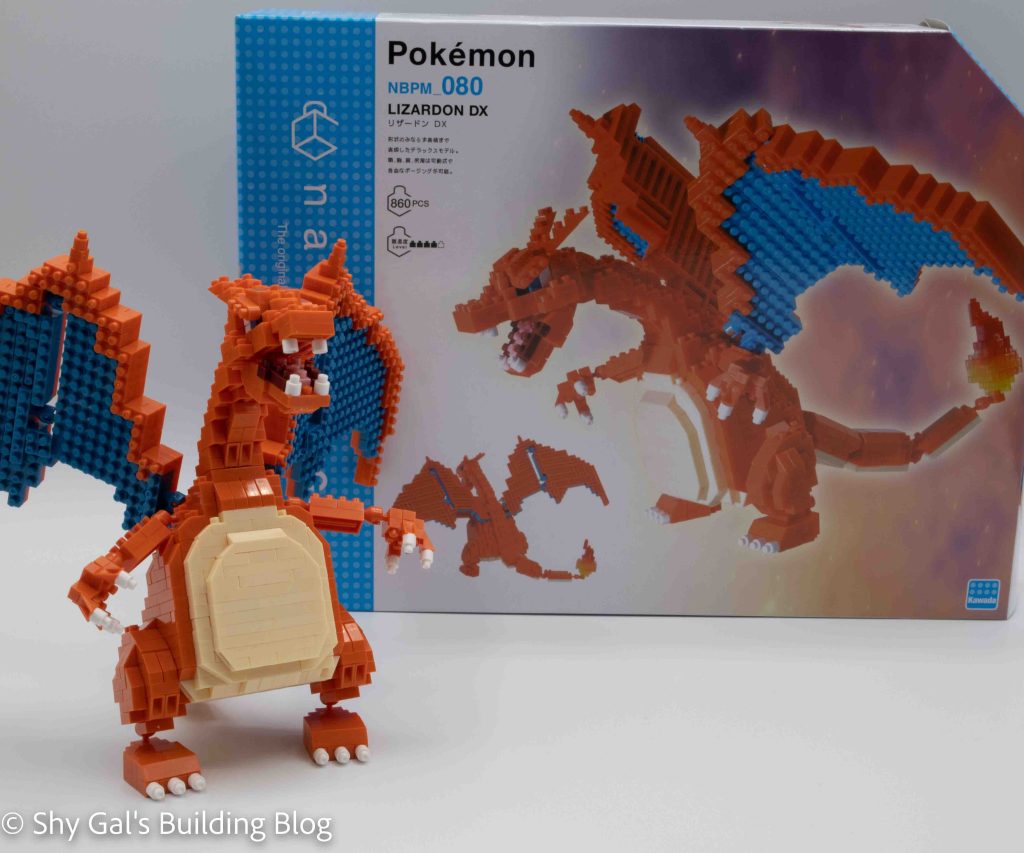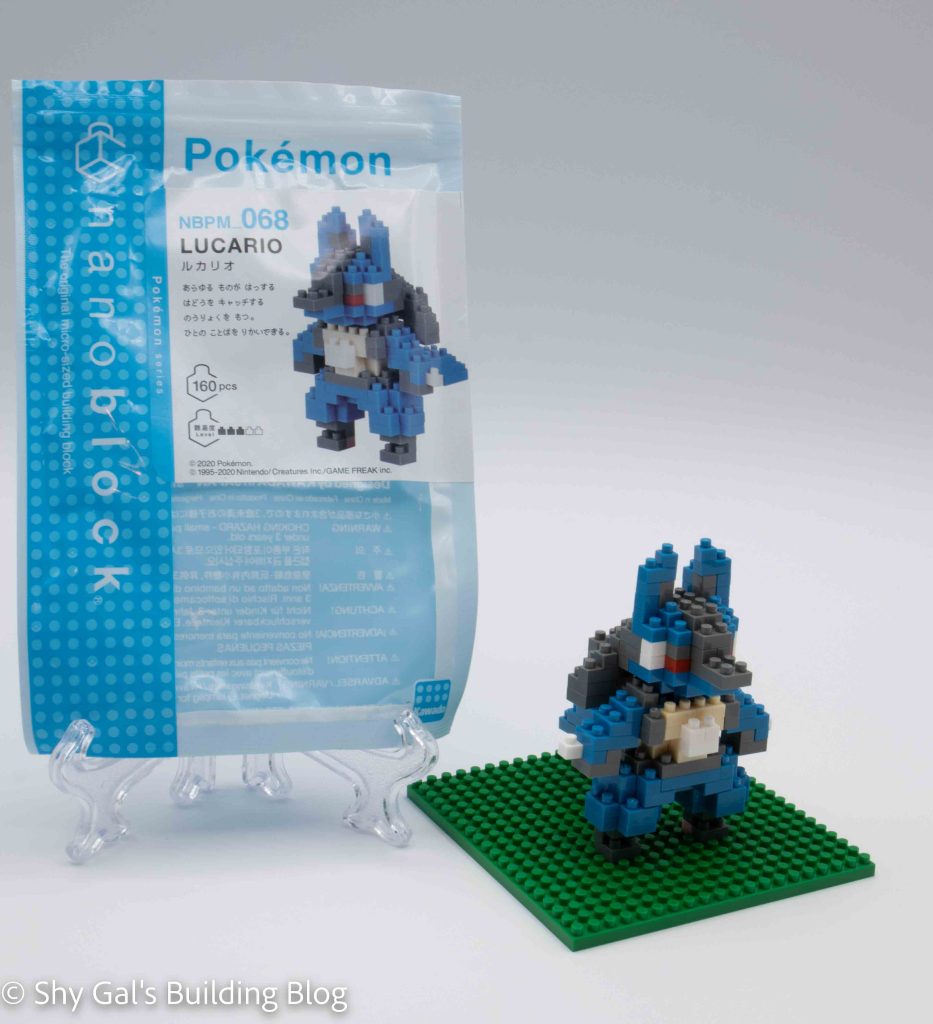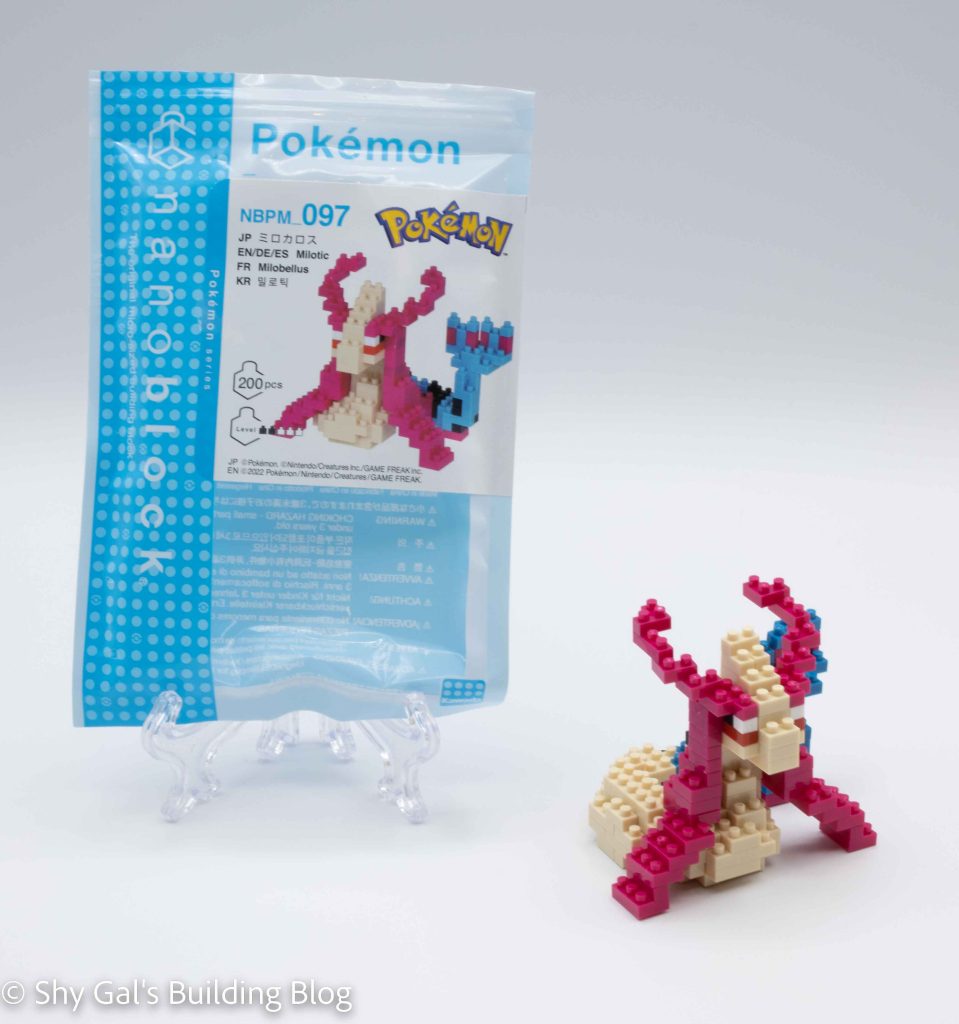
This post is a review of the nanoblock Milotic build. Milotic is part of the nanoblock Pokemon collection. Wondering what else is part of the Pokemon collection? Click here for a list.
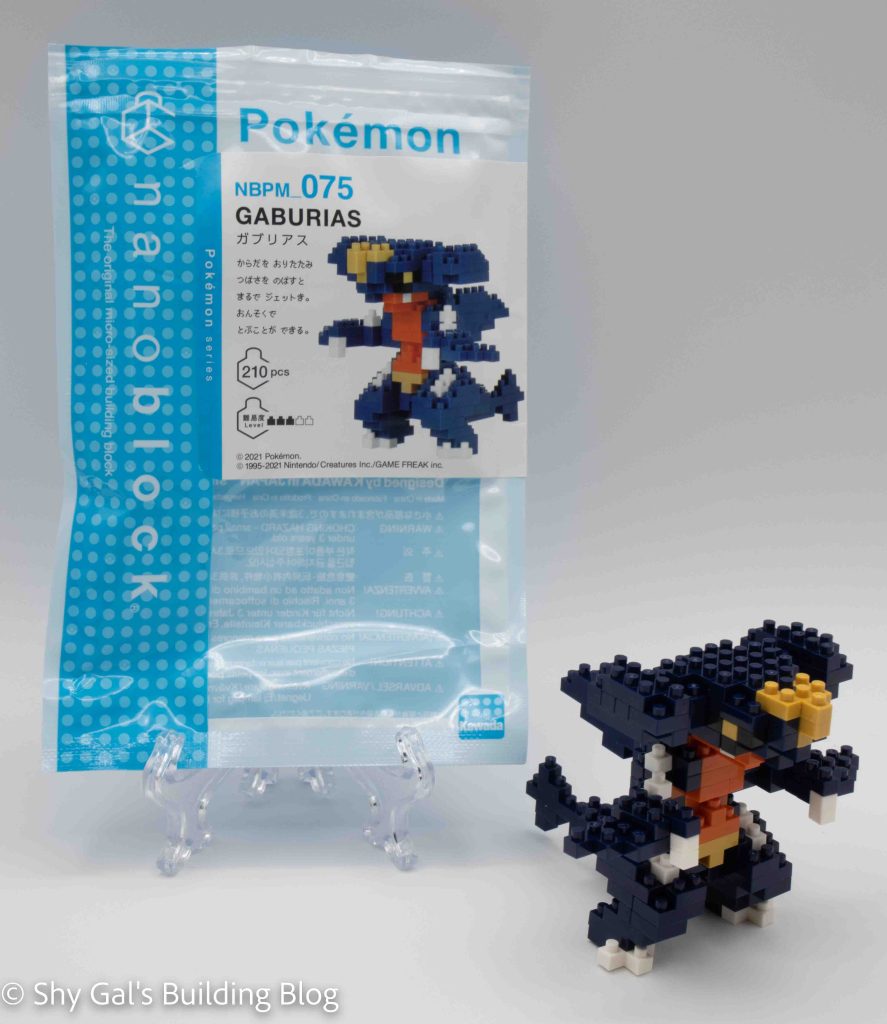
Number: NBPM_097
Number of Pieces: 200
Difficulty Rating: 2/5
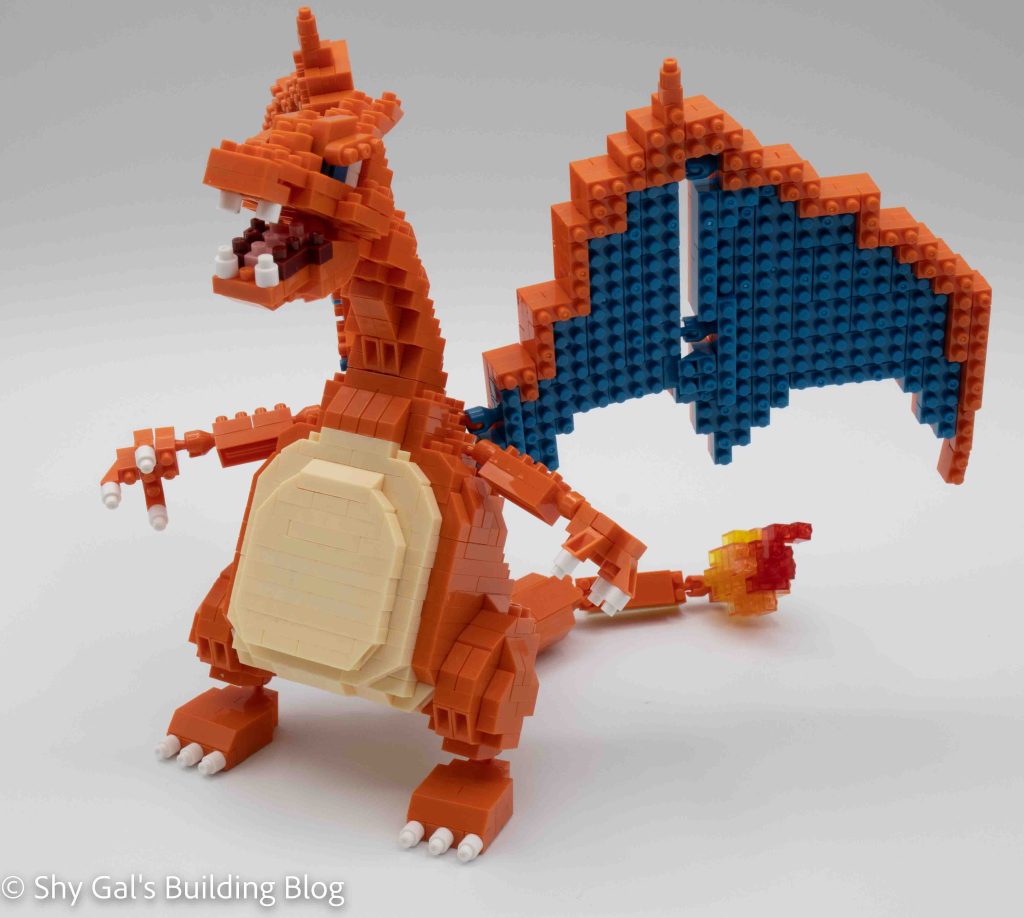
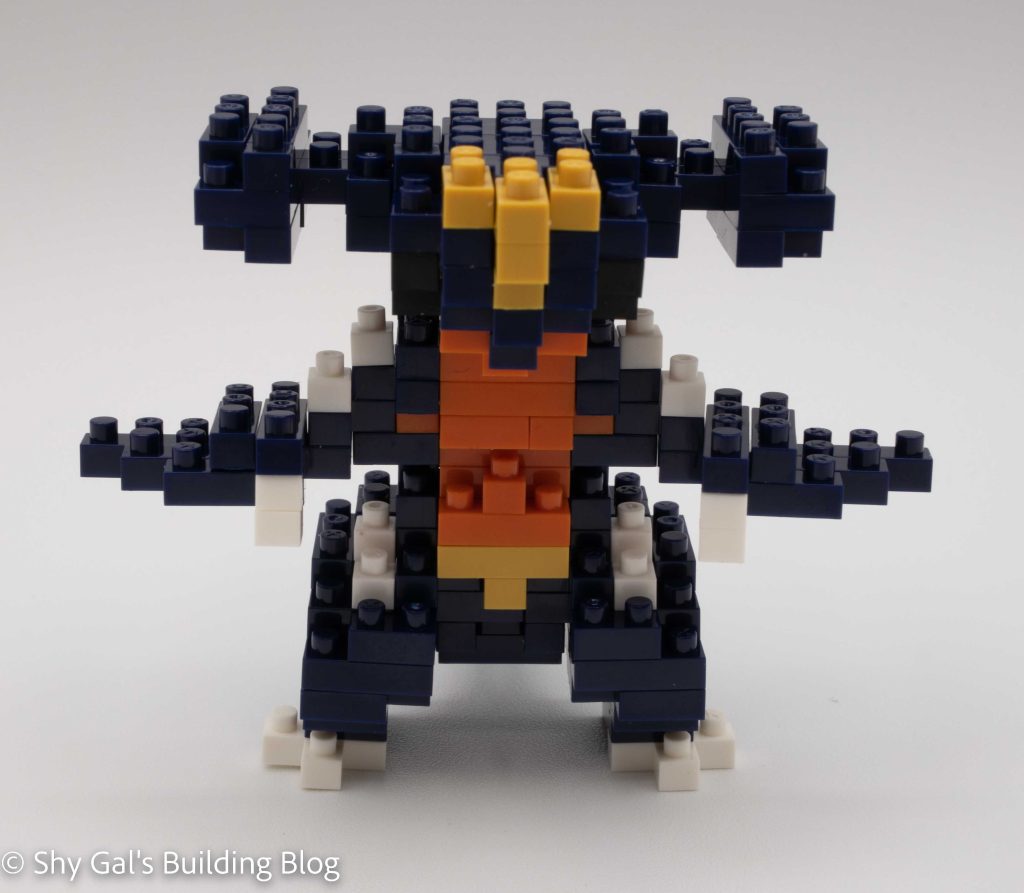
Milotic is a pokemon introduced in generation 3. It is the evolution of Feebas, which doesn’t have a nanoblock build at this point. While Milotic appears to be a dragon, it is only a water type.
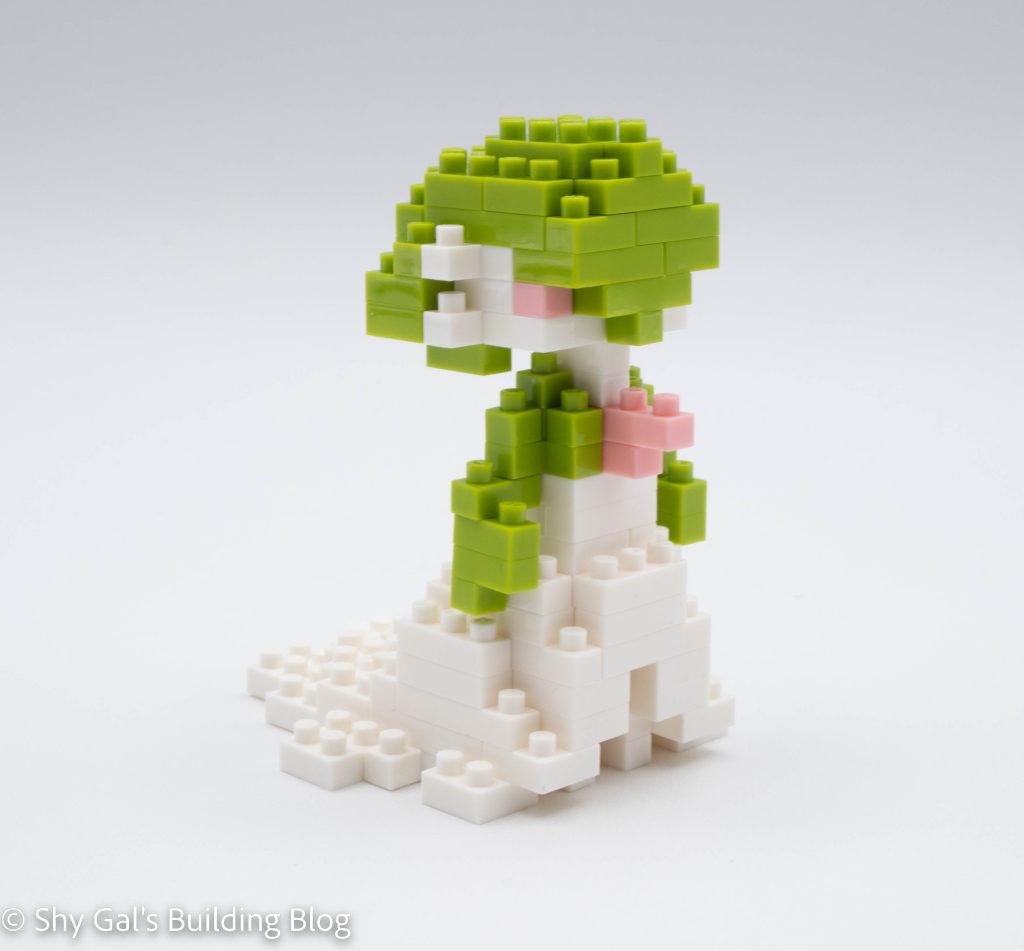
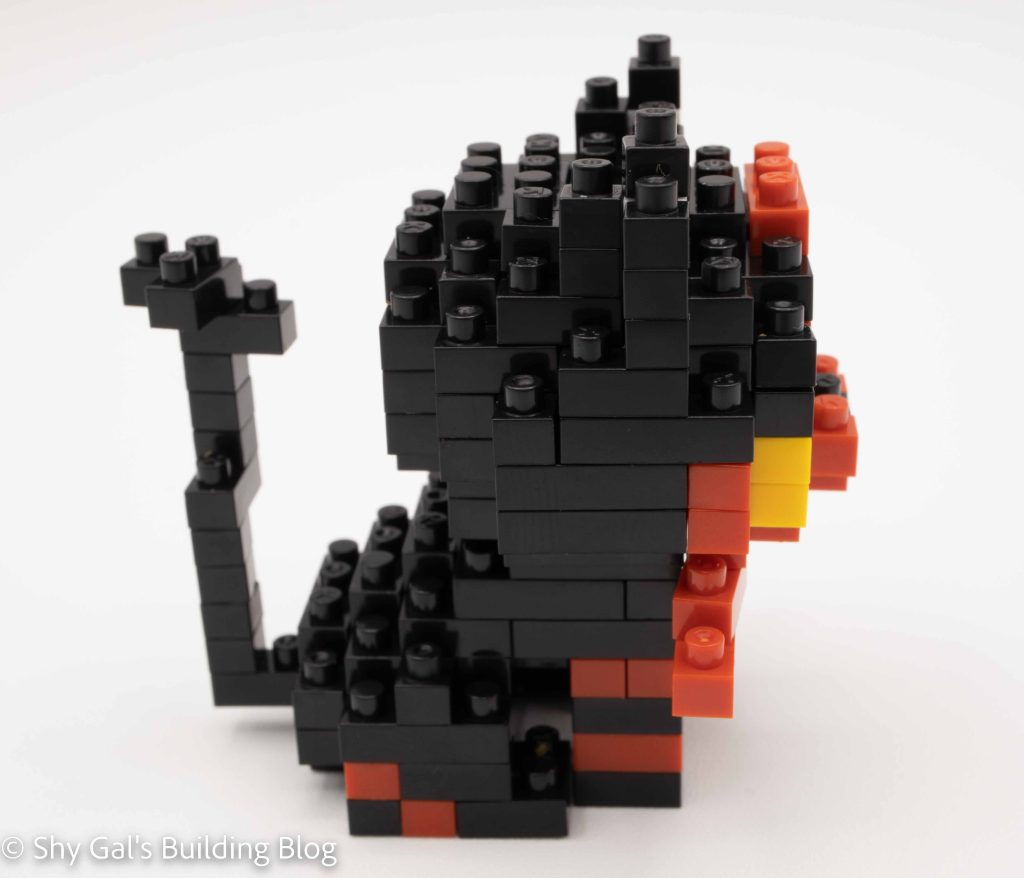
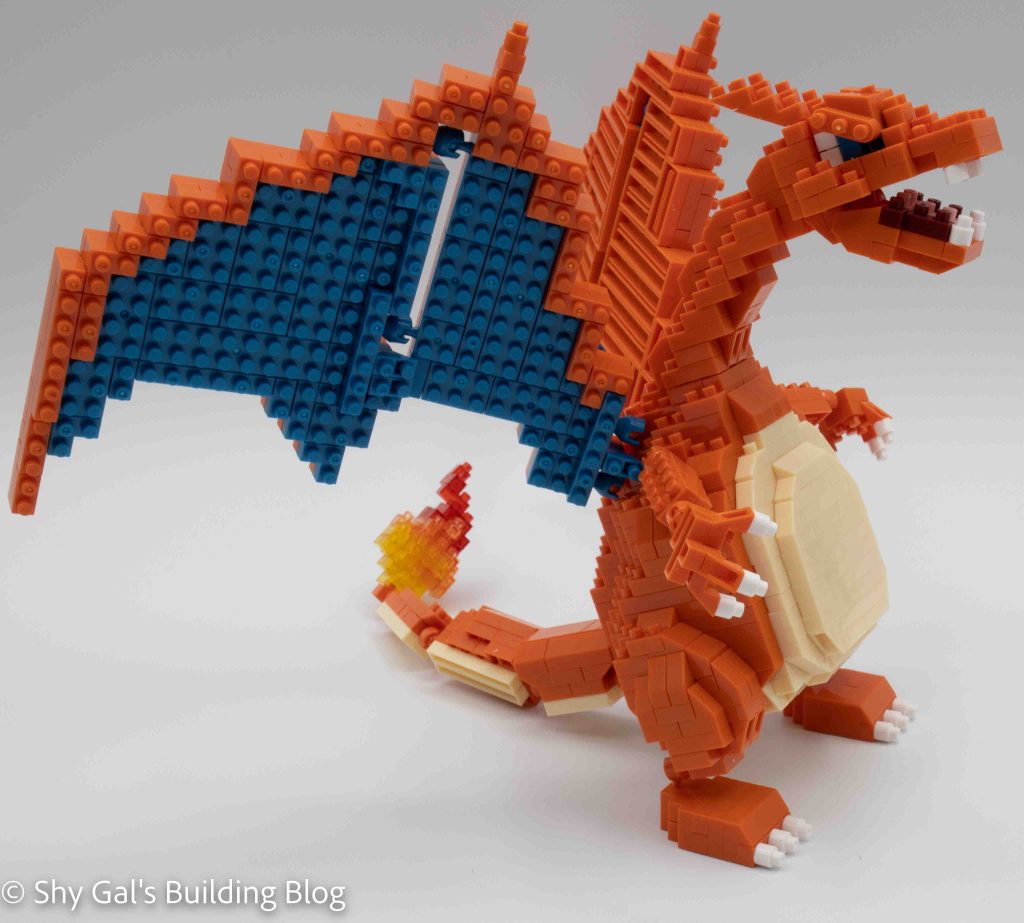
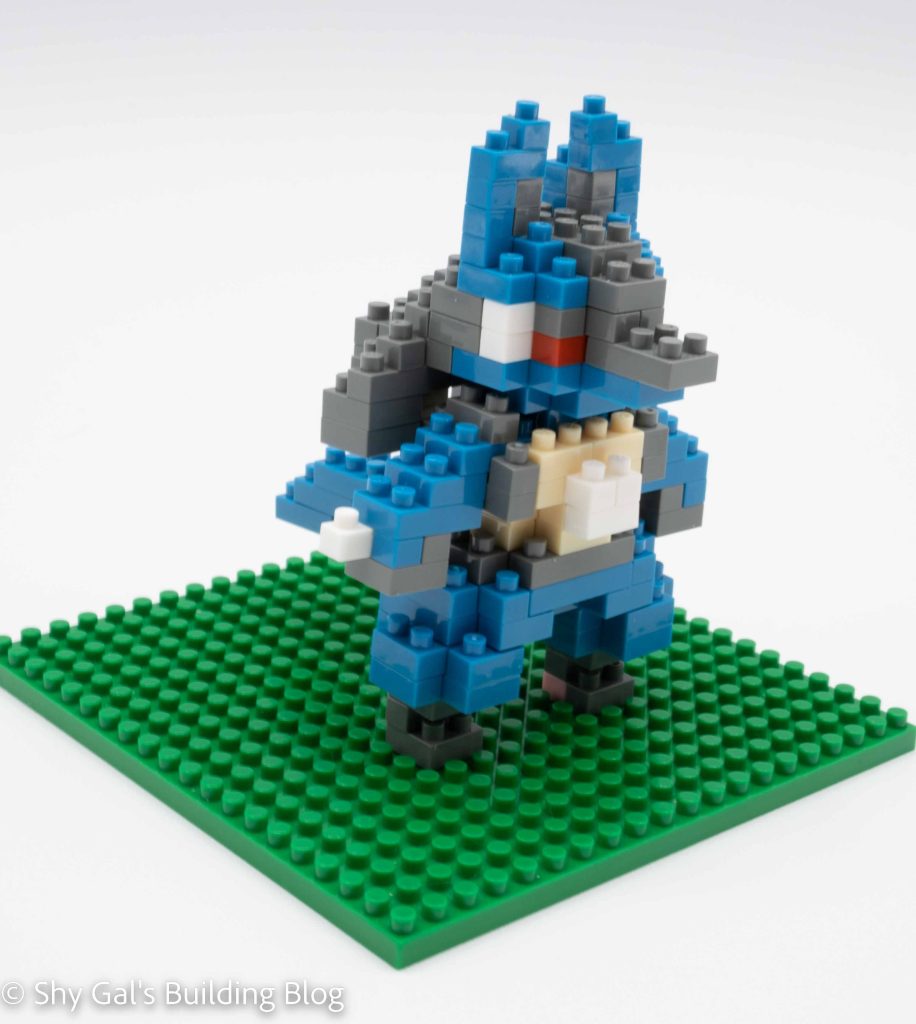
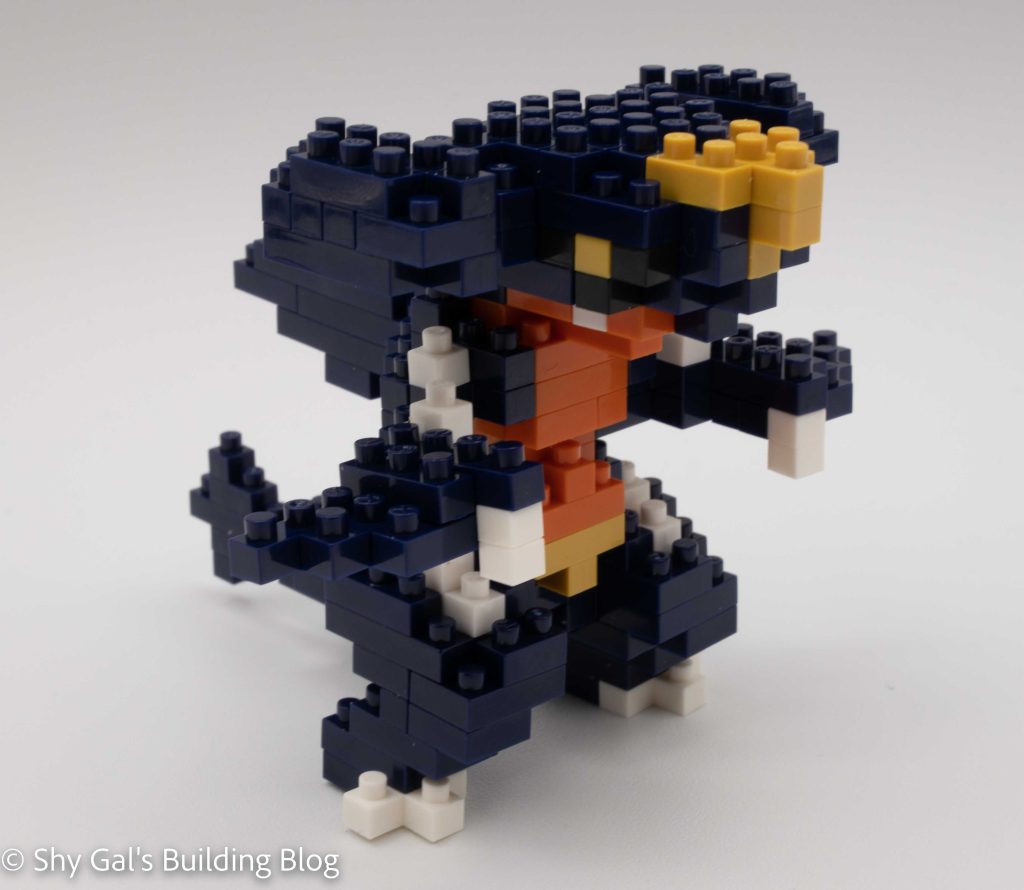
When I originally looked at the build, the snake shape reminded me of the Rayquaza build, so I was worried the build would very fragile. While I was building, however, I noticed that the overlapping layers were deeper, so I knew the build would be much more solid.
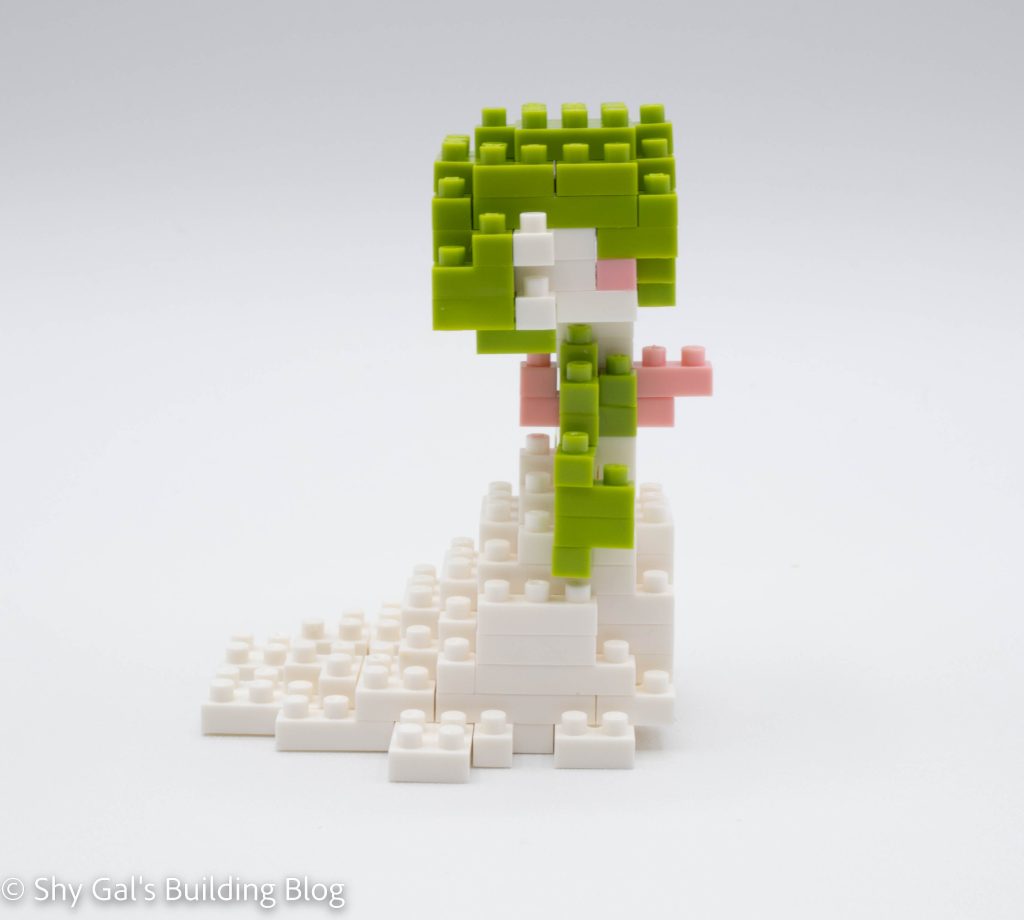
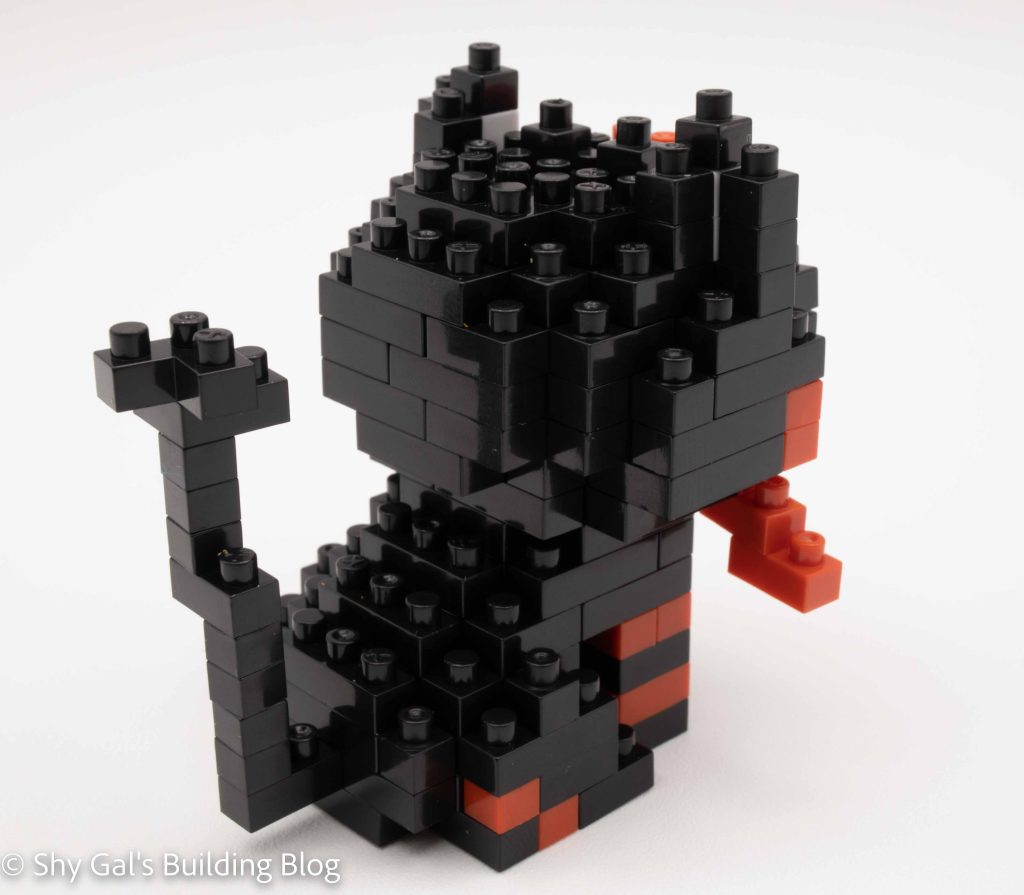
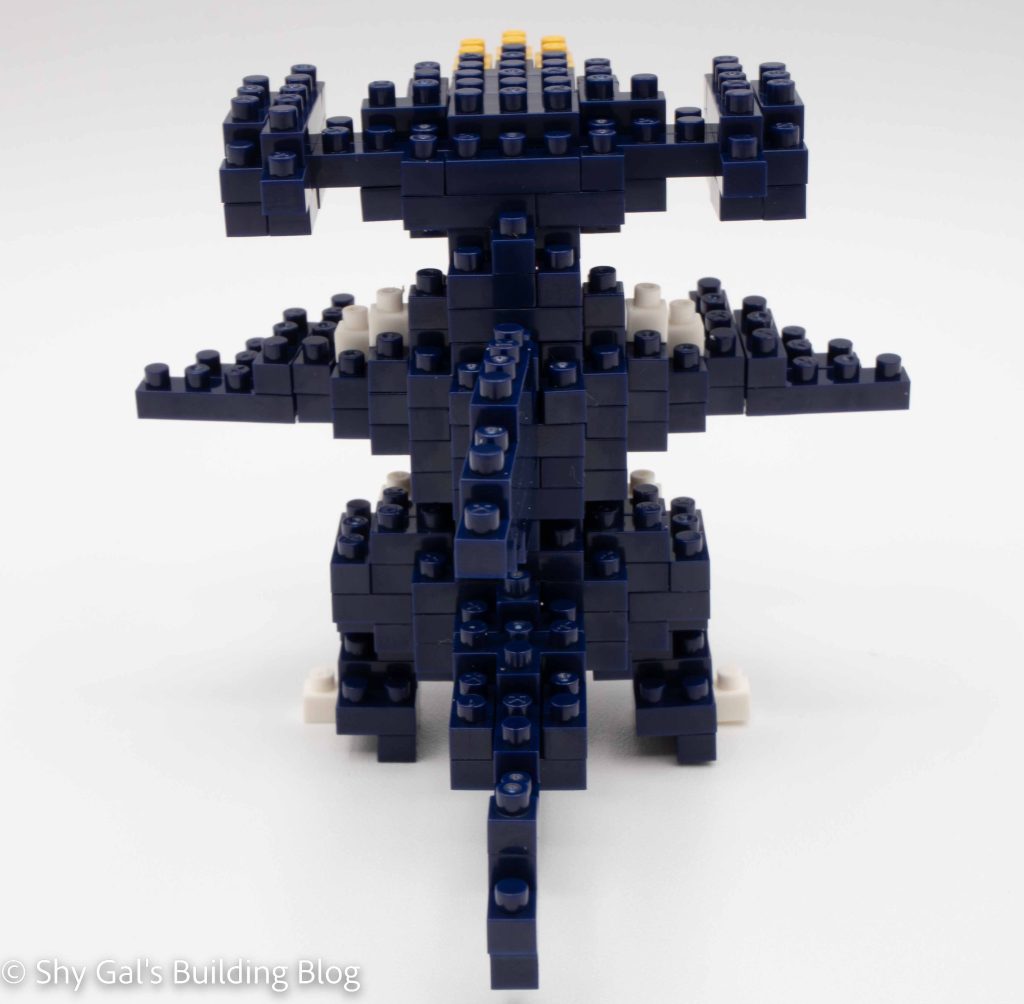
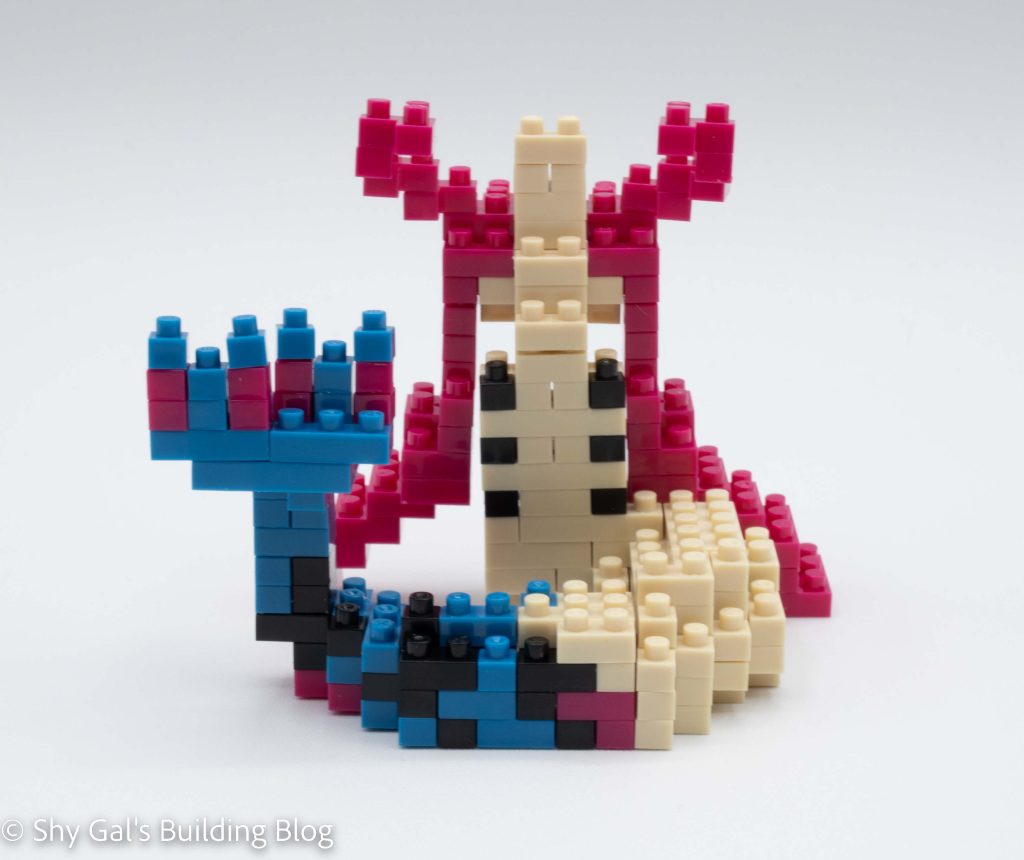
Then building the first 8 or so steps is creating the base of the pokemon. Each step either adds bricks to the base or locks the base layer in place. This was a build where I was glad to have my nanoblock pad because it made keeping each base layer lined up a piece of cake.
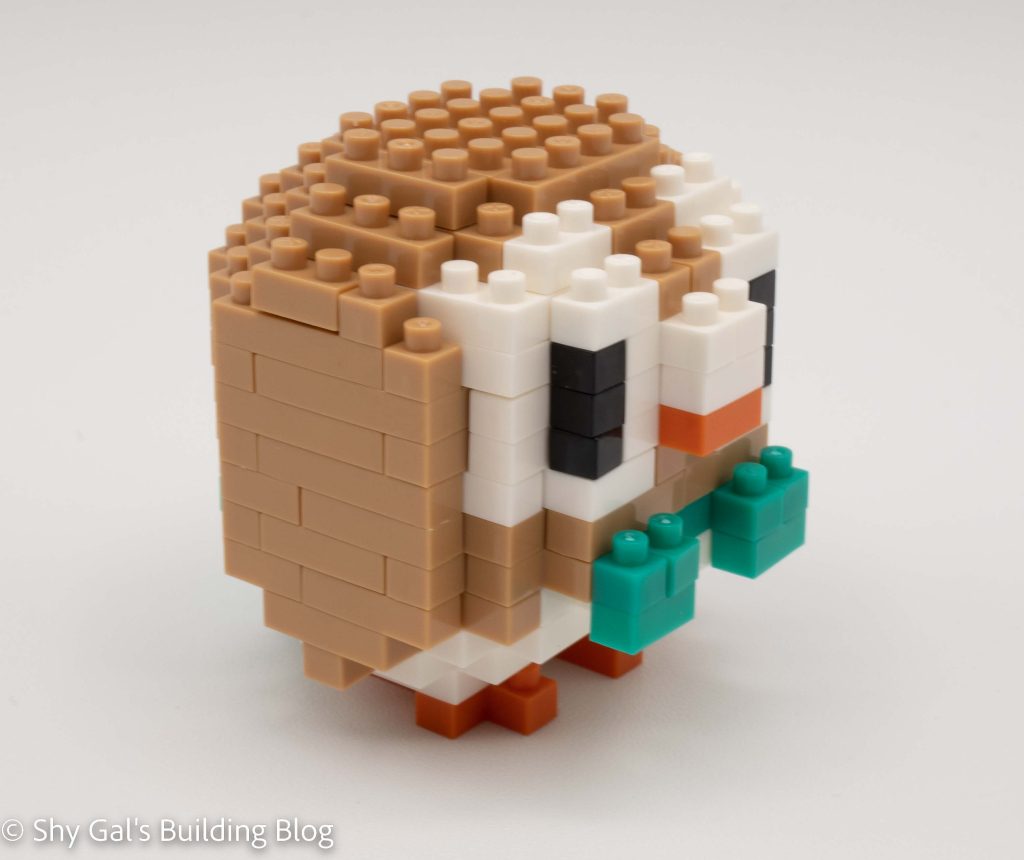
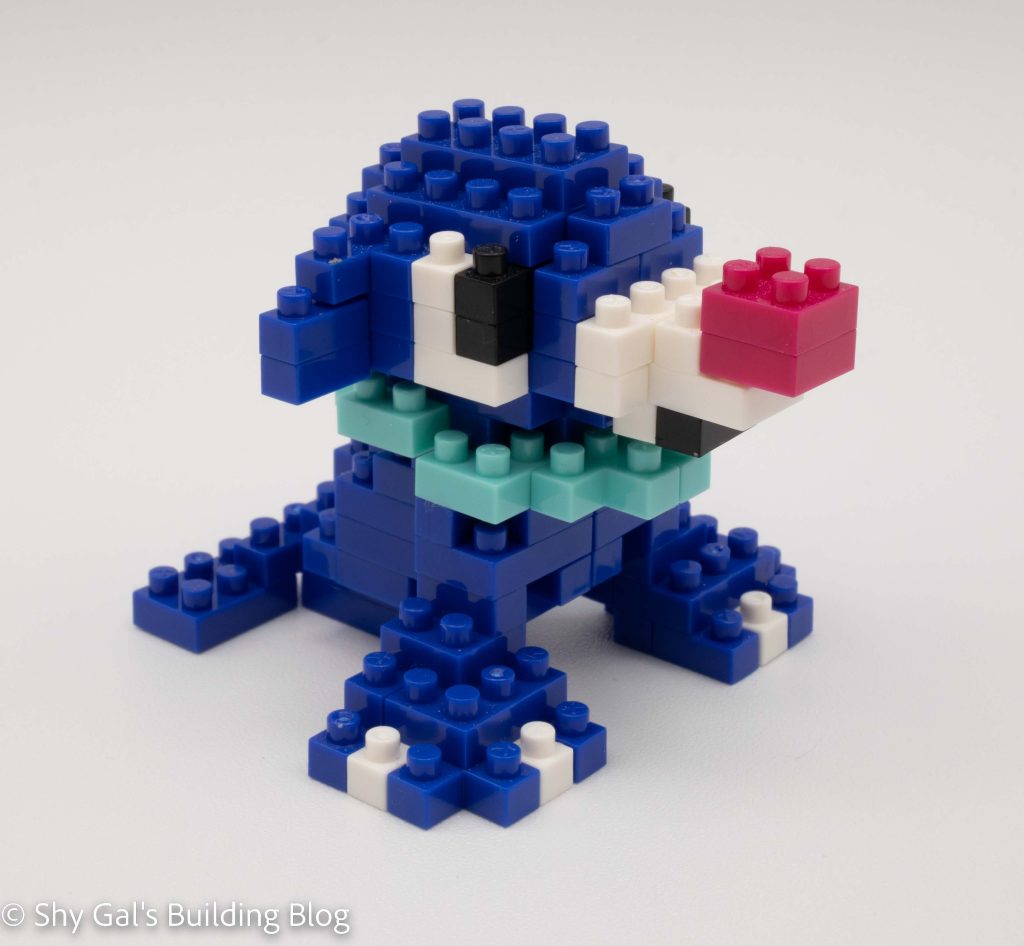
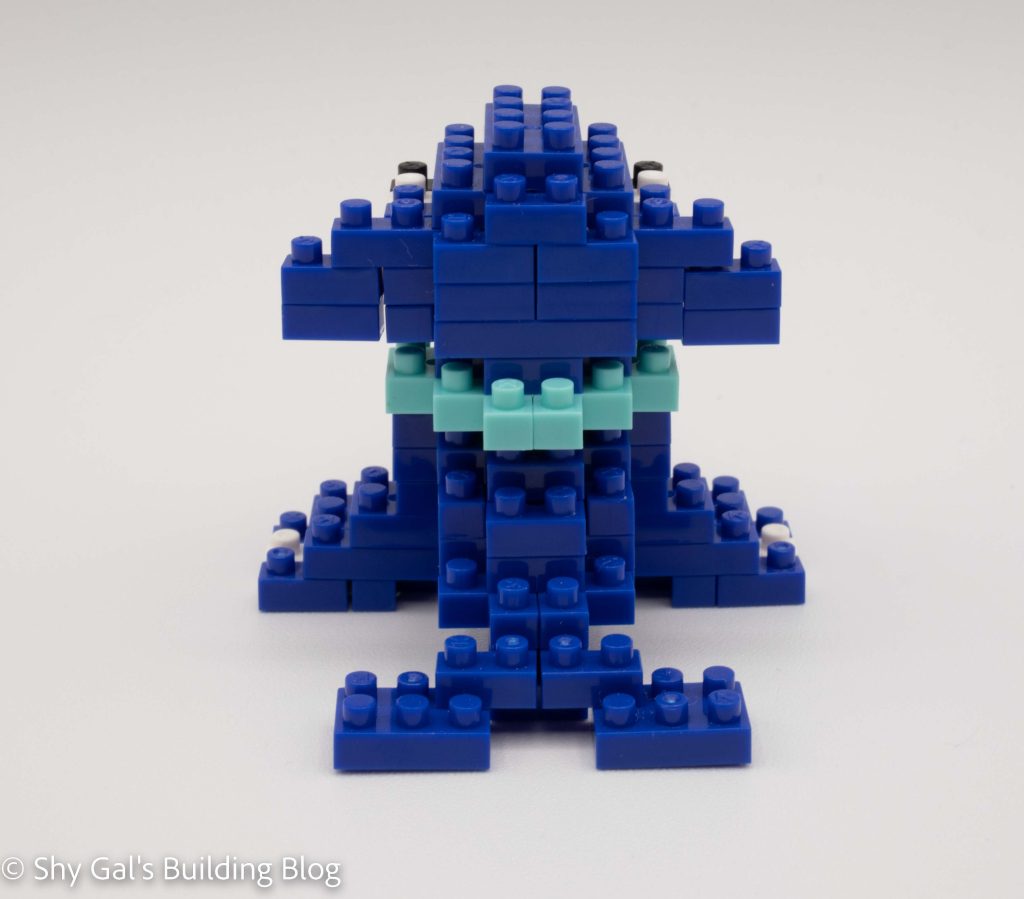
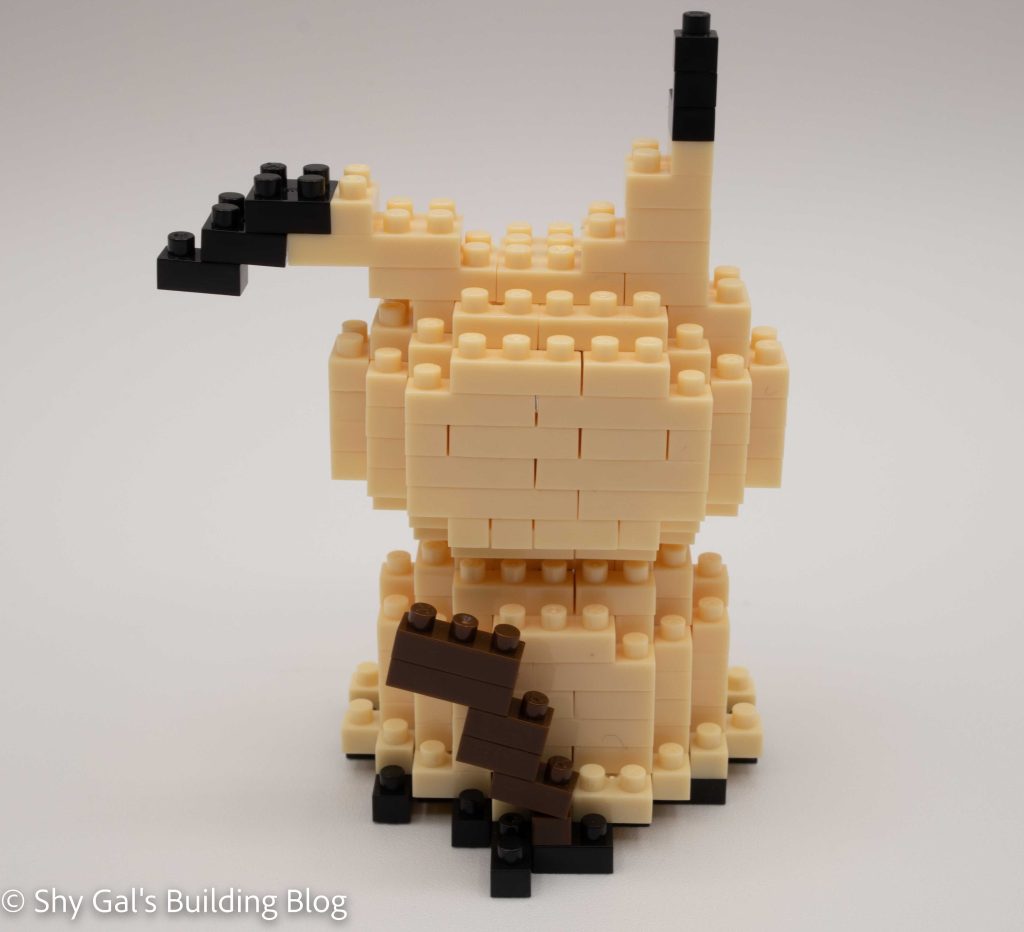
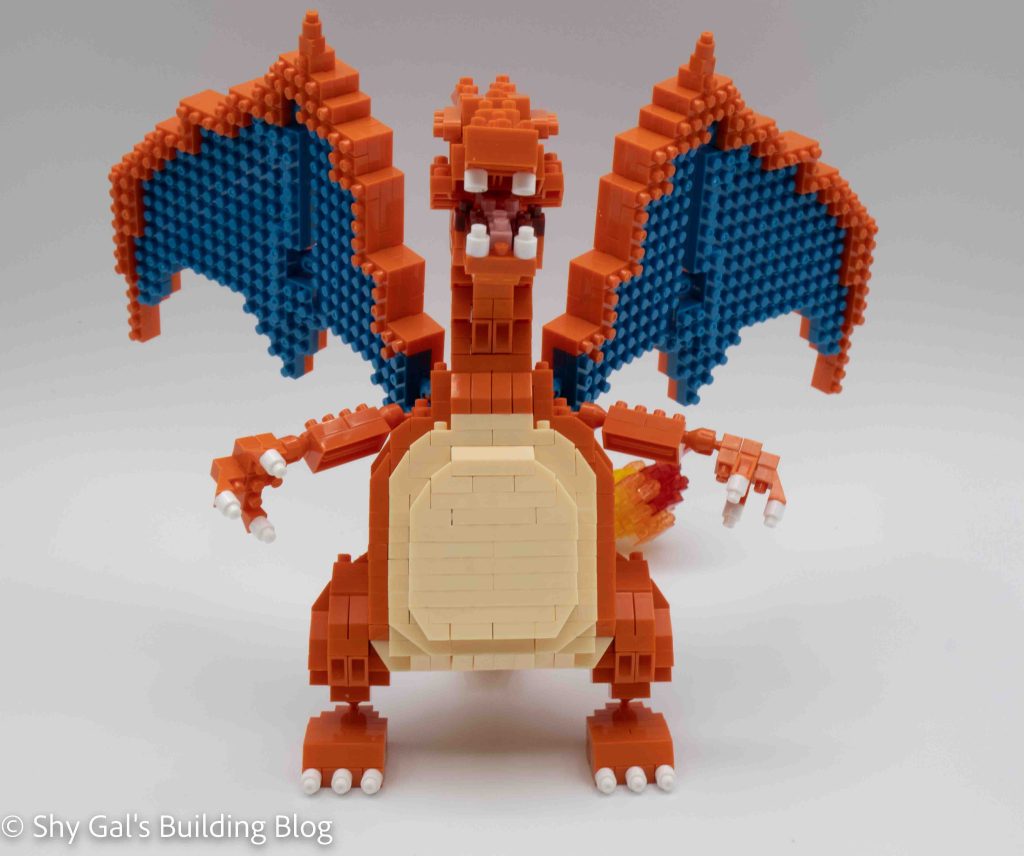
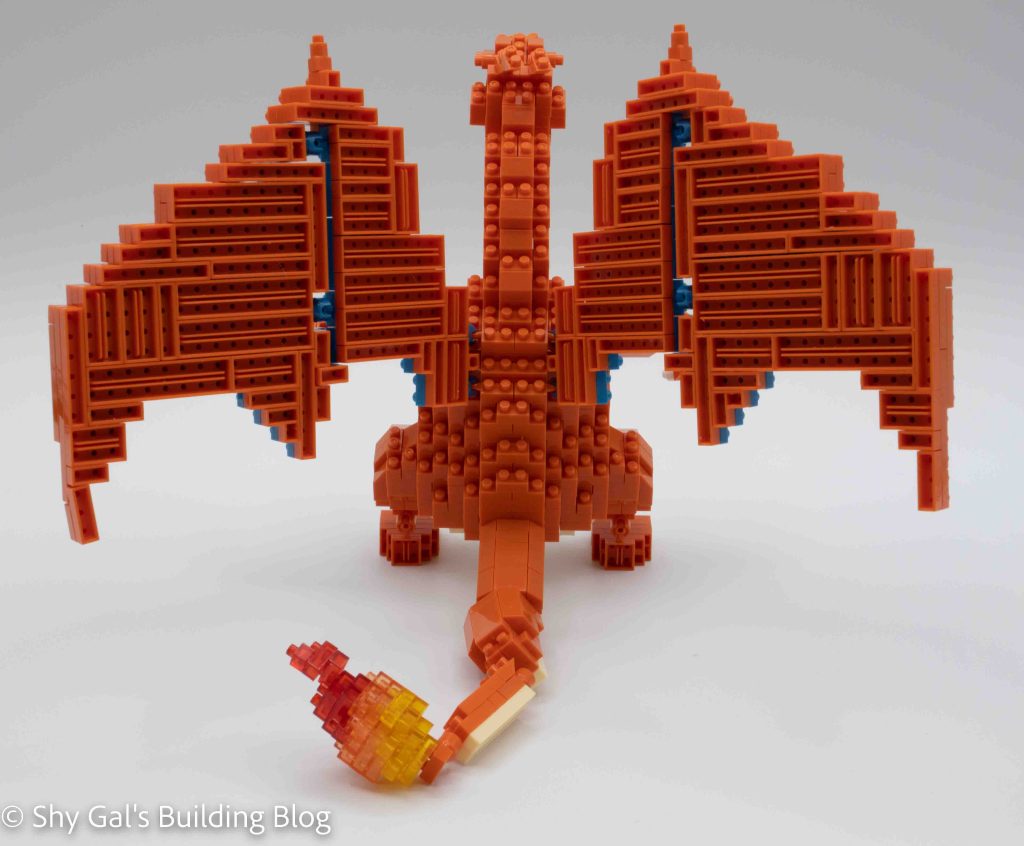
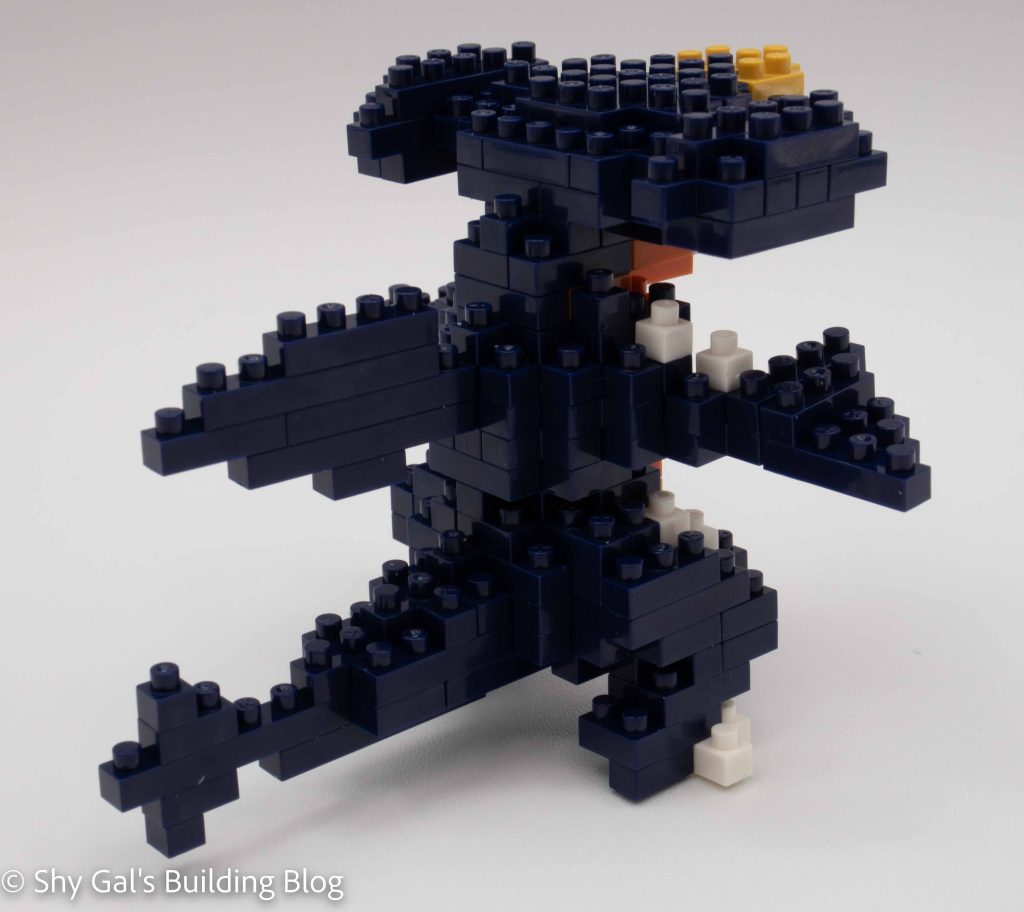
After building the base, the top of the body is rounded out. I liked the use of various colors in the back section to create the patterning on its tail.
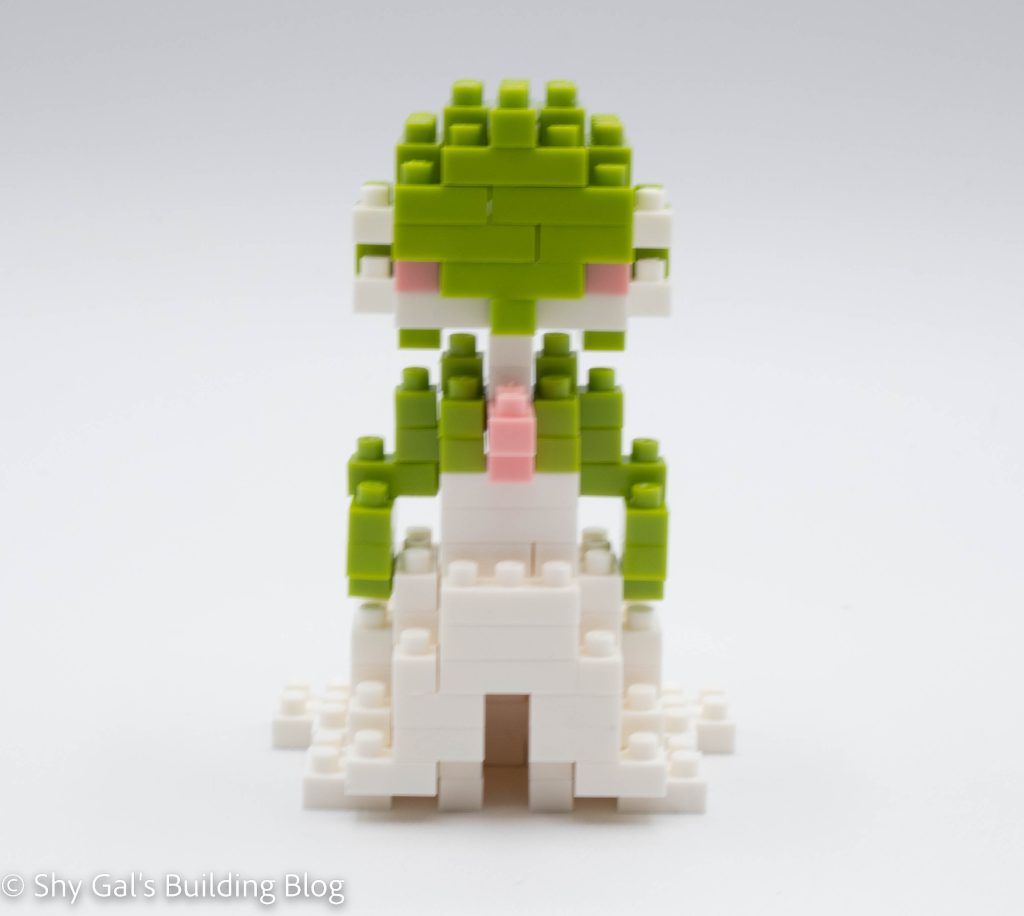
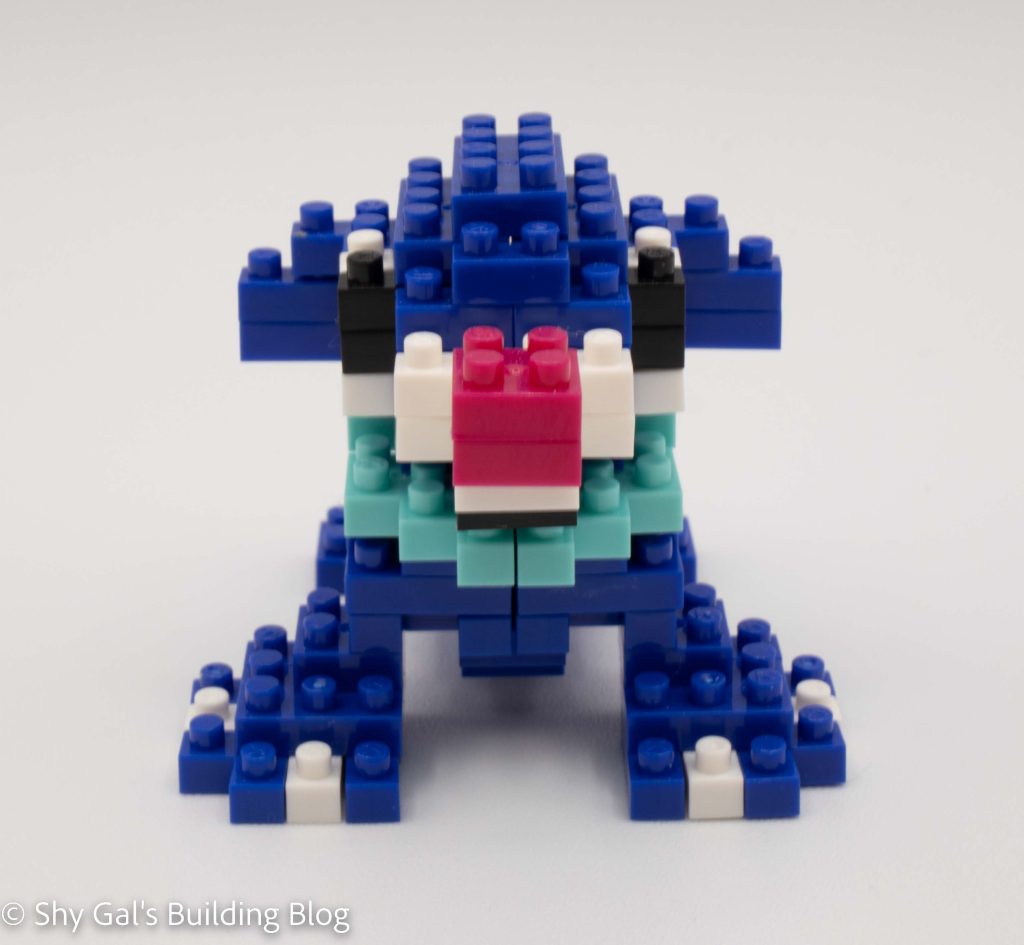
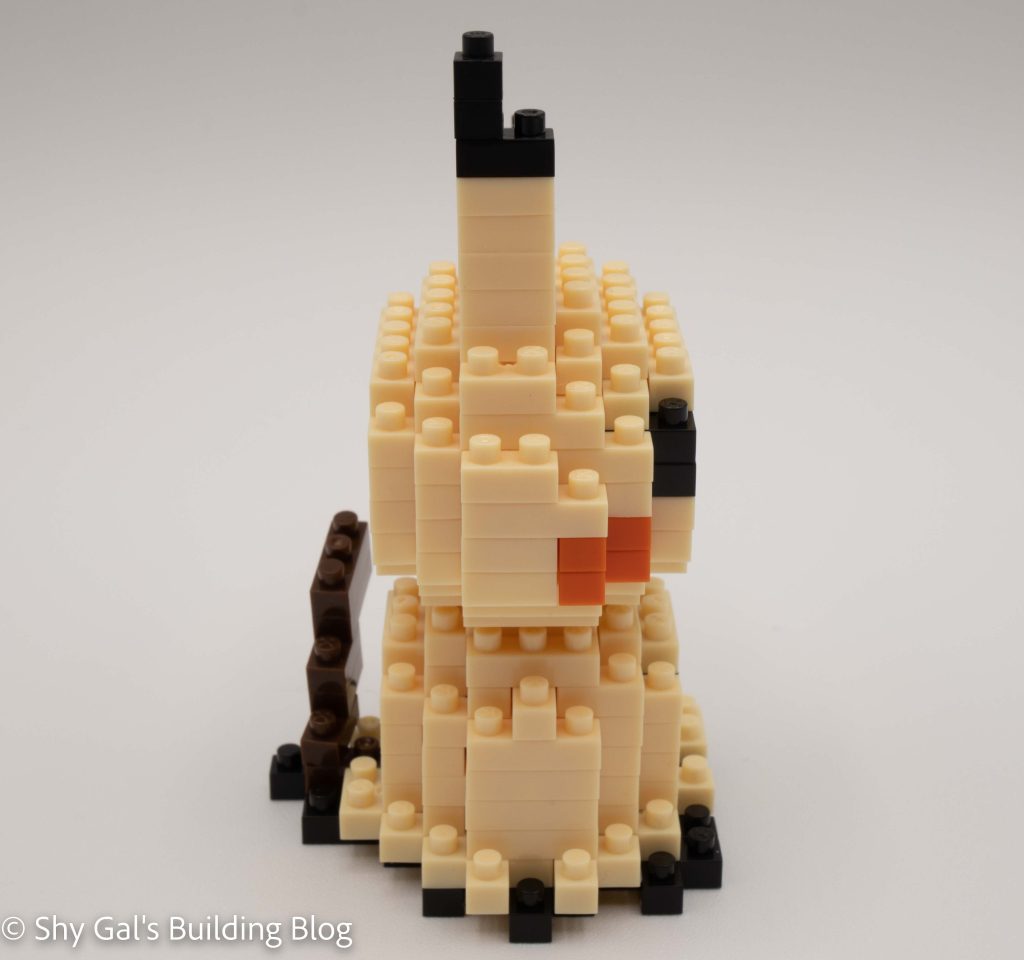
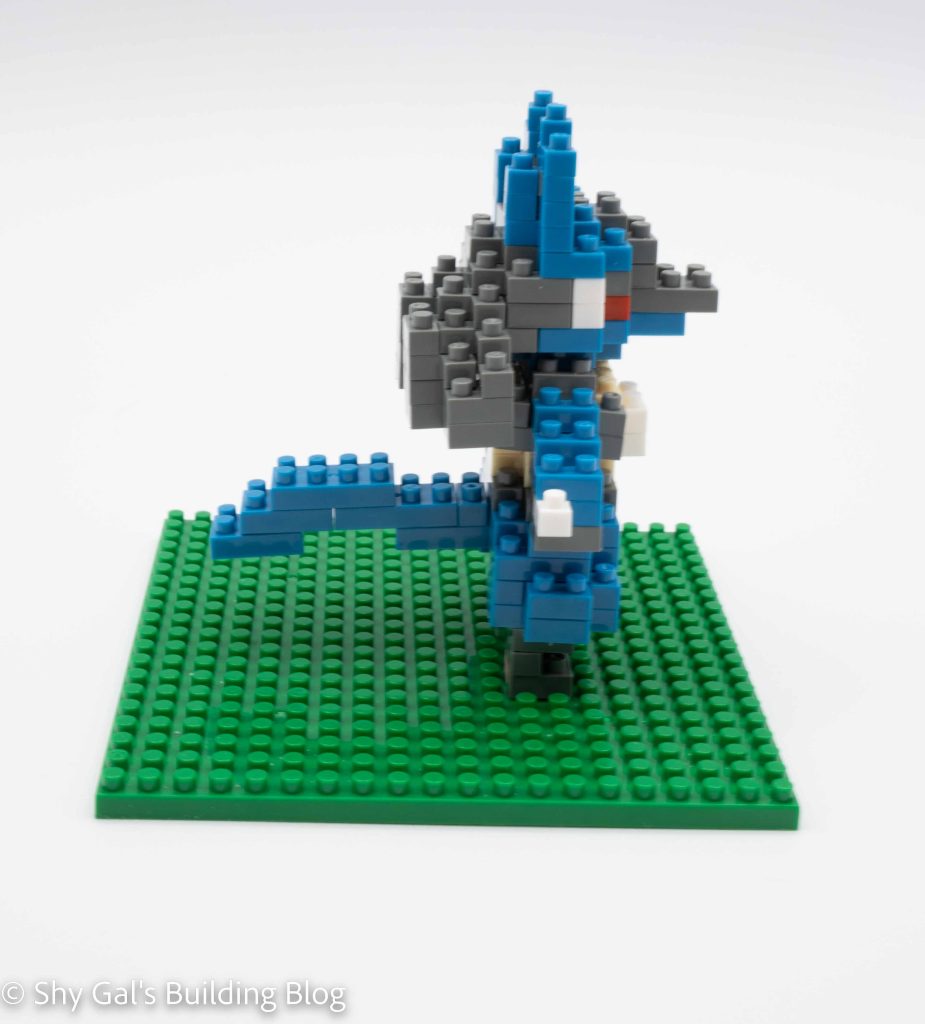
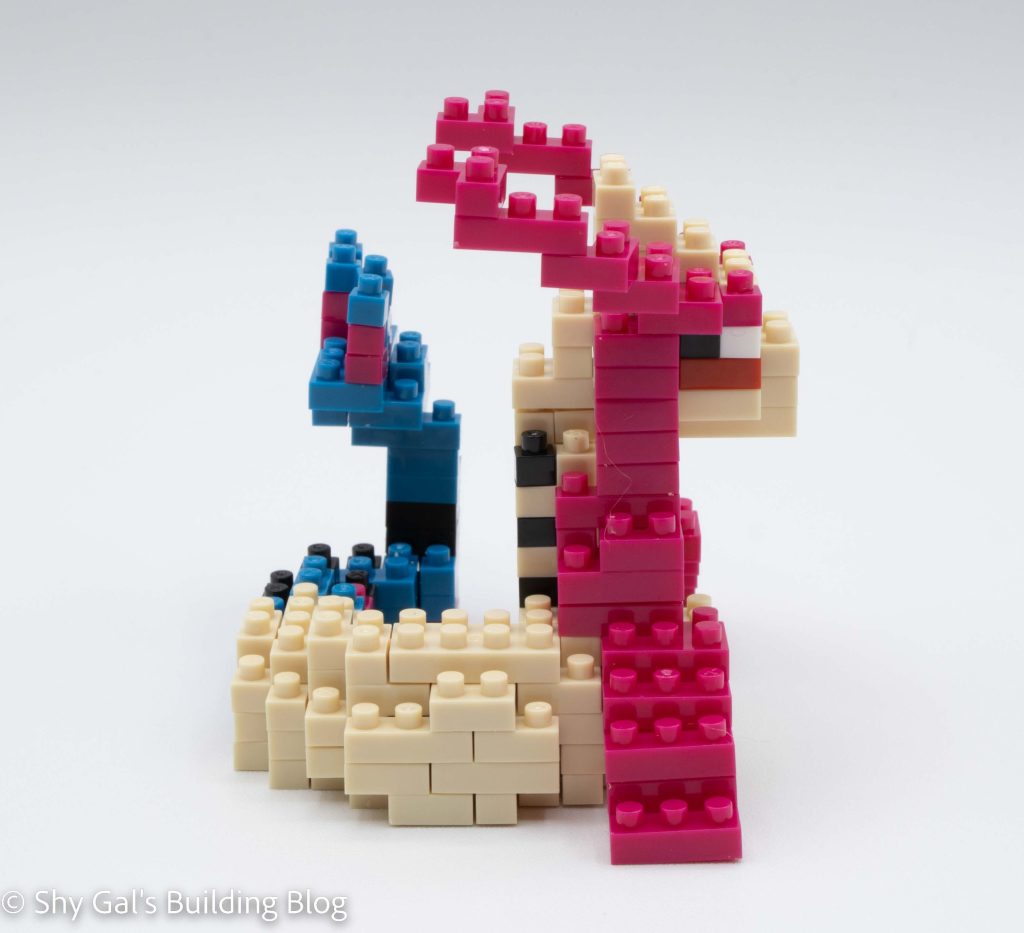
The next step is to build Milotic’s neck. While building the neck, the long head decoration that comes off the right side of the head is also built in pink. These steps are fairly straightforward.
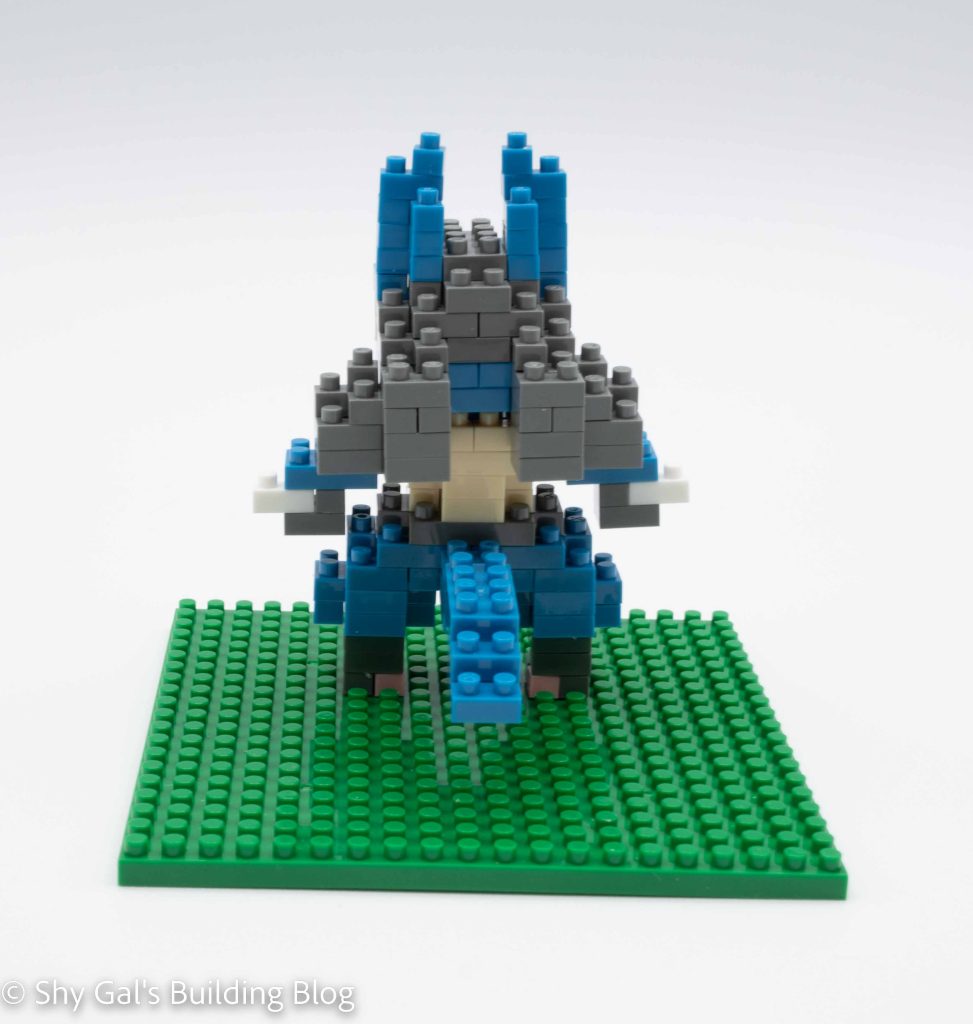
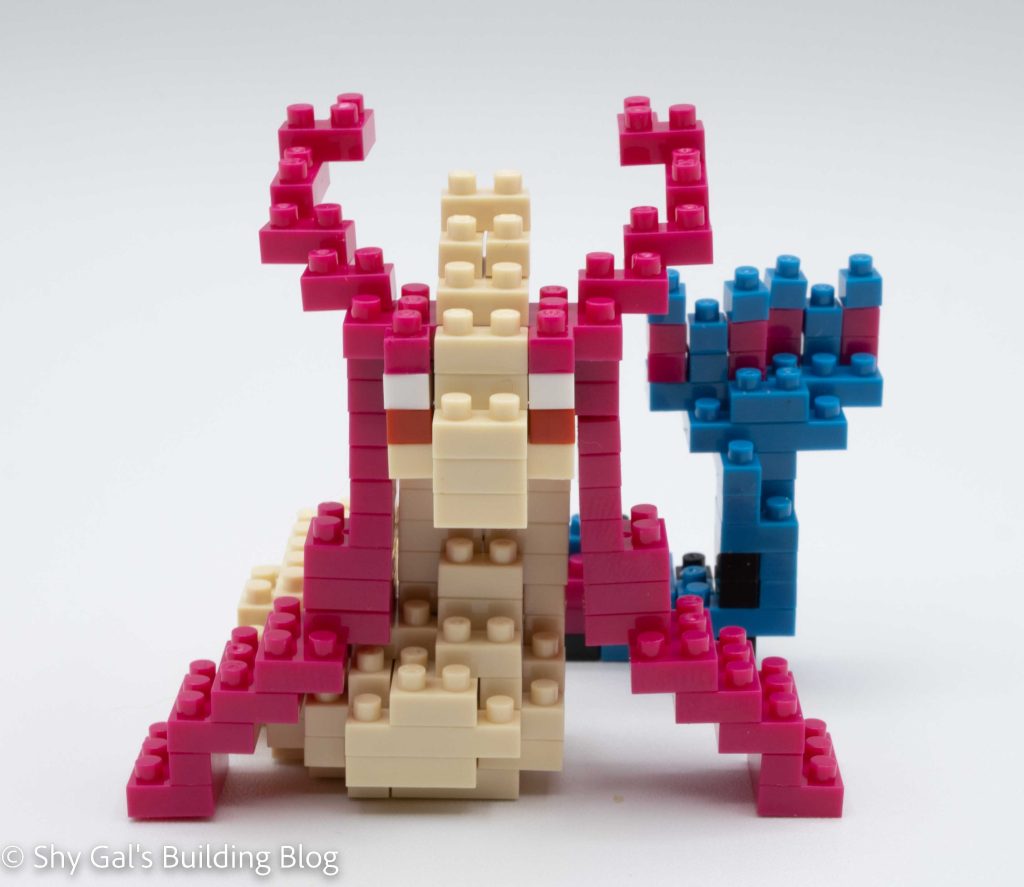
The next step is to build and attach the head. I had some issues when adding the bricks to top off the head, with the main section of the head falling off. I think this is because the head is so front-heavy.
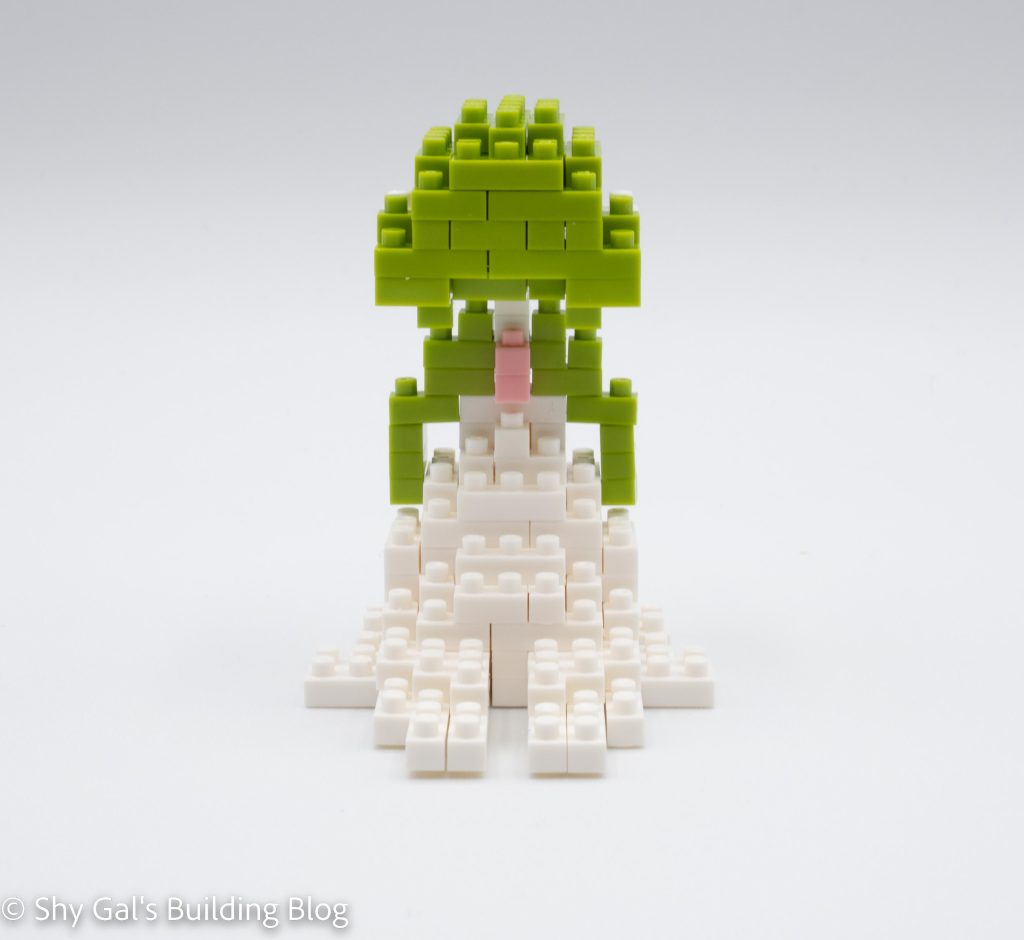
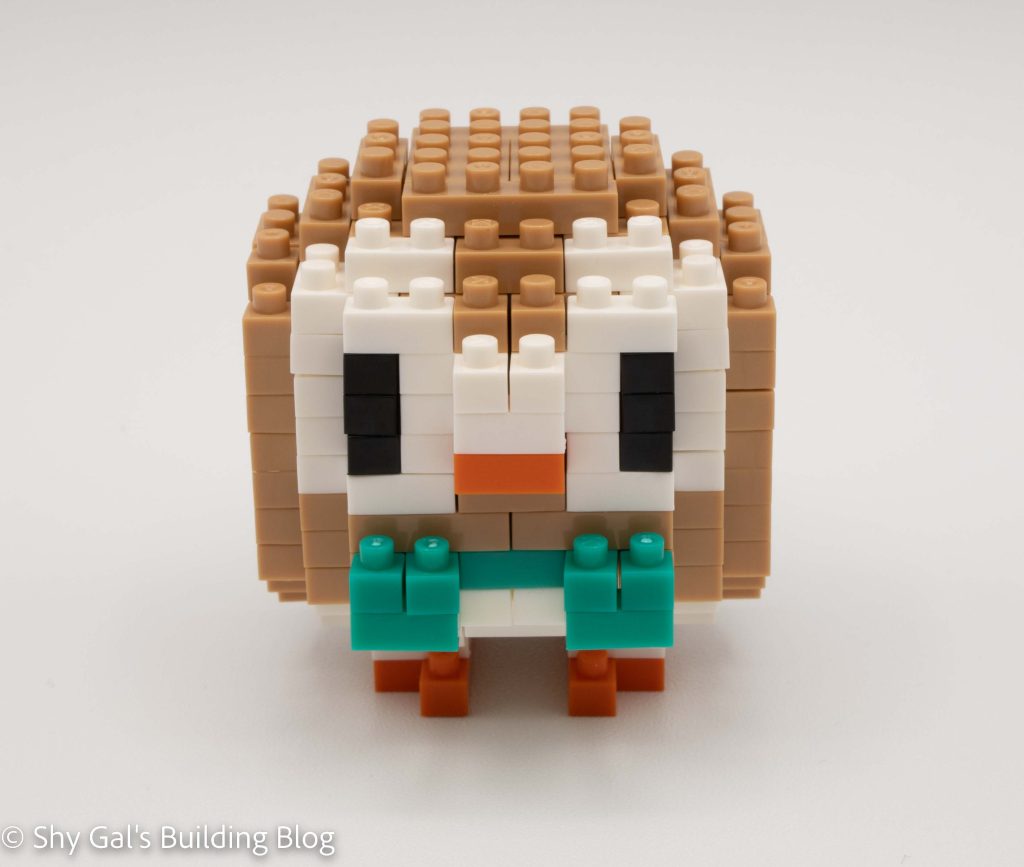
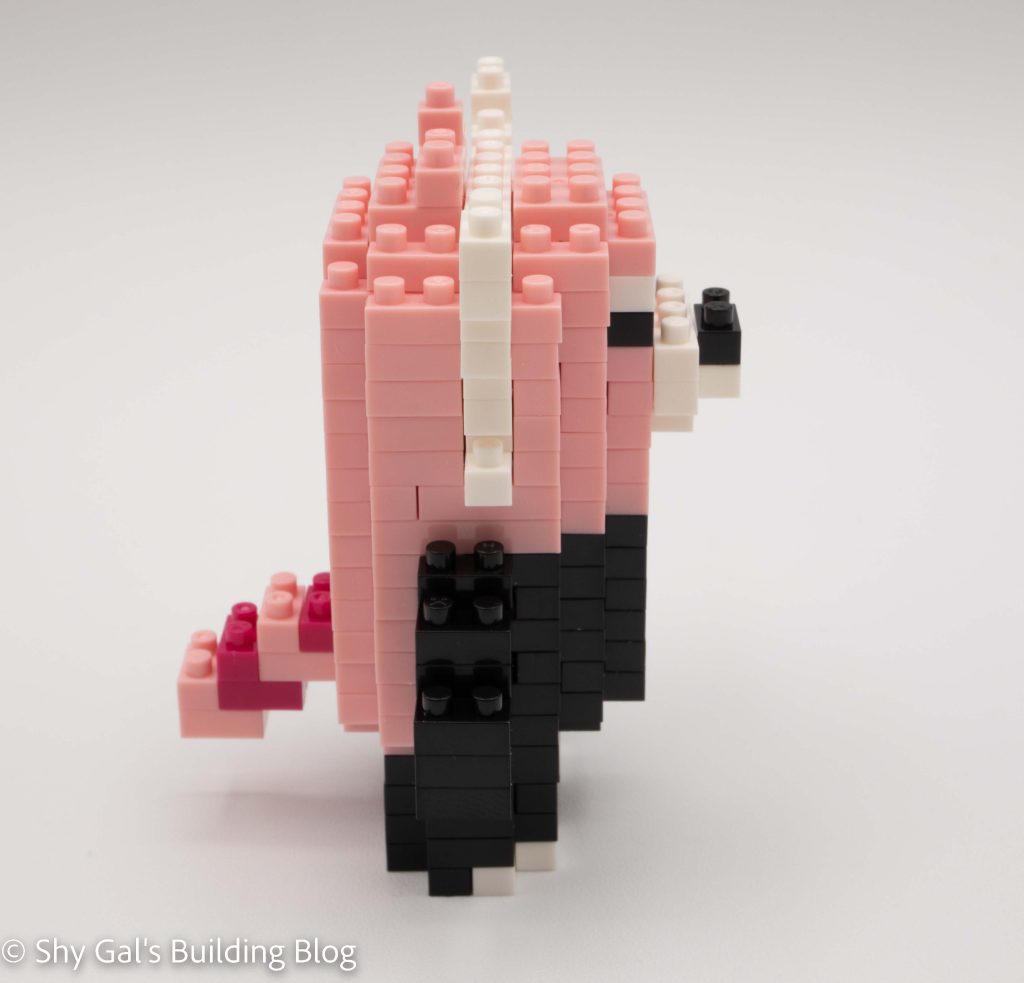
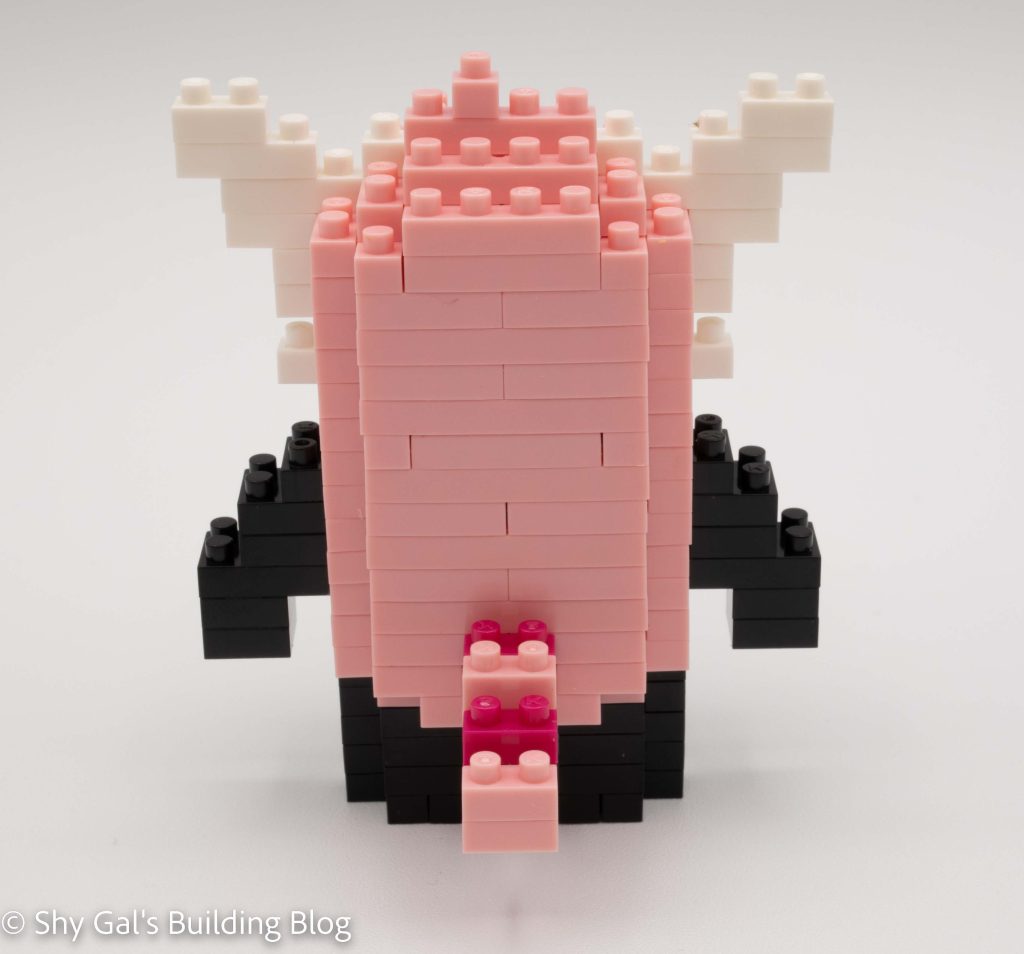
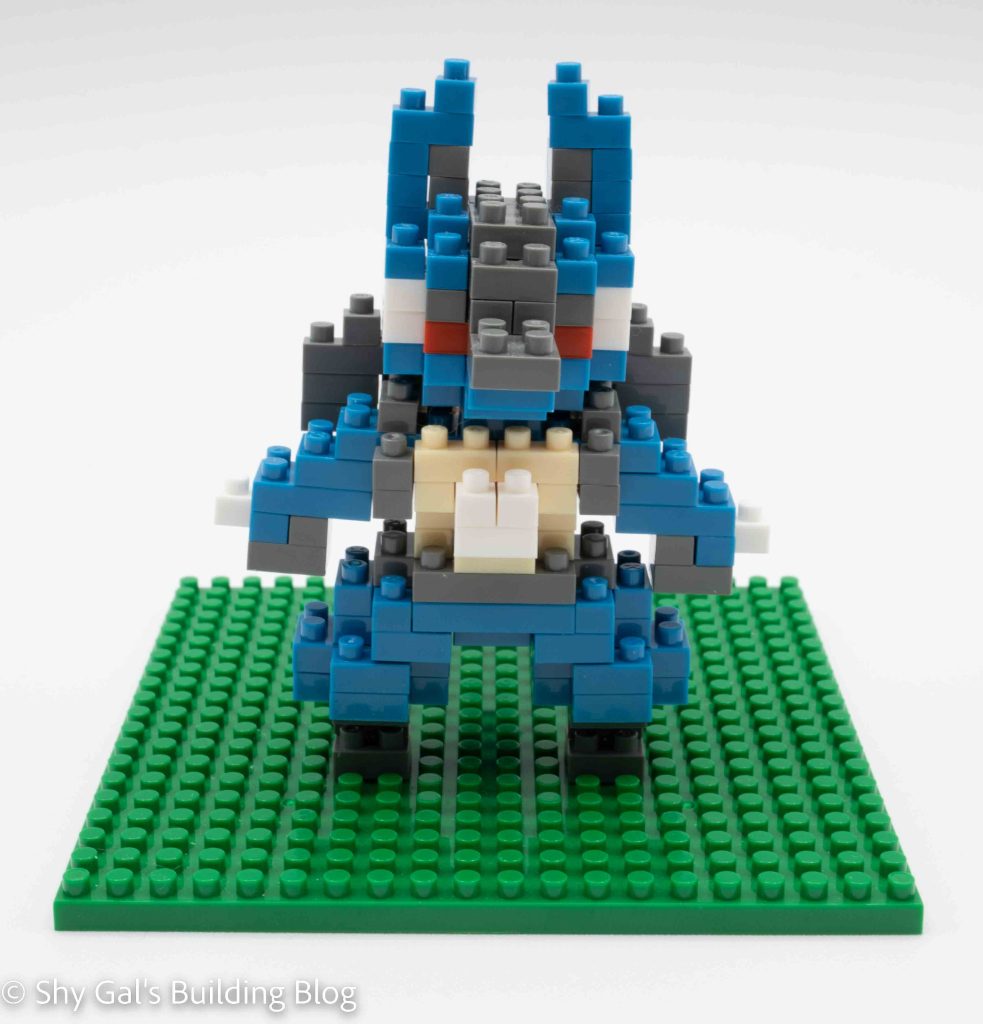
The final steps are to add the details that make Milotic recognizable. The first is to add the long head decoration on the left side of Milotic’s head. The antenna on both sides of the head is also added. The final addition is the tail. Each detail is very simple to build but has a lot of impact on the final build.

Things I liked:
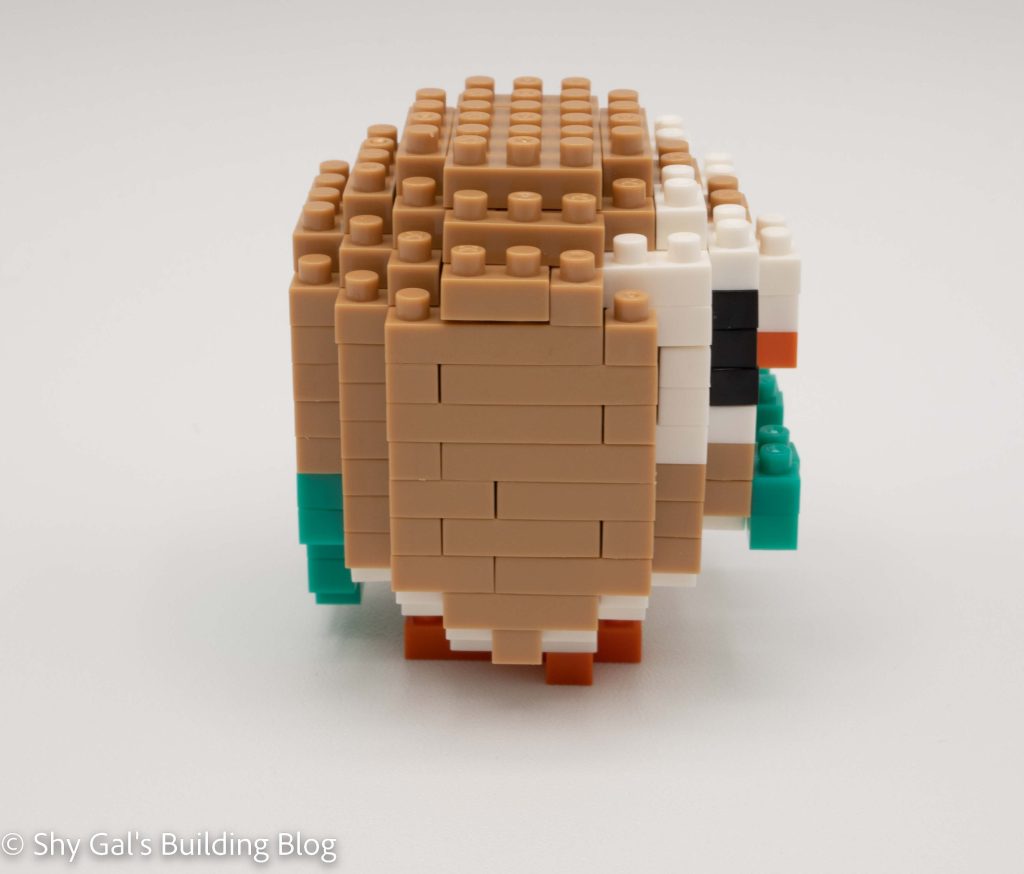
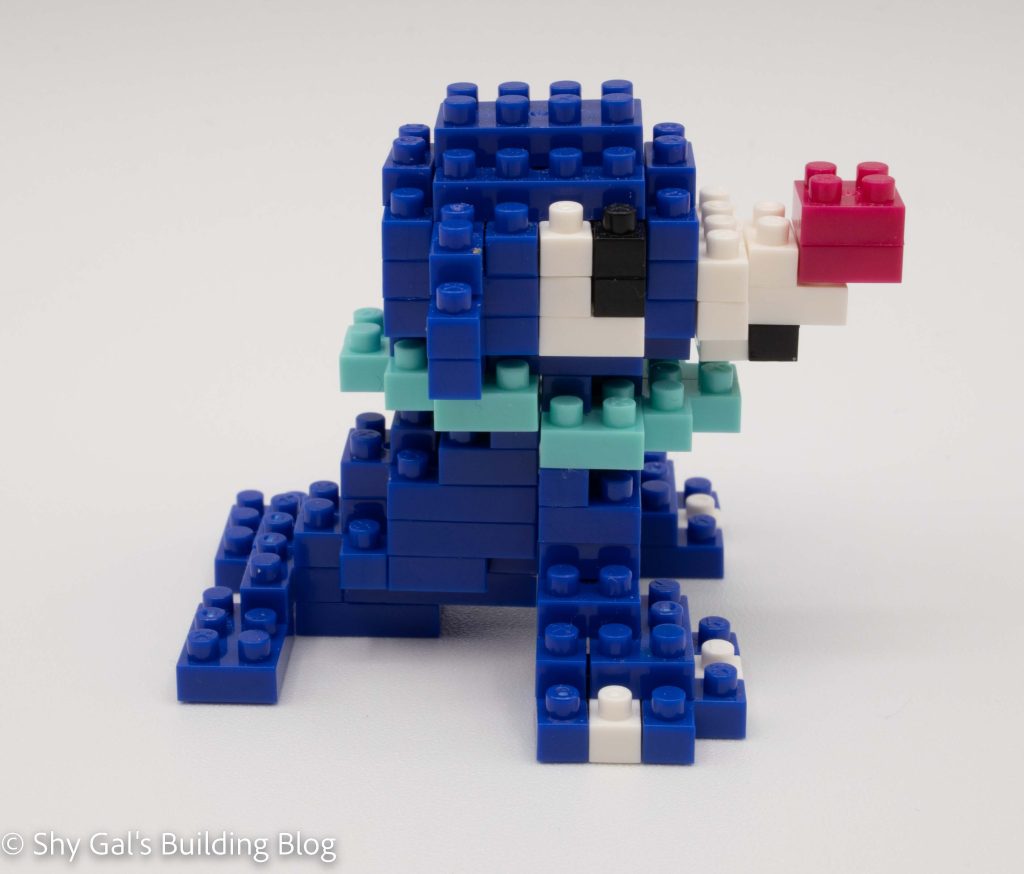
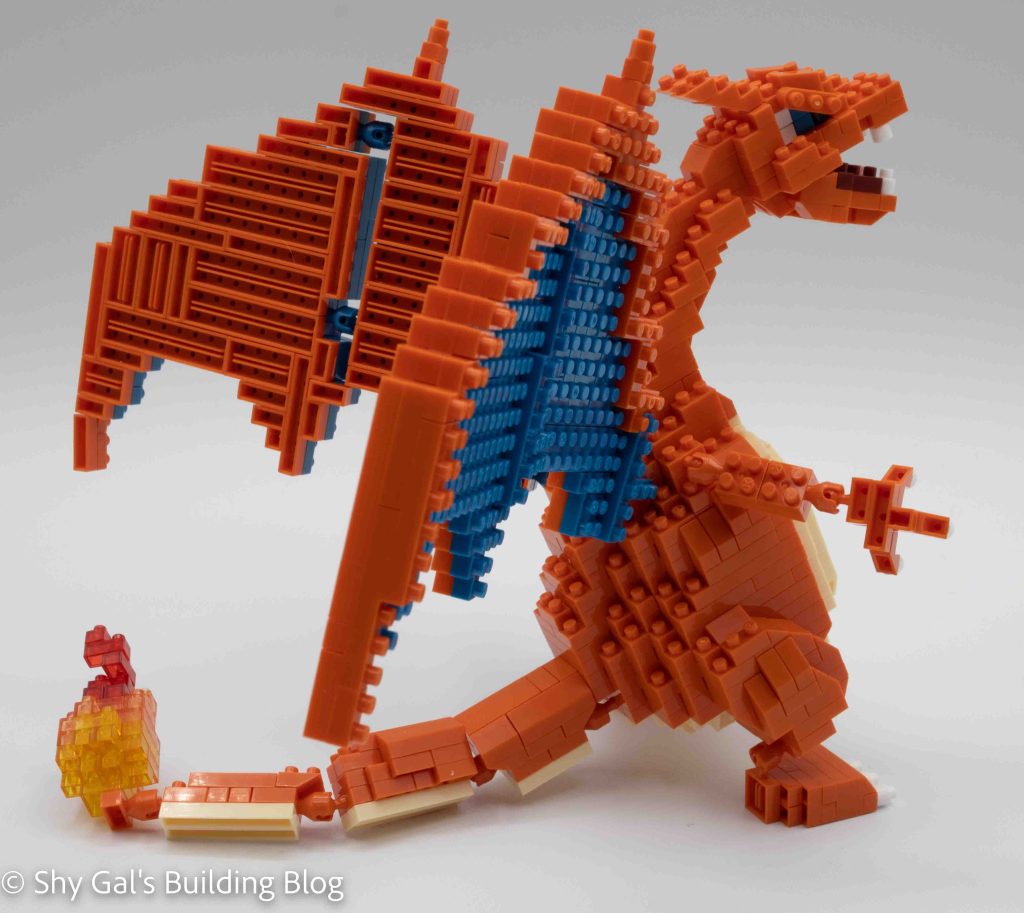
- I like that the build is solid and that I can easily move the build as needed instead of feeling that it needs to sit in 1 place for forever.
Things I didn’t like:
- In my head, Milotic is a really smooth pokemon. This build is a bit blocky and not as smooth as it could be if they kept it more snakelike