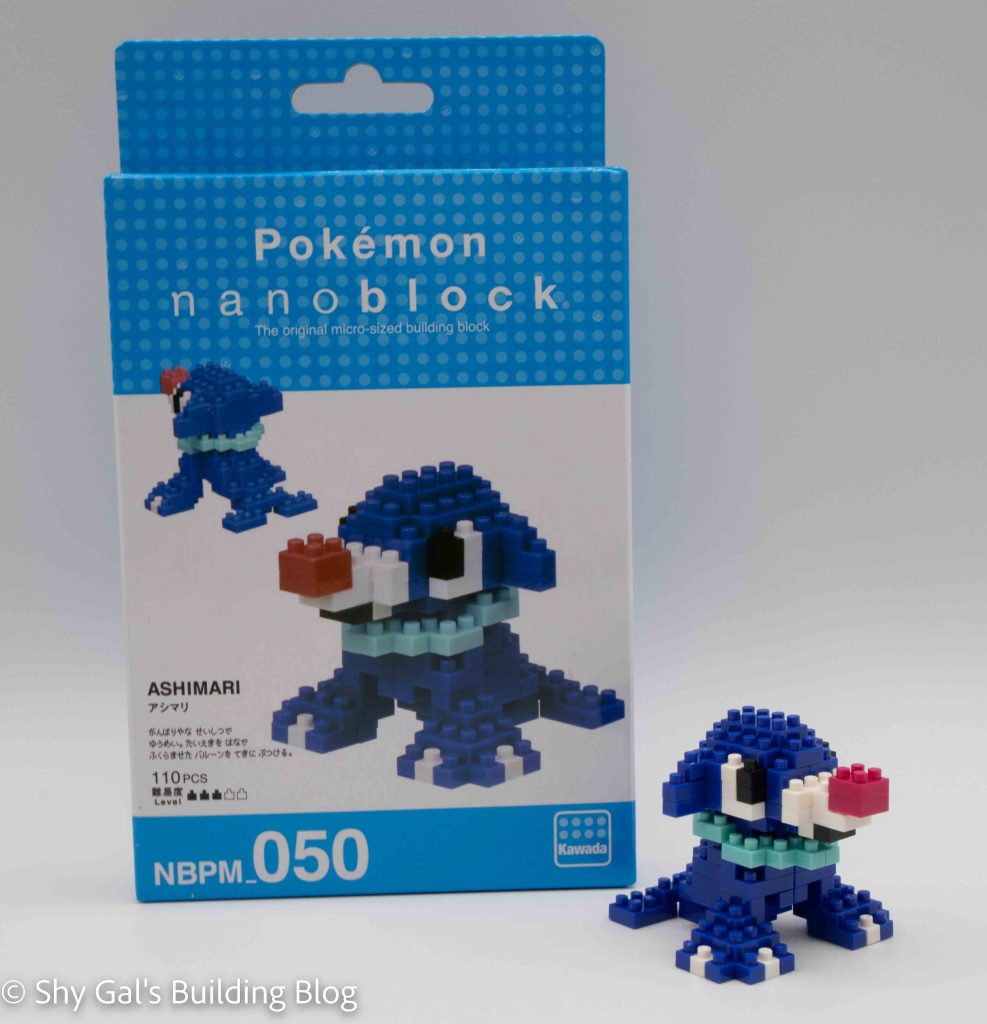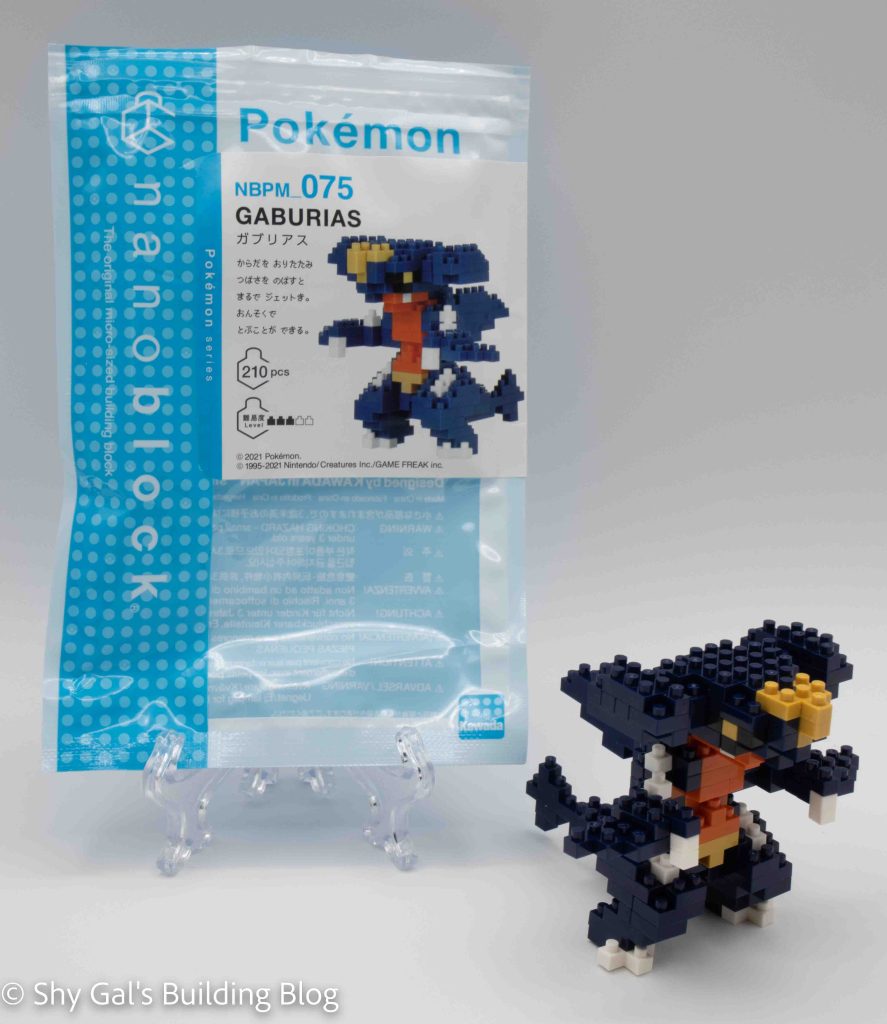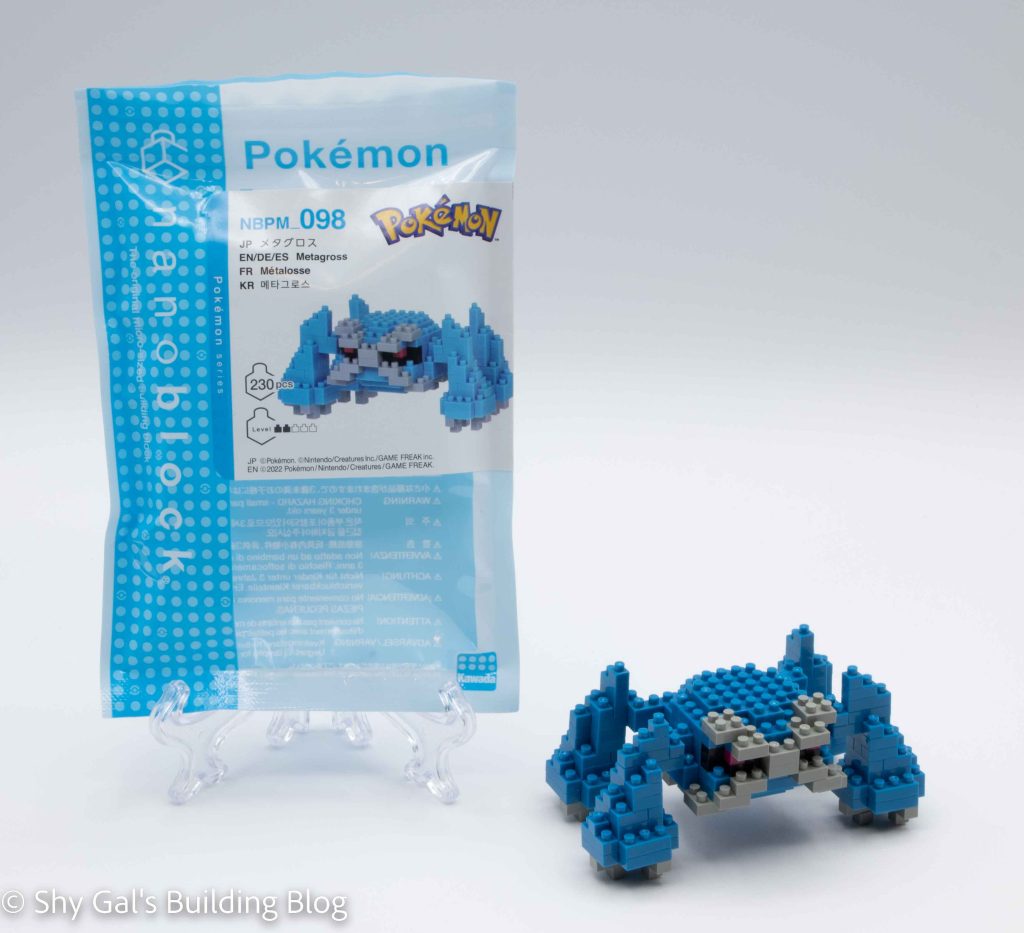
This post is a review of the nanoblock Metagross build. Metagross is part of the nanoblock Pokemon collection. Wondering what else is part of the Pokemon collection? Click here for a list.
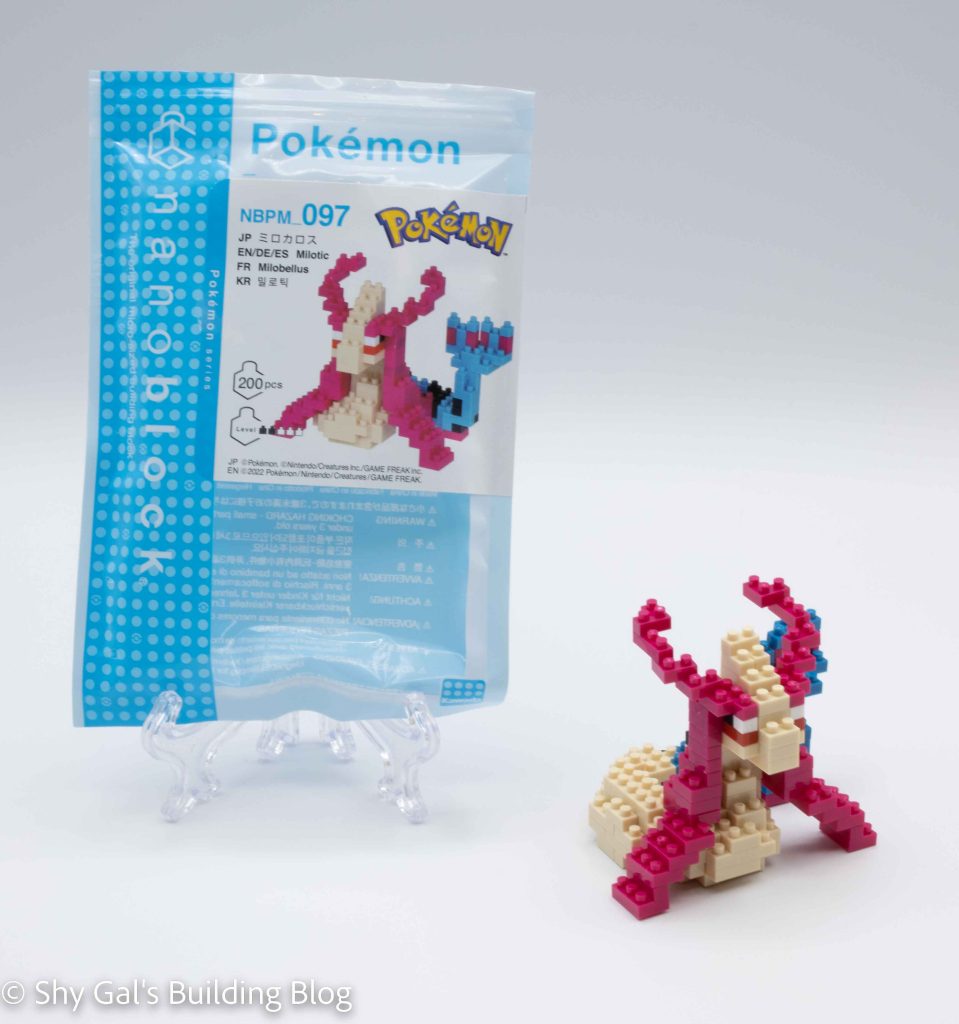
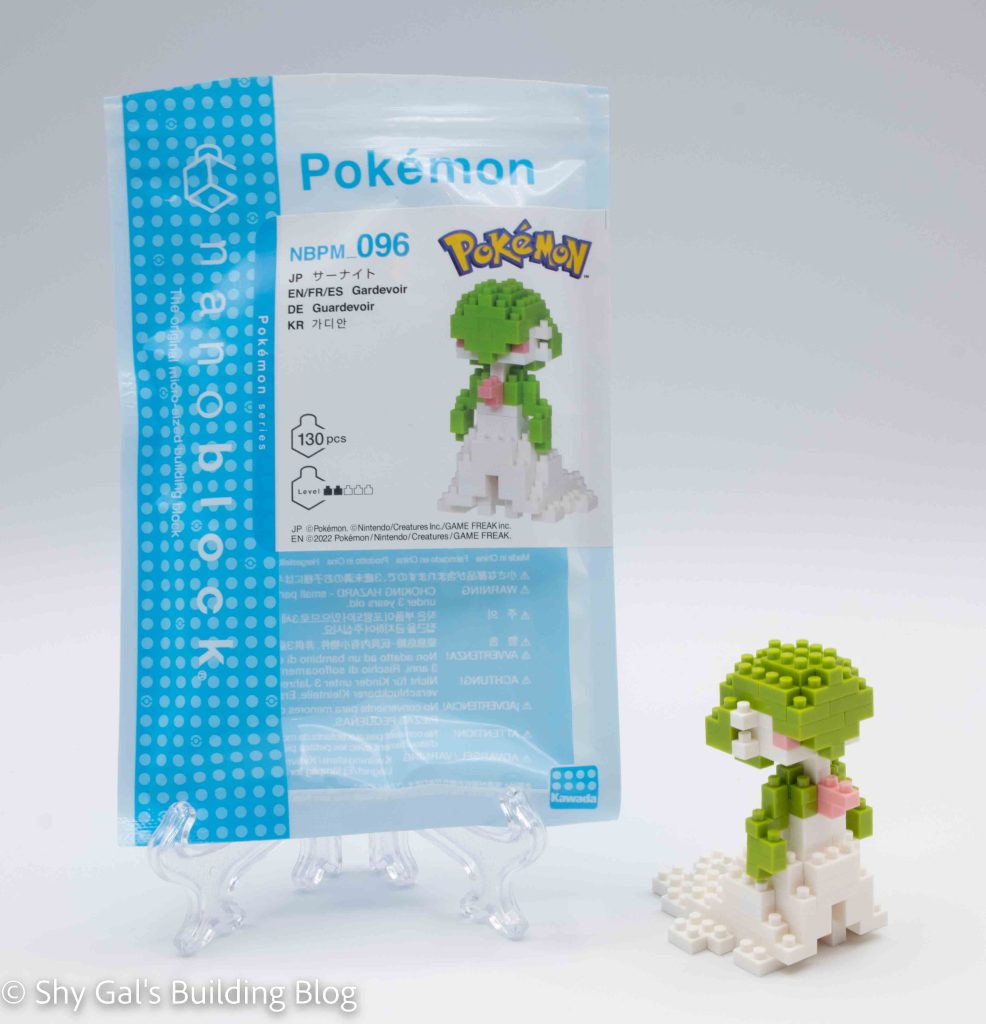
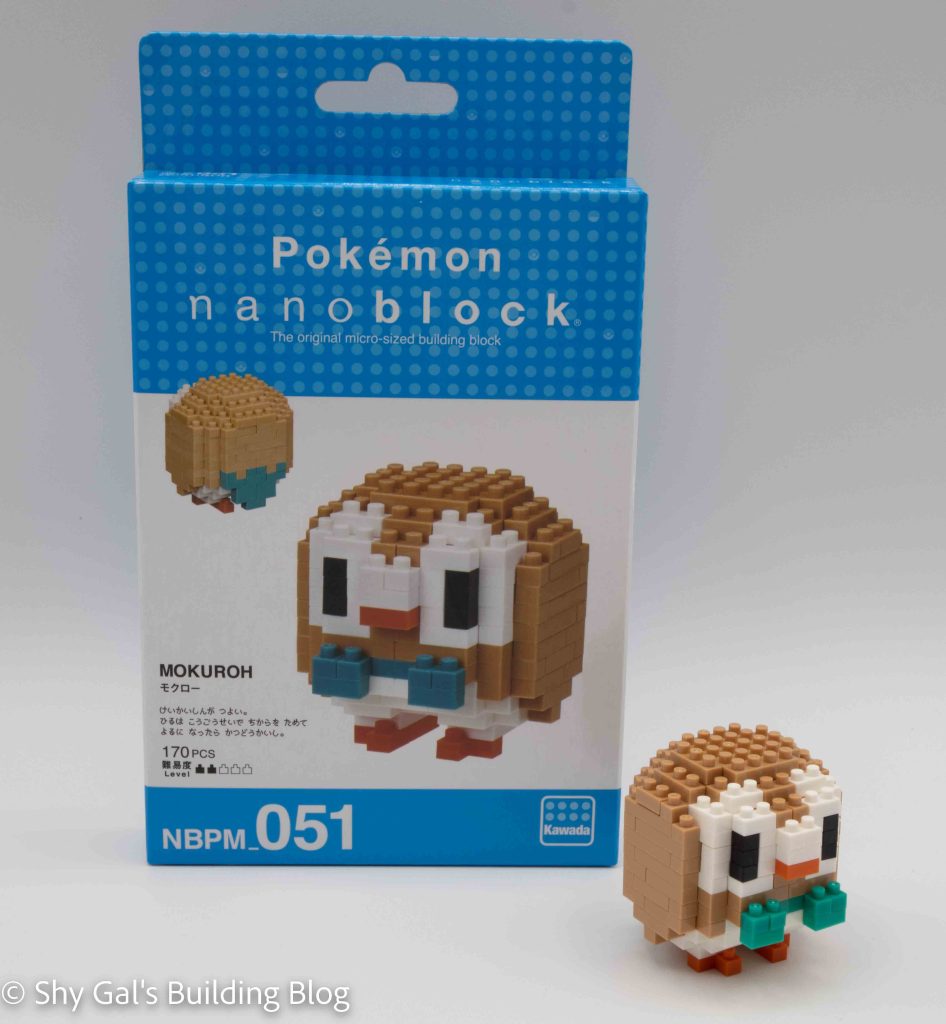
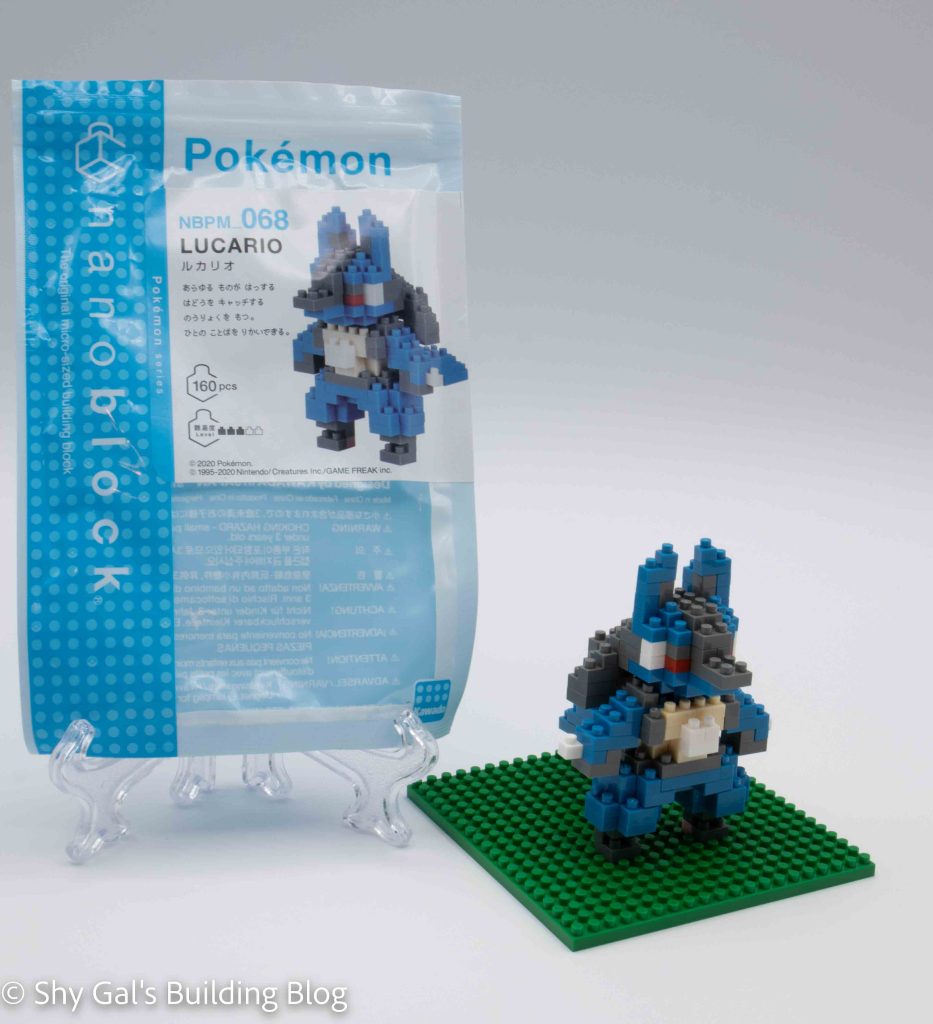
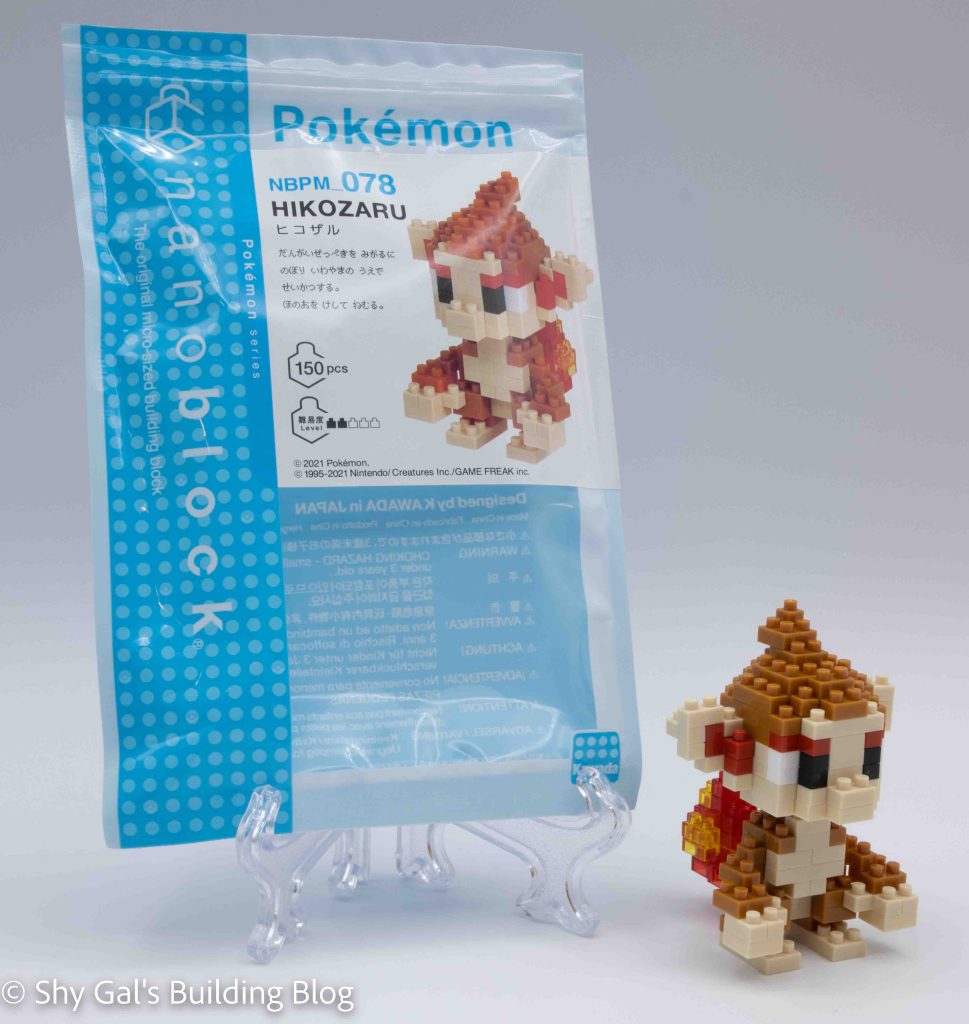
Number: NBPM_098
Number of Pieces: 230
Difficulty Rating: 2/5
Metagross was introduced in generation 3. It is the final evolution of Beldum, and the evolutions are all triggered by leveling up.
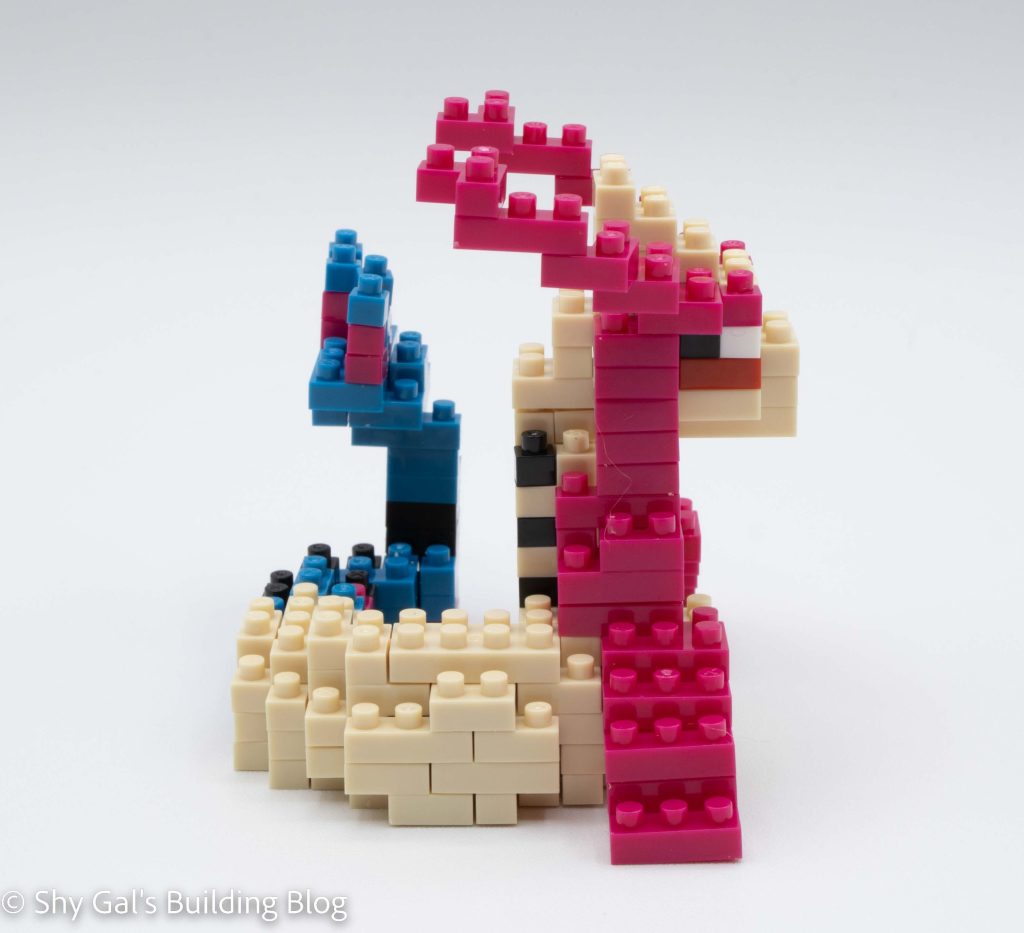
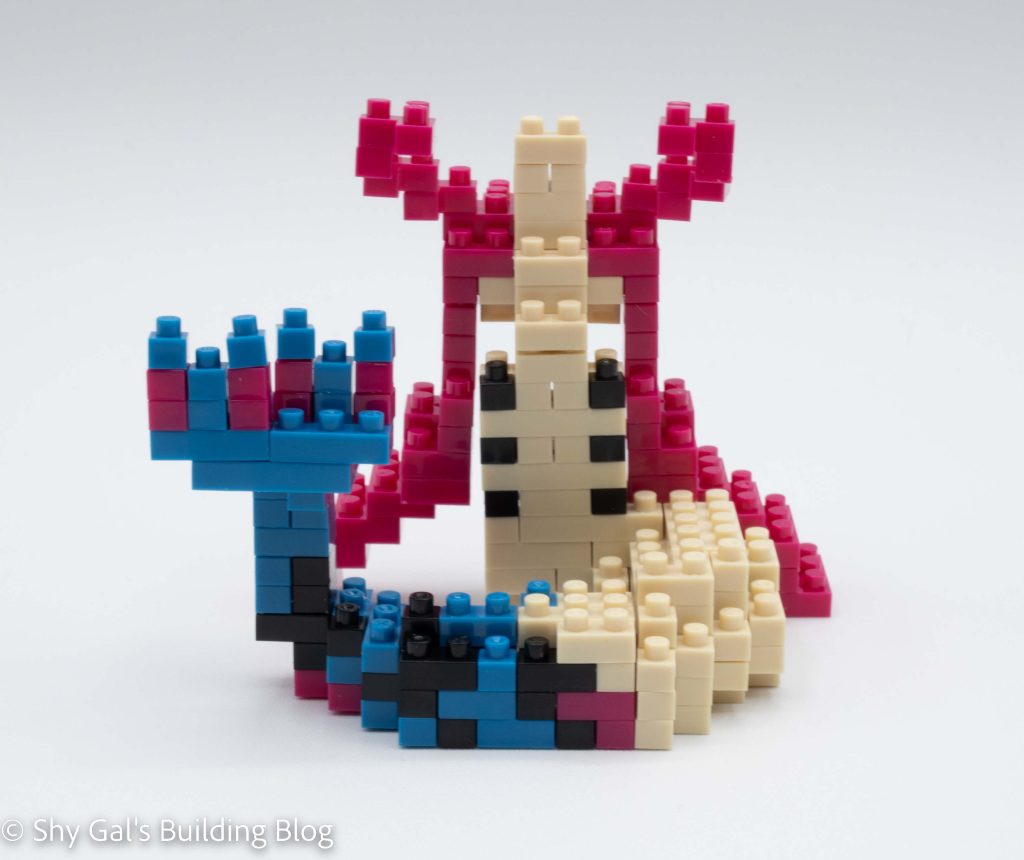
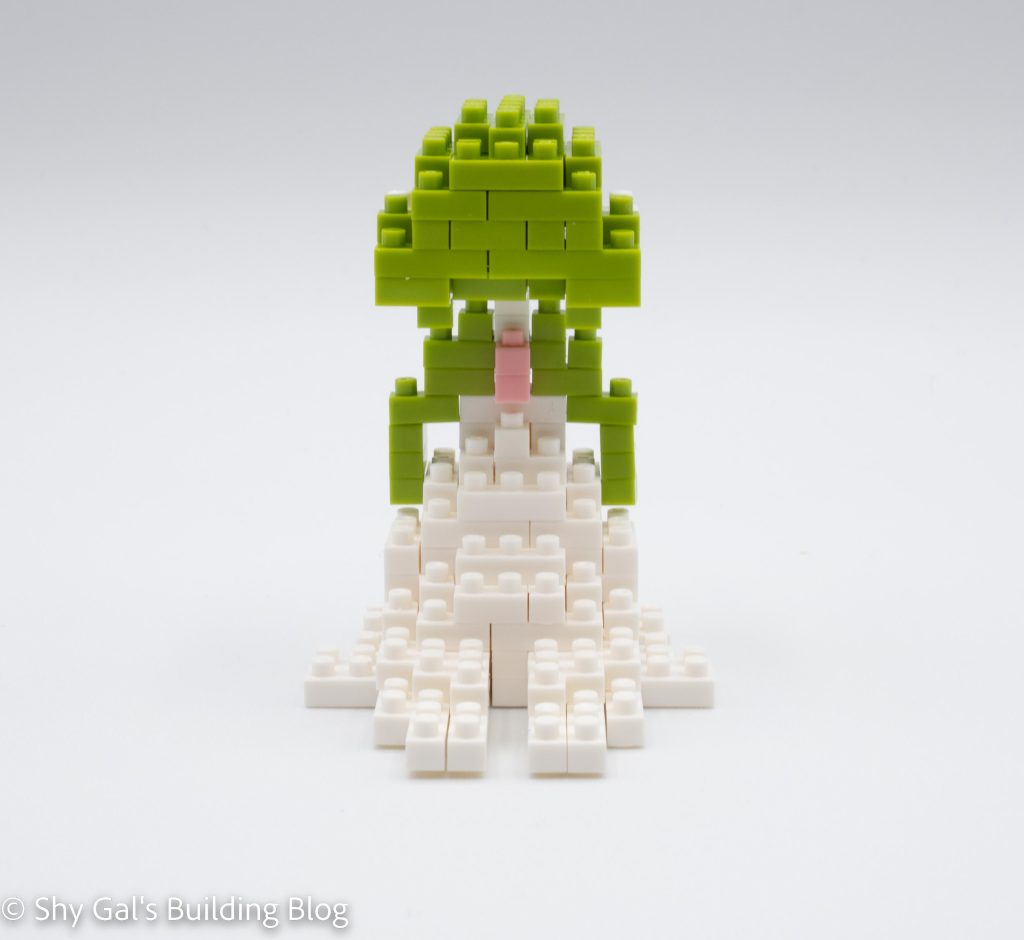
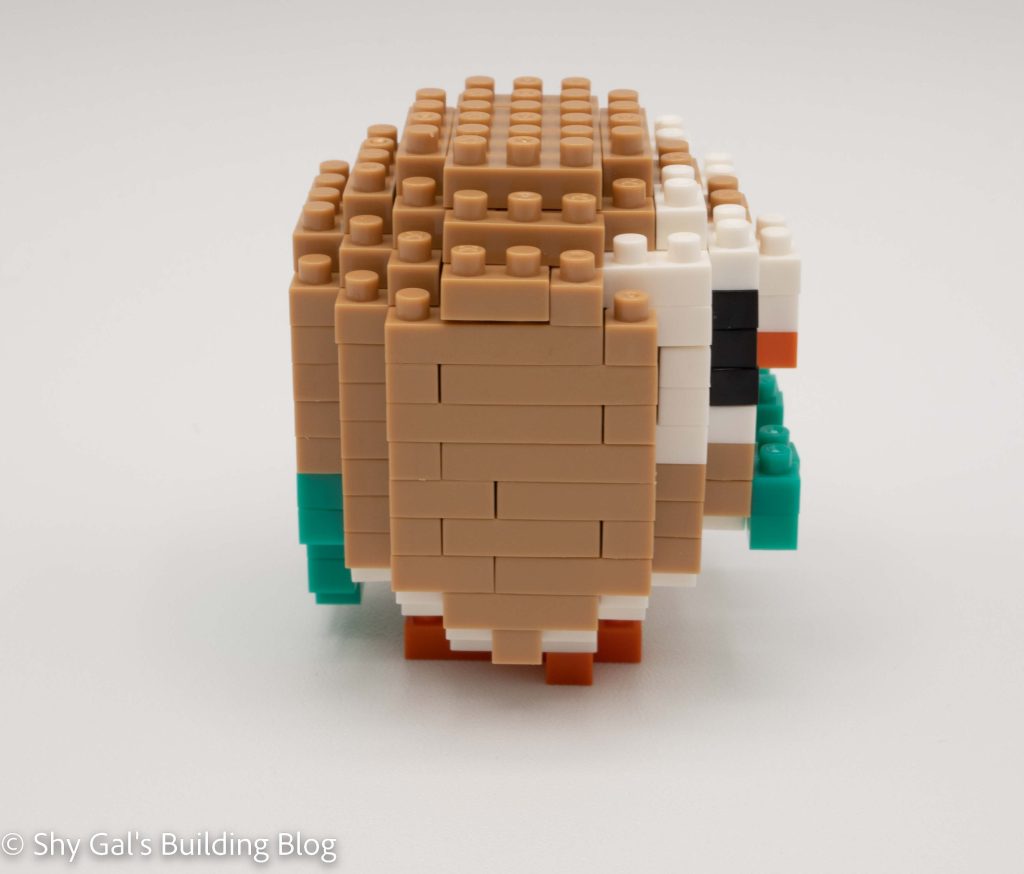
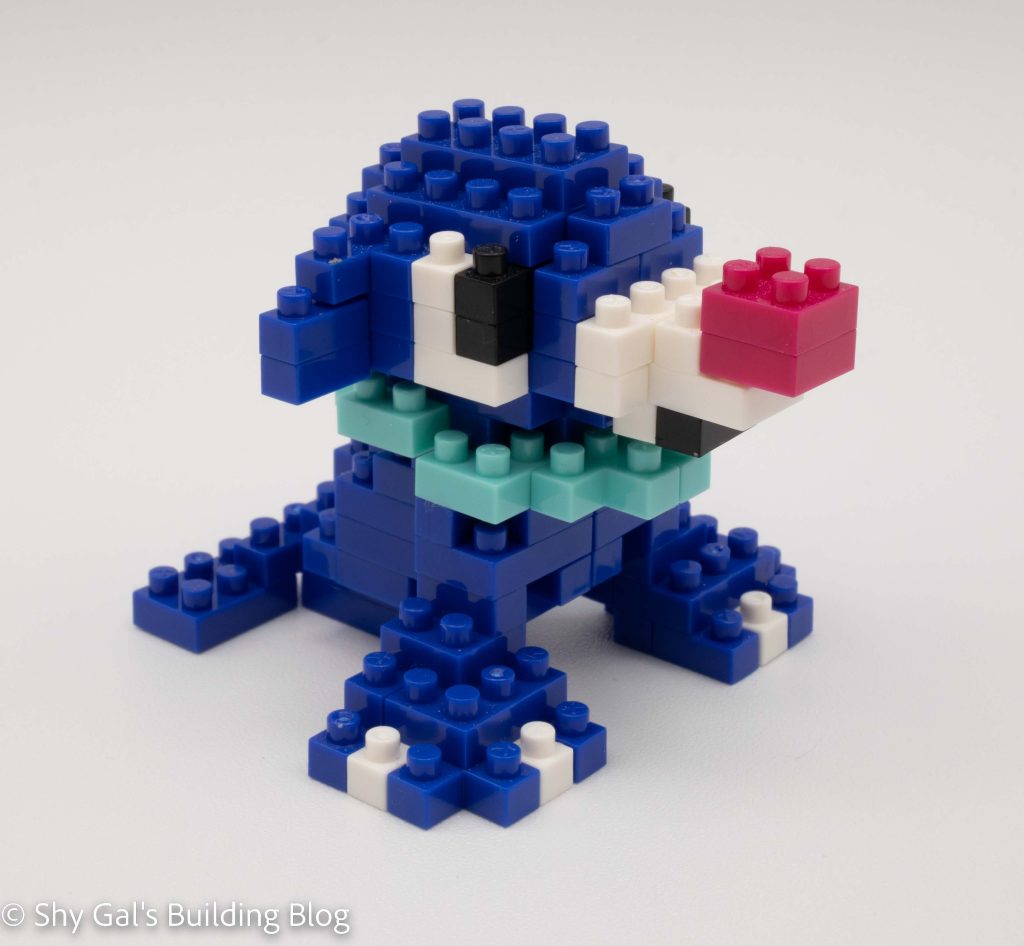
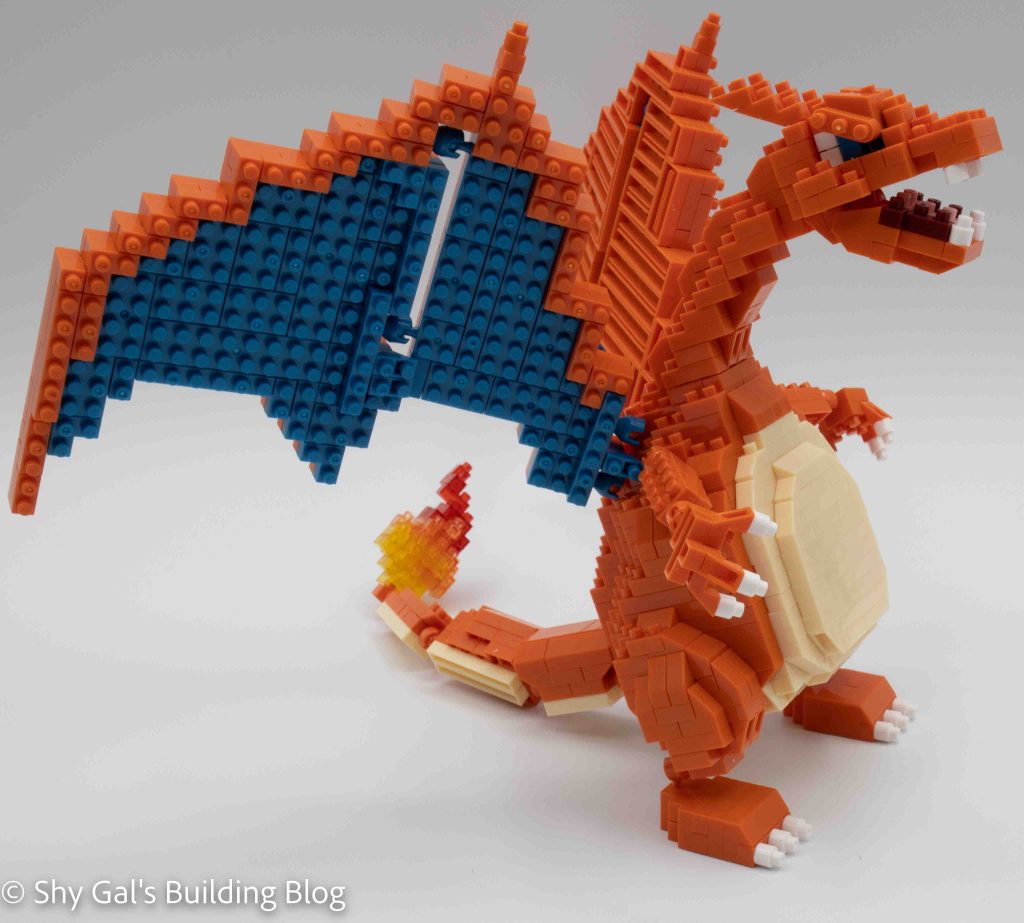
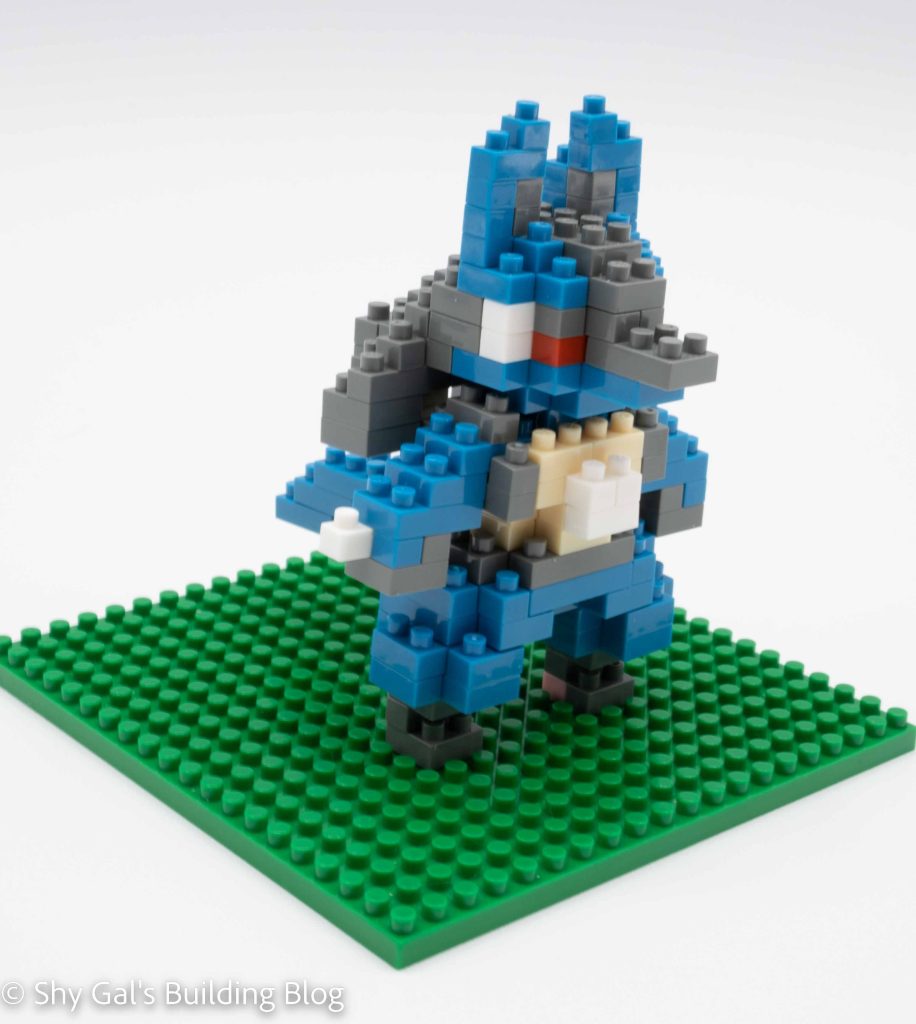
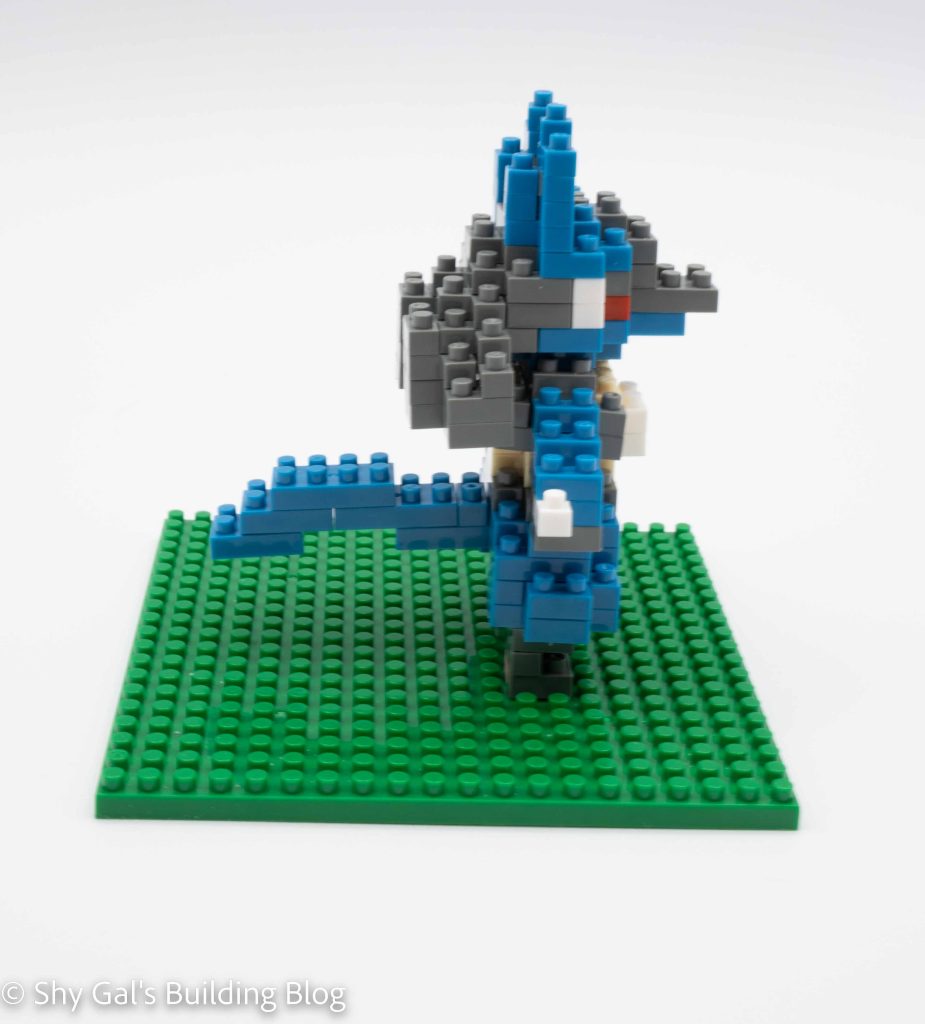
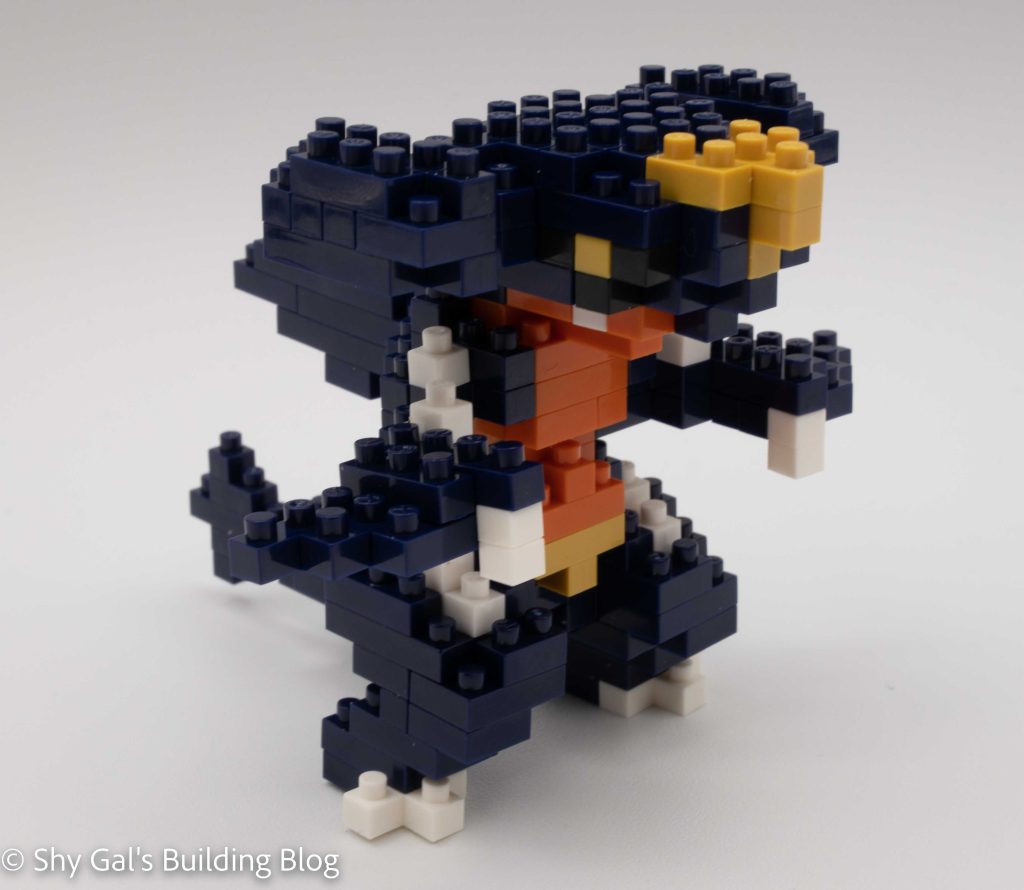
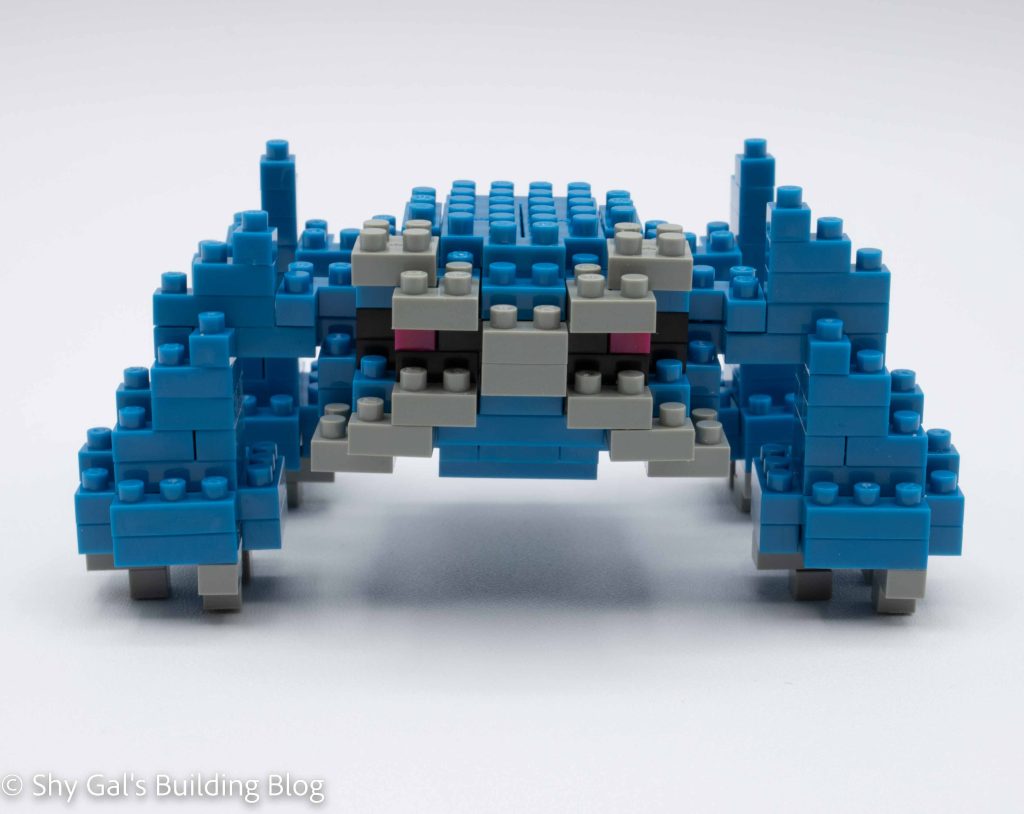
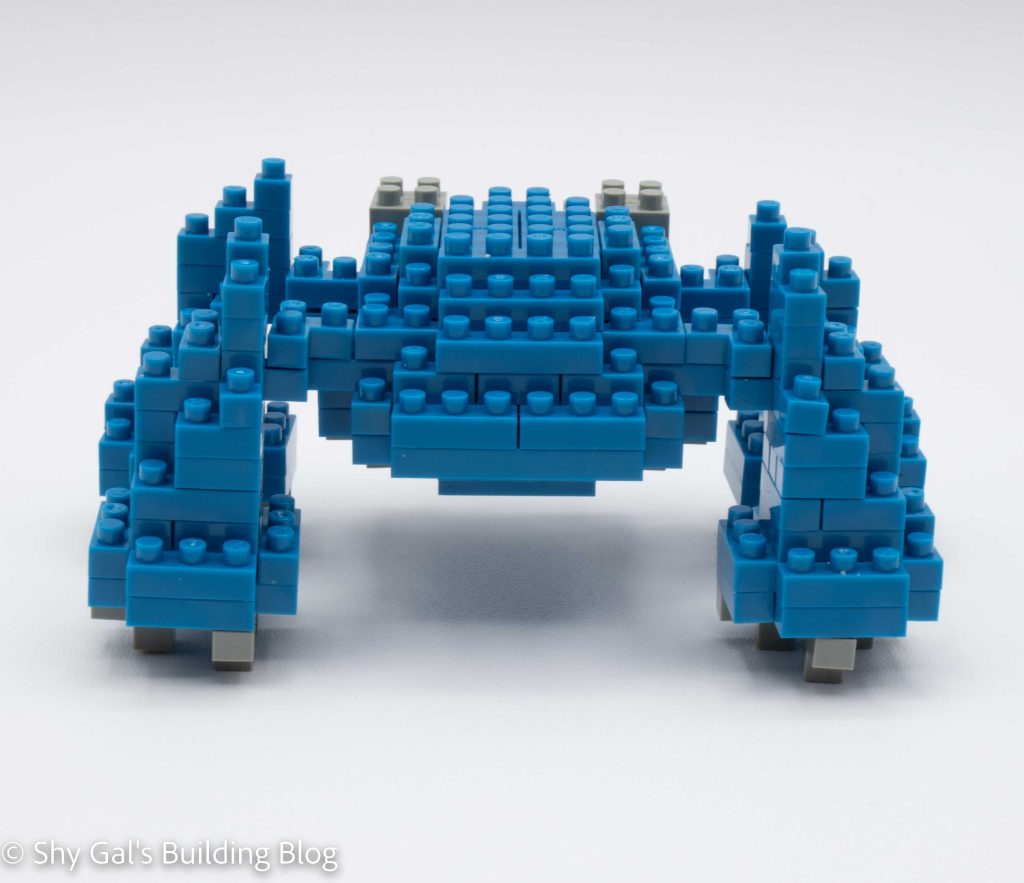
This build is made up of the main body section and Metagross’s 4 legs that are attached to the main body.
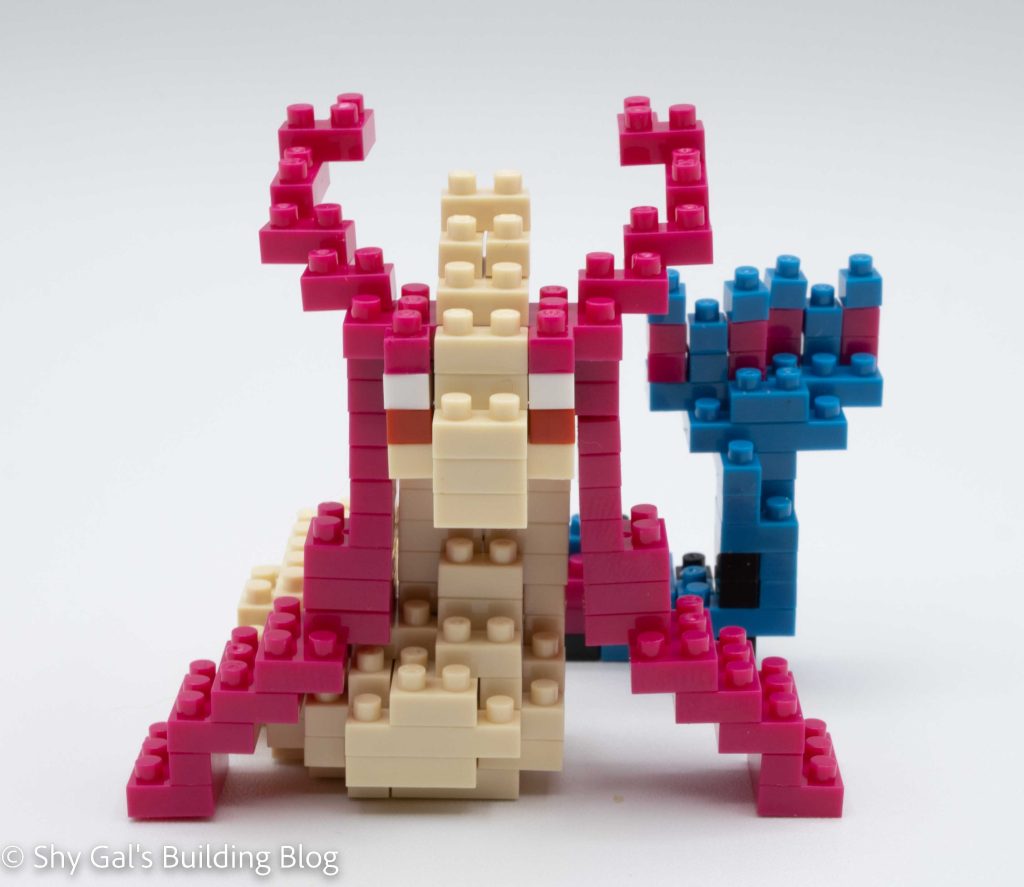
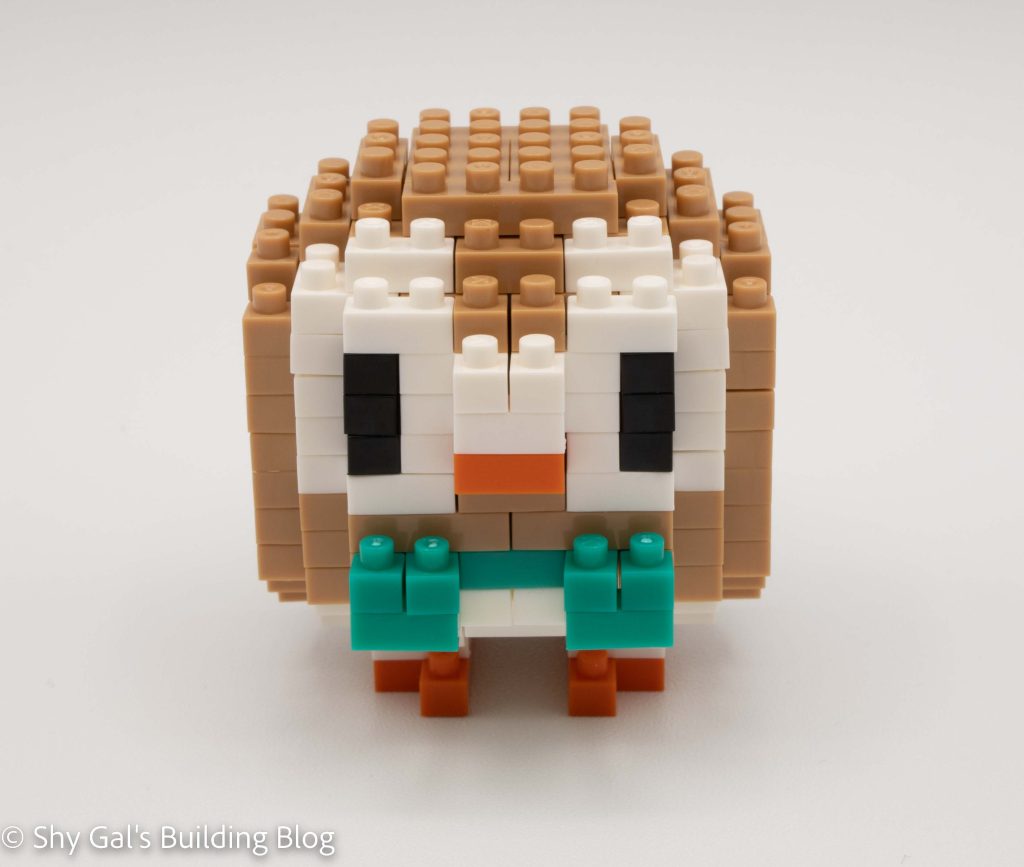
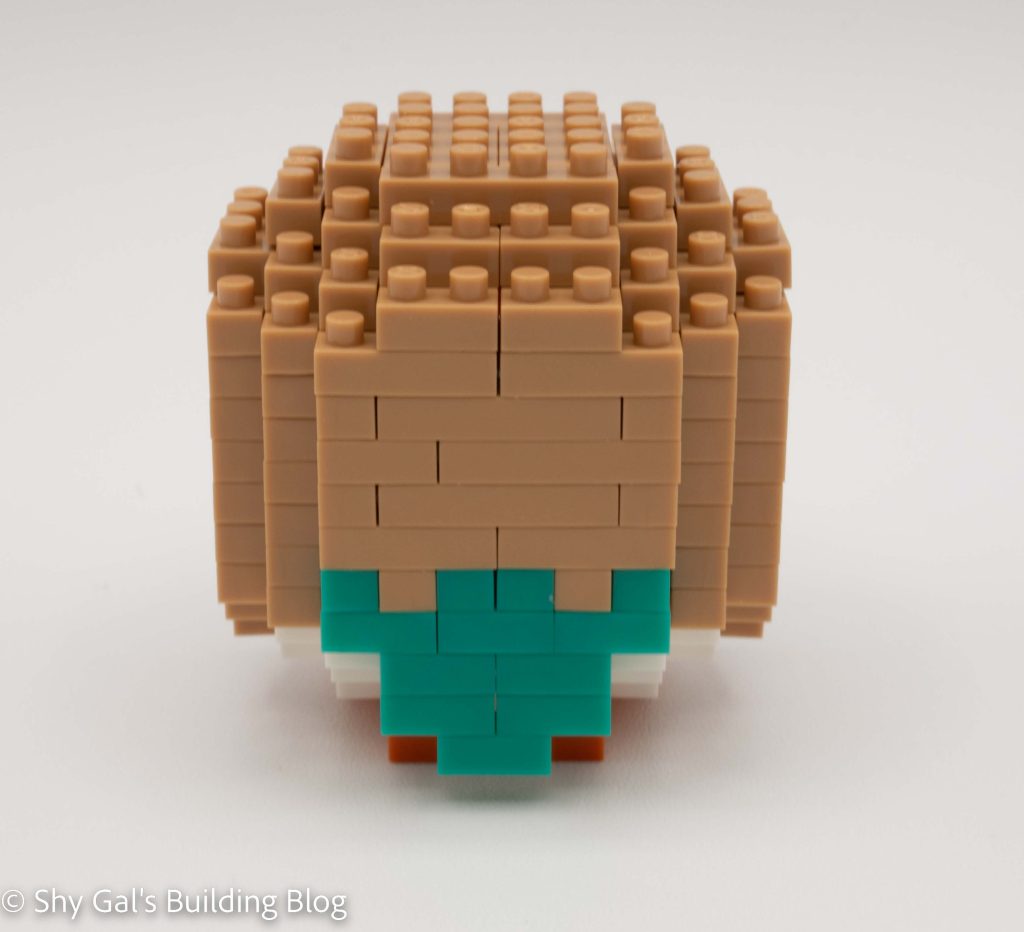
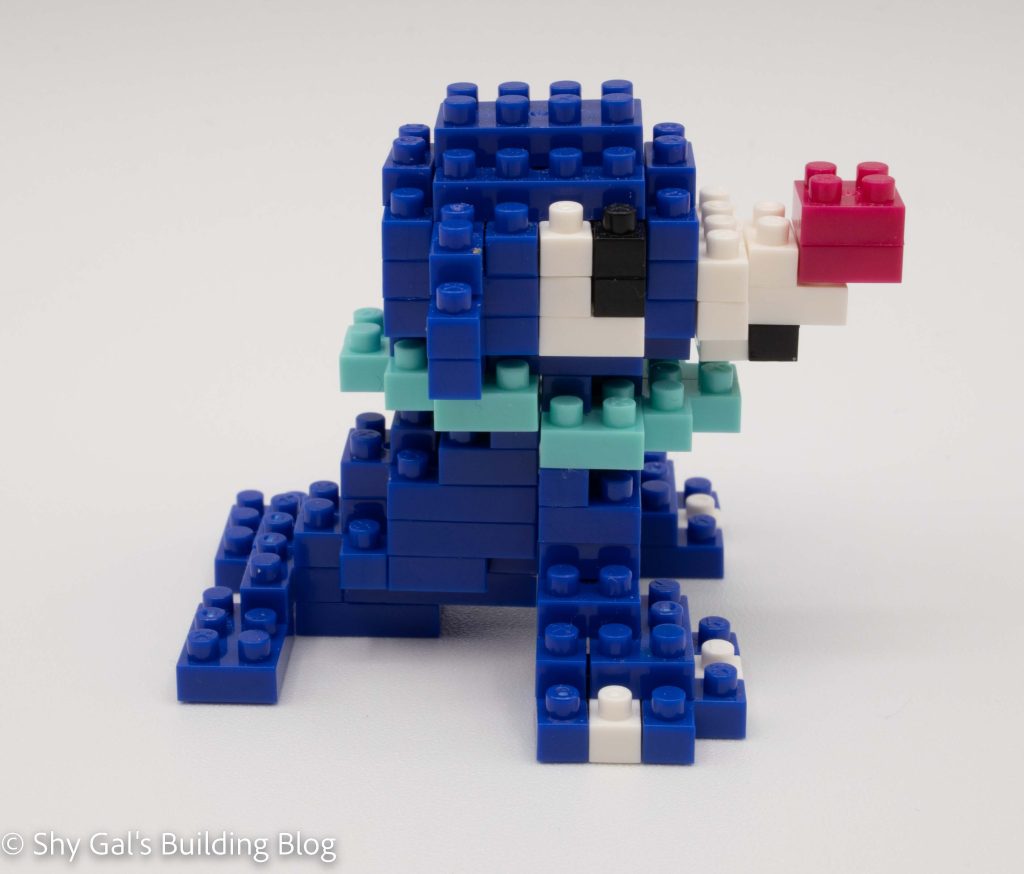
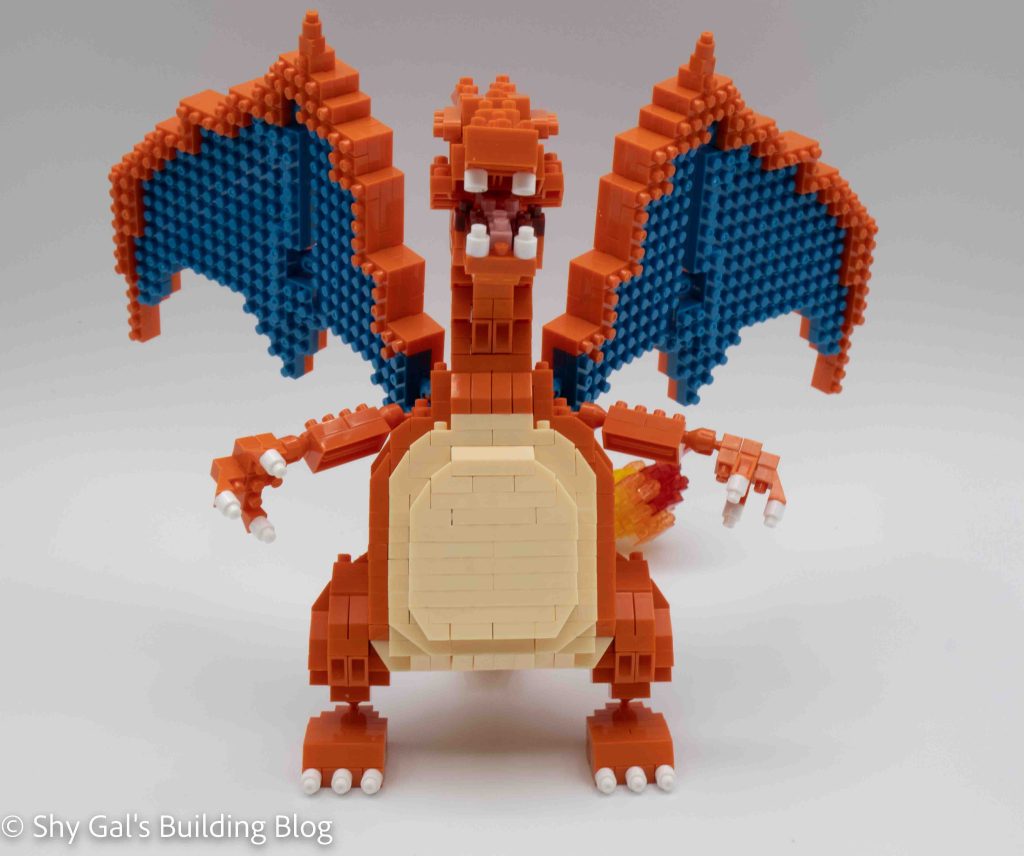
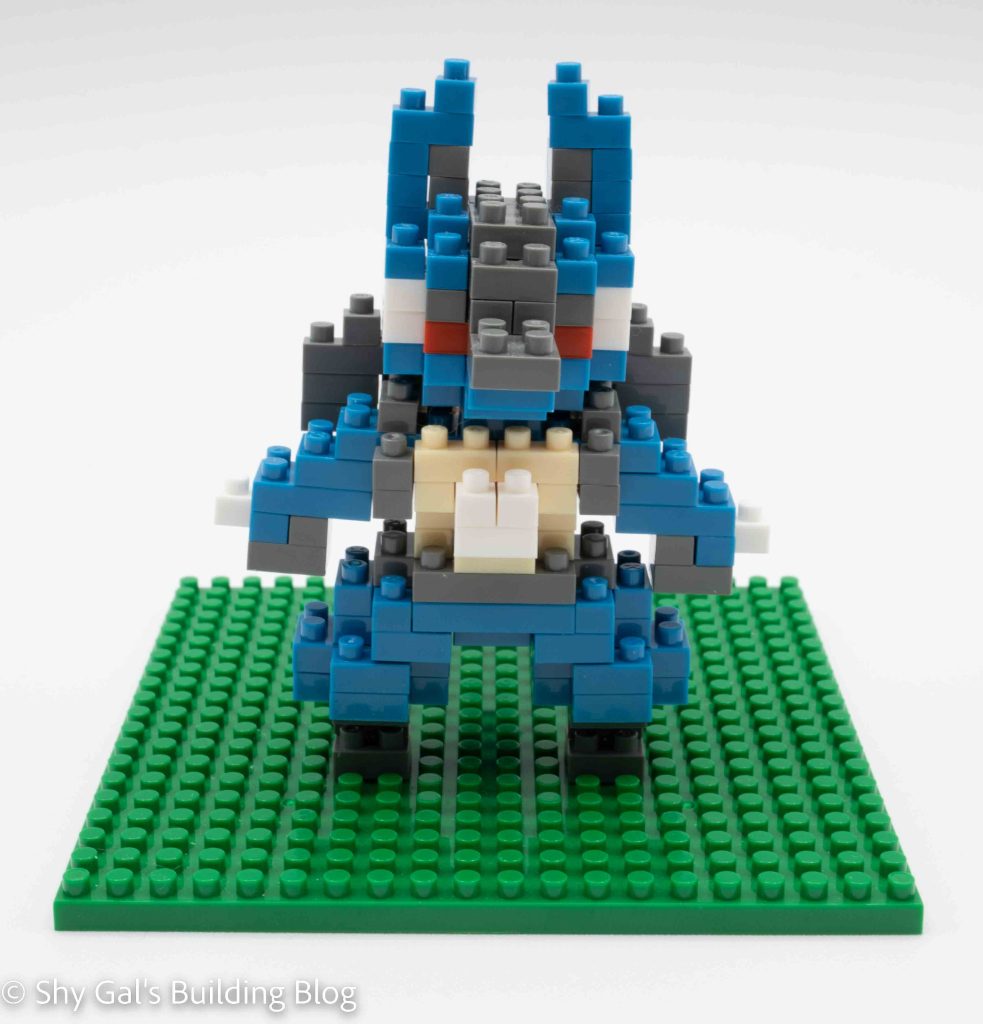
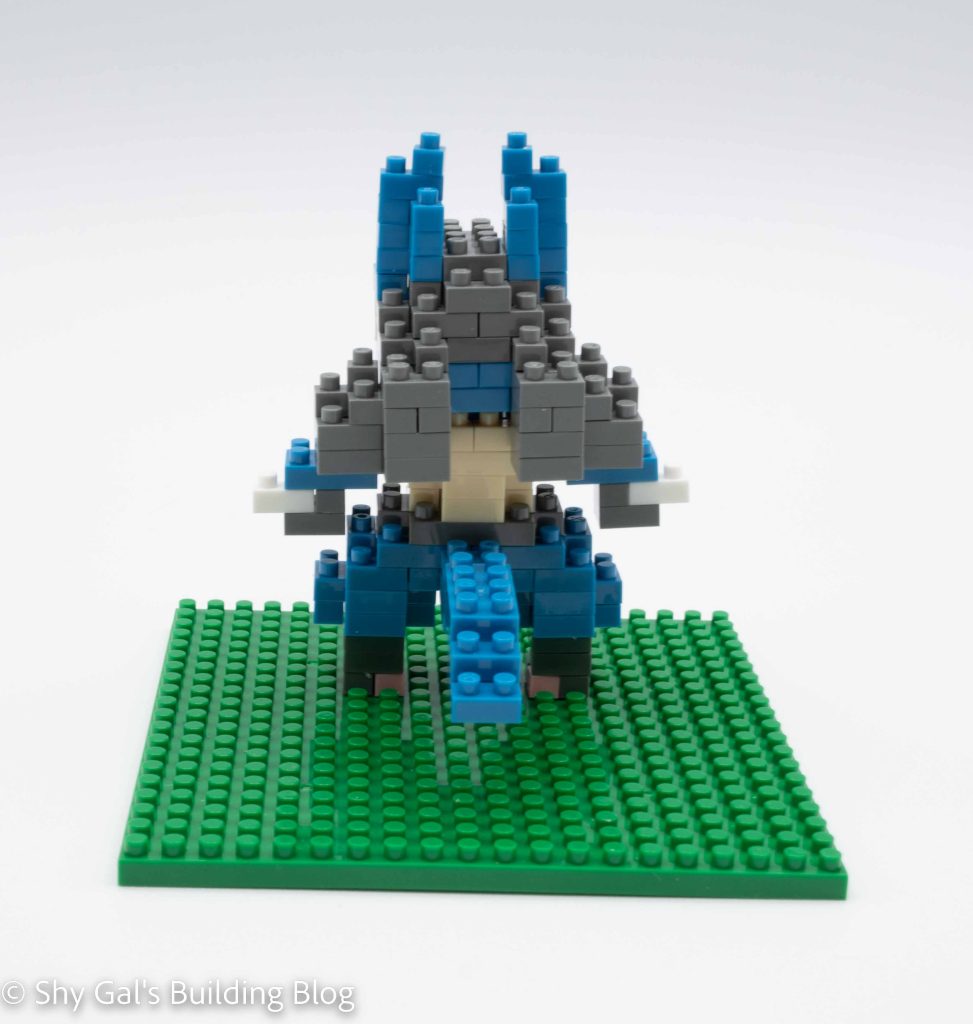
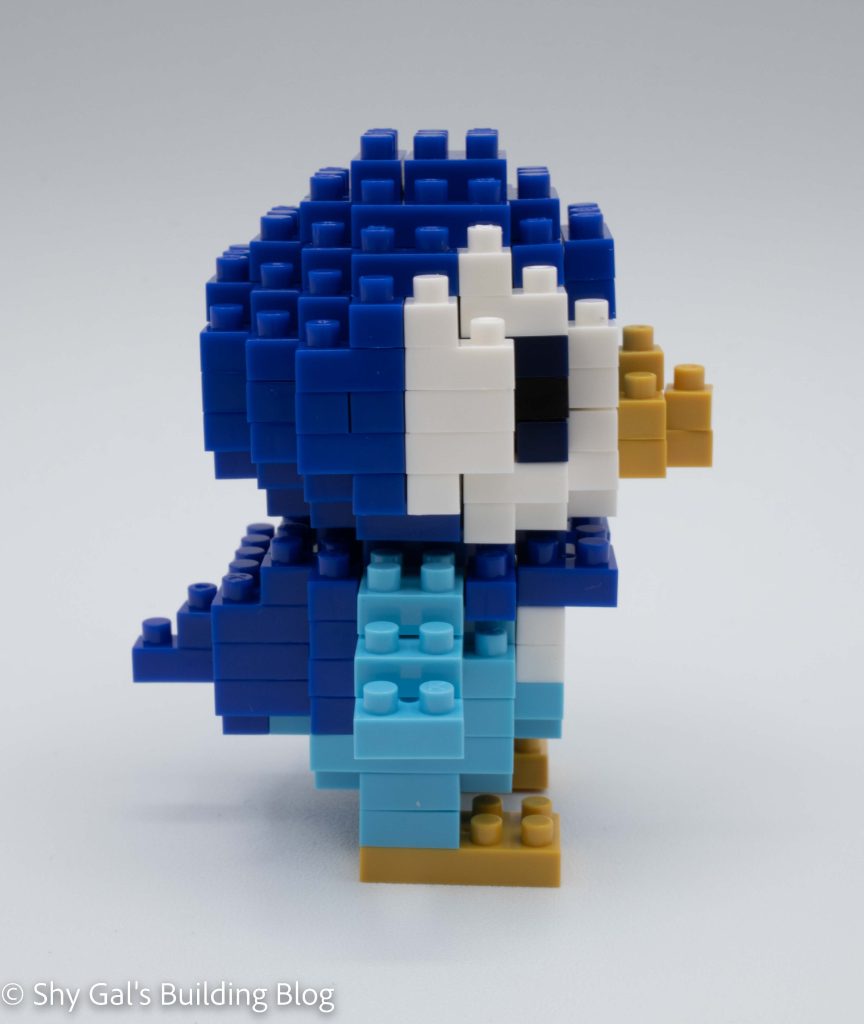
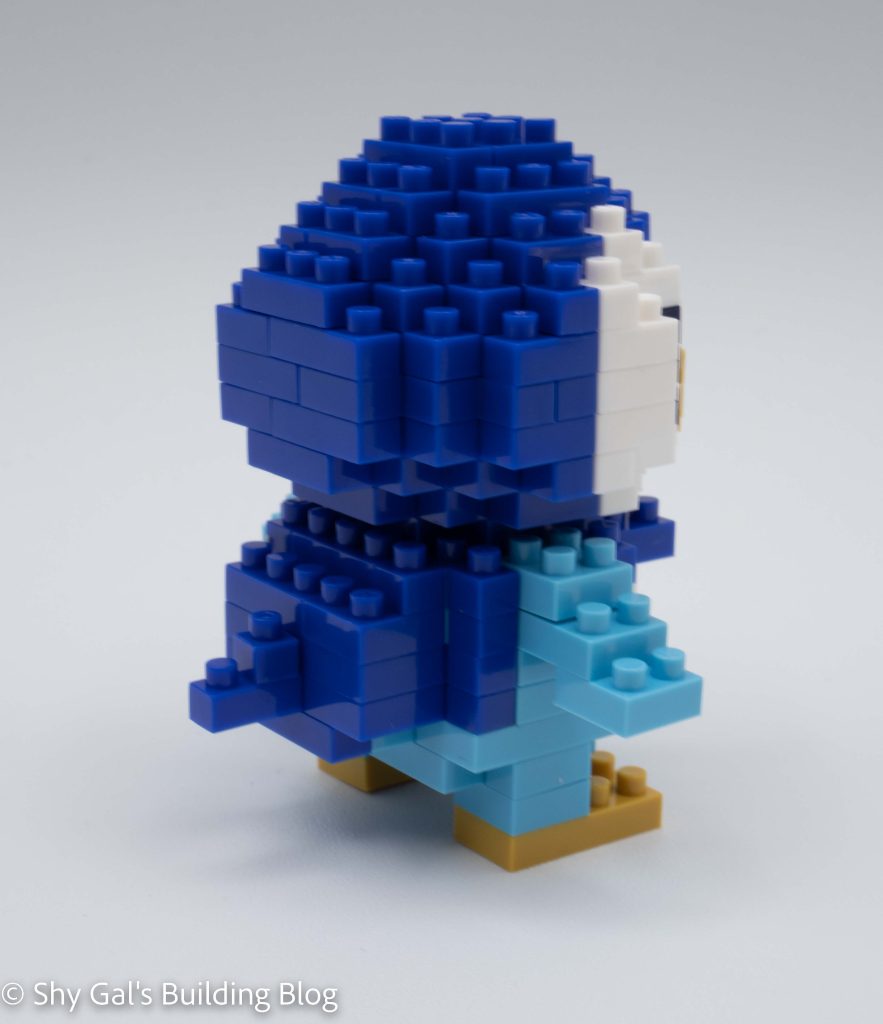
To build the main body section, I began by laying the base layer out on my nanoblock pad. The body went up in straightforward layers. I really like the depth of the grey X that makes up the front of the face. I also really like how the eyes peak out of build depending on the angle you look at the build.
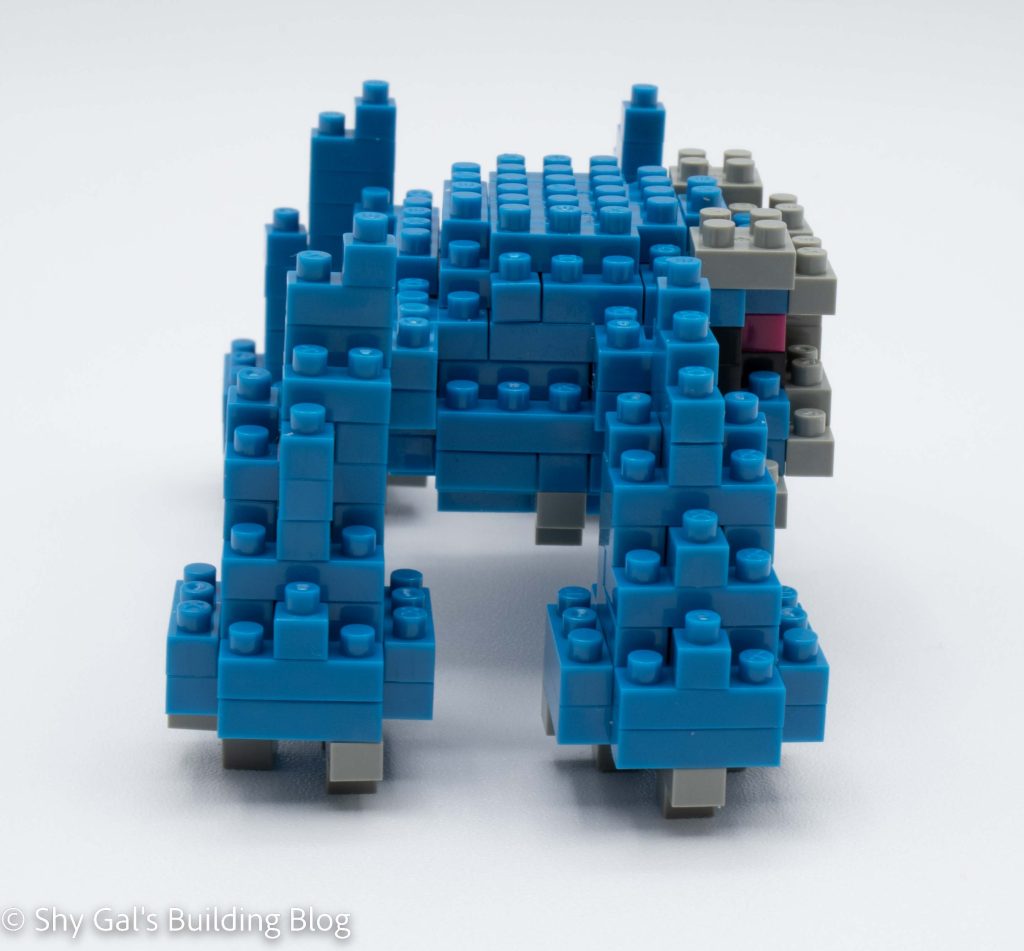
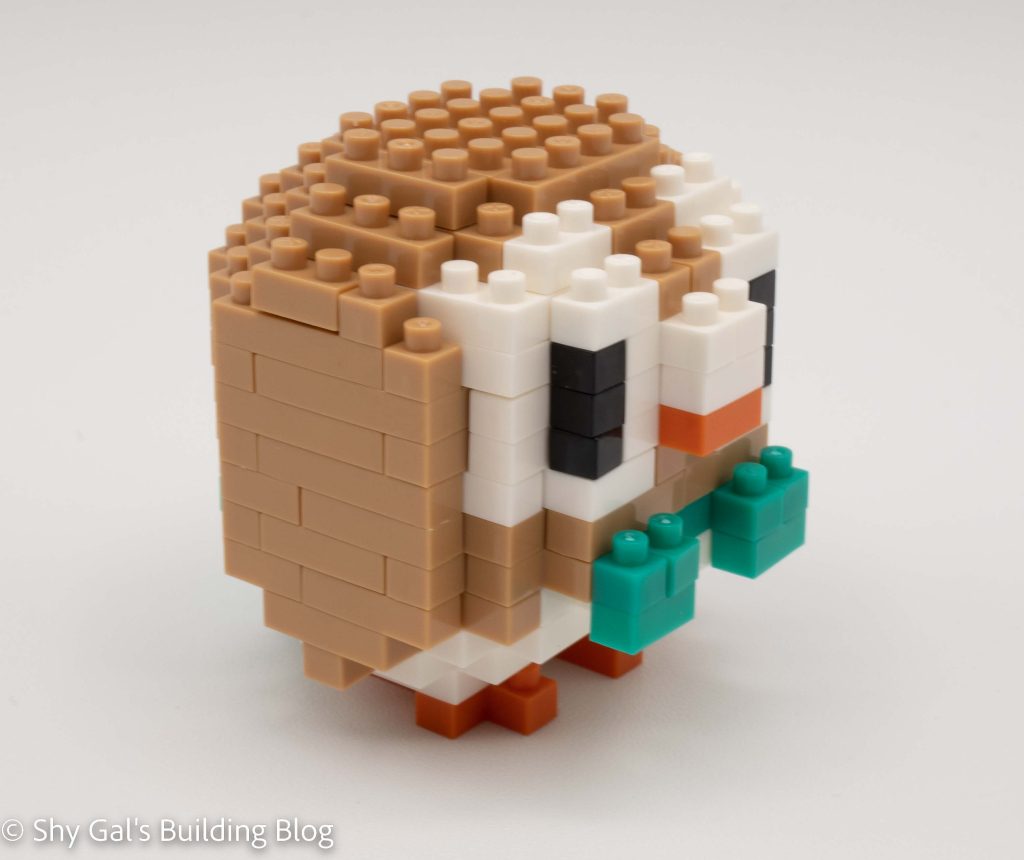
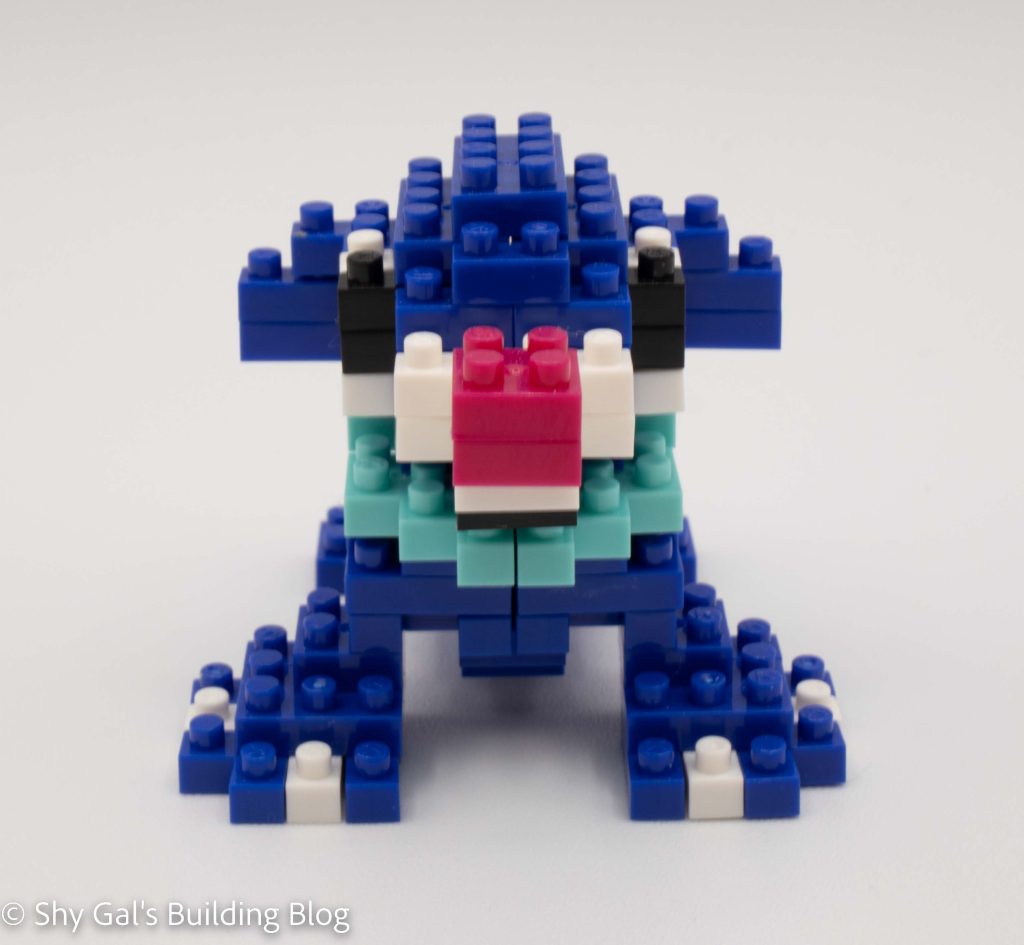
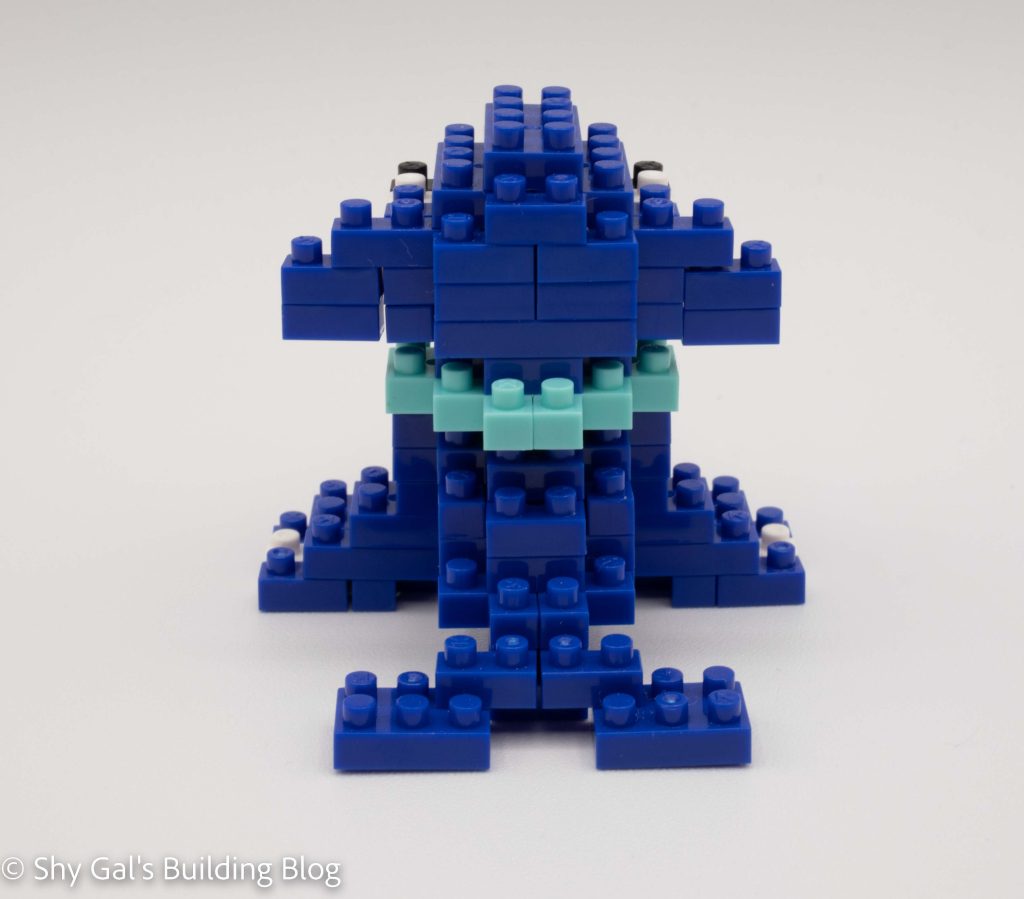
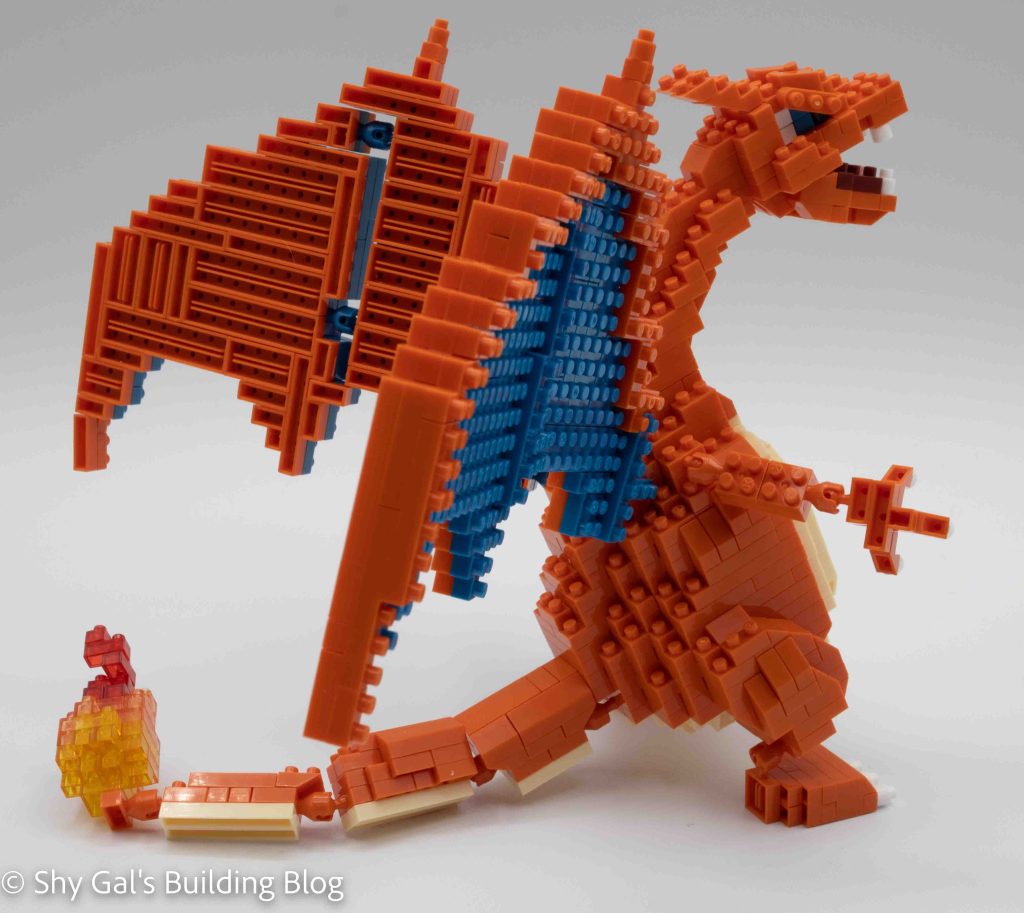
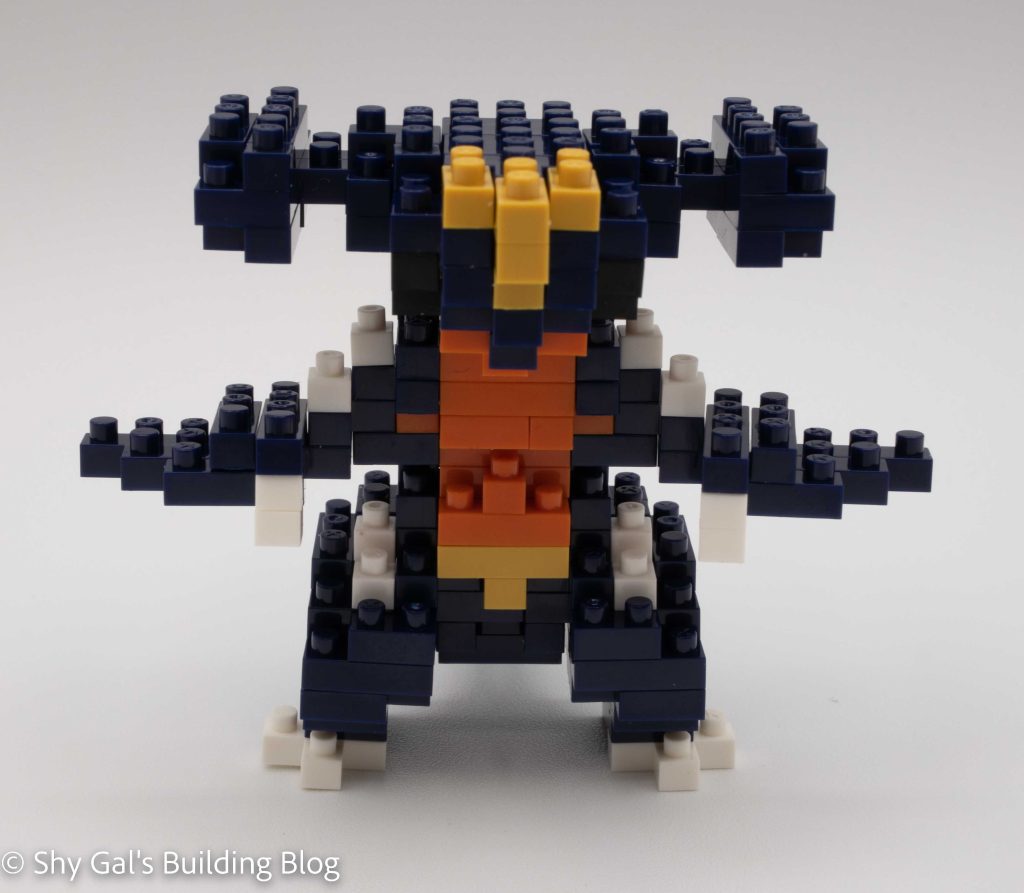
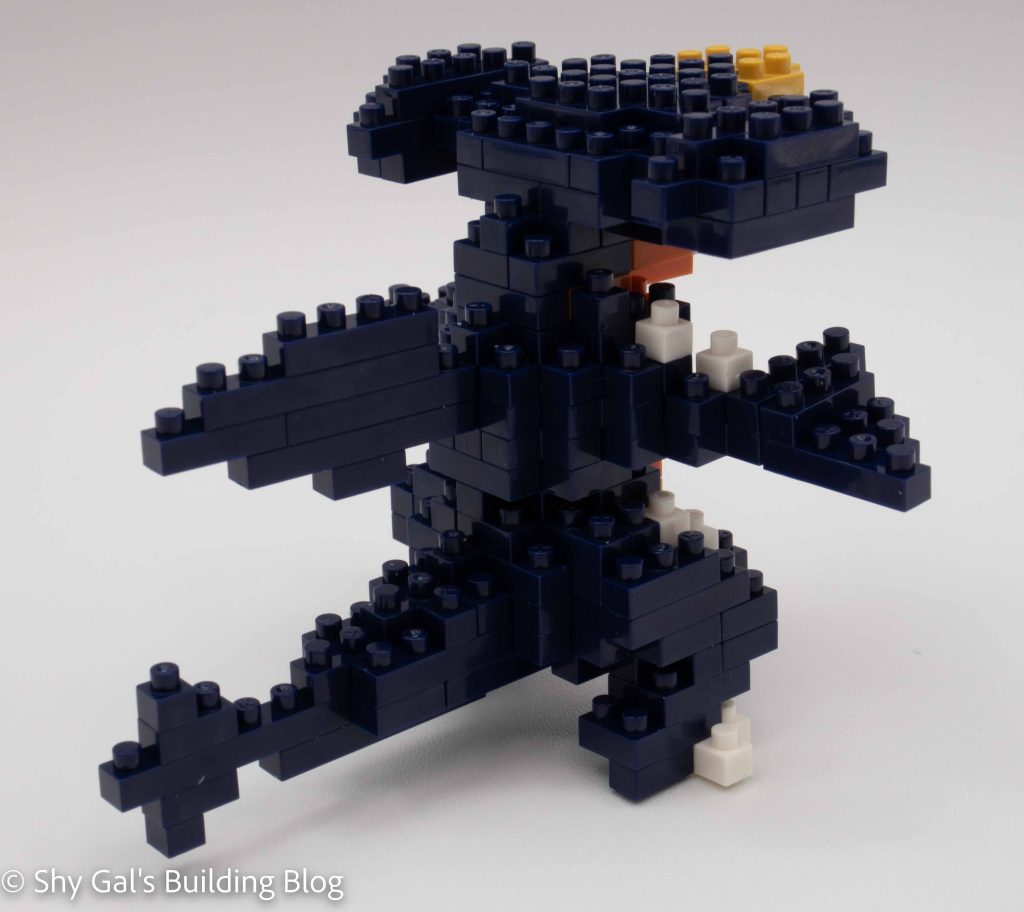
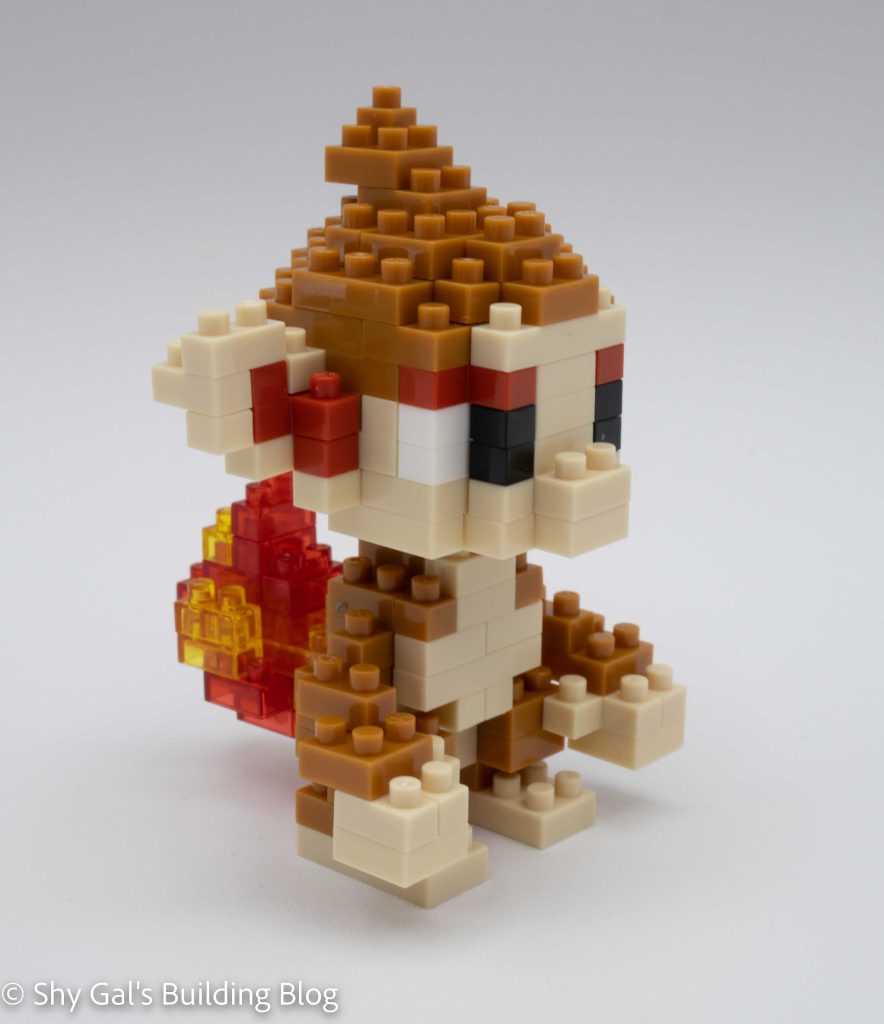
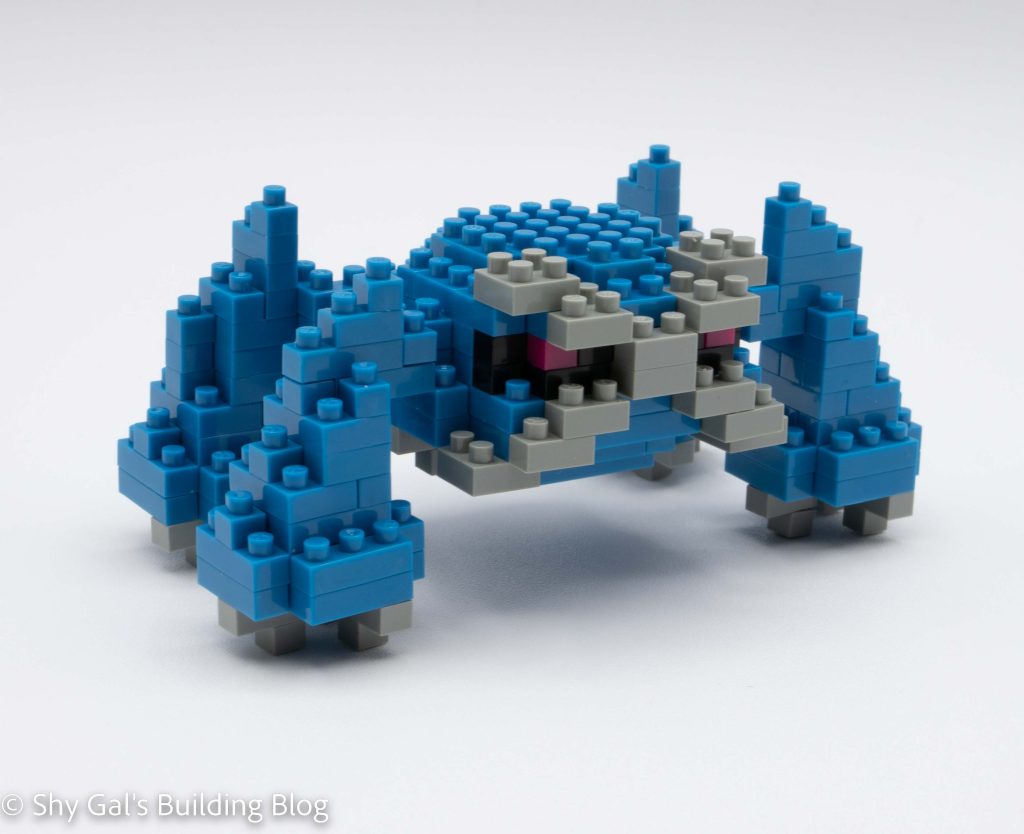
The next step is to add the 4 legs. They are similar, with there being differences between the front and back legs. While building, I noticed it was easier to build the top and bottom half of the legs and connect the sections. After building the entire leg, I would attach the legs. I found this made the legs more sturdy.
Things I liked:
- I really like the detail in the face and how it changes depending on how you look at the build
Things I didn’t like:
- The legs aren’t pinned in via the top, so the legs can easily fall off while building or moving Metagross