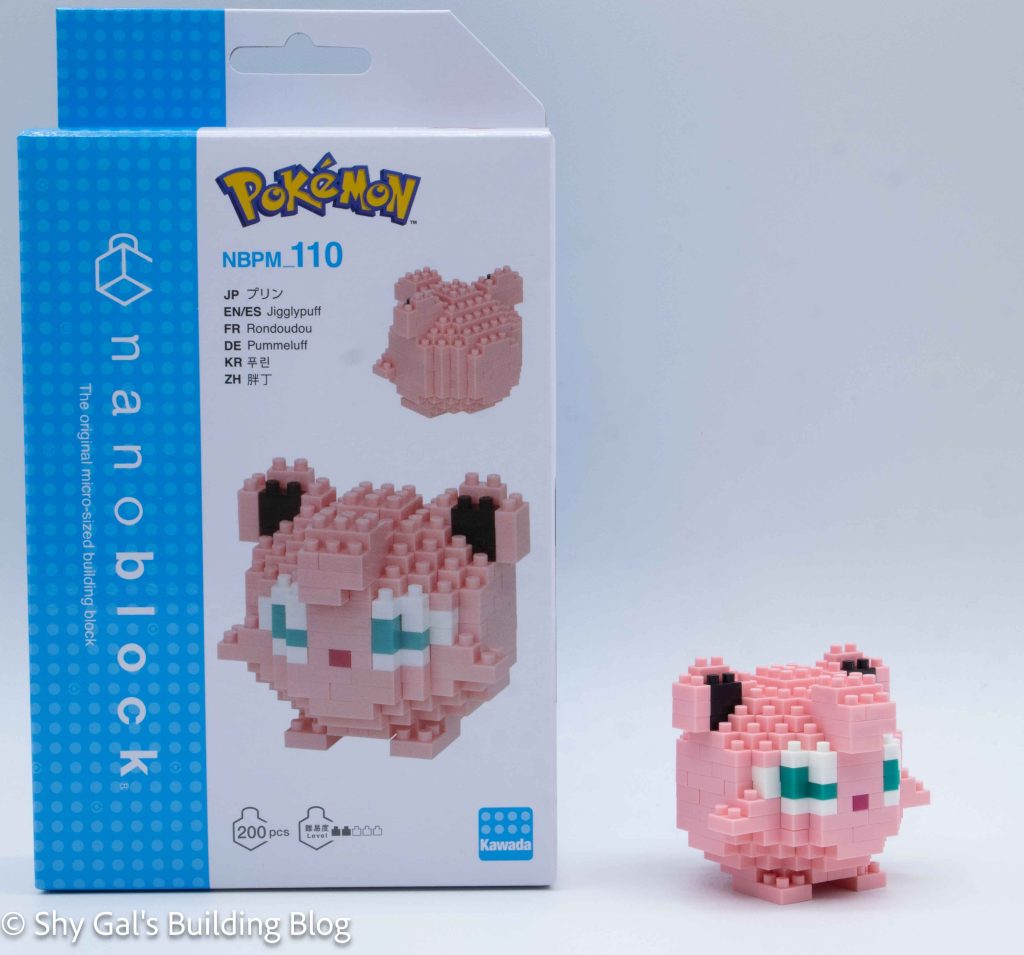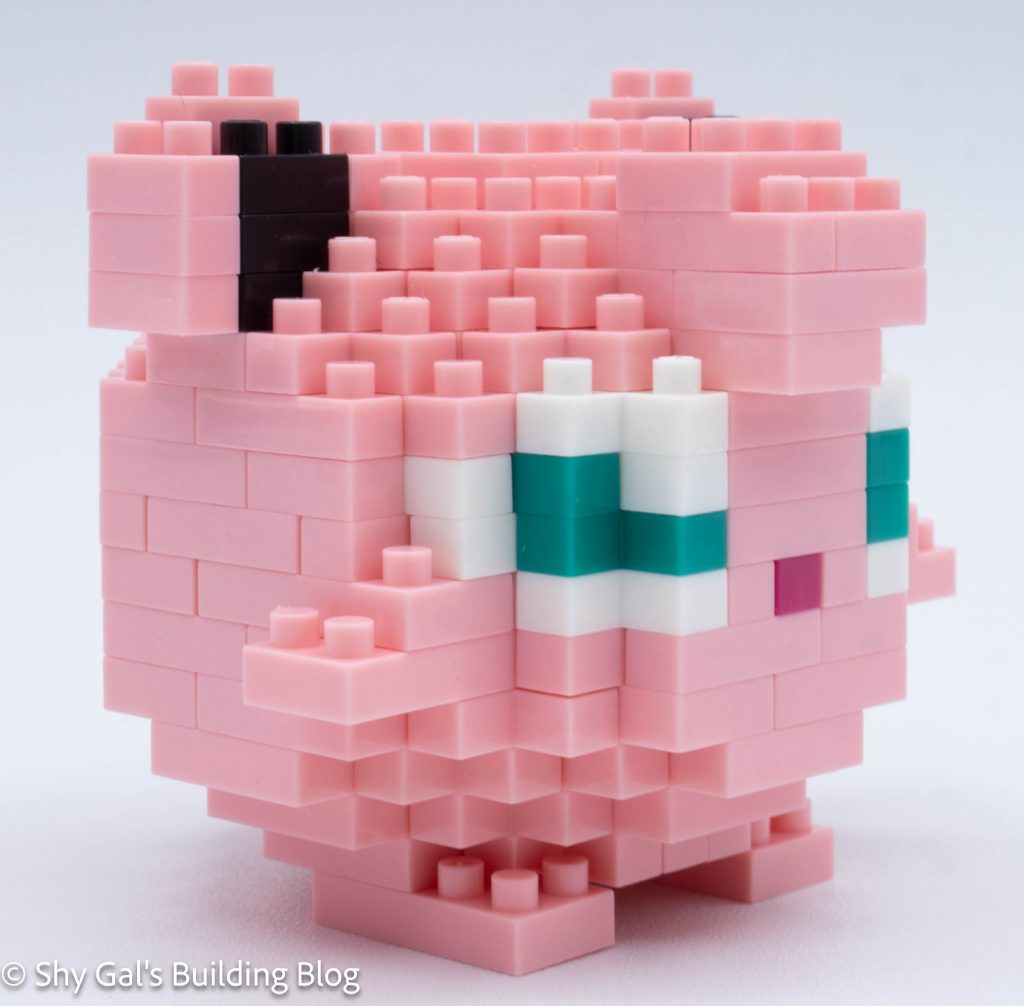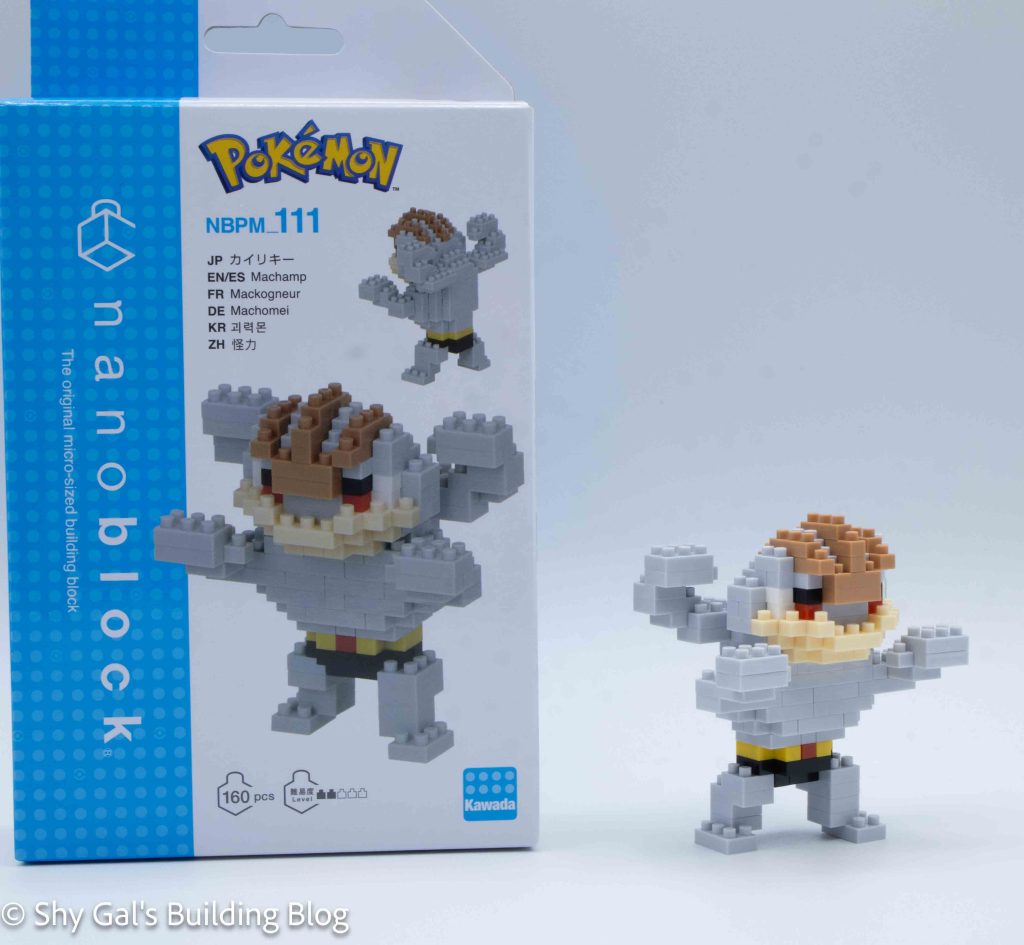
This post is a review of the nanoblock Machamp build. Machamp is part of the nanoblock Pokemon collection. Wondering what else is part of the Pokemon collection? Click here for a list.
Number: NBCC_111
Number of Pieces: 160
Difficulty Rating: 2/5
I began by laying the base layers out on my nanoblock pad. It took 3 steps to complete the base.
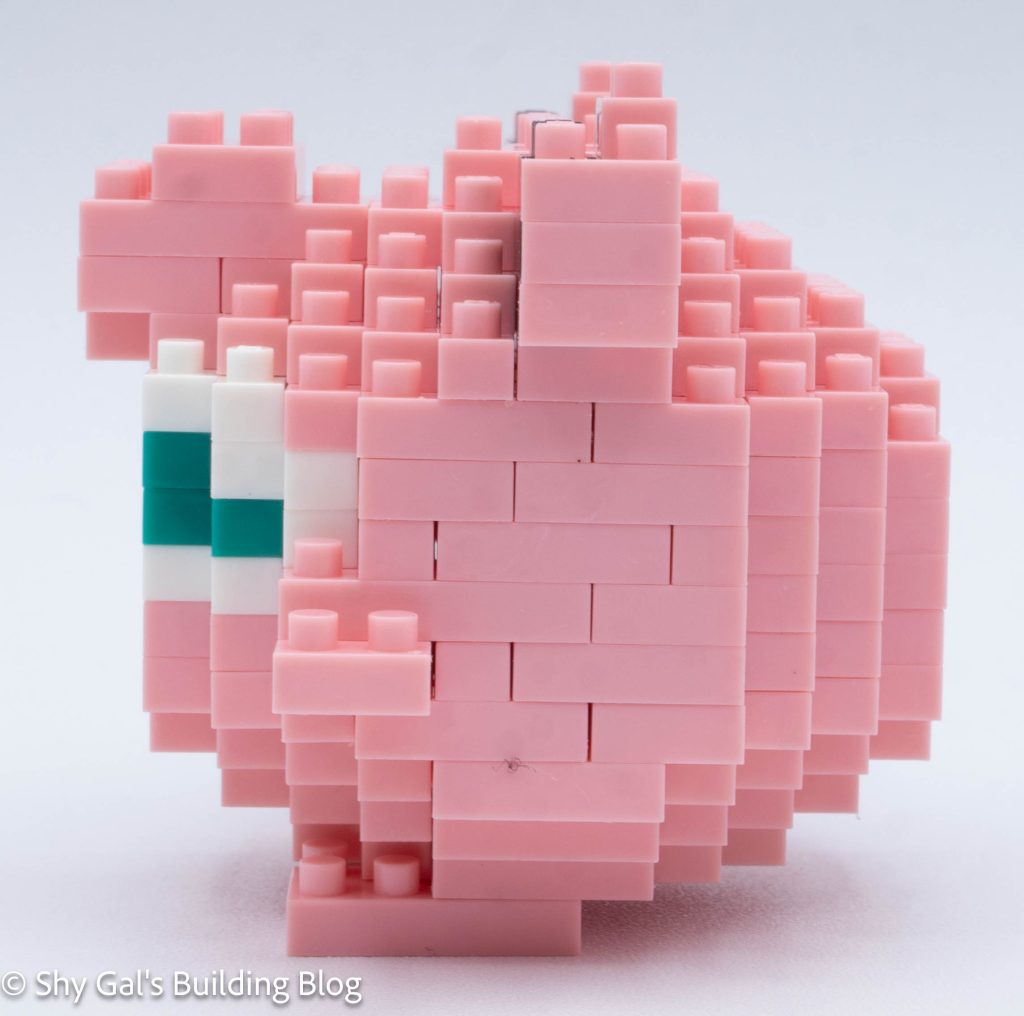
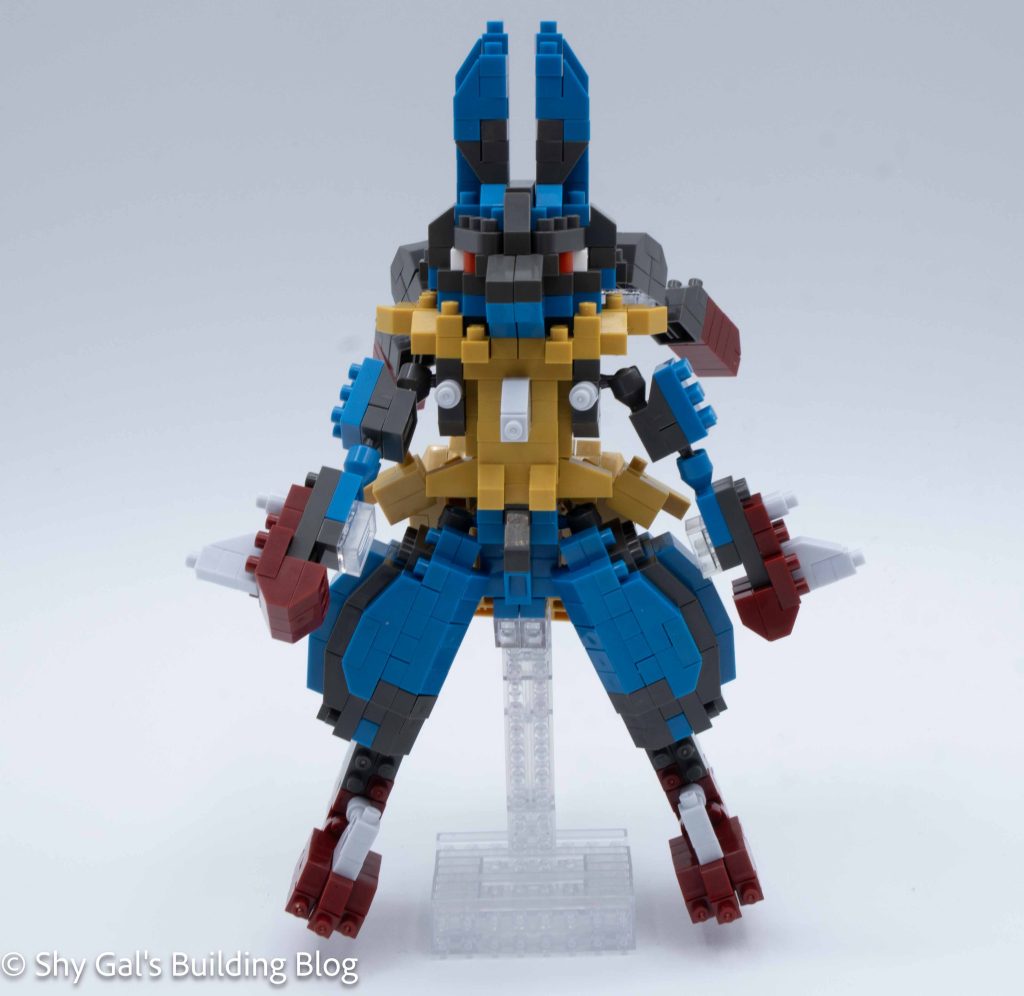
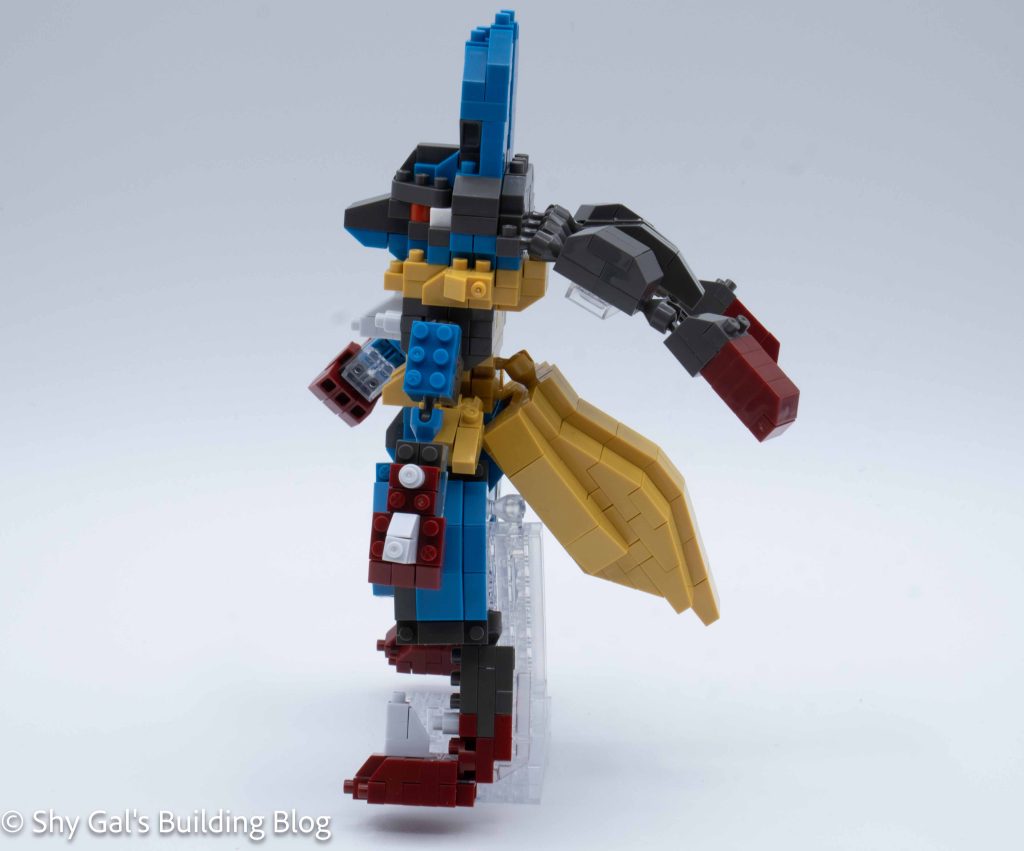
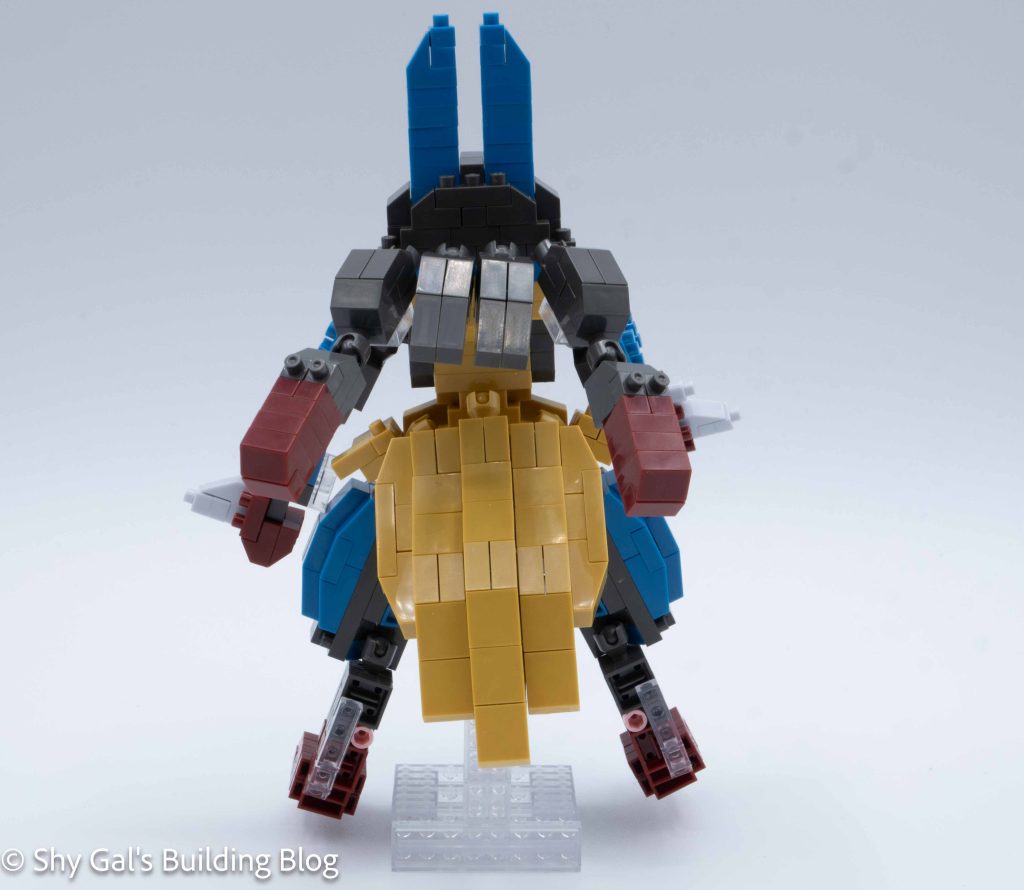
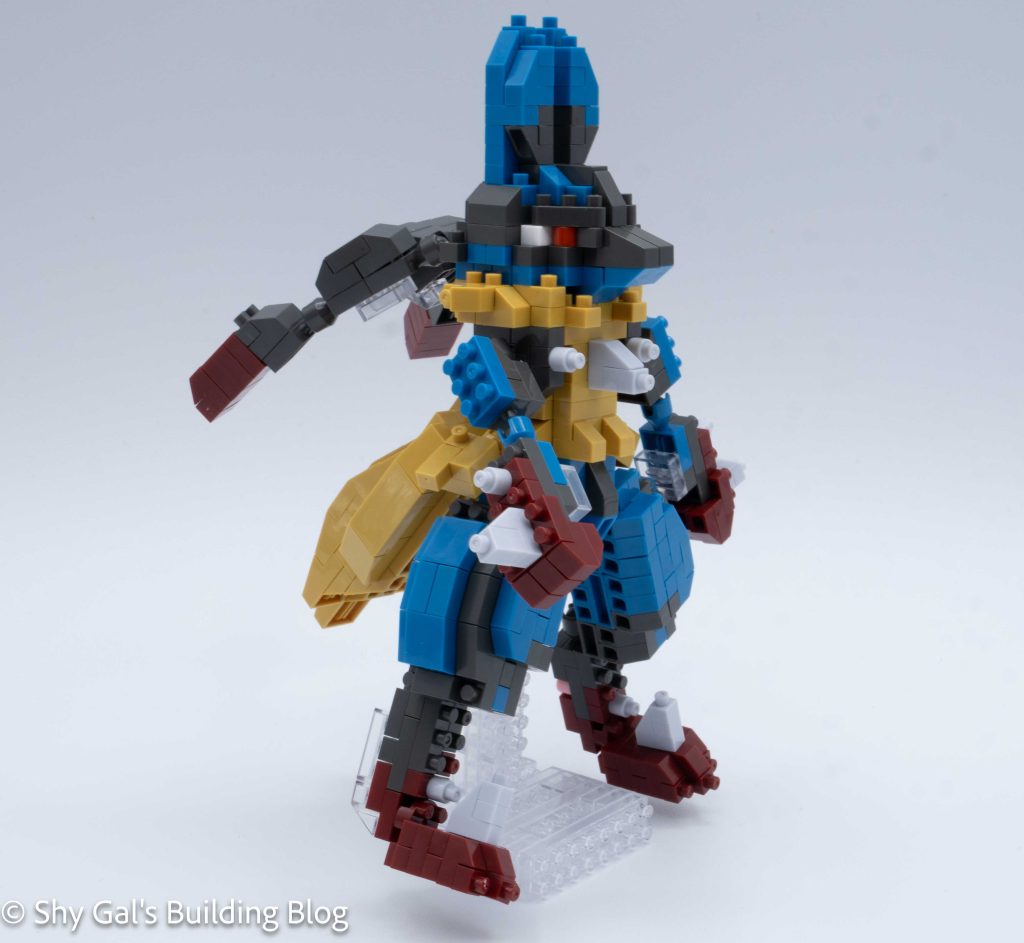
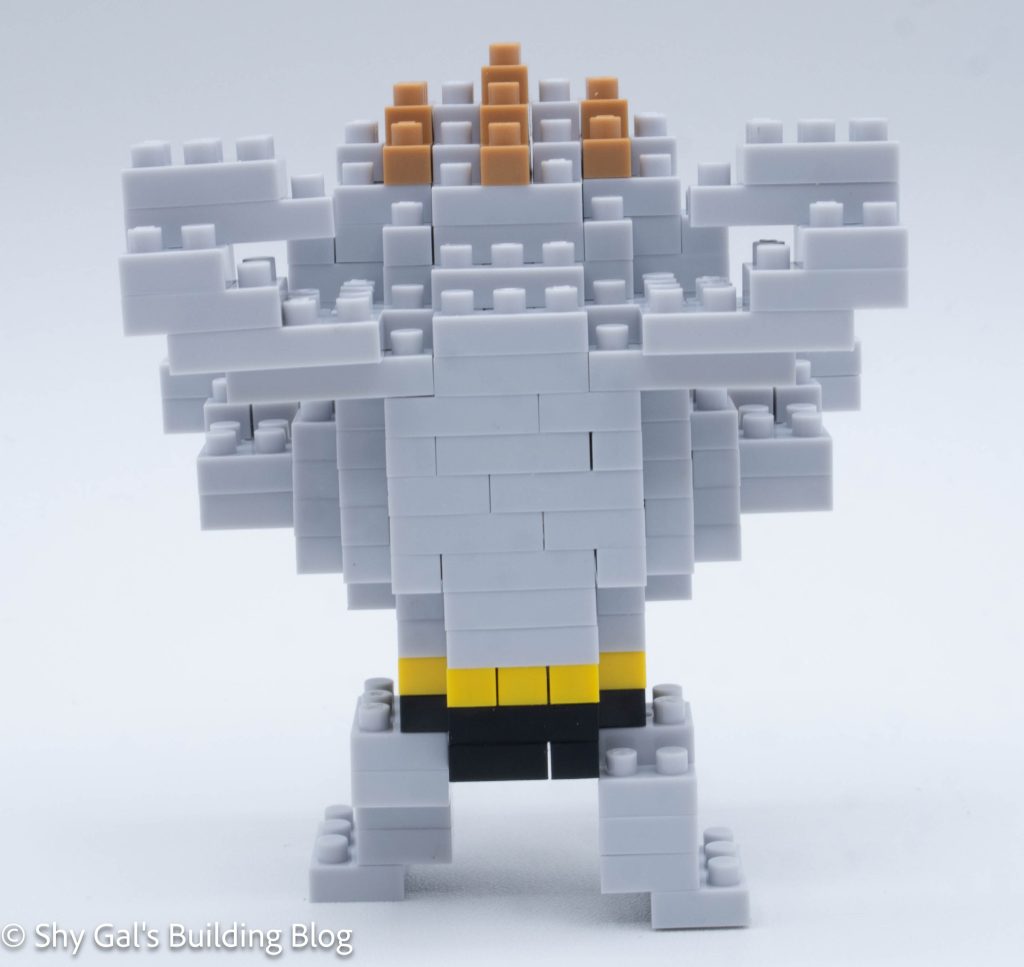
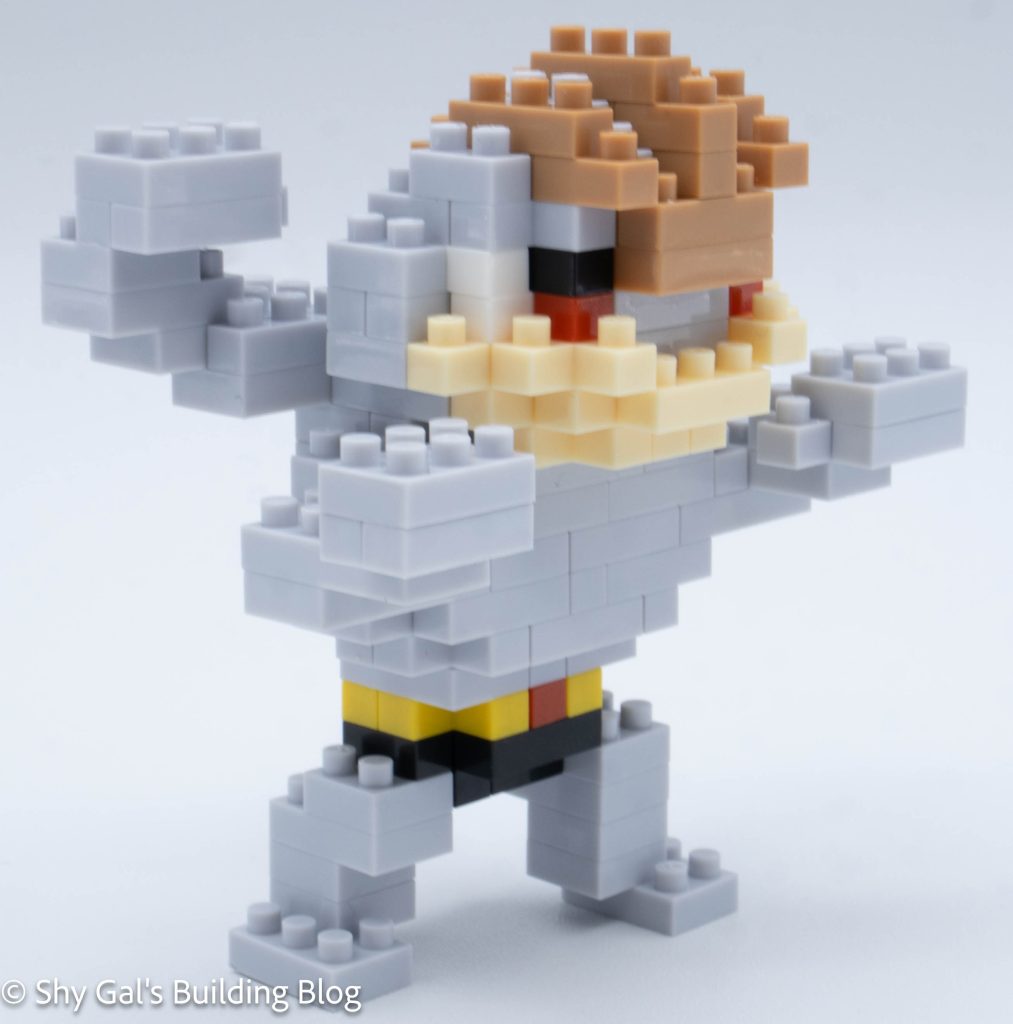
I built the body up in layers. I had a hard time lining up the bricks because I wasn’t sure if there was any and how much overhang there should be. The layers are also built in the 4 arms.
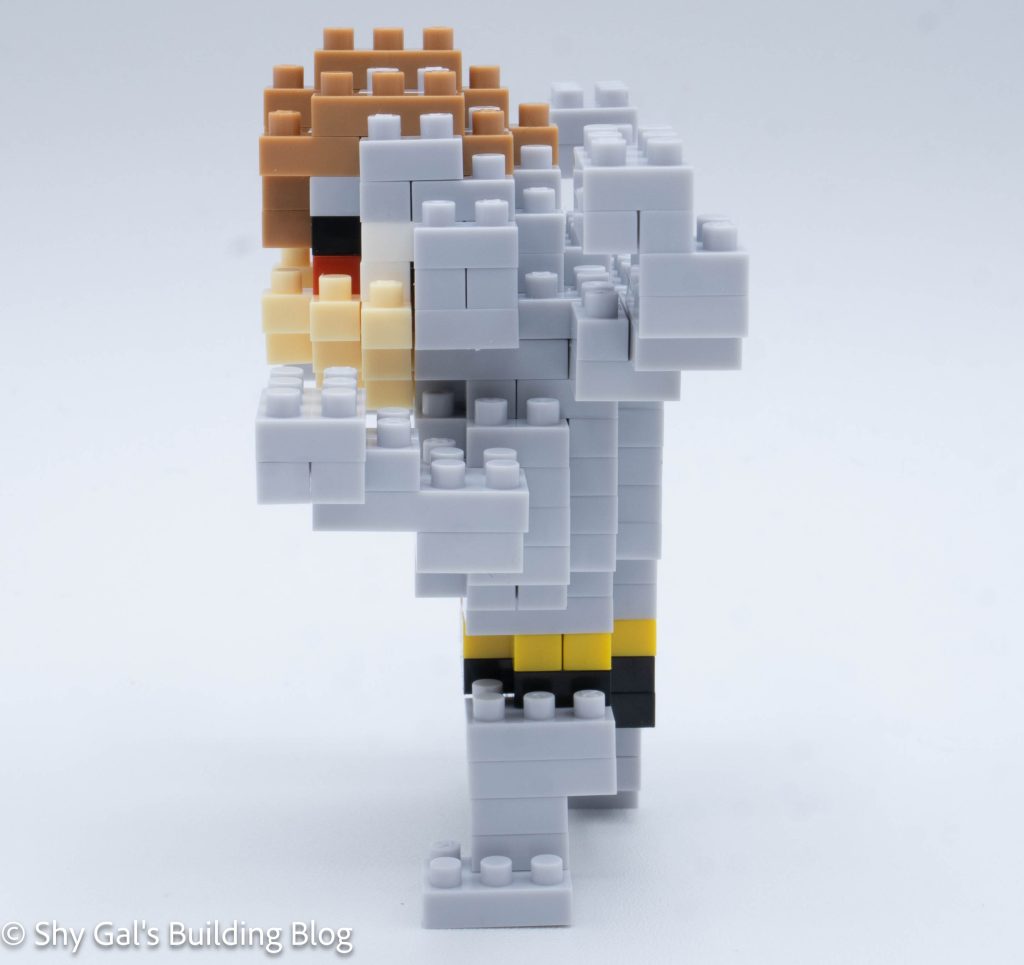
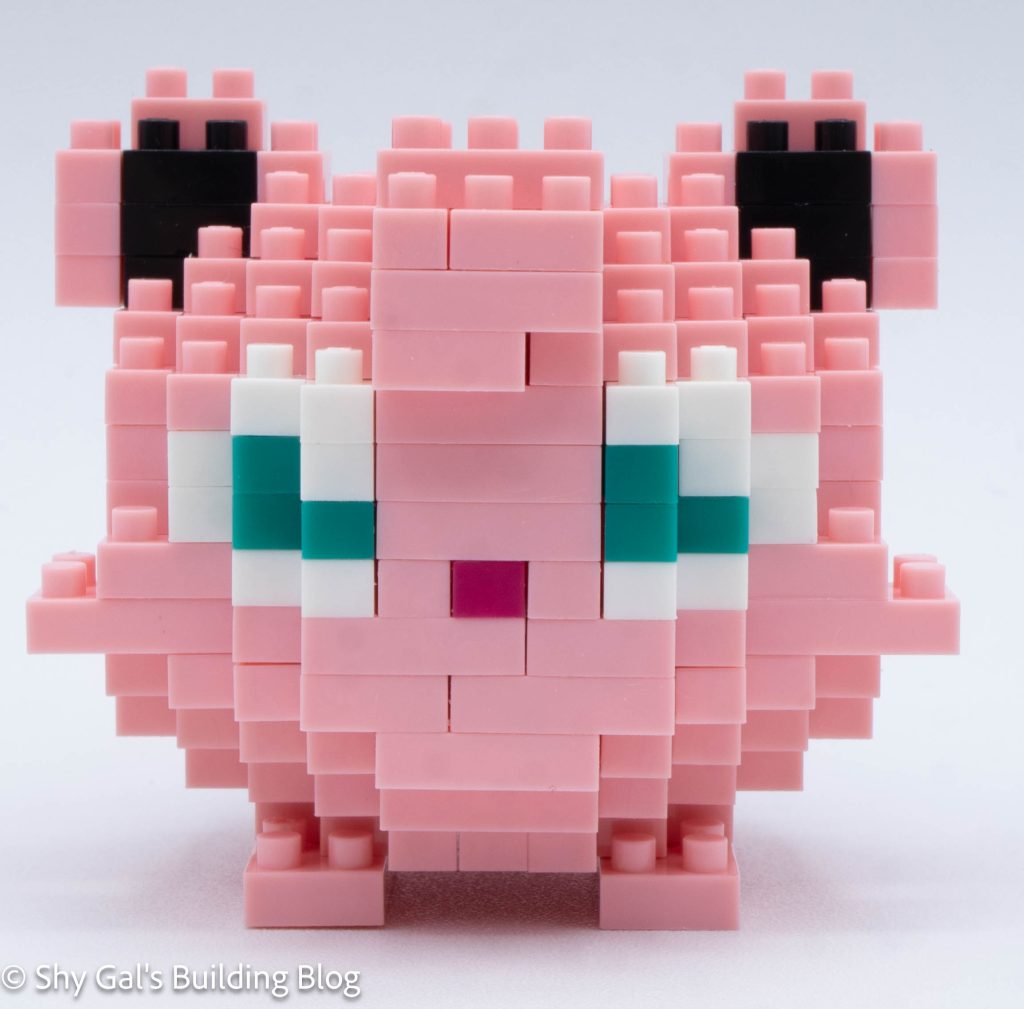
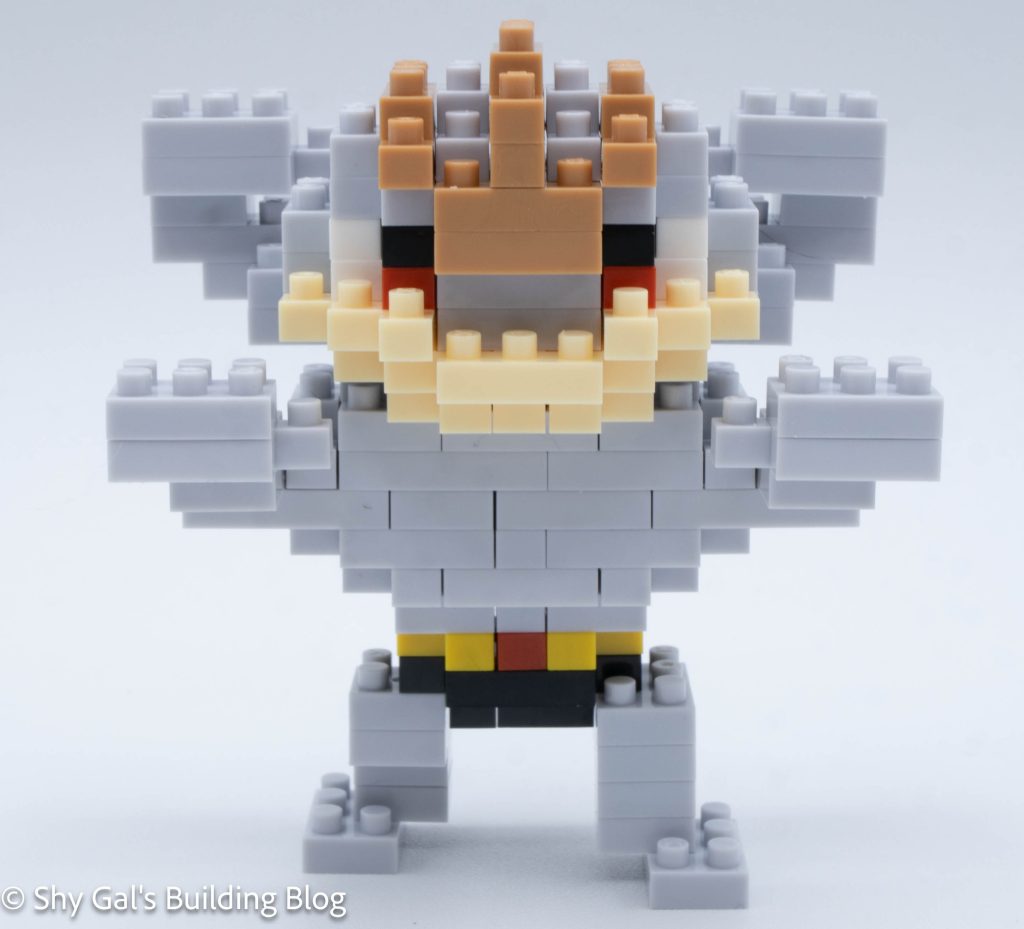
On the body, I built the head. This included the eyes and the head decoration. I didn’t line up the head decoration properly the first time, so I had to redo it a couple of times.
Next, I built the hips. These were very straightforward. I attached the hips to the body.
Next, I built the hands. I was careful to make sure they lined up and had the thumbs sticking out properly.
The final step was to build and attach the legs. I needed to move the legs around to get the finished build to stand.
Things I liked:
- I like that all his fists have thumbs, which is a small detail but really adds to the finished build
Things I didn’t like:
- I feel that the build is super simplistic compared to the newer builds