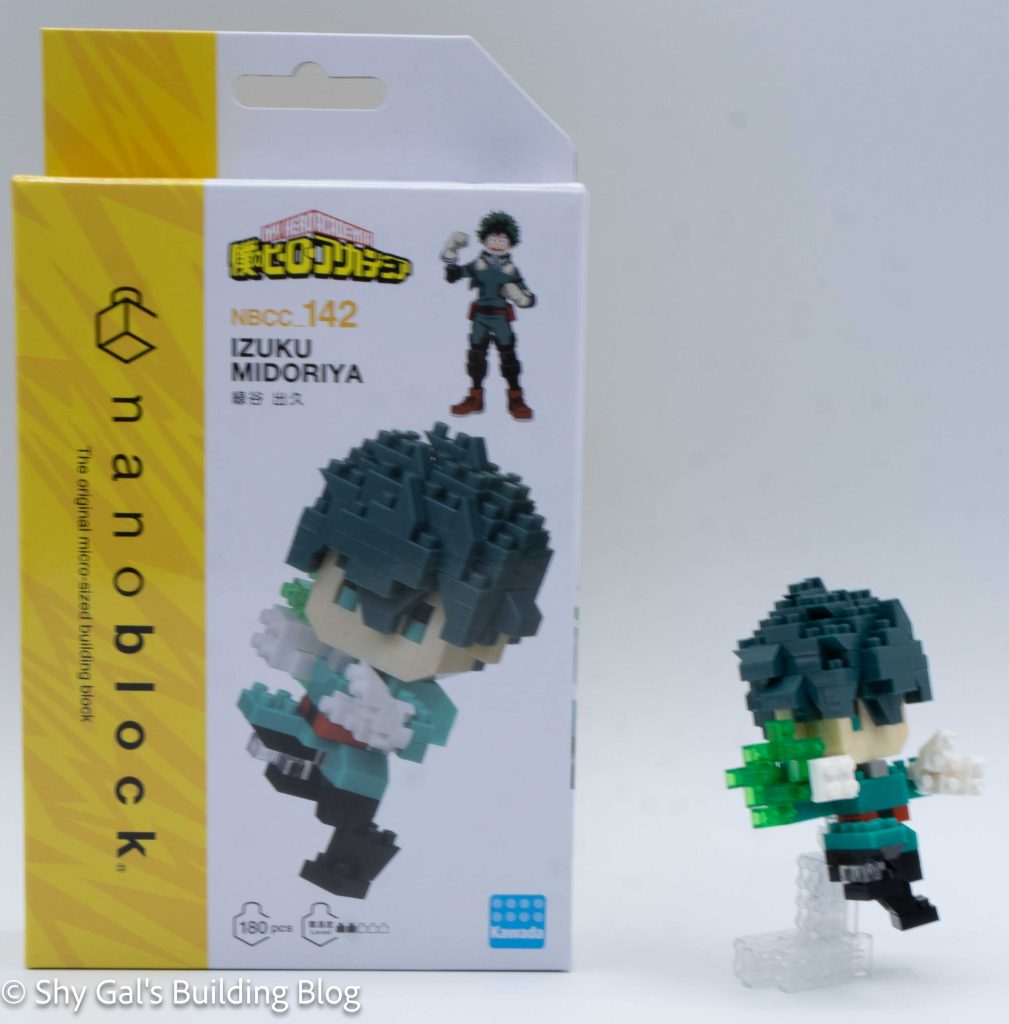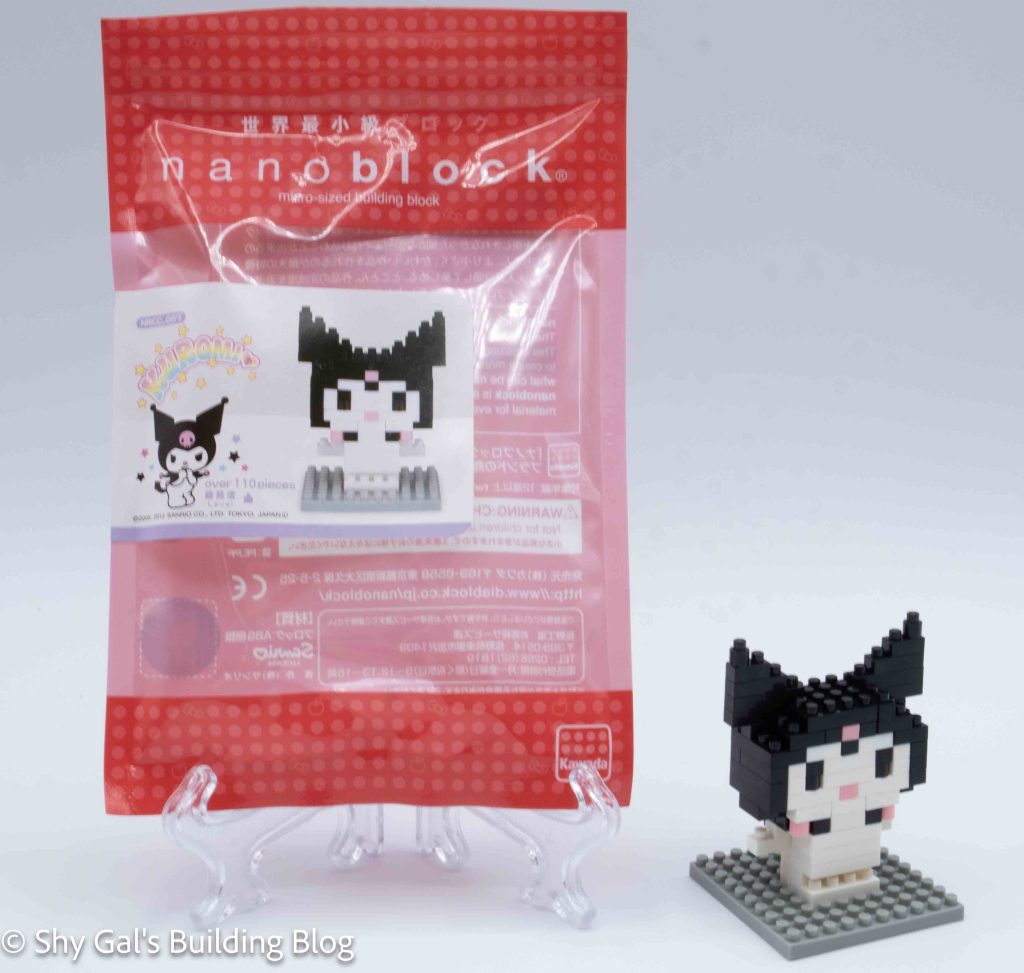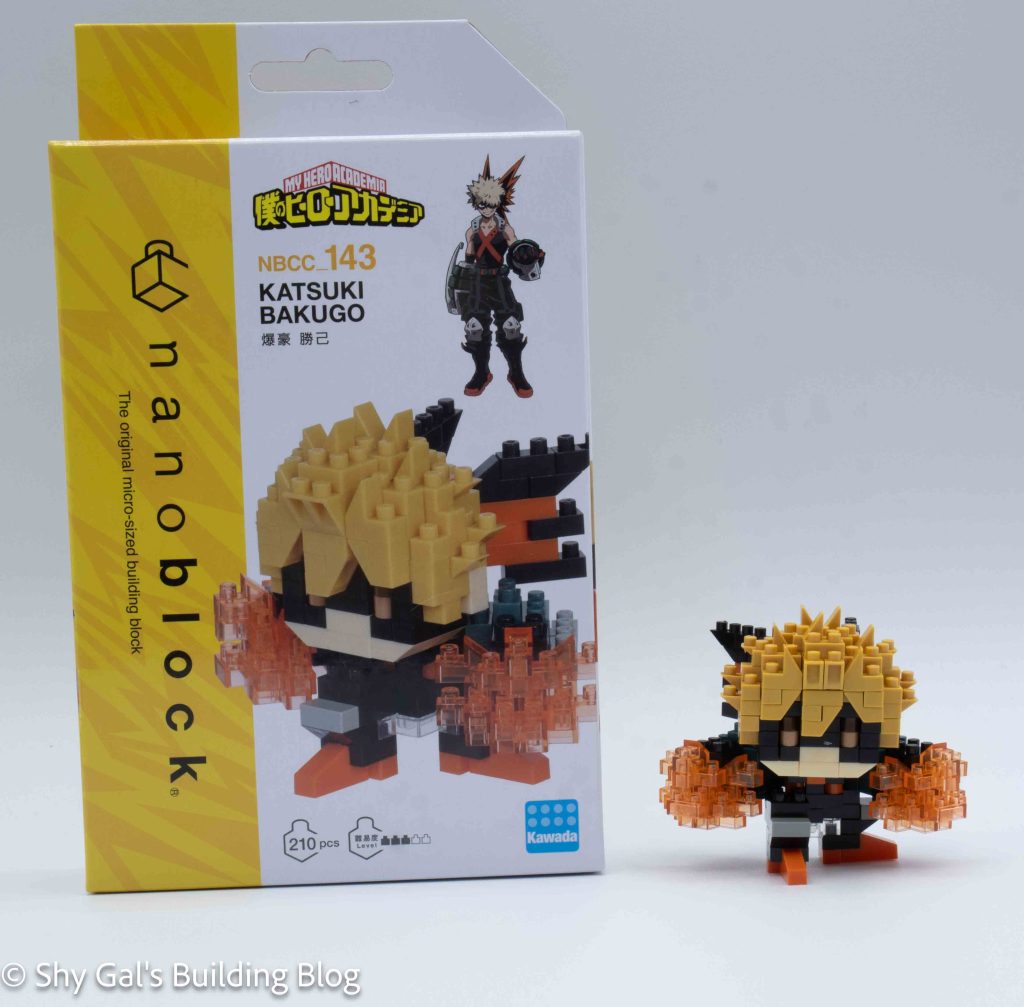
This post is a review of the nanoblock Katsuki Bakugo build. Katsuki Bakugo is part of the nanoblock Character collection. Wondering what else is part of the Character collection? Click here for a list.
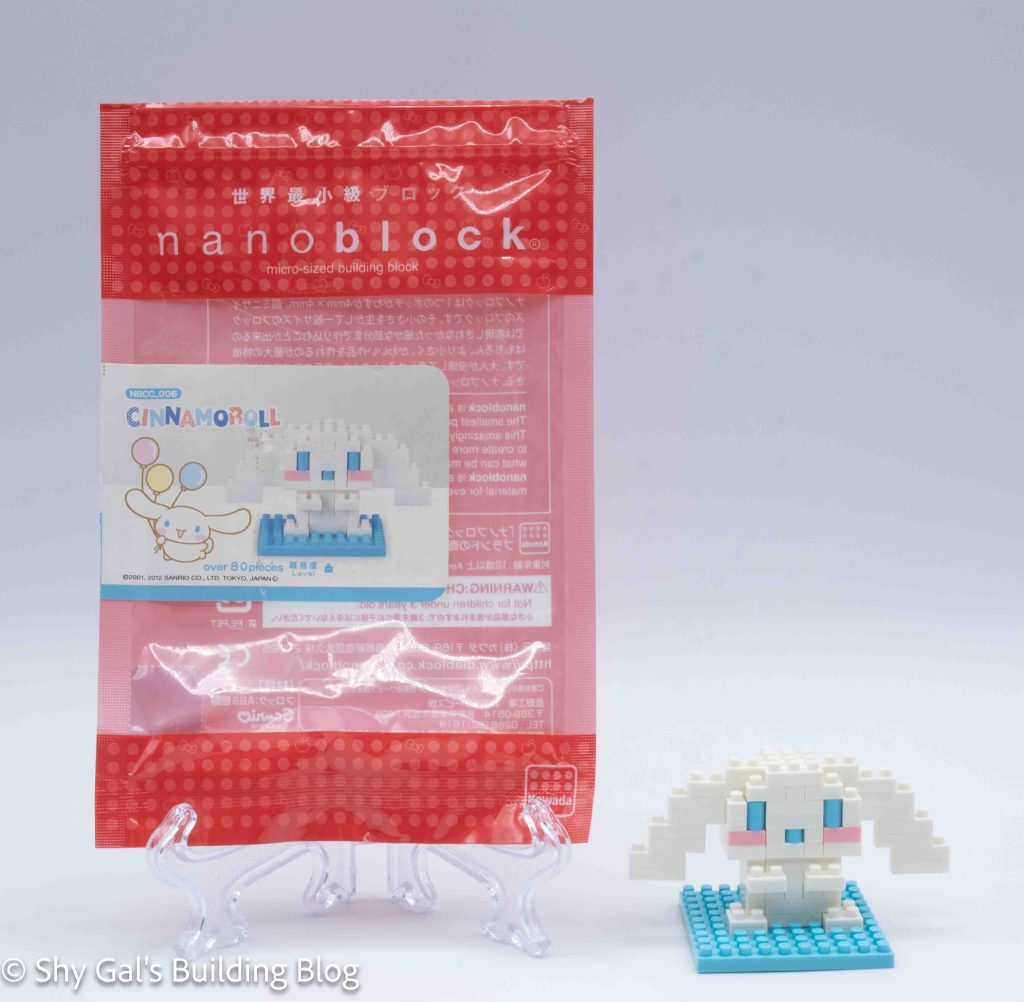
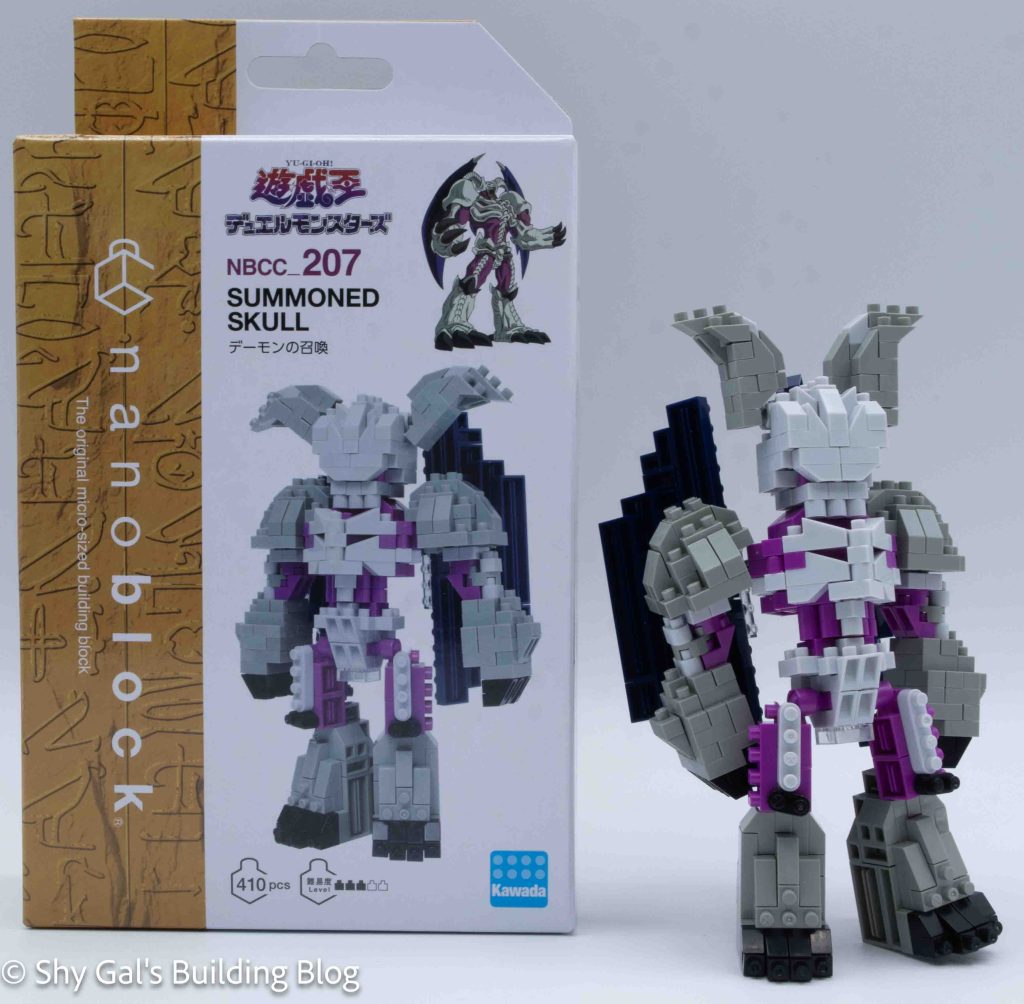
Number: NBCC_143
Number of Pieces: 210
Difficulty Rating: 3/5

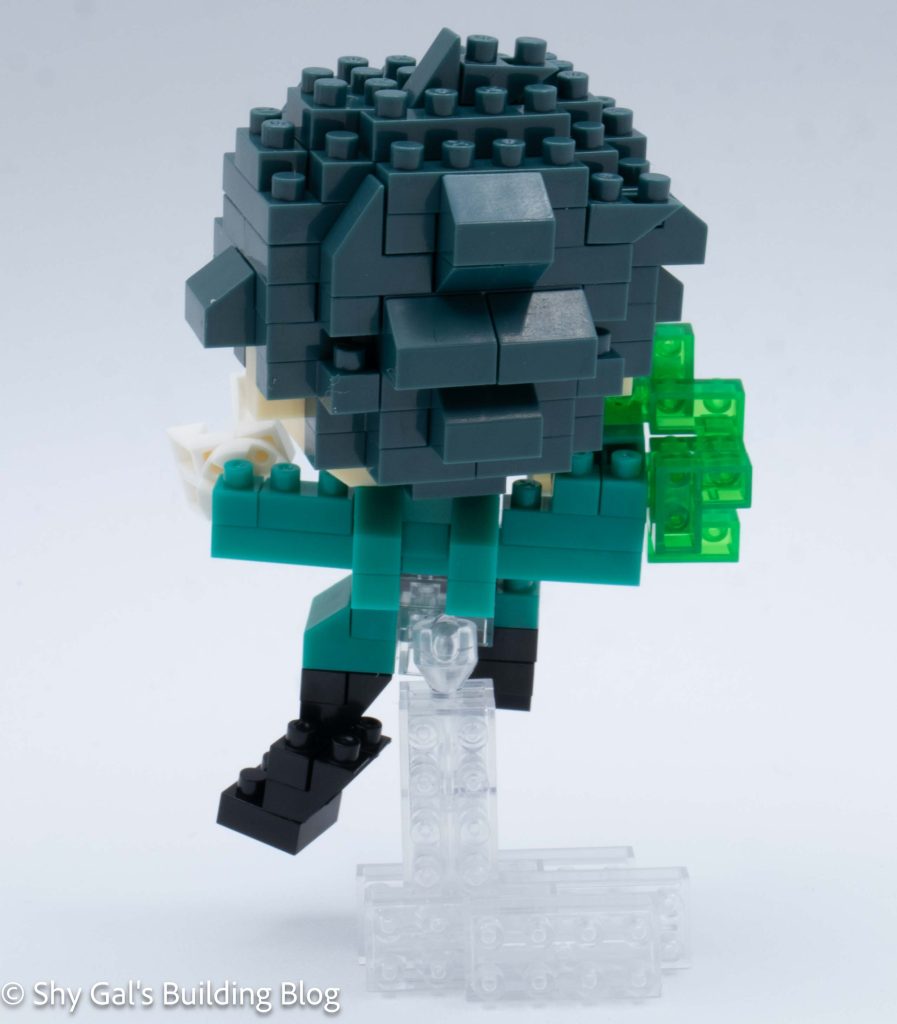
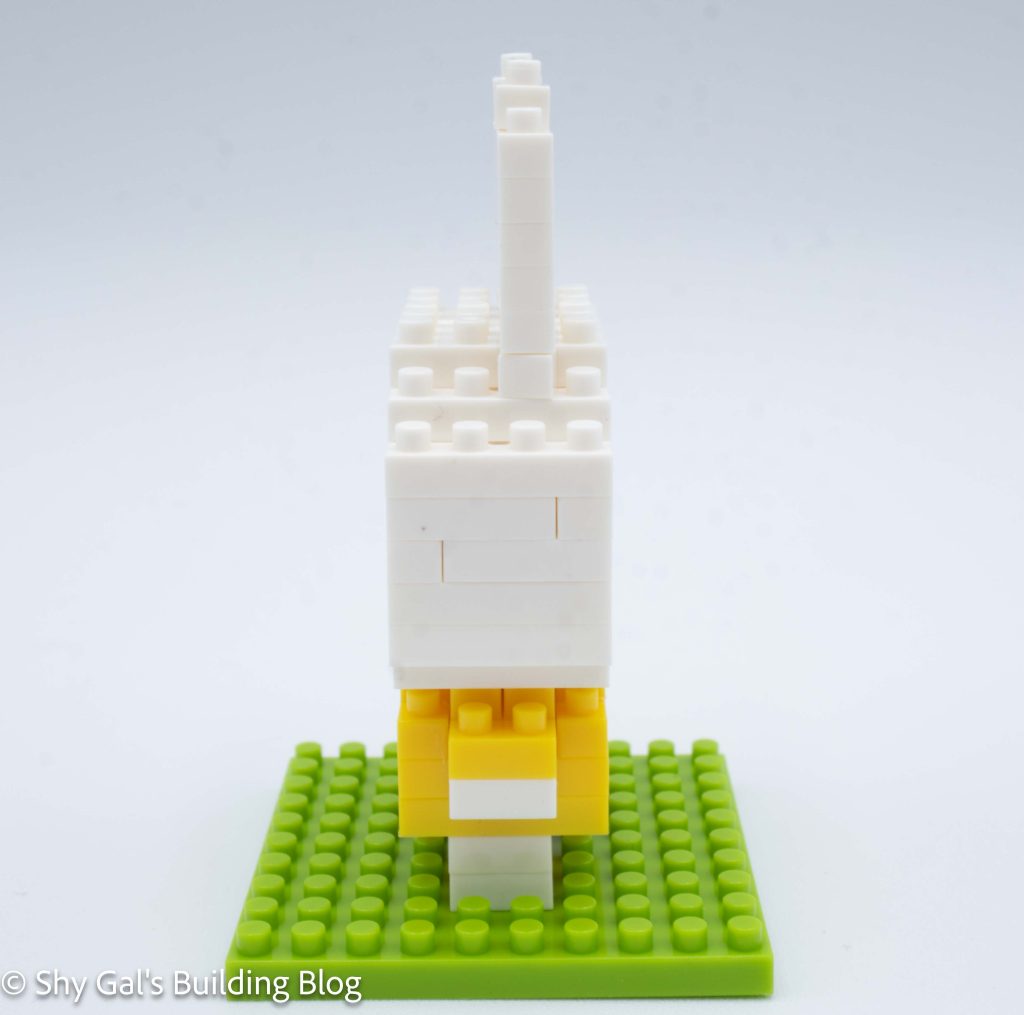
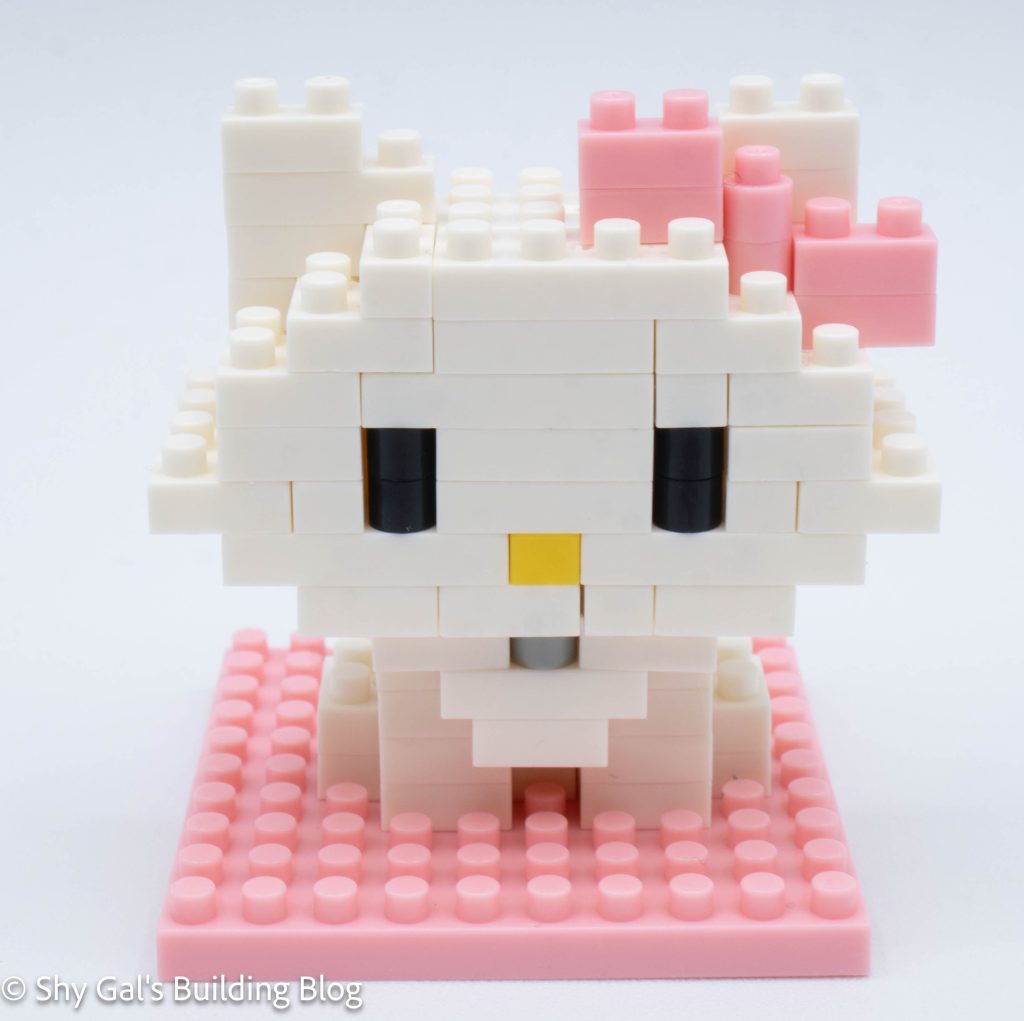
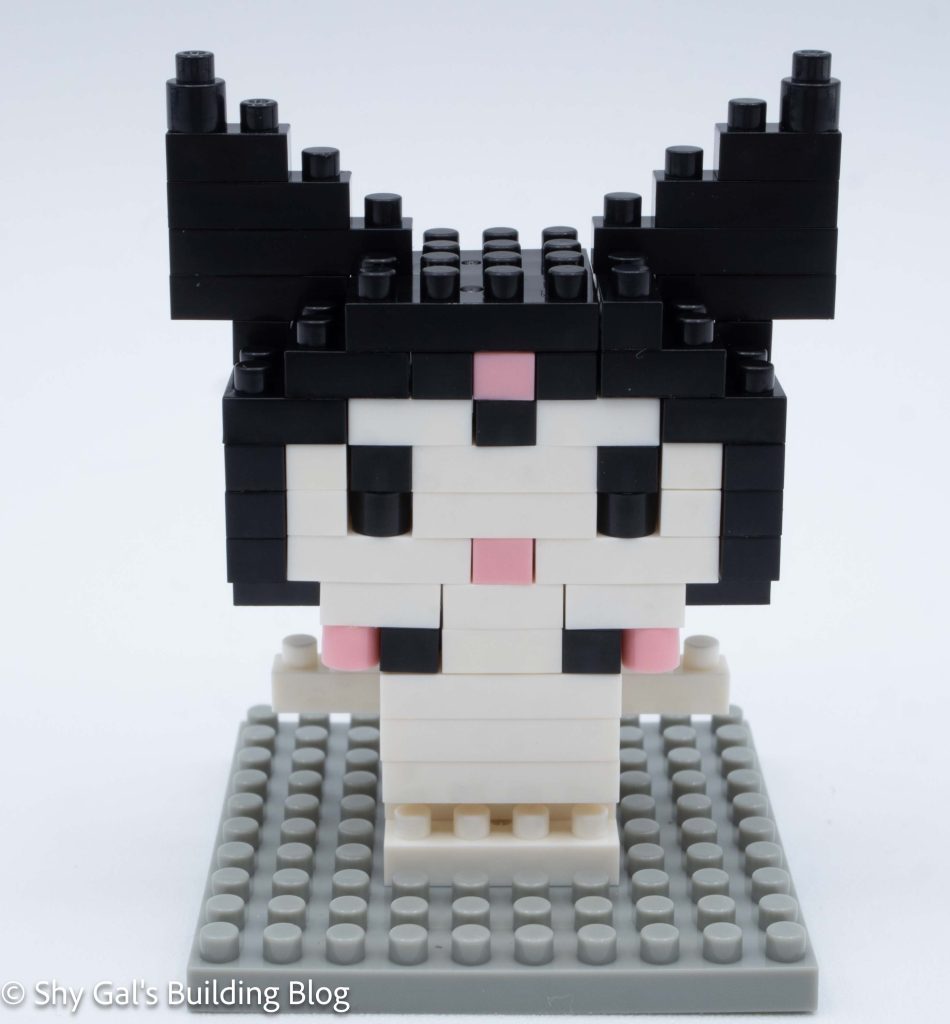
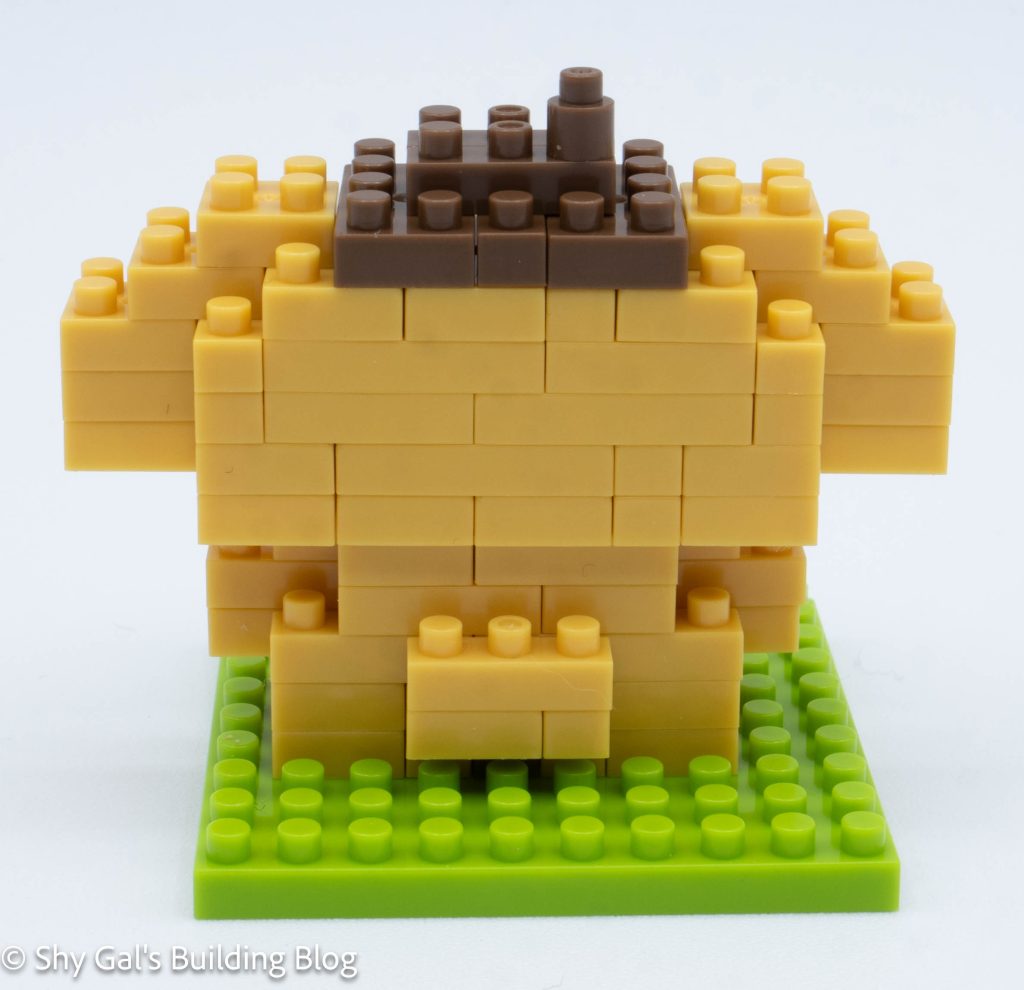
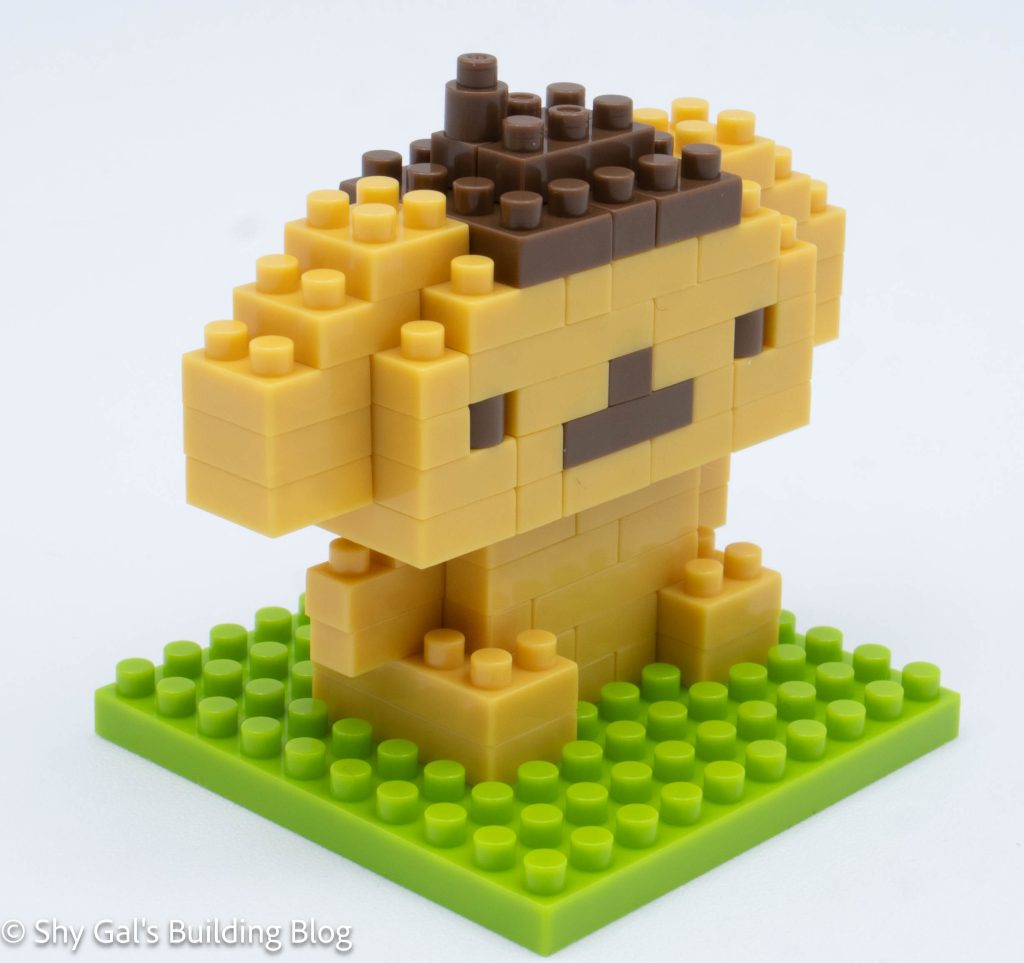
The build begins with the head. It begins by taking 2 steps to create the foundation of the head.
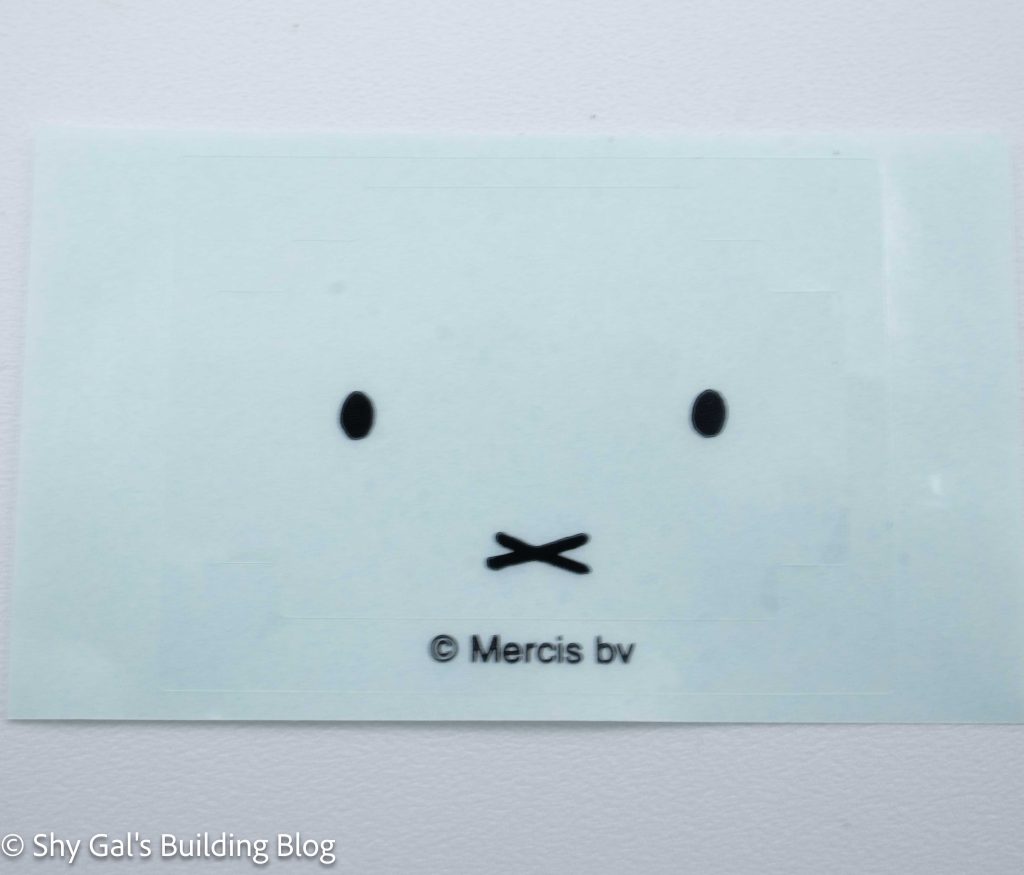
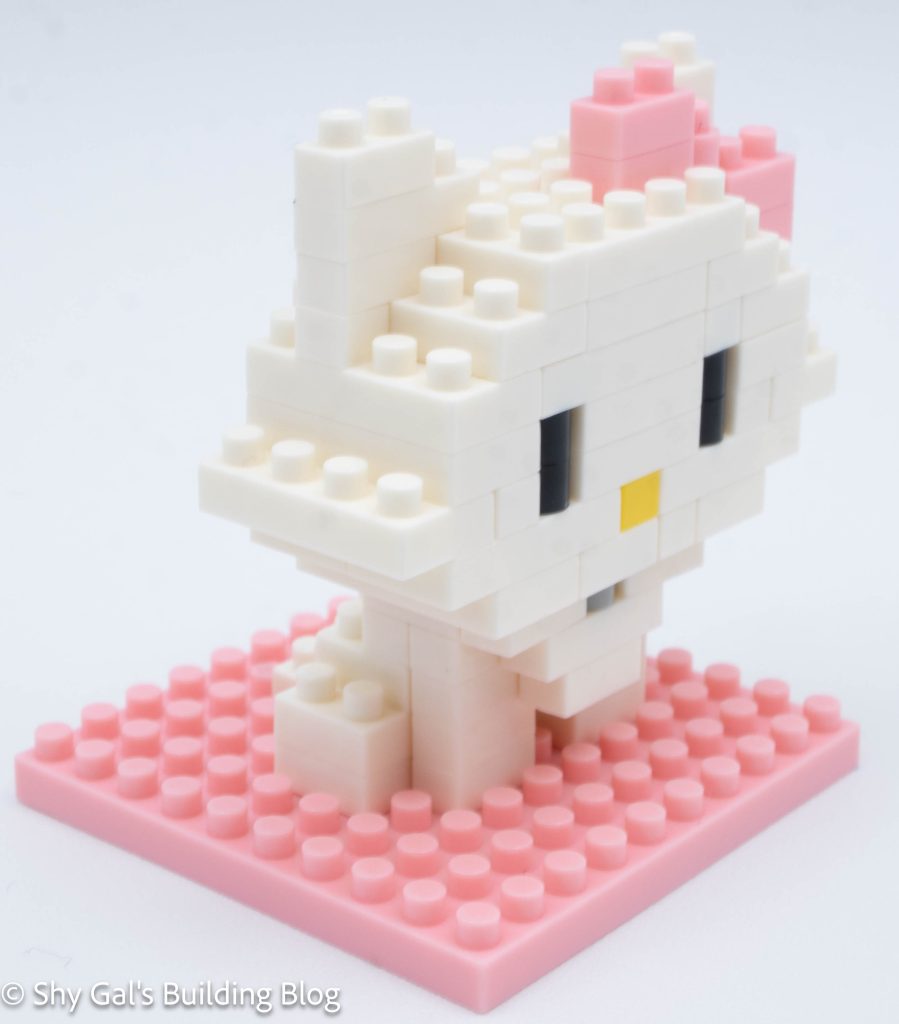
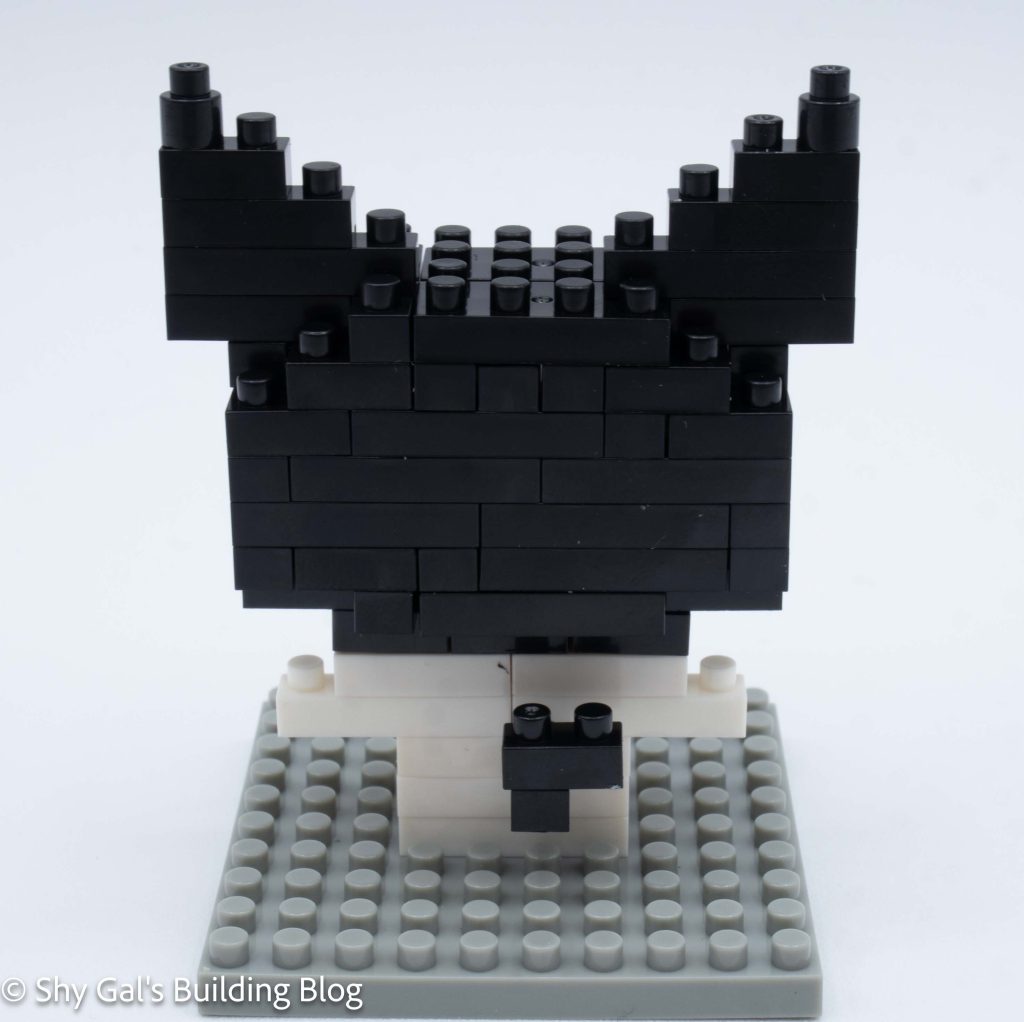
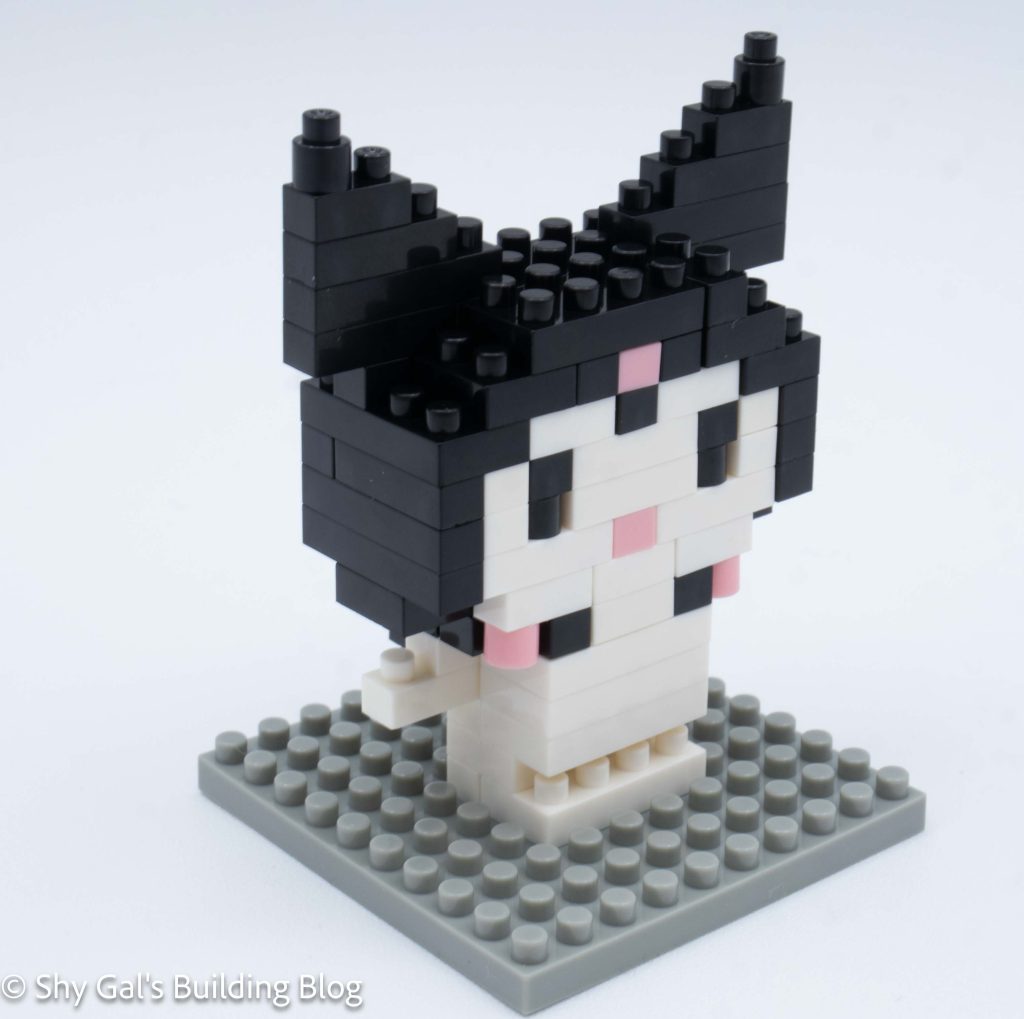
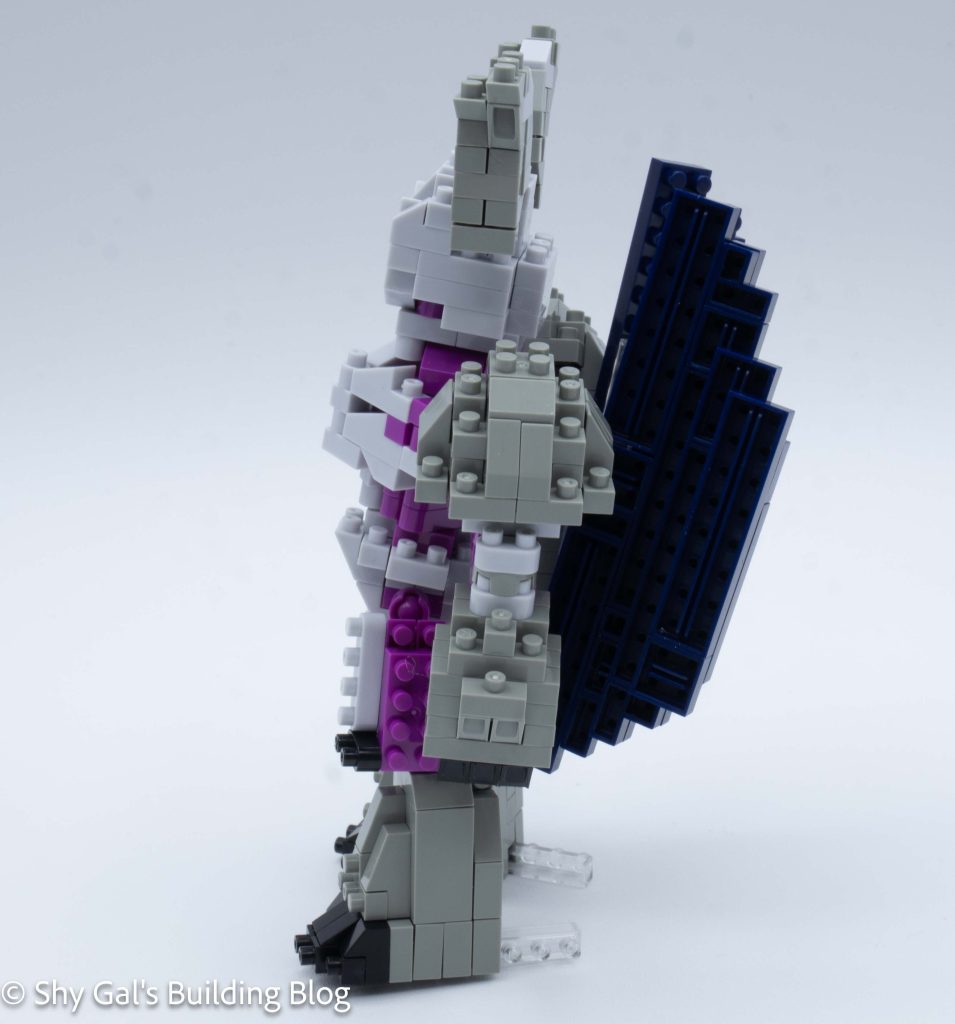
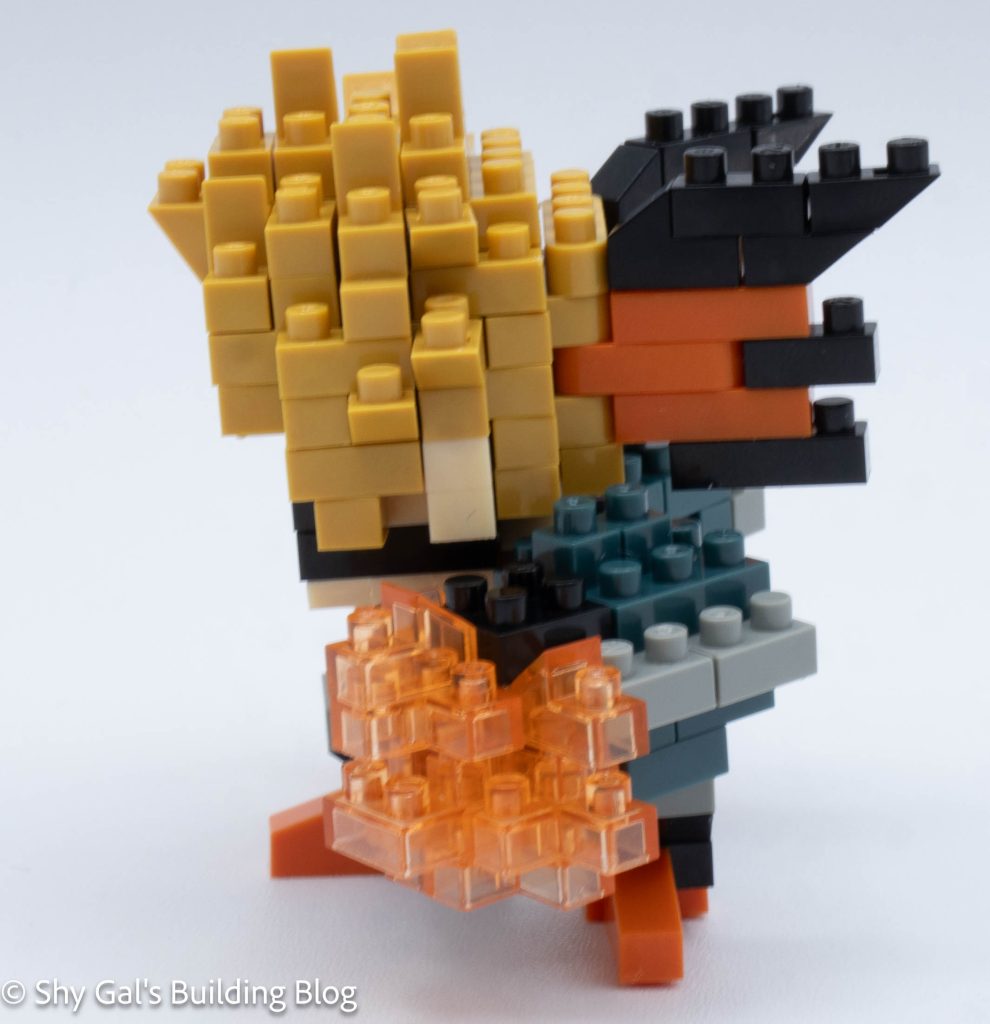
The head goes up in layers, adding the eyes, ears, and mask. In addition, I added the wings on the back of the mask.
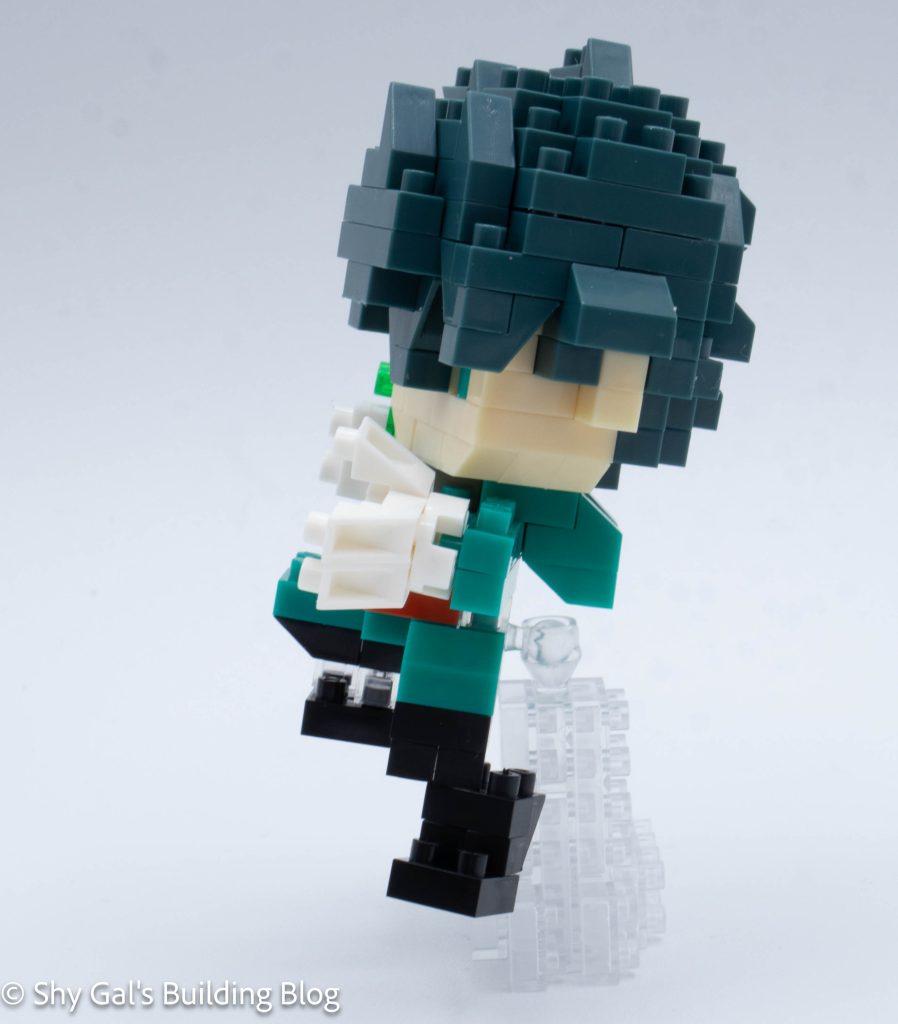
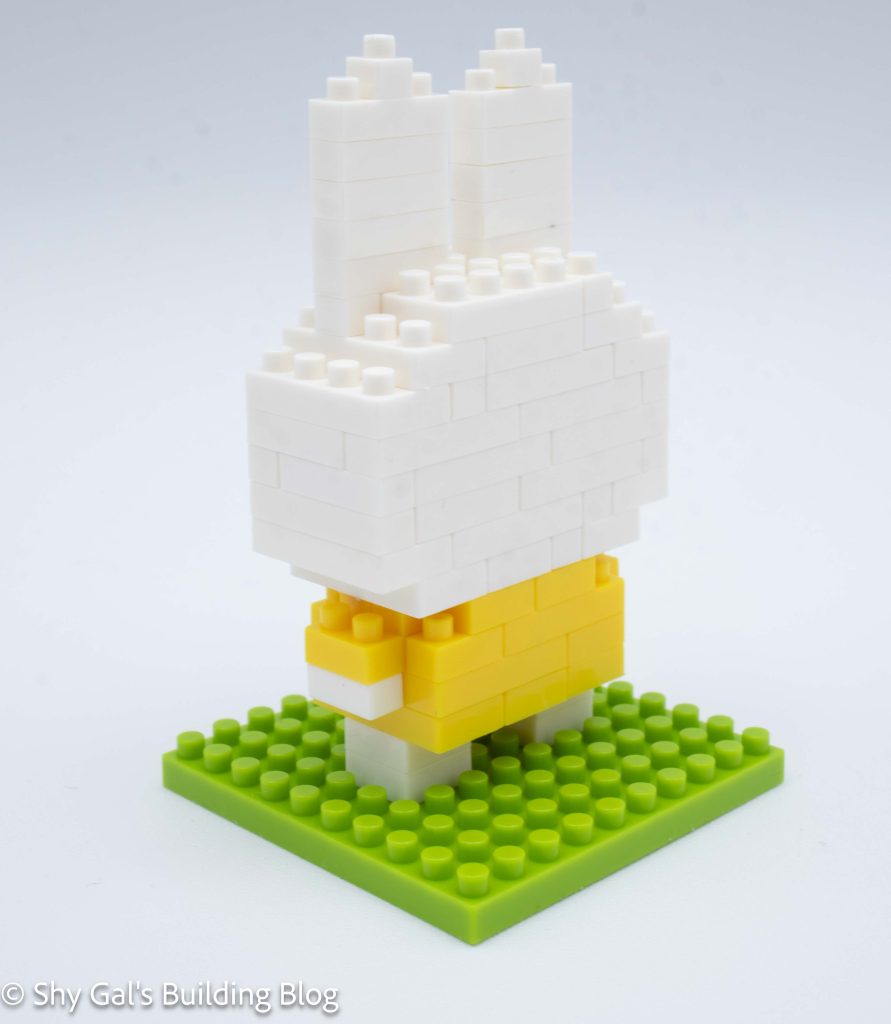
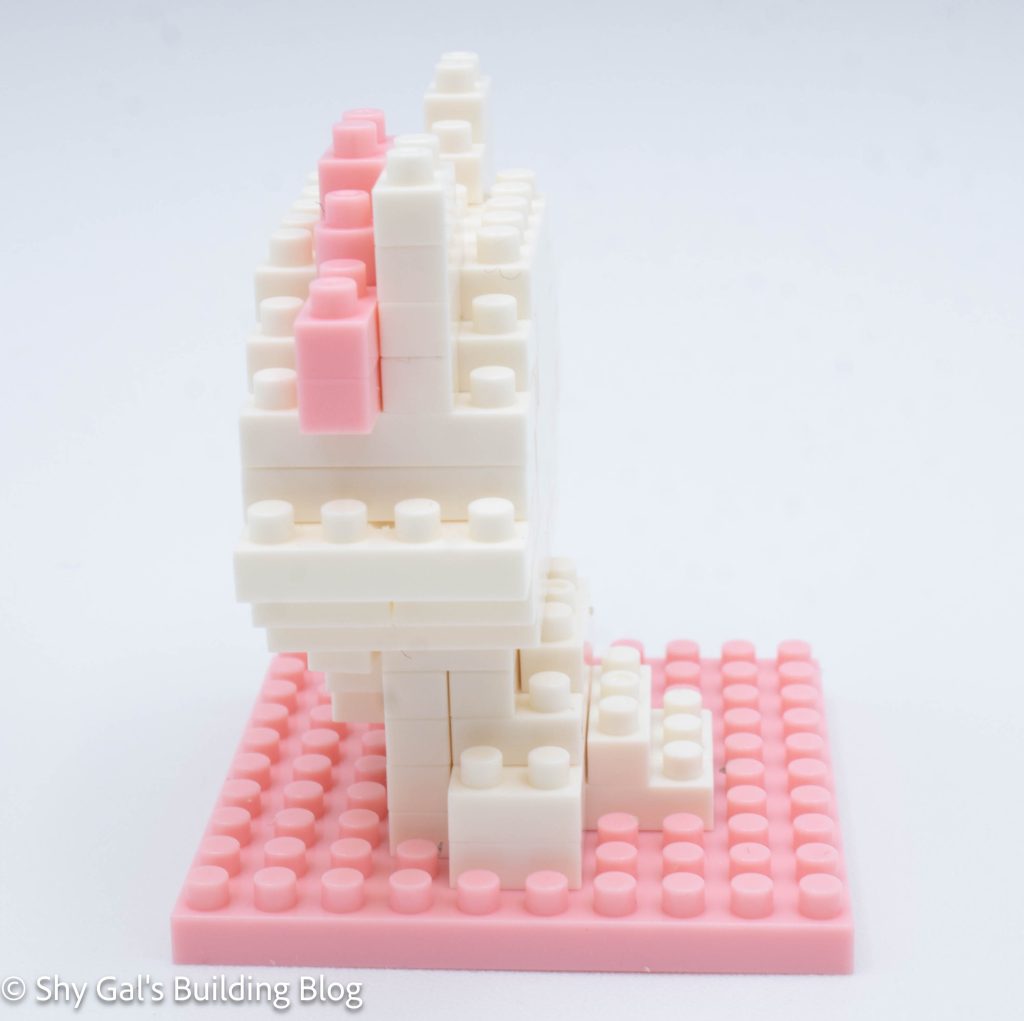
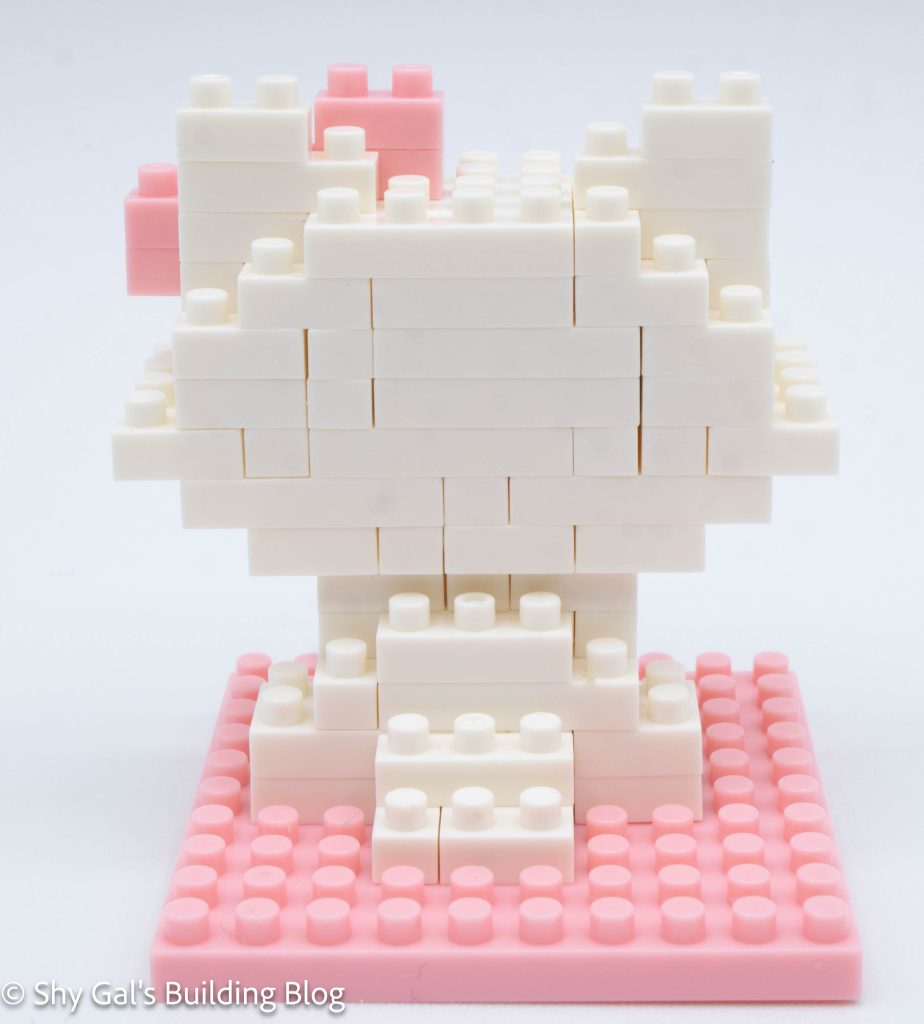
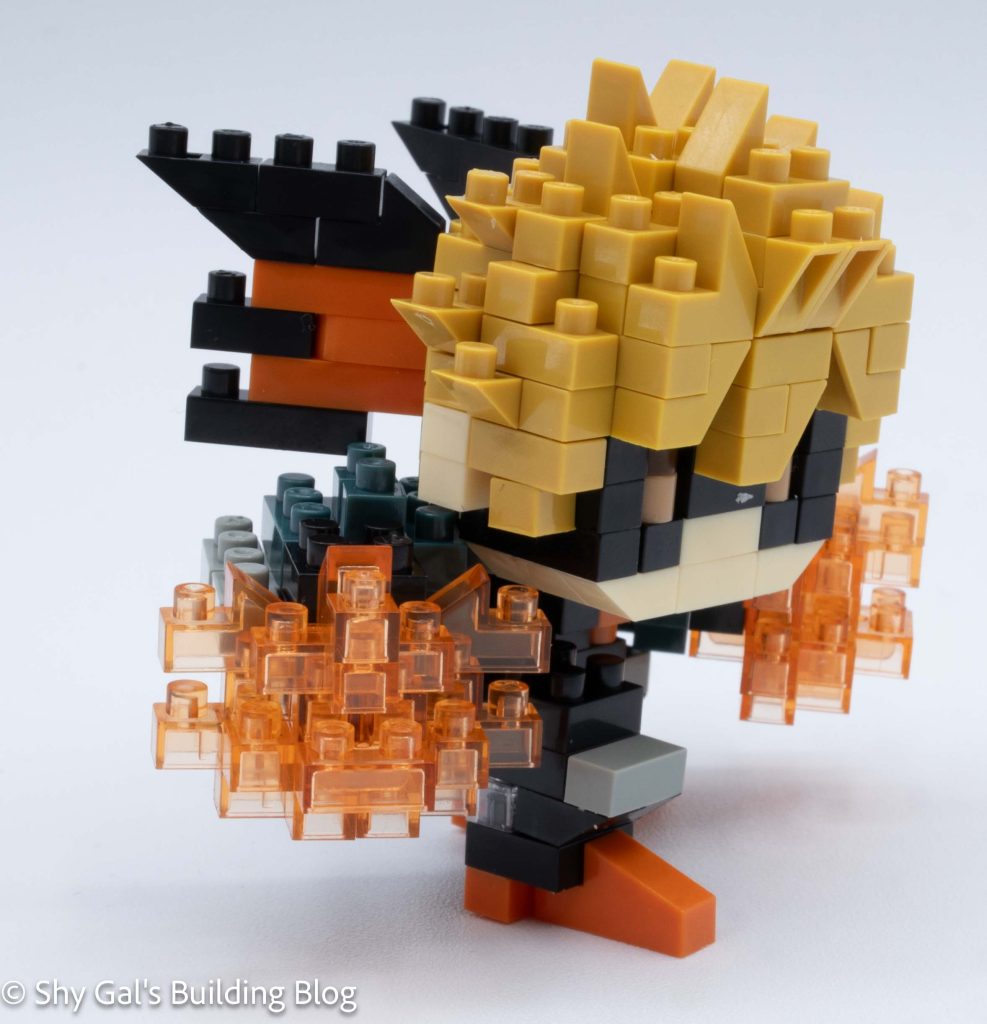
From there, I closed up the head with a layer of hair and continued to build up the hair.
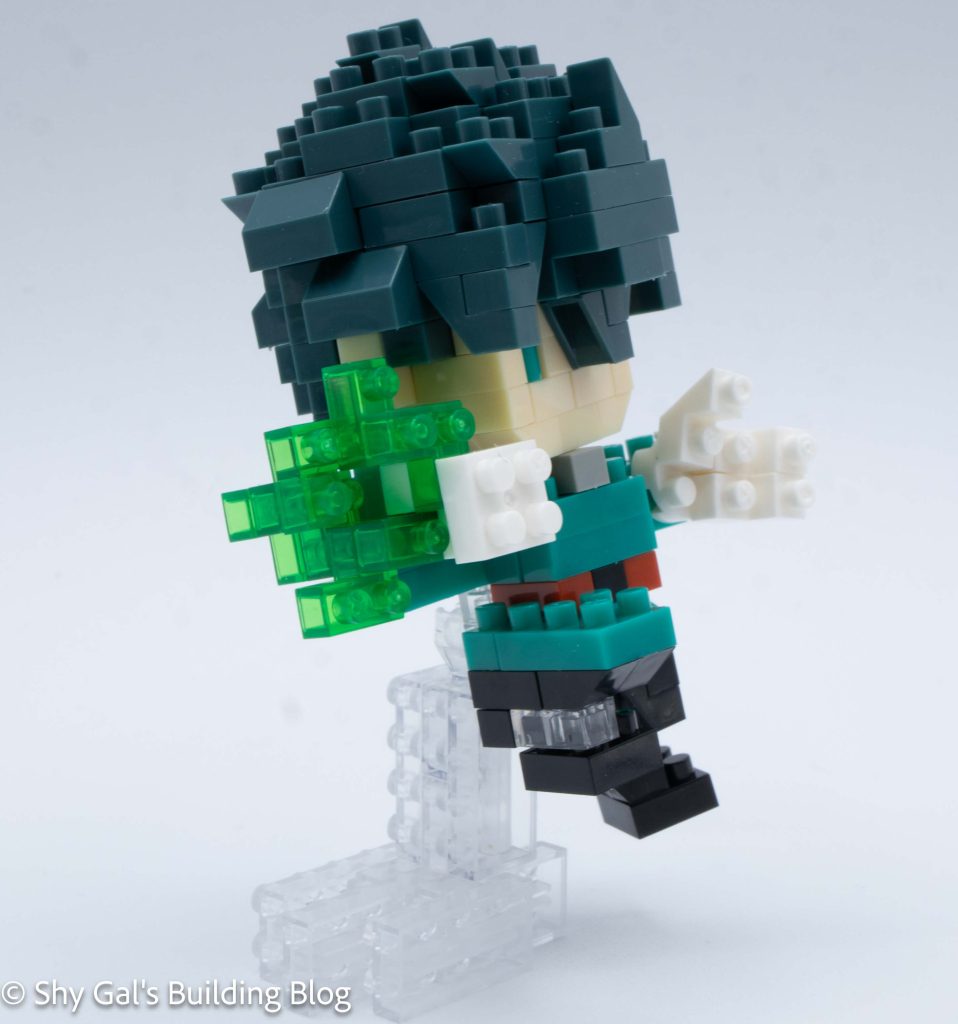
Next, I started to work on the body. This was a bit tricky because the green on the printed instructions looked black, so I wasn’t sure when to use which color.
Next, I built both of the hands. Connecting them to the body was a bit difficult because the fit was so tight.
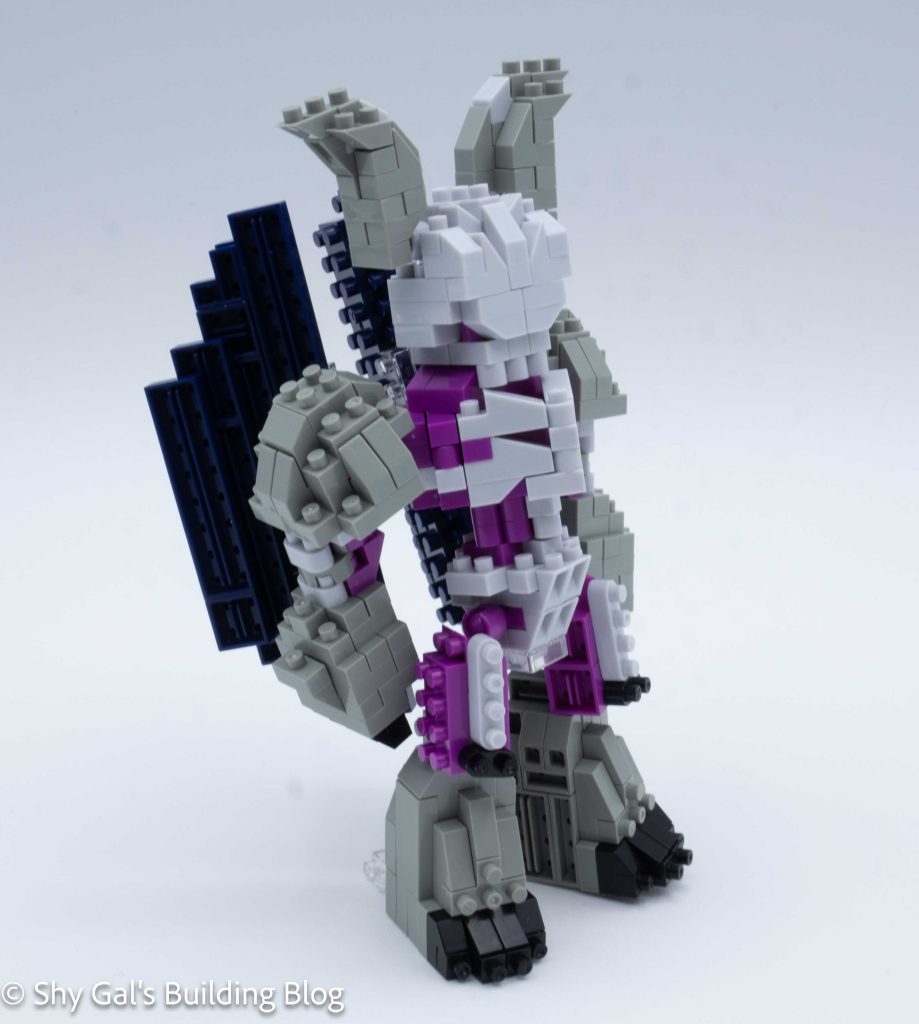
Then I connected the head to the body.
Then I built the feet and connected them.
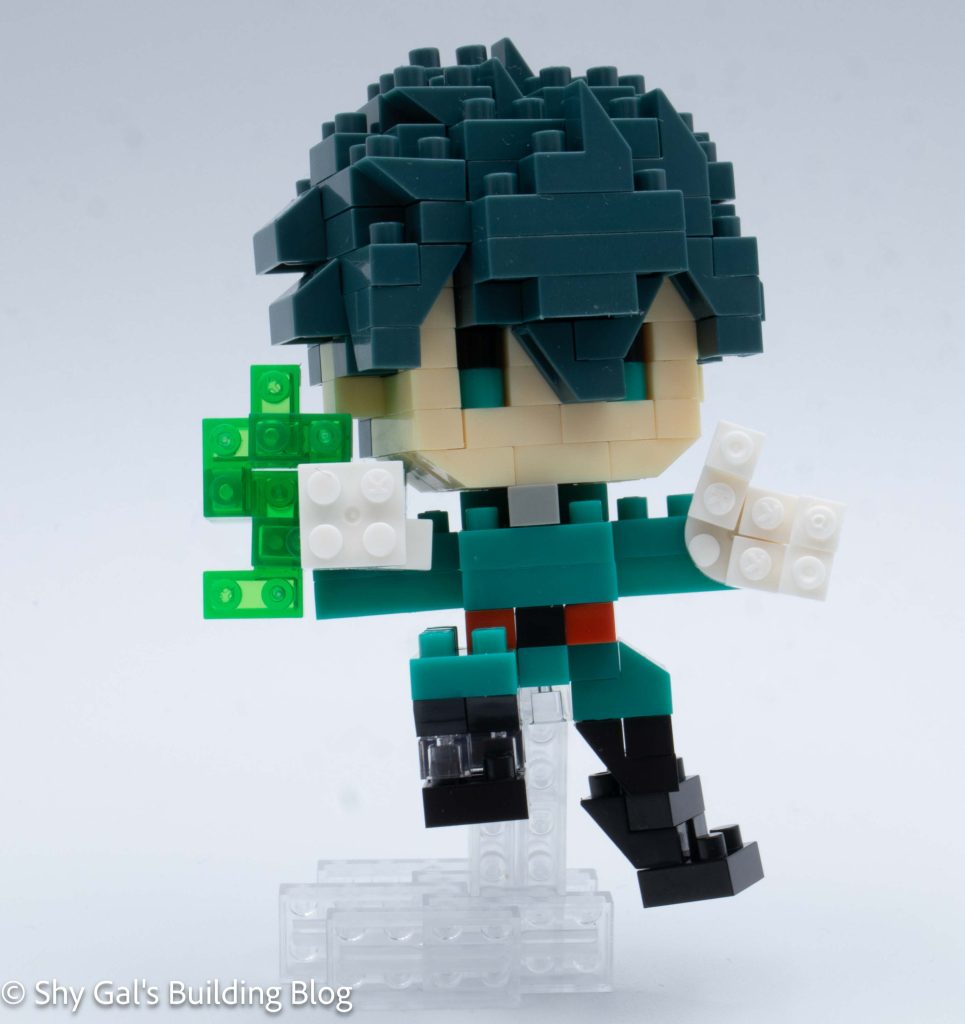
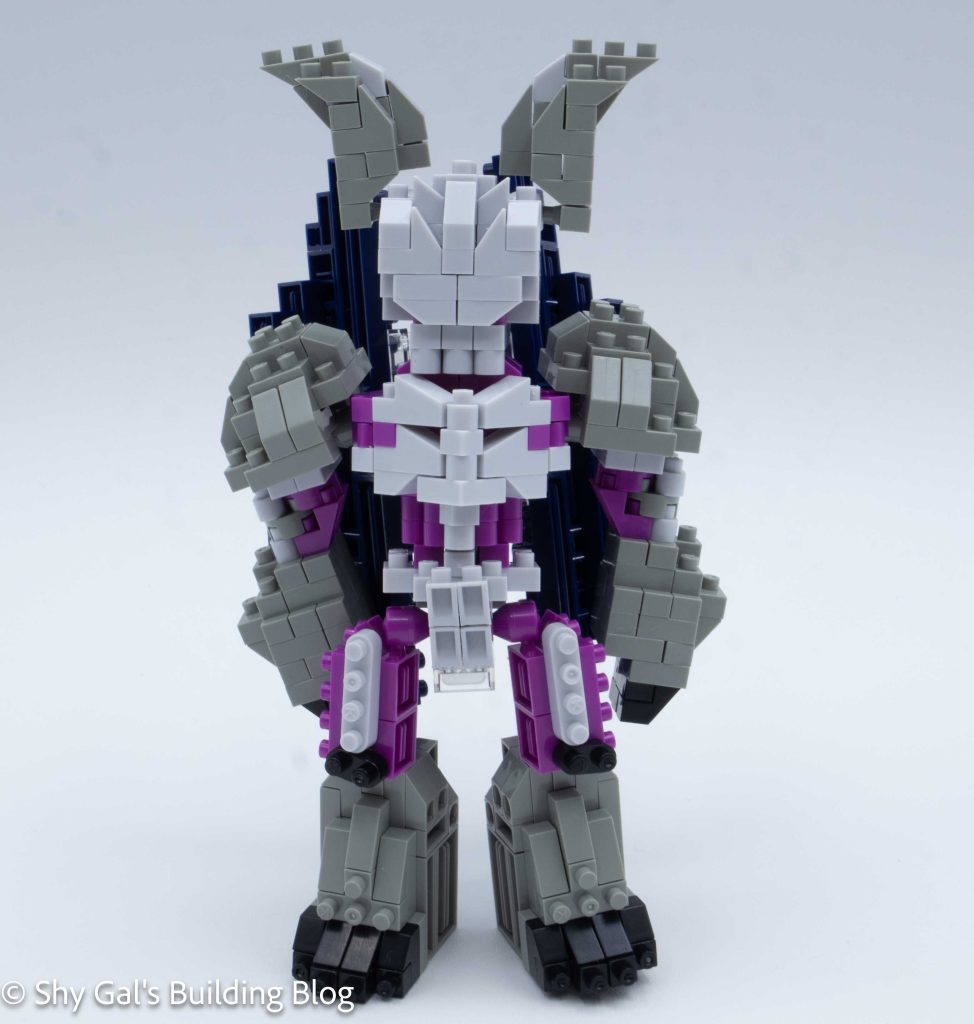
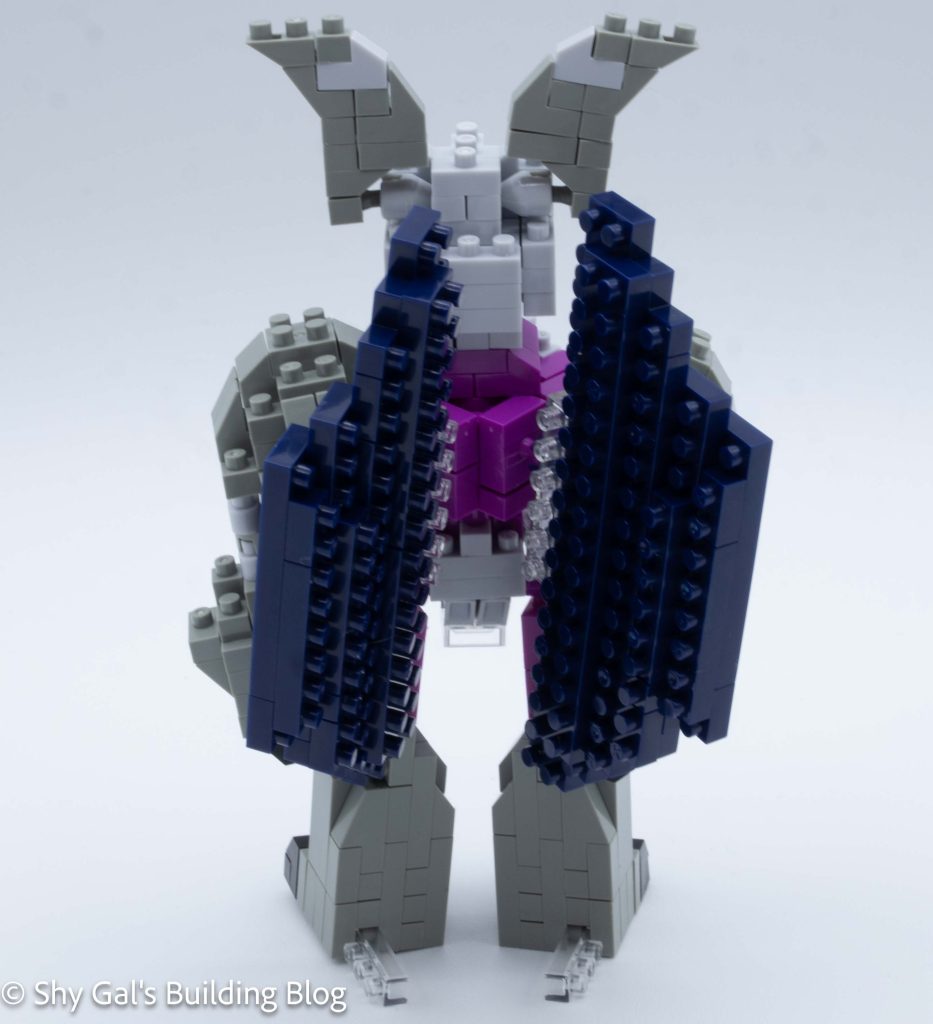
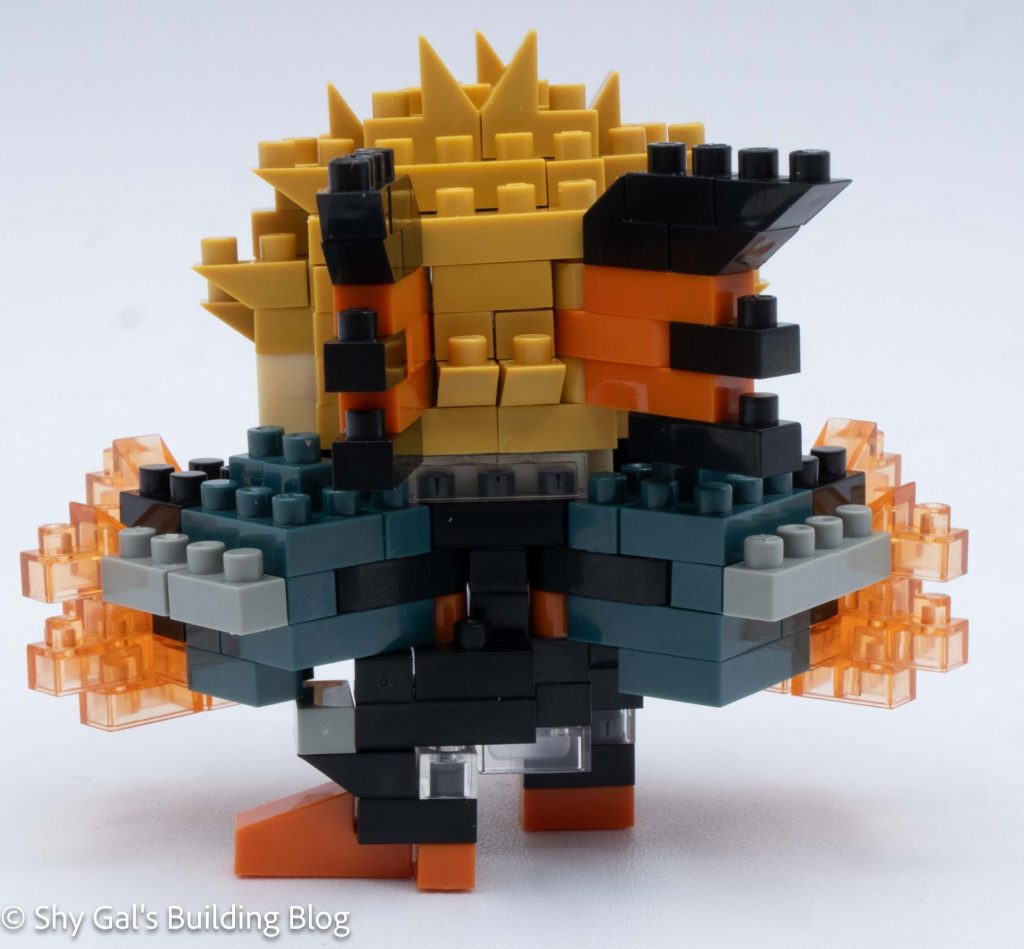
The last step was to build the powers coming off his hands and to attach them to the build. I like that they incorporated the move, and it allows for it to feel like there is action in the build.
Things I liked:
- I like that they included his powers in the build
Things I didn’t like:
- I wish the printed colors on the instructions more closely matched the actual brick colors