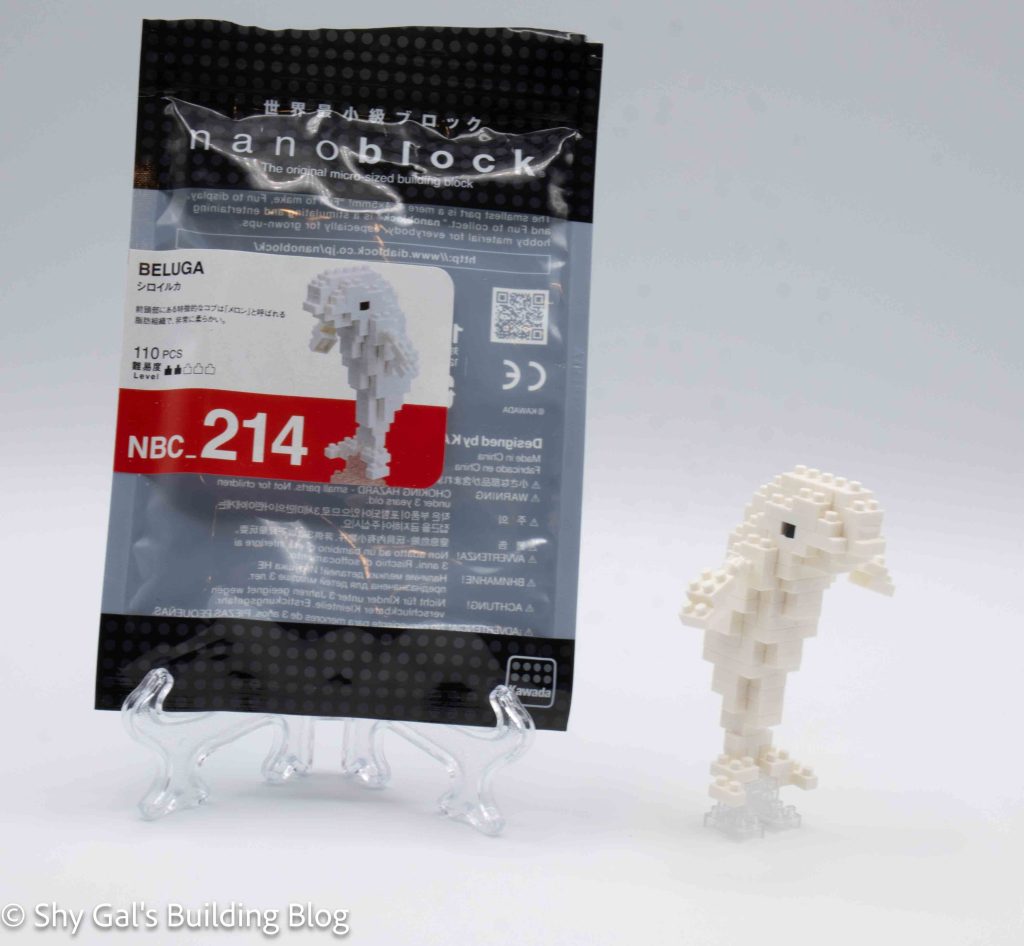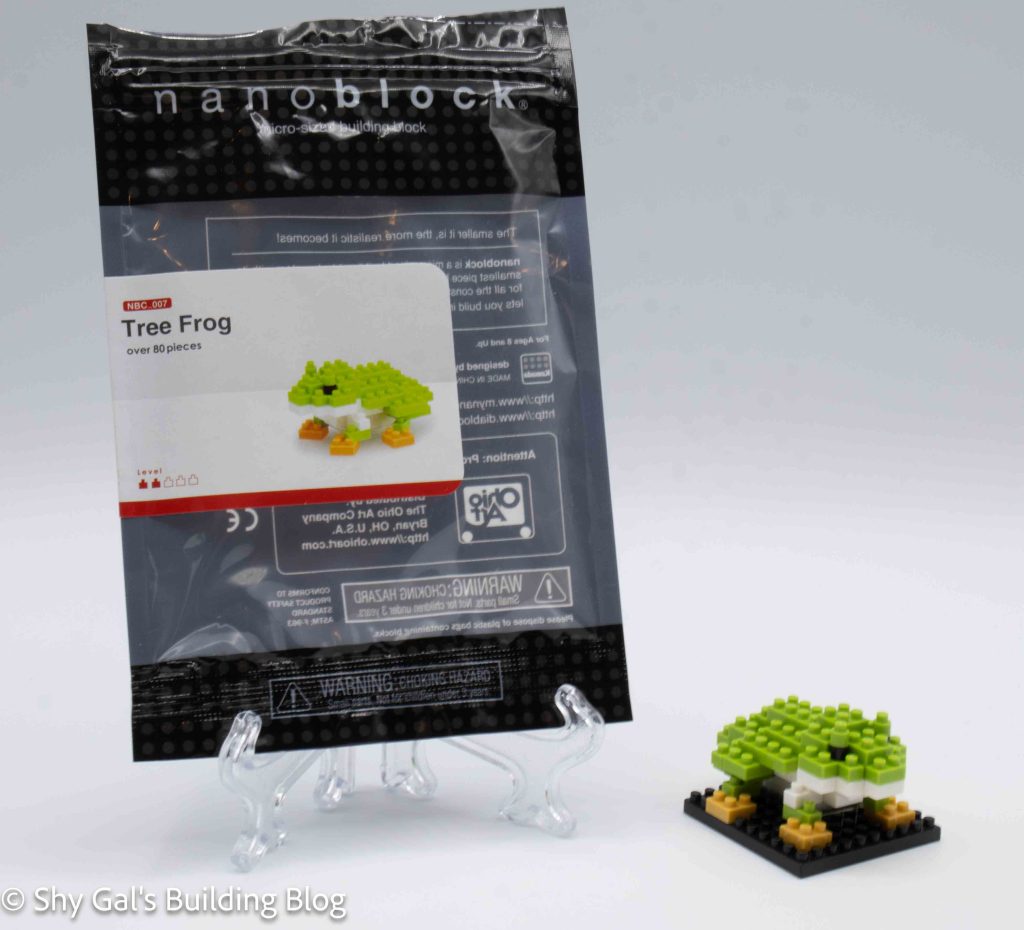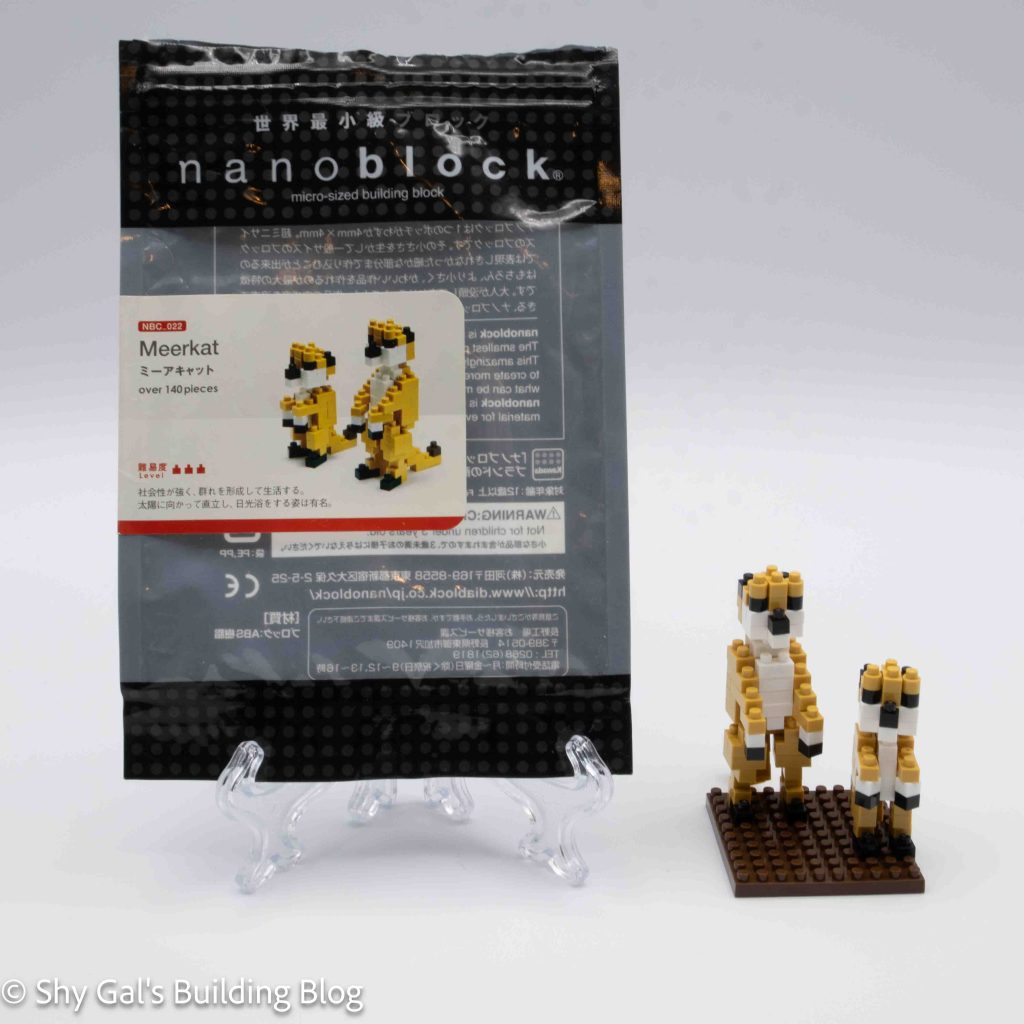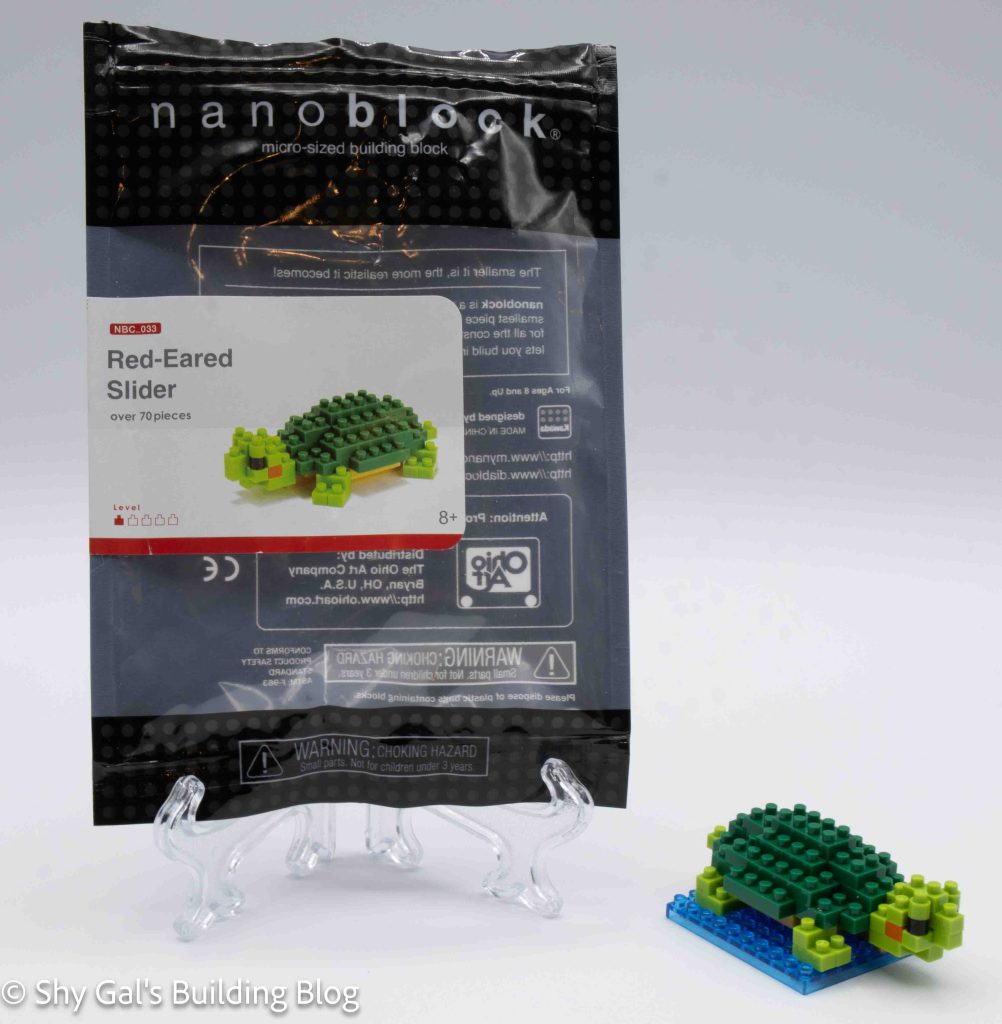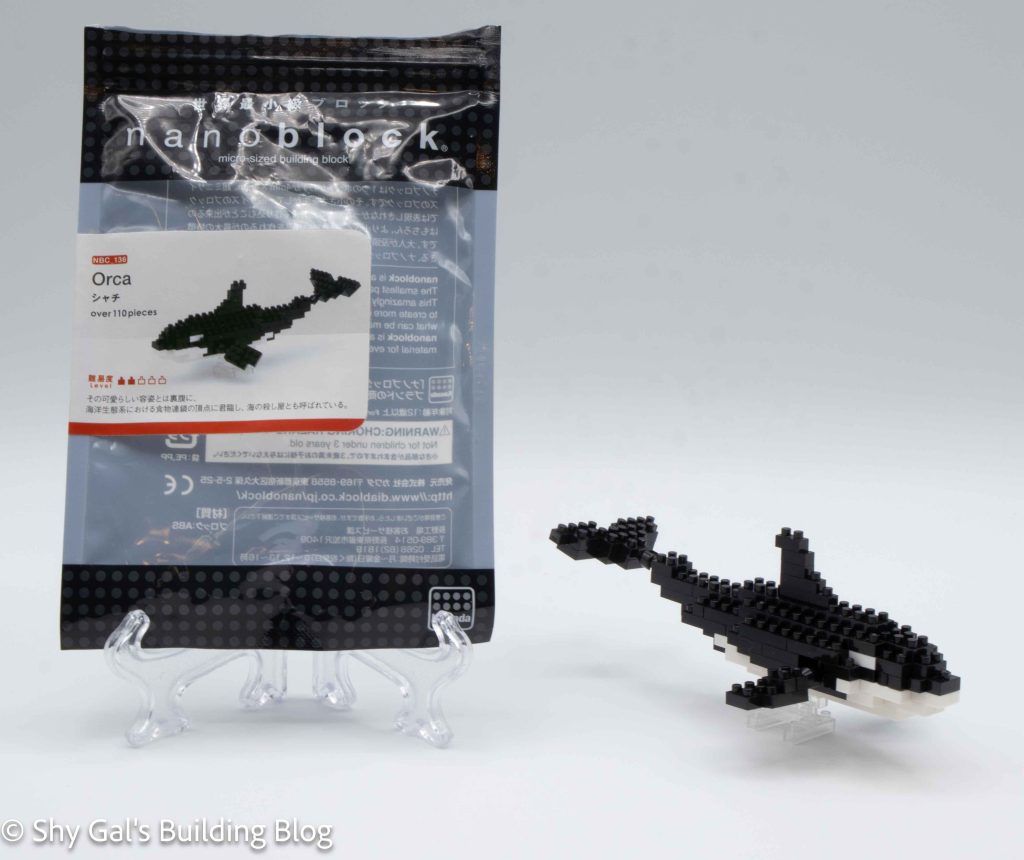
This post is a review of the nanoblock Orca build. Orca is part of the nanoblock Mini Collection series. Wondering what else is part of the Mini Collection? Click here for a list.
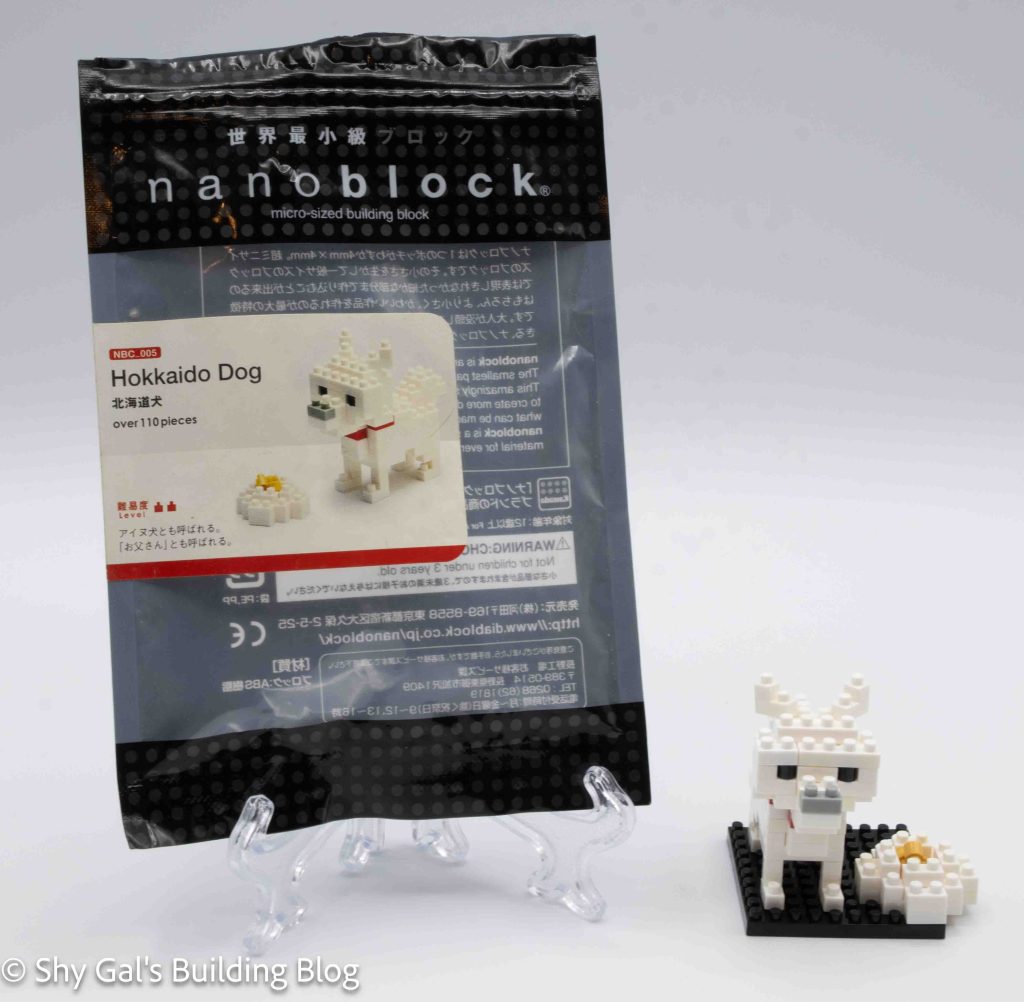
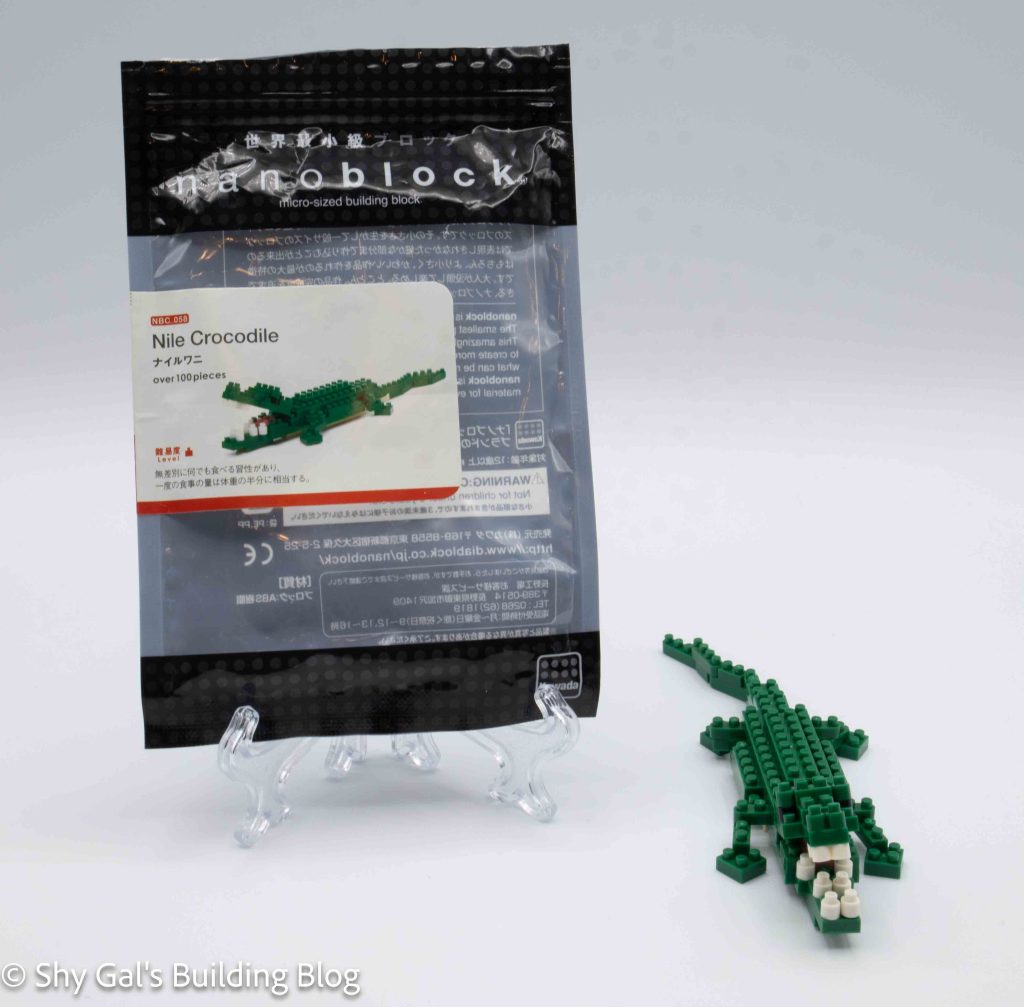
Number: NBC_136
Number of Pieces: 110
Difficulty Rating: 2/5
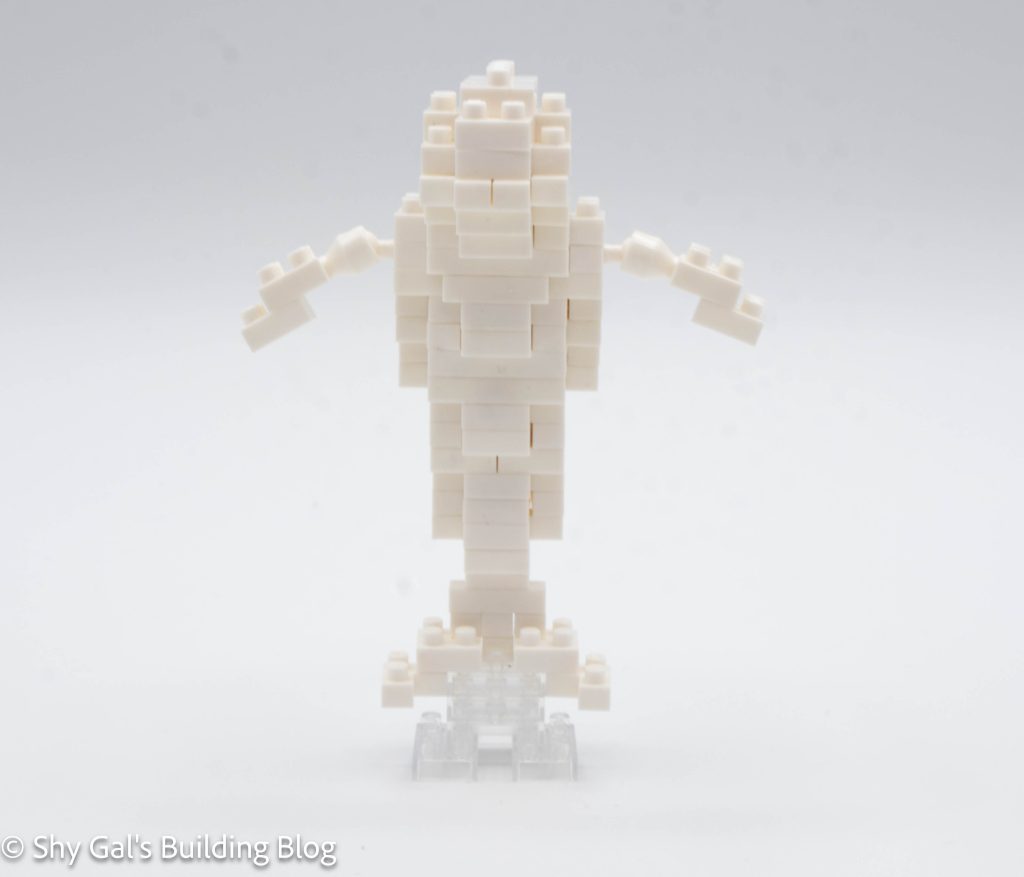
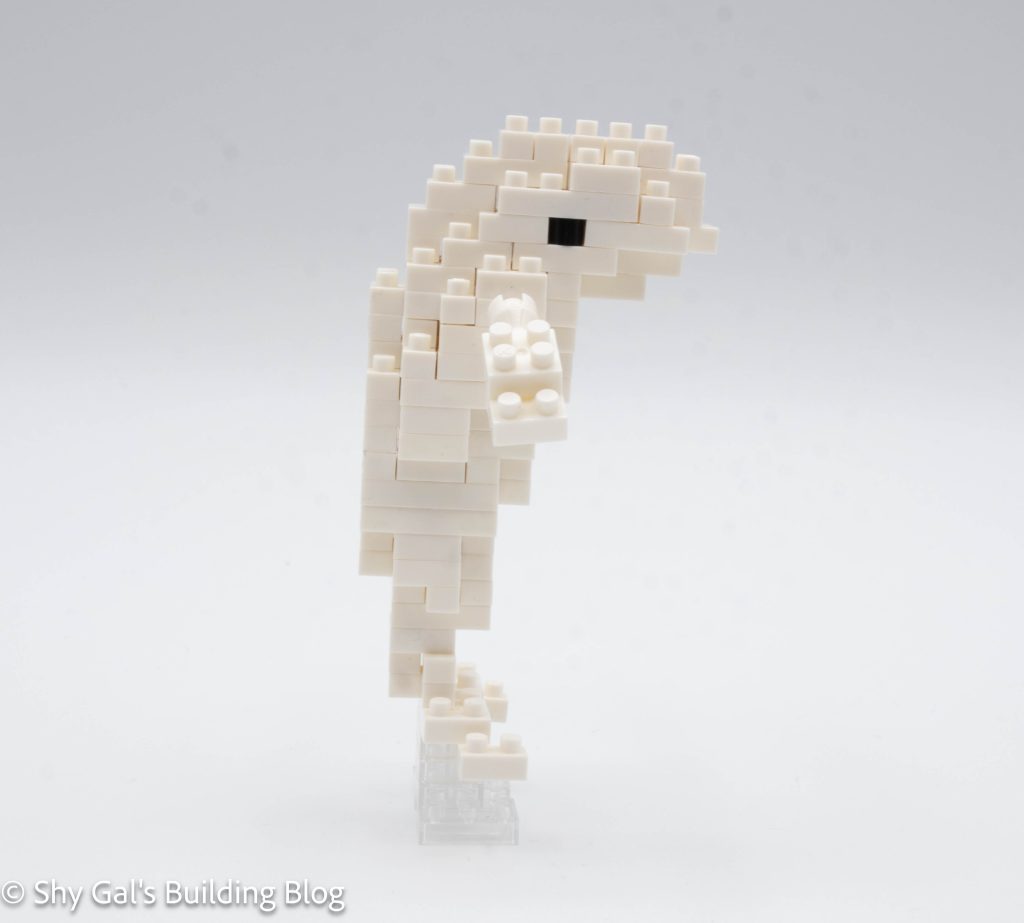
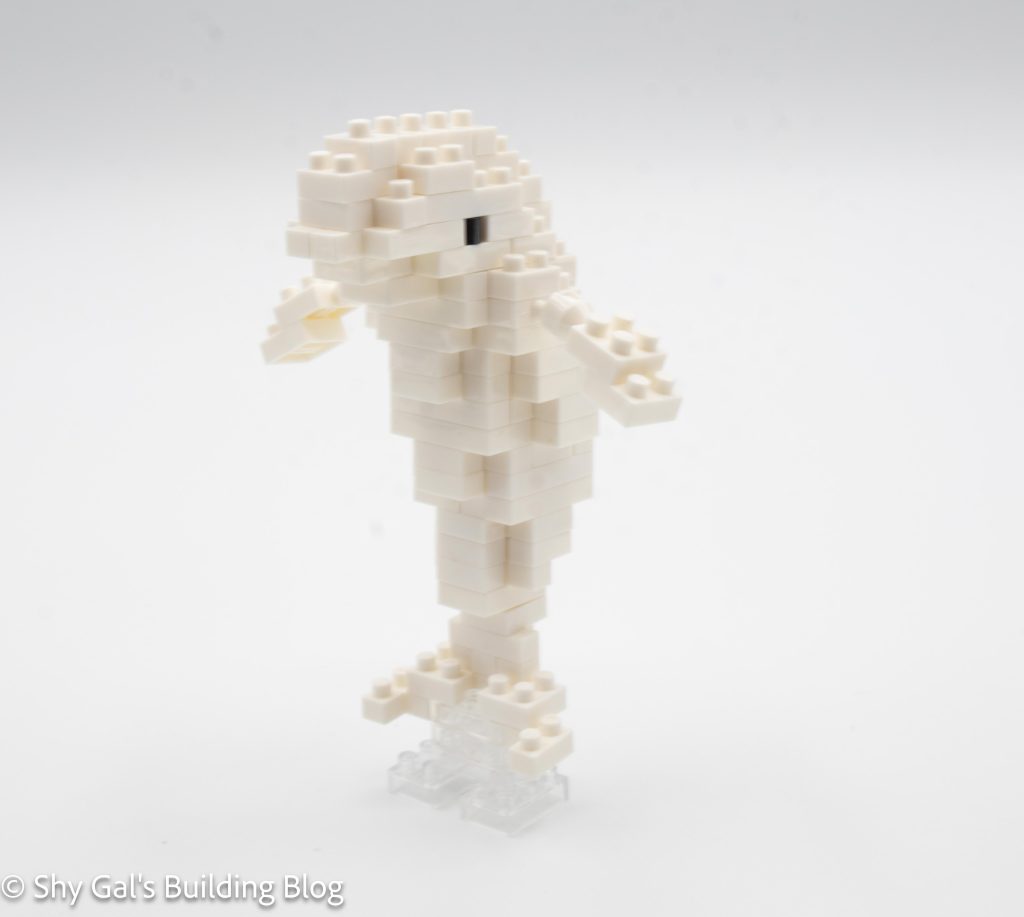
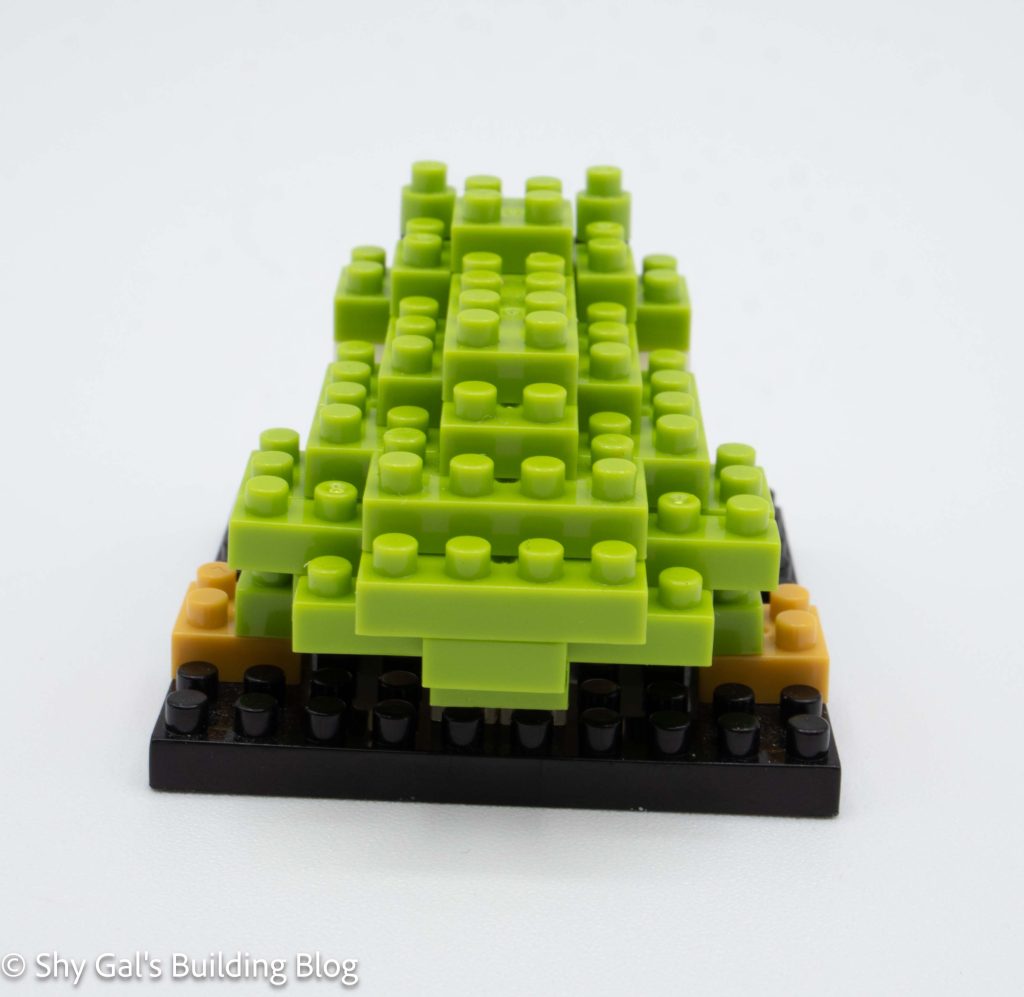
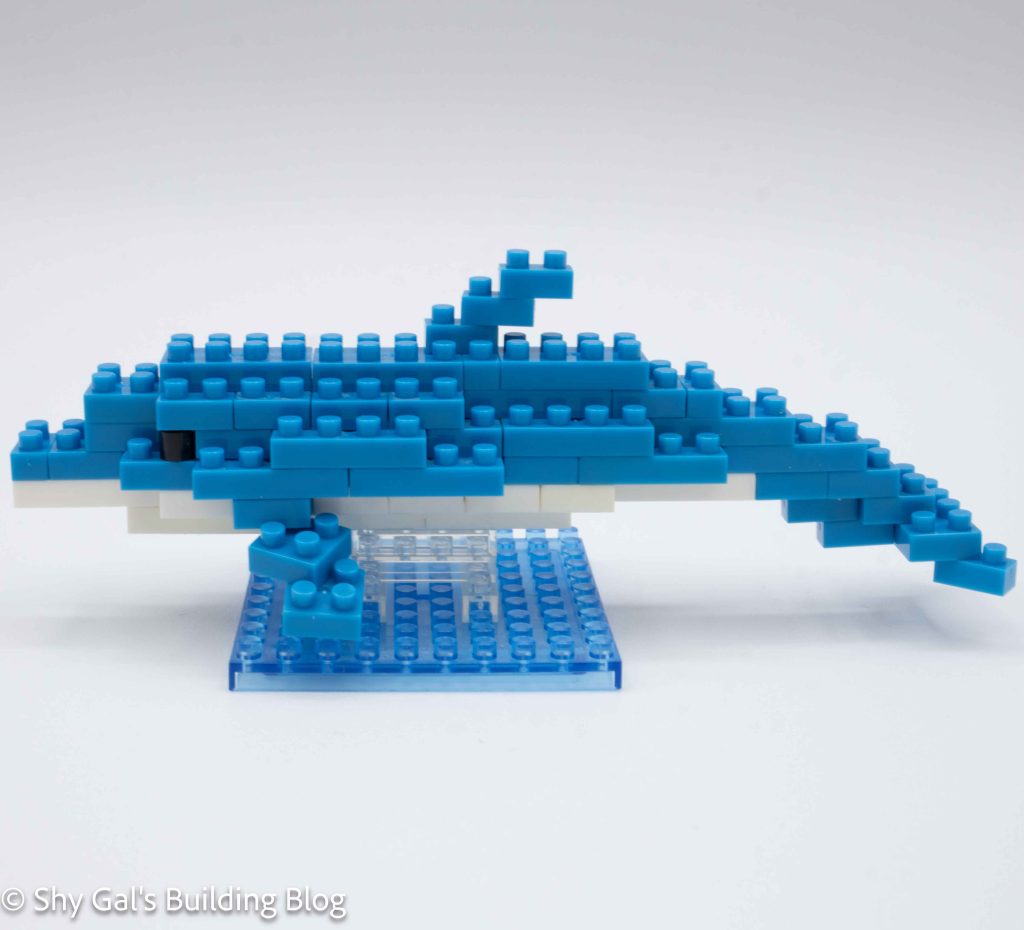
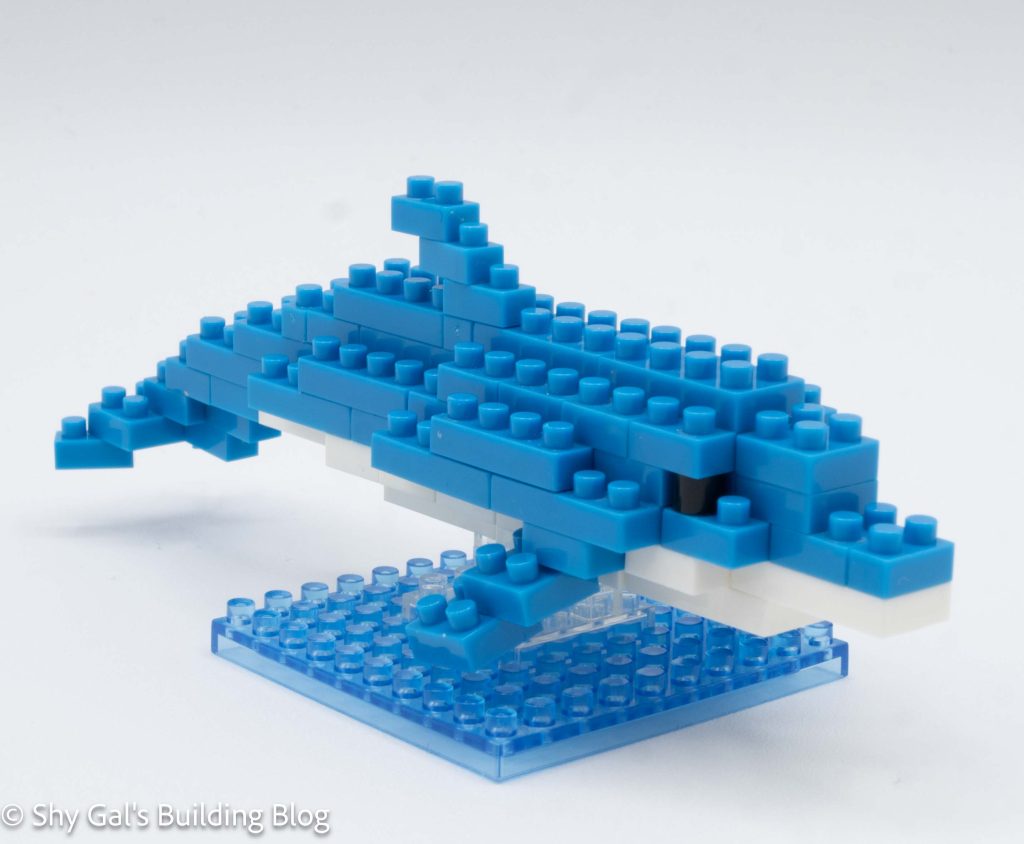
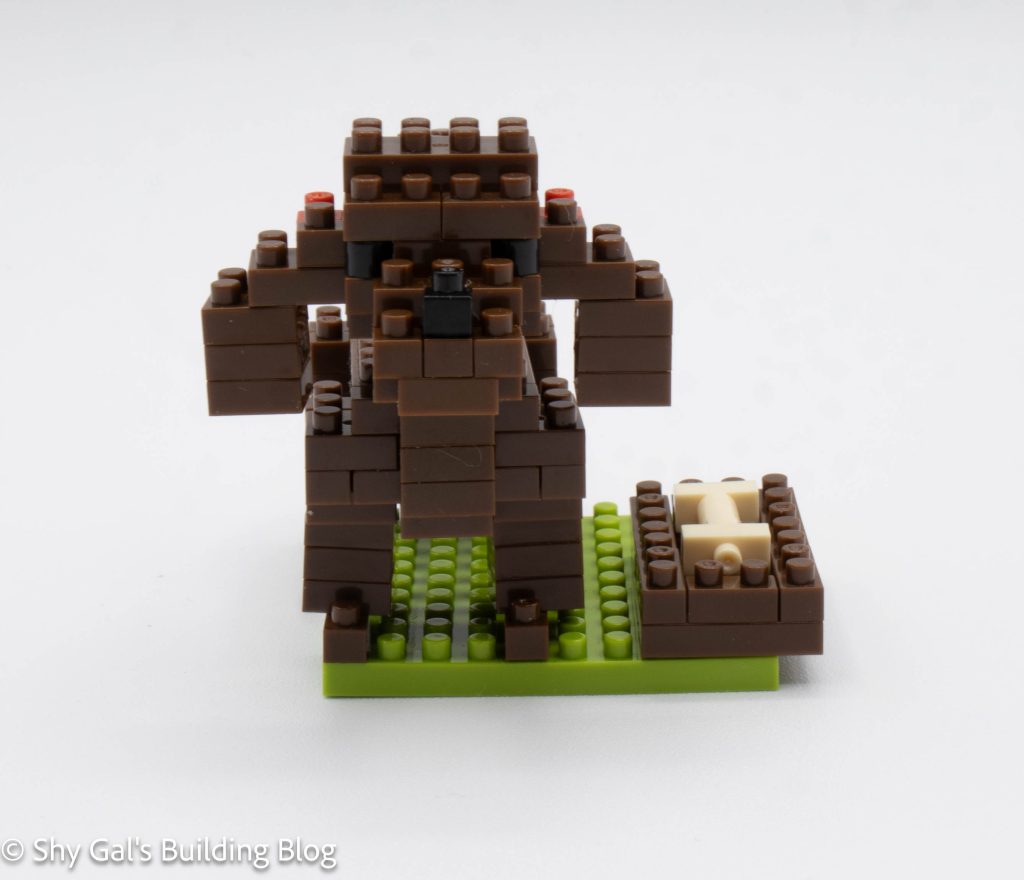
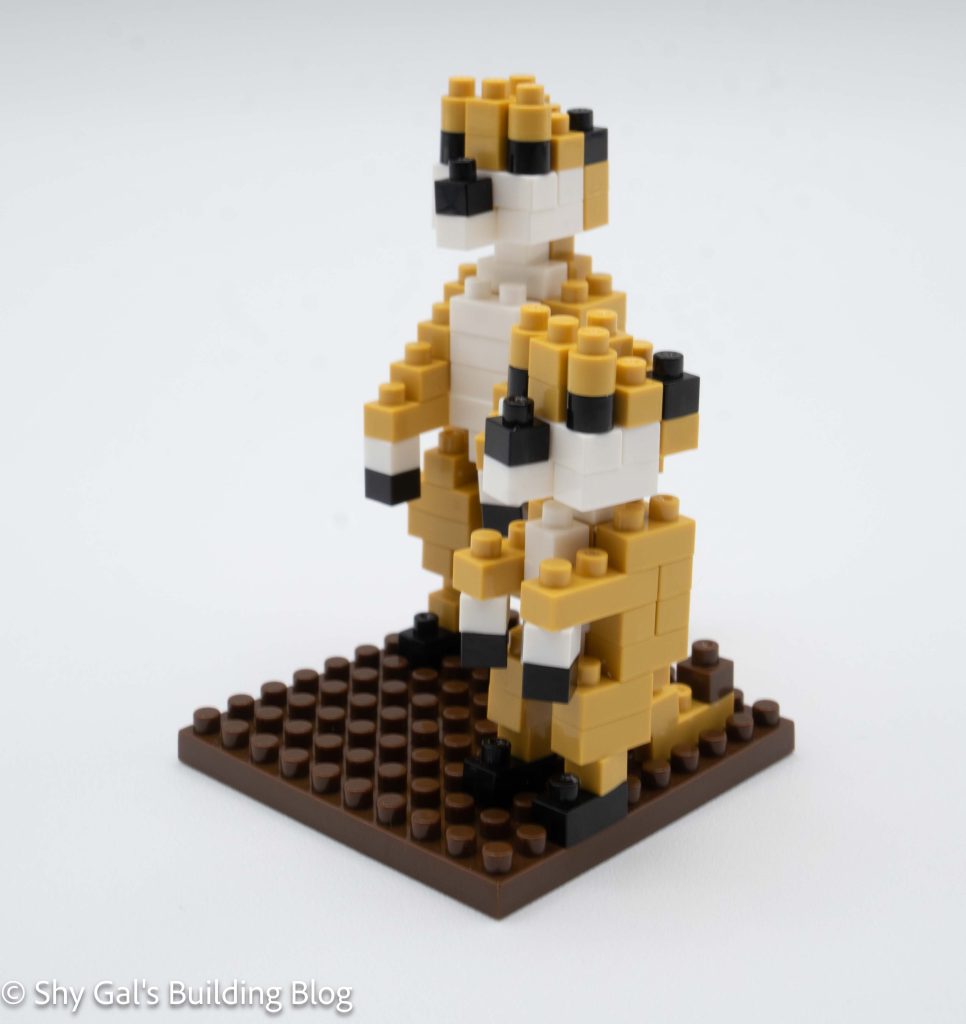
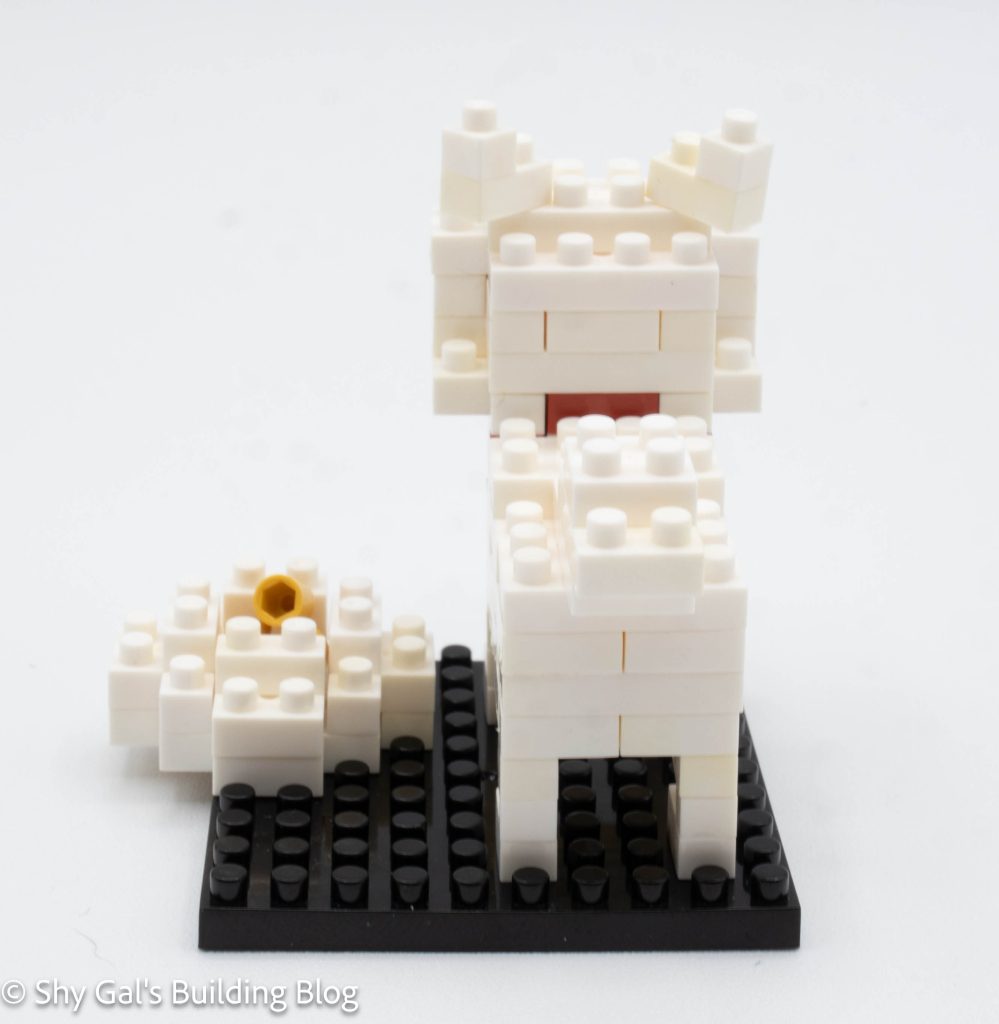
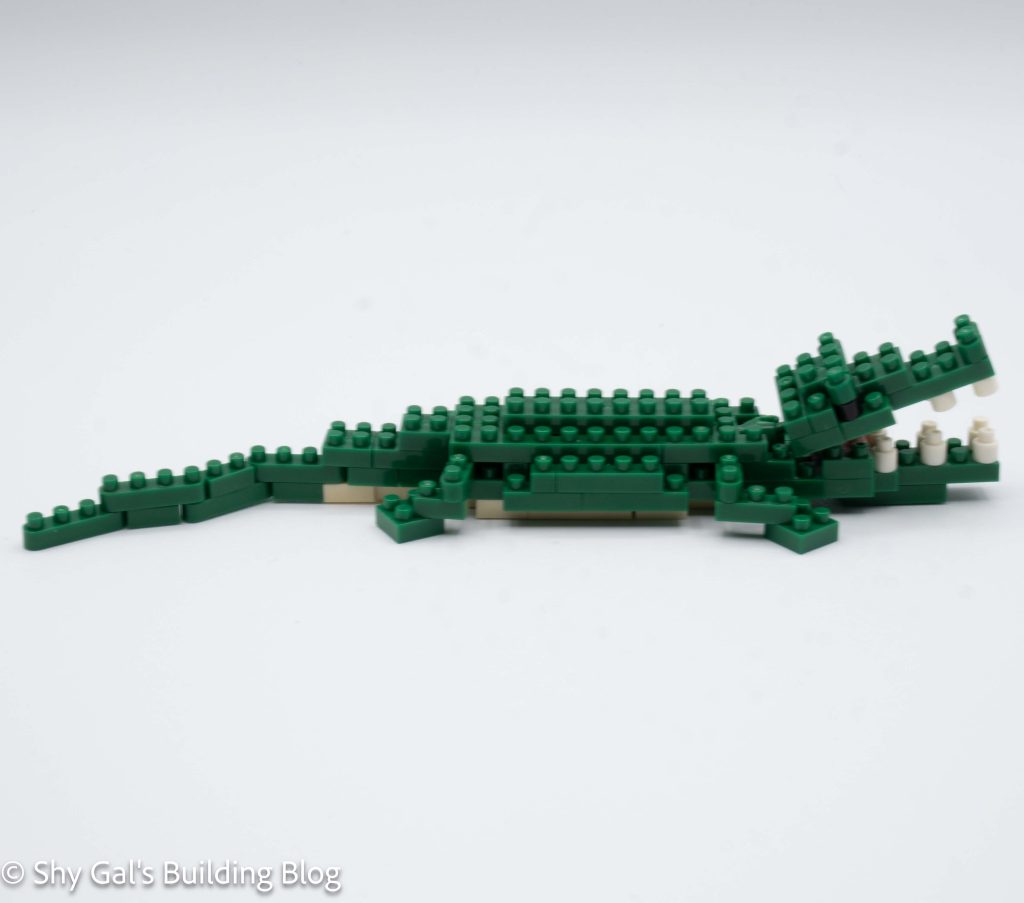
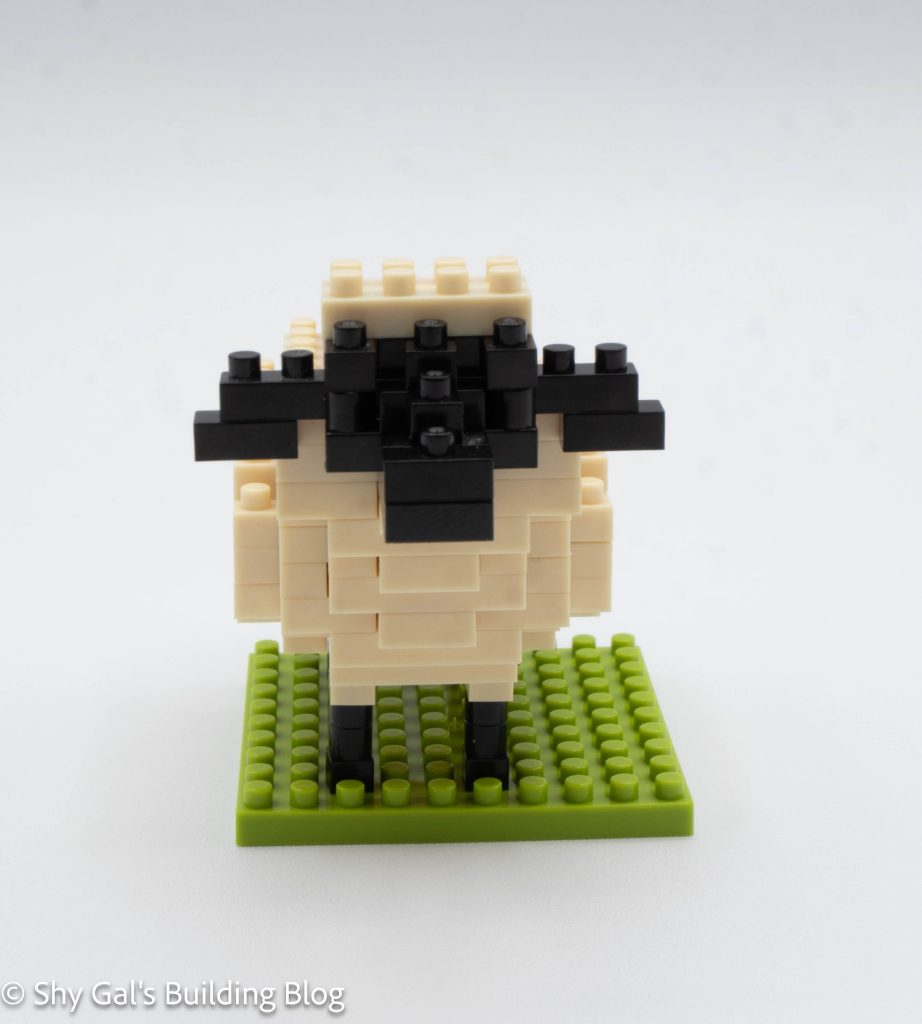
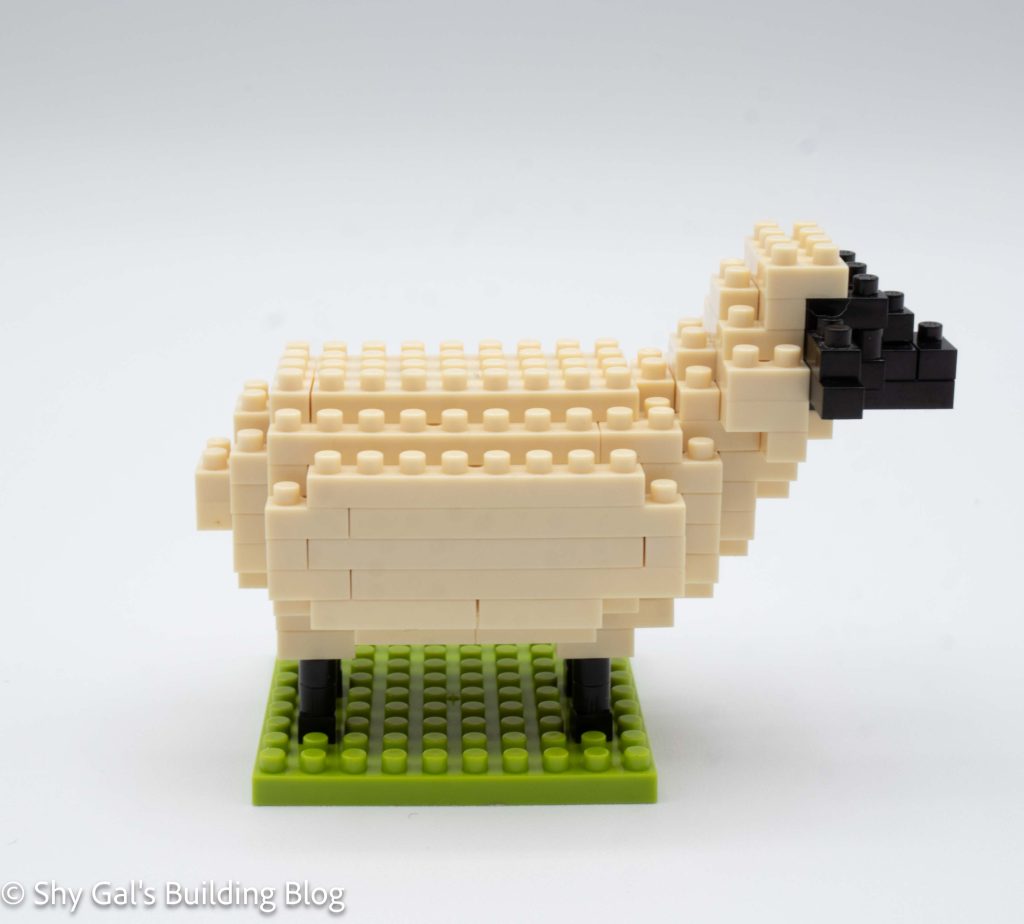
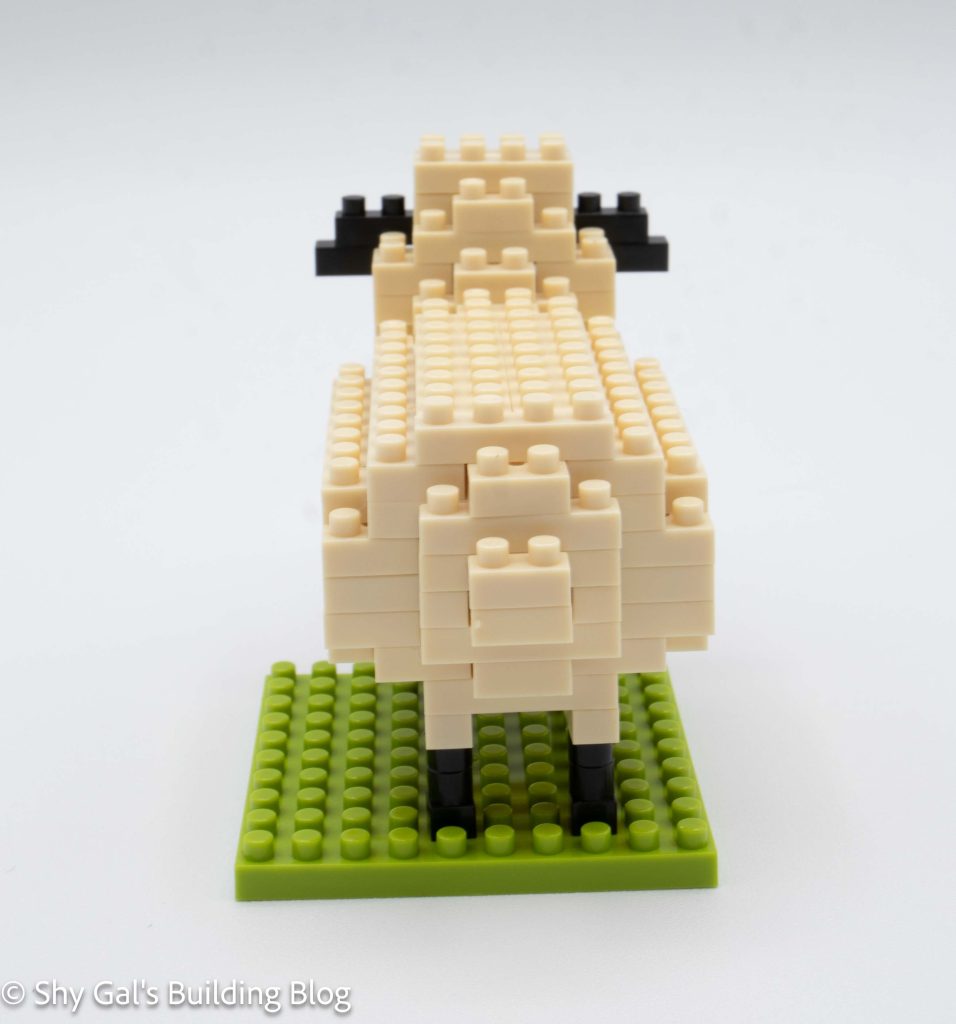
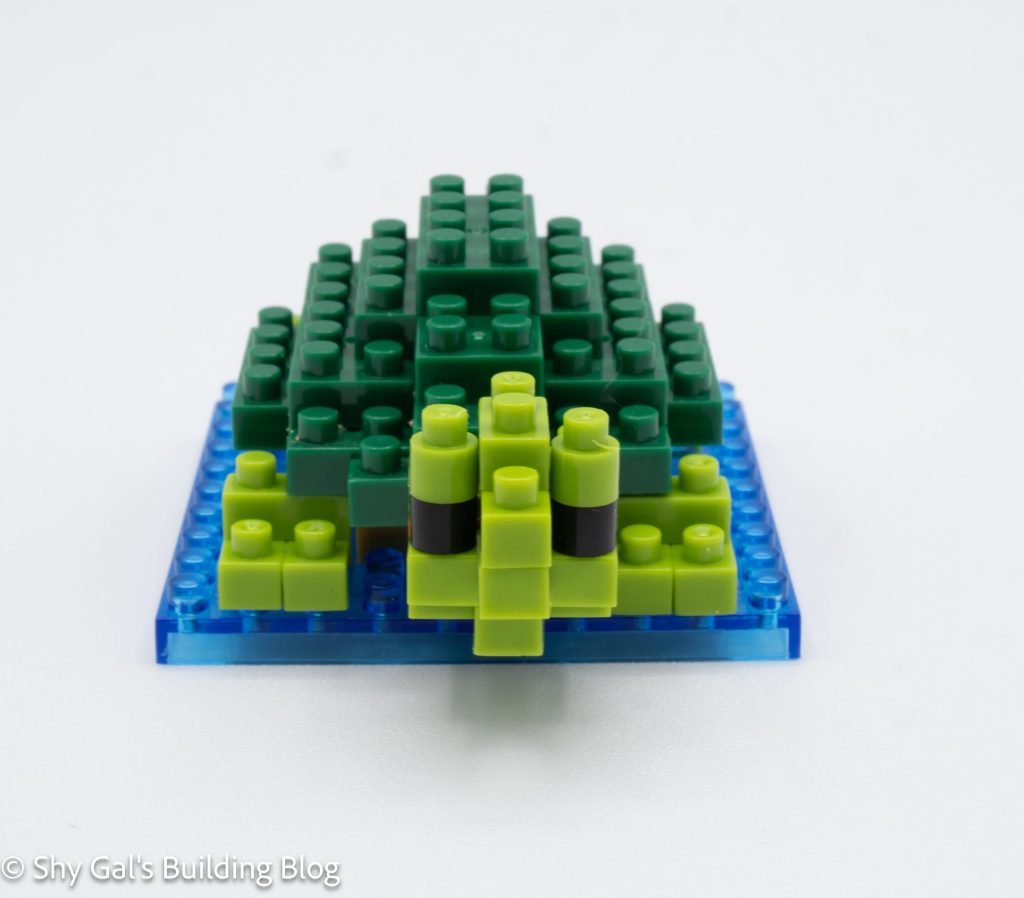
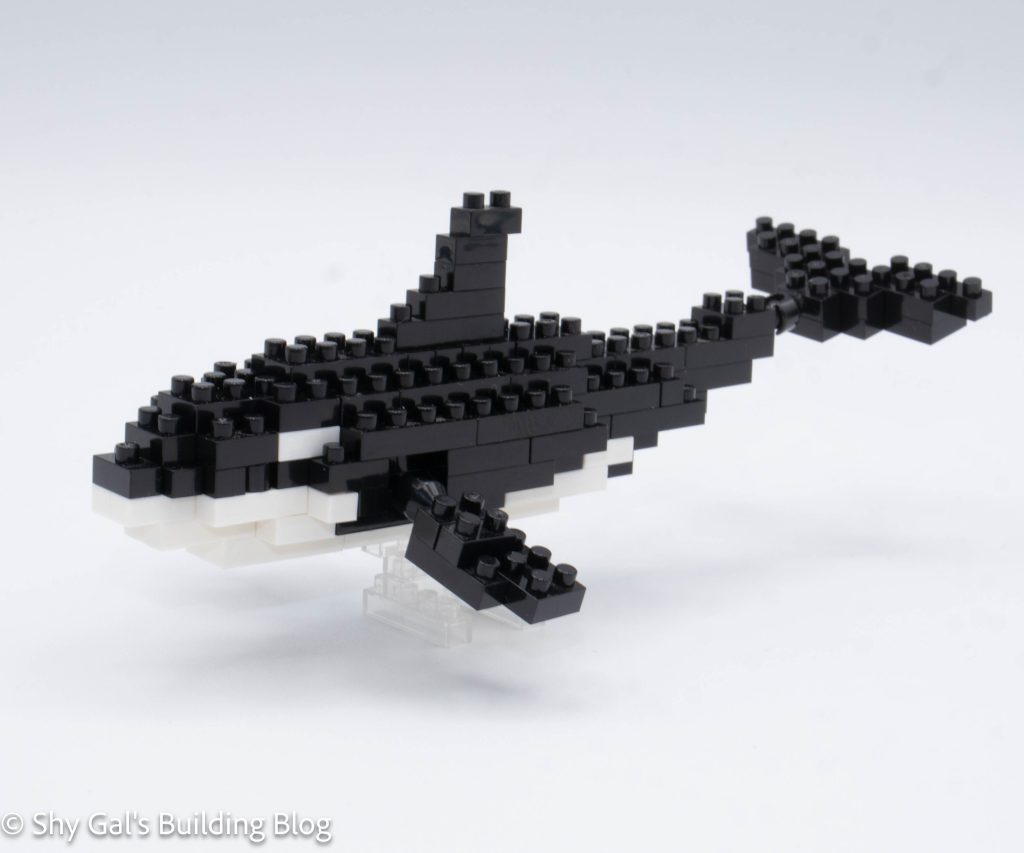
The build is mostly one large section building the main body of the Orca. It goes up in layers and can be built on the nanoblock pad. The layers create a hollow tube that is closed on the ends. The layers are pretty straightforward, but it is difficult to tell the eyes are rounded bricks, and I spent a lot of time looking for a square piece.
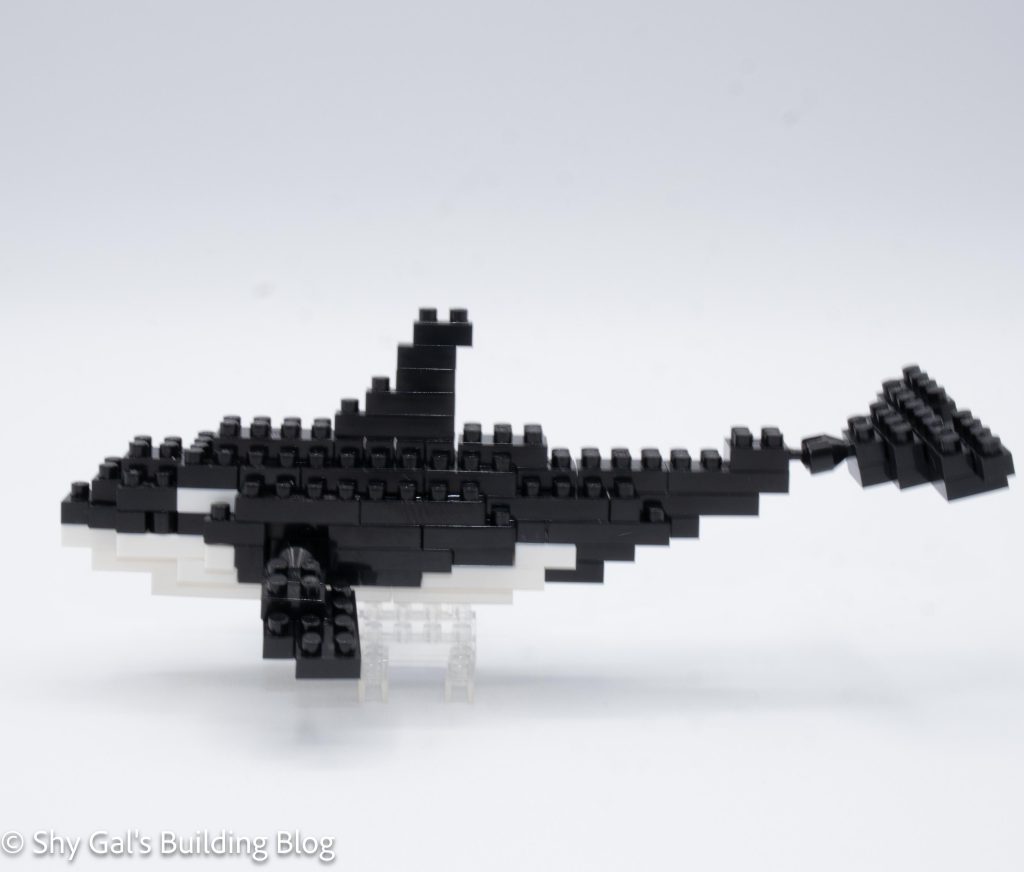
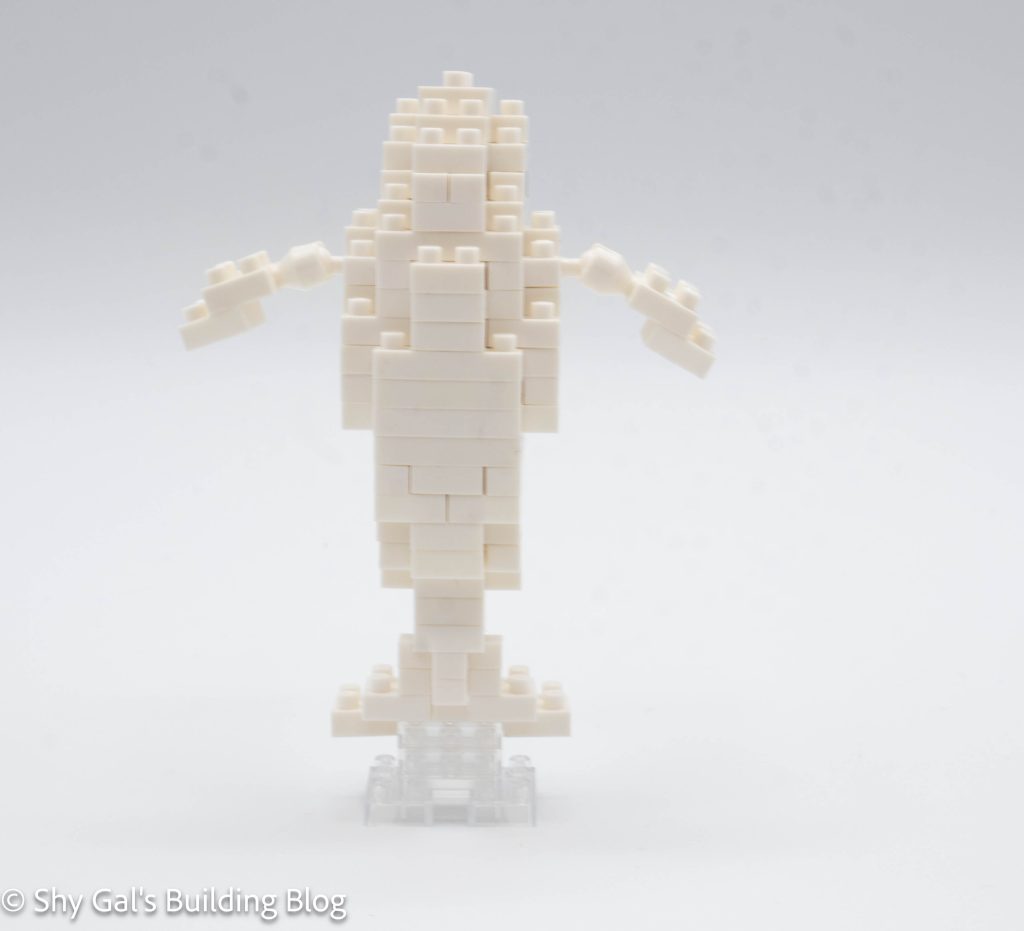
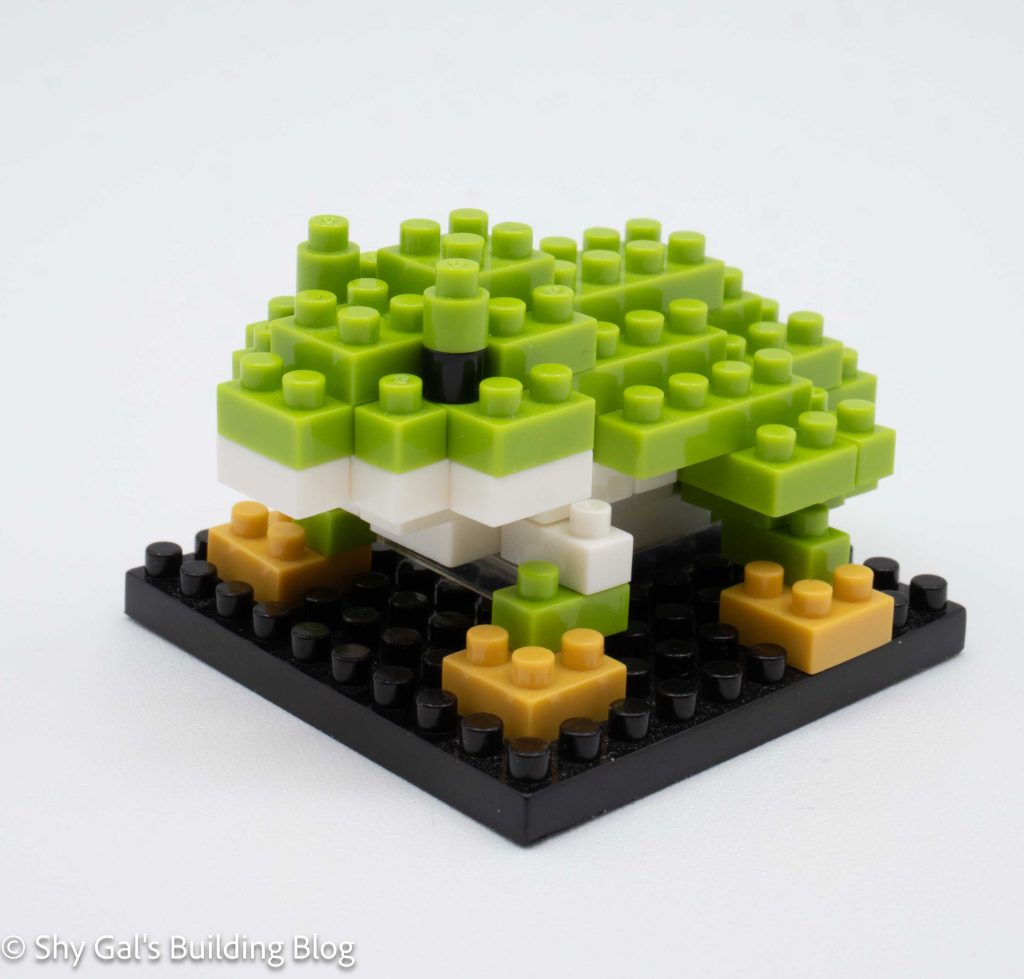
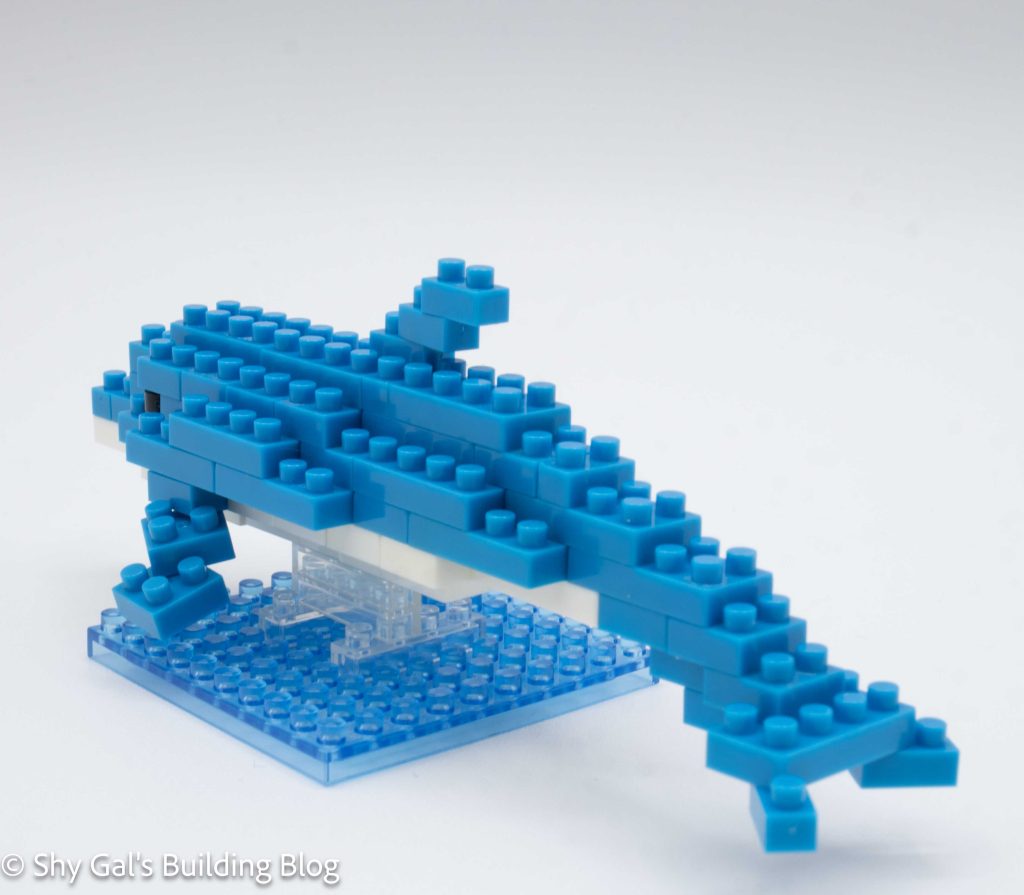
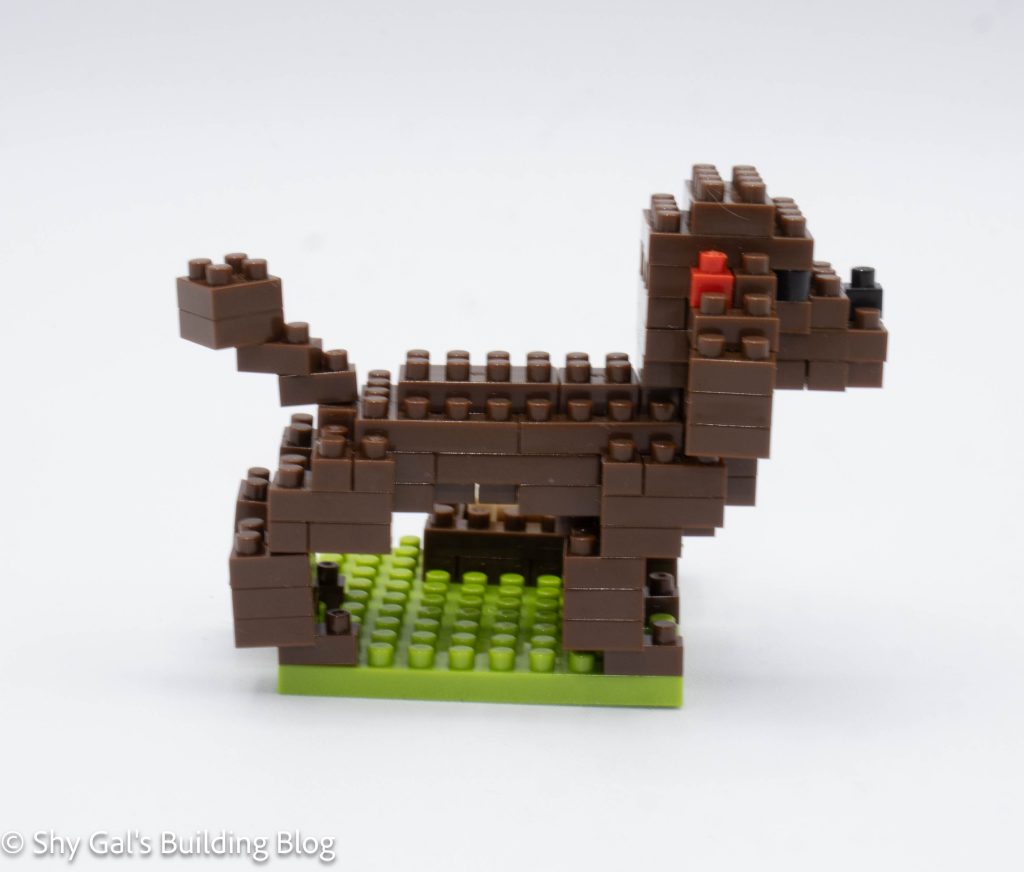
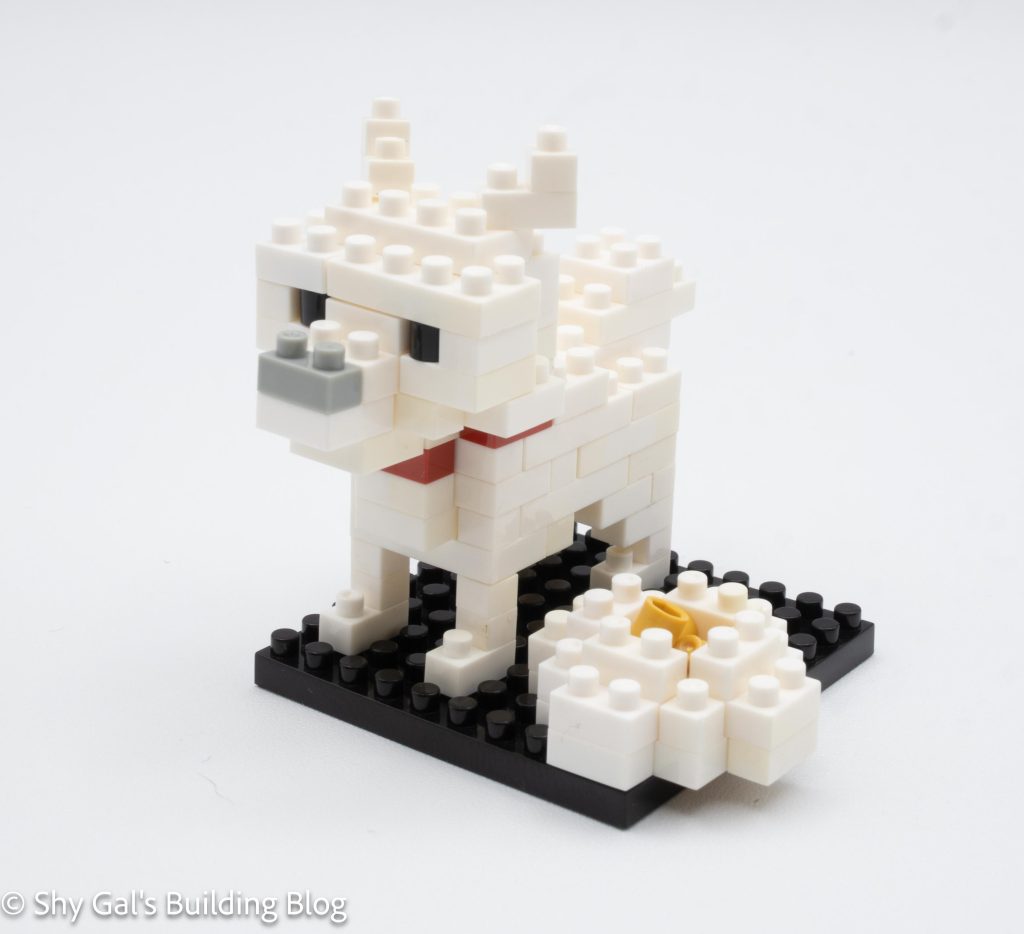
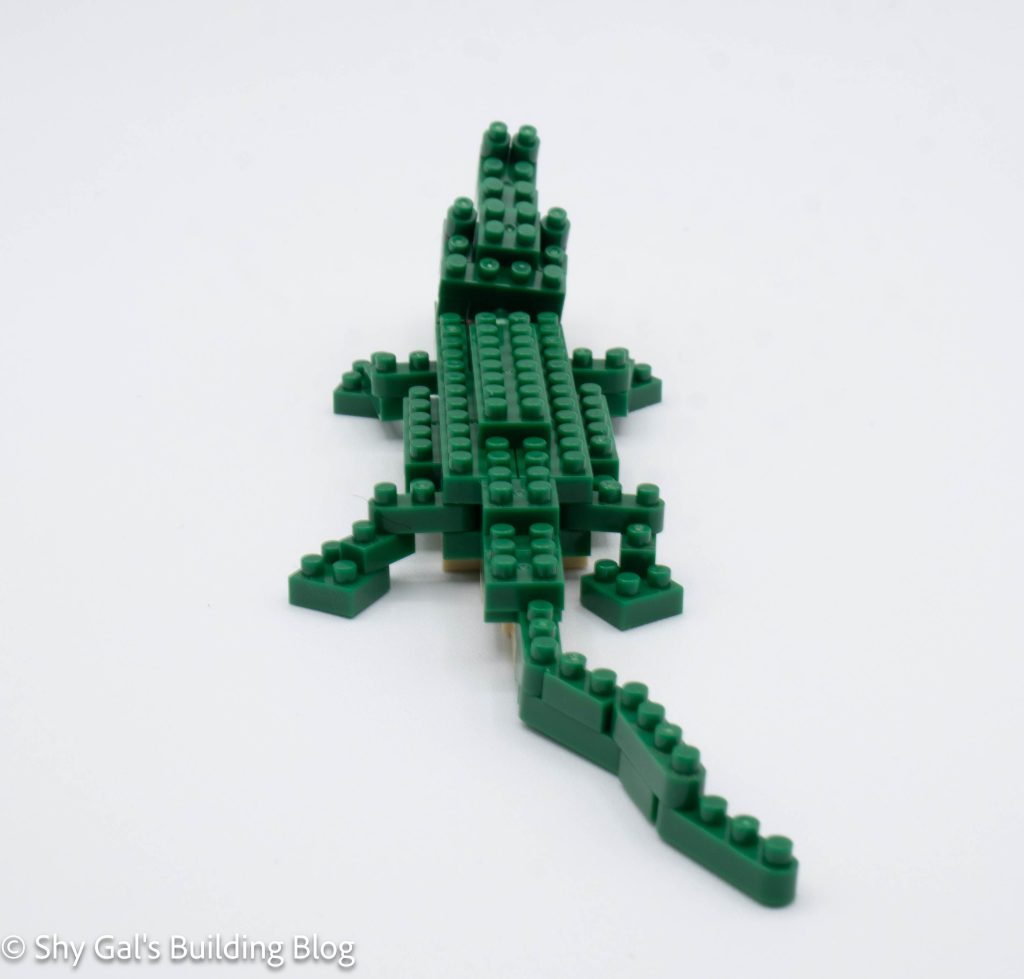
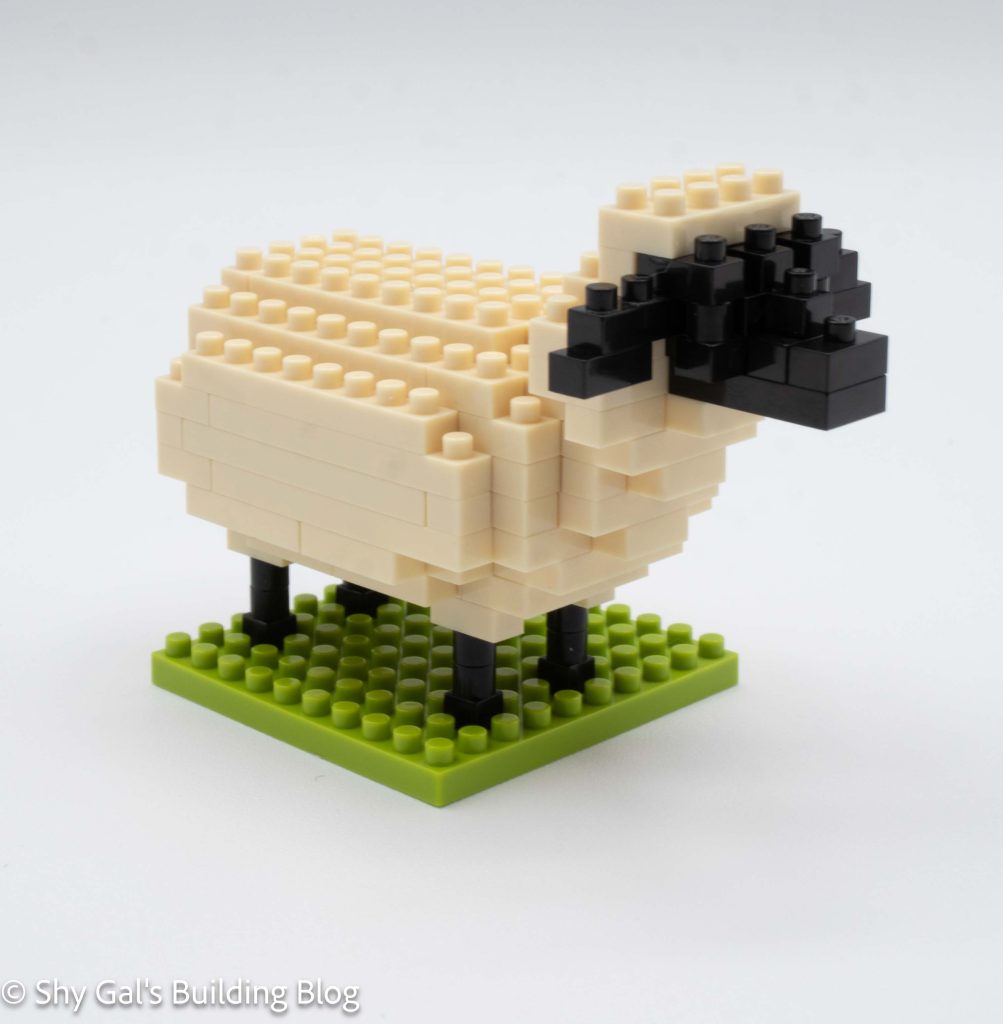
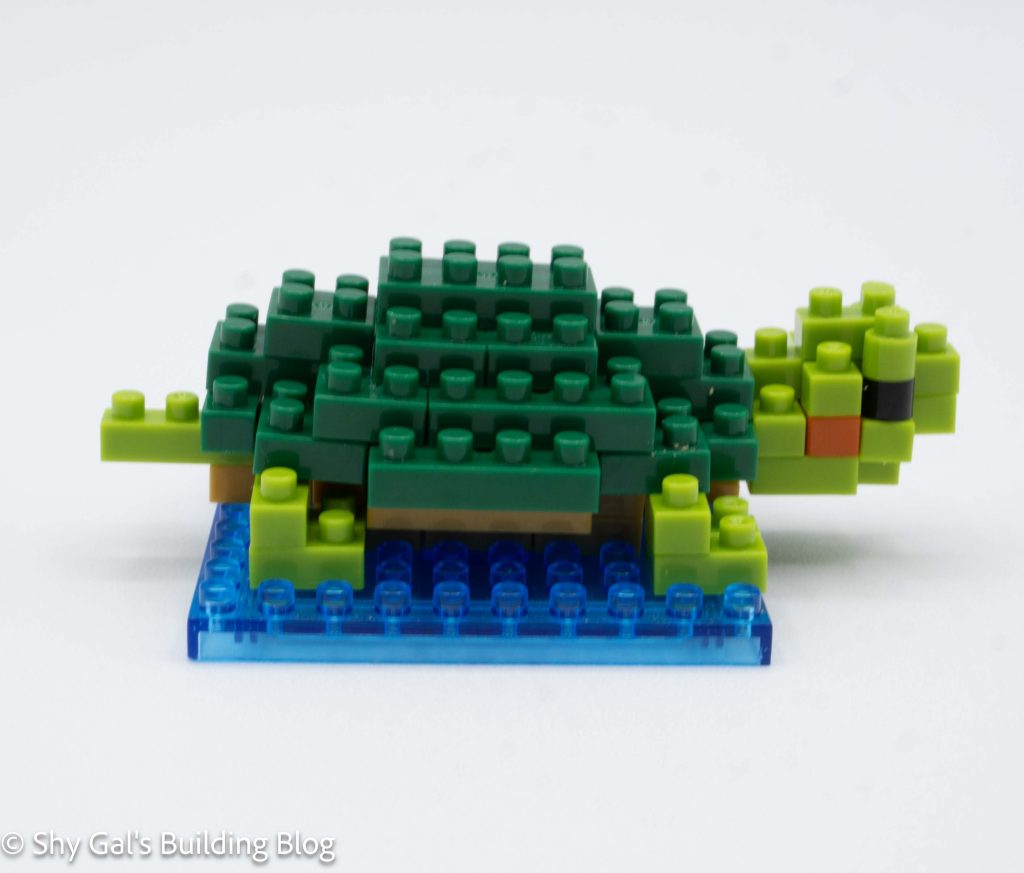
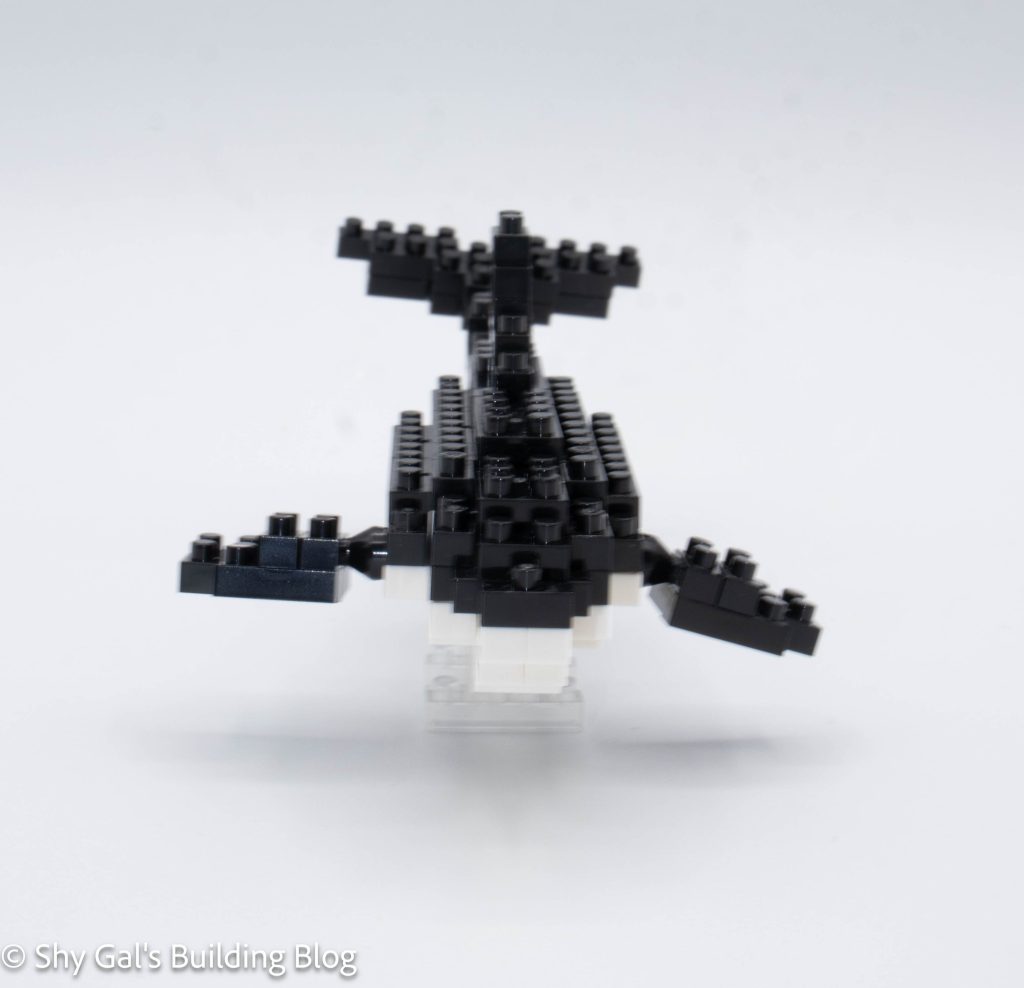
After building the body, the next step is to build the fins and tail. These are all attached using ball joints.
Things I liked:
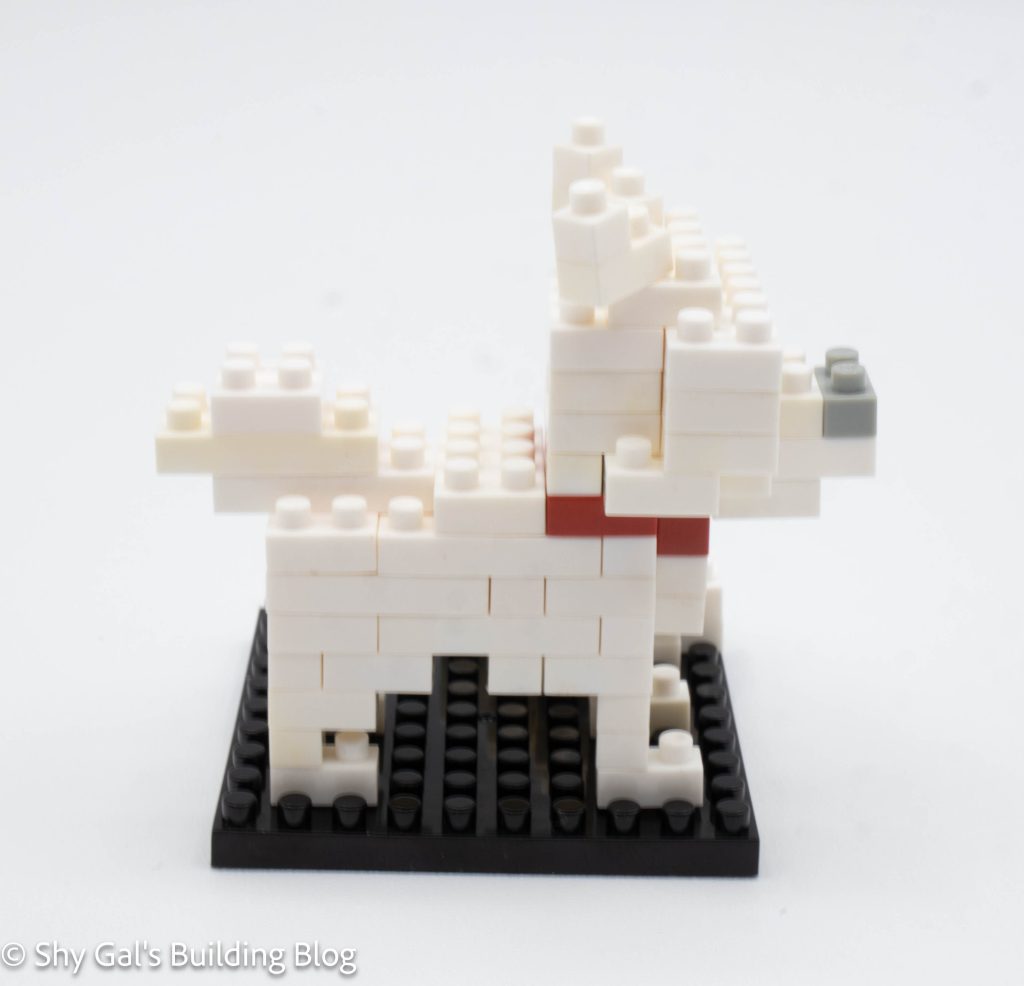
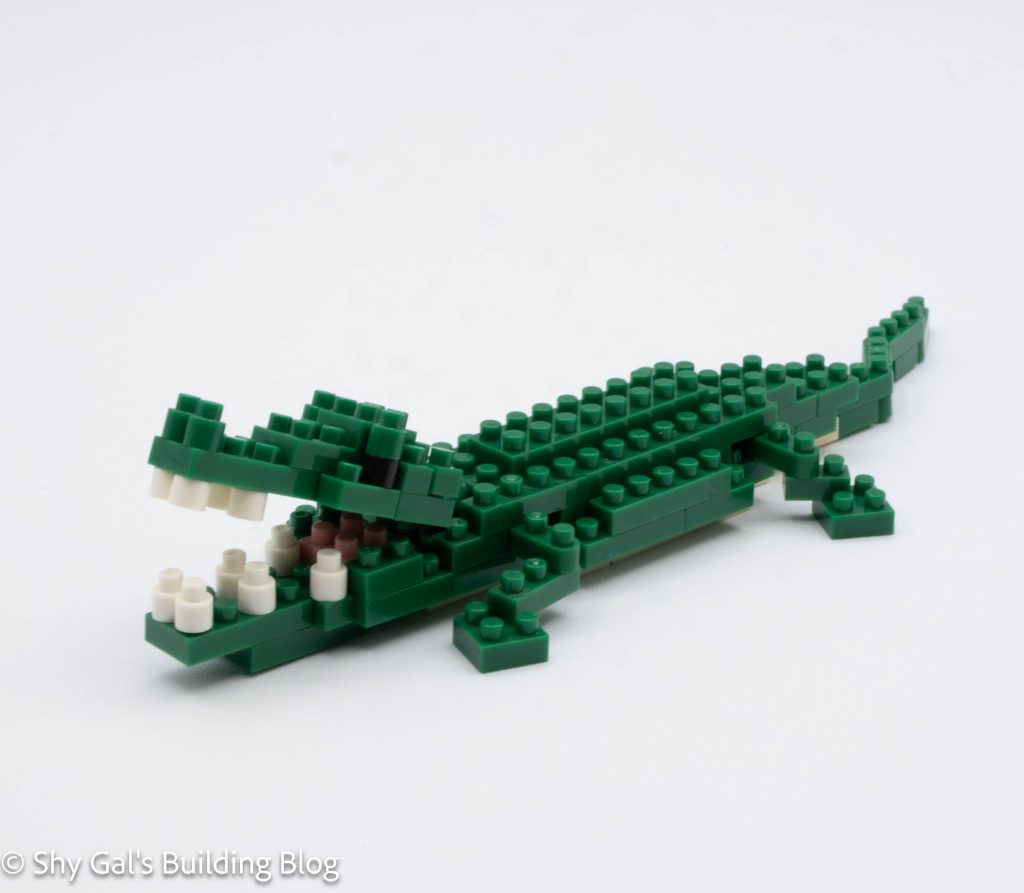
- I like how posable the fins and tail are.
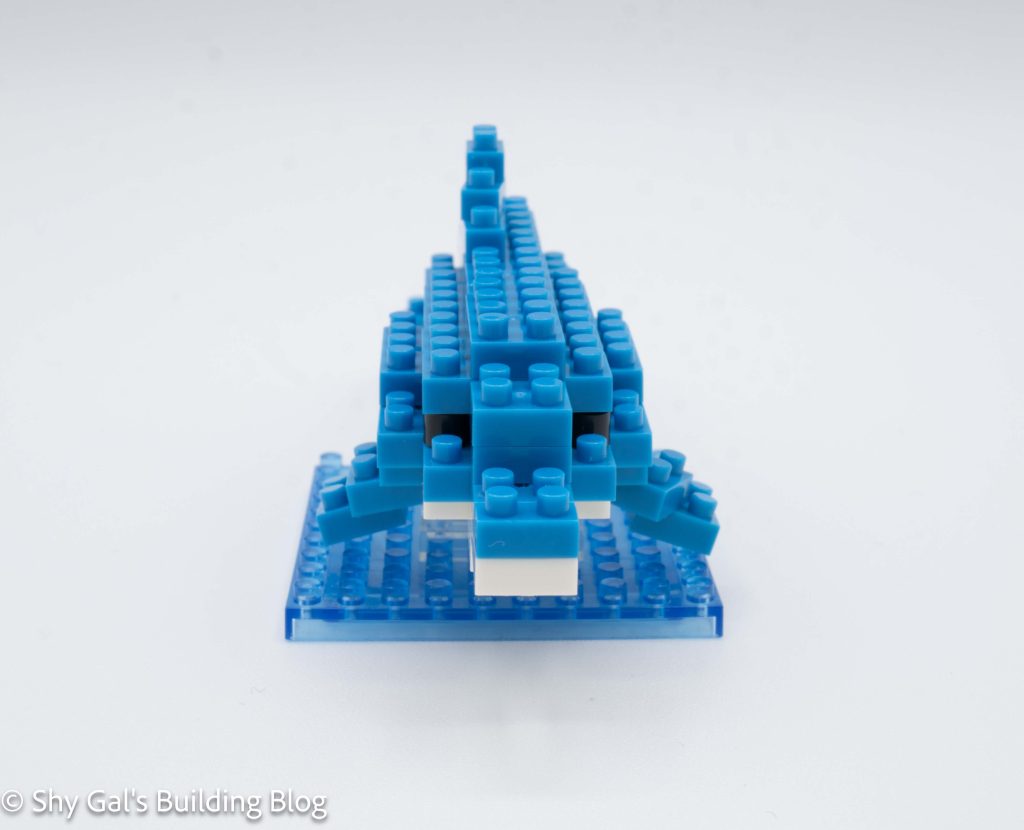
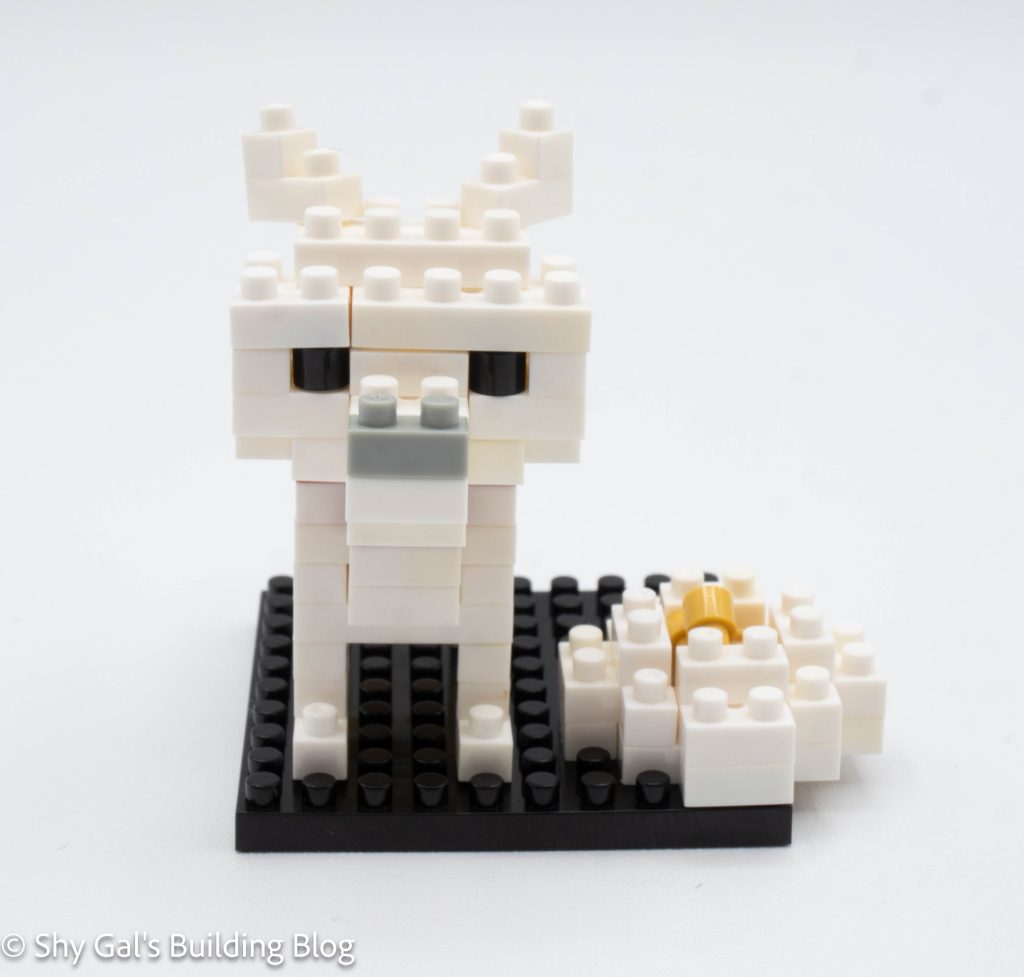
- I like how there is a clear base, so it looks like the orca is floating
Things I didn’t like:
- It was really hard to tell that the eyes were rounded bricks
Link to order: