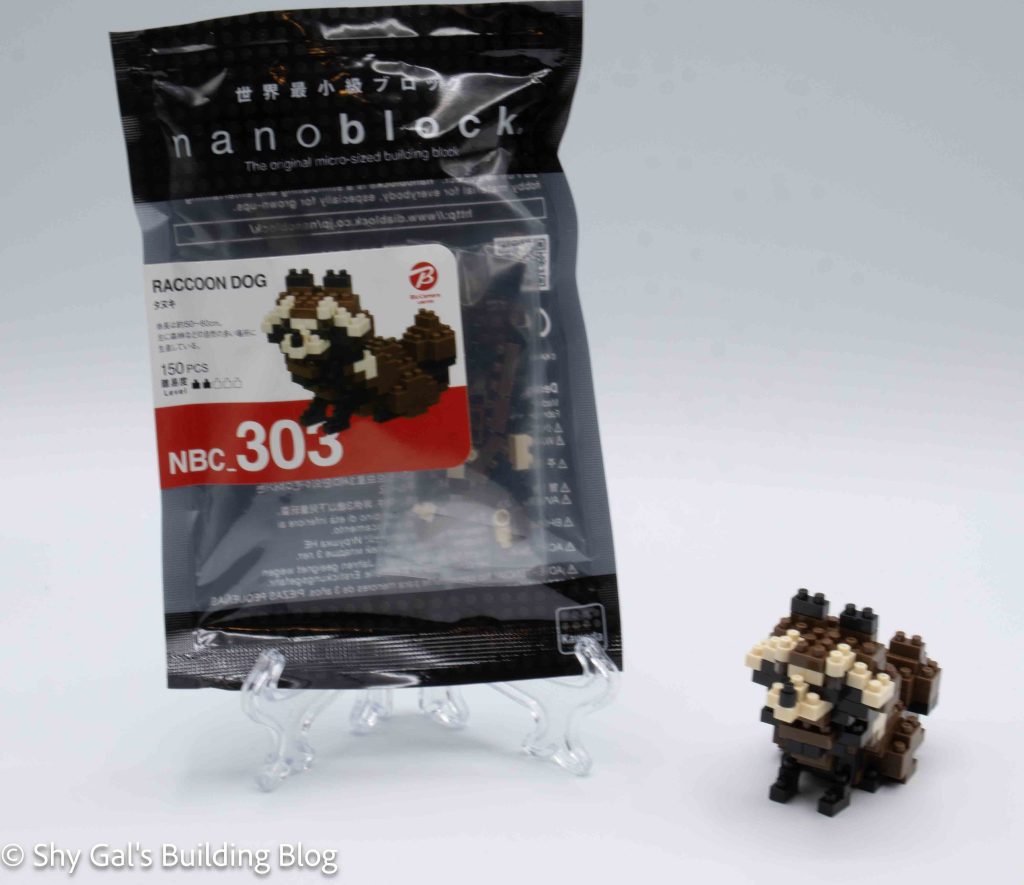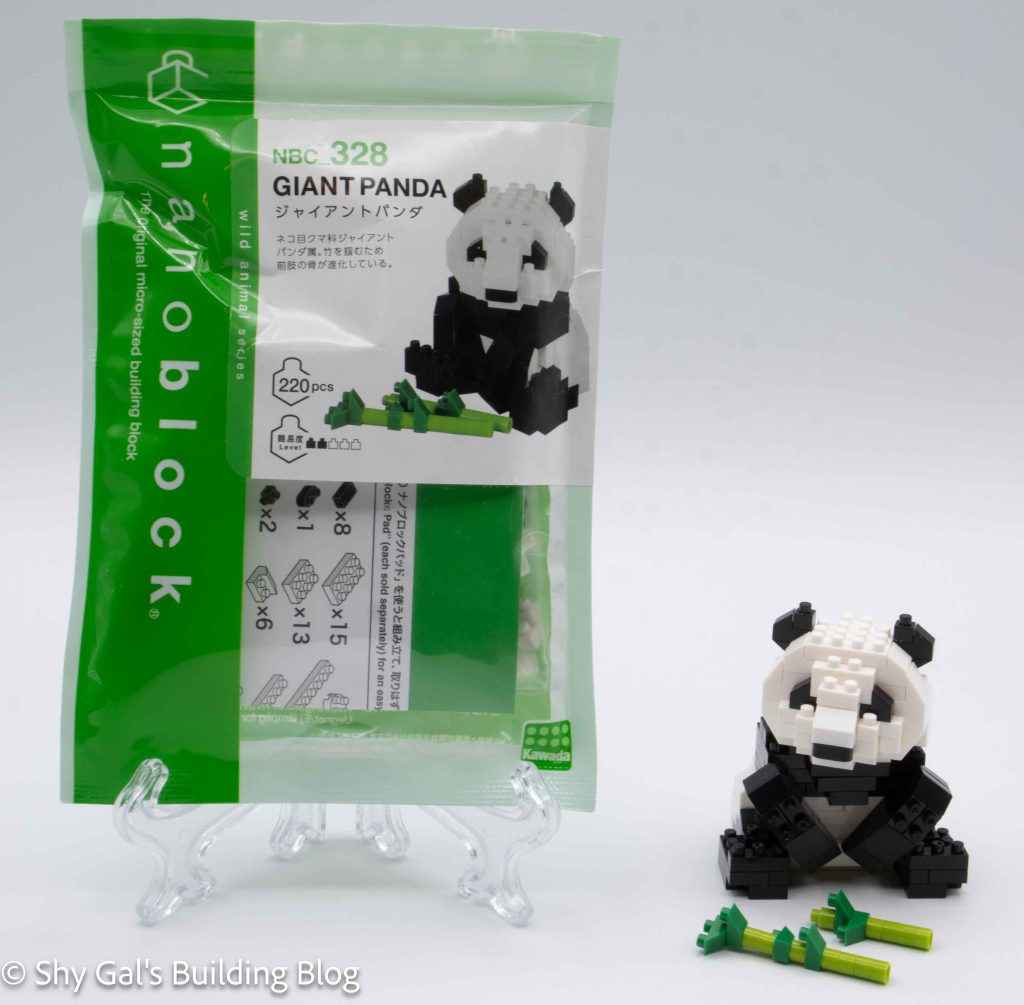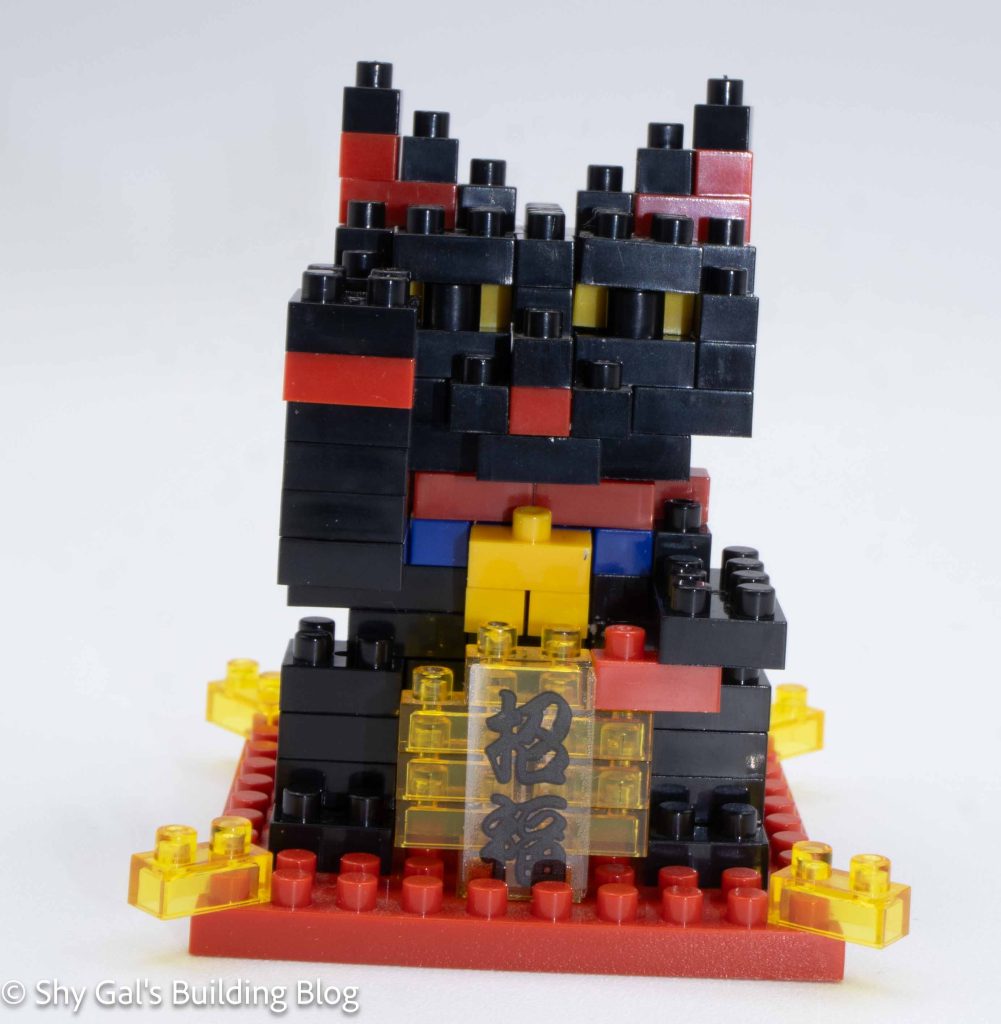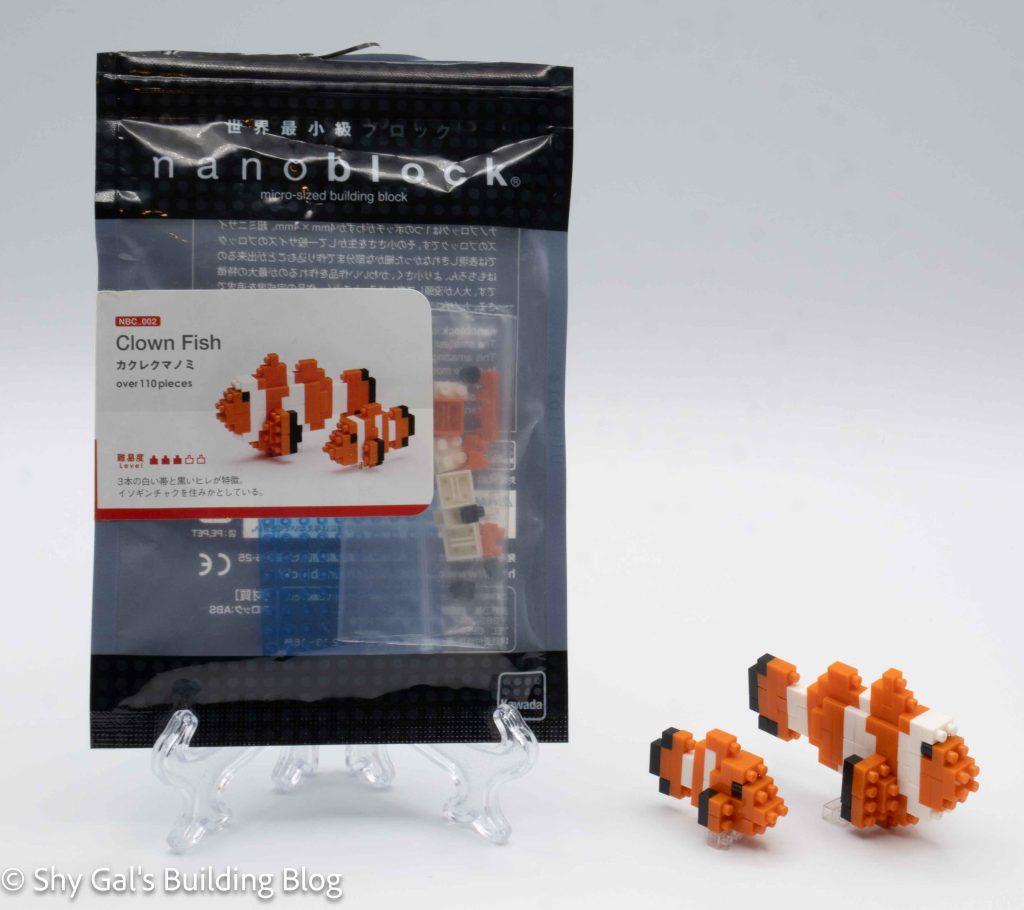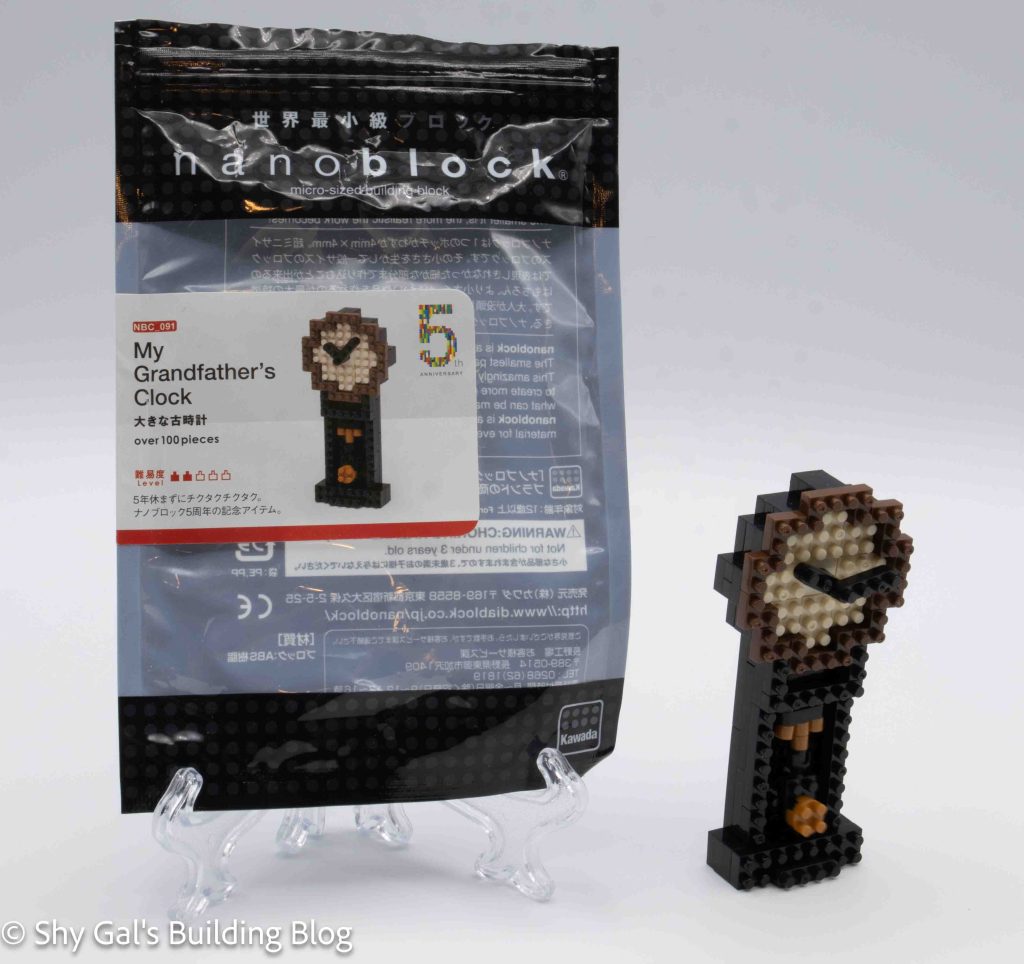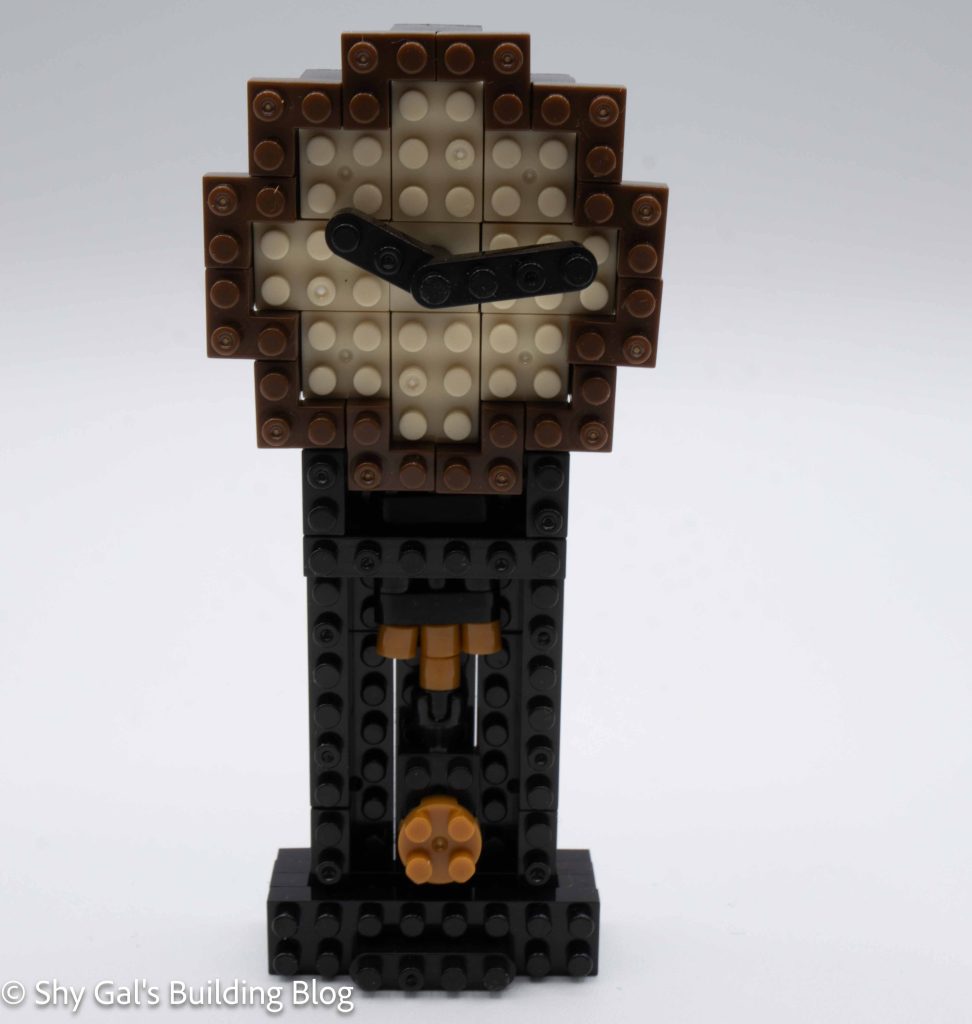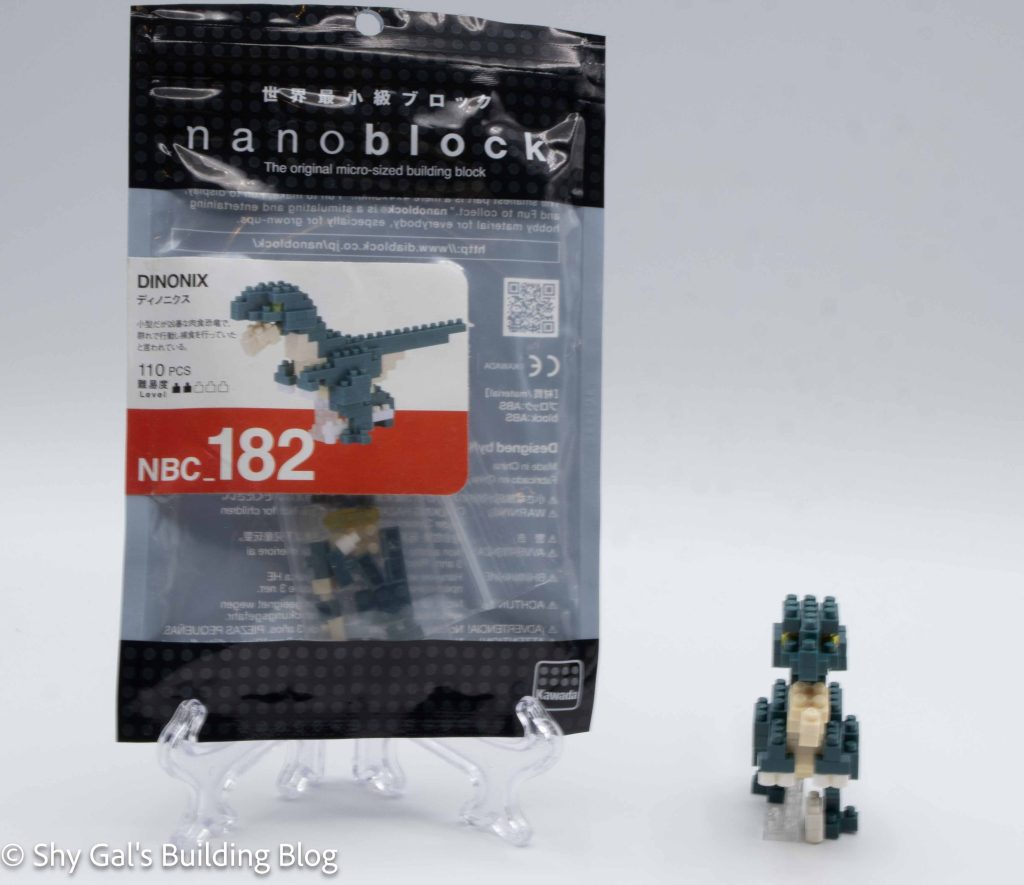
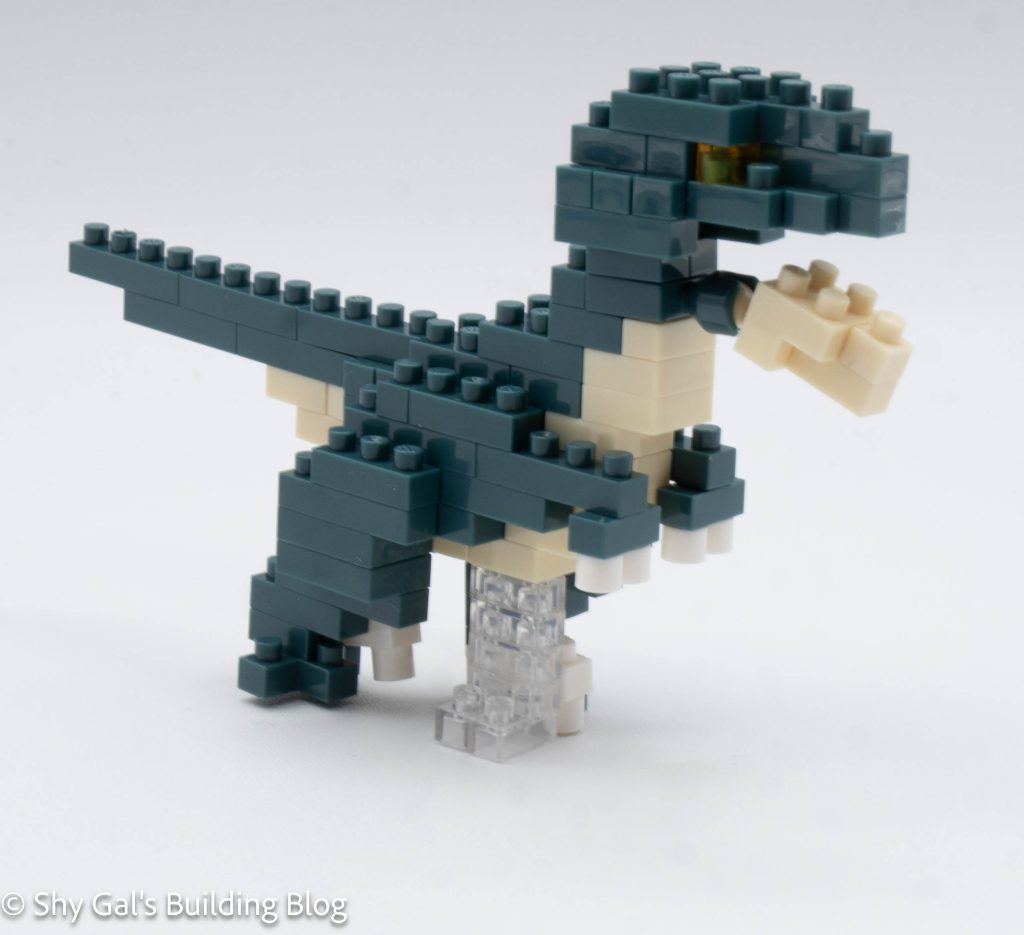
This post is a review of the nanoblock Dinonix build. Dinonix is part of the nanoblock Mini Collection series. Wondering what else is part of the Mini Collection? Click here for a list.
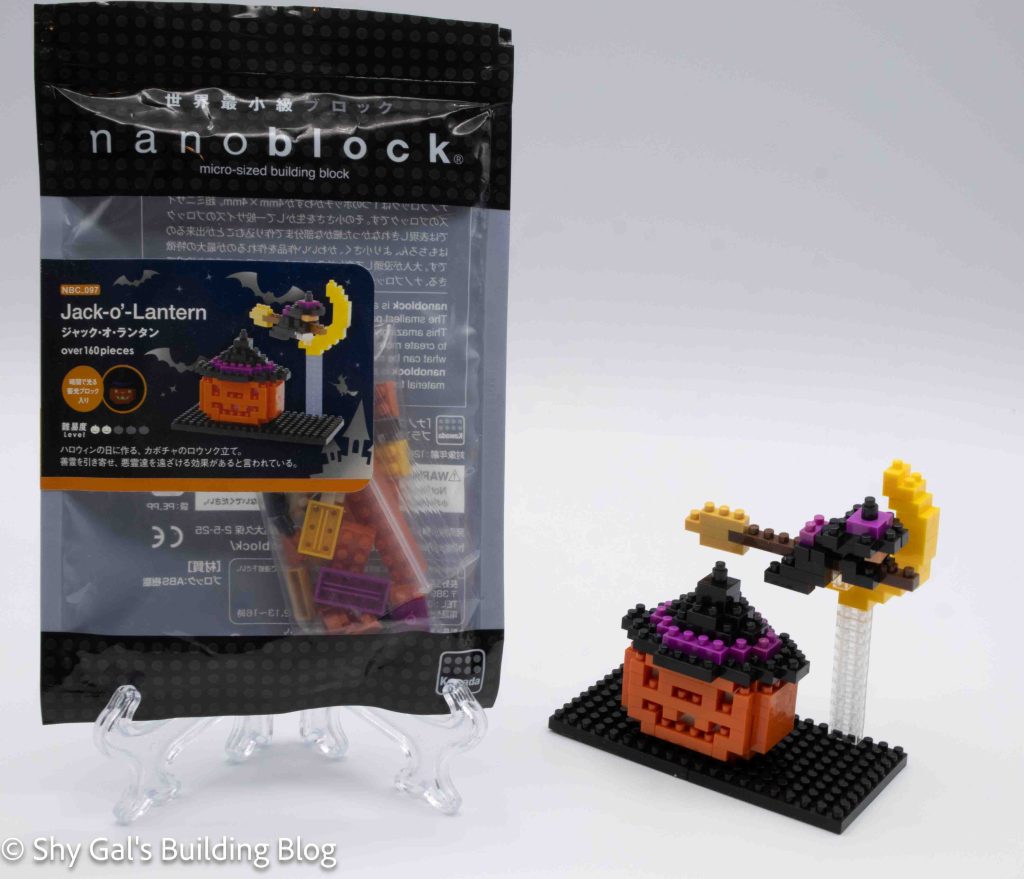
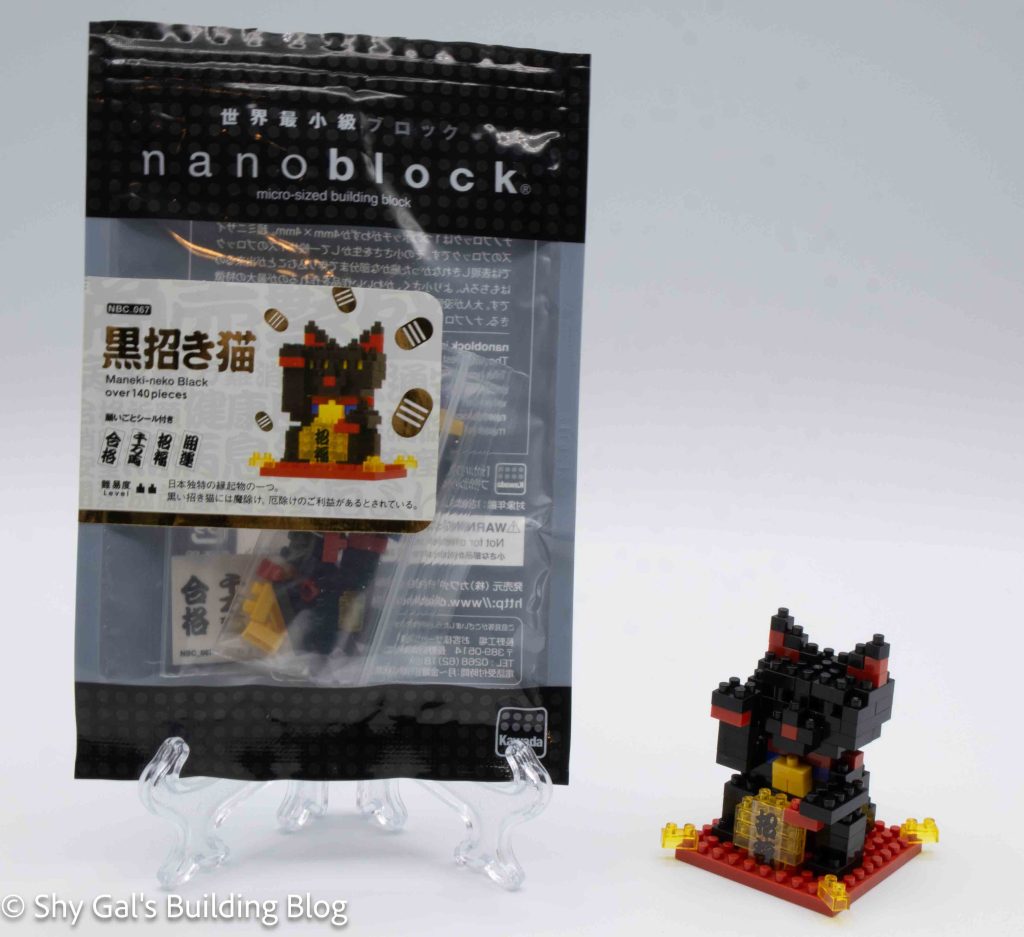
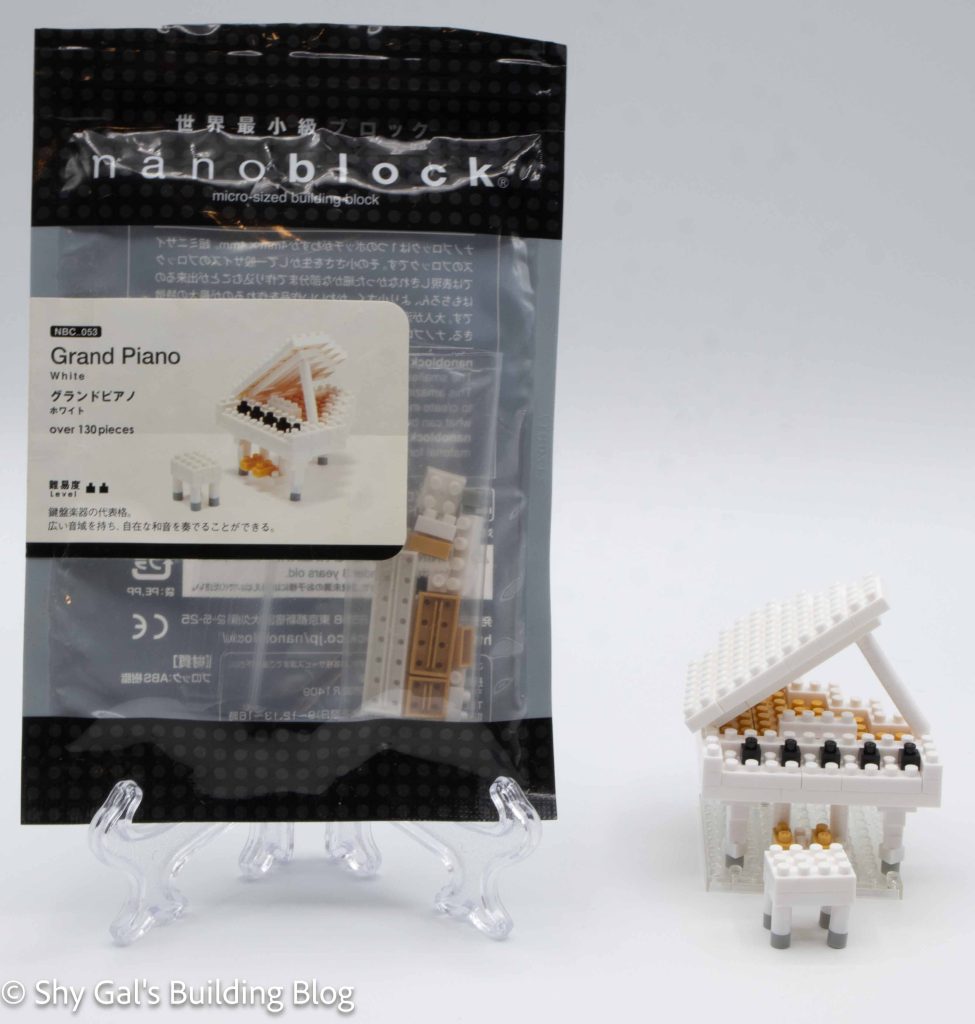
Number: NBC_182
Number of Pieces: 110
Difficulty Rating: 2/5
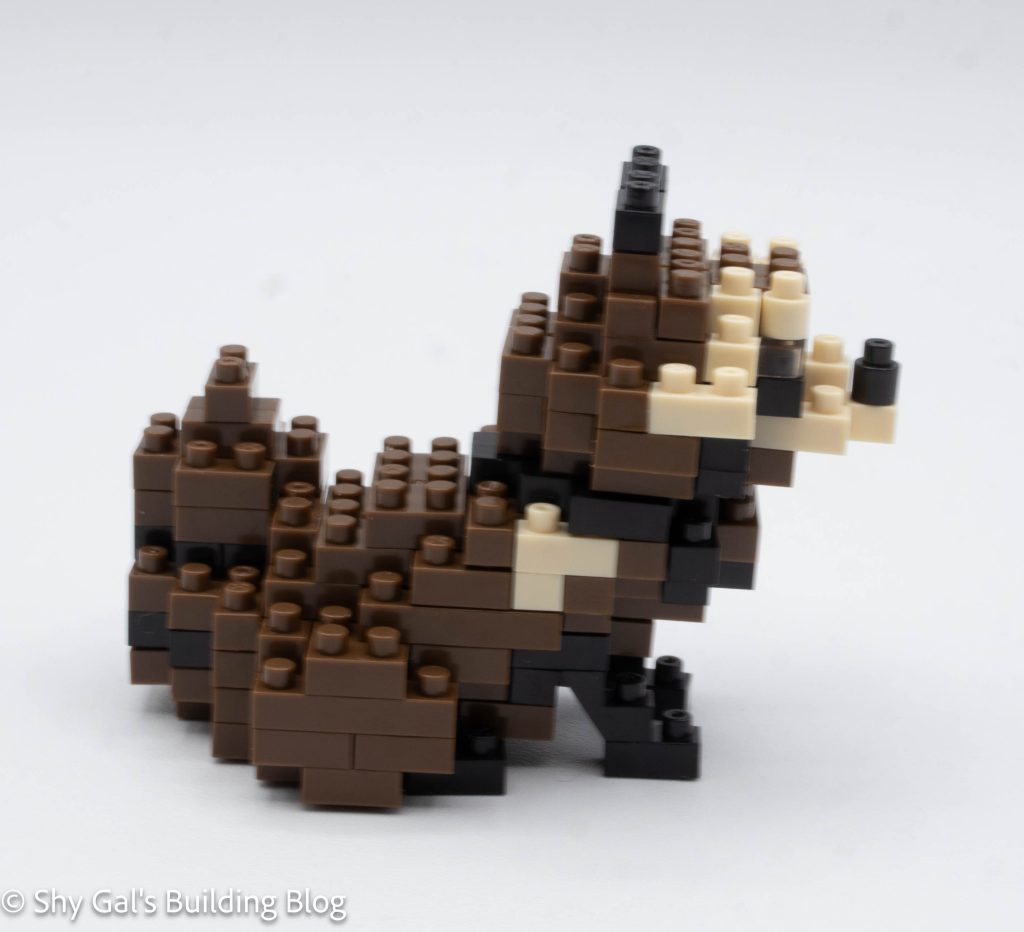
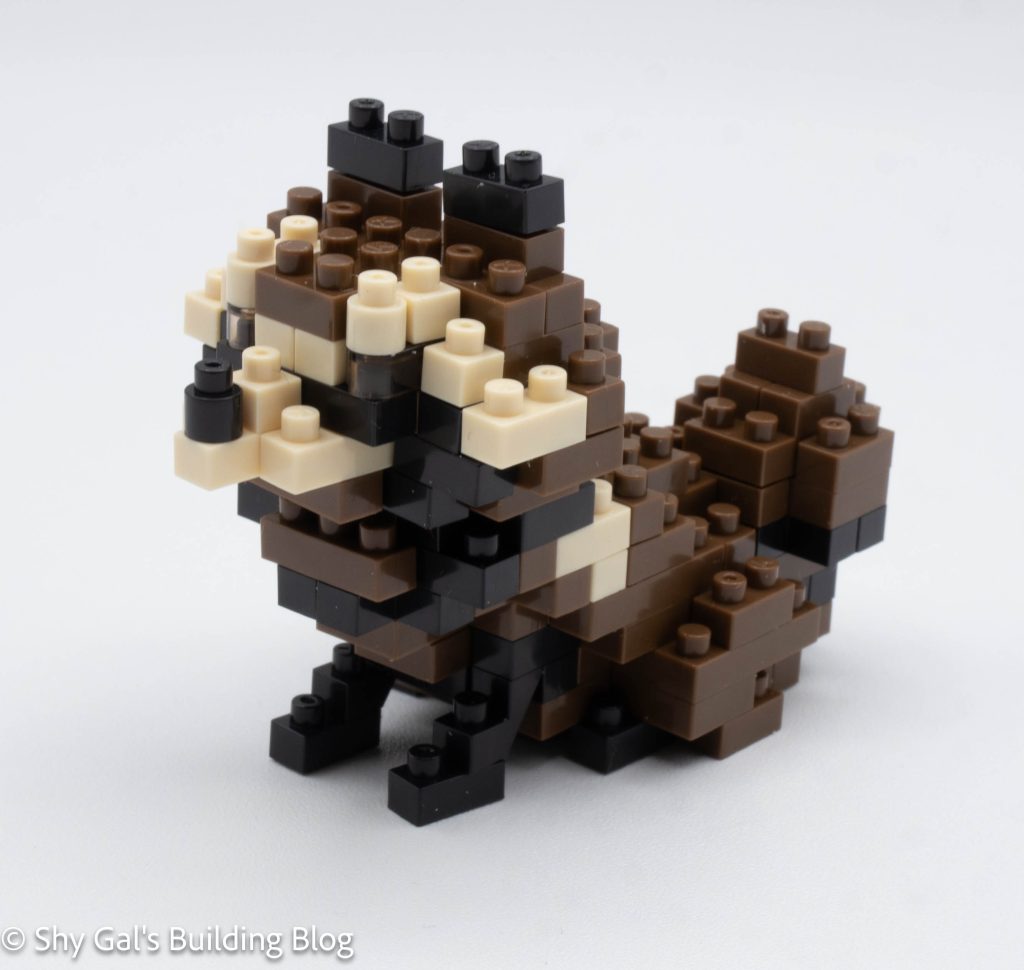
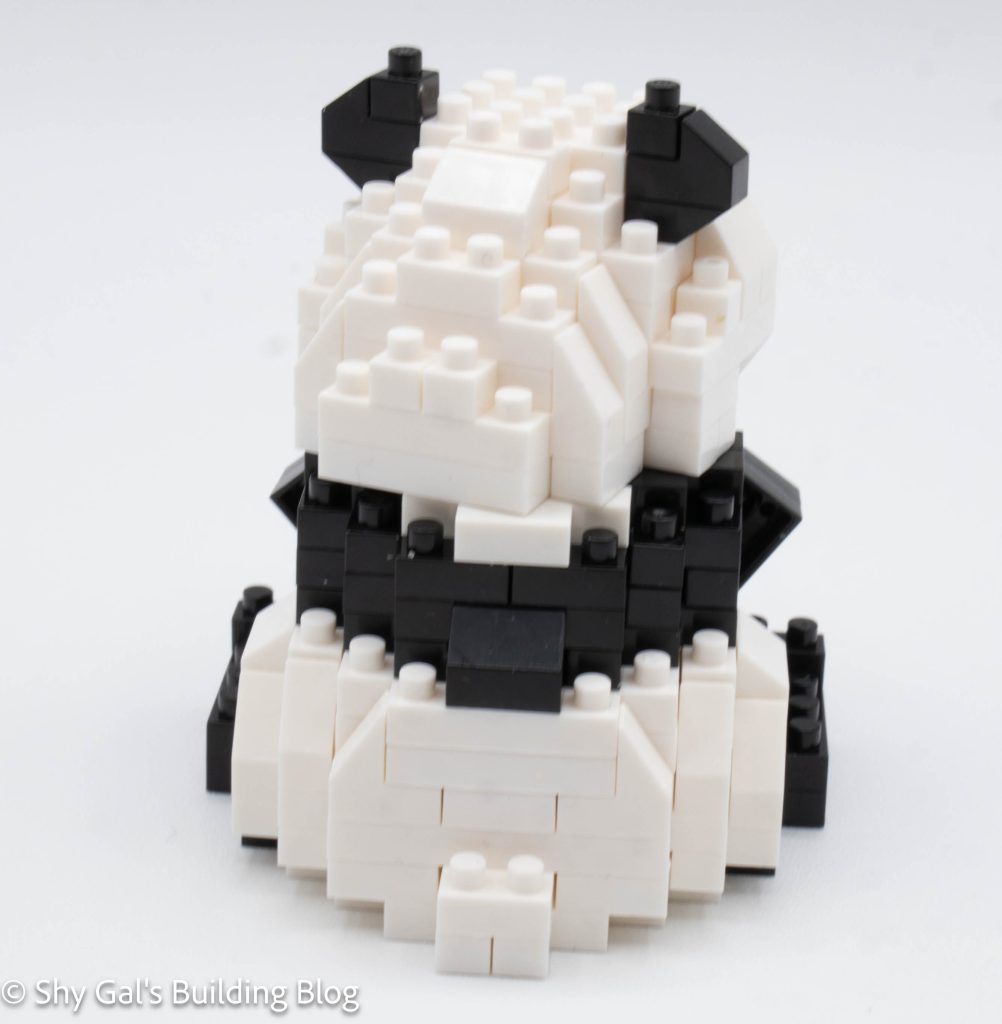
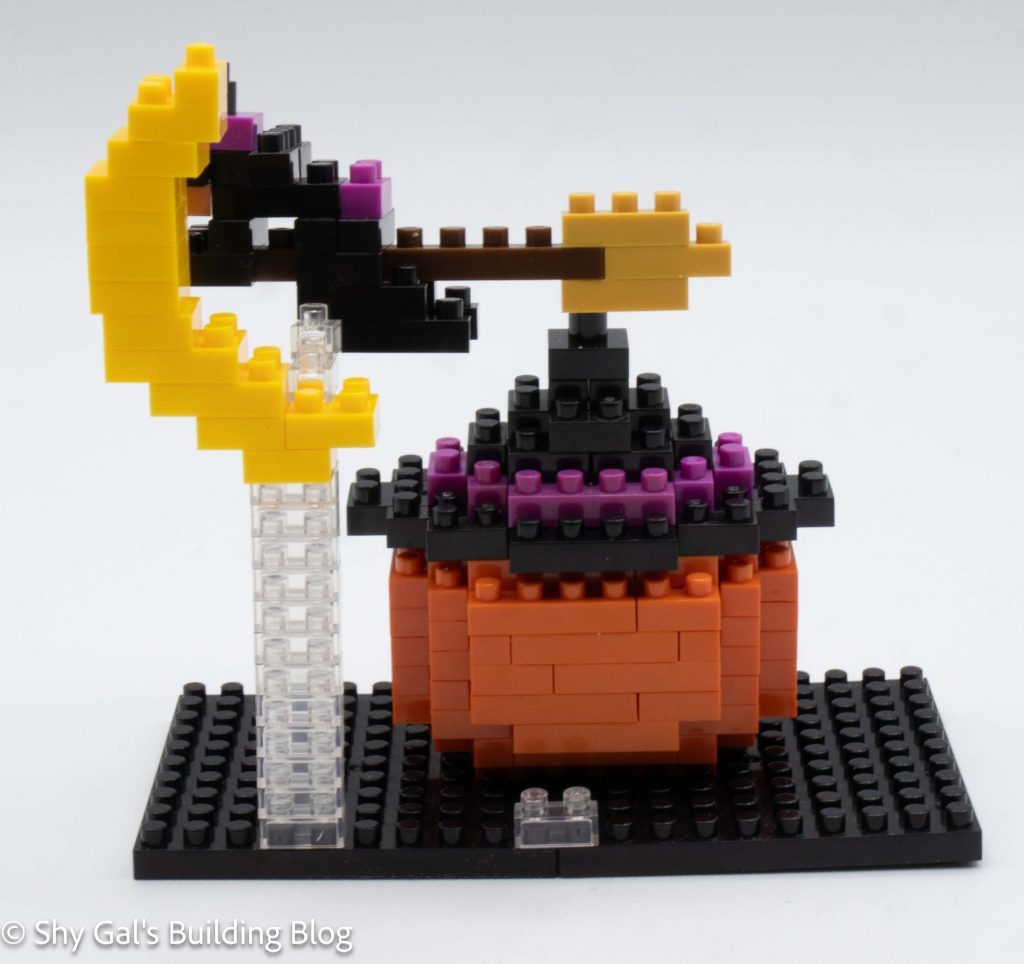
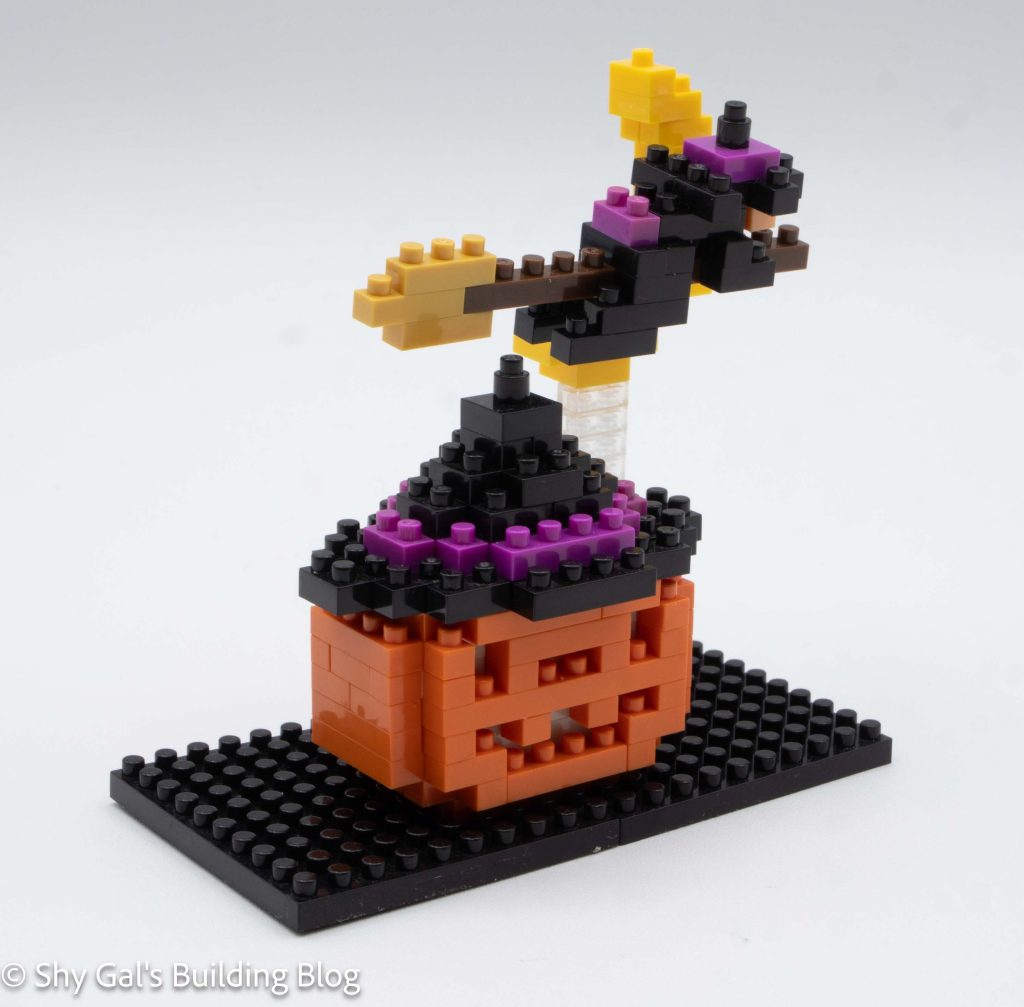
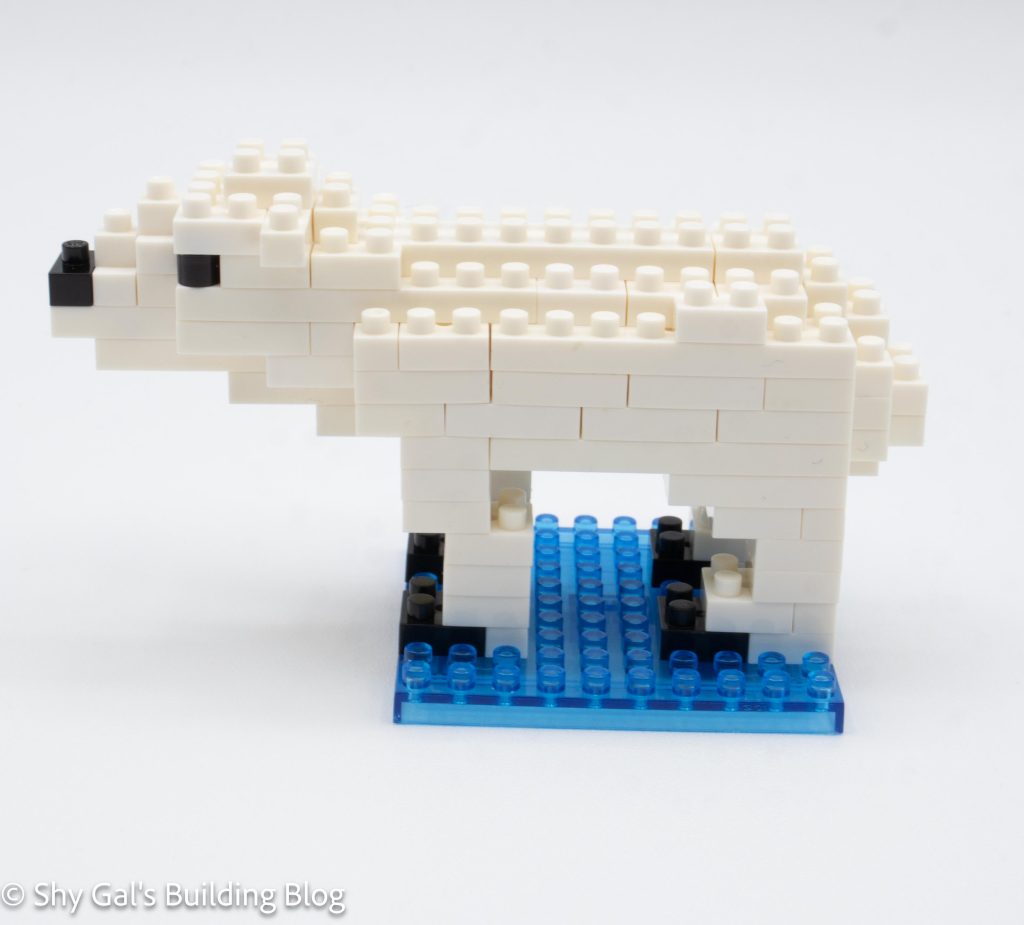
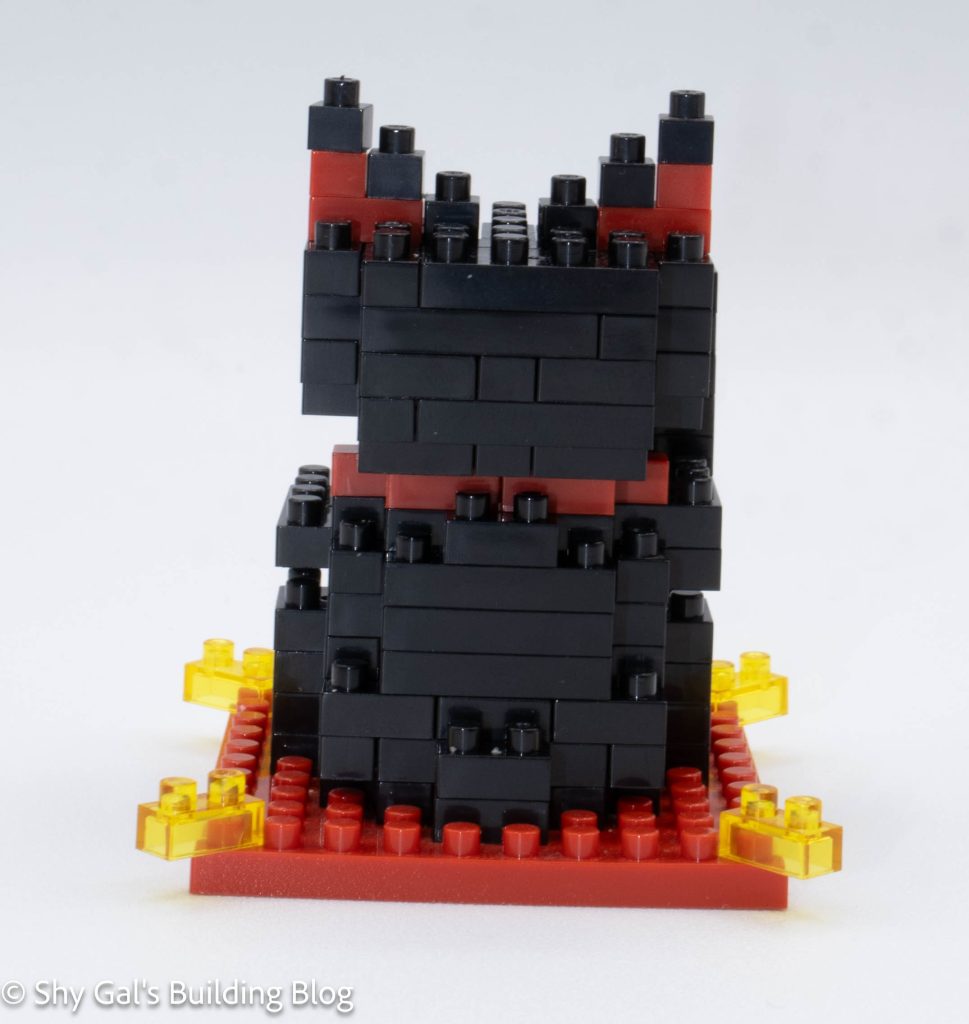
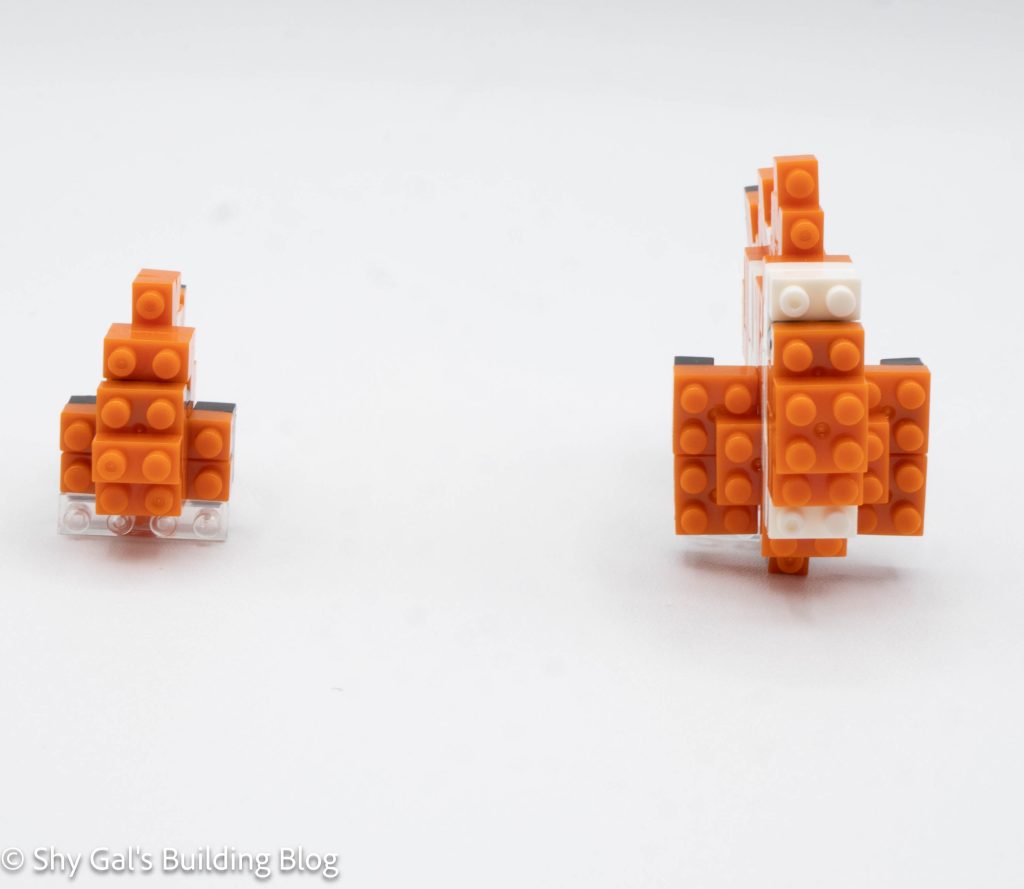
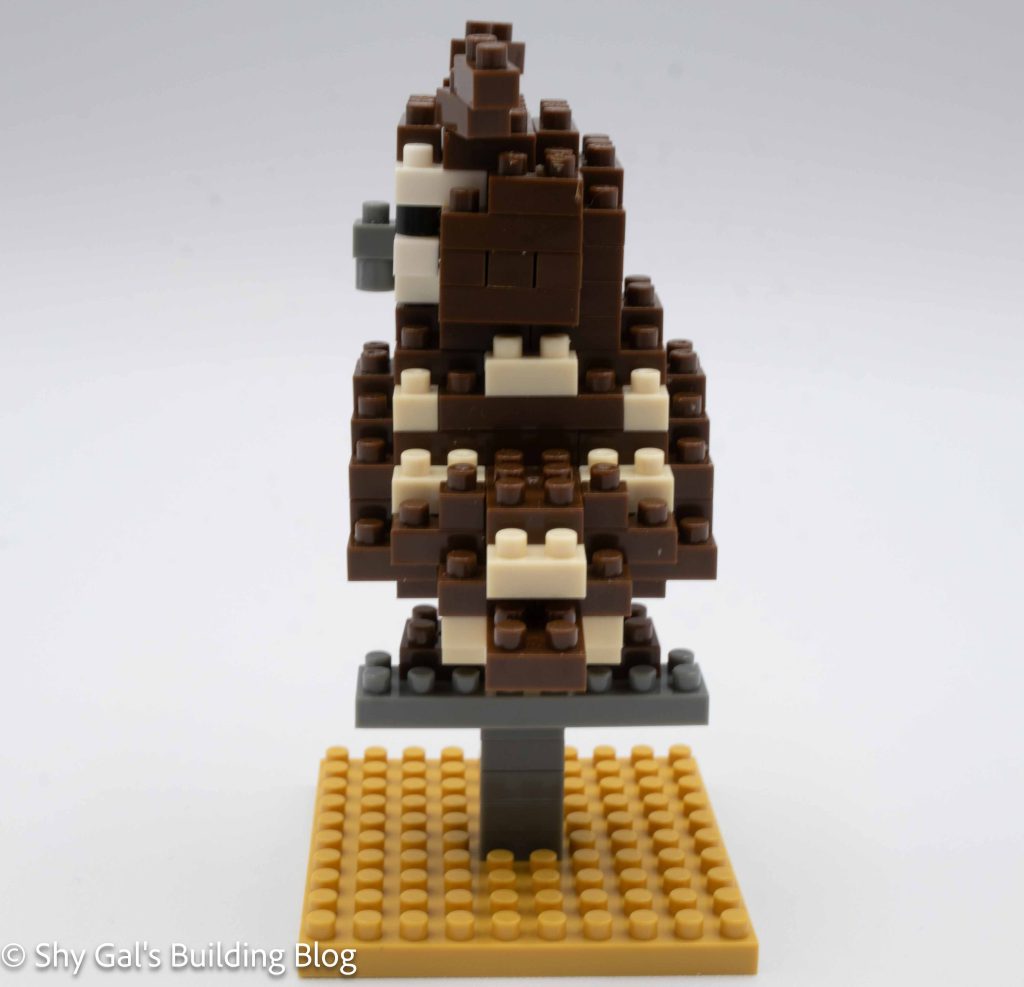
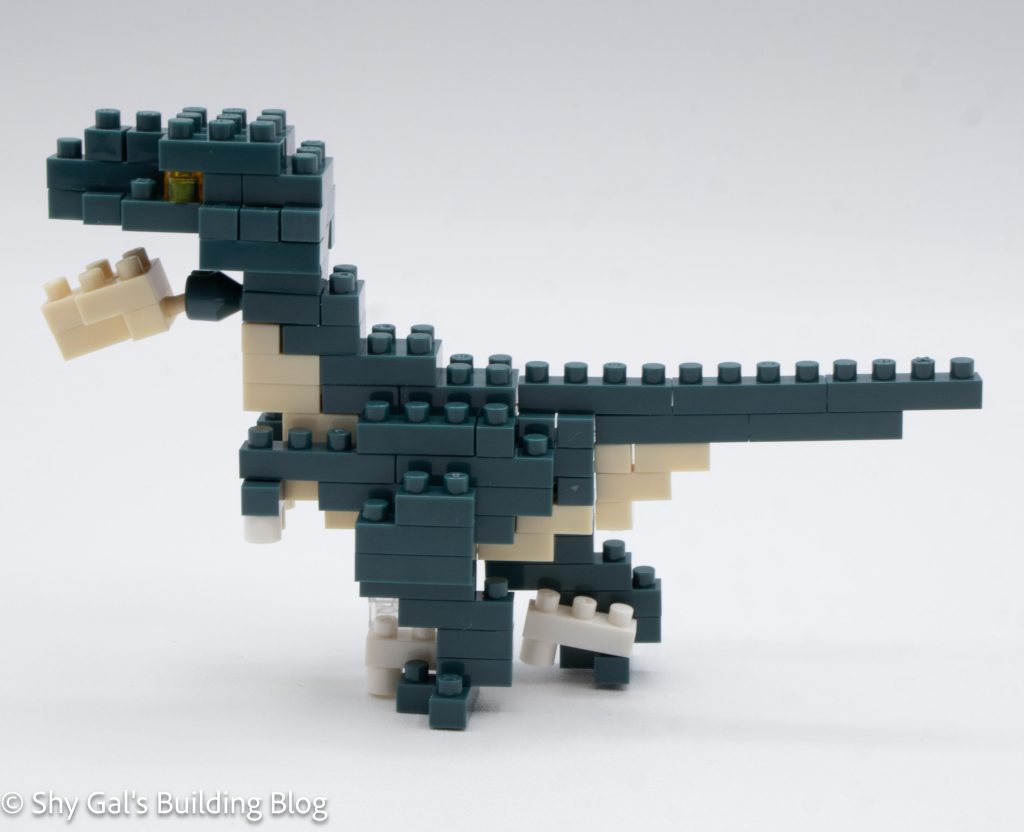
The build begins by building the body. Unlike a lot of builds, the legs are not symmetrical, so the body isn’t the same from side to side. The build goes up in fairly straightforward layers, including adding the front arms.
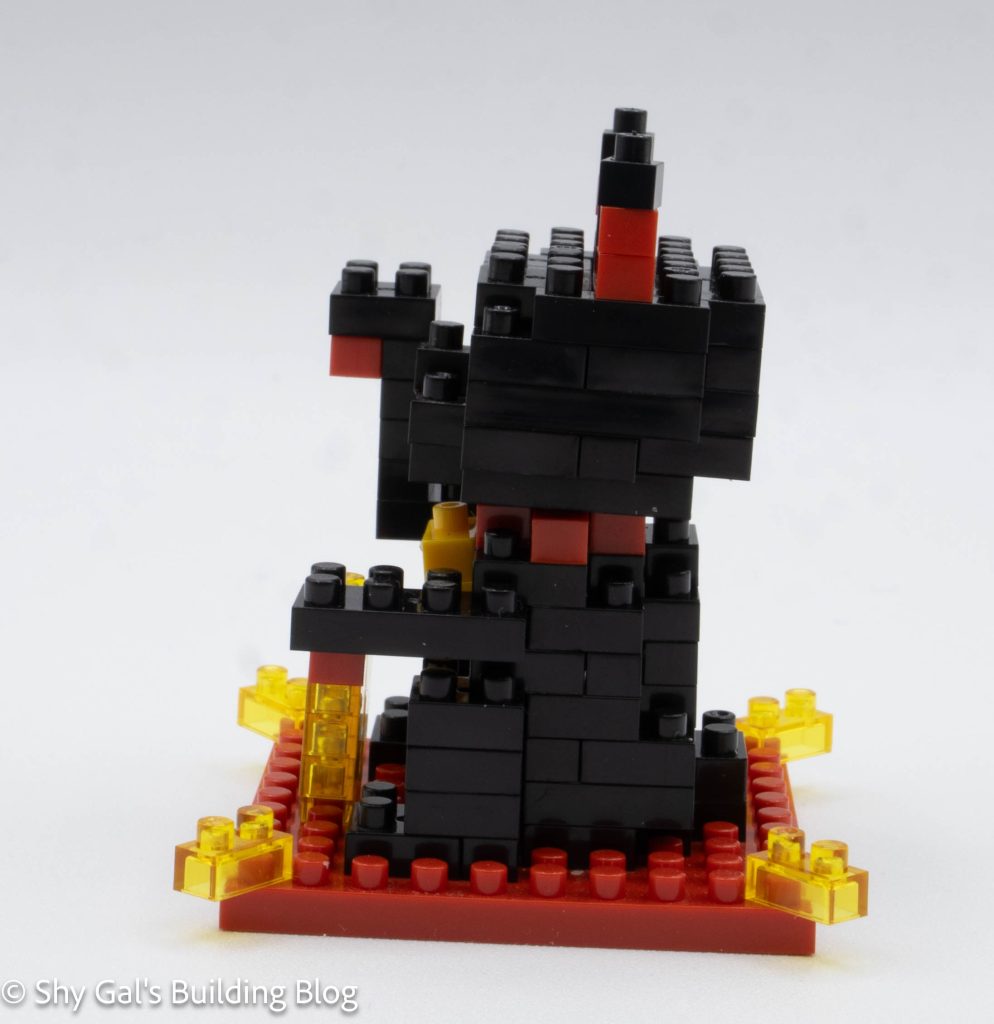
There is a step where the tail is added. I initially missed there was more to the step than just the tail, so I needed to go back and finish the step. I think it’s because the additional instructions were on the edge; I missed them.
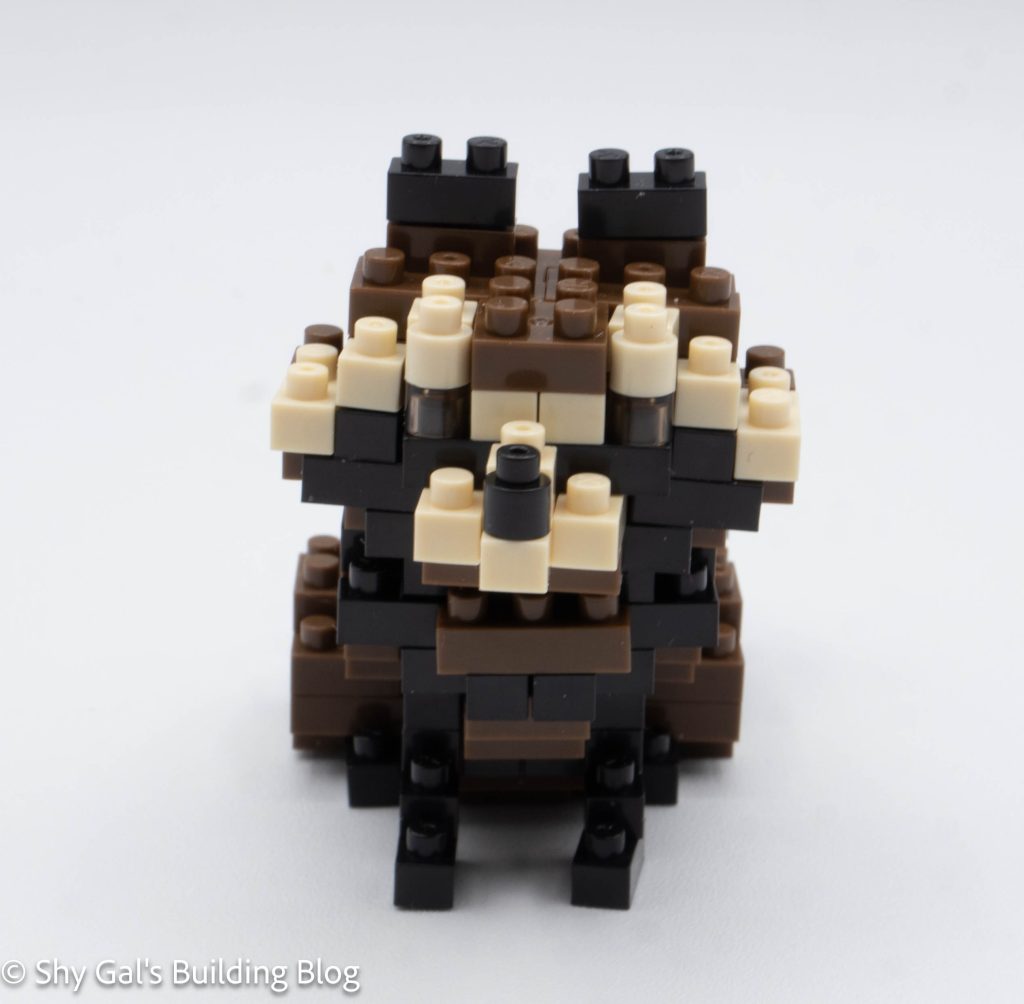
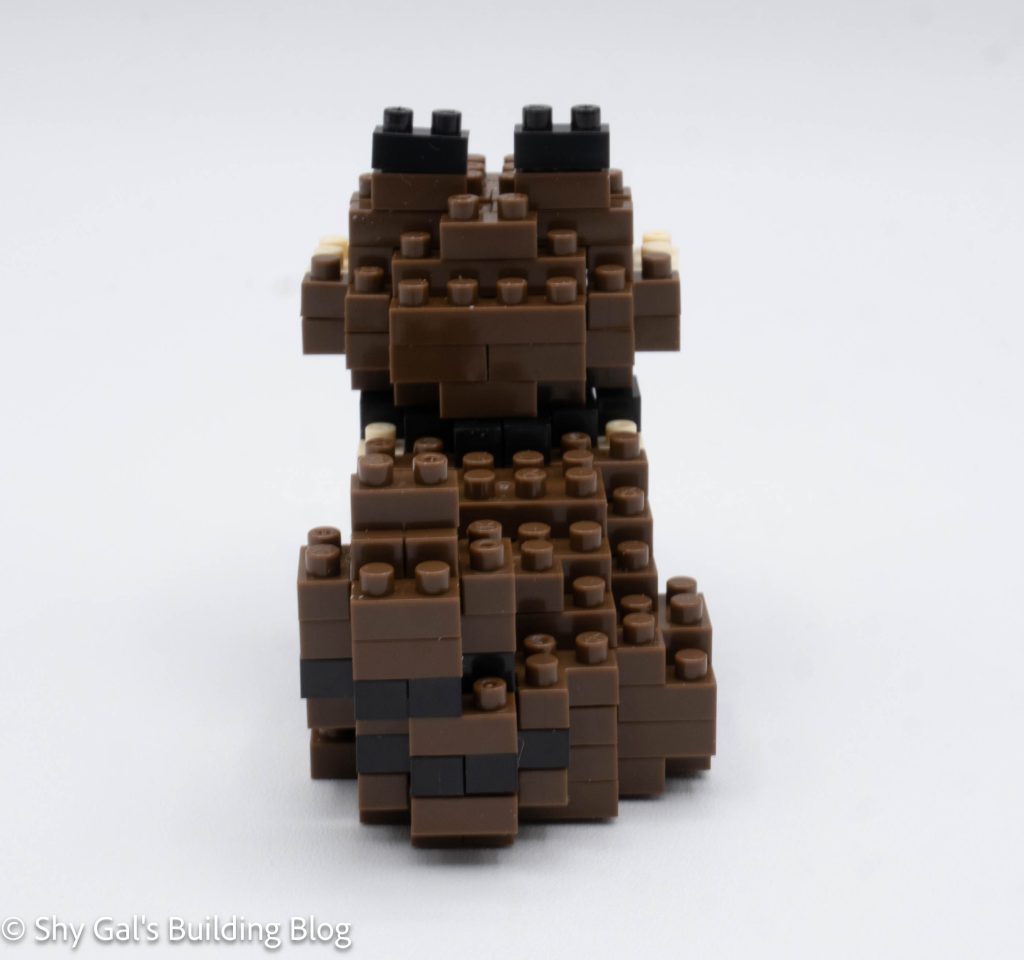
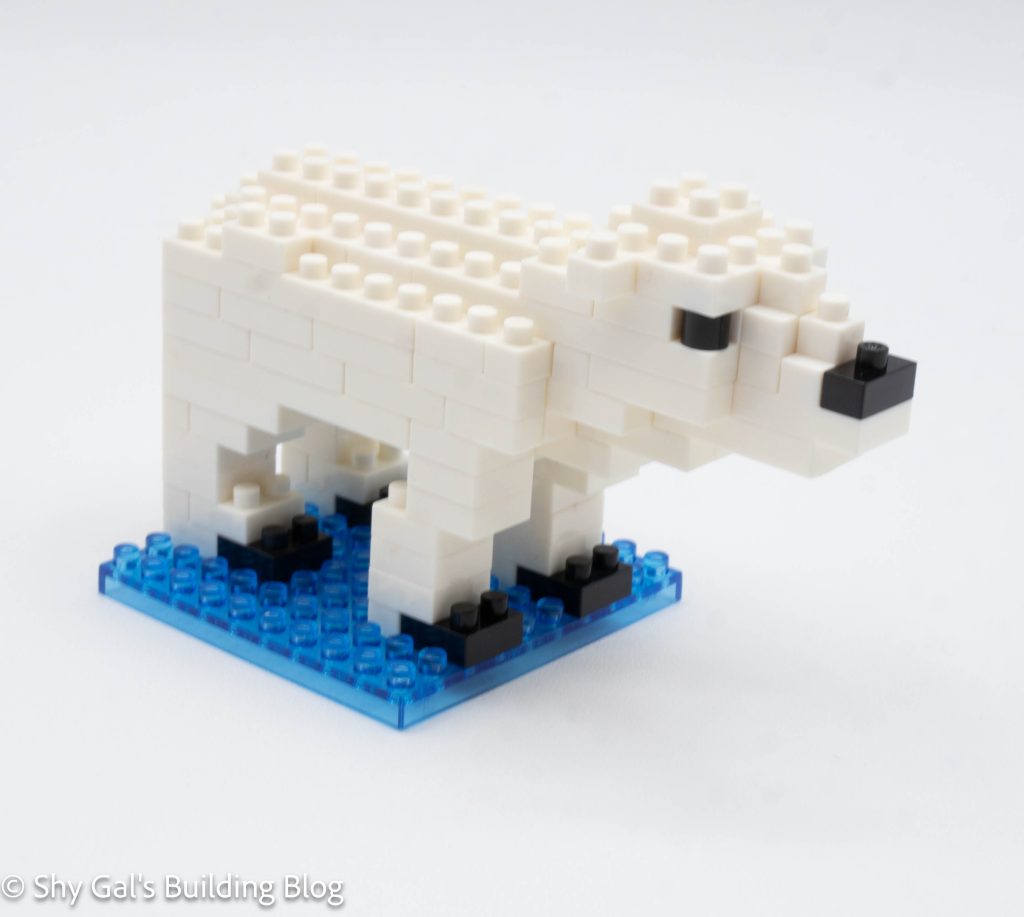
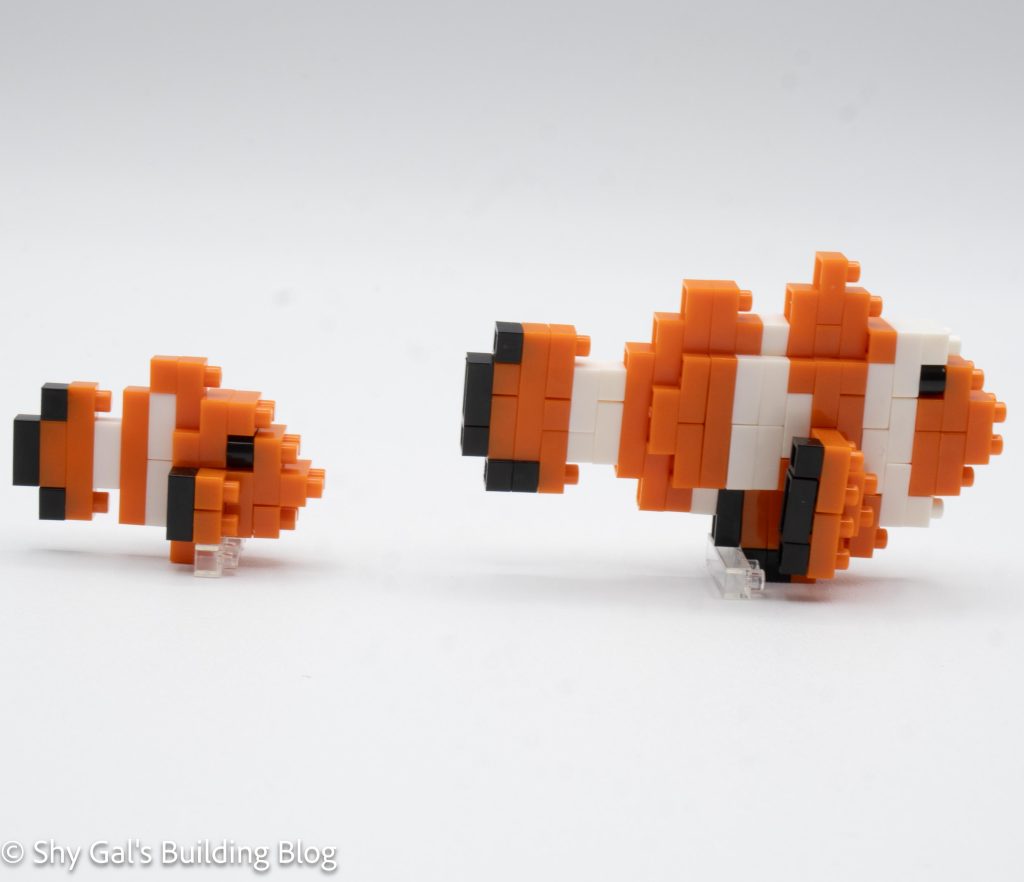
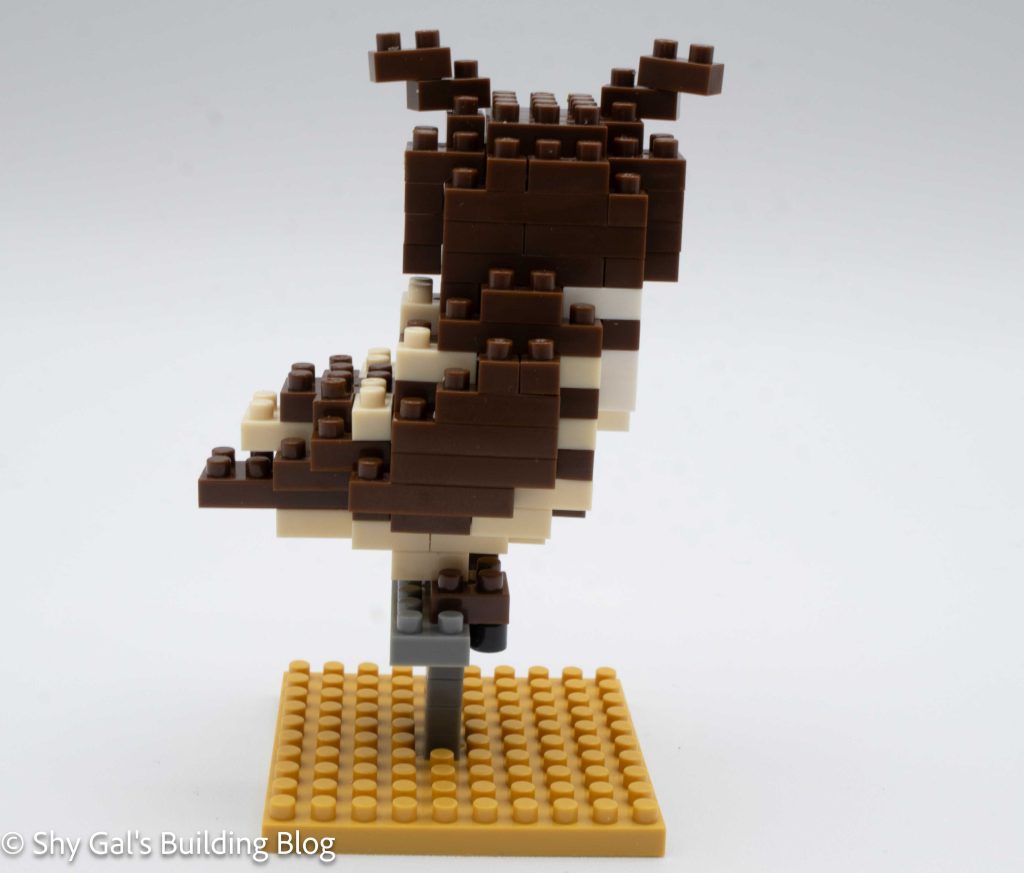
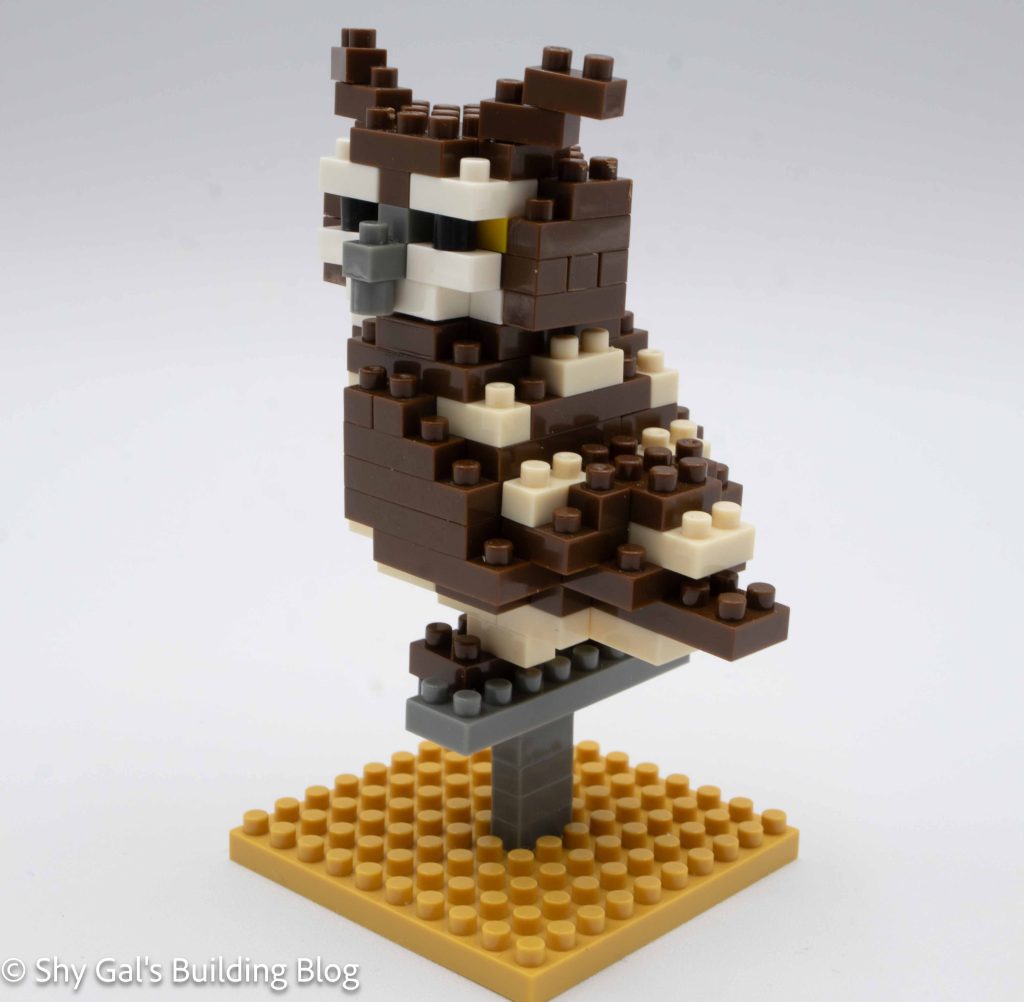
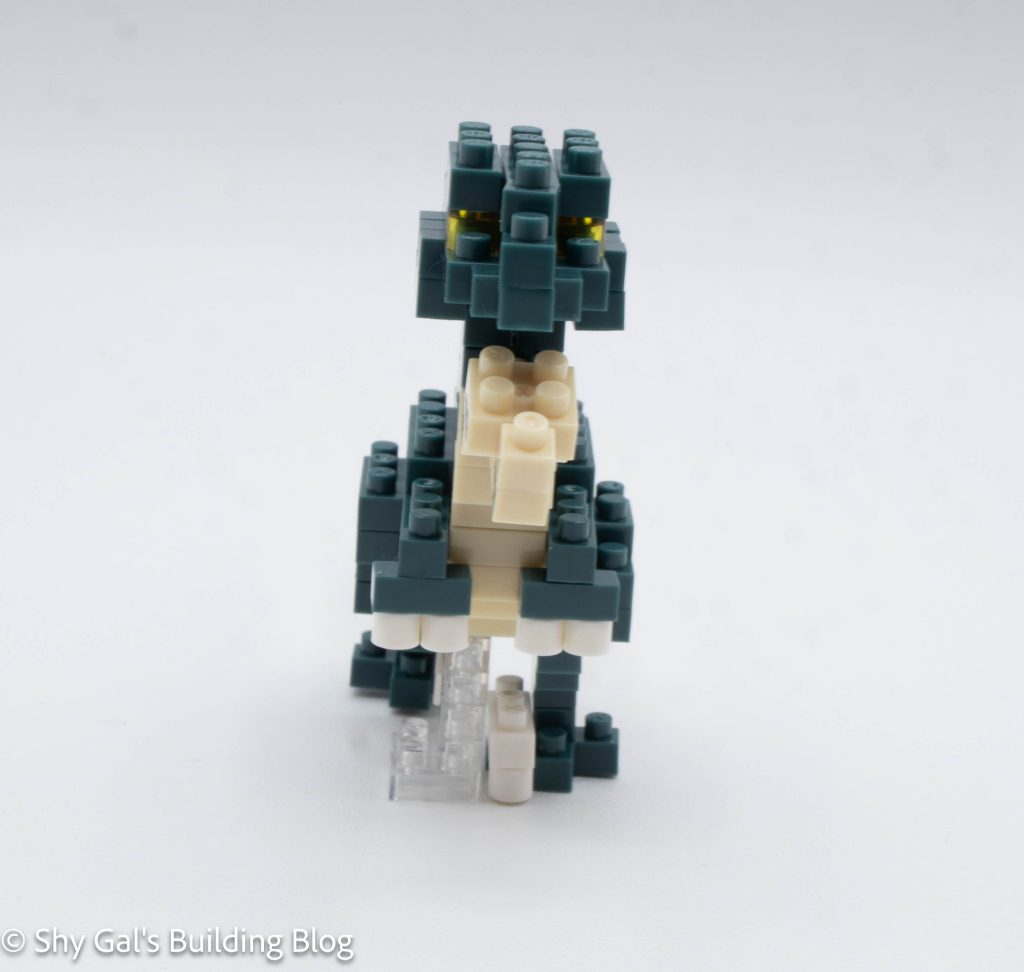
Then, the head is built. The head is fairly straightforward, other than most of the build being off-center. The head is then attached to the head. I found the directions for where to add the head as really rough. It wasn’t clear where to attach the head to the body. I think if they had given a different view of the Dinonix, it would be much clearer how to attach the head.
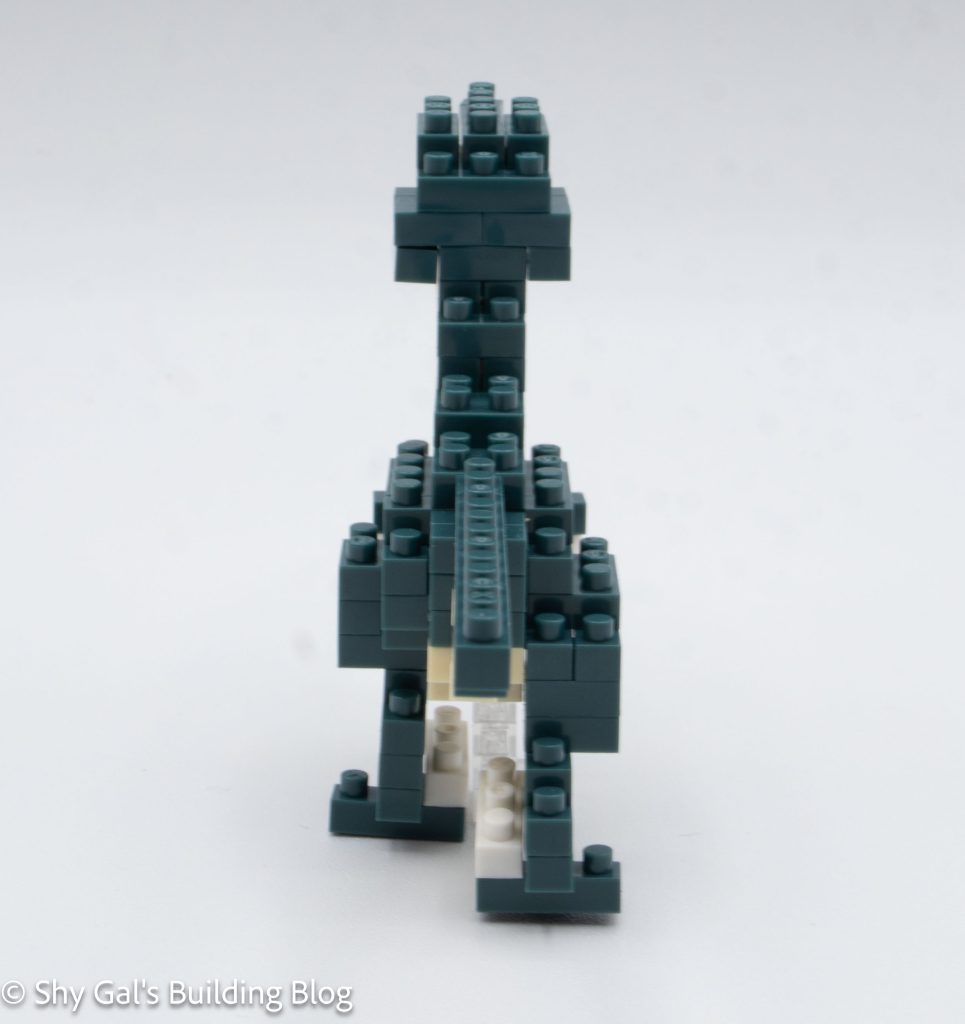
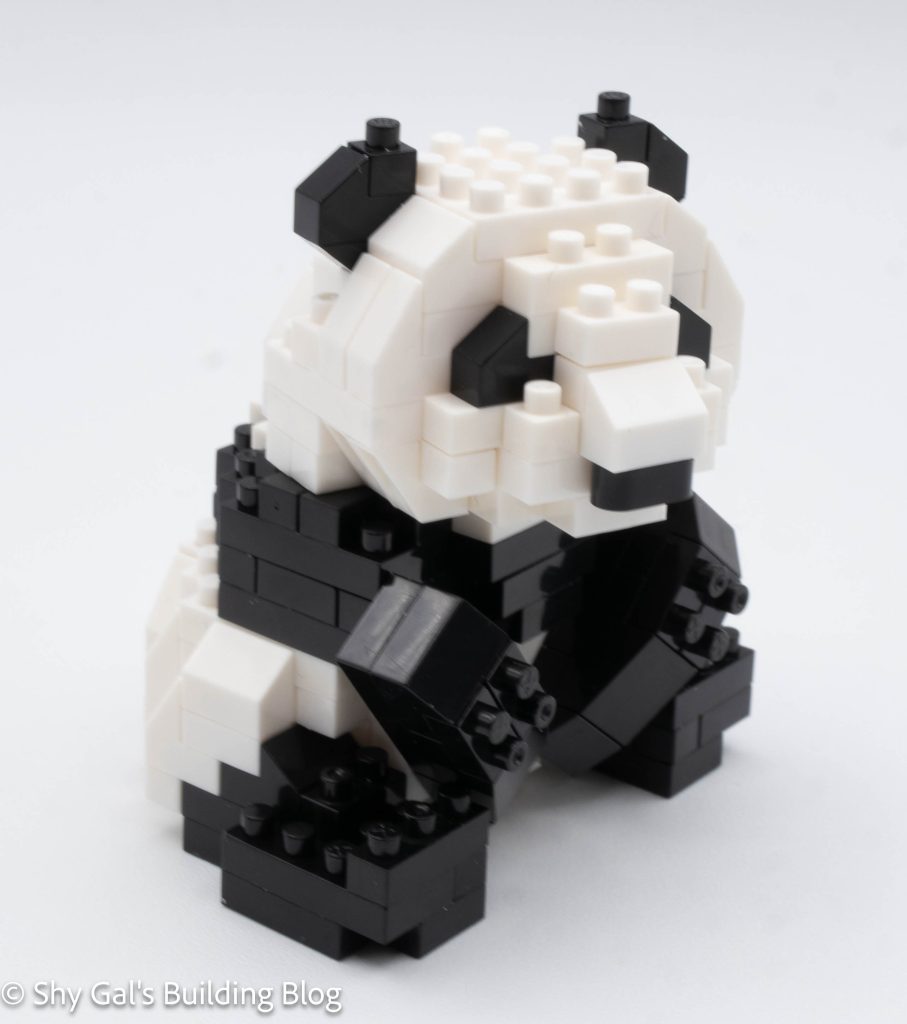
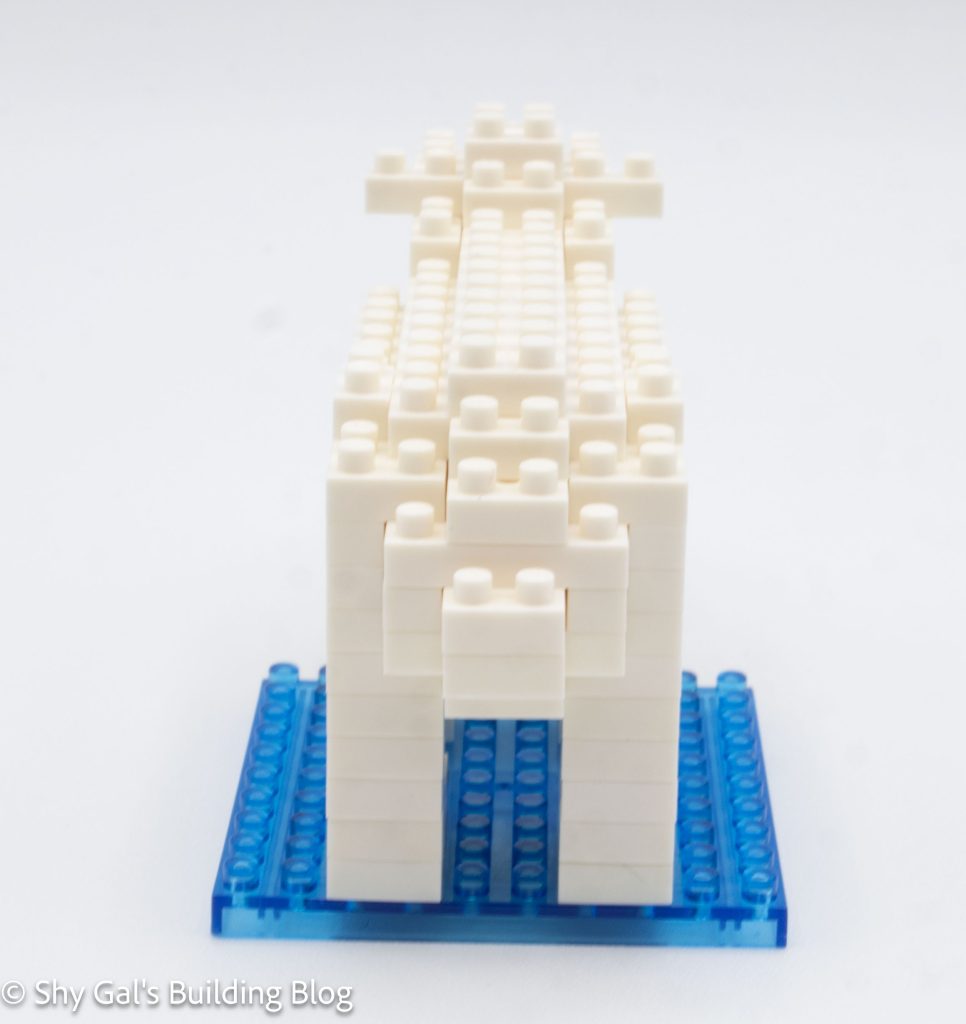
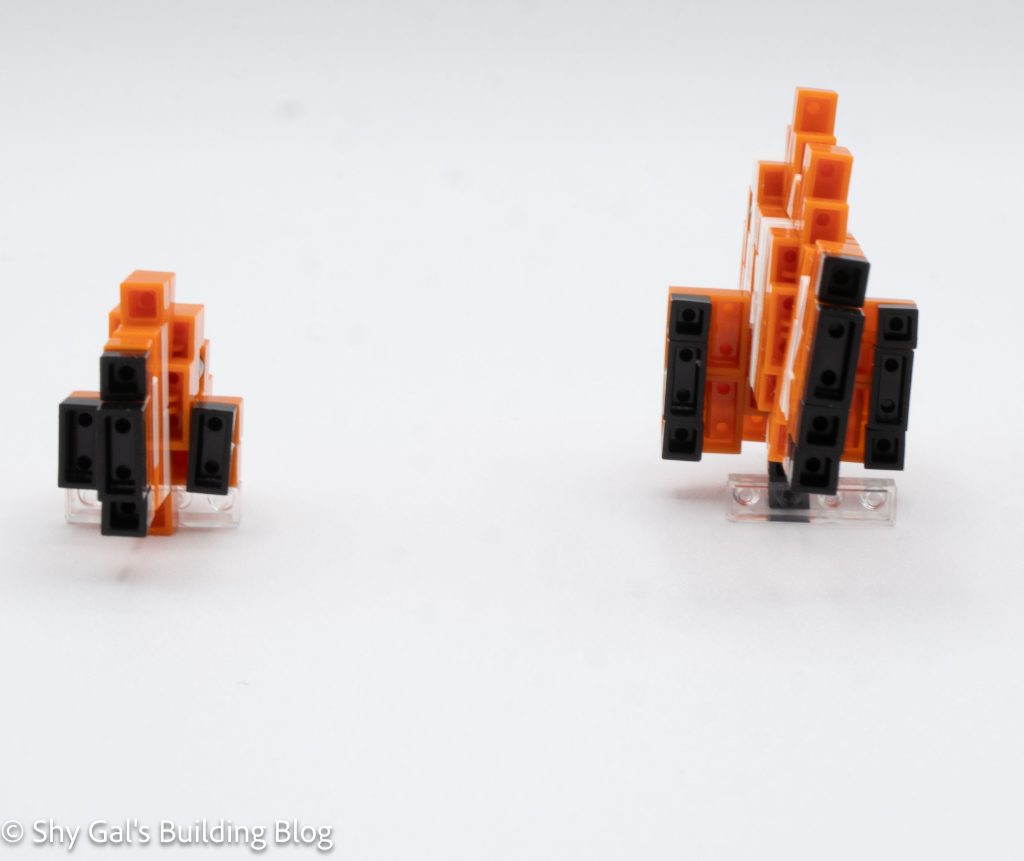
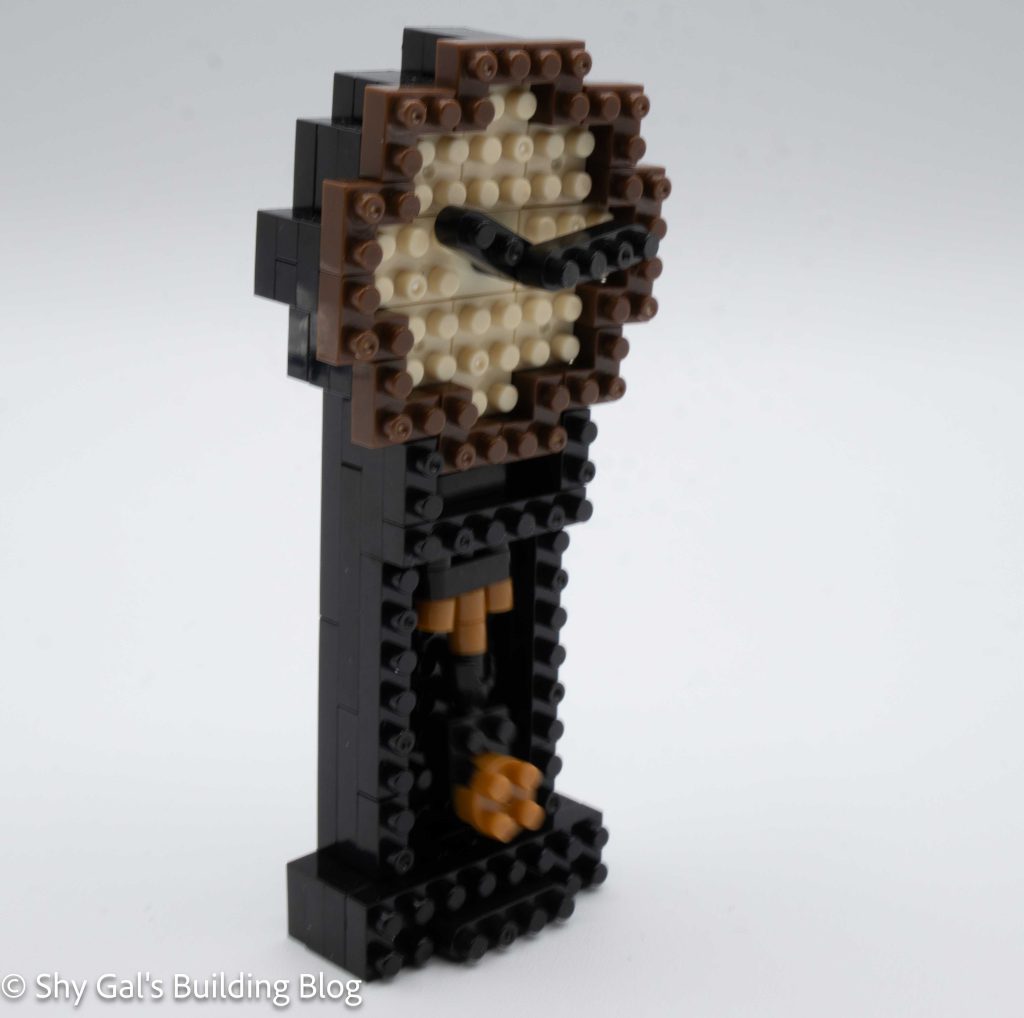
The last step is to build the legs. They are a bit tricky because there are bricks just hanging out and hanging off the legs. The legs are not symmetrical, which is a nice detail to the build.
Things I liked:
- I like that the legs are not symmetrical. This is a nice detail to the build
Things I didn’t like:
- I didn’t like the directions for attaching the head to the body