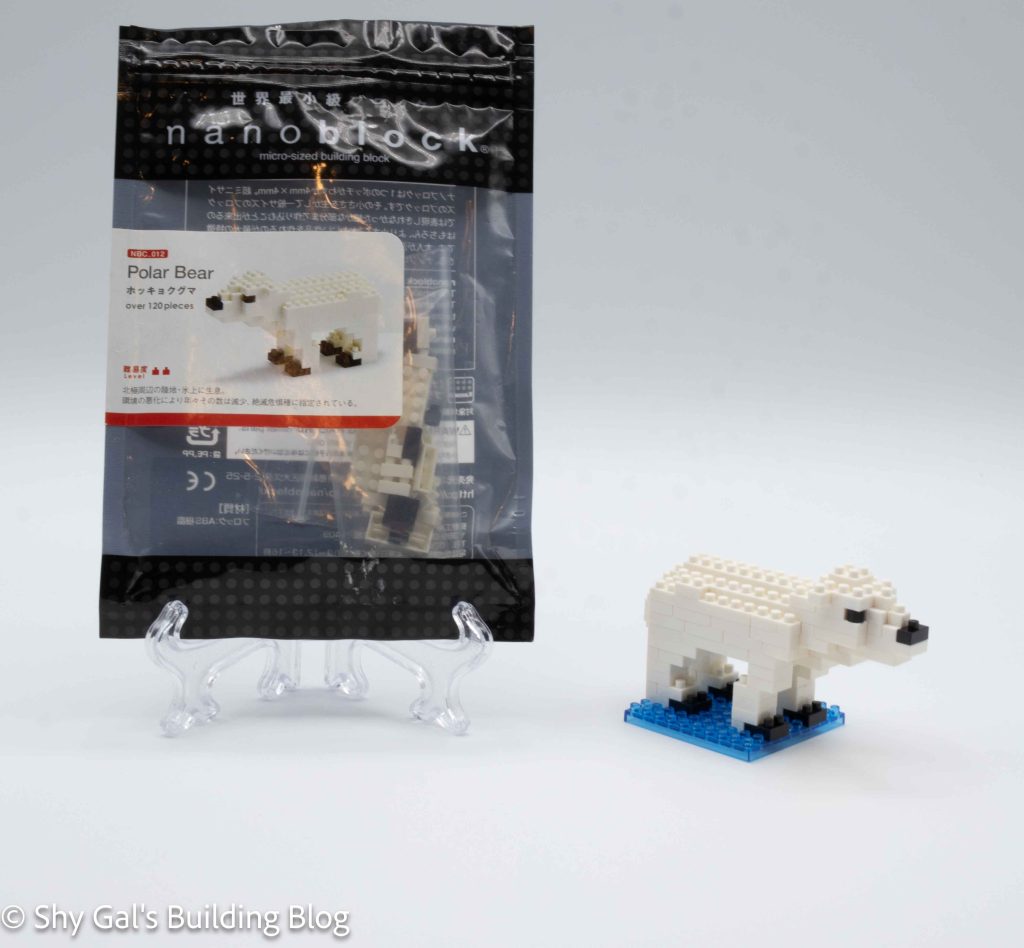
This post is a review of the nanoblock Polar Bear build. Polar Bear is part of the nanoblock Mini Collection series. Wondering what else is part of the Mini Collection? Click here for a list.
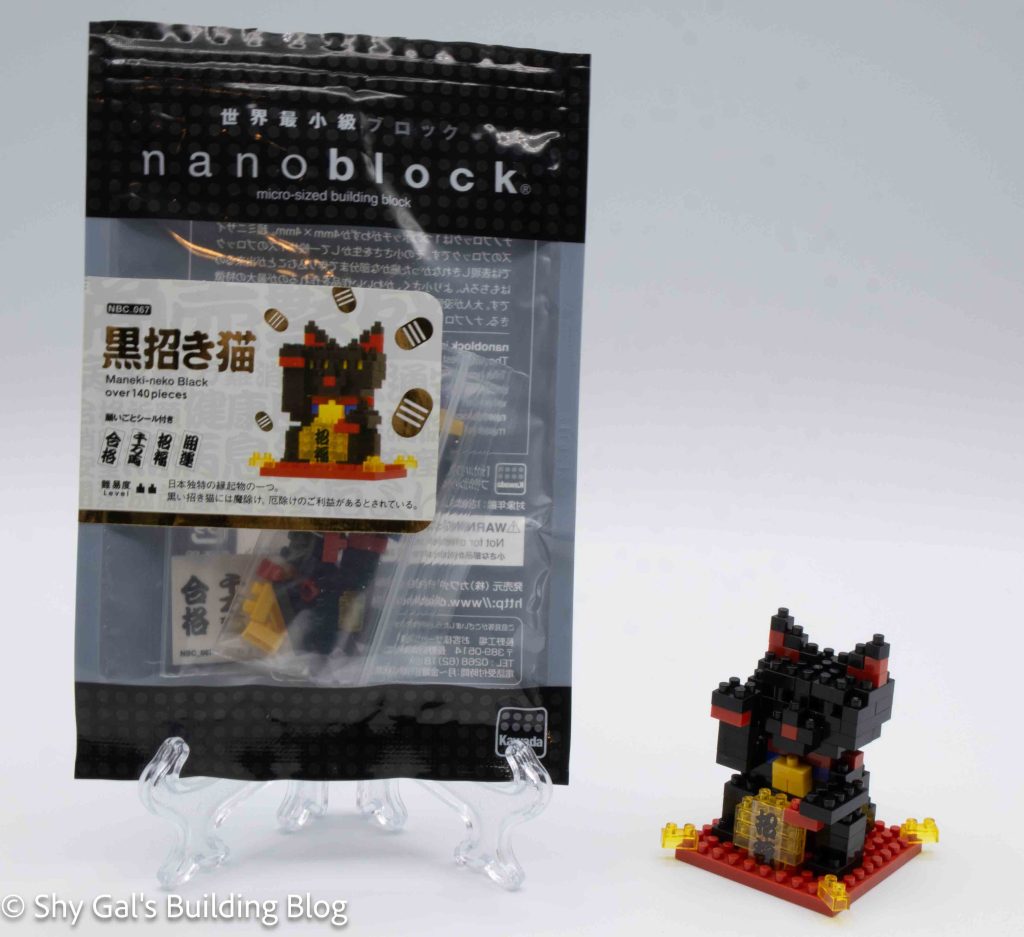
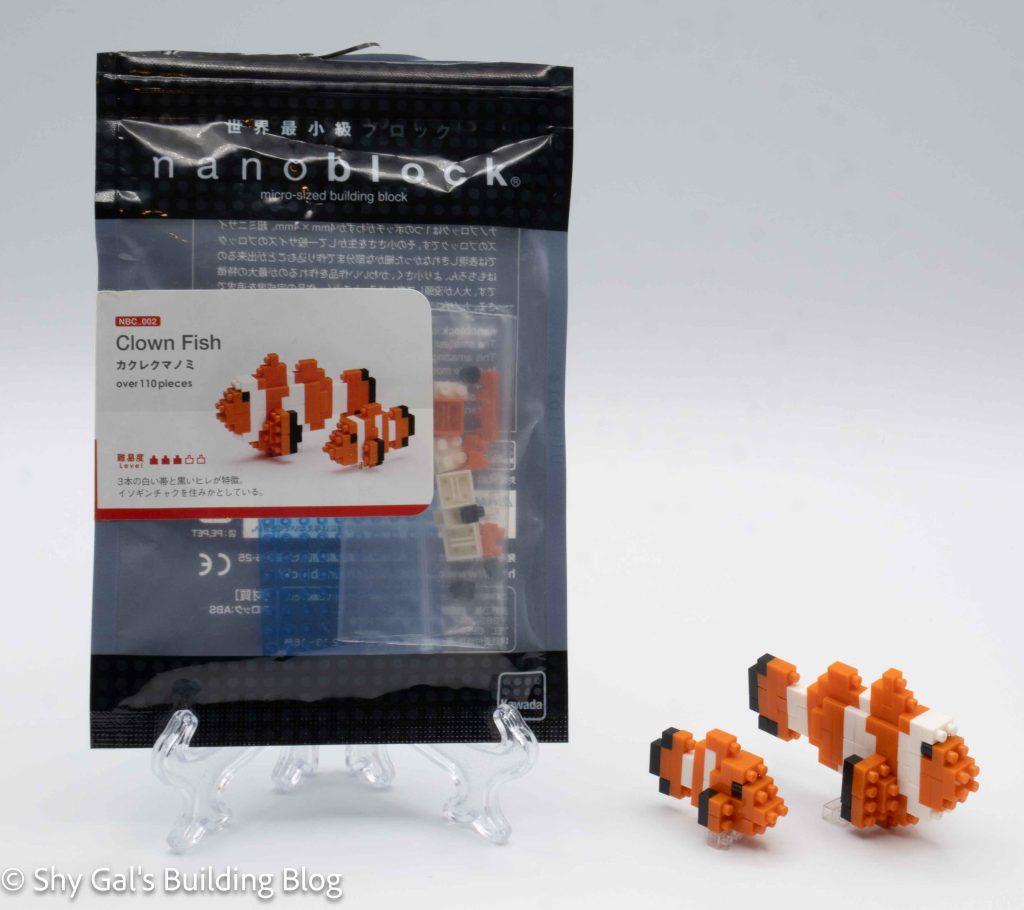
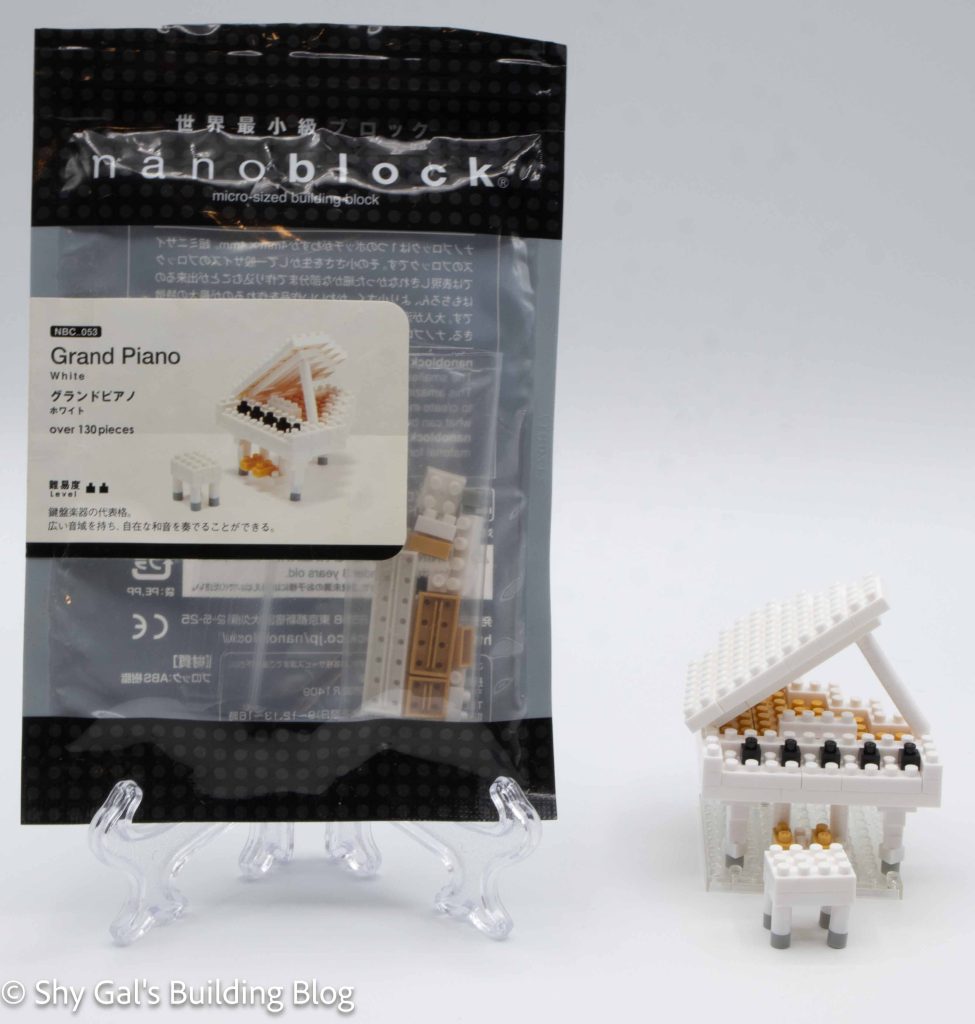
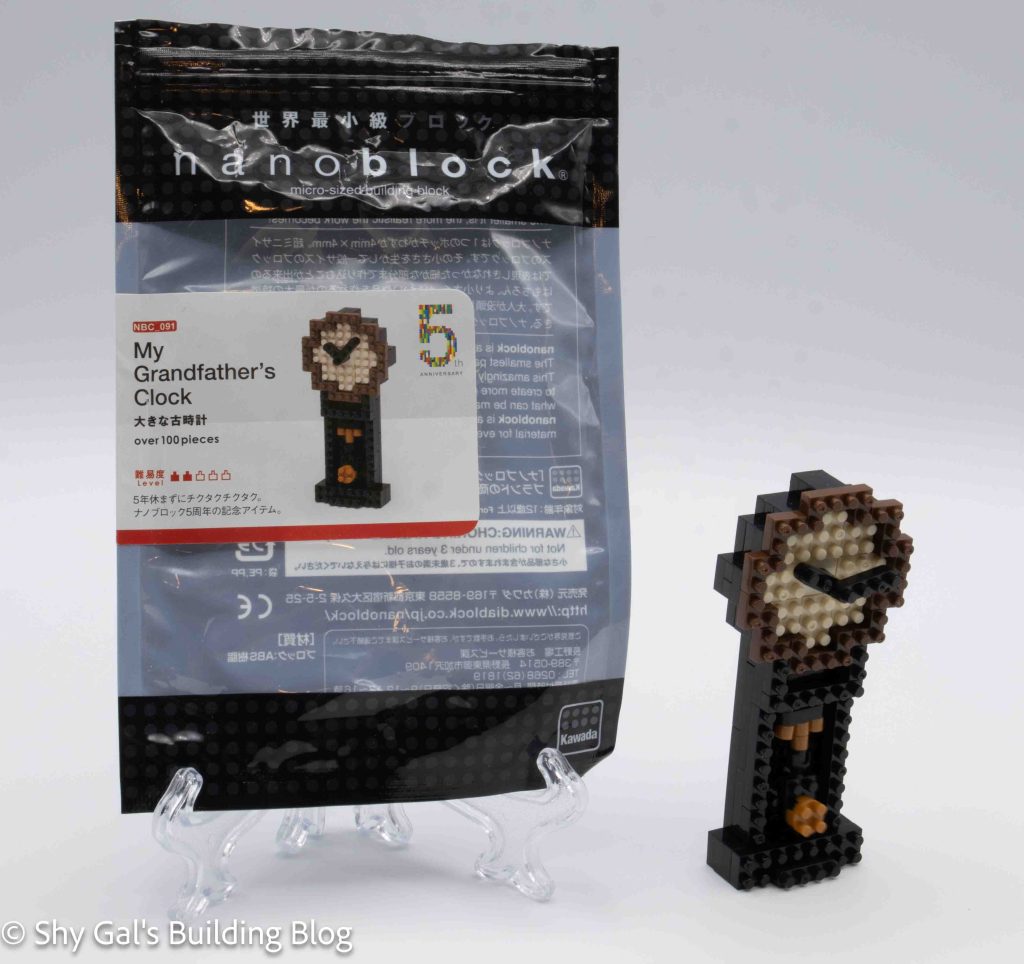
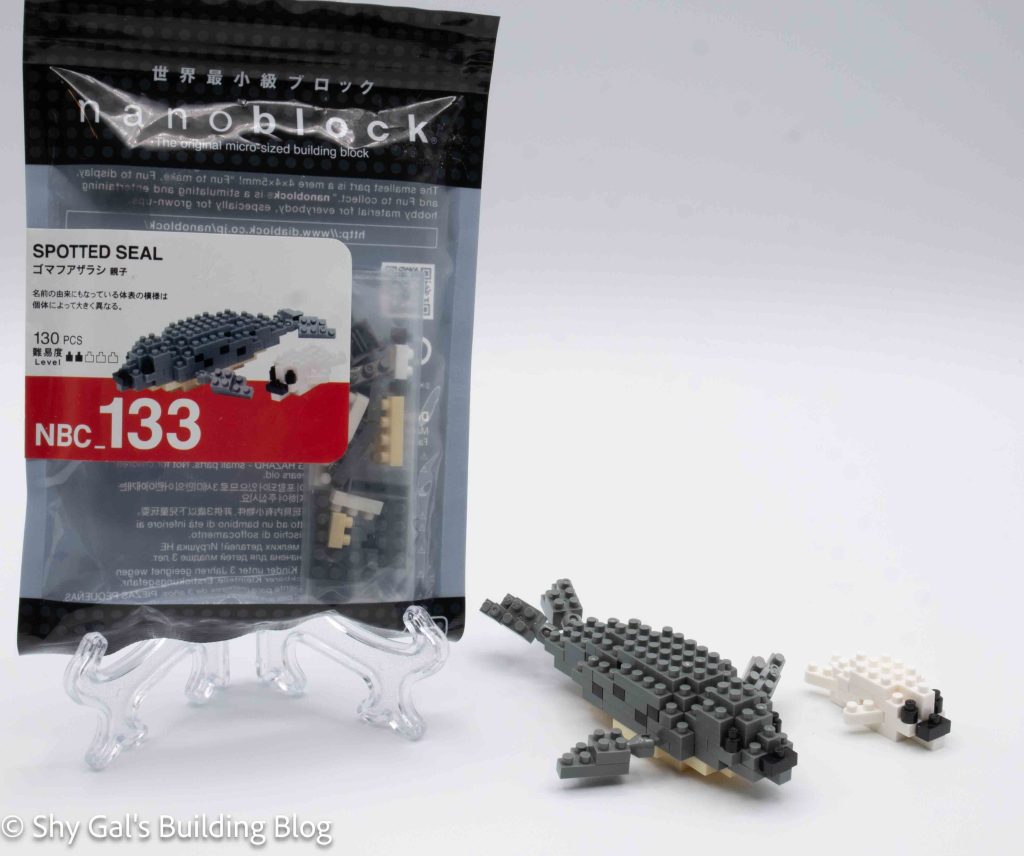
Number: NBC_012
Number of Pieces: 120
Difficulty Rating: 2
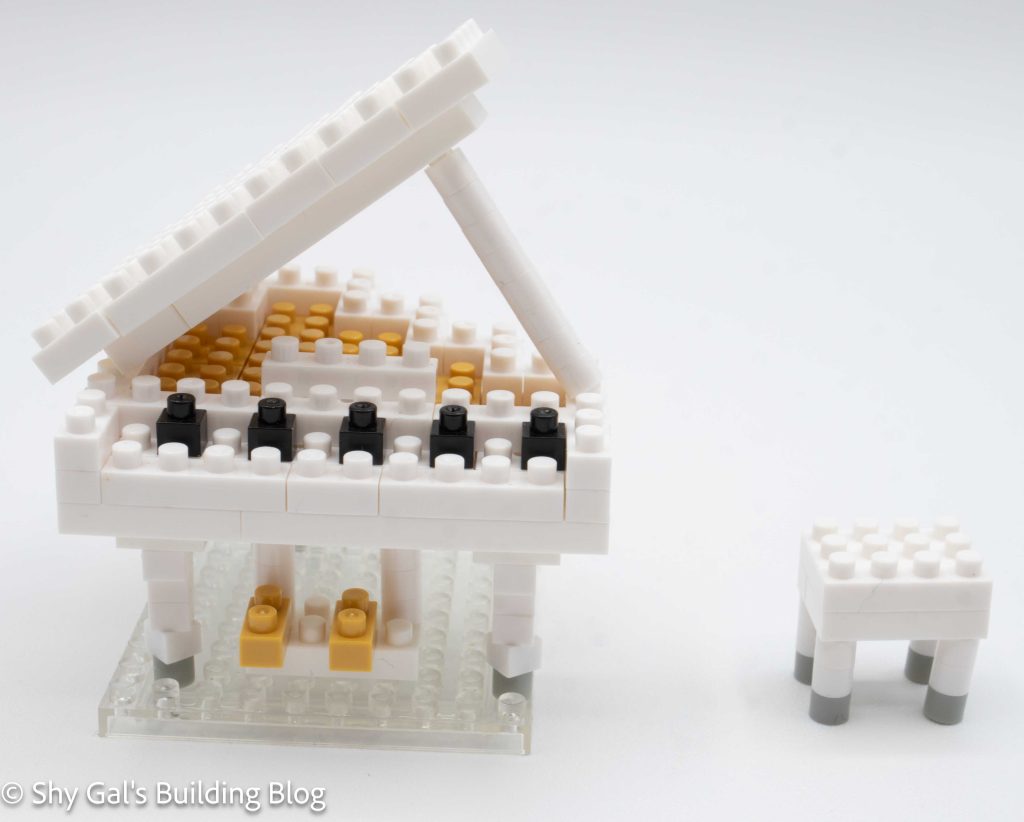
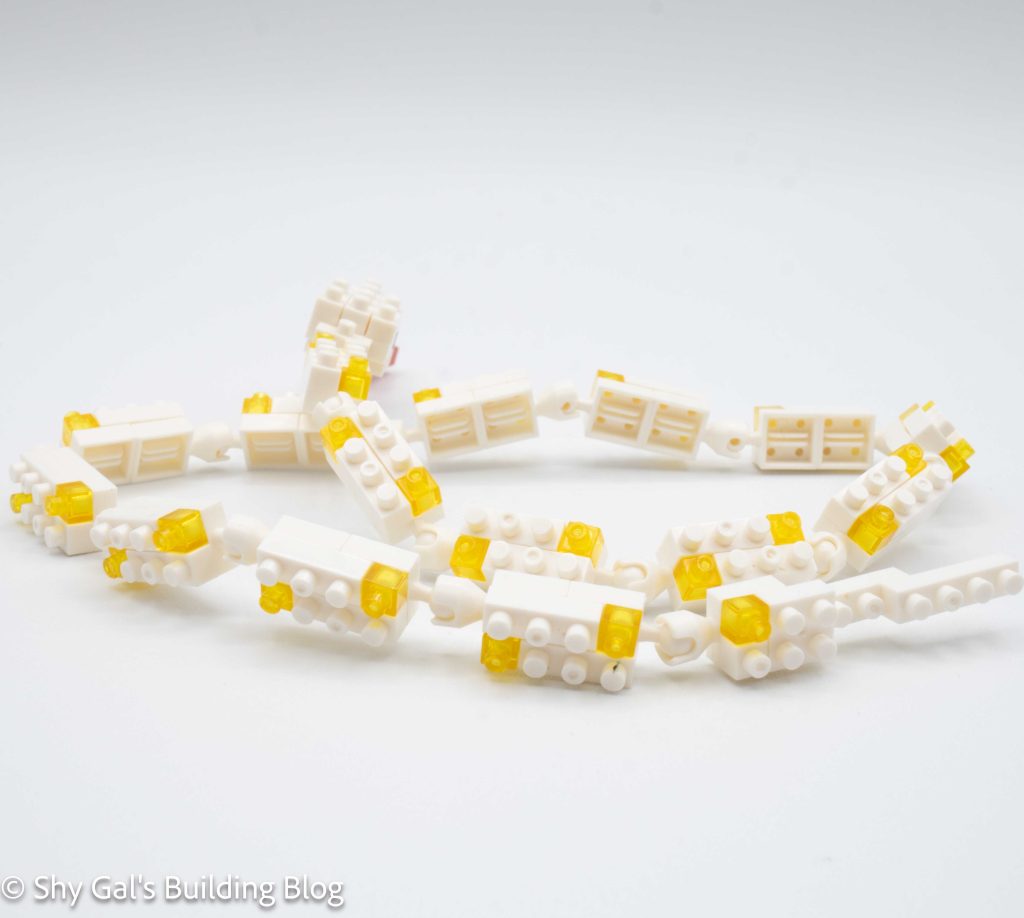
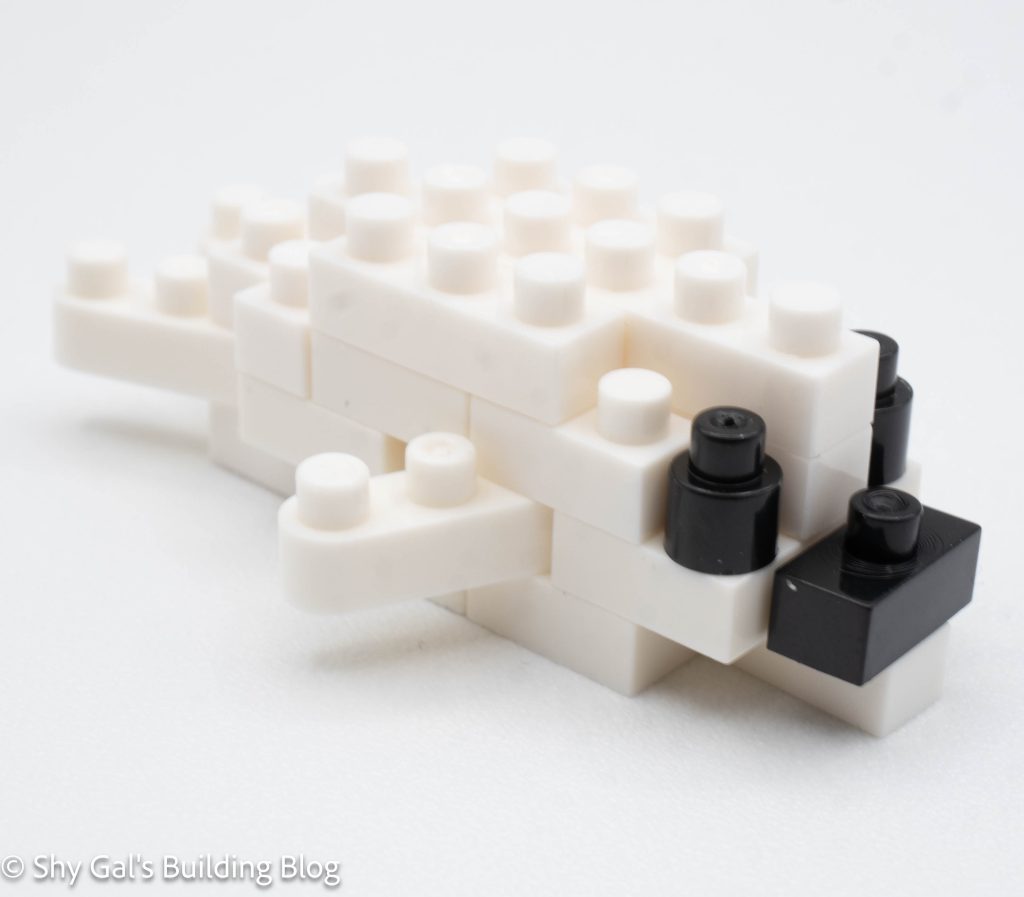
I bought this kit used, knowing I would at least get the instructions. I ended additionally getting all the bricks to complete the kit. Sadly, however, the white has become yellow with age. The discolored bricks may be visible in my photographs.
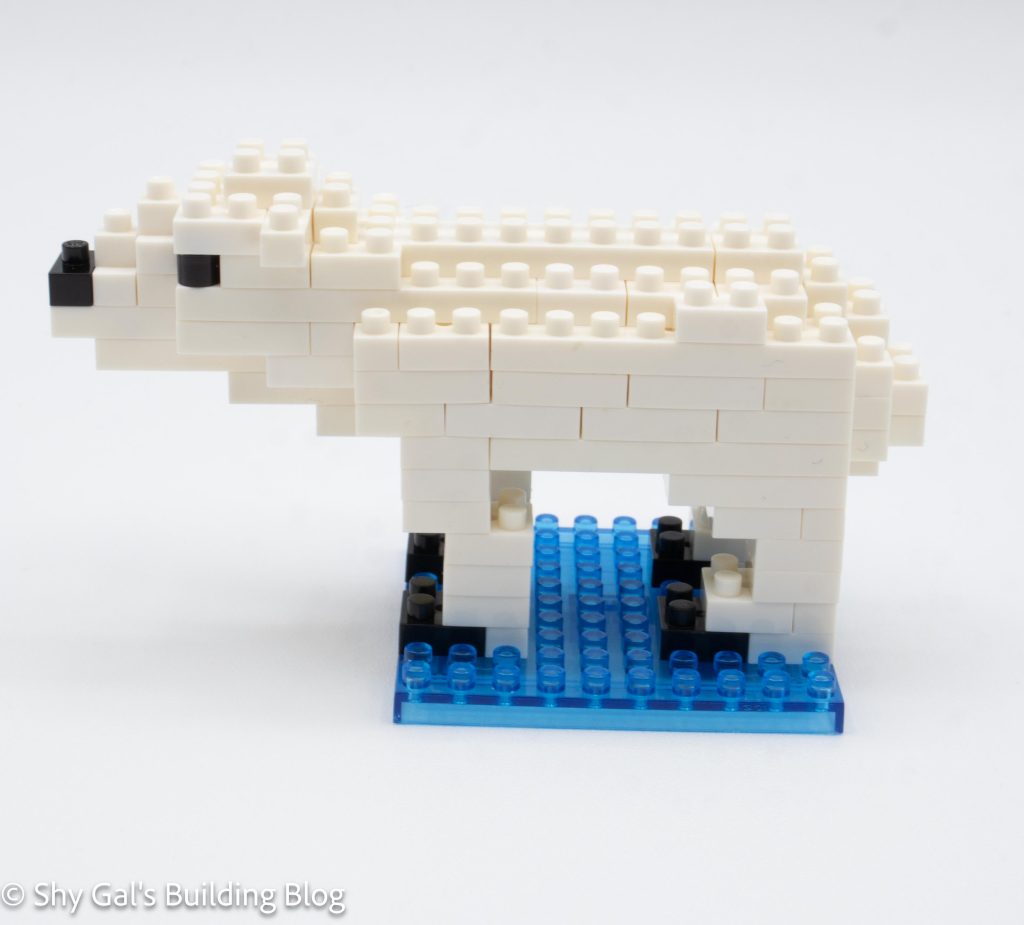
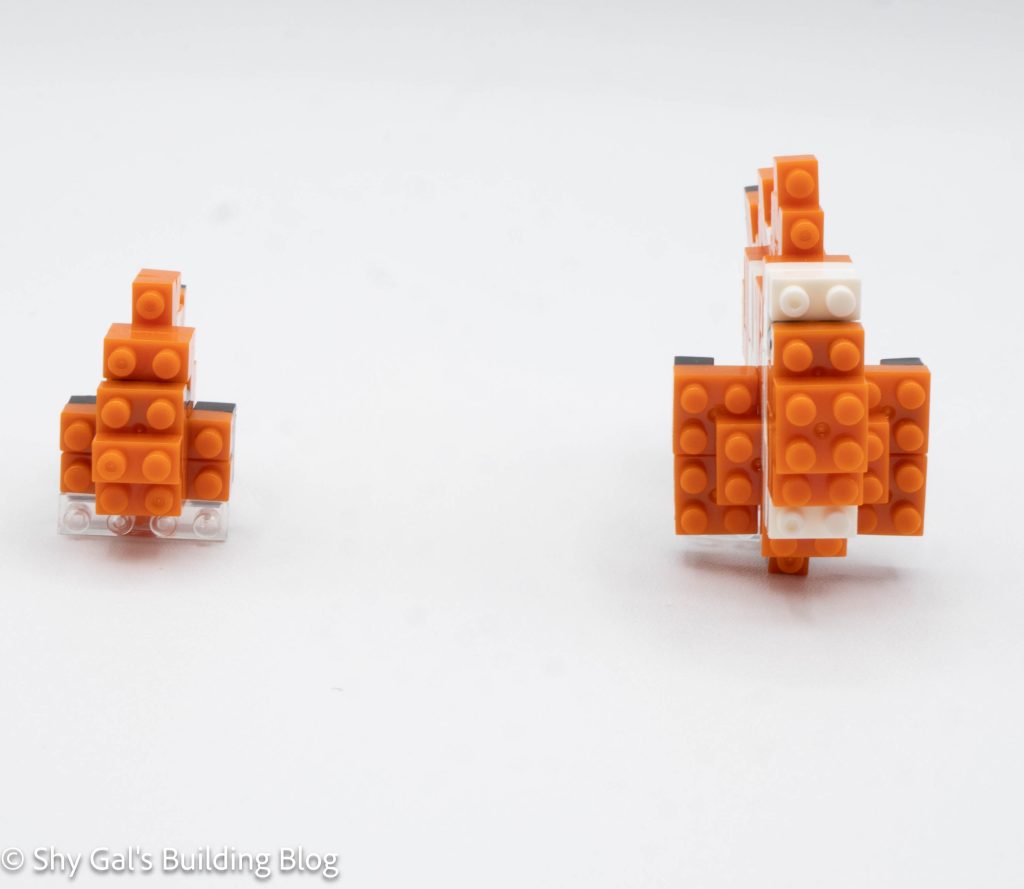
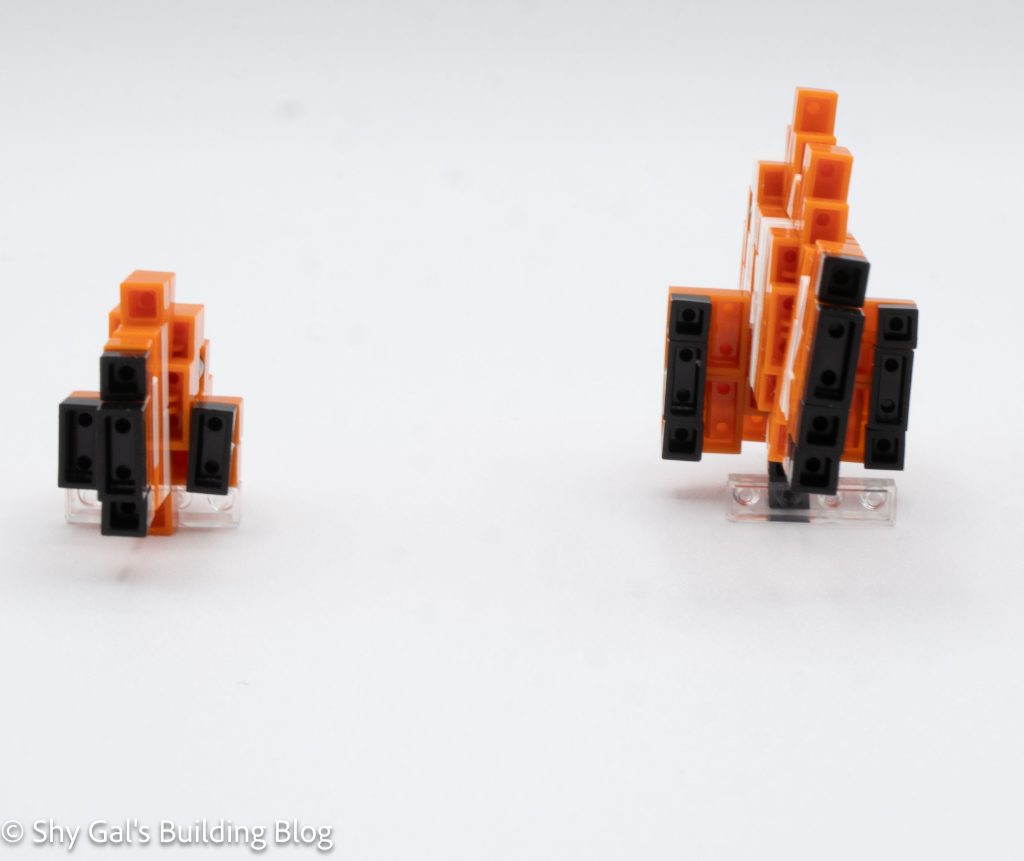
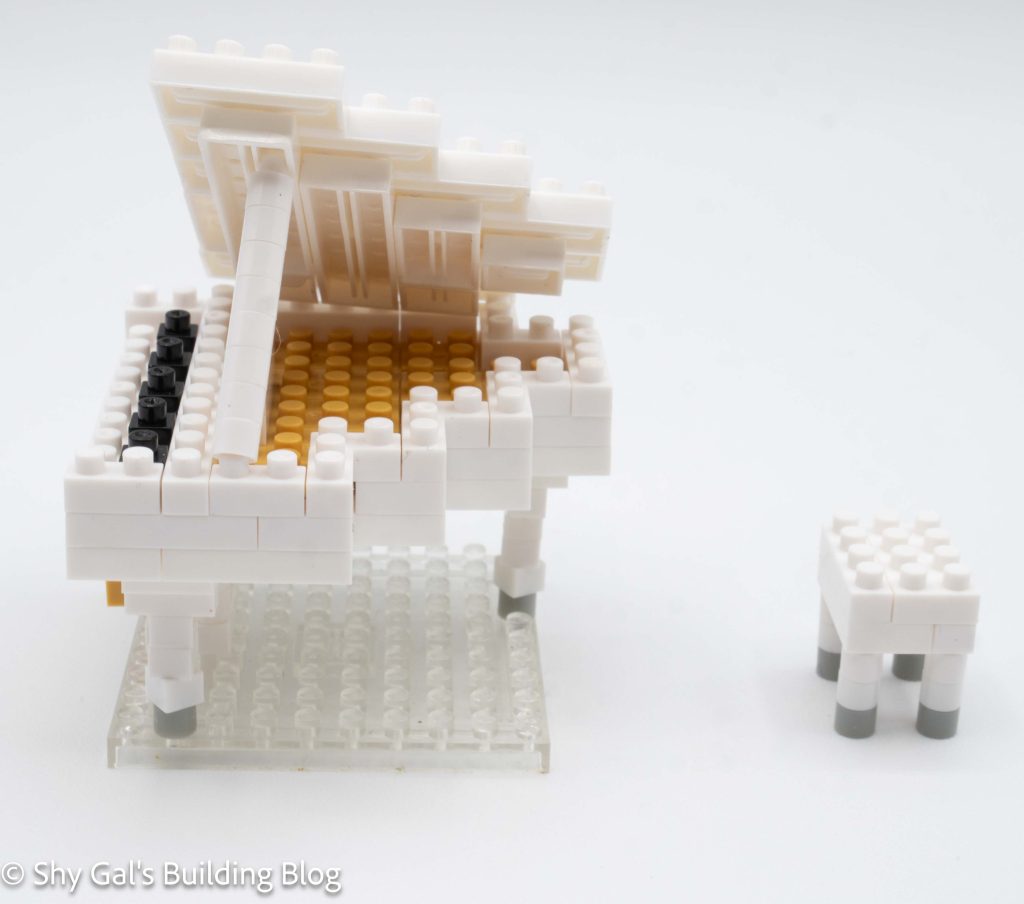
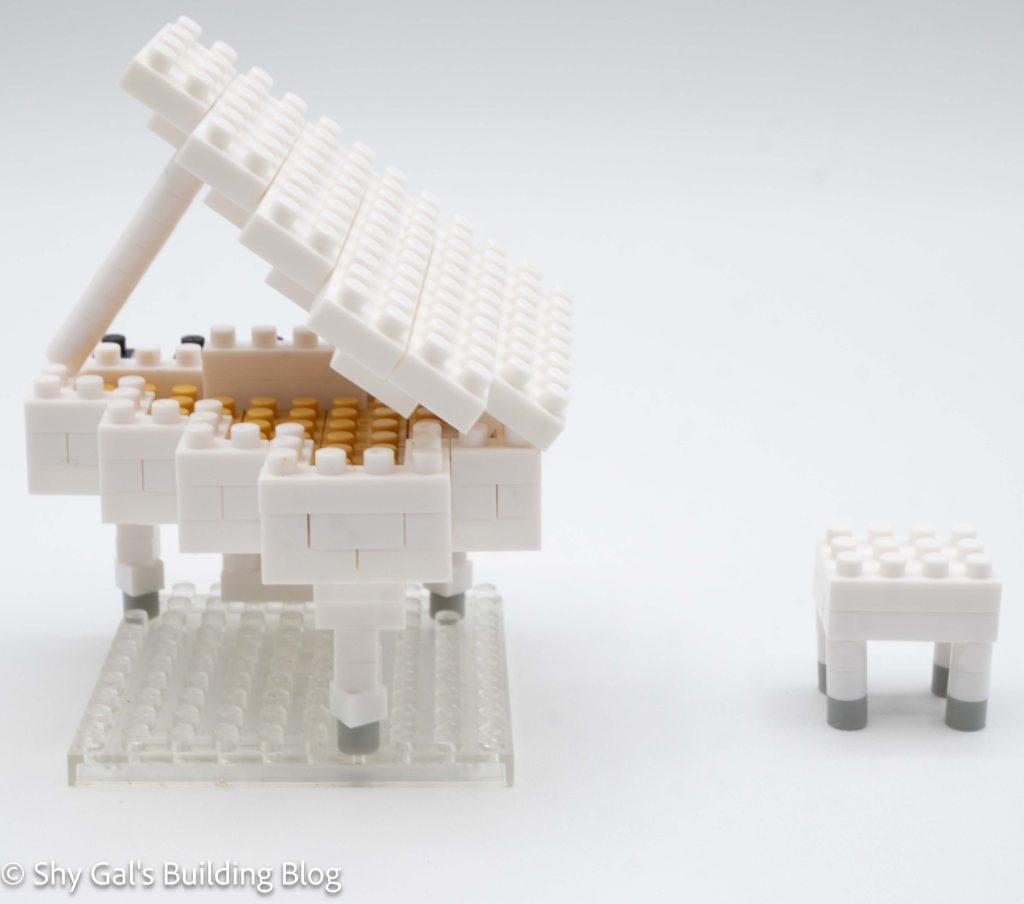
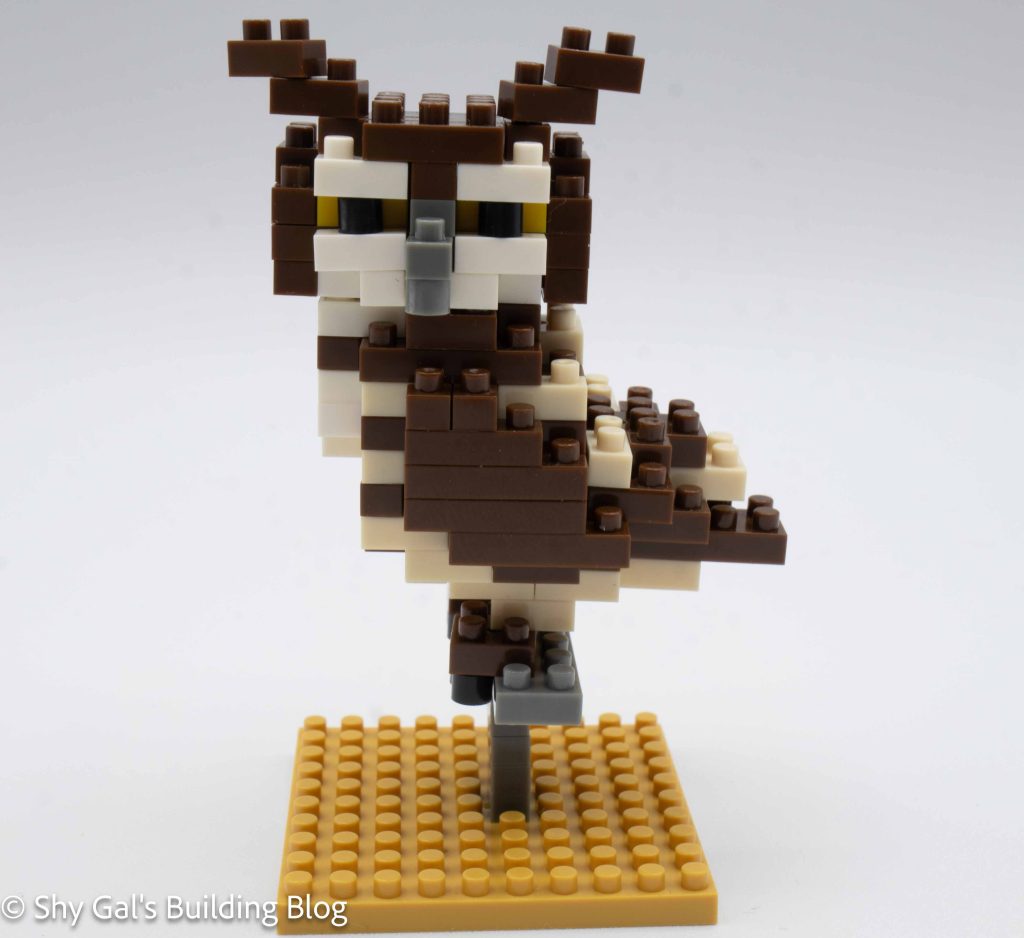
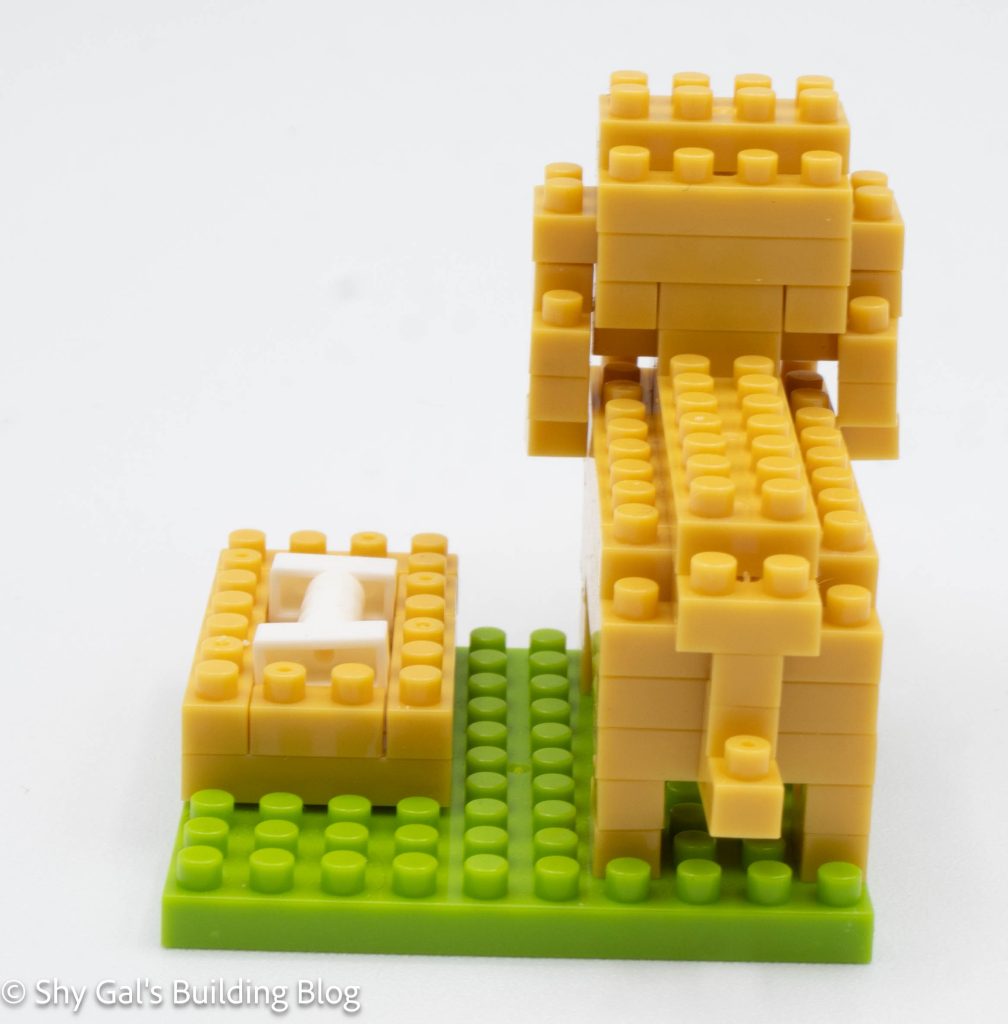
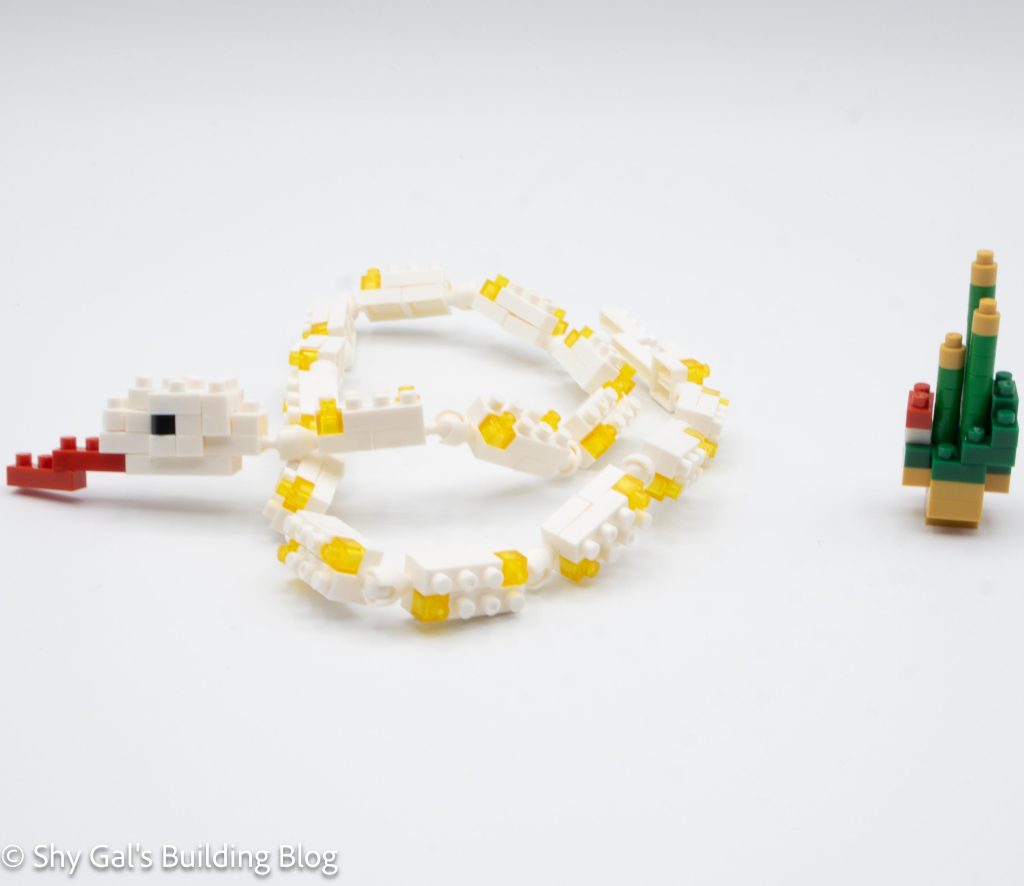
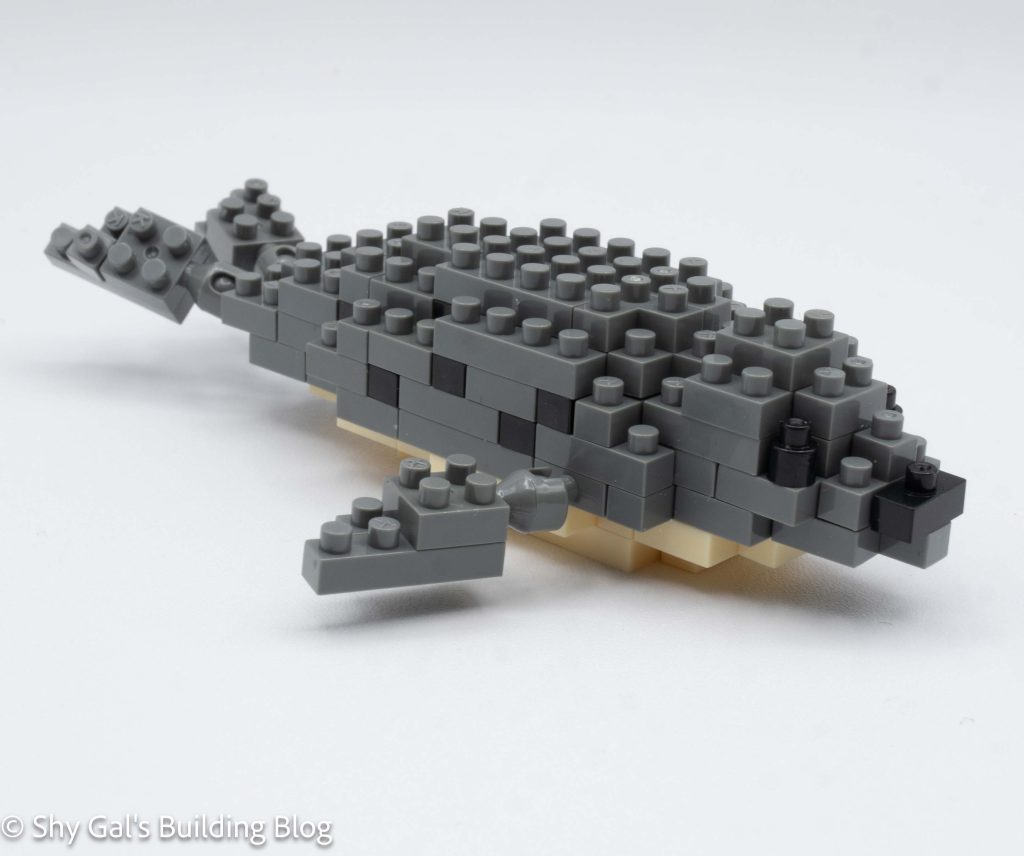
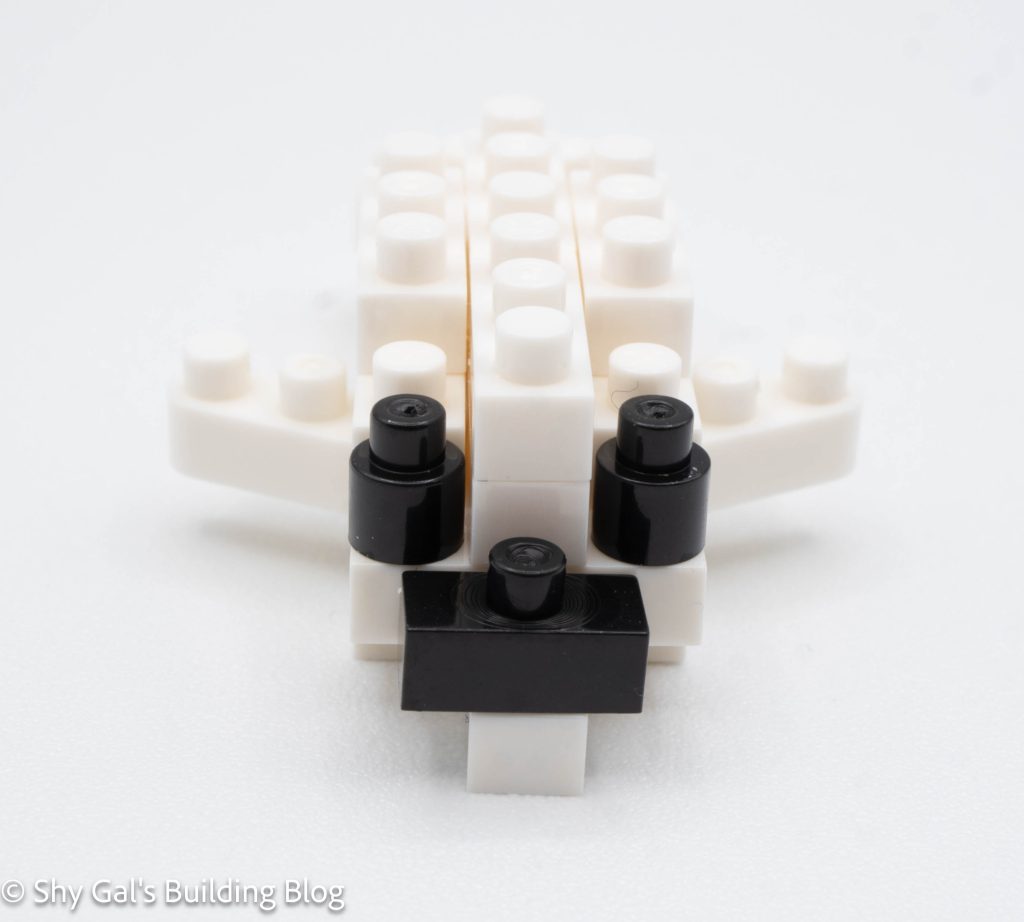
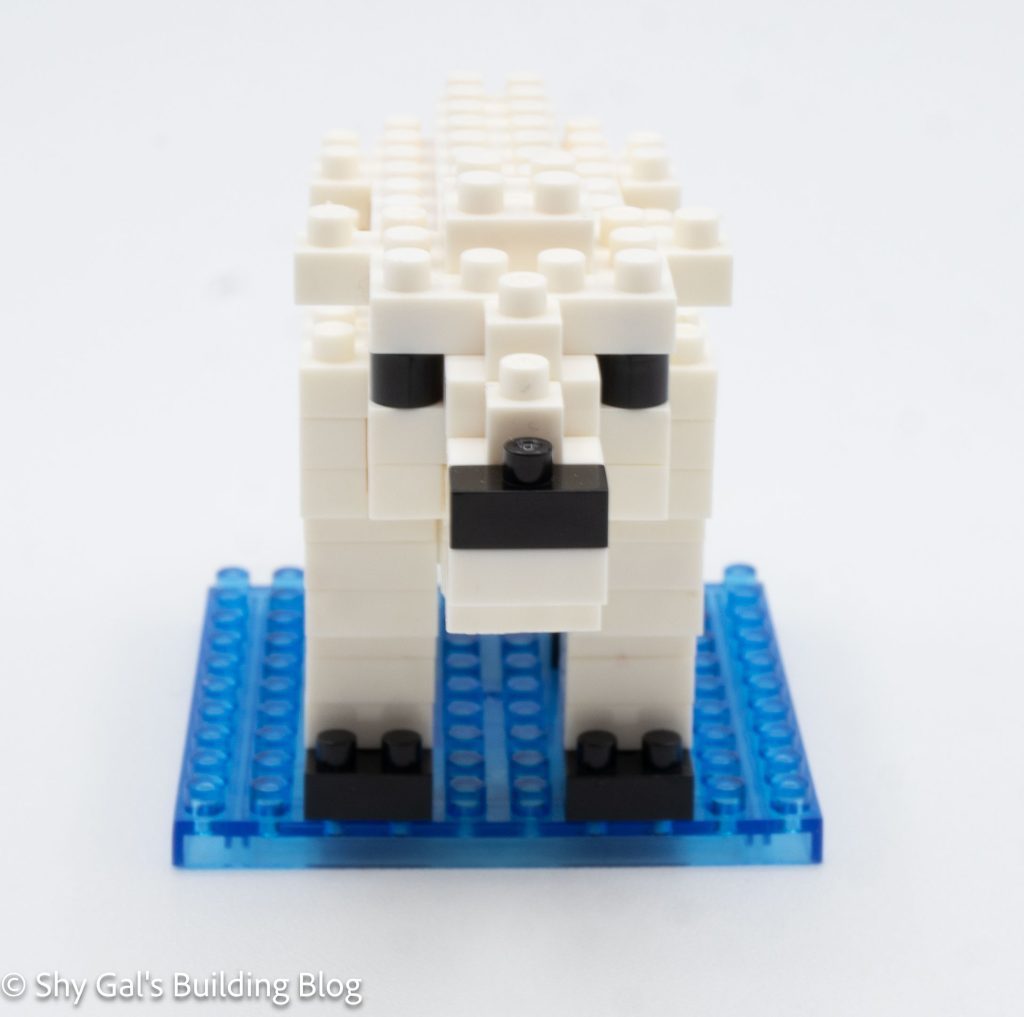
The build begins with a layer of white bricks that I lay out on my nanoblock pad. It goes up in fairly straightforward layers, and the head of the polar bear is built into the layers.
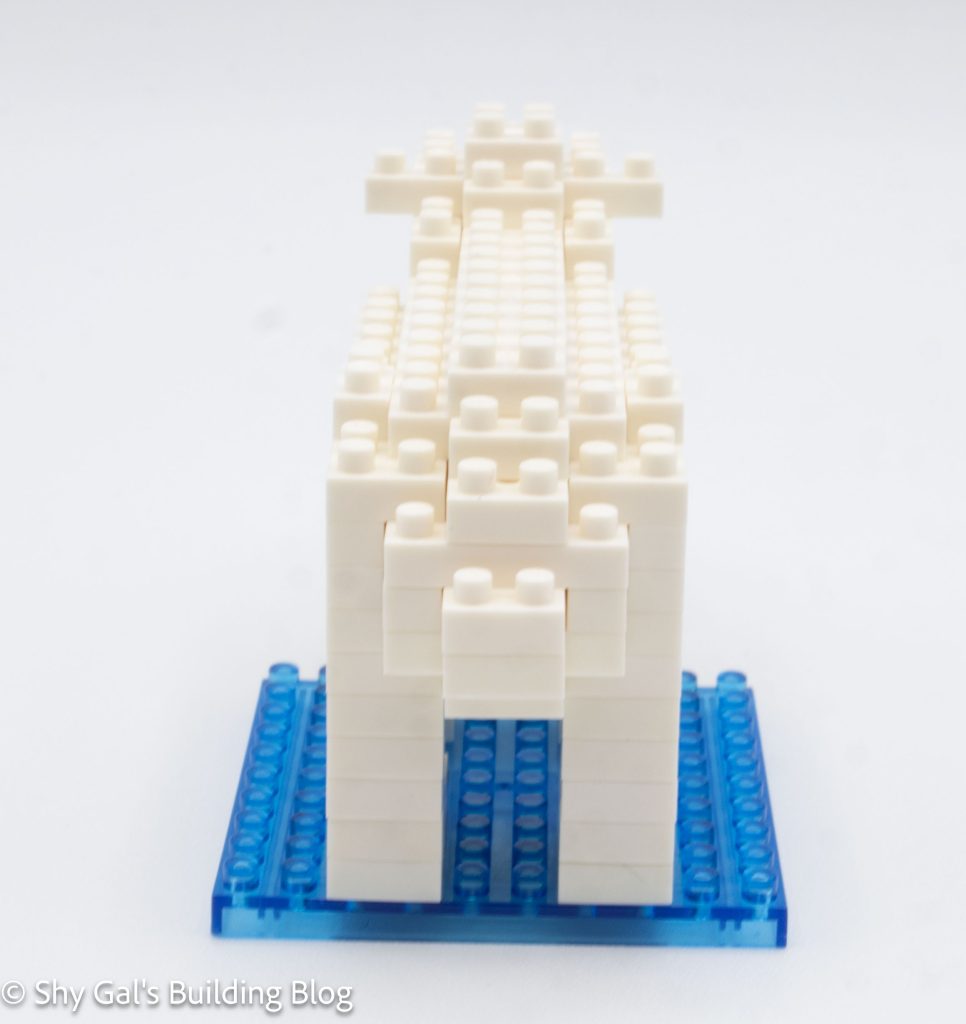
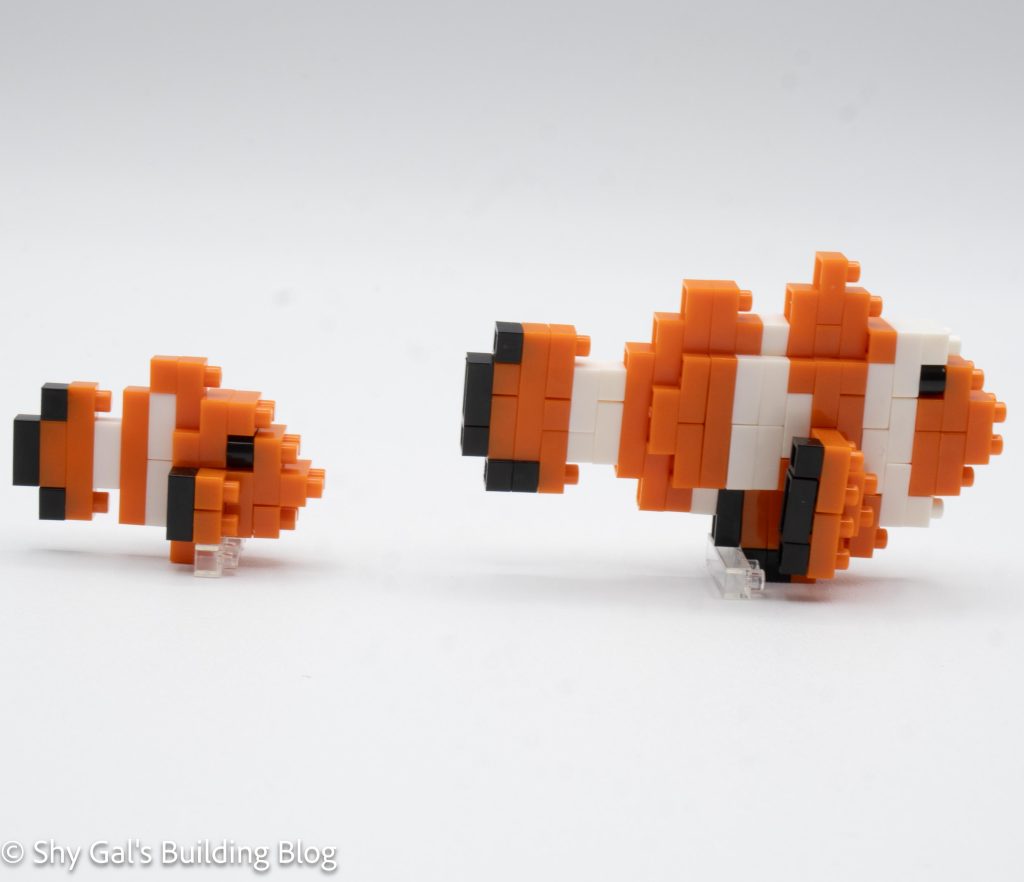
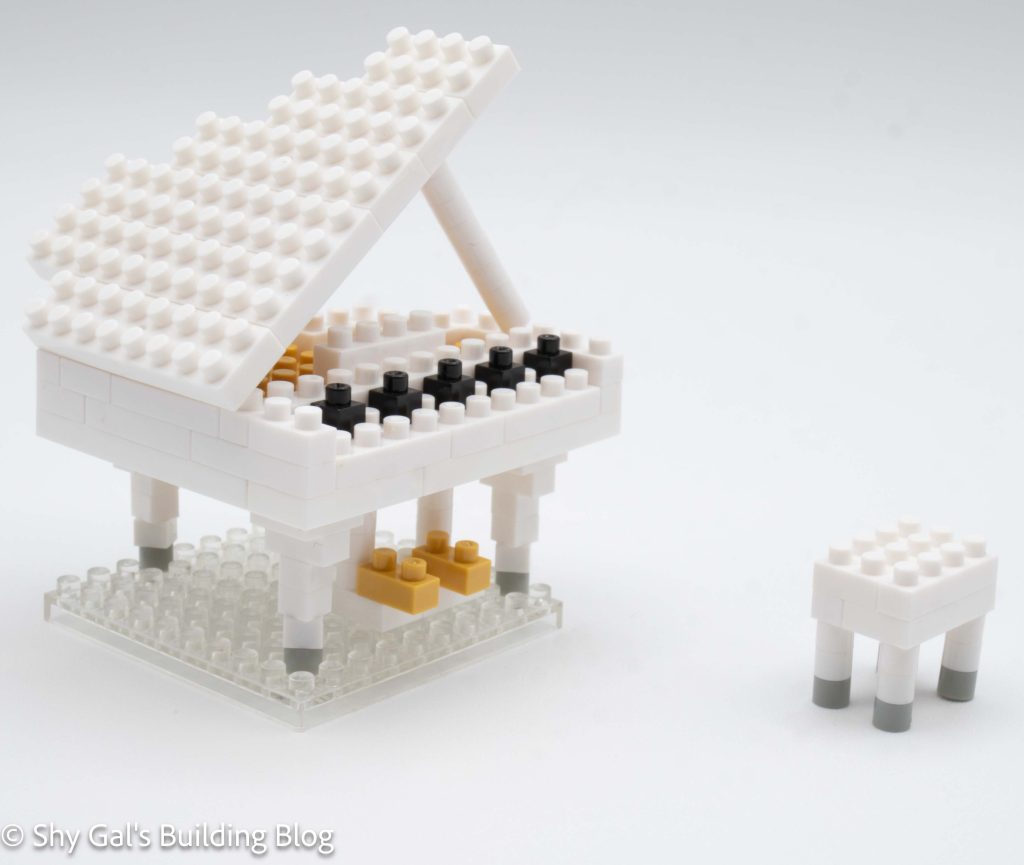
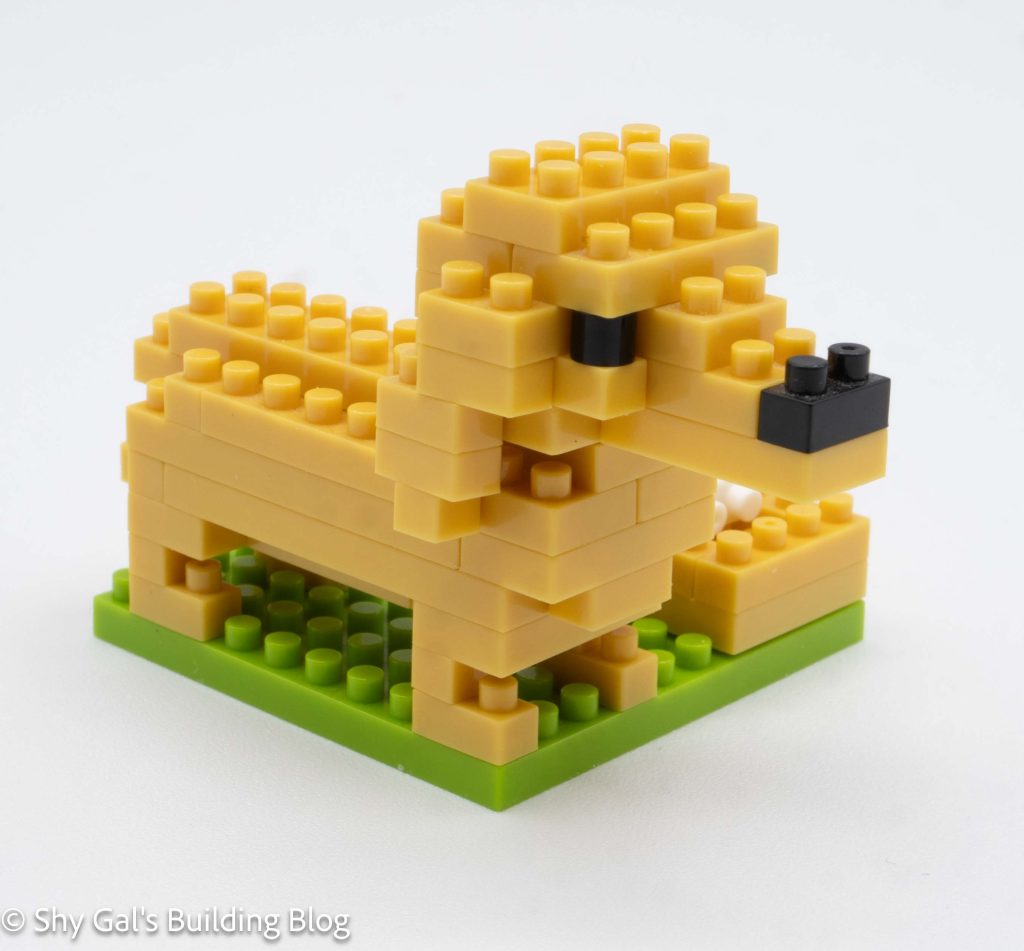
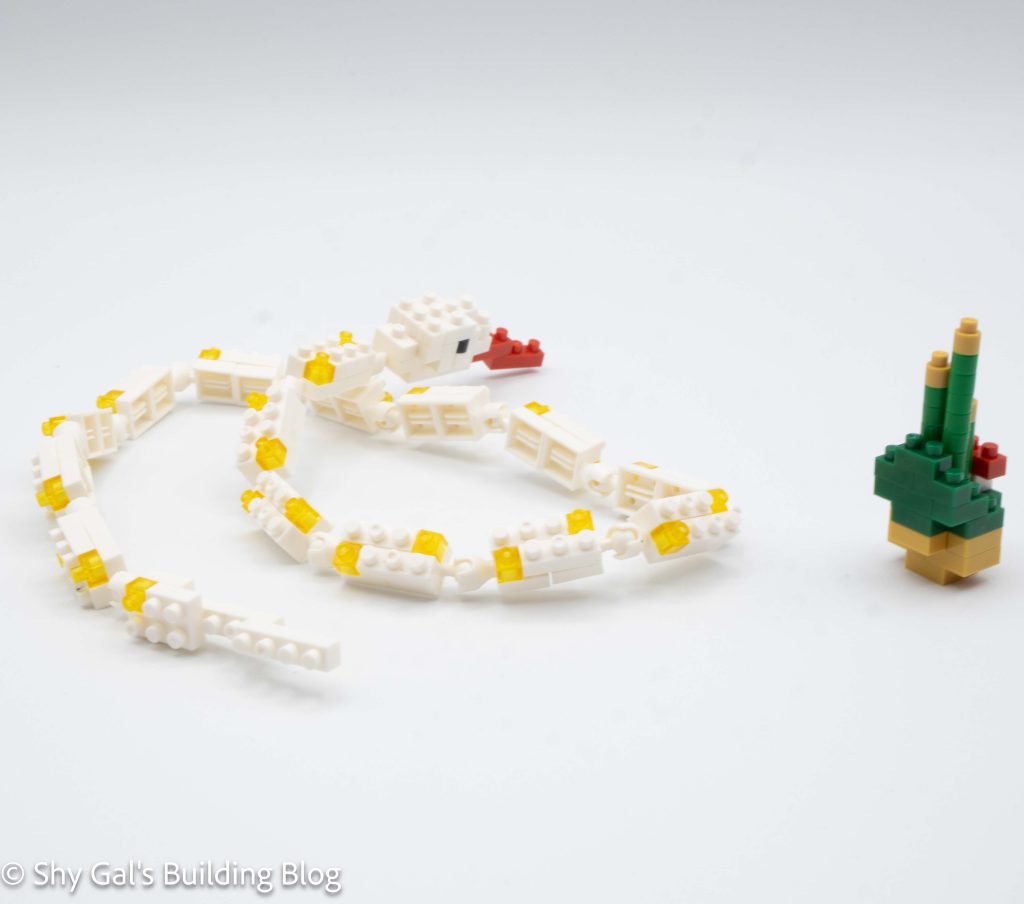
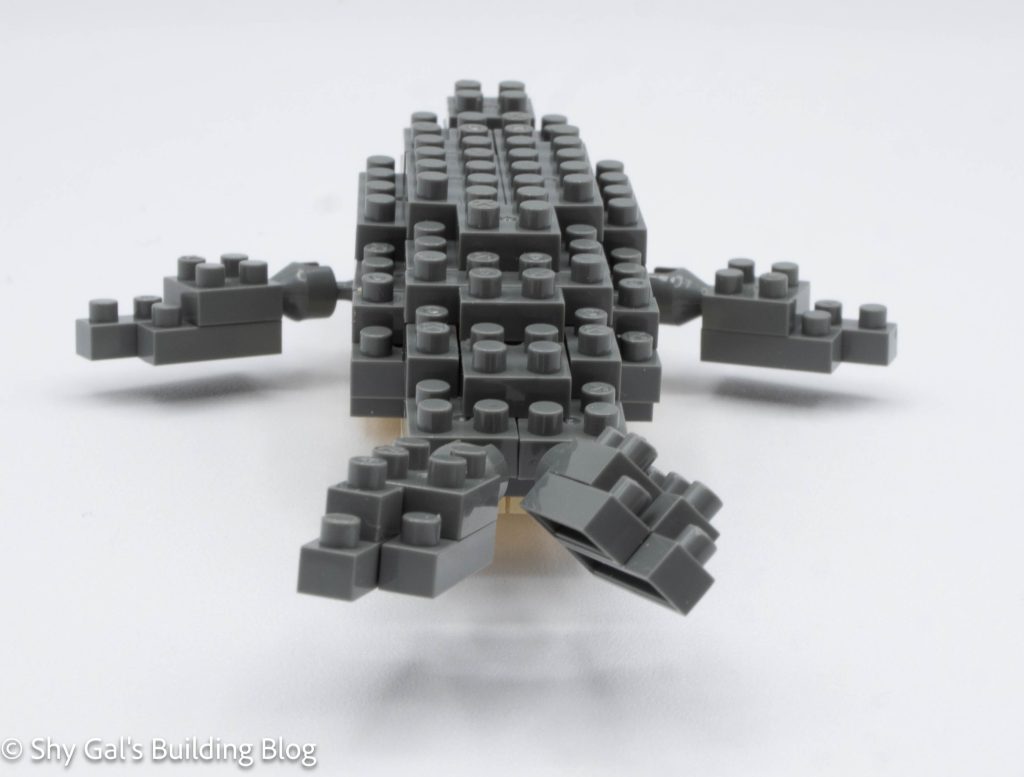
After building the body, the feet and legs are added to the bottom of the build. For some reason, the front of the feet is black, which makes me think the paws look funny.
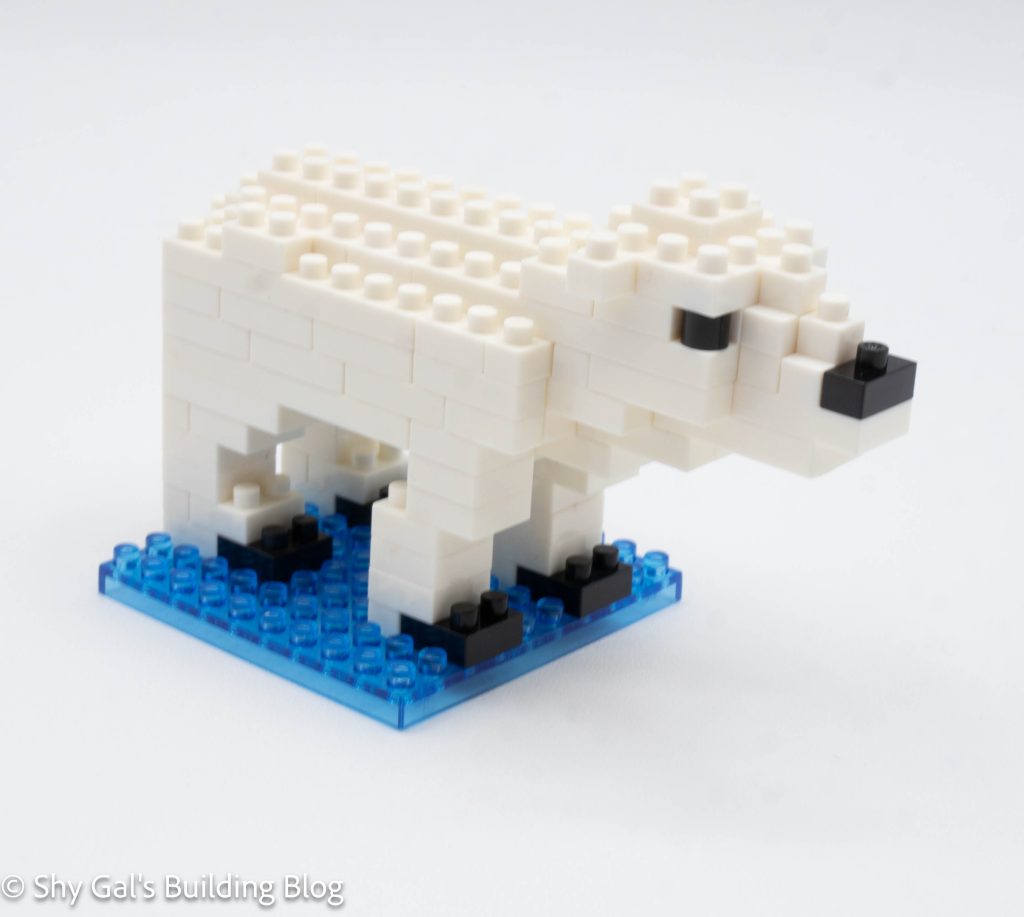
Things I liked:
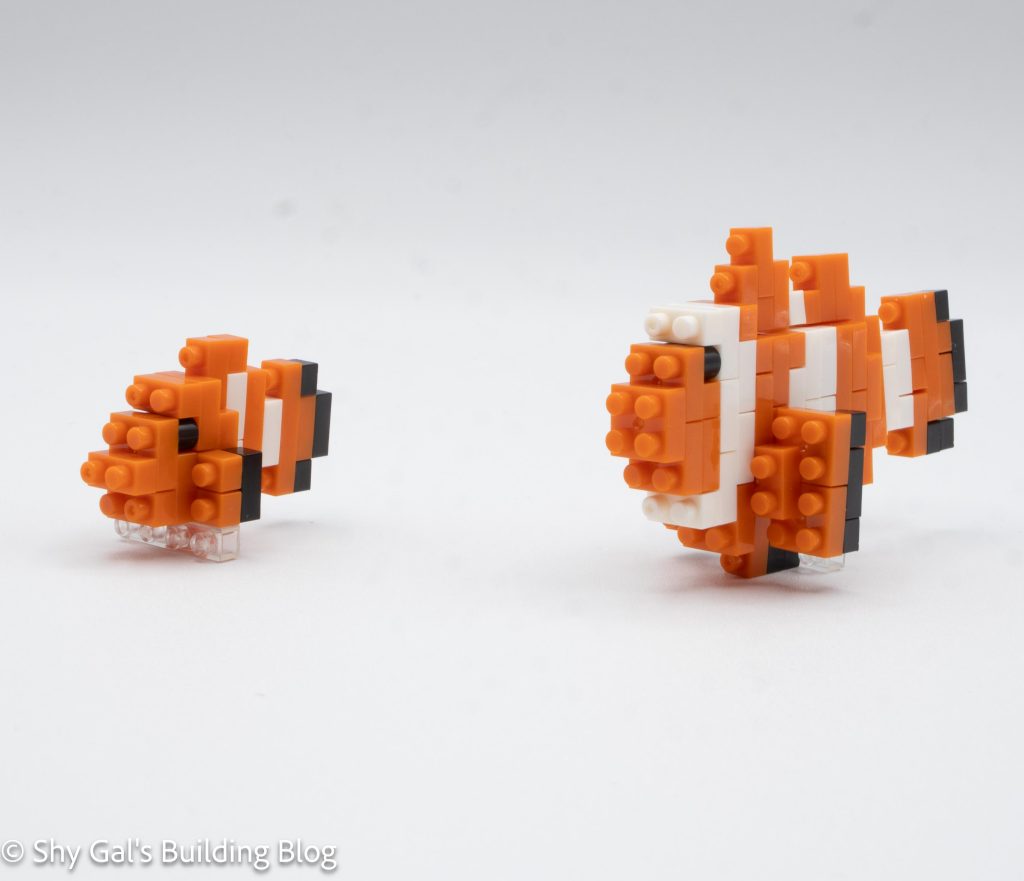
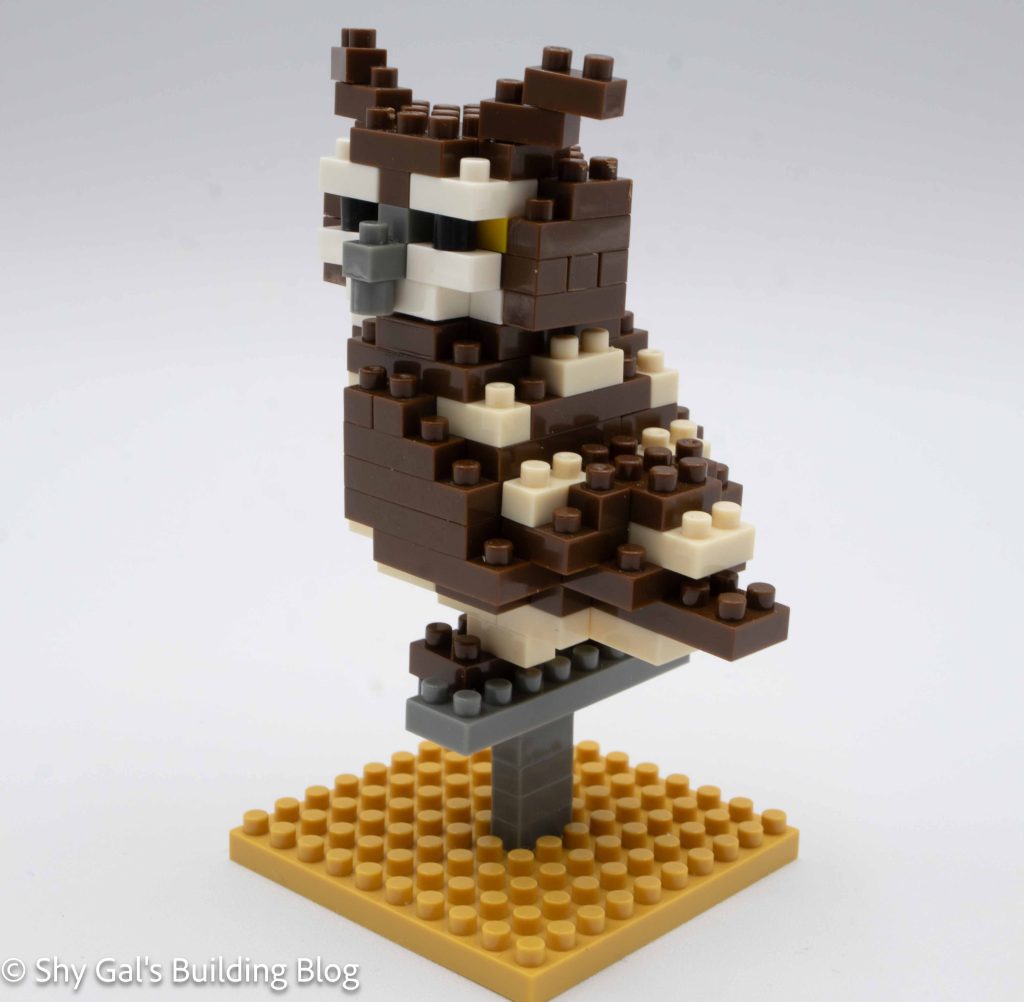
- I feel that the polar bear is very recognizable for how early of a build this kit
Things I didn’t like:
- I don’t like the feet because the black on the feet stands out so much because the front of the feet are black