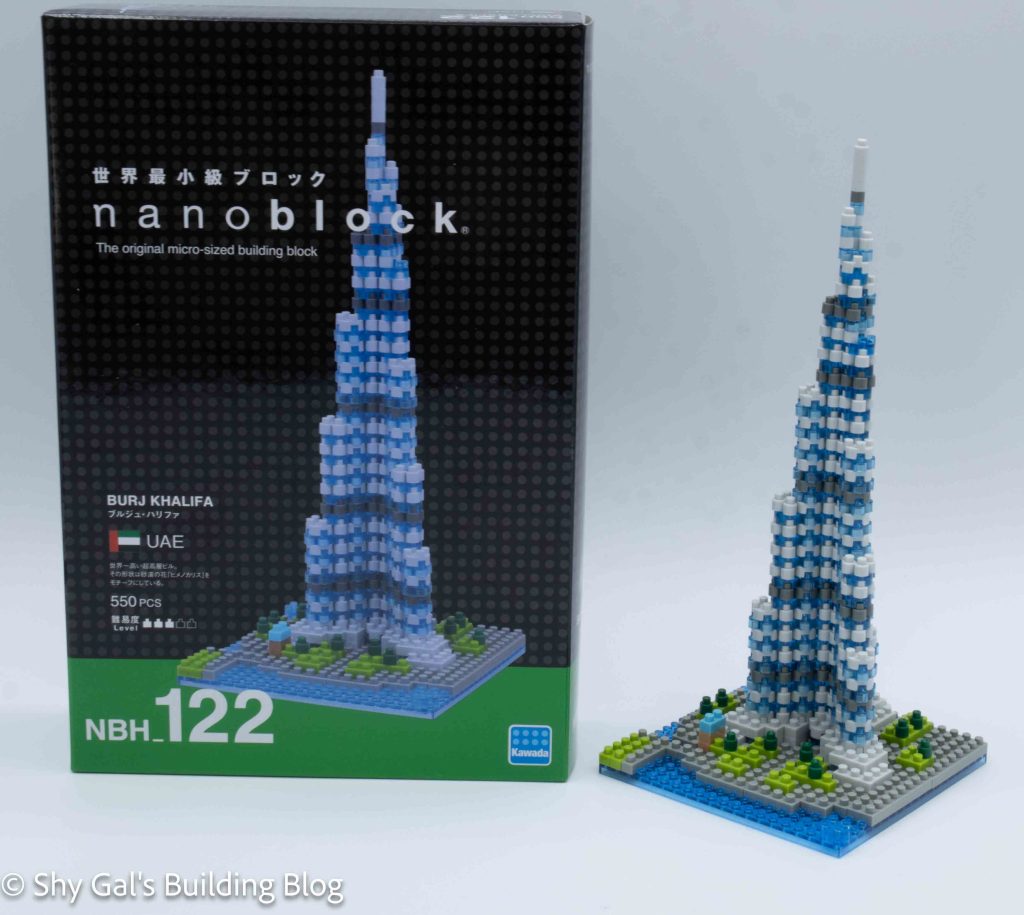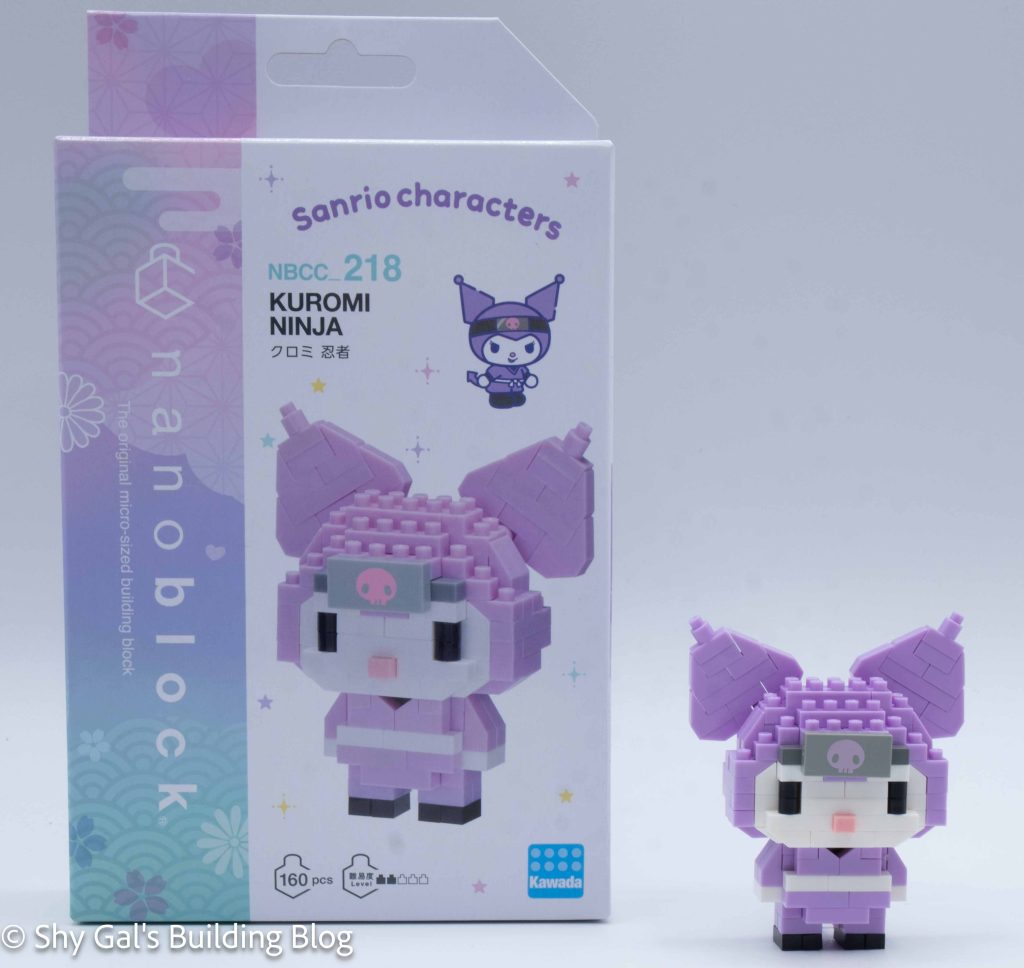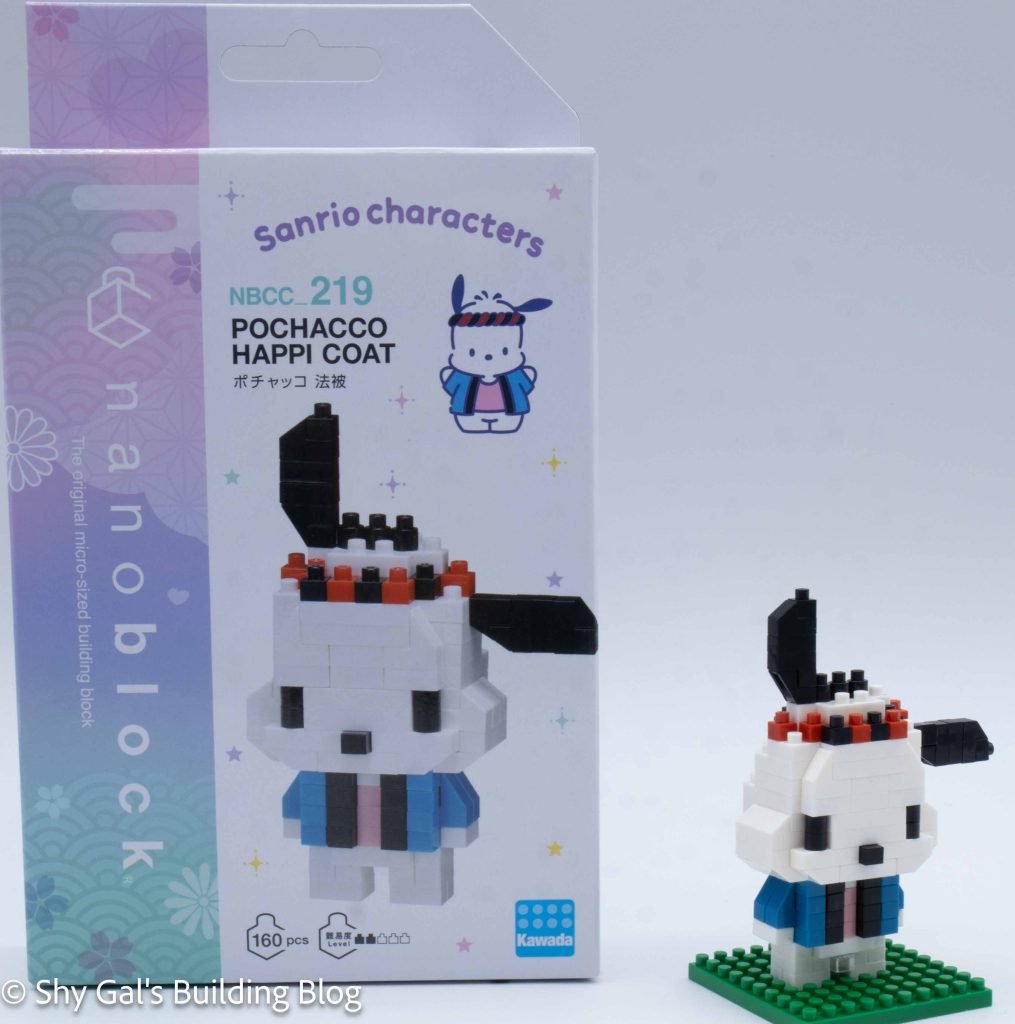
This post is a review of the nanoblock Pochacco Happi Coat build. Pochacco Happi Coat is part of the nanoblock Character collection. Wondering what else is part of the Character collection? Click here for a list.
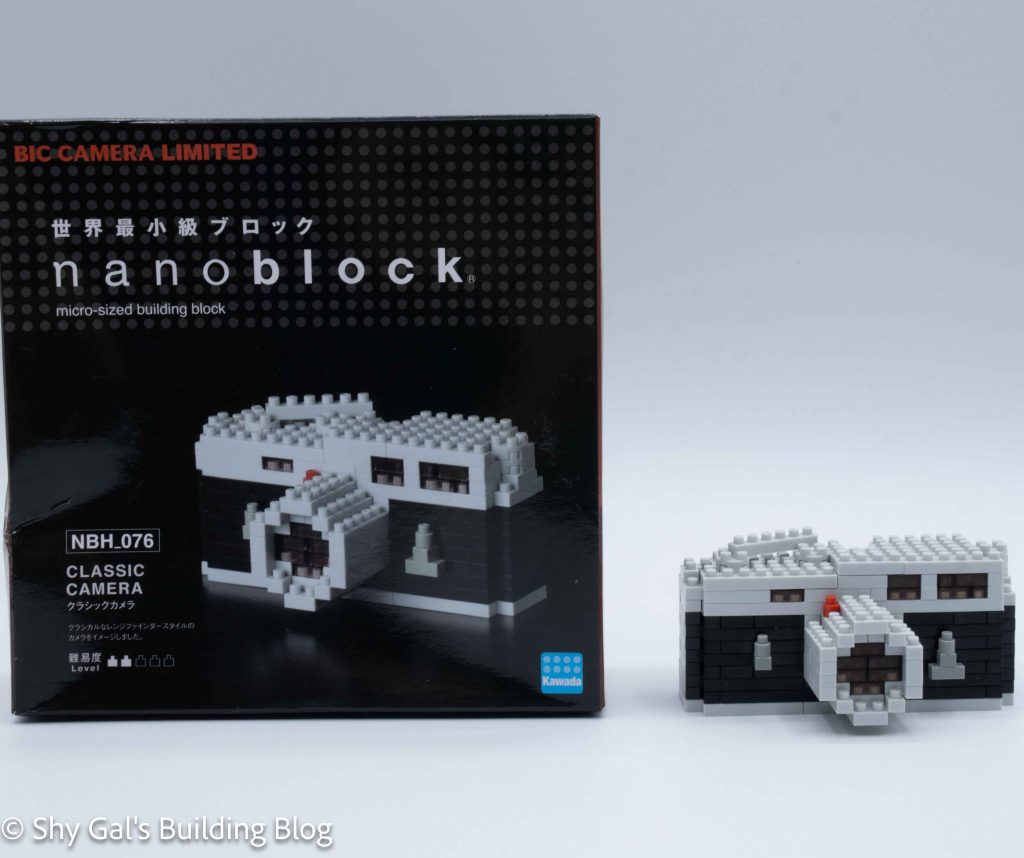
Number: NBCC_219
Number of Pieces: 160
Difficulty Rating: 2/5
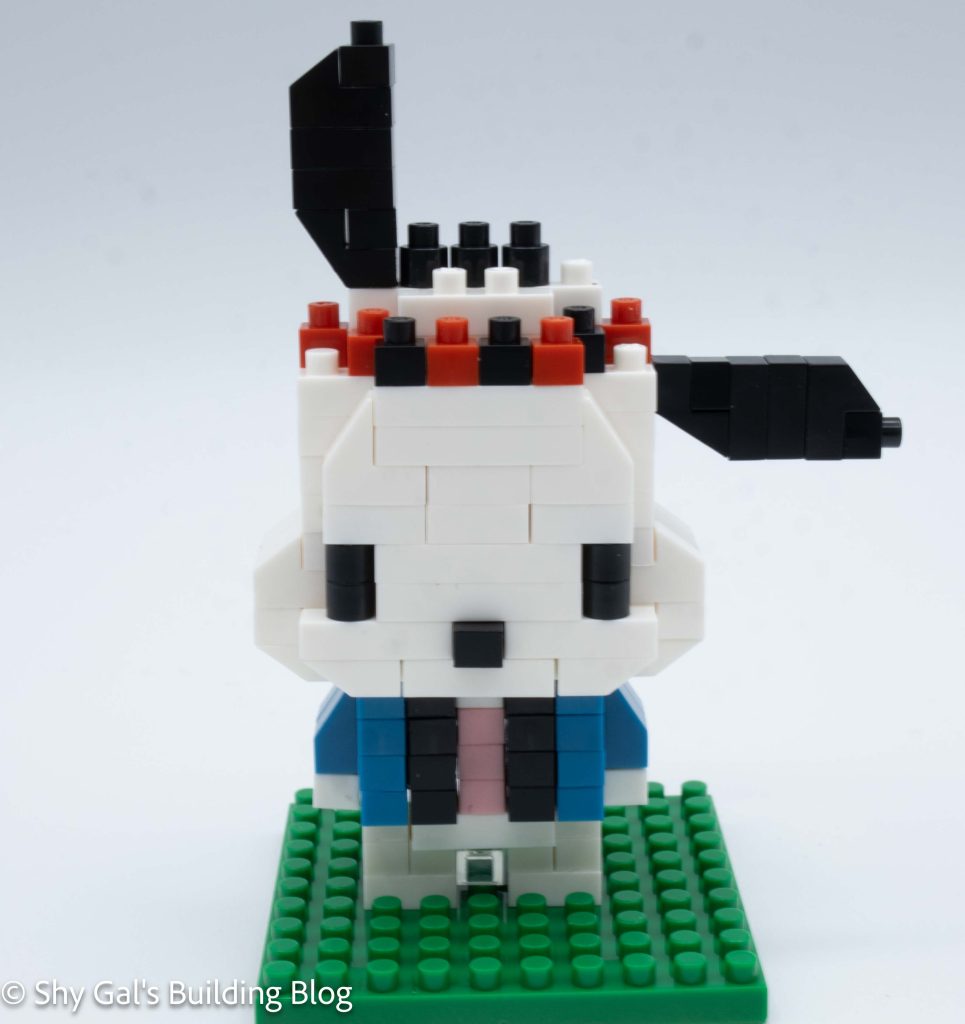
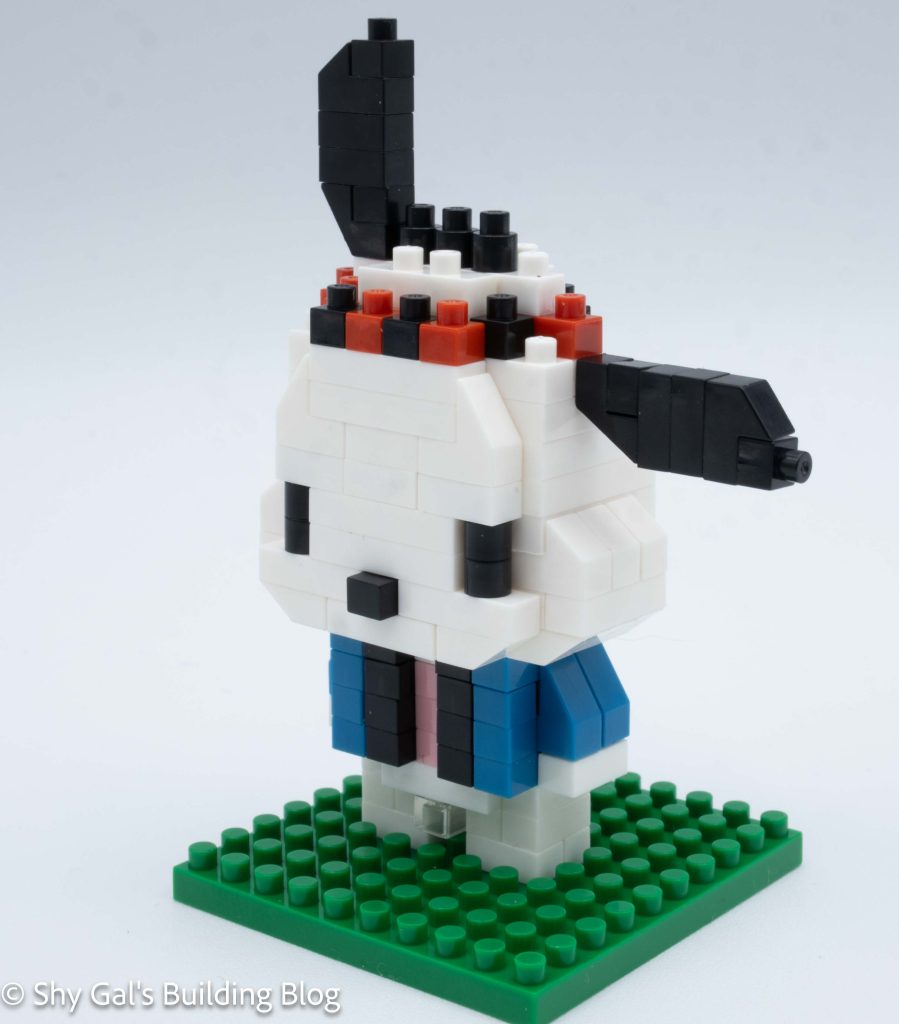
This build is made of 2 sections: the head and the body.
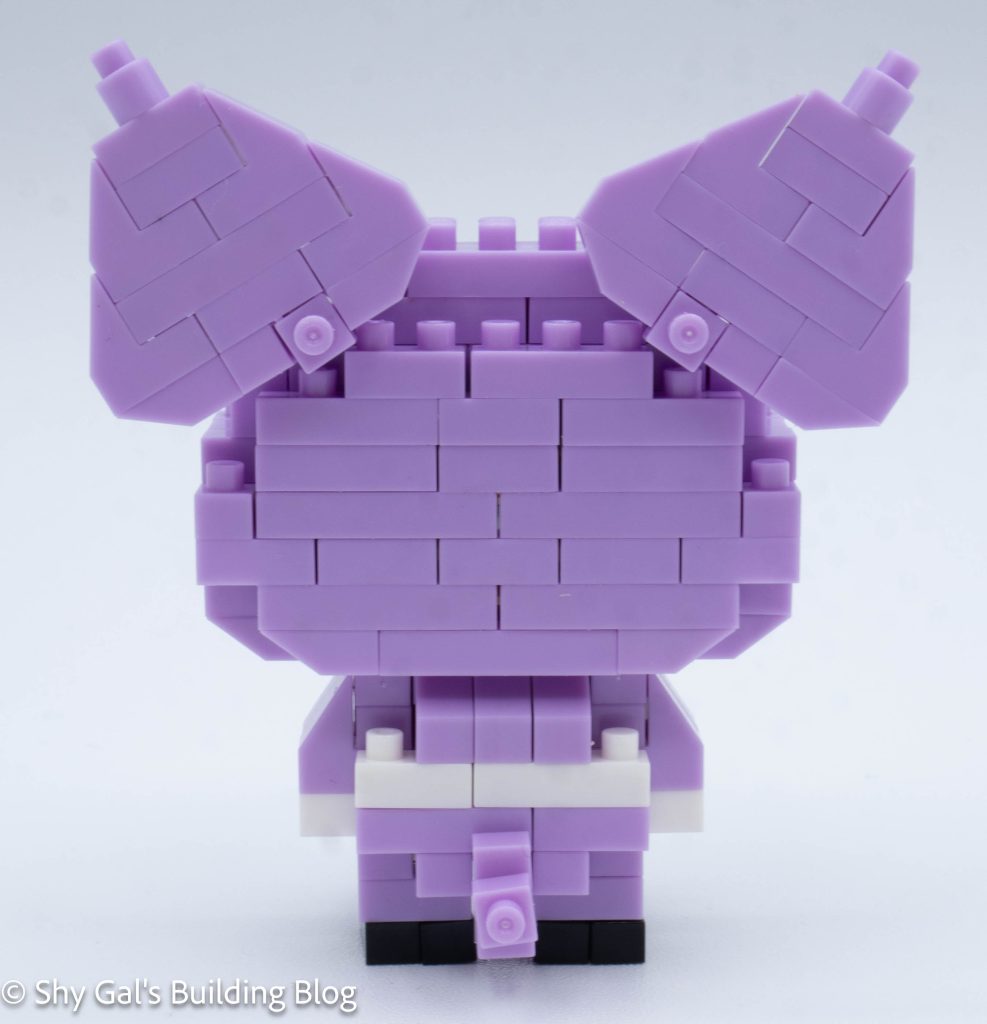
The head begins with 2 steps, building the base, and 2 layers of the head.
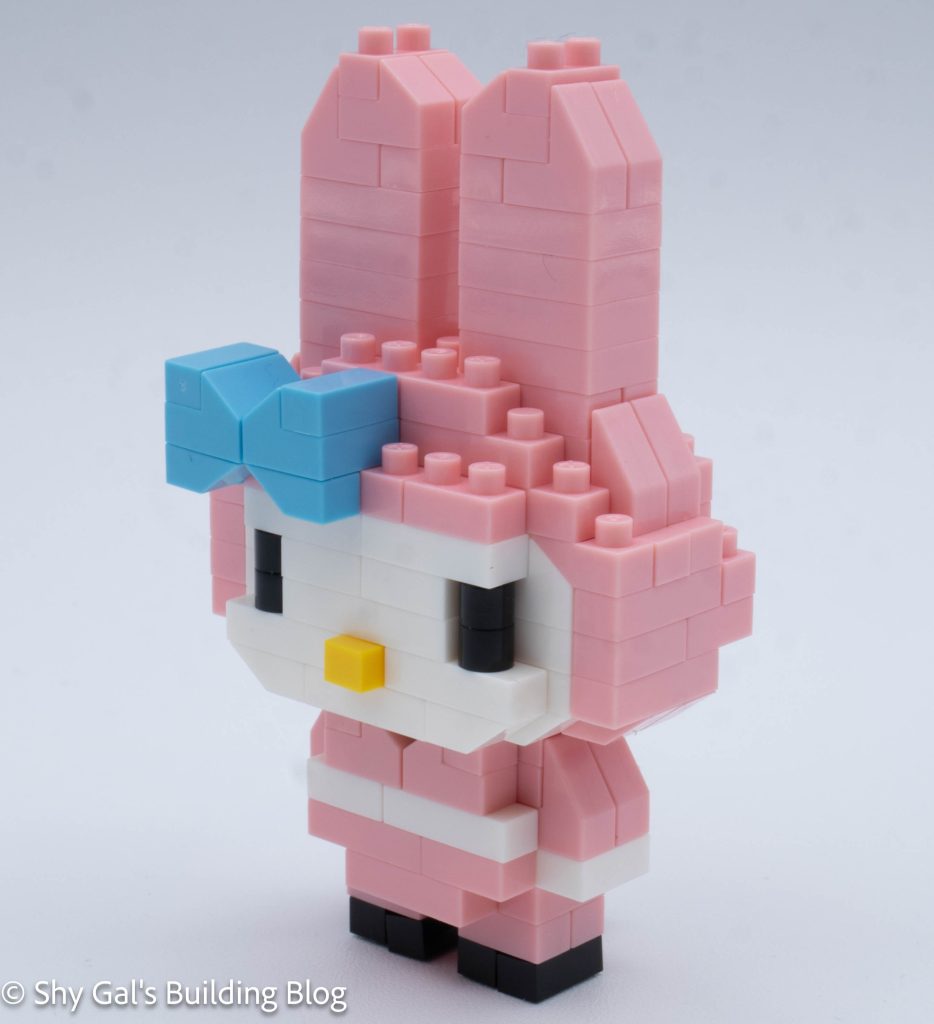
After building the base, the head goes up in straightforward layers. In the layers, I added the hat and Pochacco’s hair.
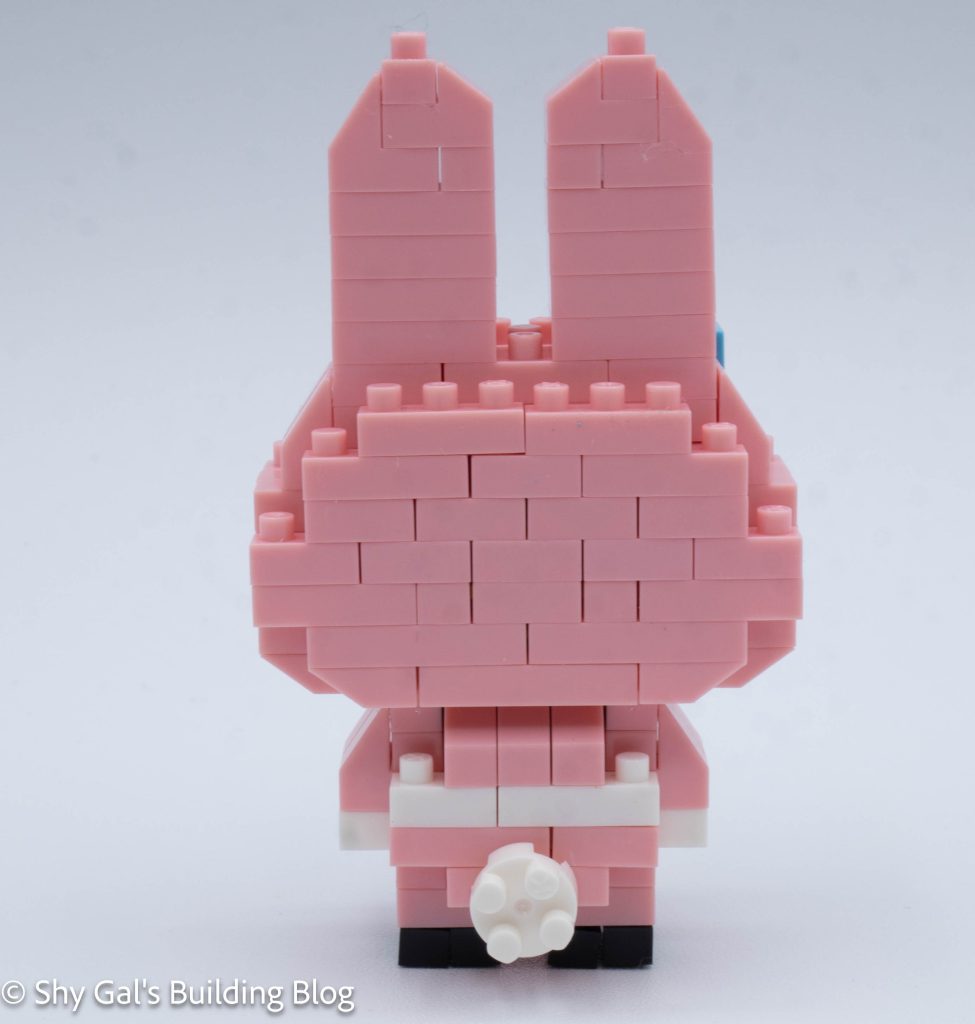
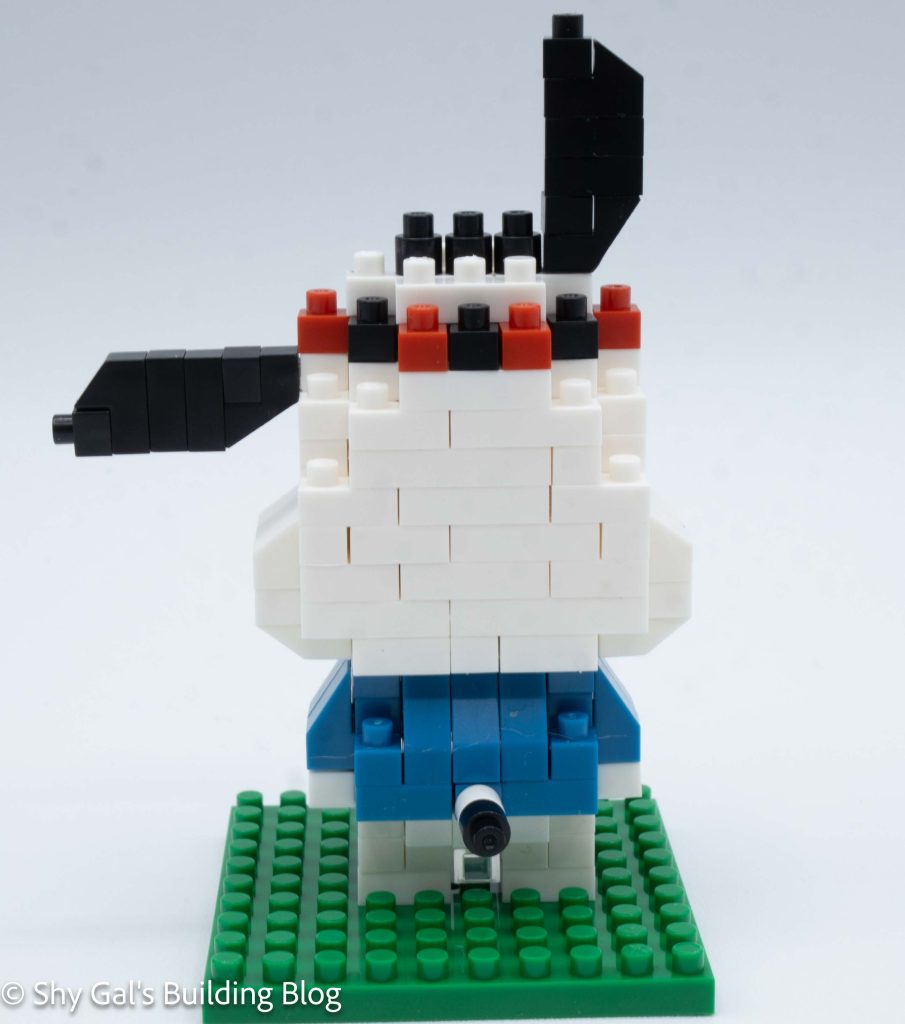
Then I flipped the head over to add details to the bottom.
The final step is to add the ears.
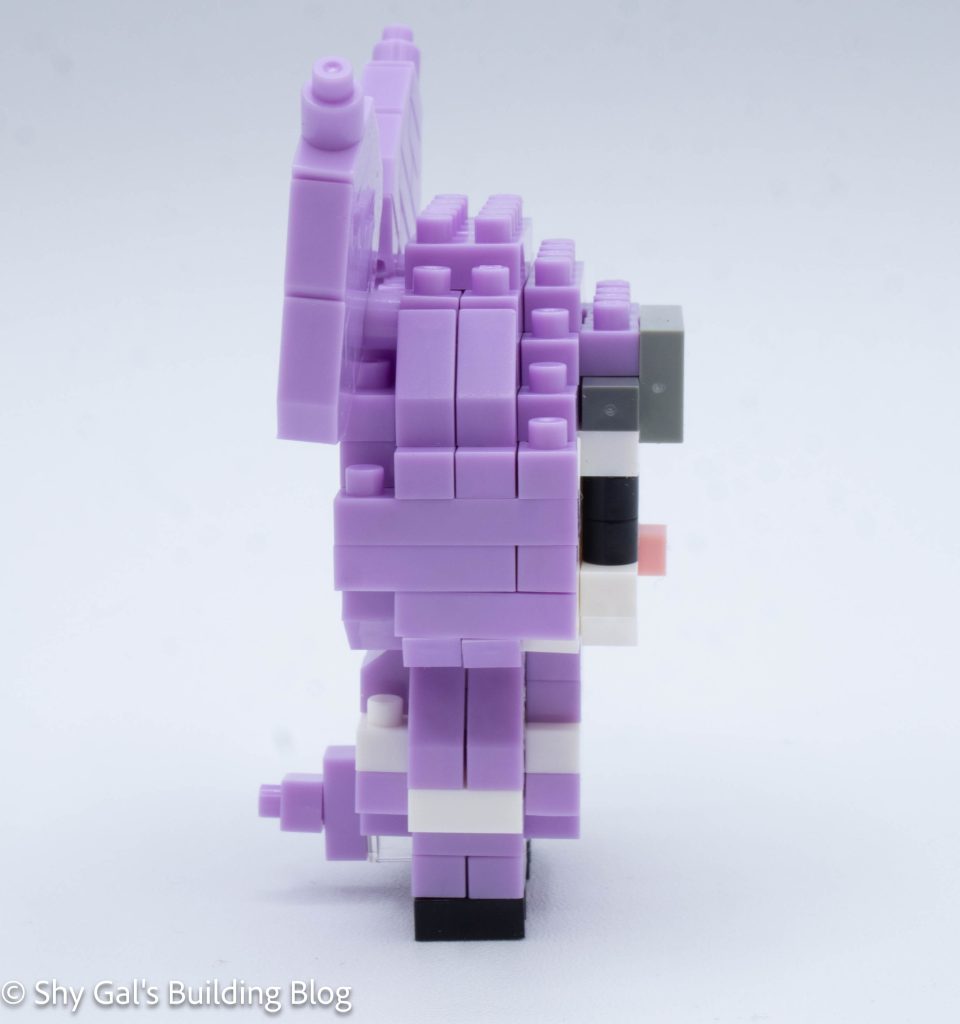
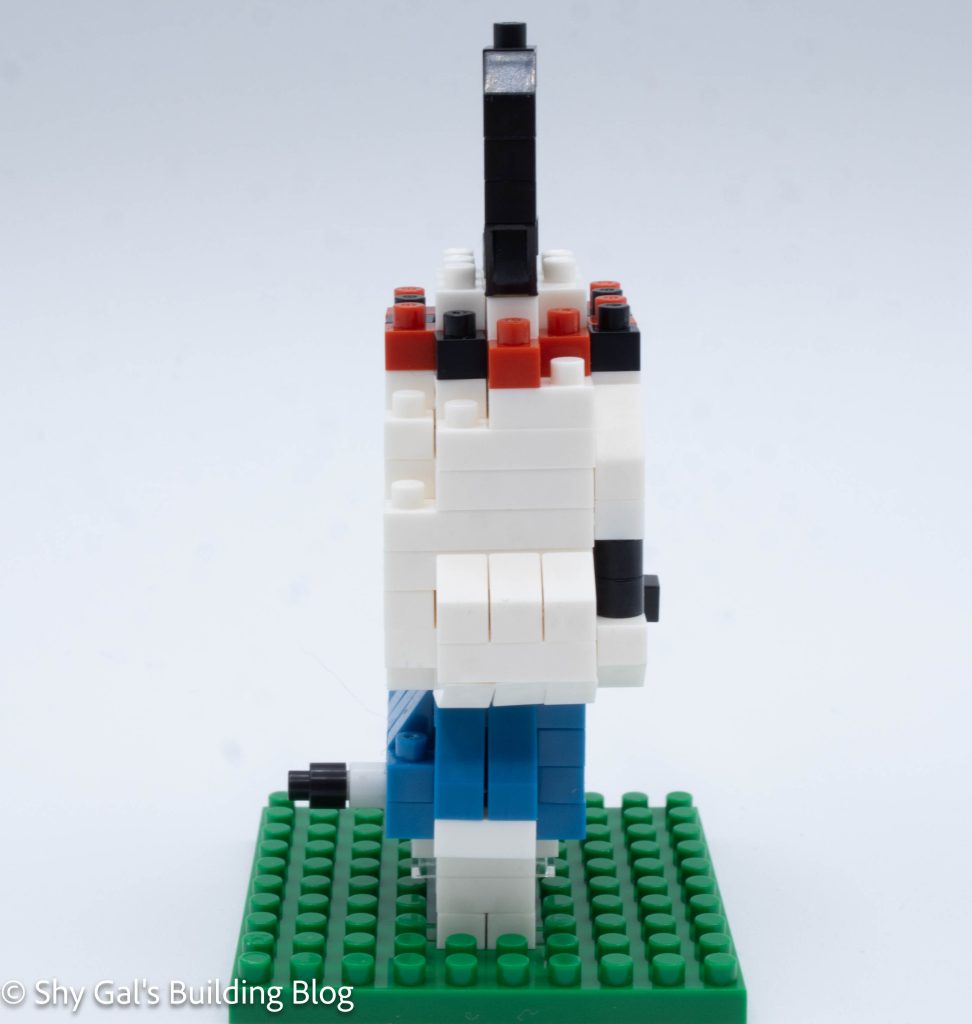
The body was much trickier to build than I was expecting.
First, I built the left and right arms and a section to go in the back. This created a little you shape once all 3 parts were connected.
Next, I built the front section. This was a bit tricky because of how the bricks hung off.
Then I connected the front to the U-shaped piece and finished the main body section.
Next, I added the legs and a tail.
The final step was to connect the head to the body. I connected the head in the correct space, but Pochacco didn’t stand on his own. I added a baseplate to the build so that he could stand.
Things I liked:
- I really like the amount of depth in the main body
Things I didn’t like:
- I don’t like that he doesn’t stand