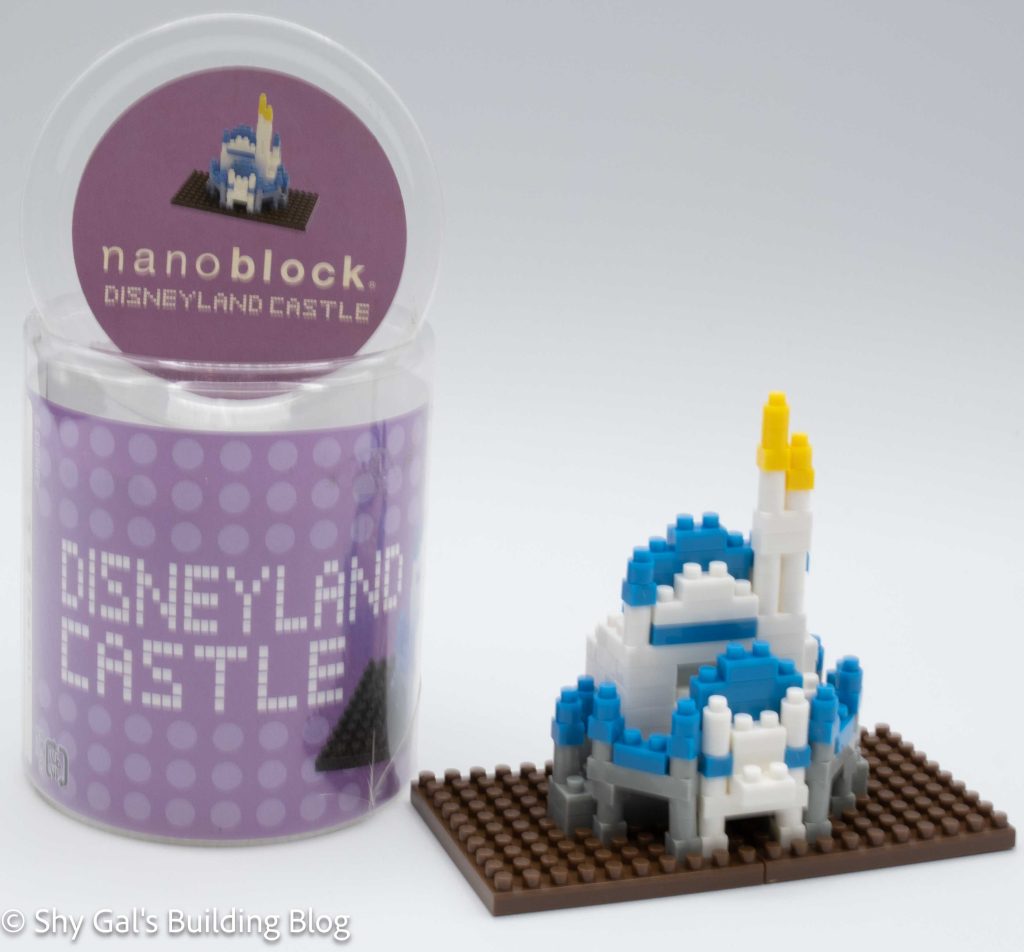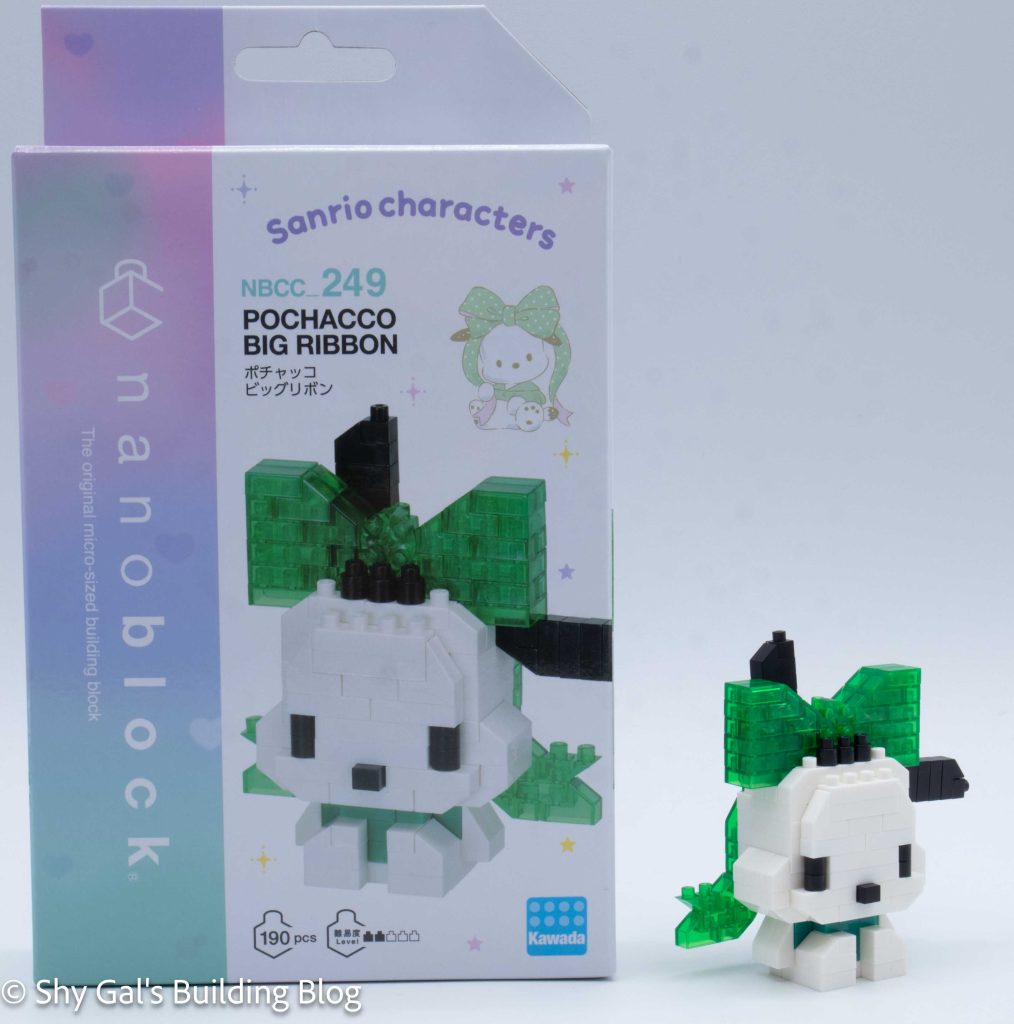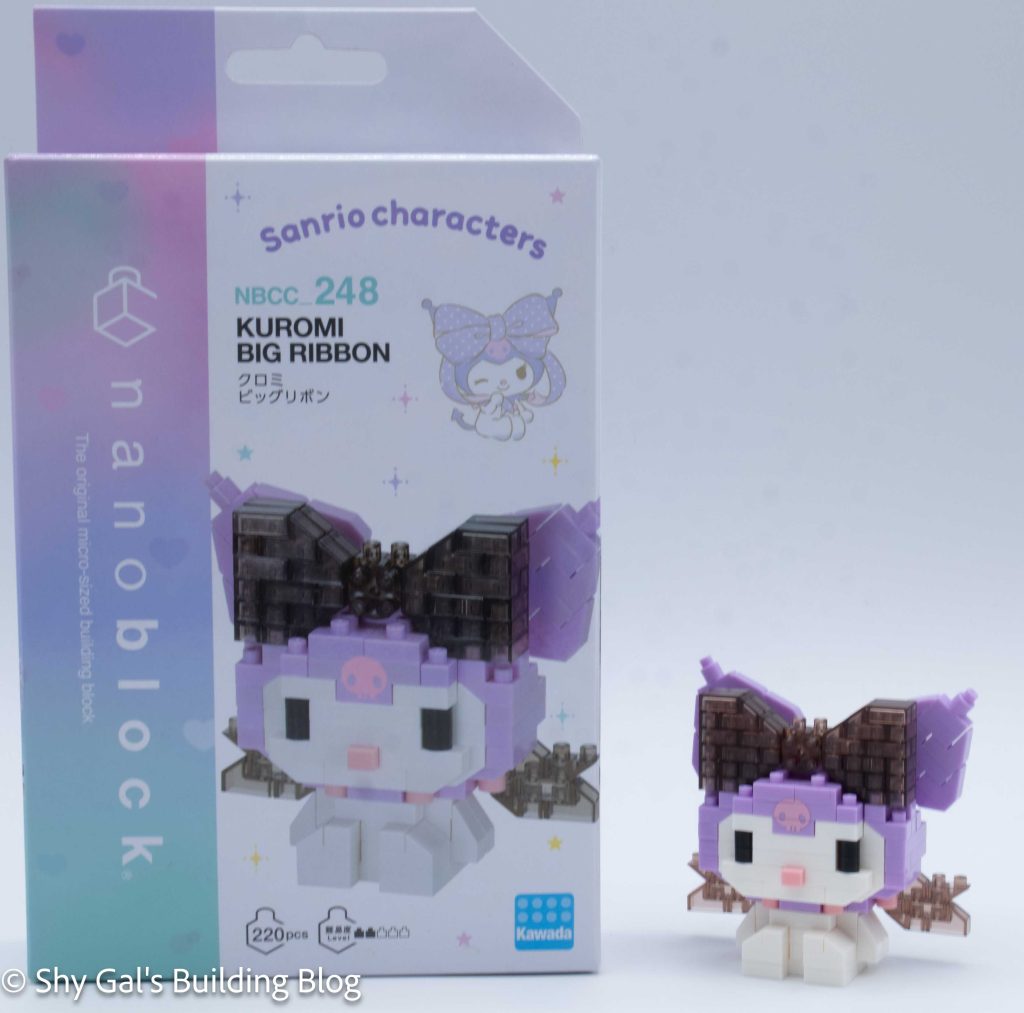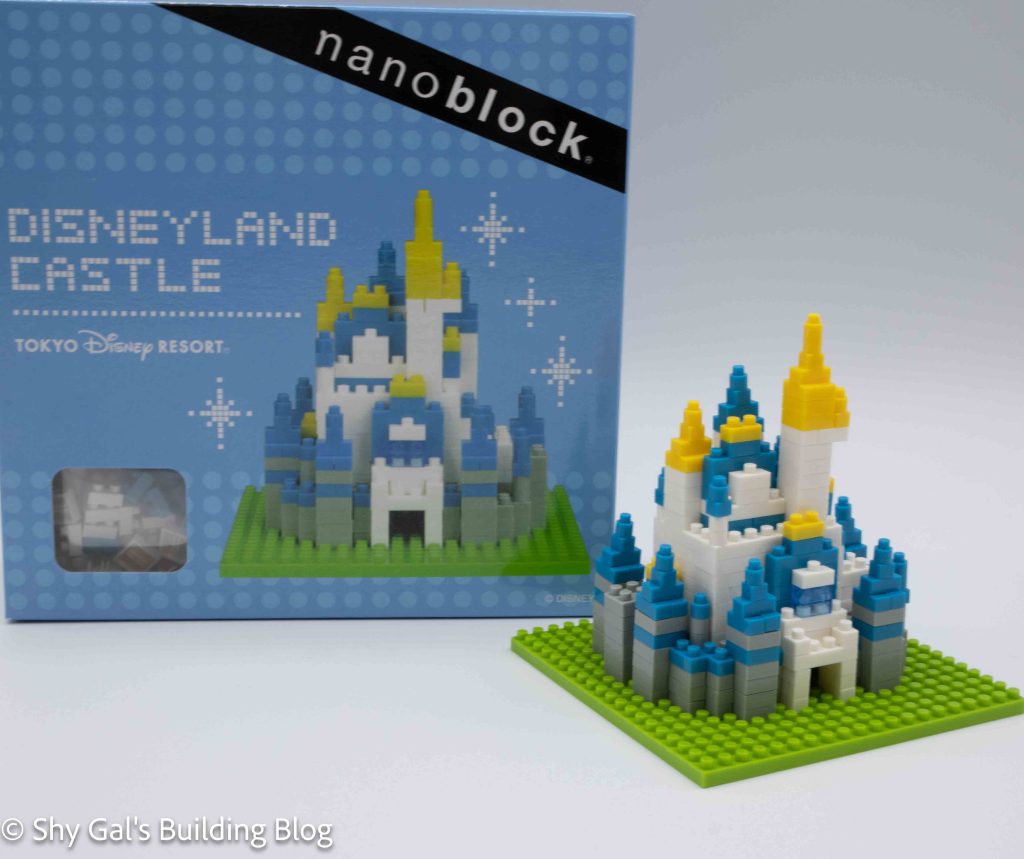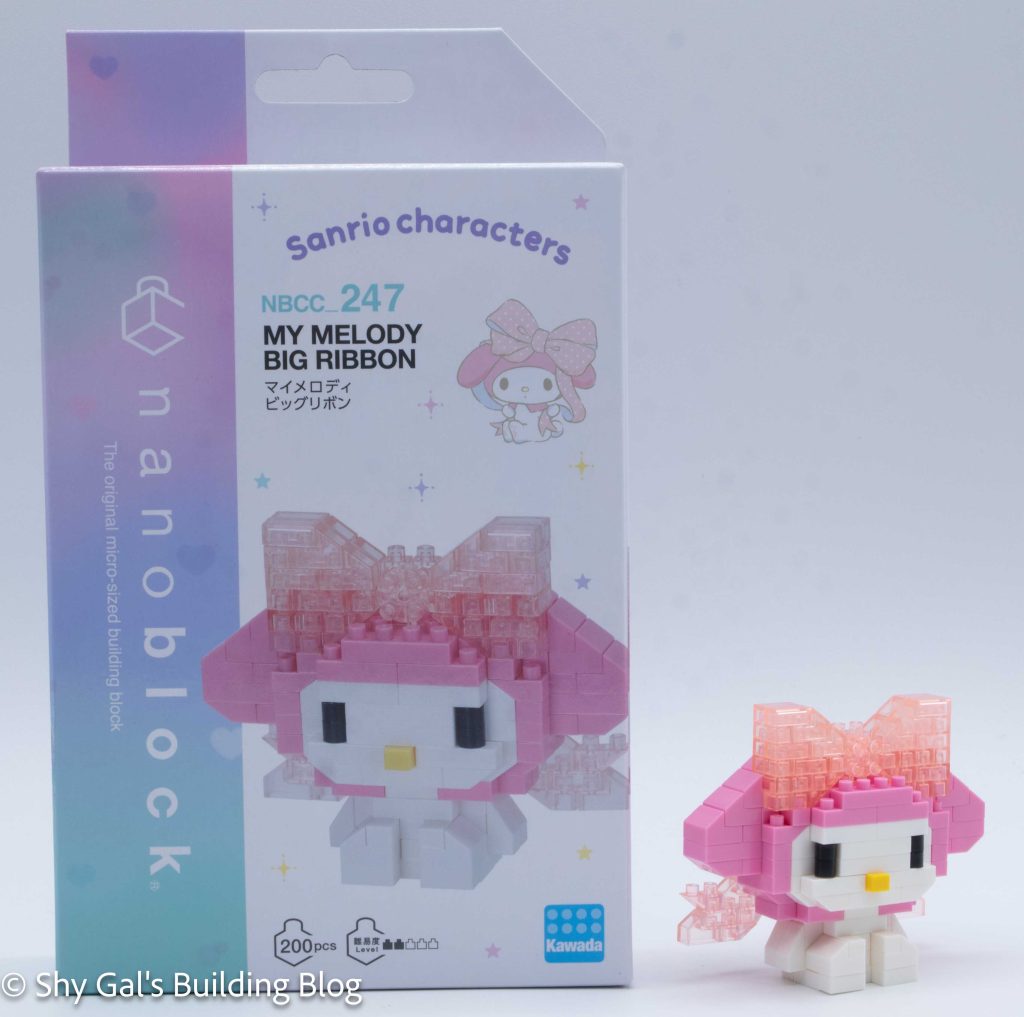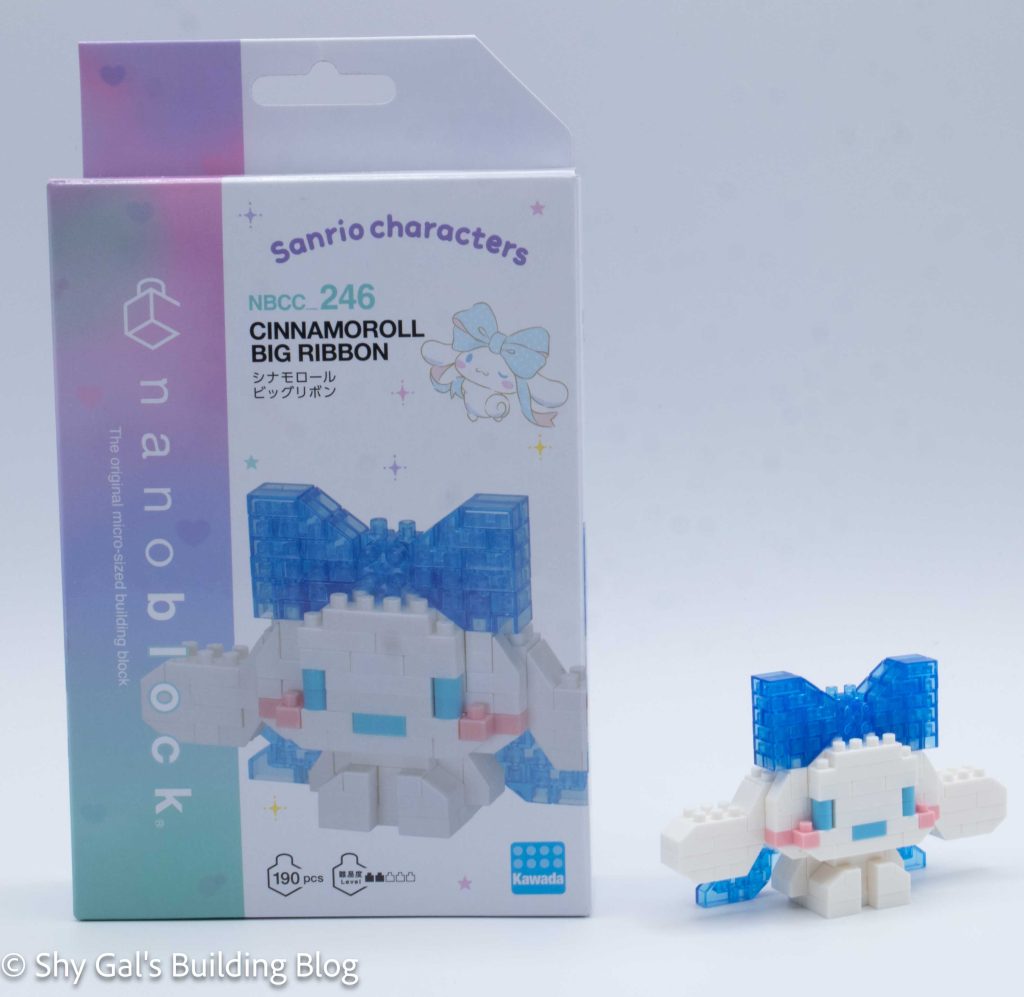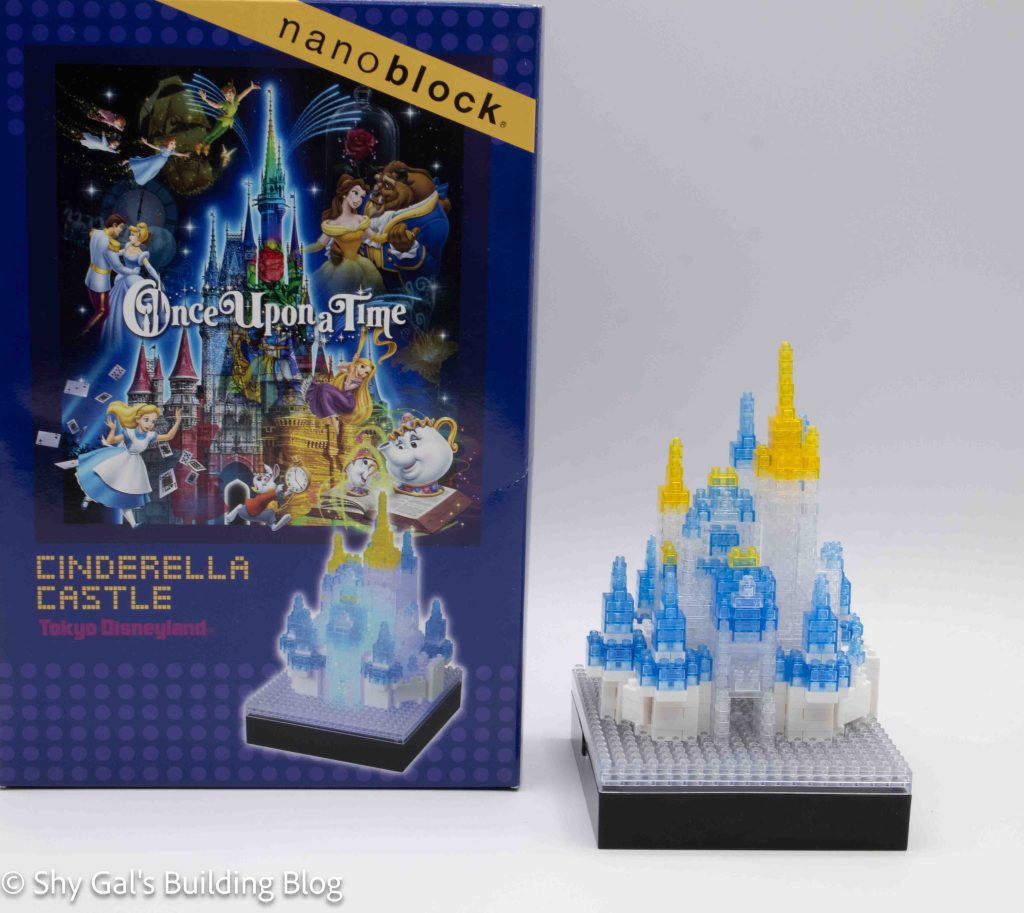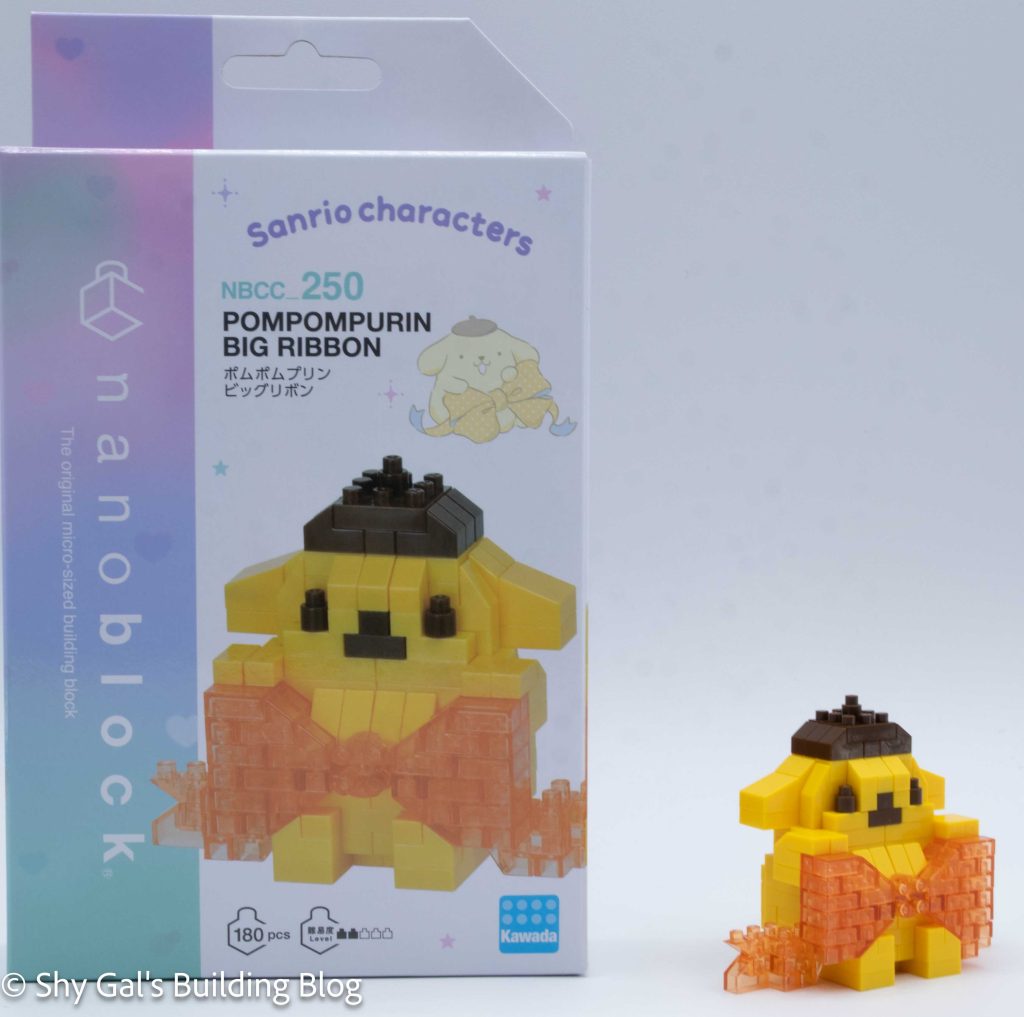
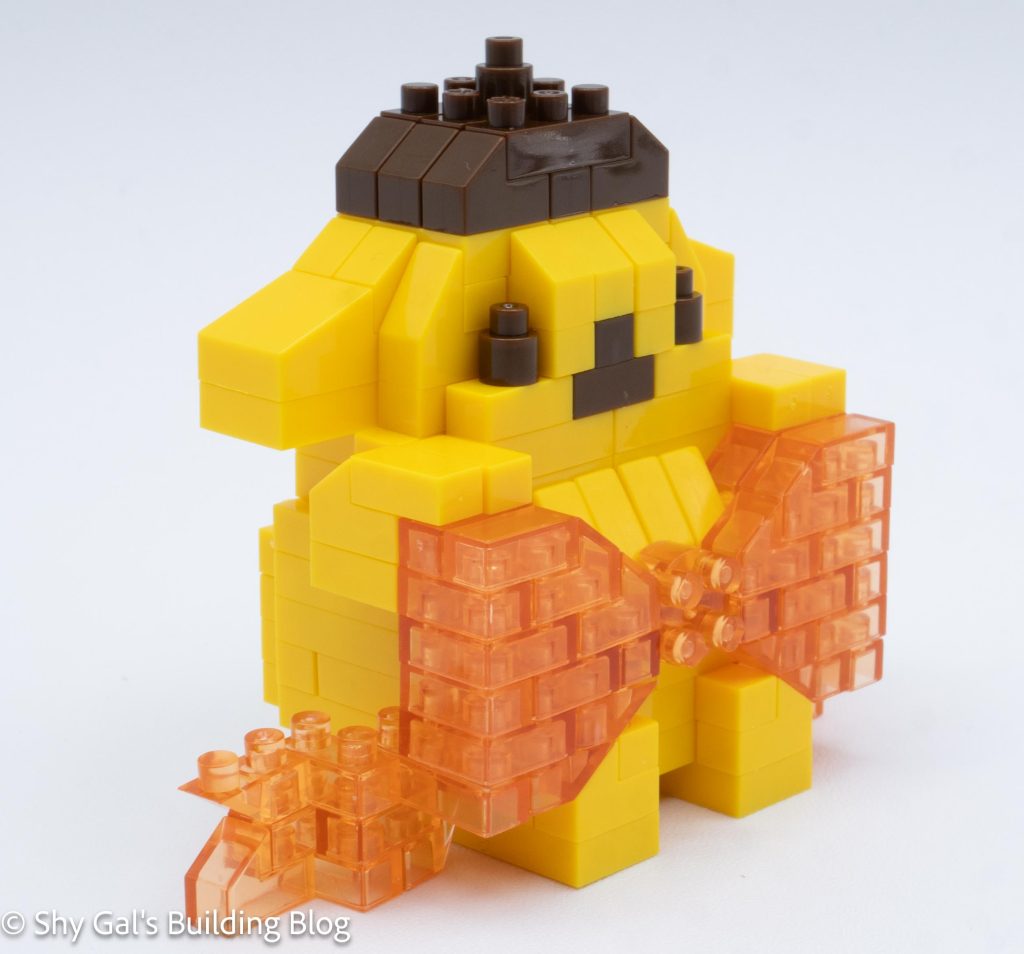
This post is a review of the nanoblock Pompompurin Big Ribbon build. Pompompurin Big Ribbon is part of the nanoblock Character collection. Wondering what else is part of the Character collection? Click here for a list.
Number: NBCC_250
Number of Pieces: 180
Difficulty Rating: 2/5
I began the build by laying the base layer of bricks out on my nanoblock pad.
I added a couple of layers of bricks and started to work on the bow.
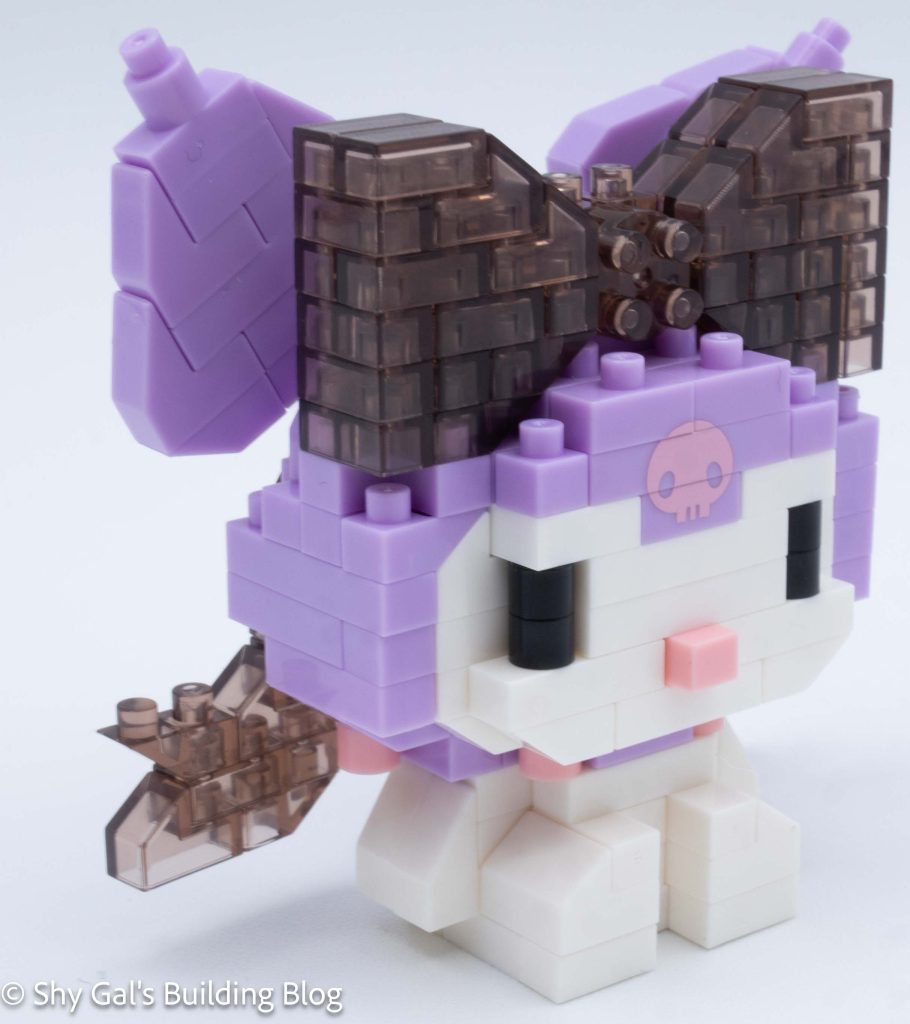
Next, I added the very large printed brick. My printed brick was loose, so it kept falling apart as I added more layers.

Then I added more layers of yellow and clear orange bricks. These steps build up the main body and the main section of the bow.
After building the main section of the bow, it was time to make the head.
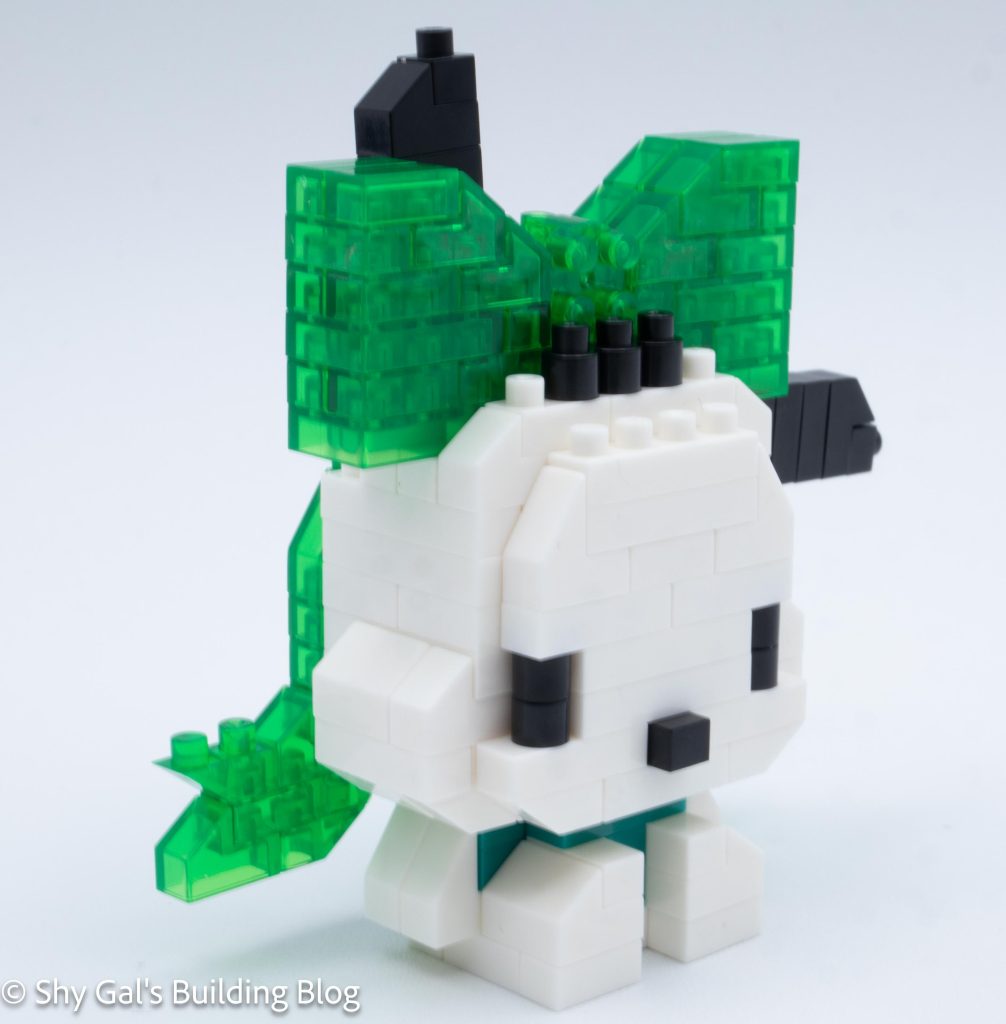
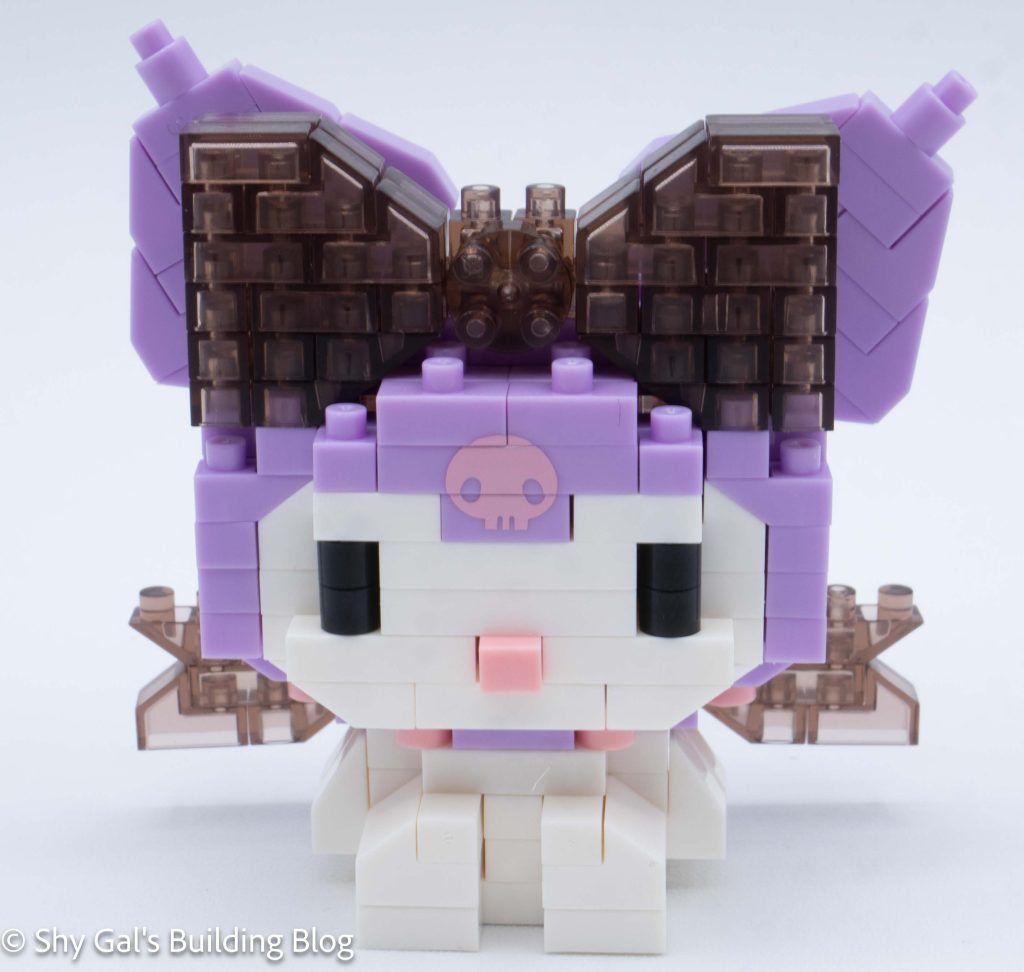
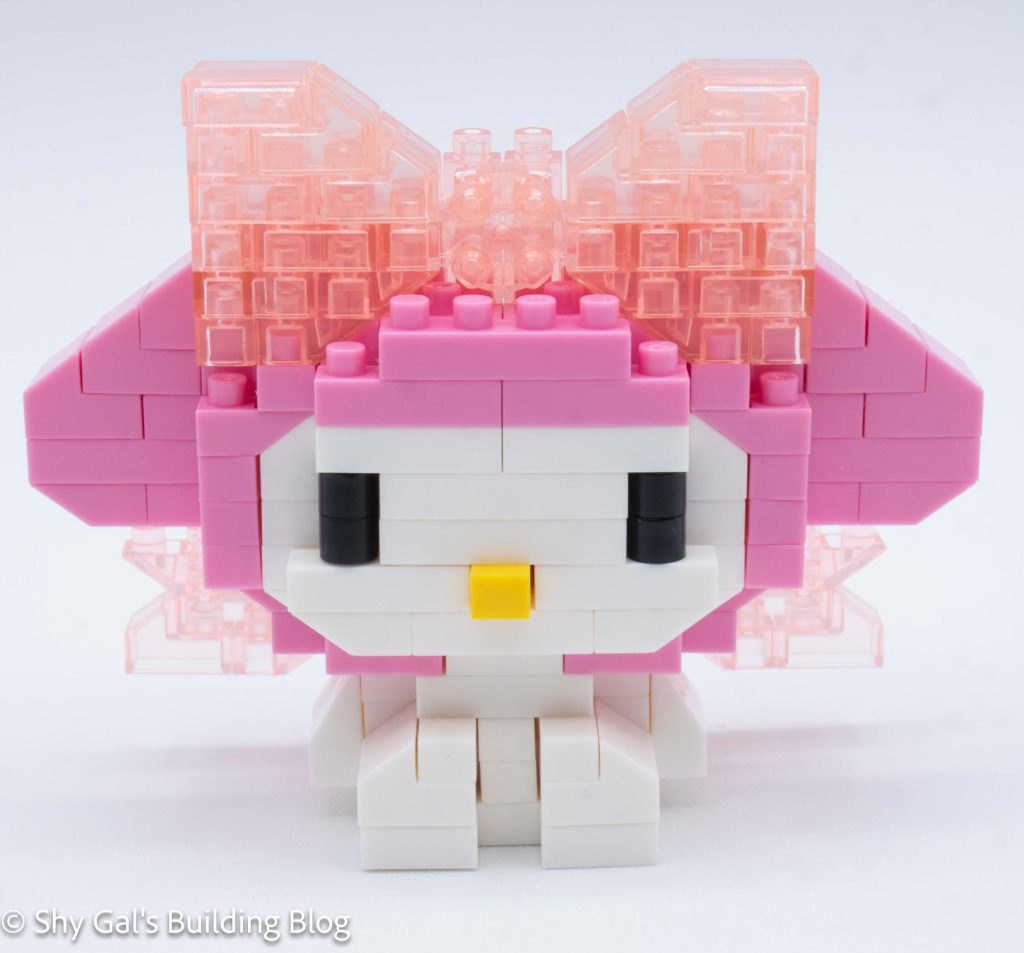
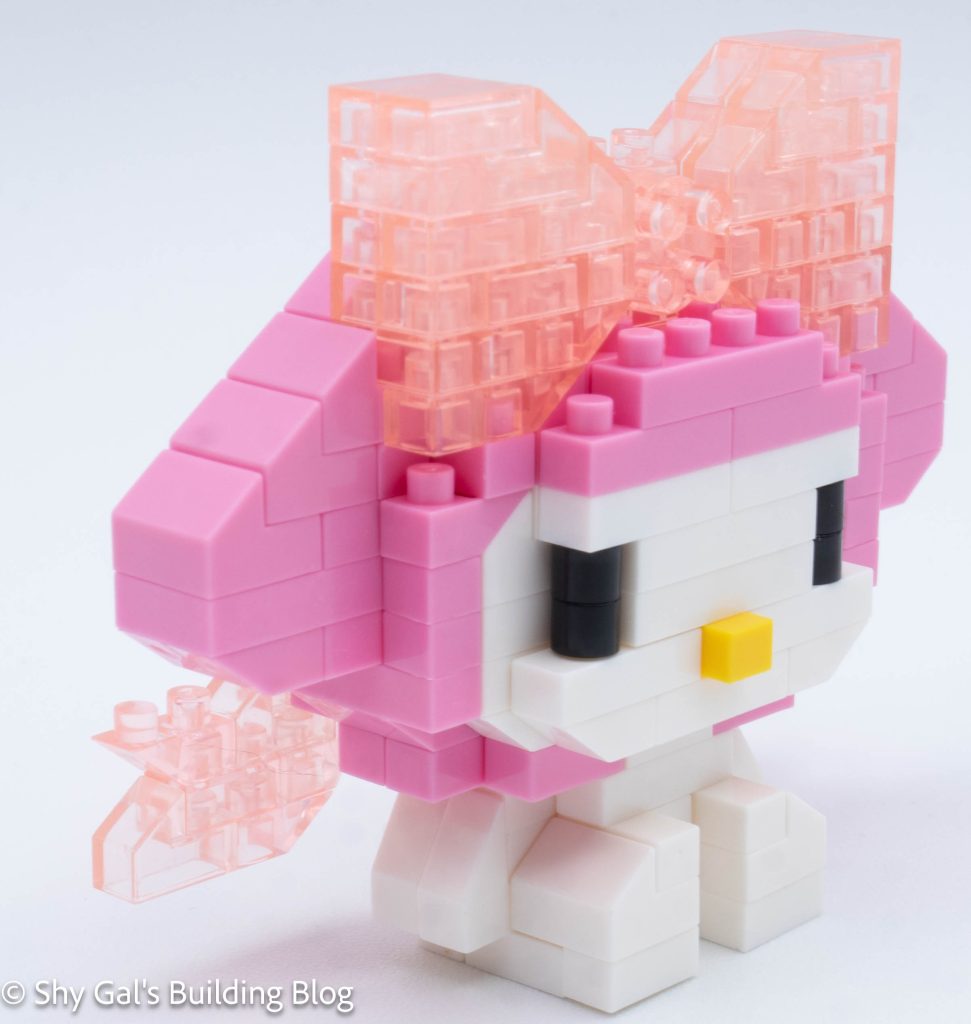
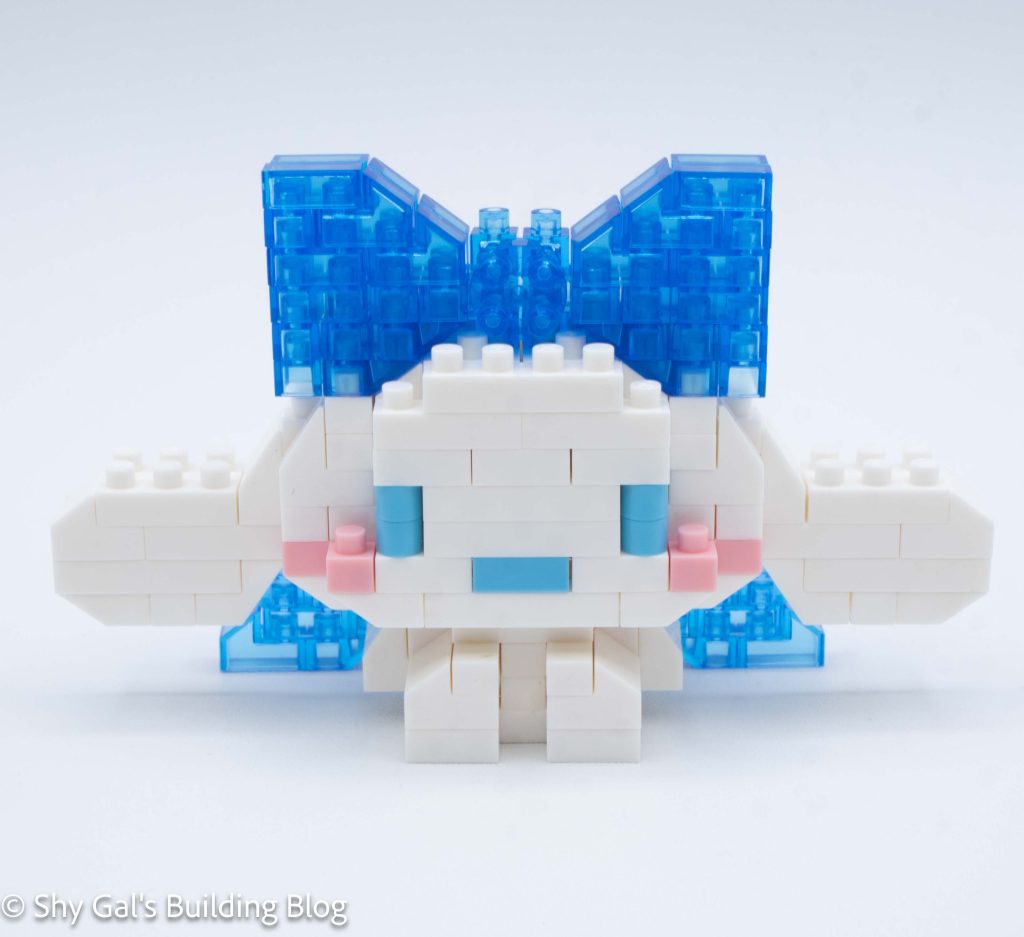
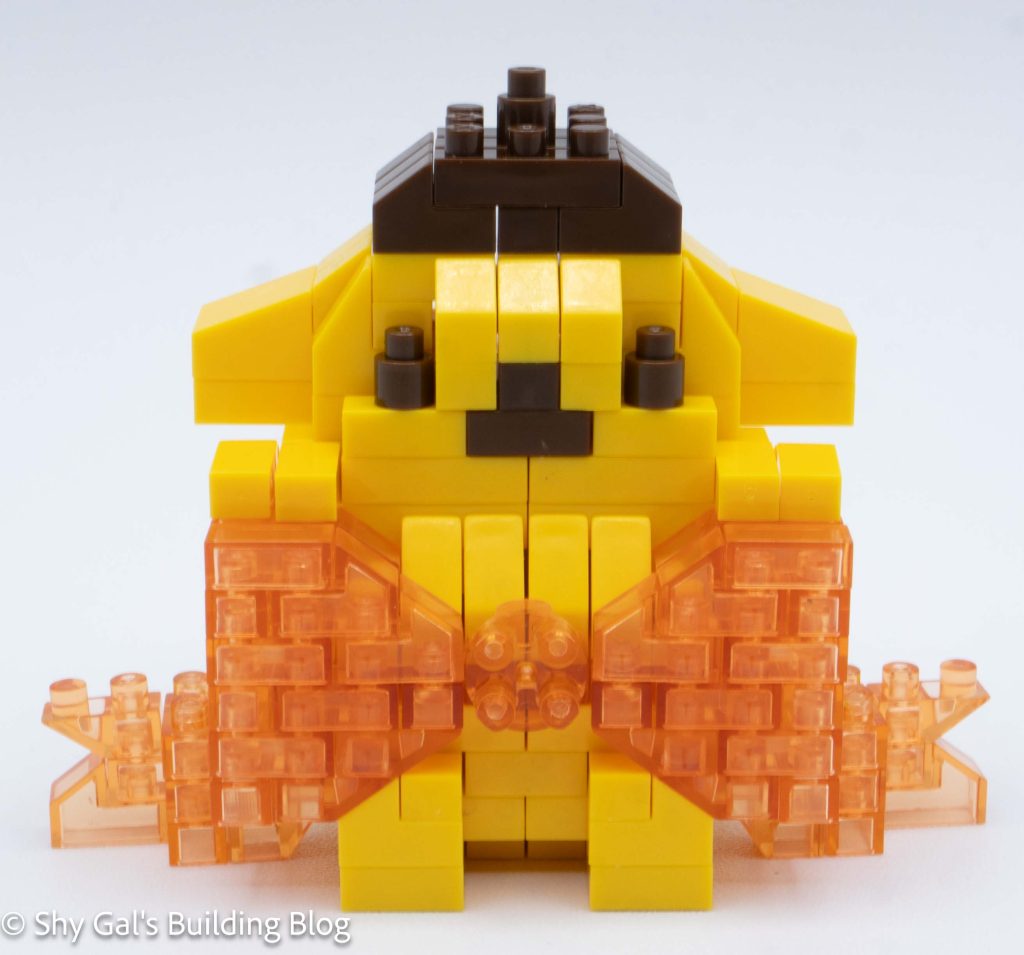
I continued to add layers to build the head. I added the mouth, nose, and eyes.
After closing up the head, I added his little hat.
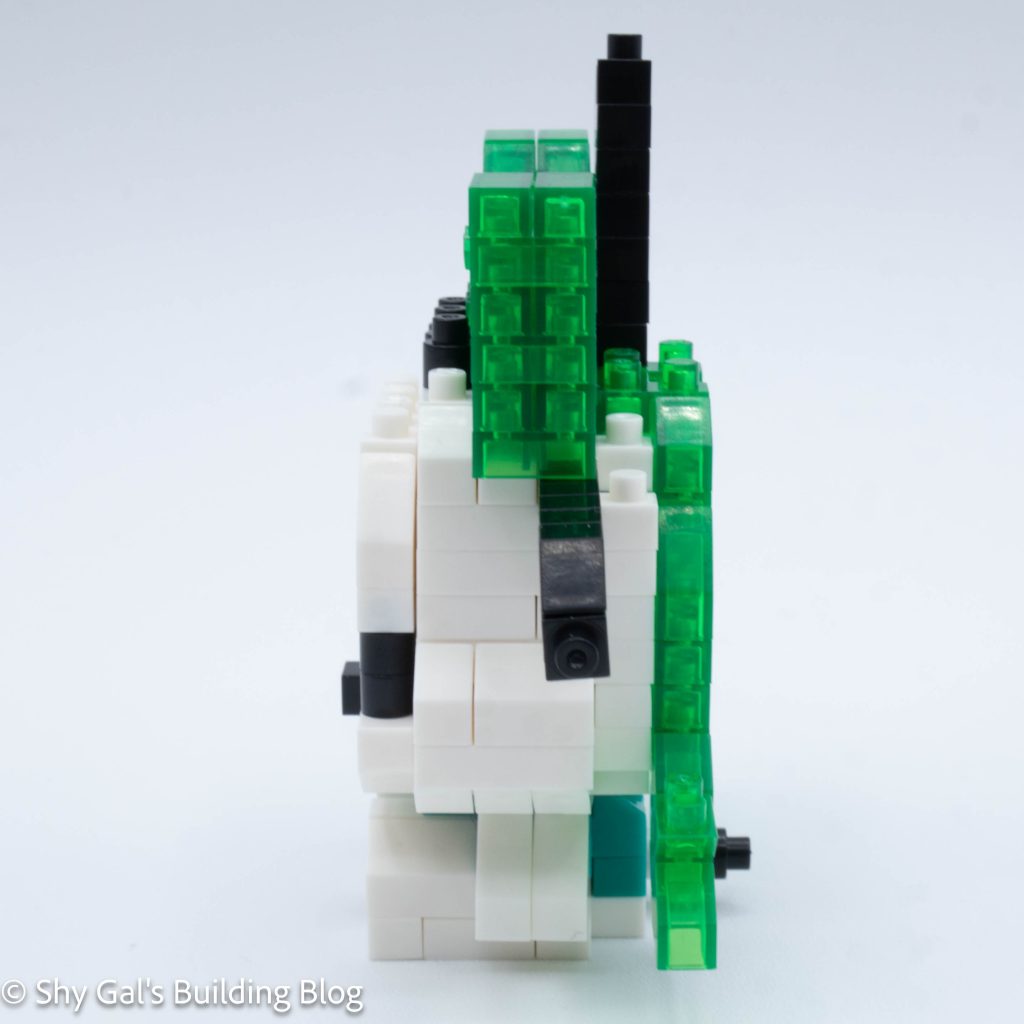
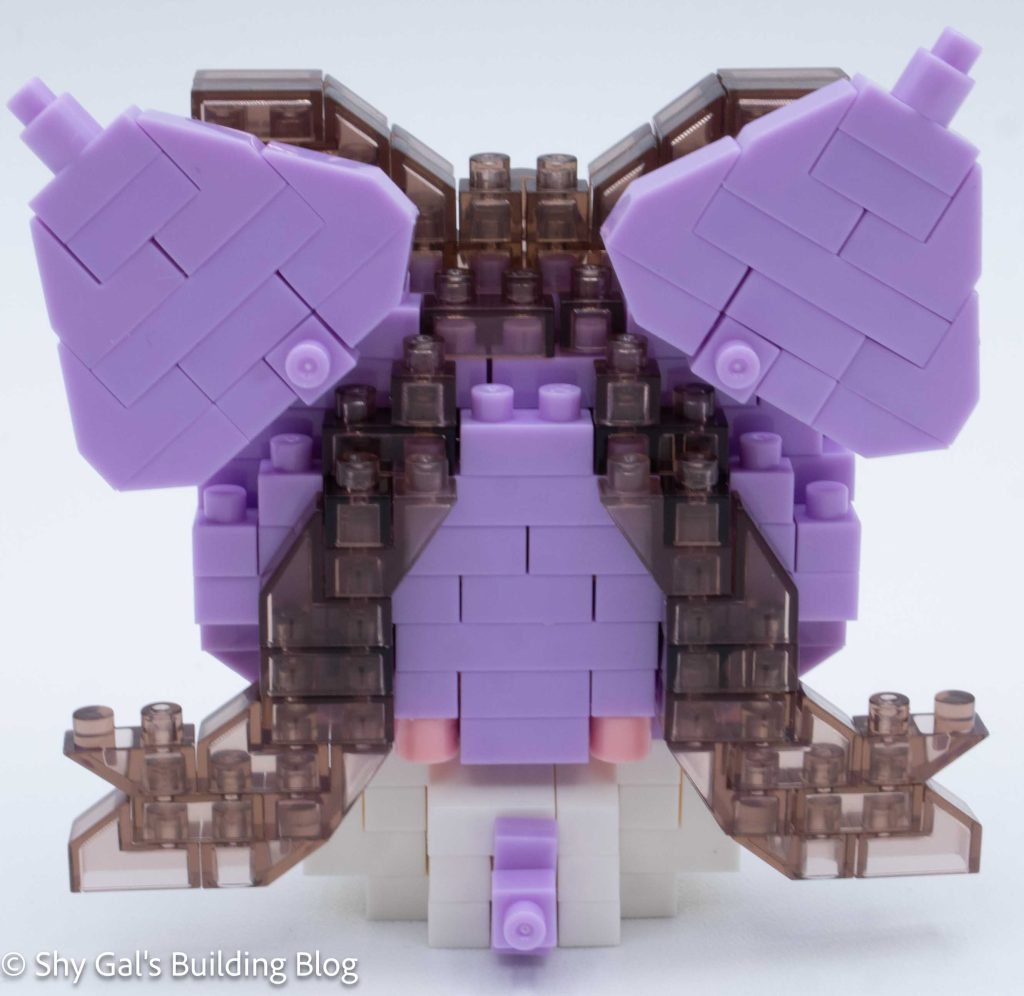
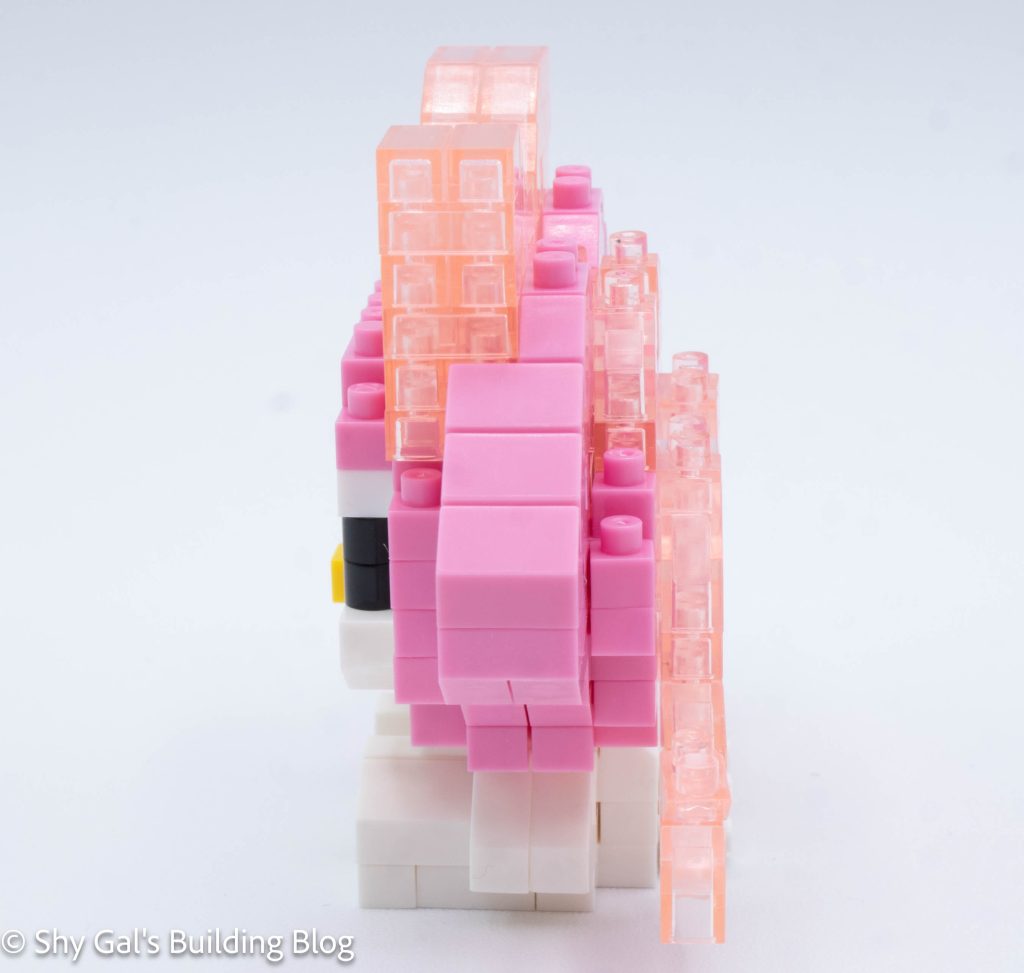
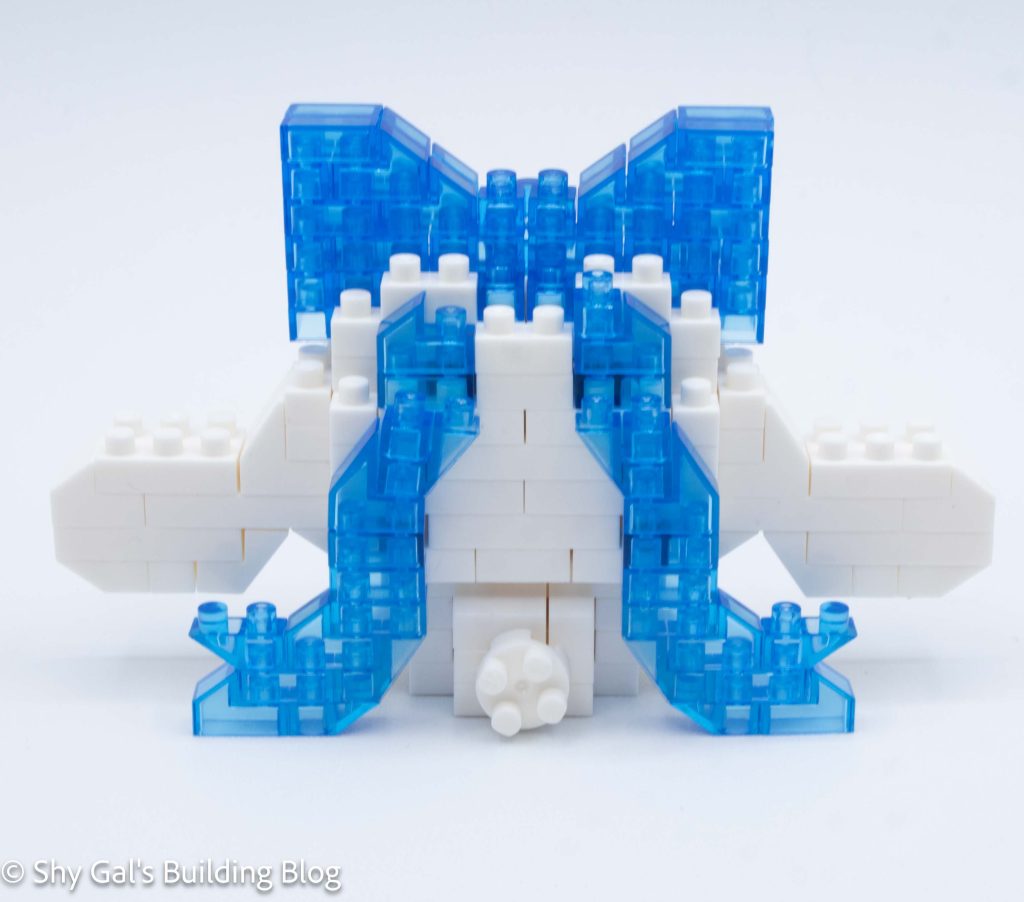
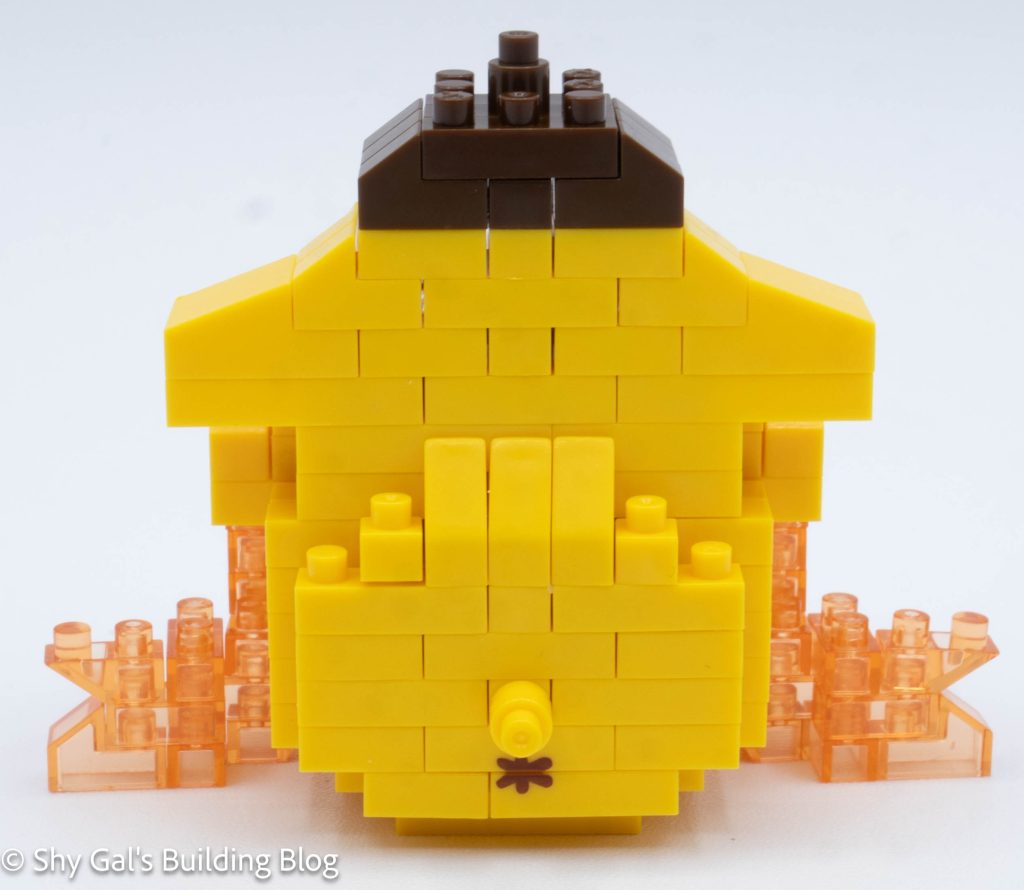
Next, I added a bow in the center of the bow and Pompompurin’s tail.
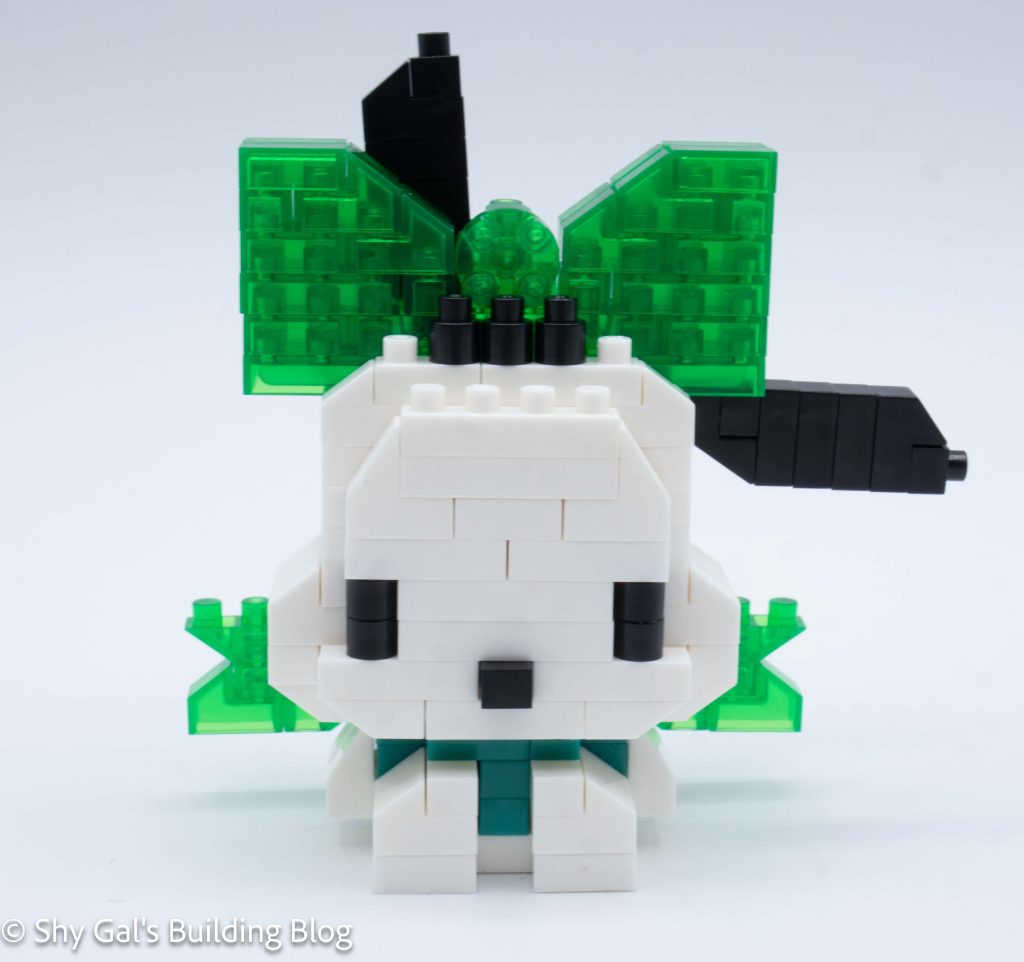
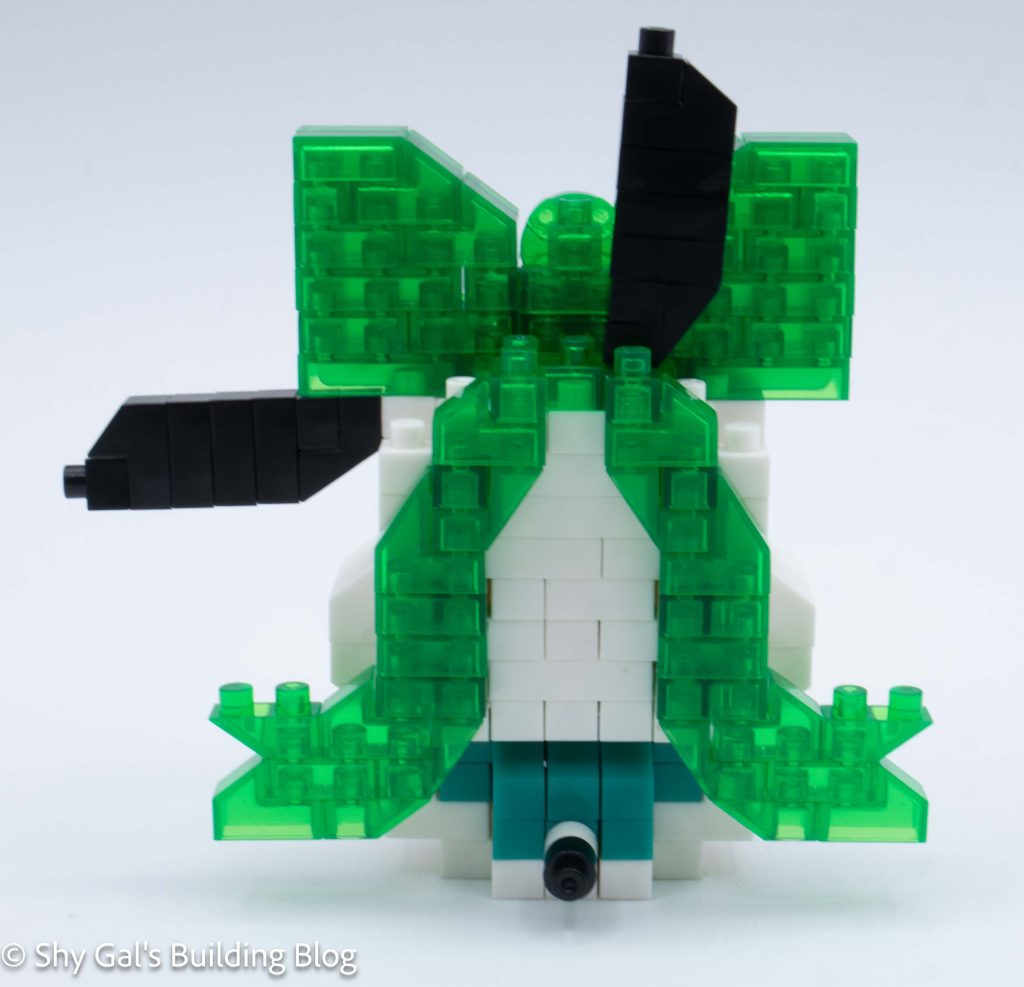
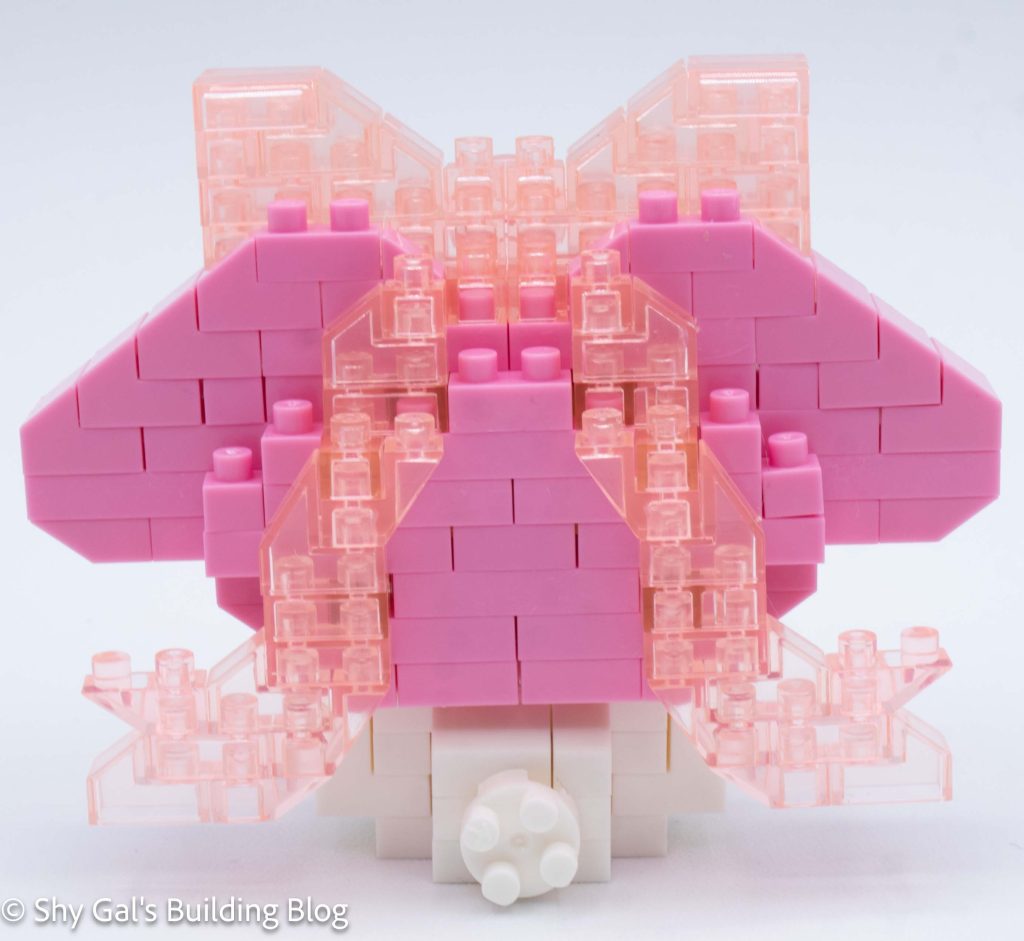
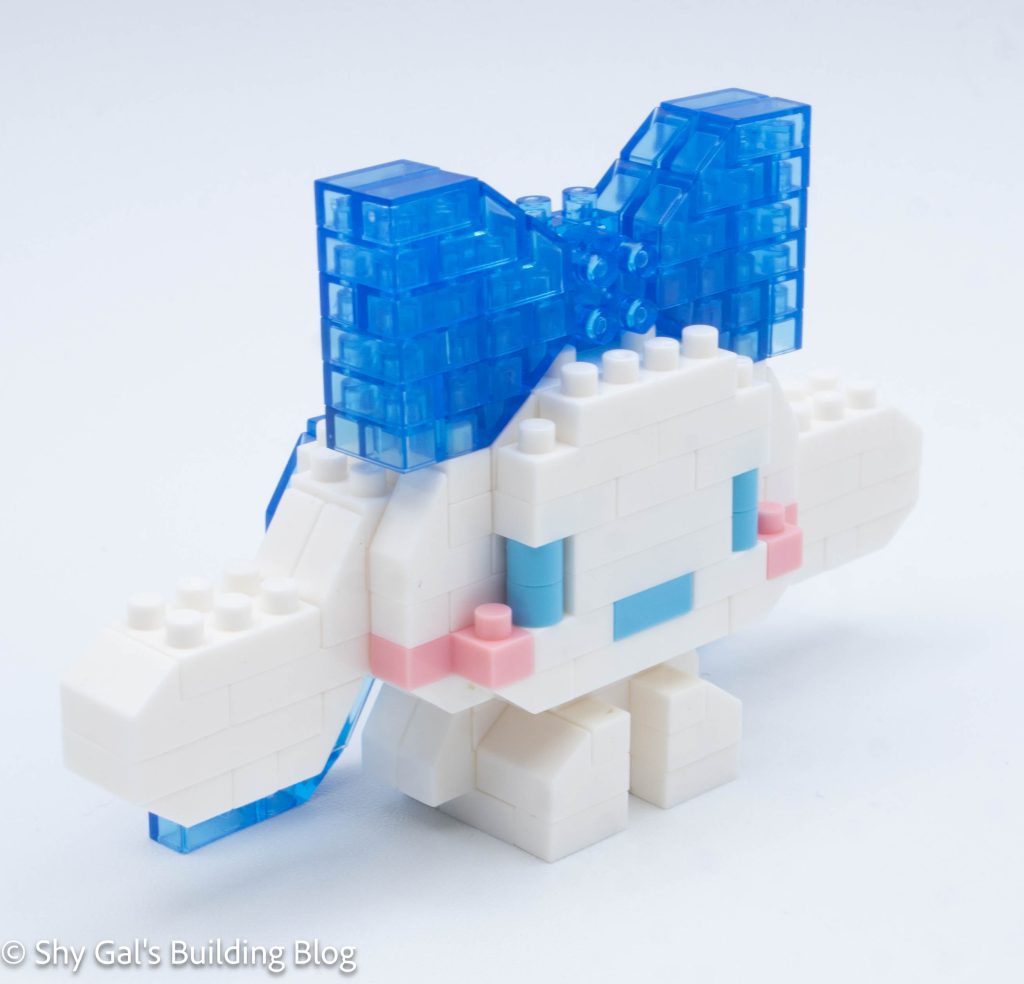
The final step was to add the ends to the ribbons. I like that the bow wraps around Pompompurin.
Things I liked:
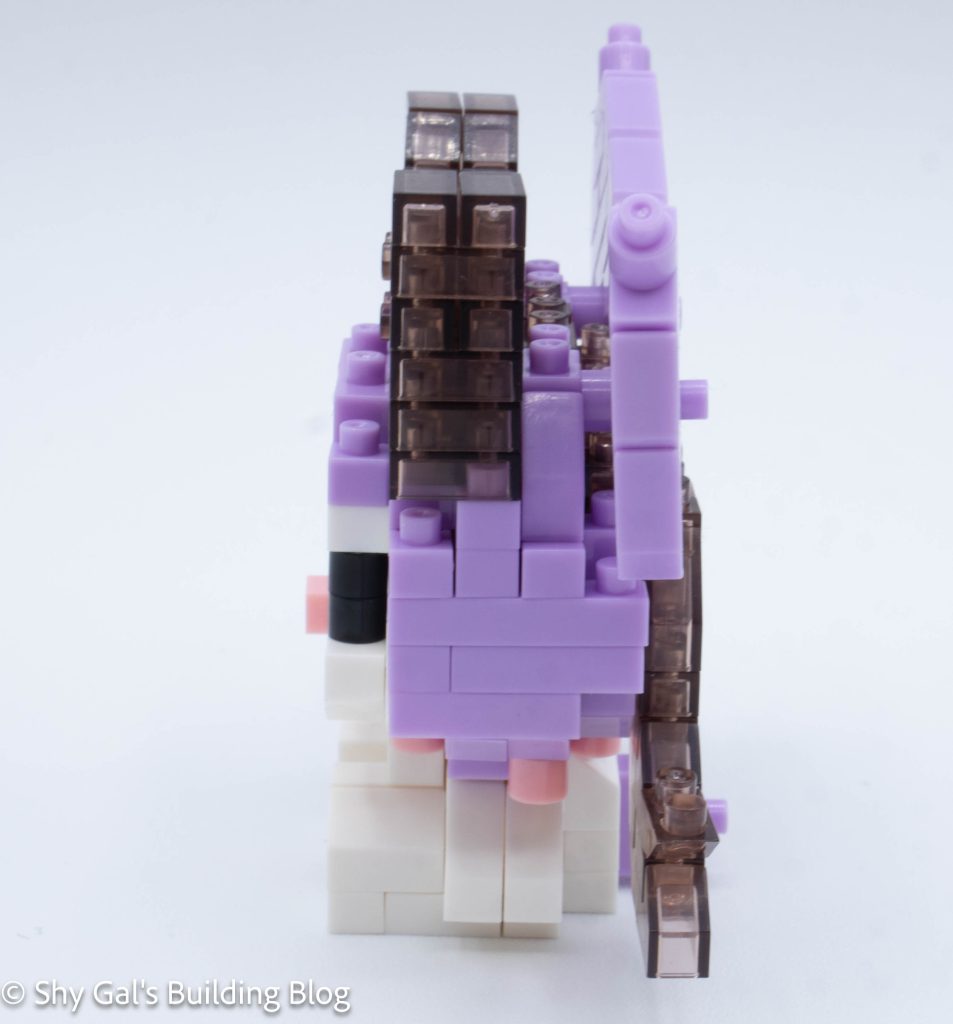
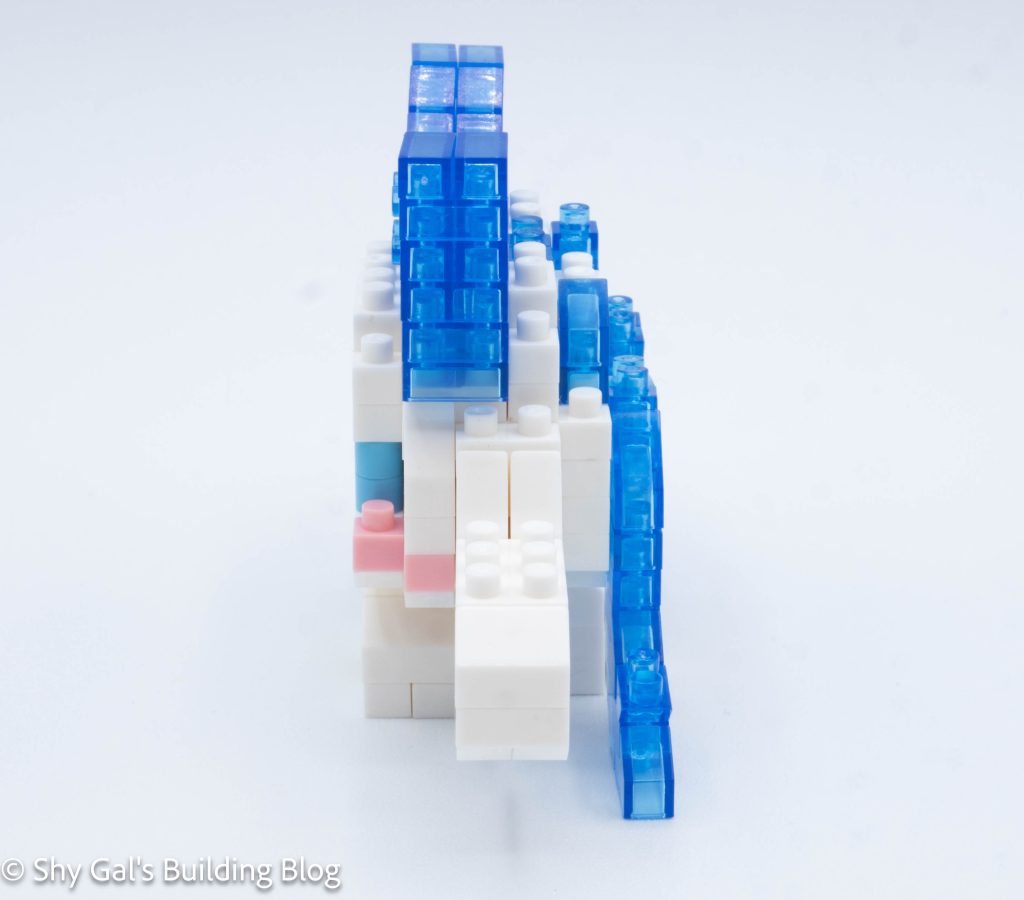
- I like the depth of the ribbon and how it wraps around Pompompurin
Things I didn’t like:
- I didn’t like that the printed block was loose and kept falling apart