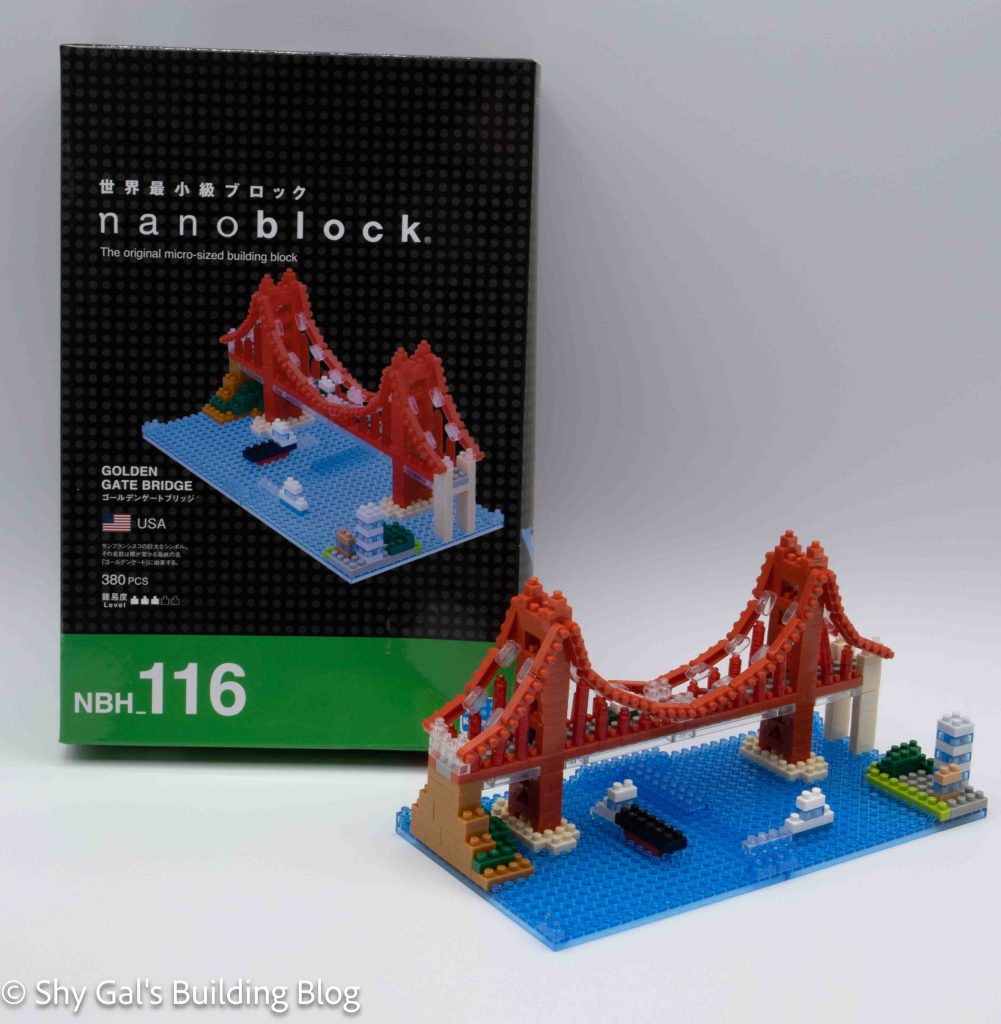
This post is a review of the nanoblock Golden Gate Bridge build. The Golden Gate Bridge is part of the nanoblock Sights to See collection. Wondering what else is part of the Sights to See collection? Click here for a list.
Number: NBH_116
Country: USA
Number of Pieces: 380
Difficulty Rating: 3/5
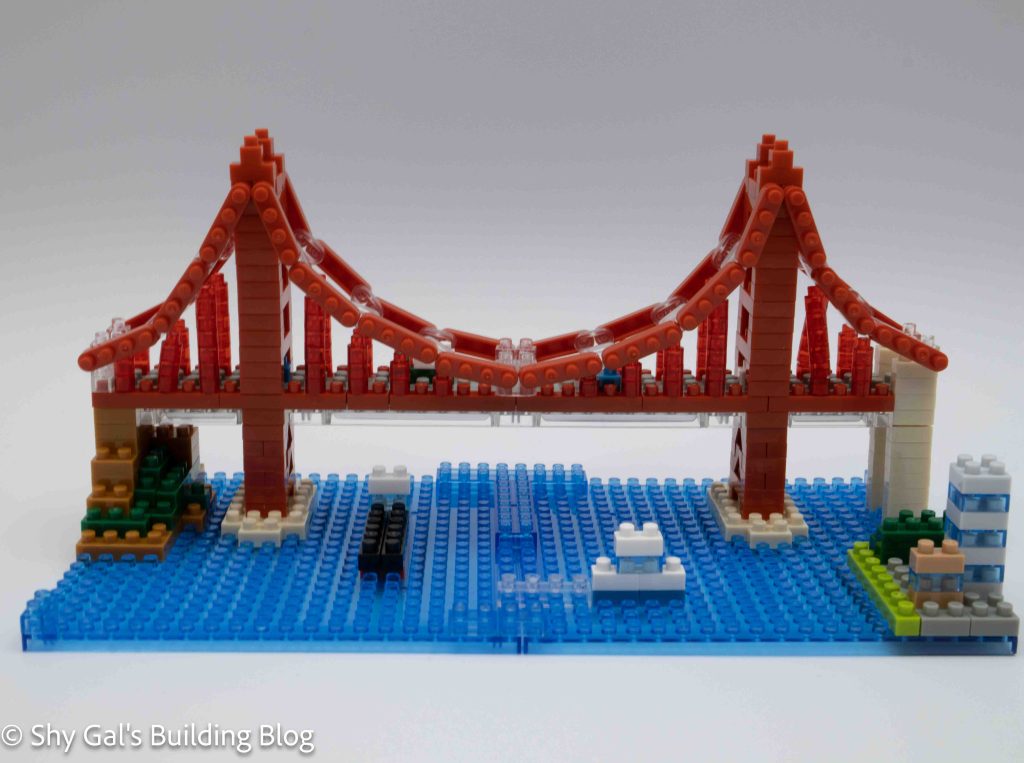
The Golden Gate Bridge is a suspension bridge in San Francisco, California. When it was built, it was both the tallest and the longest suspension bridge in the world. It also has a very distinct orange color.
This build is made of 2 major sections. There is the base of the bridge and the actual bridge itself.
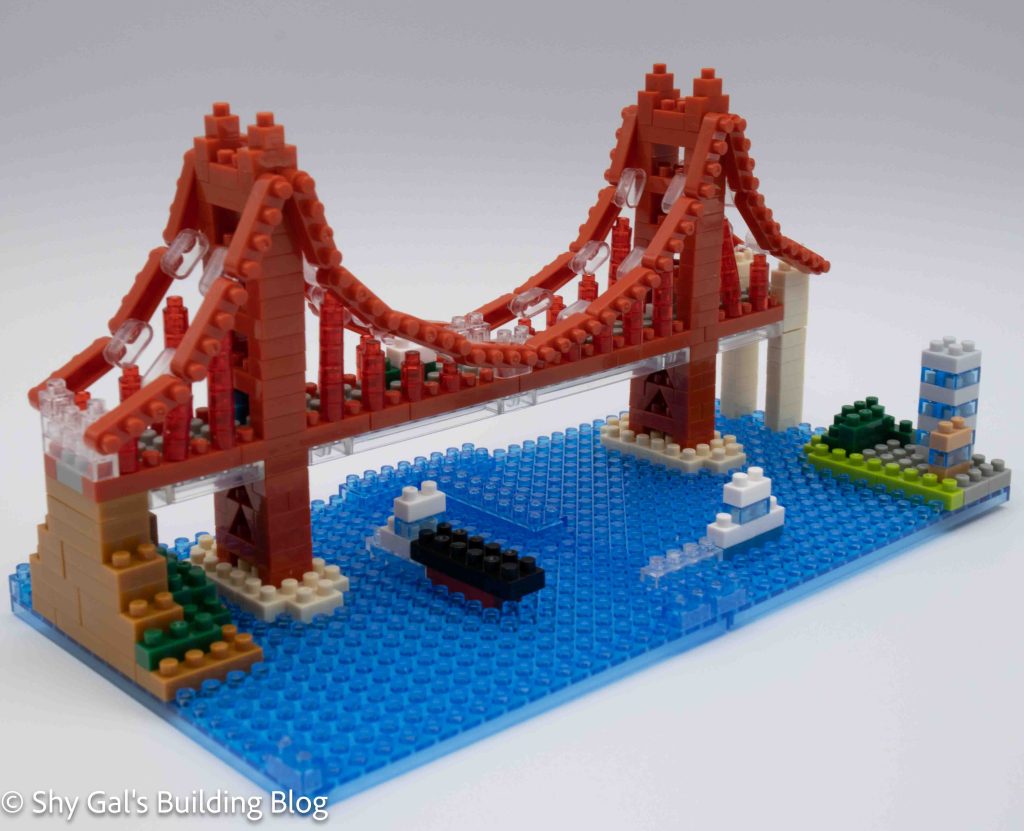
The base is straightforward other than counting where exactly each item goes in the base layers. On the base, you create where the bridge connects to land and where the bridge meets the water. You also add a couple boats which seemed a bit random.
The next major step is to the main body of the bridge. The steps for building the bridge are very straightforward. The first step is to build the base of the bridge and create the main road.
After you build the road, you put cars on the road. You can’t see the cars on the finished build, so I’m not sure why the cars were added.
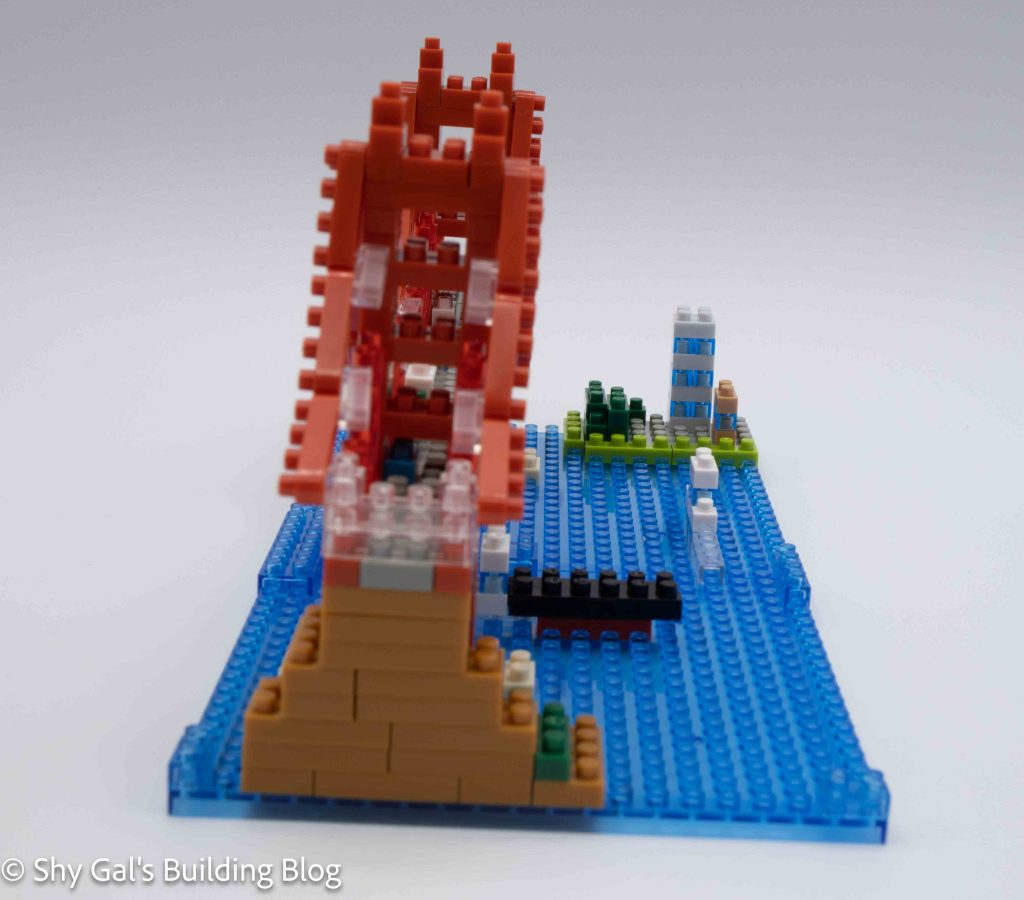
You also add the cables that connect to the large cables of the suspension bridge. At this point, I noticed that the bricks to build the body of the bridge were red, not the distinct orange that the Golden Gate Bridge is known for. I wish nanoblock had used orange for the build.
At this point, I broke from the directions and placed the main body on the base.
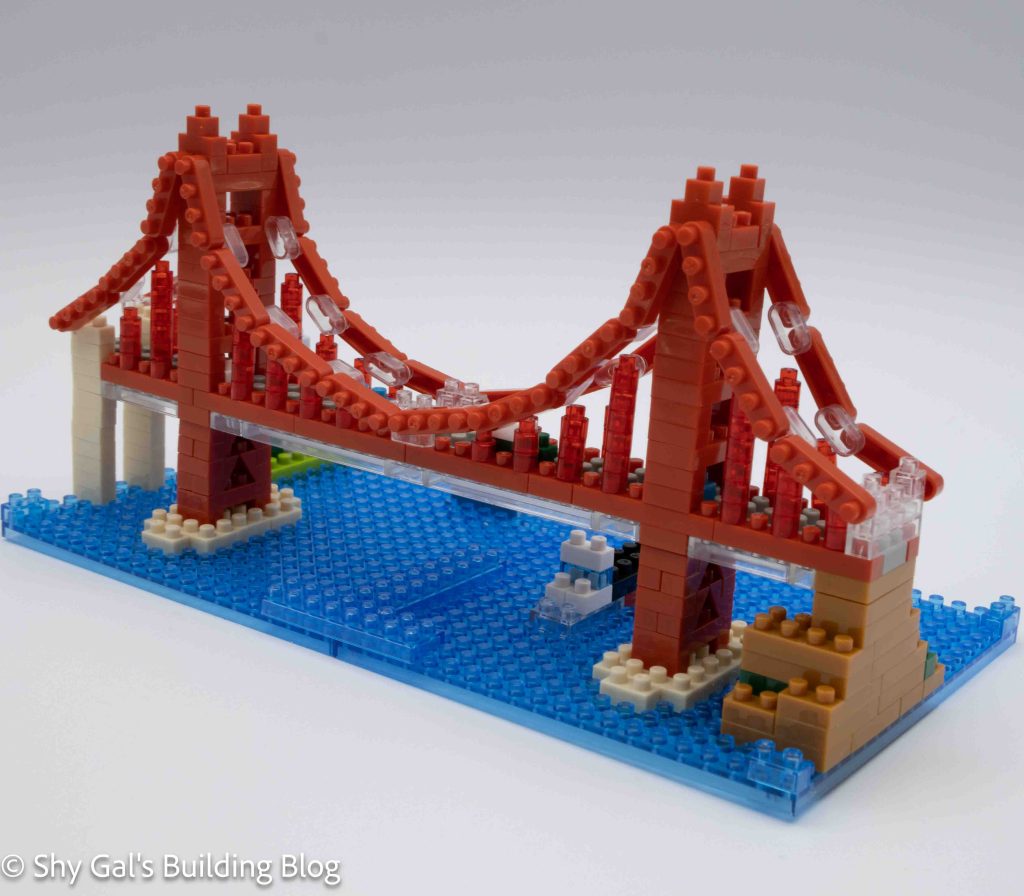
The final steps were to add the cable. I was wondering how nanoblock was going to create the massive cables. I really like the chain of the curved red bricks that create the cable. It was a bit tricky to get everything lined up properly.
Things I liked:
- How the cabling of the bridge is created
Things I didn’t like:
- I wish nanoblock had used orange bricks for the bridge
- Some of the details throughout the build seem to just be thrown into the build and don’t add much
