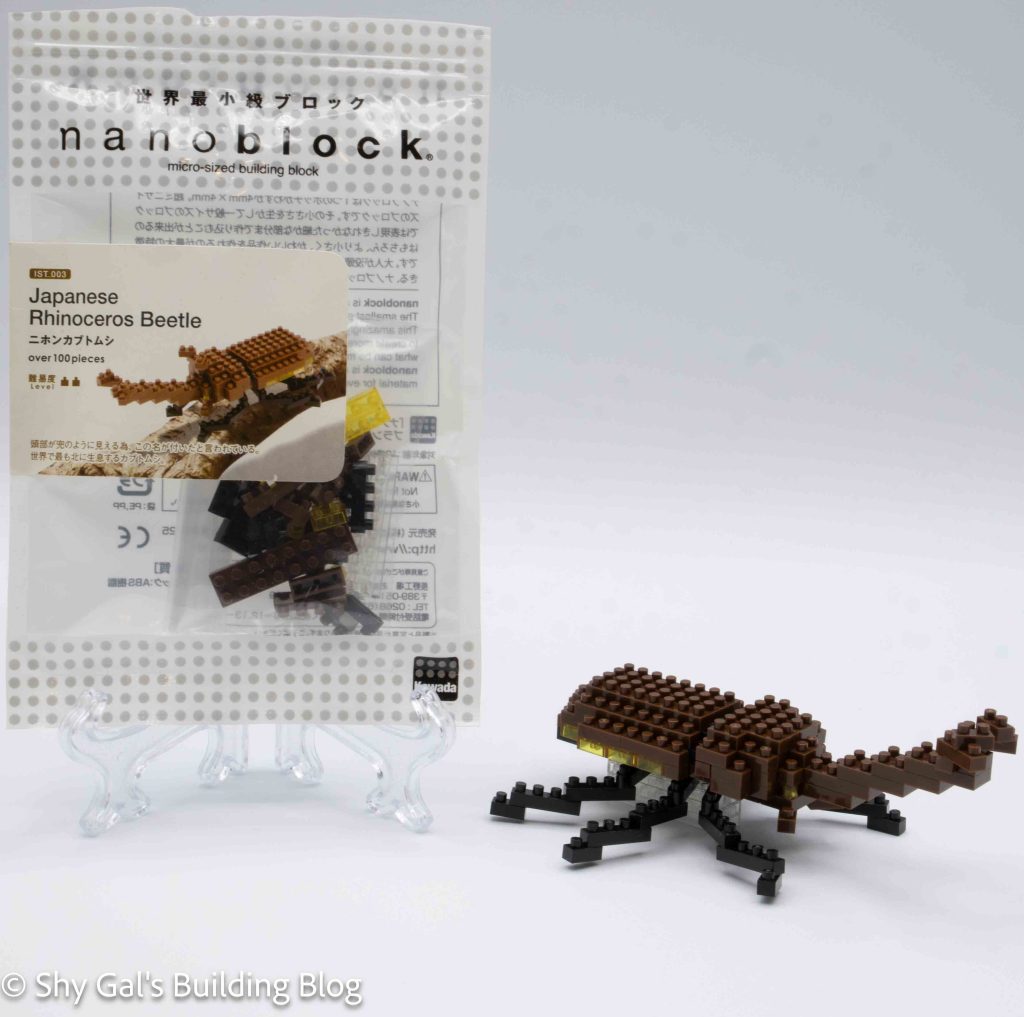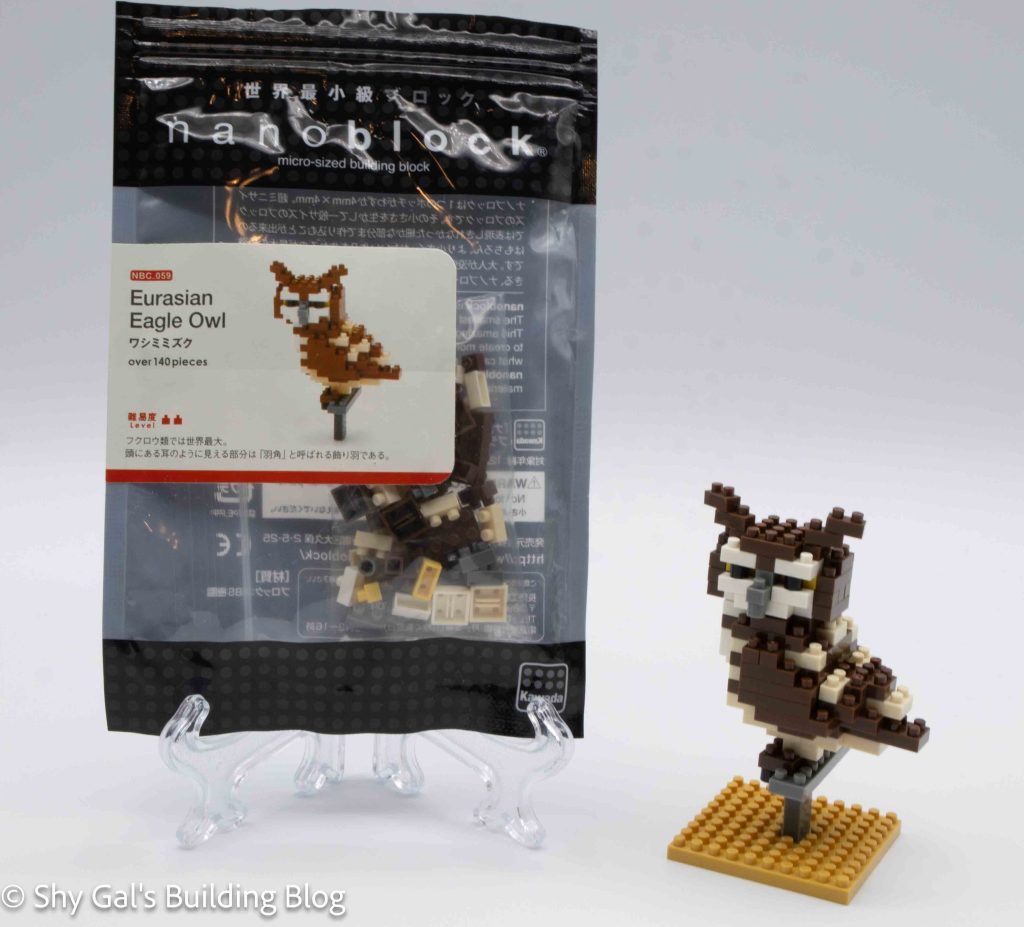
This post is a review of the nanoblock Eurasian Eagle Owl build. Eurasian Eagle Owl is part of the nanoblock Mini Collection series. Wondering what else is part of the Mini Collection? Click here for a list.
Number: NBC_059
Number of Pieces: 140
Difficulty Rating: 2
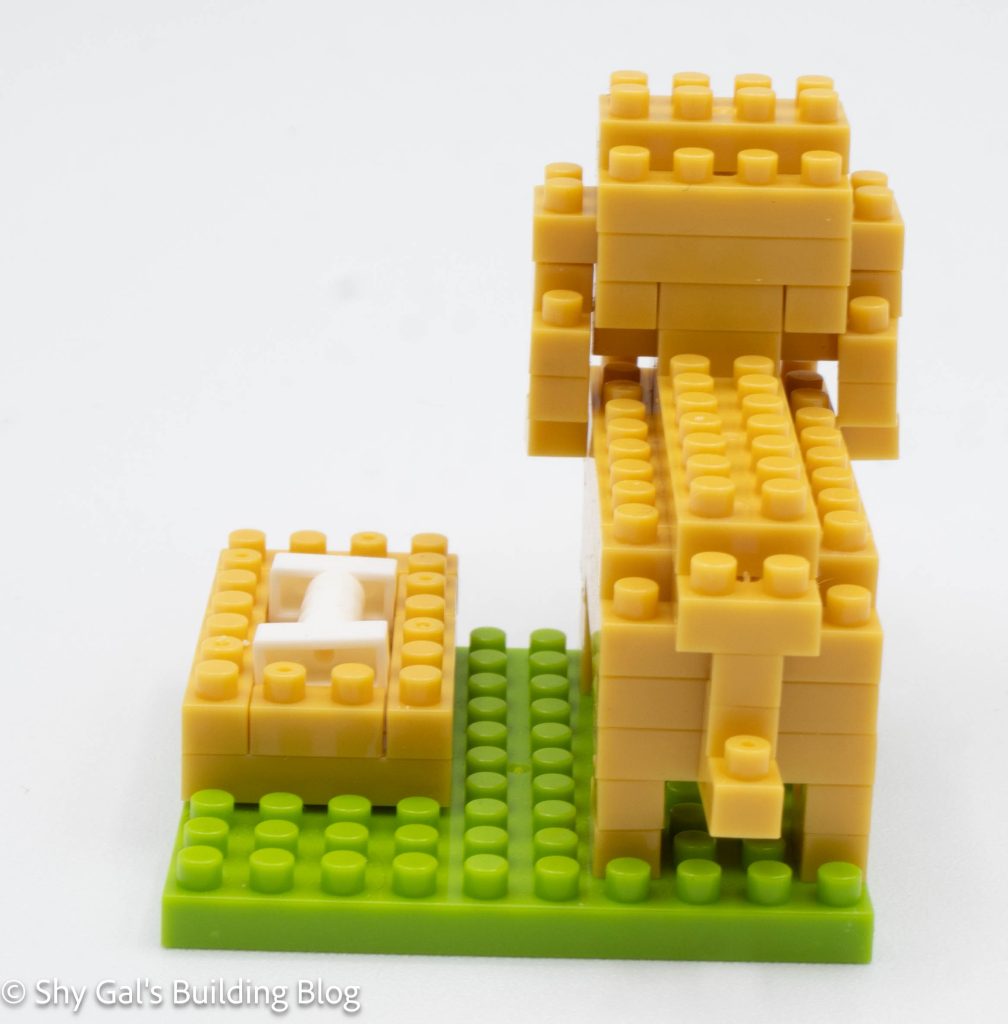
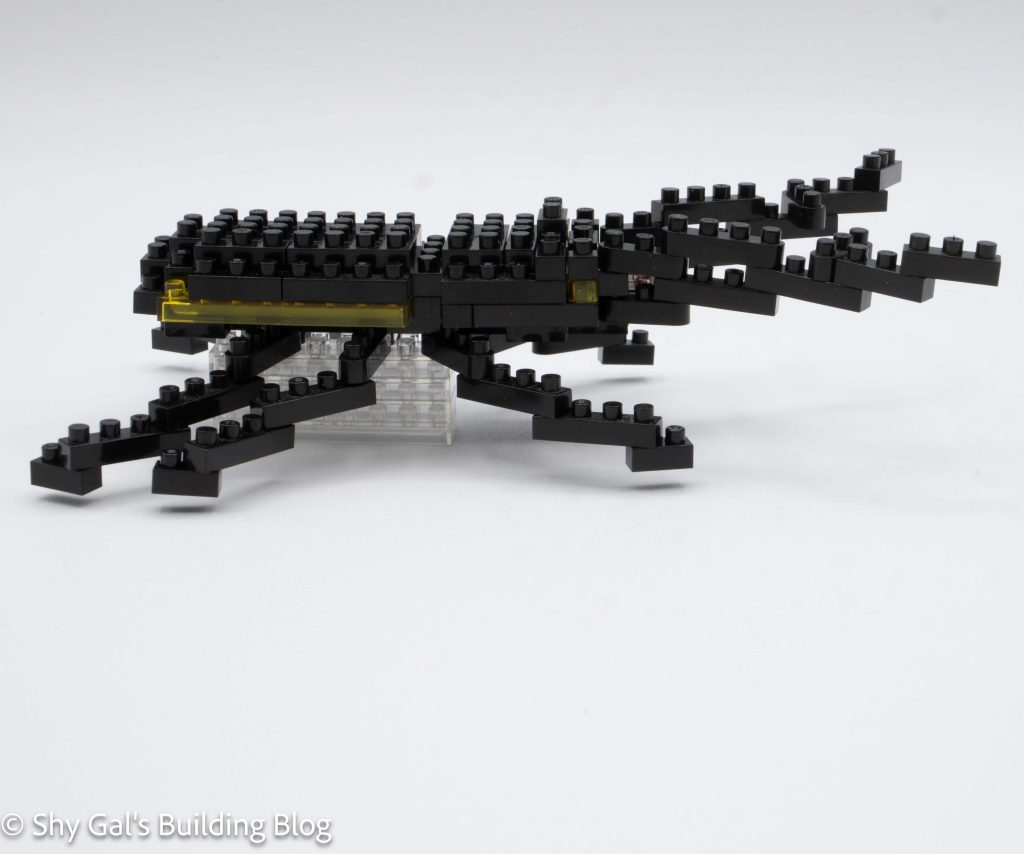
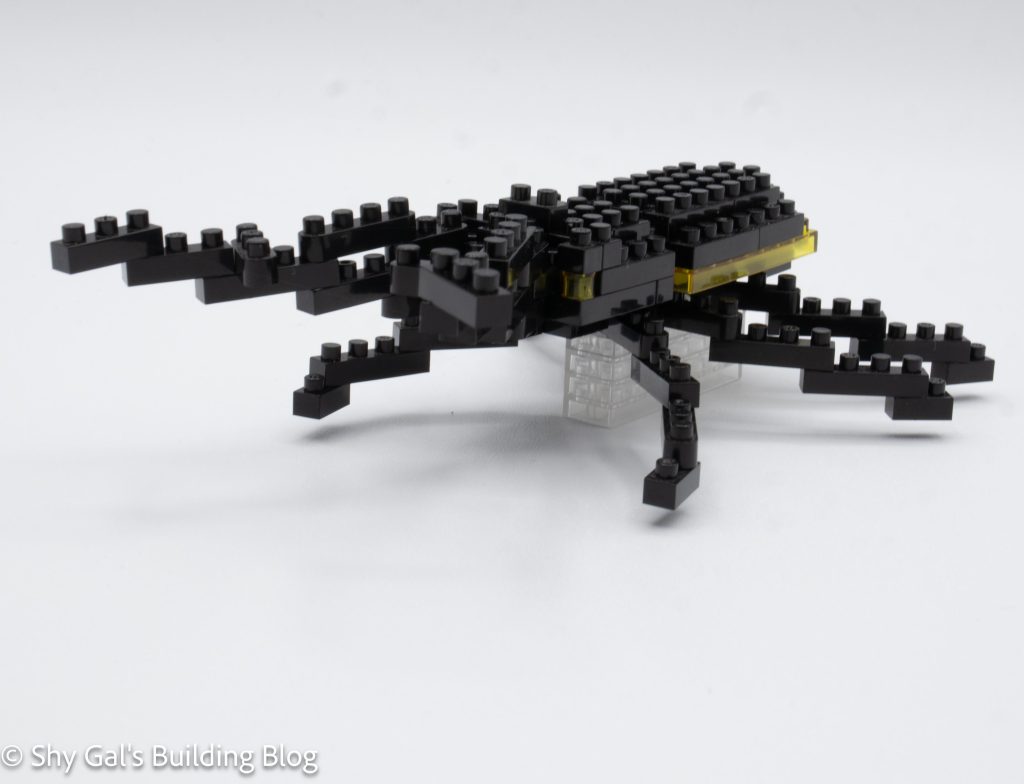
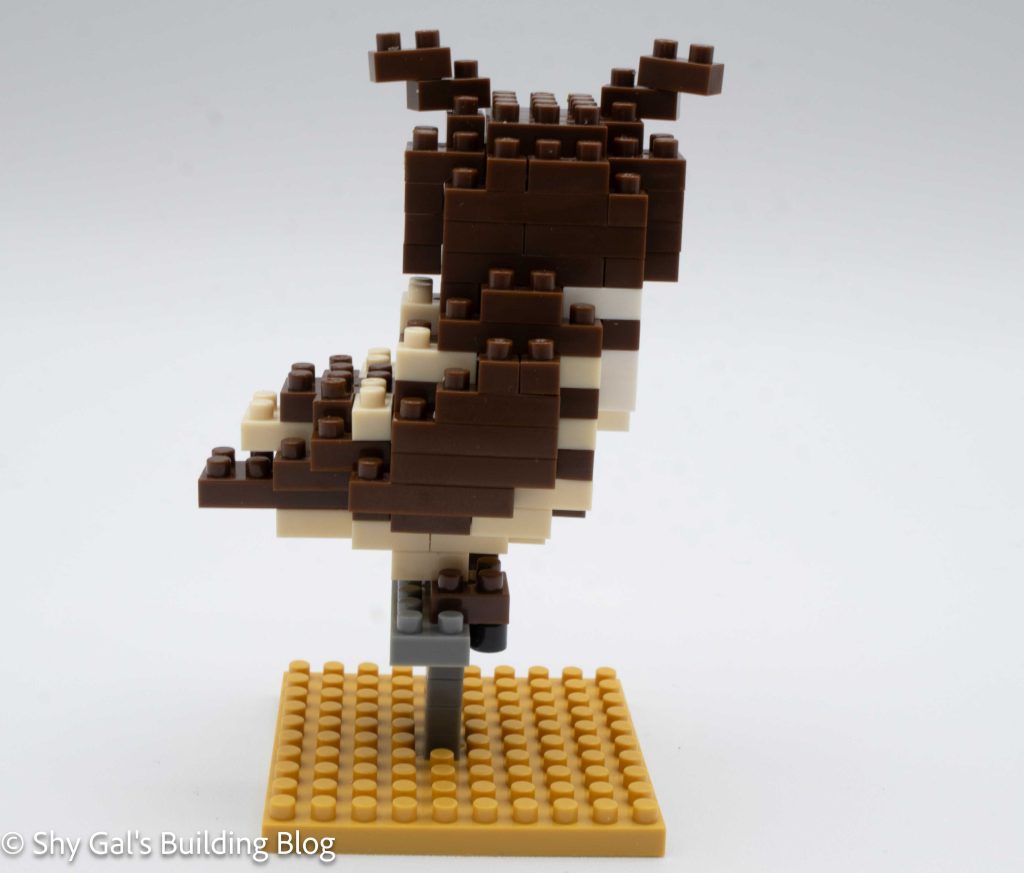
This build is unique because it sits on a little perch. Most nanoblock builds just have the animal, but this one has a perch that holds the animal.
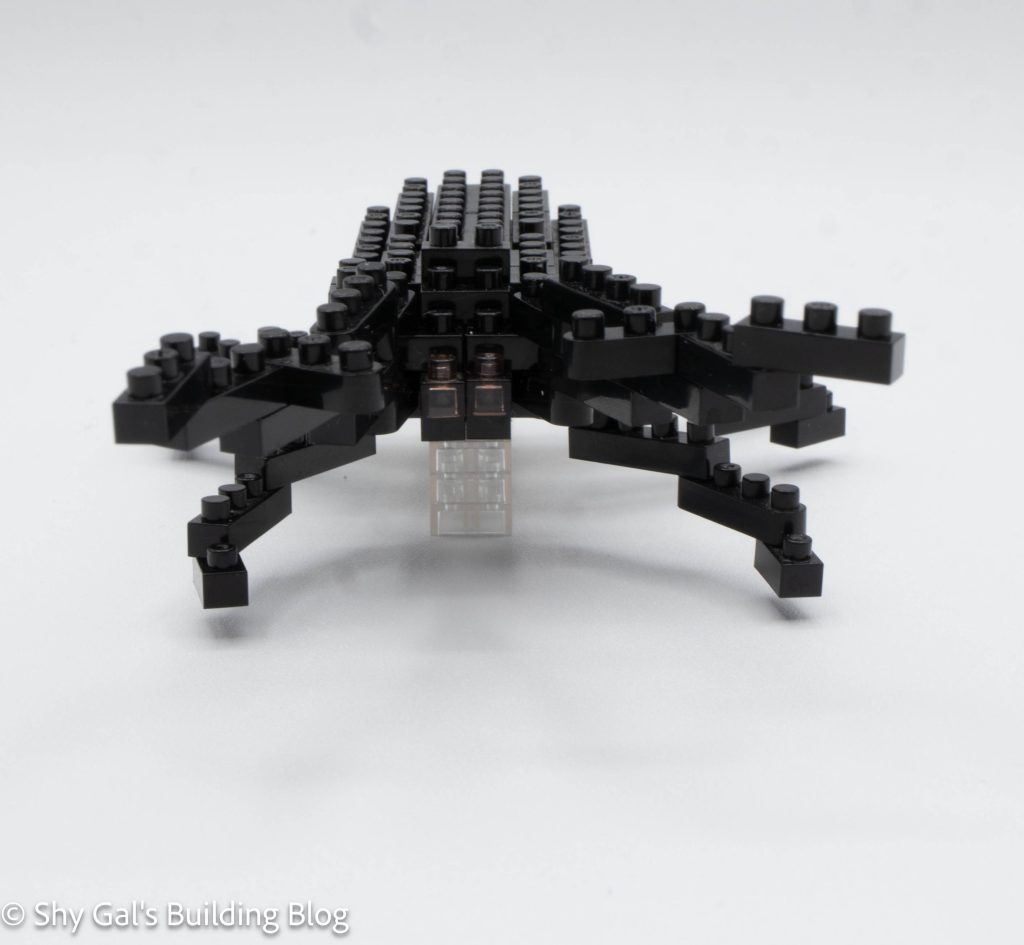
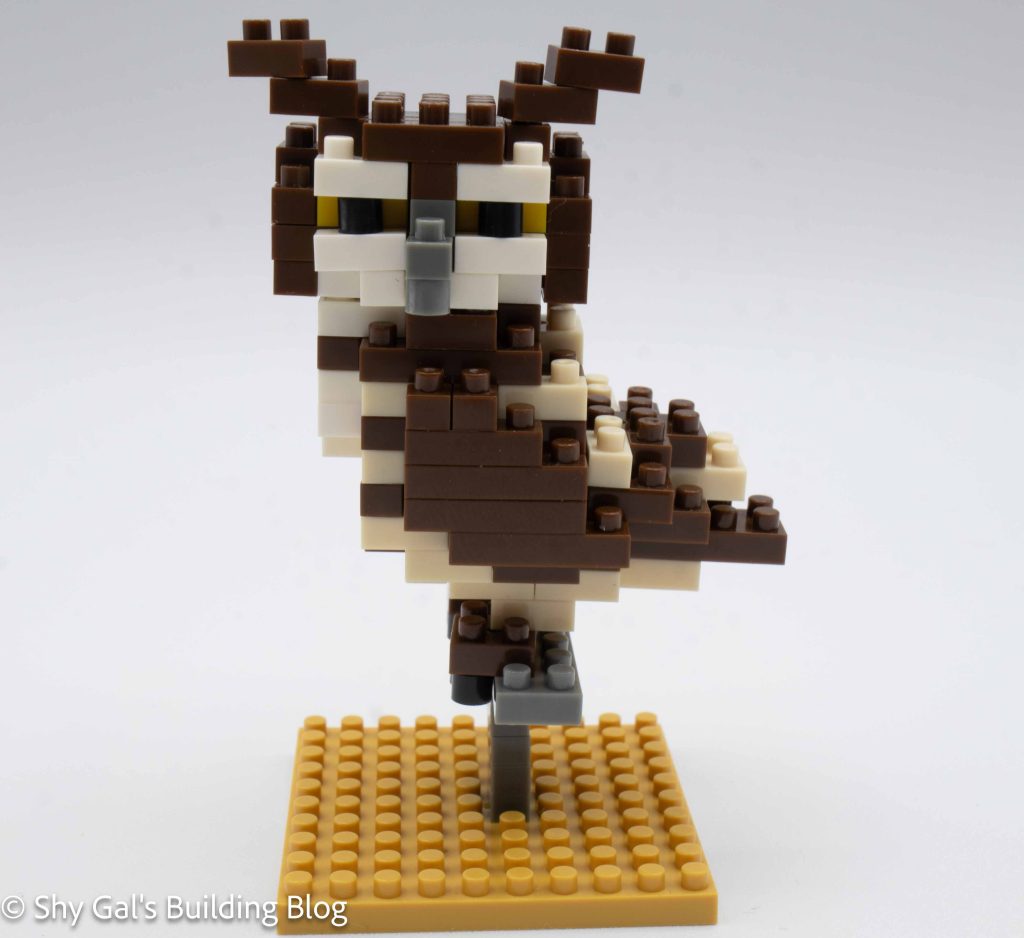
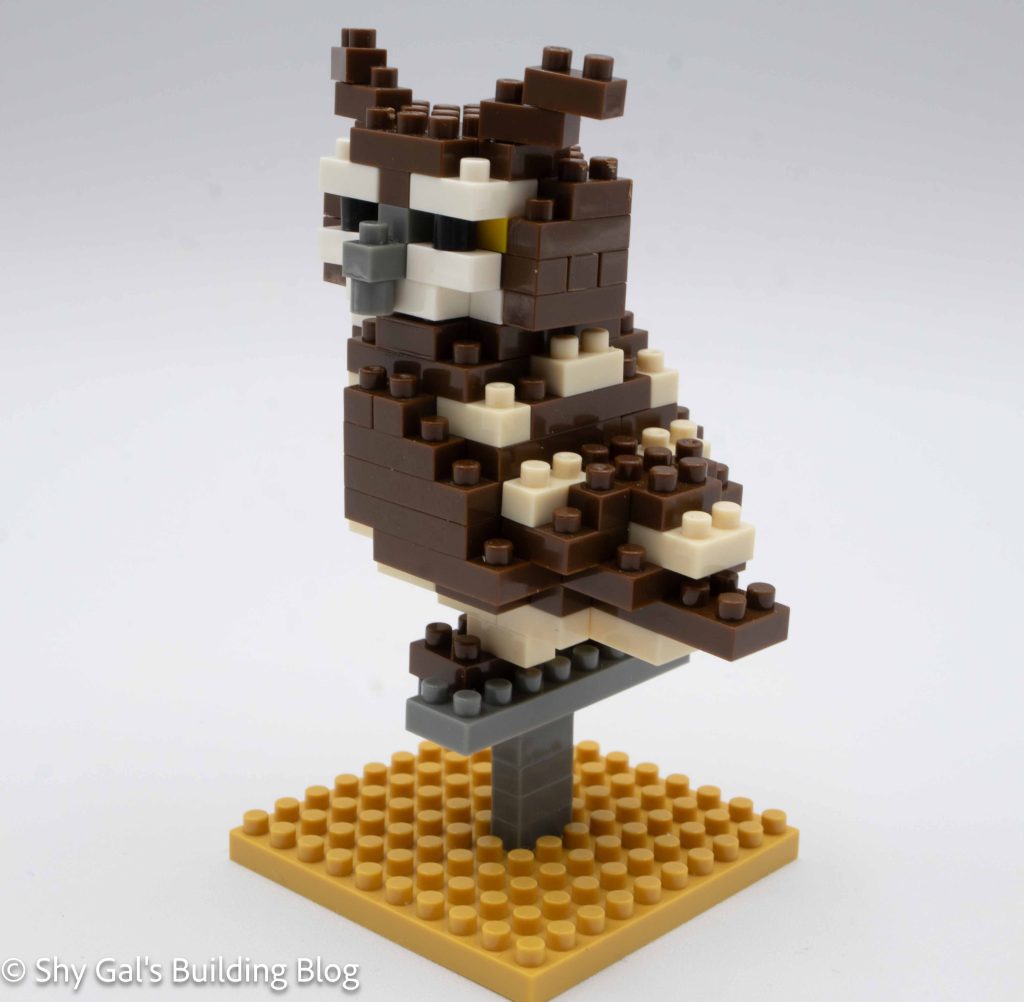
This build has 3 major sections. There is the body of the owl, the head, and the perch.
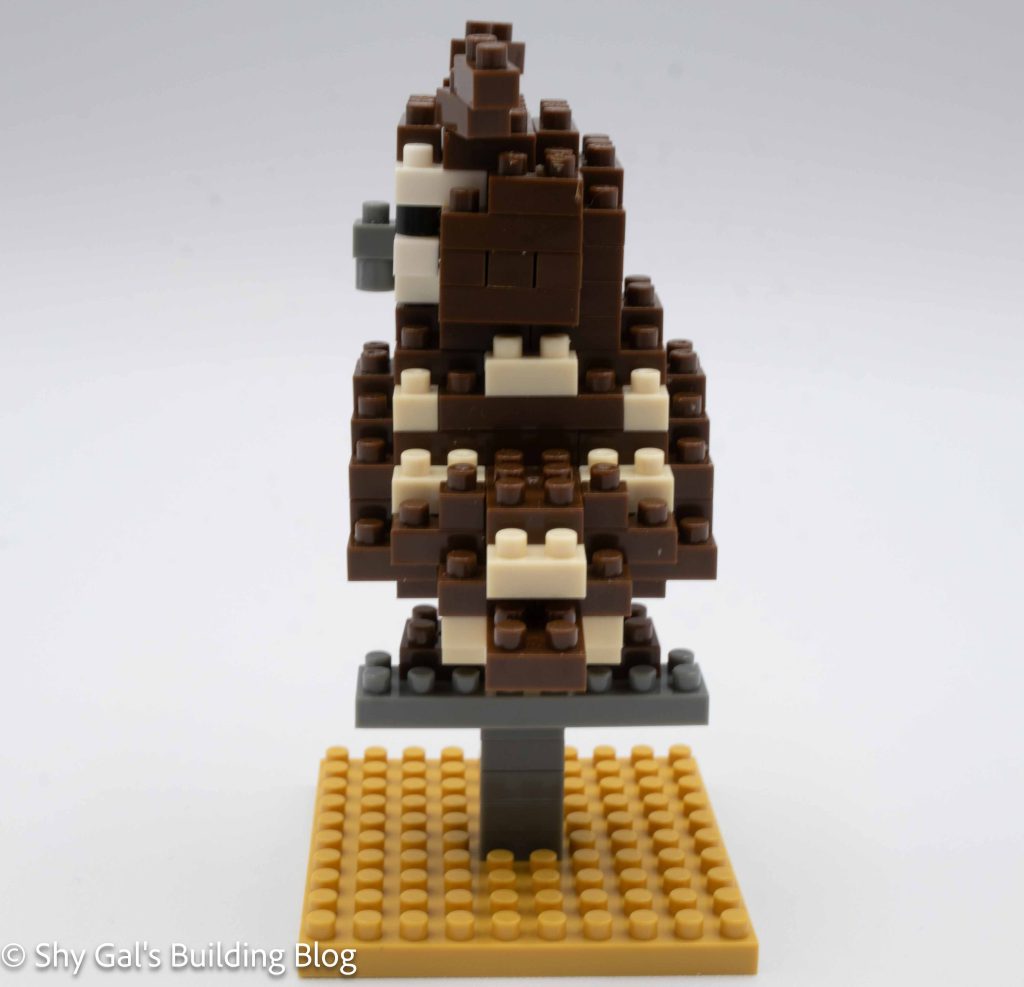
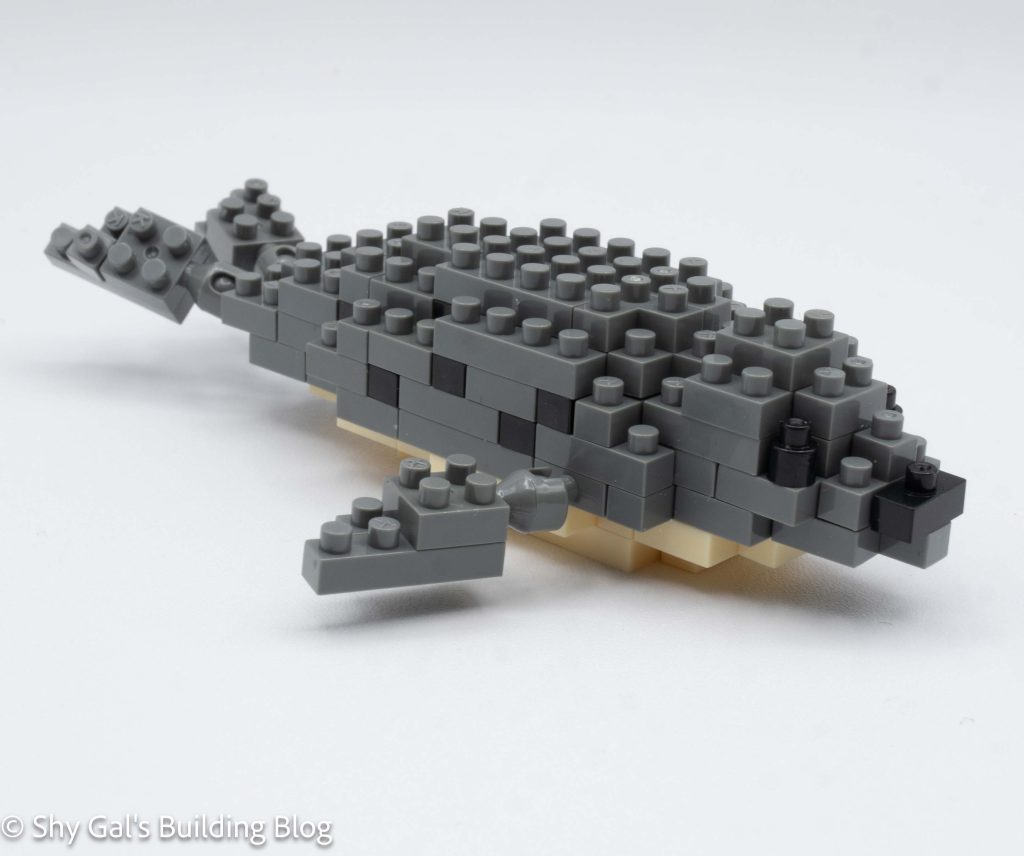
The body was a layer of cream bricks that I laid out on my nanoblock pad. The body of the owl goes out in layers. The trickiest part is telling whether to use cream or white bricks. The colors look very similar both printed and as bricks, so at a quick glance, it is easy to pick the wrong color.
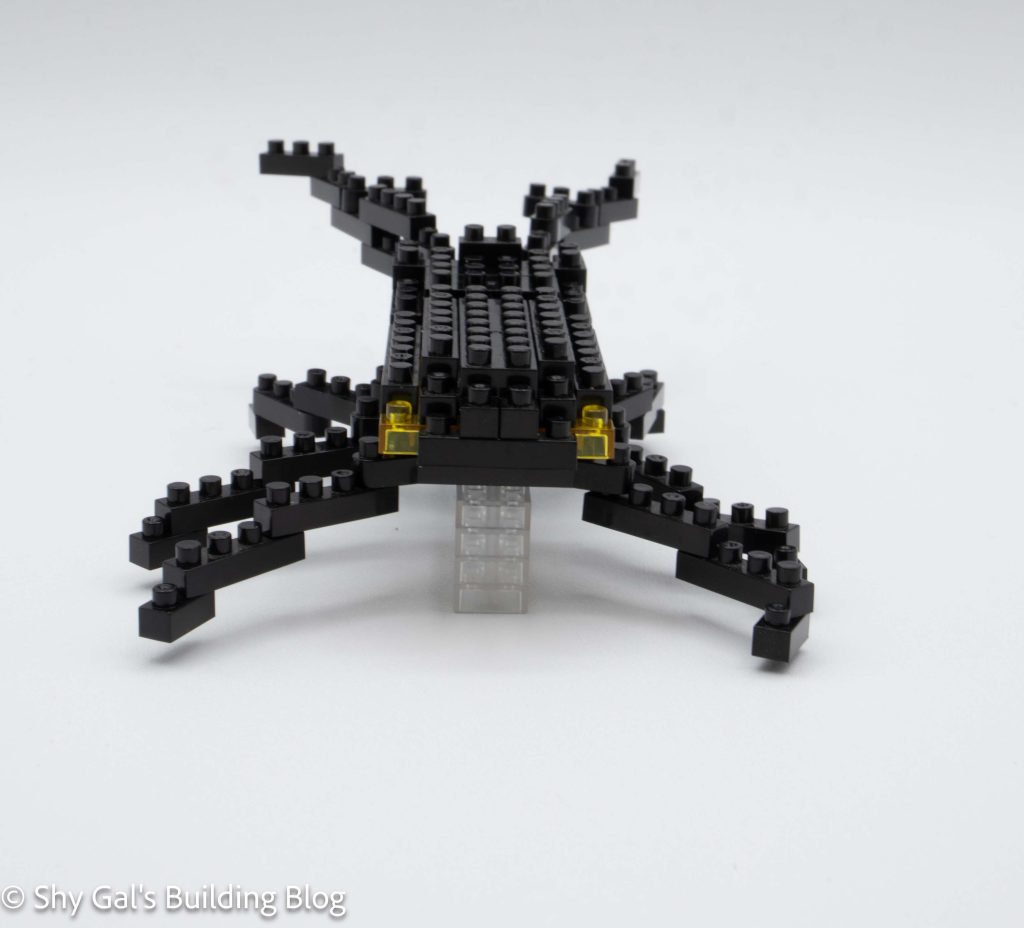
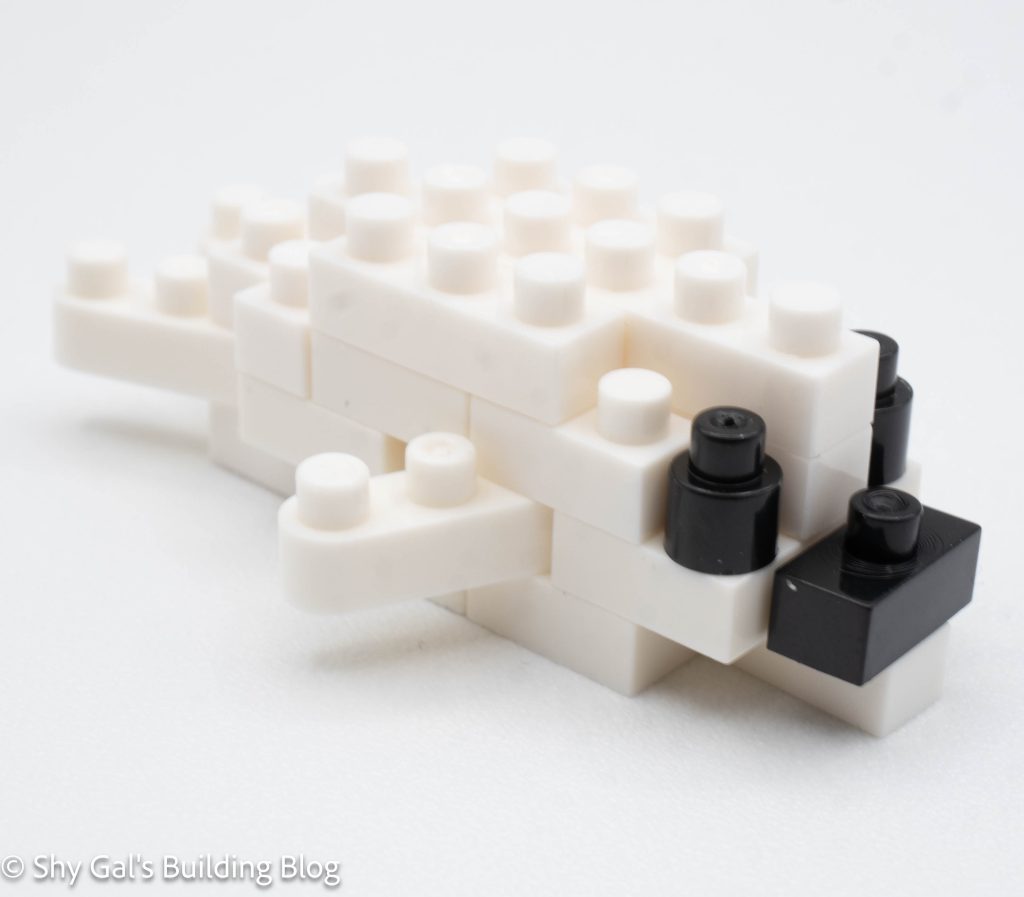
After building the owl’s body, I flipped it over and added the feet. I also added the bar for the perch to the body section because I knew it would be easier to add it now than later.
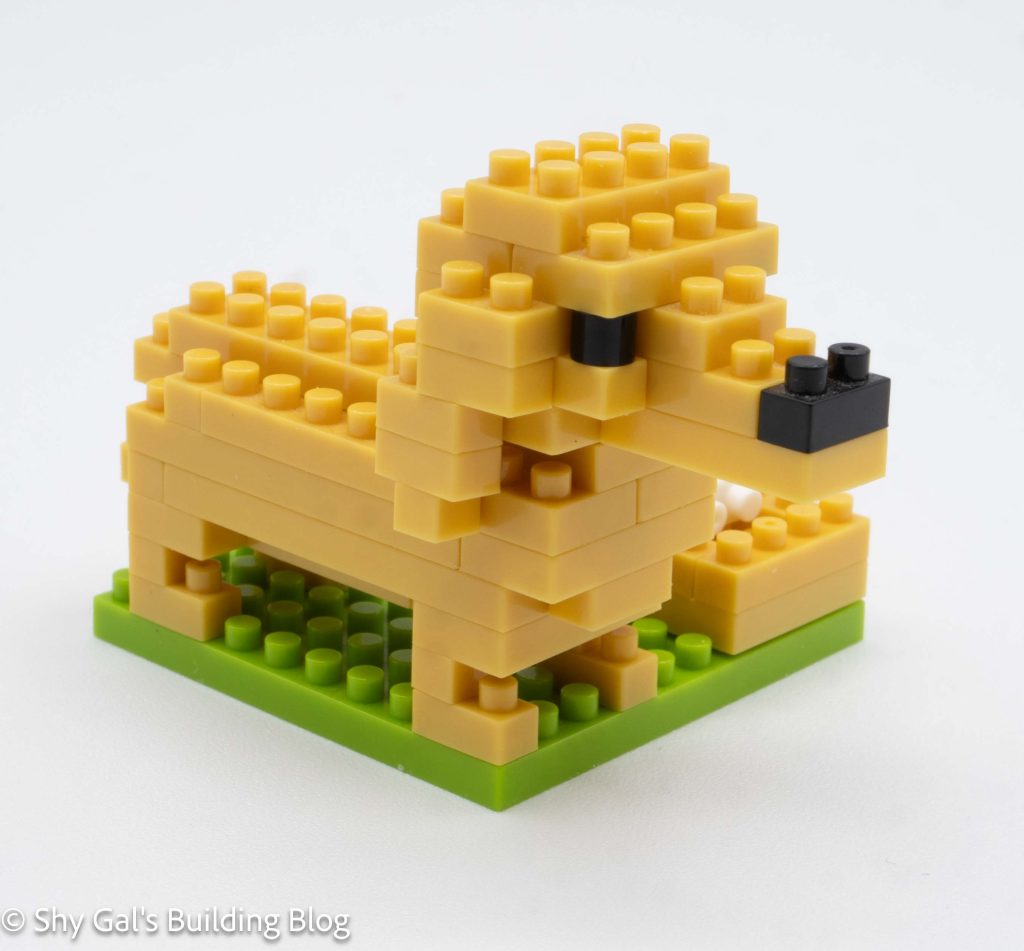
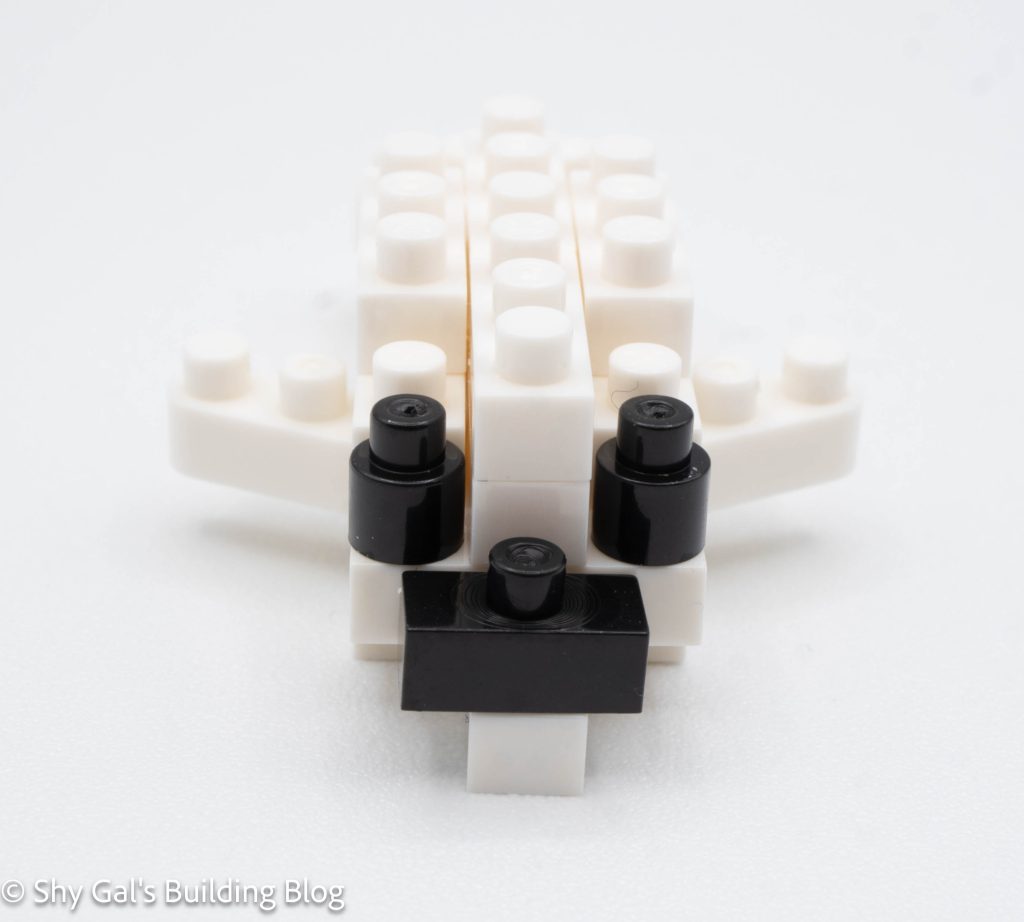
The head section is also very straightforward. I built it easily on my nanoblock pad. I really like the yellow in the eyes, which gives them extra depth.
I finished the build by creating the perch. On the perch, there is a simple stack of grey bricks. Unlike most nanoblock builds, this set of instructions doesn’t say how many grey bricks are in the tower.
Things I liked:
- I like that the bird is raised on a perch
- I like how the eyes have extra depth due to the yellow bricks behind the black brick
Things I didn’t like:
- There wasn’t a count for how many bricks to use for the perch, which is unusual for nanoblock directions