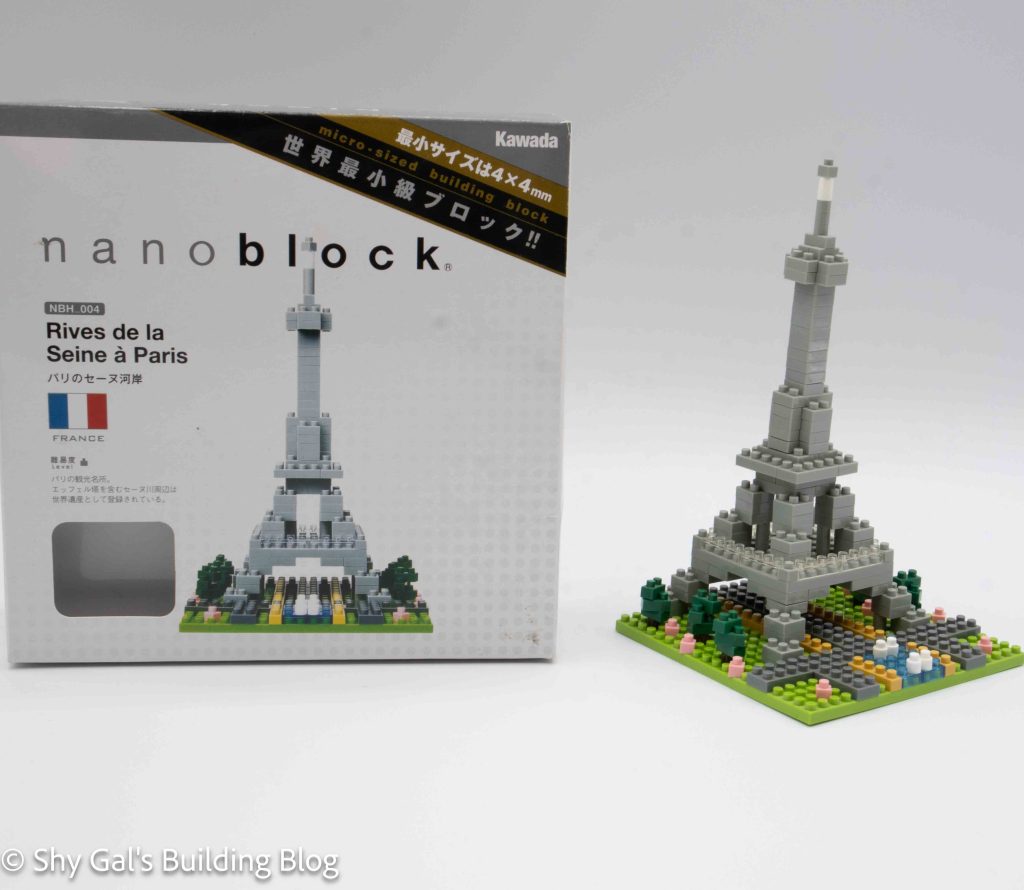
This post is a review of the nanoblock Rives de la Seine a Paris build. Rives de la Seine a Paris is part of the nanoblock Sights to See collection. Wondering what else is part of the Sights to See collection? Click here for a list.
Number: NBH_004
Country: France
Difficulty Rating: 1
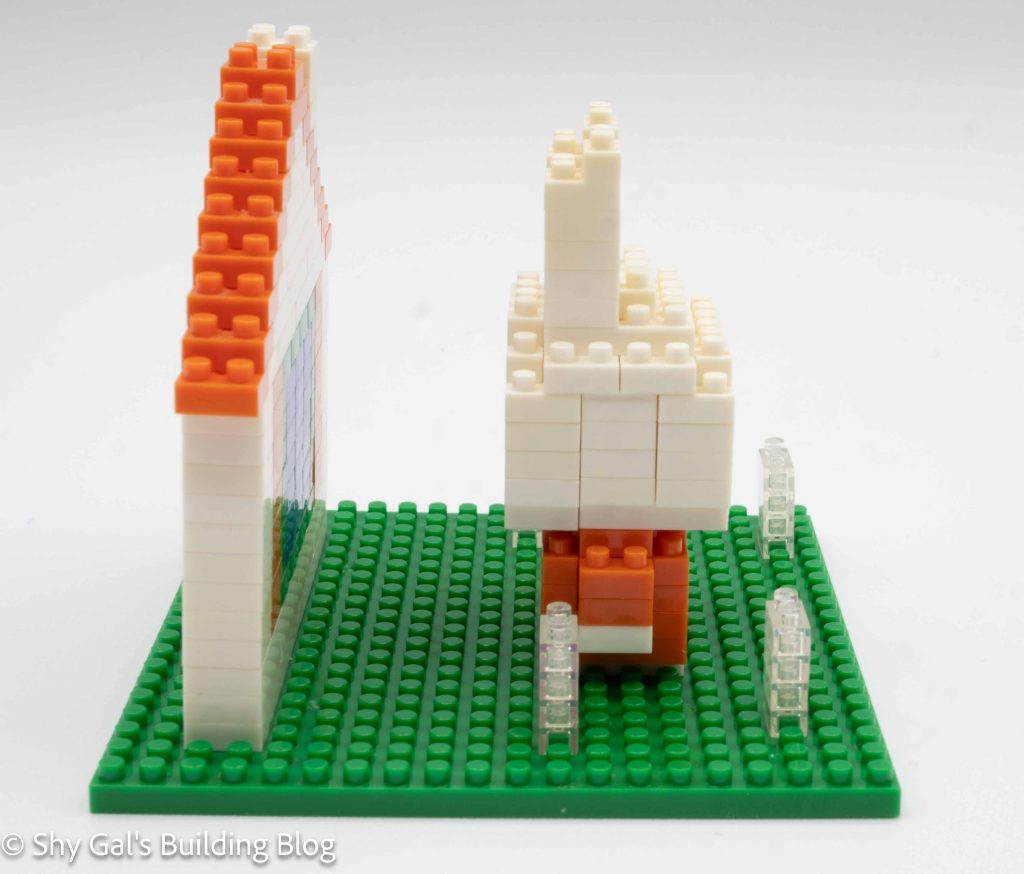
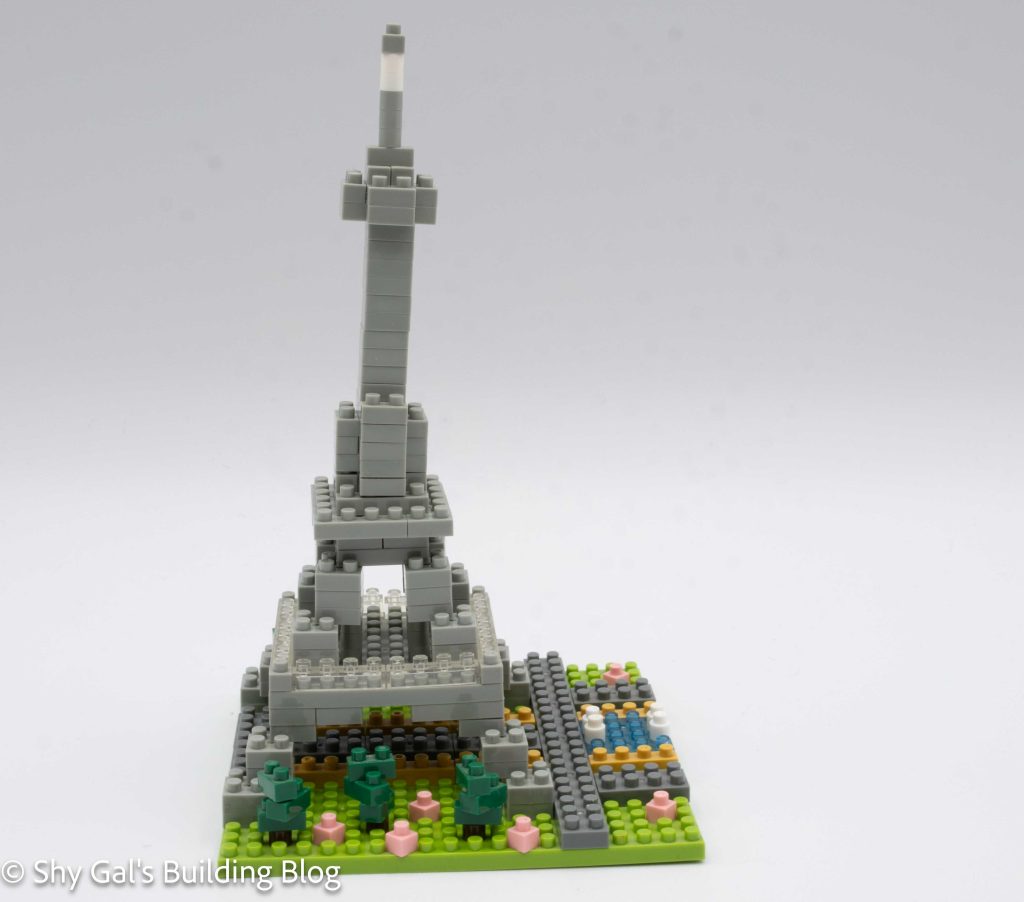
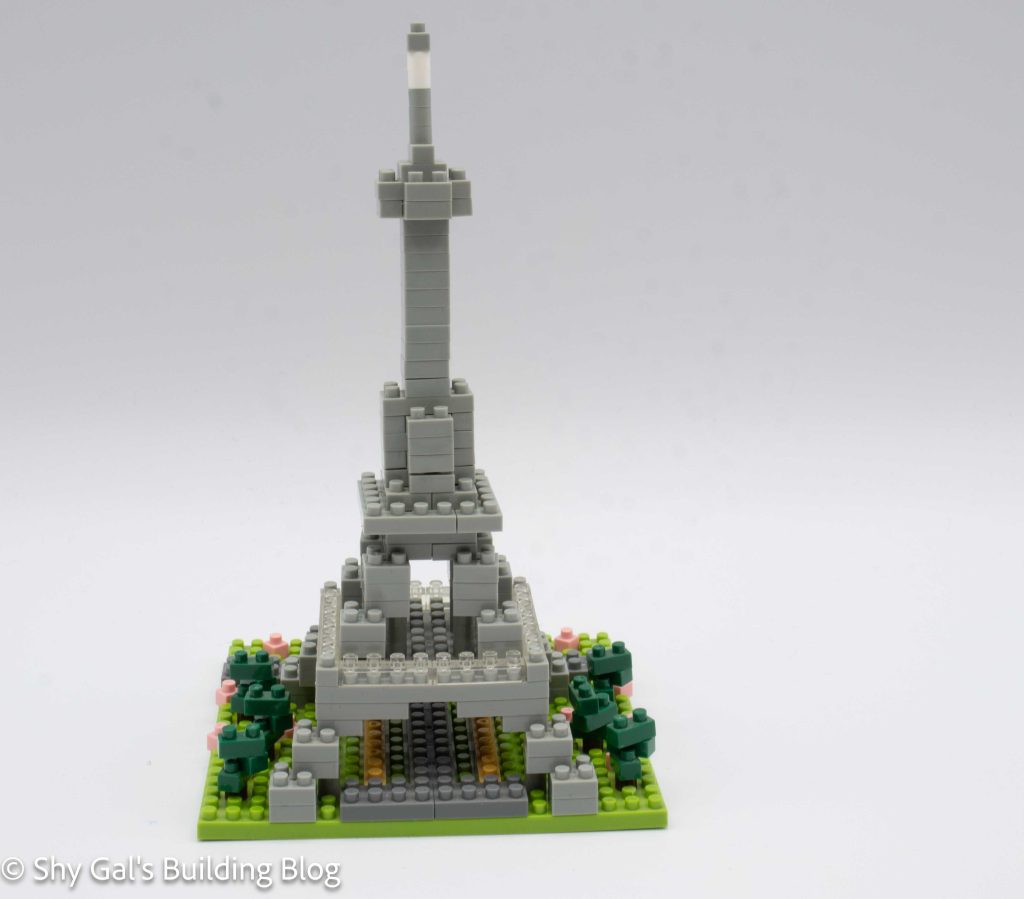
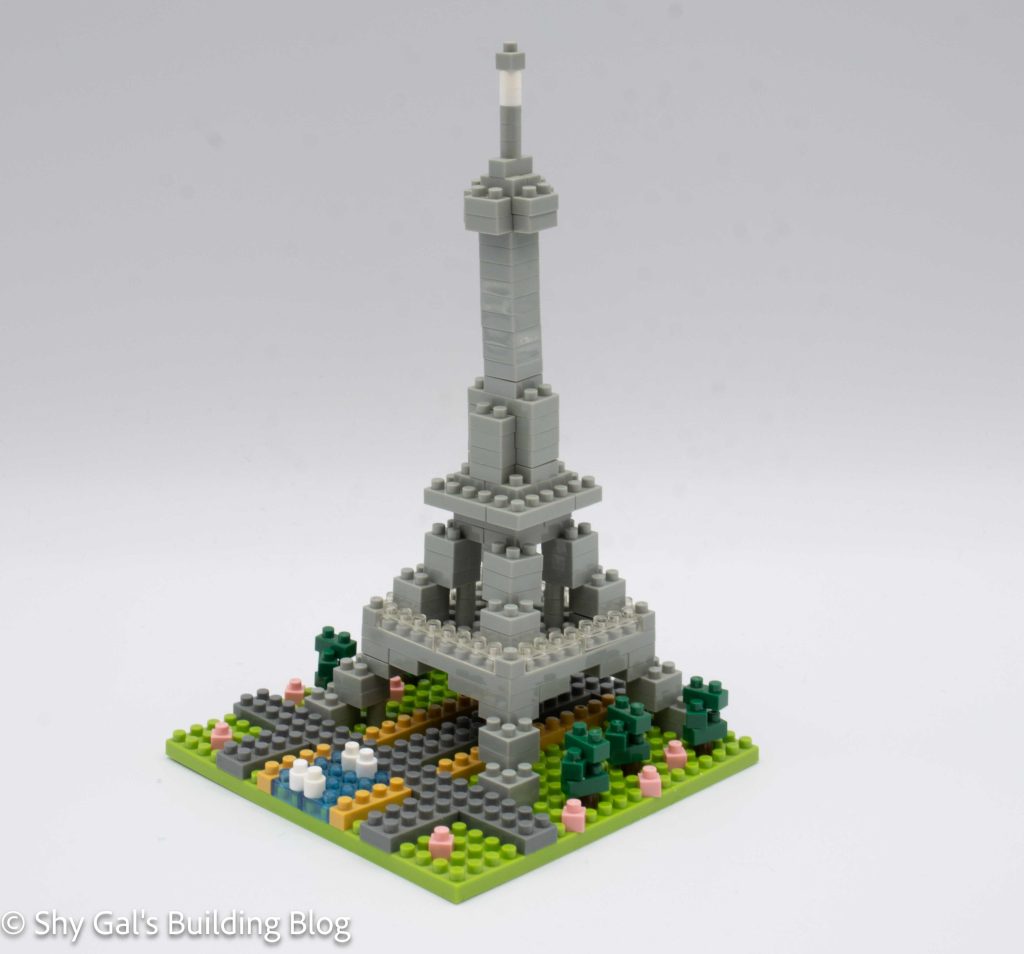
Rives de la Seine a Paris translates to Banks of the Seine in Paris. This build is actually of the Eiffel Tower which is on the Seine.
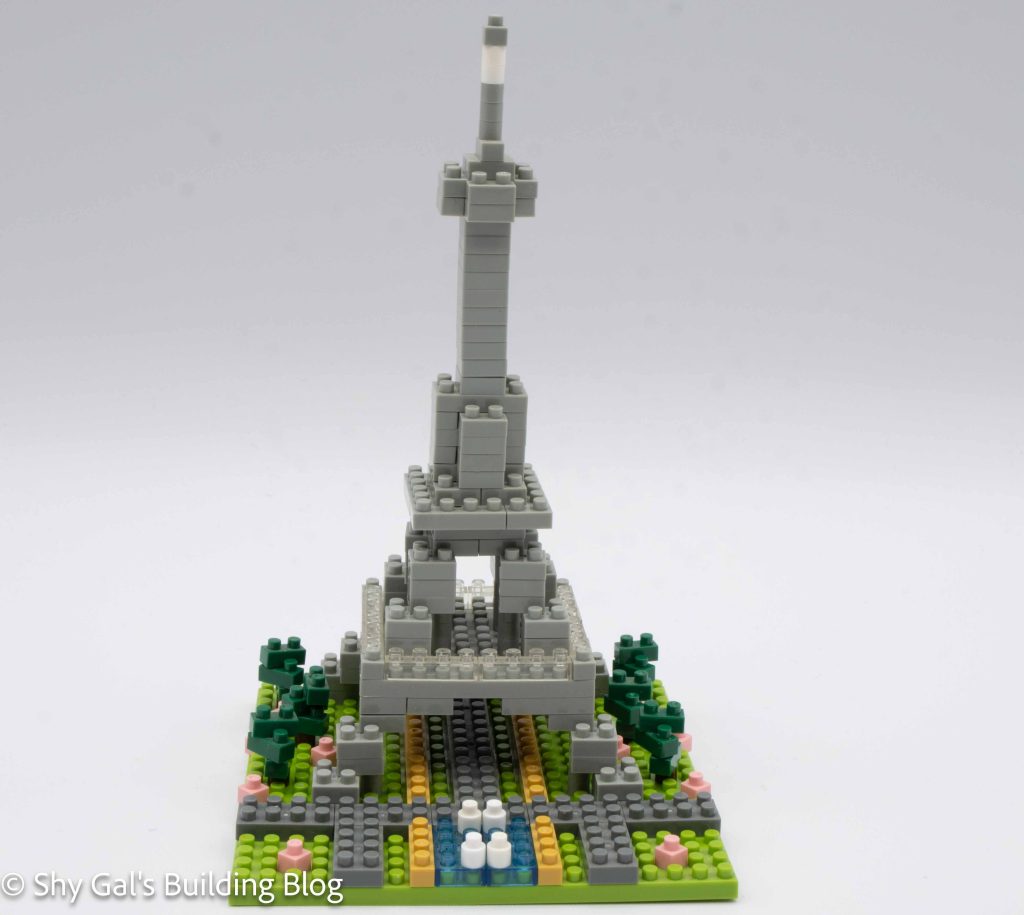
The build begins with laying out the foundation bricks on the base plate. There are 2 images for how the baseplate should look after step one, which makes me confident I had the scattered bricks placed correctly.
The second step adds the trees and the second layer of bricks to the tower. I wish the trees had been added at the end because I kept knocking the trees as I added to the tower.
Then a smaller base plate is added to the tower to create the first viewing platform. I don’t really notice or see the clear the bricks on the outside of the tower so I’m not sure they add much to the build.
The rest of the tower goes up in very straightforward layers. The layers add the 2 additional viewing platforms and the radio antenna on the top of the tower.
Things I liked:
- I like that the base platform appears to be a complete scene instead of having random things as an afterthought because the base is bare
Things I didn’t like:
- I wish the trees had been added at the end instead of the beginning because I kept bumping them as I built the tower