Review of nanoblock Raccoon Dog NBC_303

Raccoon Dog build and package

This post is a review of the nanoblock Racoon Dog build. Raccoon Dog is part of the nanoblock Mini Collection series. Wondering what else is part of the Mini Collection? Click here for a list.

Number: NBC_303

Number of Pieces: 150

Difficulty Rating: 2/5

This build has 2 major sections, the head, and the body.

Raccoon Dog build front view

I began the body by laying my base layer on my nanoblock pad. I was able to easily follow the directions for all the layers. The layers seemed a bit haphazard, and it was hard to tell what I was creating as I put the bricks together.

Raccoon Dog build side view

The top of the body has a layer of flat bricks where the head will be attached. Because there is a flat layer with only 1 stud to hold the head, the head can rotate around.

I wasn’t able to figure out how to lay the head out on my nanoblock pad, so I just built it on the table. Other than lining up the front and back sections, the head is fairly straightforward.

Raccoon Dog build back view

The final steps are to add the front legs and attach the head. The front legs are very straightforward. Figuring out exactly where to attach the head was a bit tricky but the instructions did make sense on close inspection.

Raccoon Dog build front 3/4 view

Things I liked:

  • I really like the stripy tail and how the head looks
  • I like that the head is posable

Things I didn’t like:

  • When I picked the build off my pad, I kept popping off the hind legs

Review of nanoblock Giant Panda NBC_328

Giant Panda build and package

This post is a review of the nanoblock Giant Panda build. Giant Panda is part of the nanoblock Mini Collection series. Wondering what else is part of the Mini Collection? Click here for a list.

Number: NBC_328

Number of Pieces: 220

Difficulty Rating: 2/5

Giant Panda build with bamboo

This build has 3 sections. There is the body, the head, and the bamboo.

The body begins with a base layer of black and white bricks. I used my nanoblock pad to lay out the first layer. The body then goes up in layers. The instructions are fairly straightforward, but caution is required to avoid missing the use of similarly shaped pieces.

Giant Panda build

Once the main body is built, the top layer is mostly flat bricks with a single stud available on top. This means that once the head is attached the head can rotate.

The final step of building the body is to build the arms of the panda.

The head is built out of a base layer featuring lots of smaller bricks. I once again used my nanoblock pad to layout the head. When building the head, I needed to be careful to make sure that I used the correct piece and that each 1×1 that is partly hidden in the instructions was visible.

Giant Panda build

After building the head, I attached it to the body of the panda, making sure to get things lined up properly. The head appears to be more forward than in the pictures.

The bamboo is a couple of stacks of bricks and is very straightforward to put together. It simply lies near the panda. I wish there was a good way to have the panda hold the bamboo.

Giant Panda build

Things I liked:

  • I like that the head can rotate to create a more dynamic pose

Things I didn’t like:

  • I wish there was a way for the panda to hold the bamboo
  • I think the panda looks like its head is out further in the build than in the pictures

Review of nanoblock Jack-o’-Lantern NBC_097

Jack-o'-Lantern build and package

This post is a review of the nanoblock Jack-o’-Lantern build. Jack-o’-Lantern is part of the nanoblock Mini Collection series. Wondering what else is part of the Mini Collection? Click here for a list.

Number: NBC_097

Number of Pieces: 160

Difficulty Rating: 2/5

Jack-o'-Lantern build front view

I bought this kit used, knowing I would at least get the instructions. I also ended up getting all the bricks to complete the kit. Sadly, however, some of the bricks have become with age. The discolored bricks may be visible in my photographs.

This is one of several versions of a Jack-o’-Lantern. This one is unique because of the witch in the background. The Jack-o’-Lantern is also glow-in-the-dark, so it appears lit if the bricks get enough light.

Jack-o'-Lantern build side view

The first section is to build the actual Jack-o’-Lantern. It begins with a base layer of orange bricks that I lay out on my nanoblock pad. The pumpkin section goes up in straightforward layers. The gaps in the Jack-o’-Lantern are backed in glow-in-the-dark bricks. The pumpkin is wearing a witch hat, which is once again simple layers.

The second section is the moon. The moon is a simple stack of bricks. I really like how the bricks are laid out, making the moon appear curved. The curve is very natural-looking.

Jack-o'-Lantern build back view

The last major section is the witch riding a broom. The build is very detailed, creating a tiny human.

All three sections are connected together on a double-sized base. The base isn’t held together very tightly, so it’s possible for things to fall apart. The Moon section is very top-heavy, so you need to be careful when moving the build.

Jack-o'-Lantern build front 3/4 view

Things I liked:

  • I like the glow-in-the-dark bricks. I didn’t know there were glow-in-the-dark bricks
  • I like the curve of the moon. It looks natural

Things I didn’t like:

  • The 2 bases aren’t held together very well, so things can fall apart when moving

Review of nanoblock Sesame Street Halloween

Elmo and package

This post is a review of the nanoblock Sesame Street Halloween build. Sesame Street Halloween is part of the nanoblock Universal Studios Japan(USJ) collection. Wondering what else is part of the USJ collection? Click here for a list.

Number of Pieces: 150

Difficulty Rating: 2/5

Elmo build front view

This kit is to build an Elmo dressed up as a vampire.

This build is broken up into 3 sections. They are the head, body, and legs.

Elmo build side view

The head begins with a base layer of red bricks. I laid the bricks out on the nanoblock pad. The head goes up in layers. It is fairly straightforward.

The body creates Elmo’s body and the cape he is wearing. There is a large base layer of bricks. I was able to lay the layer out on my nanoblock pad.

Elmo build back view

The body then goes up in layers. It is a bit tricky to keep track of where each brick goes because the layer is so large.

After building up the body, additional details are added to the bottom of the cape.

The legs are very straightforward. They are simply placing the bricks on the base with the legs attached. The feet are staggered, so it looks like Elmo is walking.

Elmo build front 3/4 view

The final step is to connect the 3 sections. The directions are confusing as to how exactly to connect the sections.

Things I liked:

  • I really like that Elmo is walking and is in action instead of being static

Things I didn’t like:

  • I didn’t like trying to get the 3 sections to line up when completing the build

Review of nanoblock Boo! Sesame Street Trick or Treat!

Elmo build and package

This post is a review of the nanoblock Boo! Sesame Street Trick or Treat! build, which is Elmo as a witch ghost. This build is part of the nanoblock Universal Studios Japan collection. Wondering what else is part of the Universal Studios Japan collection? Click here for a list.

Number of Pieces: 130

Difficulty Rating: 2

Elmo build front view

I bought this kit as just a set of directions. To build this kit, I needed to buy individual bricks. I bought the bricks via Rakuten using Buyee as a proxy. I ended up getting orange 1x2s instead of orange 2x2s. I completed the build with the 1x2s, but there are a few extra lines on my finished build where there are orange bricks.

Elmo build side view

This build is broken into 2 parts there is the Elmo section and the hat.

The Elmo section begins with a base 10×10 brick. Then, the build goes up in layers, starting from a very small base. As I got to the top of Elmo, it was a bit tippy as I put on the next layer. A few times, the main section of Elmo would pop off the base, so I needed to line the body back up and reattach it to the base.

Elmo build back view

The hat section begins with a base layer of black bricks. I lay the bricks on my nanoblock pad as a starting point. The hat is very straightforward and goes up in layers. There is a break in all the black because an orange ribbon is going around the hat.

Elmo build front 3/4 view

Things I liked:

  • I really like how there is a band on the hat. Normally, witch hats are just solid black, so the extra detail is nice

Things I didn’t like:

  • I don’t like how tippy Elmo is on the base. I think if the bottom couple of layers had more bricks, then it may have fallen off less when building

Review of nanoblock Polar Bear NBC_012

Polar Bear build and package

This post is a review of the nanoblock Polar Bear build. Polar Bear is part of the nanoblock Mini Collection series. Wondering what else is part of the Mini Collection? Click here for a list.

Number: NBC_012

Number of Pieces: 120

Difficulty Rating: 2

Polar Bear build front view

I bought this kit used, knowing I would at least get the instructions. I ended additionally getting all the bricks to complete the kit. Sadly, however, the white has become yellow with age. The discolored bricks may be visible in my photographs.
Polar Bear build side view

The build begins with a layer of white bricks that I lay out on my nanoblock pad. It goes up in fairly straightforward layers, and the head of the polar bear is built into the layers.

Polar Bear build back view

After building the body, the feet and legs are added to the bottom of the build. For some reason, the front of the feet is black, which makes me think the paws look funny.

Polar Bear build front 3/4 view

Things I liked:

  • I feel that the polar bear is very recognizable for how early of a build this kit

Things I didn’t like:

  • I don’t like the feet because the black on the feet stands out so much because the front of the feet are black

Review of nanoblock Maneki-neko Black NBC_067

Maneki-neko Black build and package

This post is a review of the nanoblock Maneki-neko Black build. Maneki-neko Black is part of the nanoblock Mini Collection series. Wondering what else is part of the Mini Collection? Click here for a list.

Number: NBC_067

Number of Pieces: 140

Difficulty Rating: 2

Maneki-neko Black build front view

This build comes with four stickers, each representing a different kind of luck. I bought this kit used, so the sticker for the cat had already been selected. I’m not sure what kind of luck charm was used.

Maneki-neko Black build side view

This kit begins with a base brick, followed by a layer of black bricks to form the bottom of the cat. Tassels are also added to the base to create the effect that the Maneki-neko is sitting on the pillow they traditionally sit on.

The cat’s body is built in simple, straightforward layers. The instructions are very clear. After most of the body is built, you build the charm and select the sticker. The body is finished, and the raised paw is added.

Maneki-neko Black build back view

The next section is the head of the Maneki-neko. It begins with a layer of black bricks. The head goes up in straightforward layers. The second step of the head is a bit confusing because there are so many arrows in the instructions.

Maneki-neko Black build front 3/4 view

Things I liked:

  • I like that the cat is sitting on a pillow

Things I didn’t like:

  • I don’t like kits that use stickers. I much prefer the custom-printed blocks that come with new kits

Review of nanoblock Clown Fish NBC_002

Clown Fish build and package

This post is a review of the nanoblock Clown Fish build. Clown Fish is part of the nanoblock Mini Collection series. Wondering what else is part of the Mini Collection? Click here for a list.

Number: NBC_002 

Number of Pieces: 110

Difficulty Rating: 2/3

Clown Fish build front view

This build is fairly unusual because the nanoblocks in the set are on their sides.

Clown Fish build side view

This kit contains instructions and materials to make 2 clown fish, one large and one smaller fish. They follow the same pattern for creating the fish.

Each fish begins at the back of the tail. The body is then built as a single stack of bricks. At some point, there is a 2×2 that widens the fish. Each layer adds the stripes of the clown fish.

Clown Fish build back view

Each fish is held up by a 1×4 clear brick on its side. It is placed at the bottom of the fish.

The kit comes with a clear blue base plate. Since there isn’t a way to attach the base, I haven’t used the provided base.

Clown Fish build front 3/4 view

Things I liked:

  • I feel that both of the fish are highly recognizable as clown fish.

Things I didn’t like:

  • I wish there was a way to attach the fish to the base

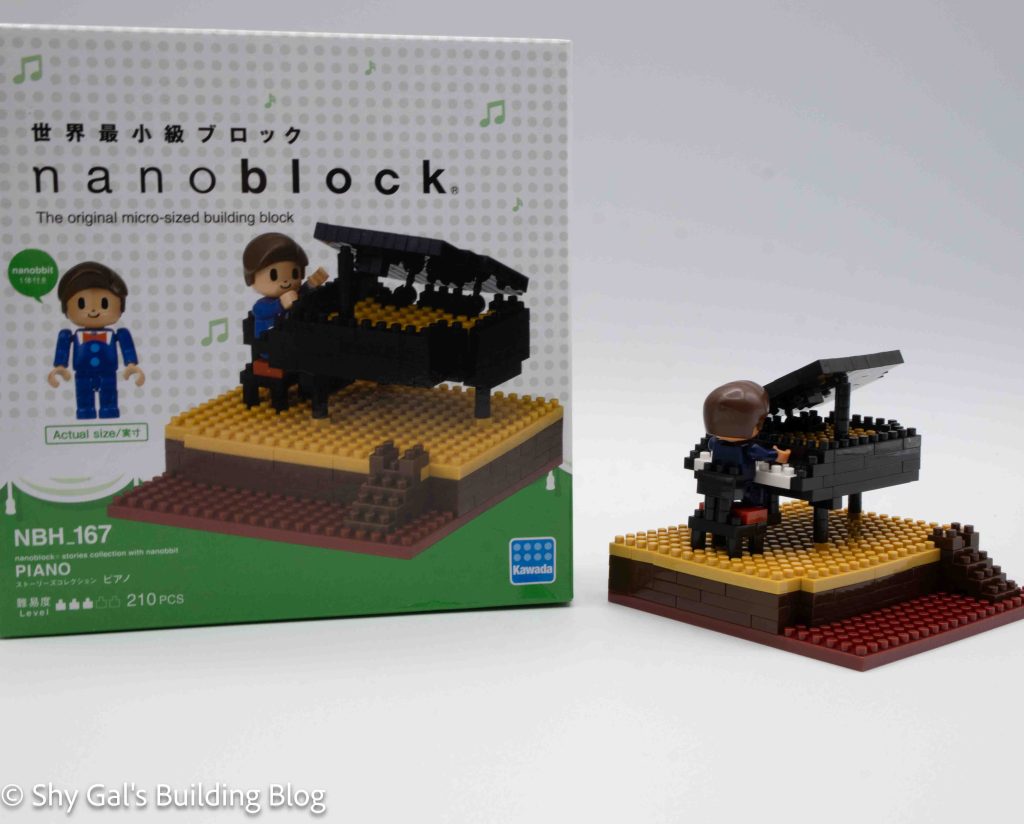
Review of nanoblock Grand Piano White NBC_053

Grand Piano White build and package

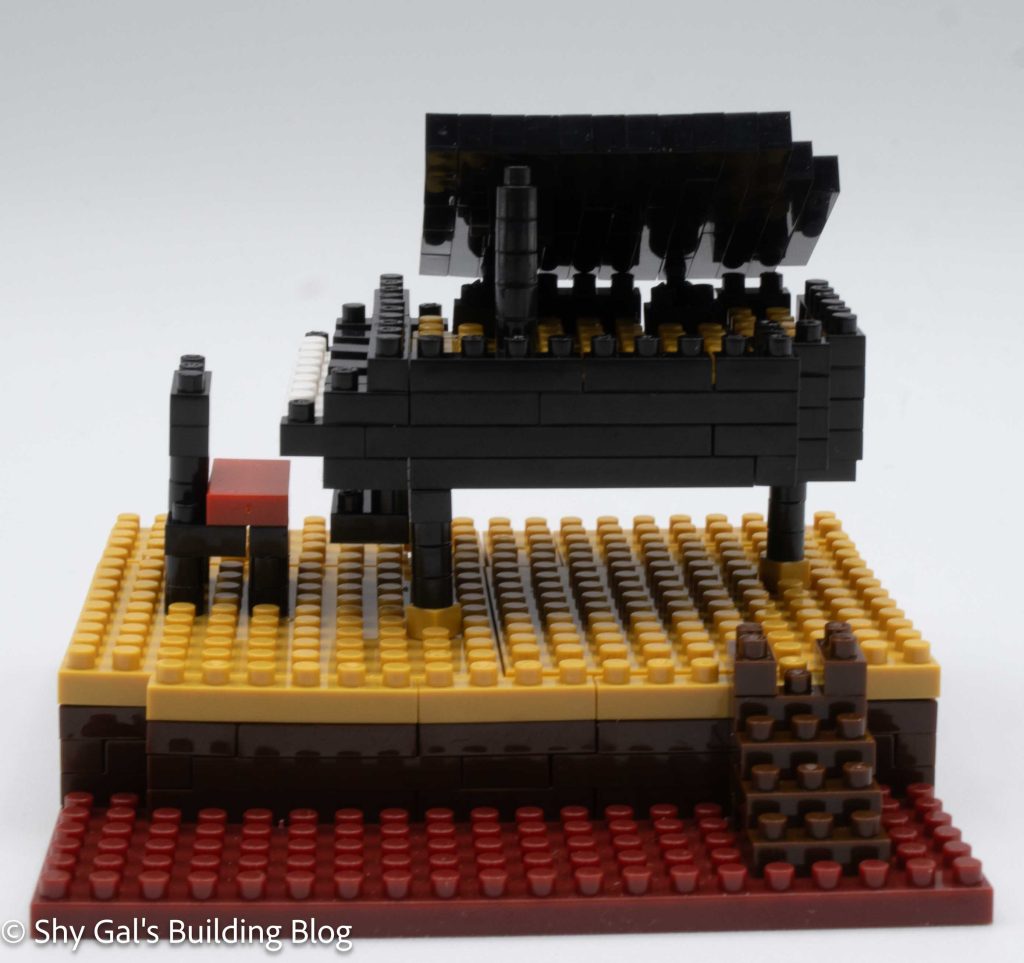
This post is a review of the nanoblock Grand Piano White build. Grand Piano White is part of the nanoblock Mini Collection series. Wondering what else is part of the Mini Collection? Click here for a list.

Number: NBC_053 

Number of Pieces: 130

Difficulty Rating: 2

Grand Piano White build front view

This build is identical to the Grand Piano (NBC_017) build. The only difference is that in NBC_017, the main color is black. In this build, the black bricks are white. However, the instructions are identical.

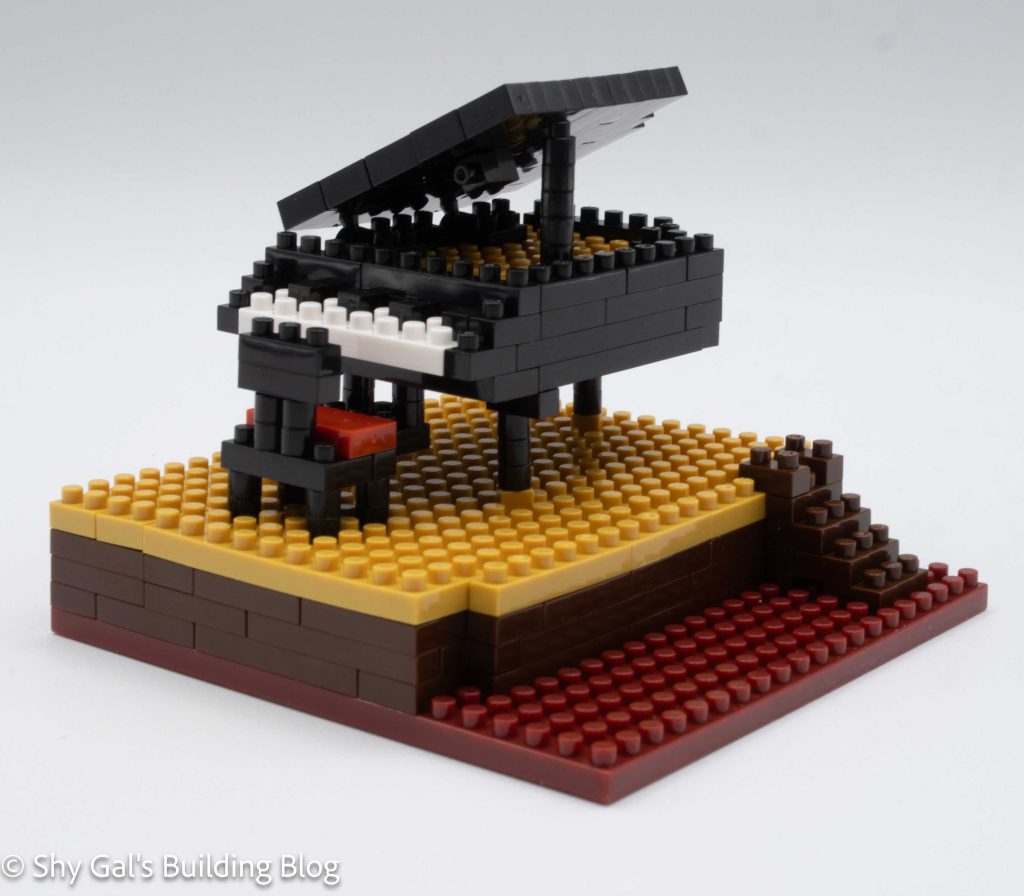
Grand Piano White build side view

The build begins with creating the main body of the piano. It is a simple three-layer brick structure that can easily be built on the nanoblock pad.

Next, the legs are added. It is a little hard to see where exactly to connect the bricks to the main body. Getting things lined up is important because the main piano can be connected to a 10×10 base that is provided with the kit.

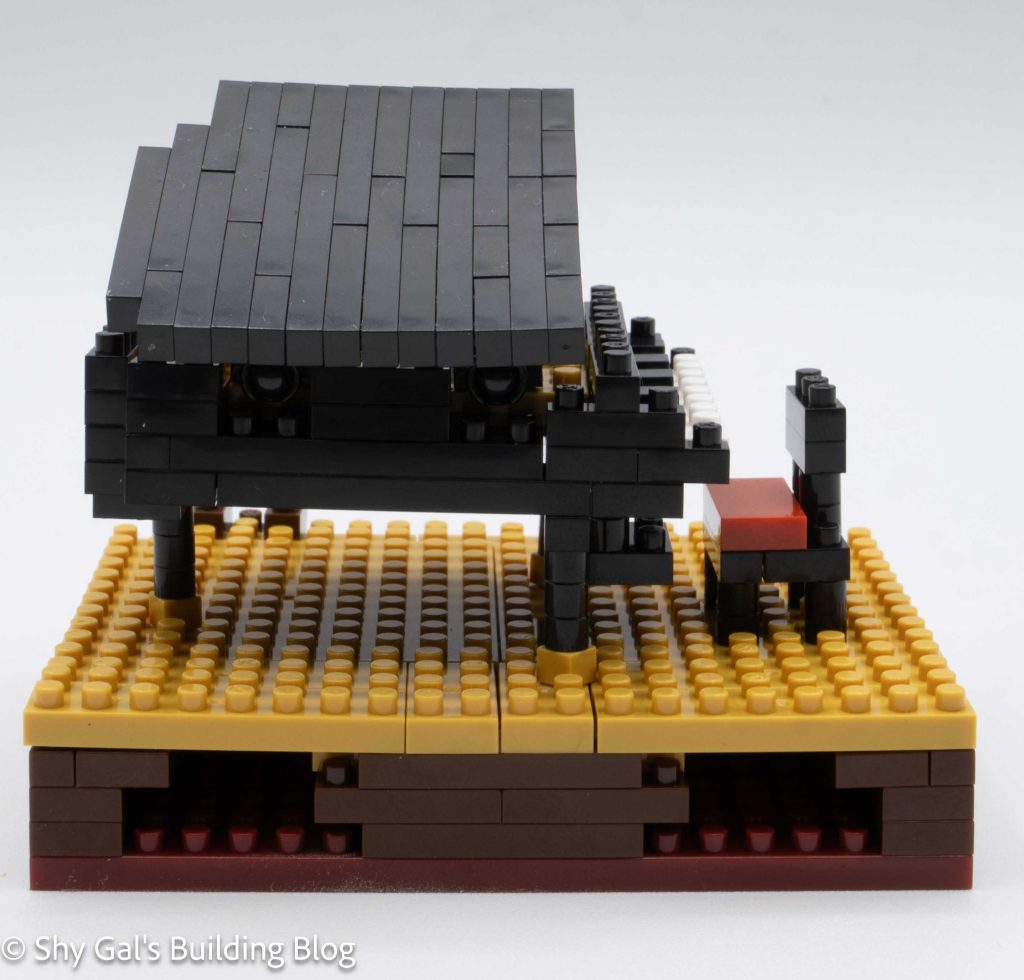
Grand Piano White build back view

The next part is the trickiest part of the build. It is building the piano cover. It is tricky because it isn’t actually connected to the main body of the piano. The large section can be built on the nanoblock pad. It was straightforward, but getting a clean line at the edge of the top section was a bit tricky. The top section lays at angles on the top of the piano. It creates the image that the Grand Piano is open.
The final step is to build the stool for the piano. It is very straightforward.

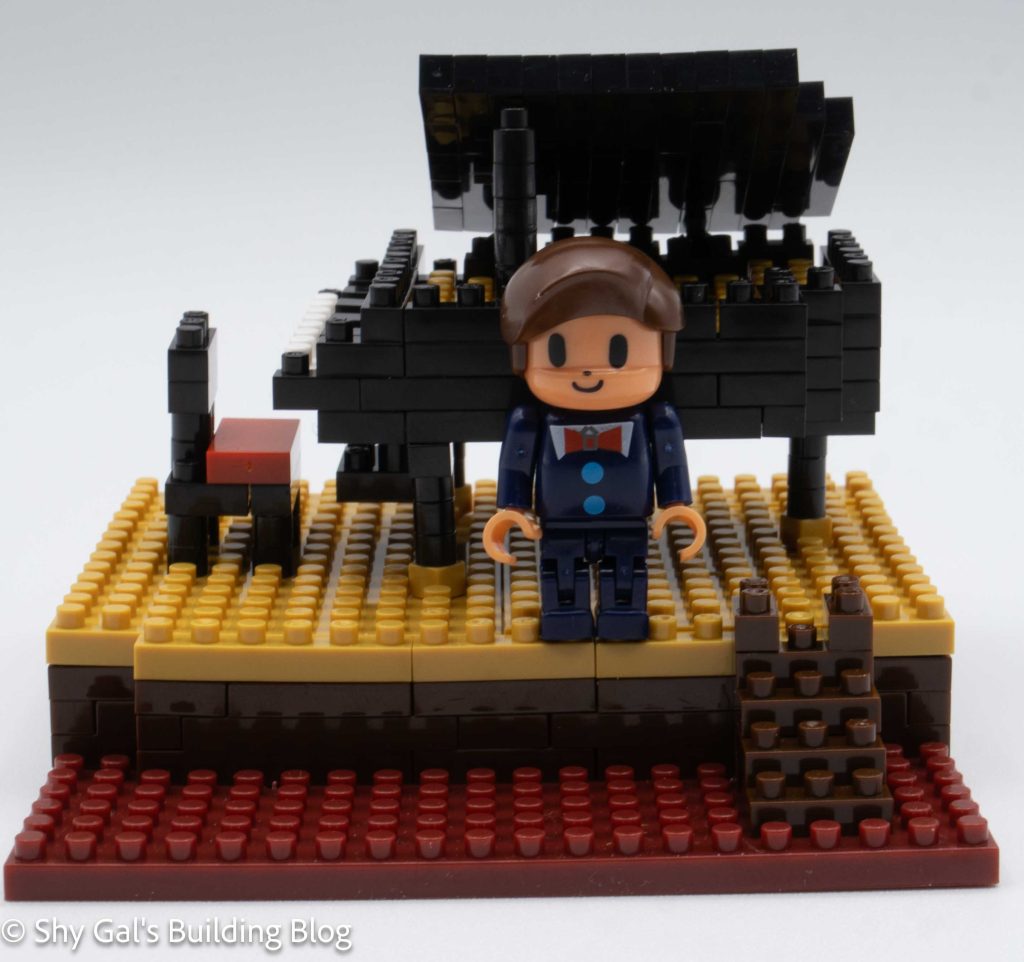
Grand Piano White build front 3/4 view

Things I liked:

  • I like how the piano appears to be open even though it is created by just laying a section on top of another section
Things I didn’t like:

  • I don’t like how there is a base for the piano but not the stool, so the matching set is at different heights

Review of nanoblock Eurasian Eagle Owl NBC_059

Eurasian Eagle Owl build and package

This post is a review of the nanoblock Eurasian Eagle Owl build. Eurasian Eagle Owl is part of the nanoblock Mini Collection series. Wondering what else is part of the Mini Collection? Click here for a list.

Number: NBC_059 

Number of Pieces: 140

Difficulty Rating: 2

Eurasian Eagle Owl build front view

This build is unique because it sits on a little perch. Most nanoblock builds just have the animal, but this one has a perch that holds the animal.
This build has 3 major sections. There is the body of the owl, the head, and the perch.

Eurasian Eagle Owl build side view

The body was a layer of cream bricks that I laid out on my nanoblock pad. The body of the owl goes out in layers. The trickiest part is telling whether to use cream or white bricks. The colors look very similar both printed and as bricks, so at a quick glance, it is easy to pick the wrong color.

After building the owl’s body, I flipped it over and added the feet. I also added the bar for the perch to the body section because I knew it would be easier to add it now than later.

Eurasian Eagle Owl build back view

The head section is also very straightforward. I built it easily on my nanoblock pad. I really like the yellow in the eyes, which gives them extra depth.

I finished the build by creating the perch. On the perch, there is a simple stack of grey bricks. Unlike most nanoblock builds, this set of instructions doesn’t say how many grey bricks are in the tower.

Eurasian Eagle Owl build front 3/4 view

Things I liked:

  • I like that the bird is raised on a perch
  • I like how the eyes have extra depth due to the yellow bricks behind the black brick

Things I didn’t like:

  • There wasn’t a count for how many bricks to use for the perch, which is unusual for nanoblock directions