Review of nanoblock Dialga Deluxe Edition NBPM_094

Check out my new review of the ! Link in bio.

#nanoblock #nanoblocks #pokémon #pokemon #pokemoncommunity #block #toyart #microblock

Dialga Deluxe Edition build and box

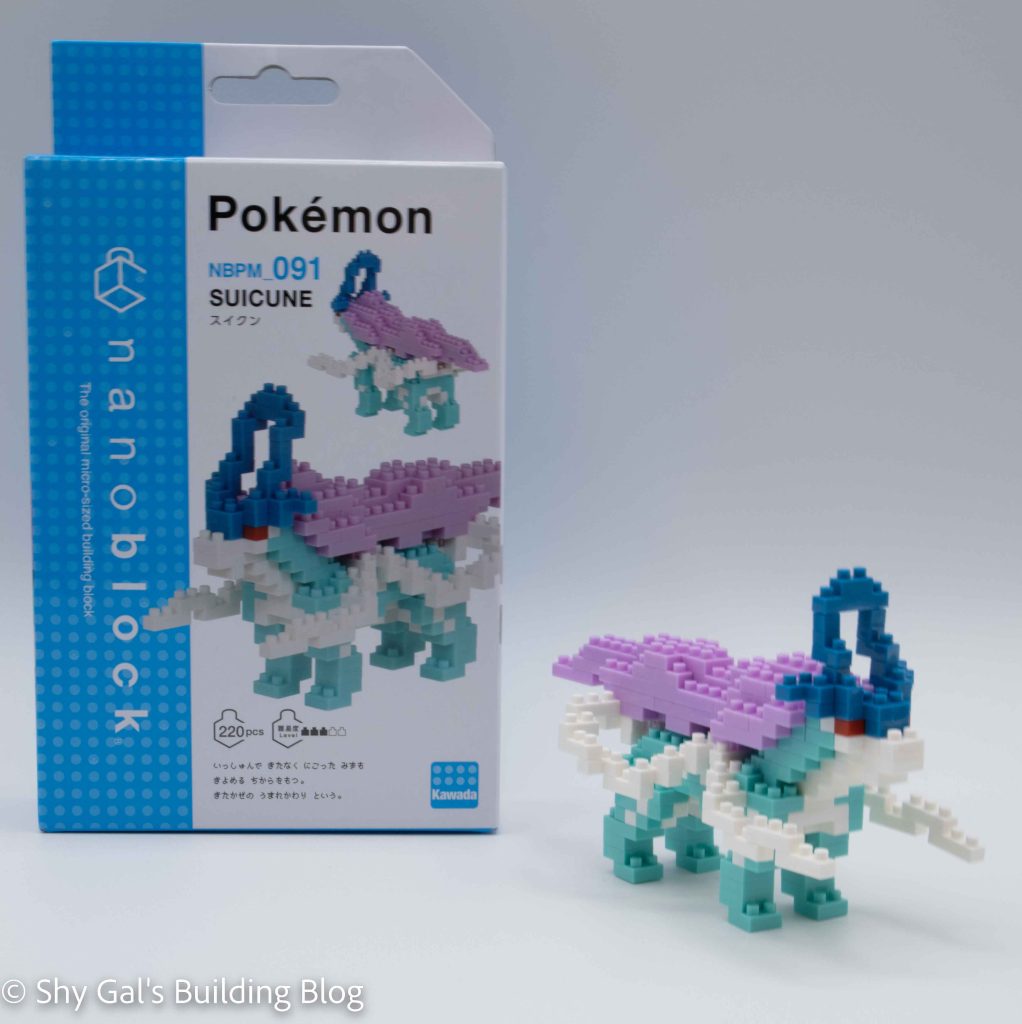
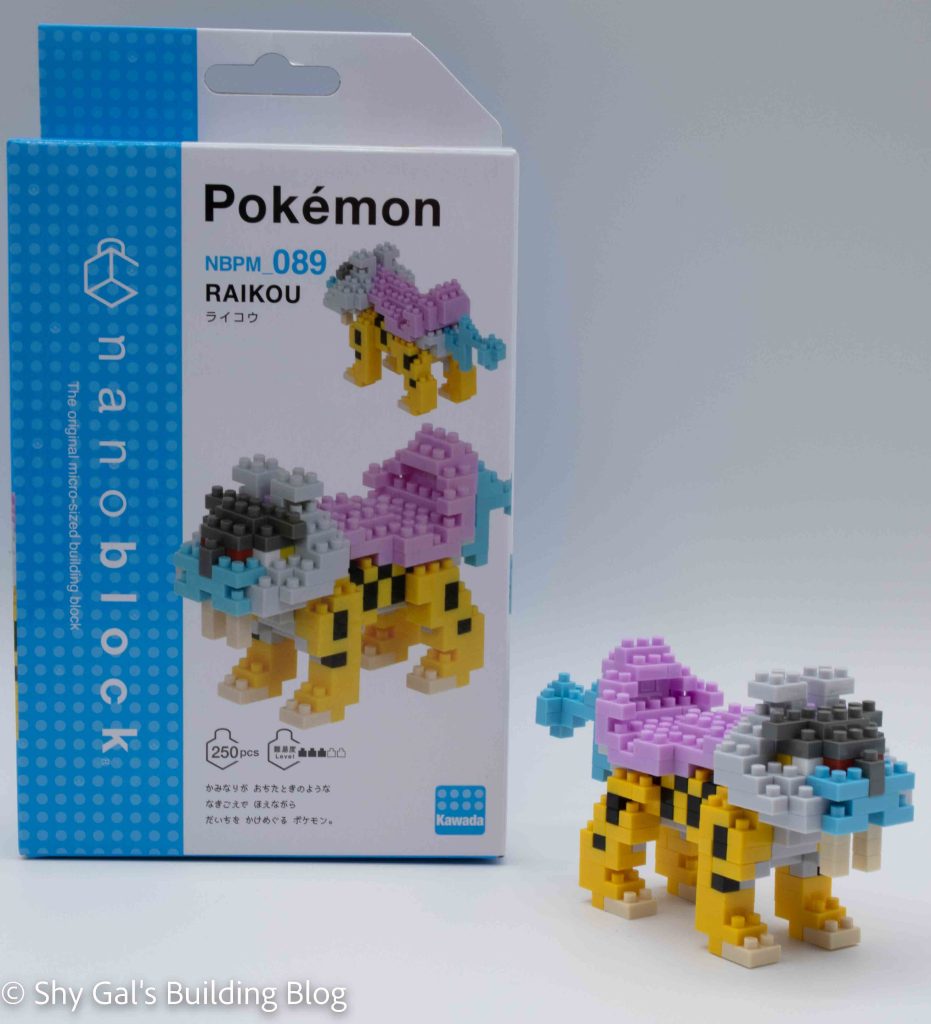
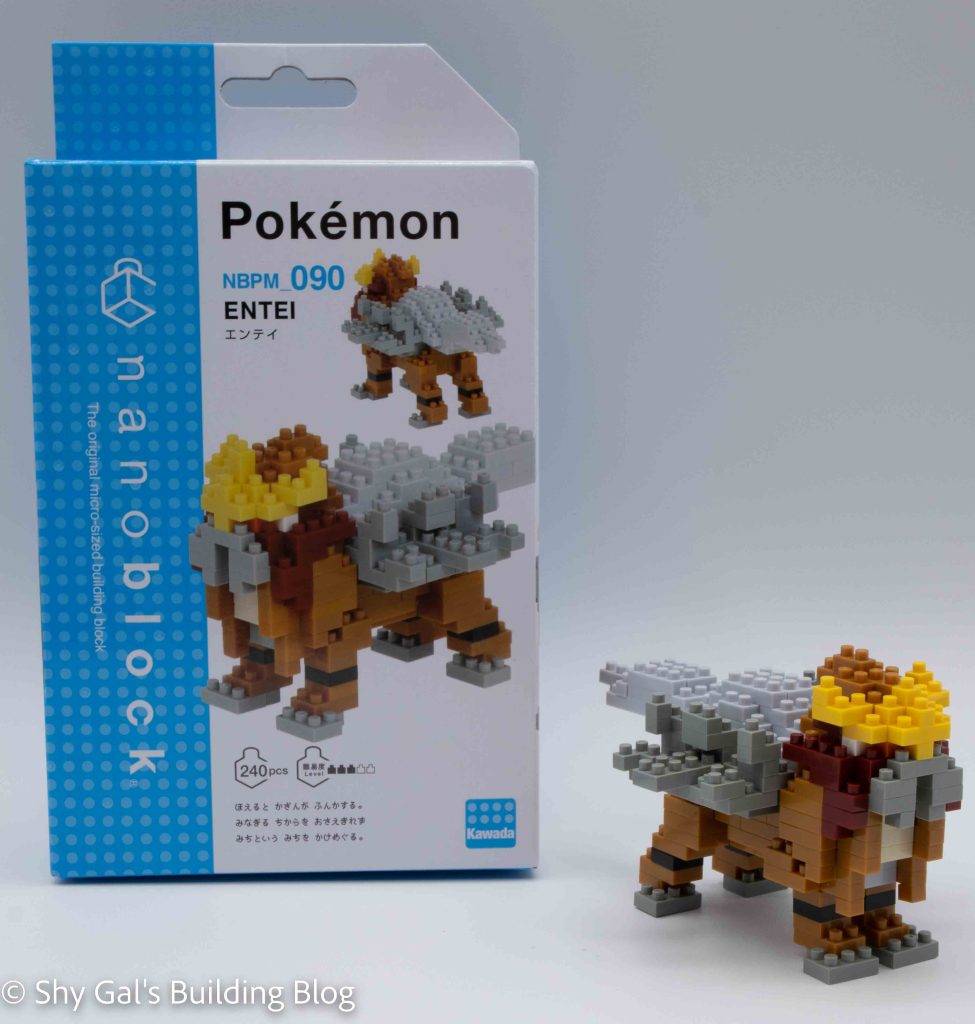
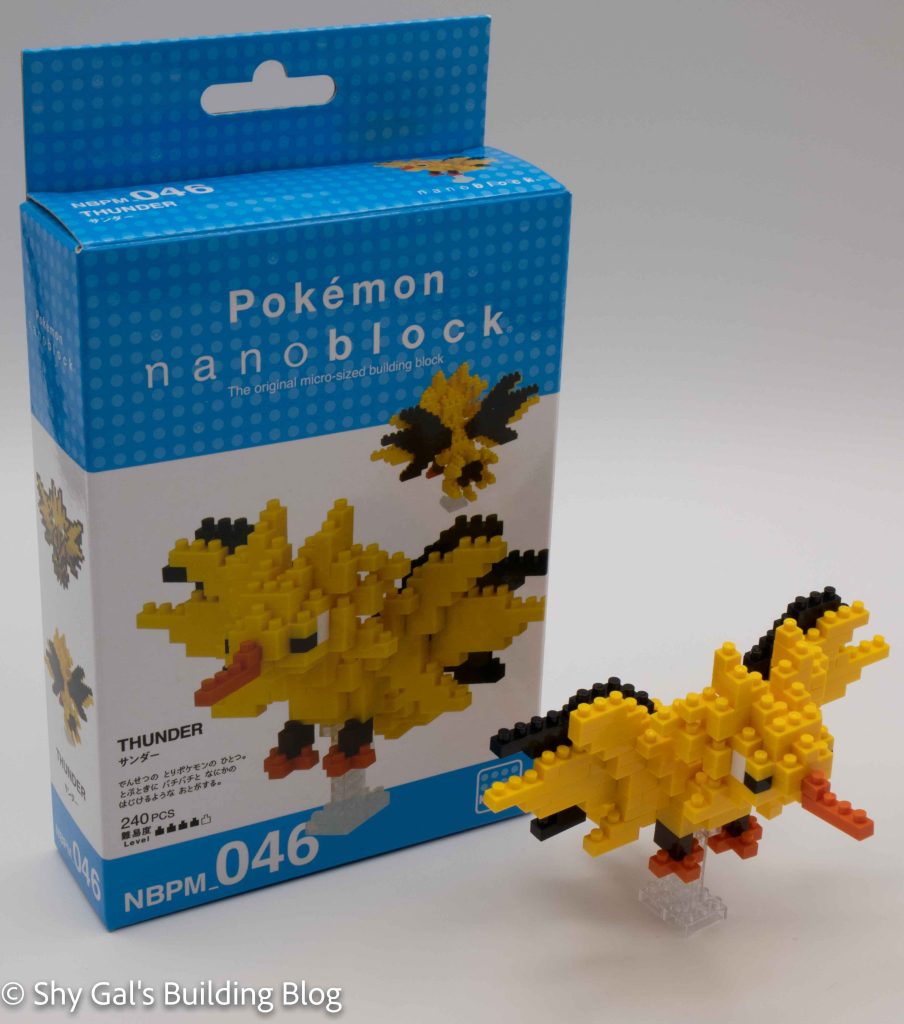
This post is a review of the nanoblock Dialga Deluxe Edition build. Dialga is part of the nanoblock Pokemon collection. Wondering what else is part of the Pokemon collection? Click here for a list.

Number: NBPM_094

Number of Pieces: 1020

Difficulty Rating: 4/5

Dialga Deluxe Edition build front view

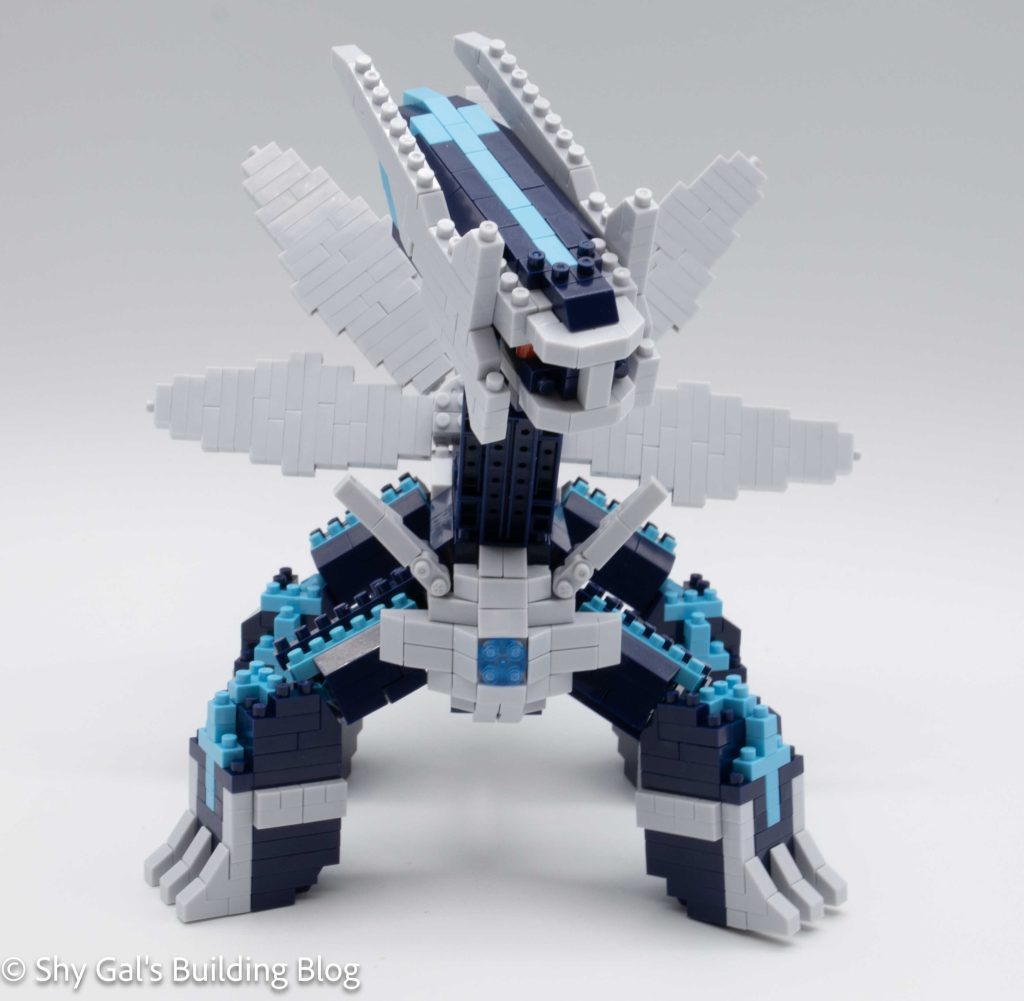
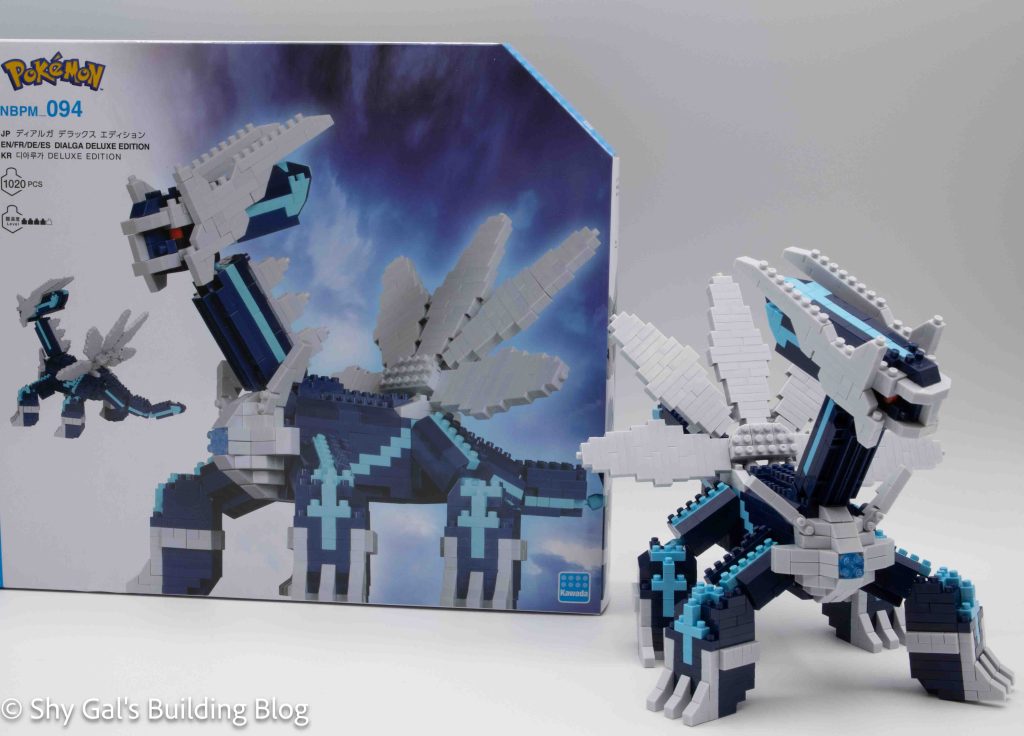
Dialga is one of the generation 4 box legendary Pokemon. It is the master of time. Dialga and Palkia are the only Deluxe nanoblock Pokemon that don’t have also have standard builds.

When I opened the box, I was sad to see that the instructions were printed on a huge piece of paper instead of a booklet. Some of the deluxe kits I’ve built have had booklets and I prefer those. There were 13 bags of bricks so I knew I needed to build the Dialga on my table instead of my tray table.

Dialga Deluxe Edition build and side view

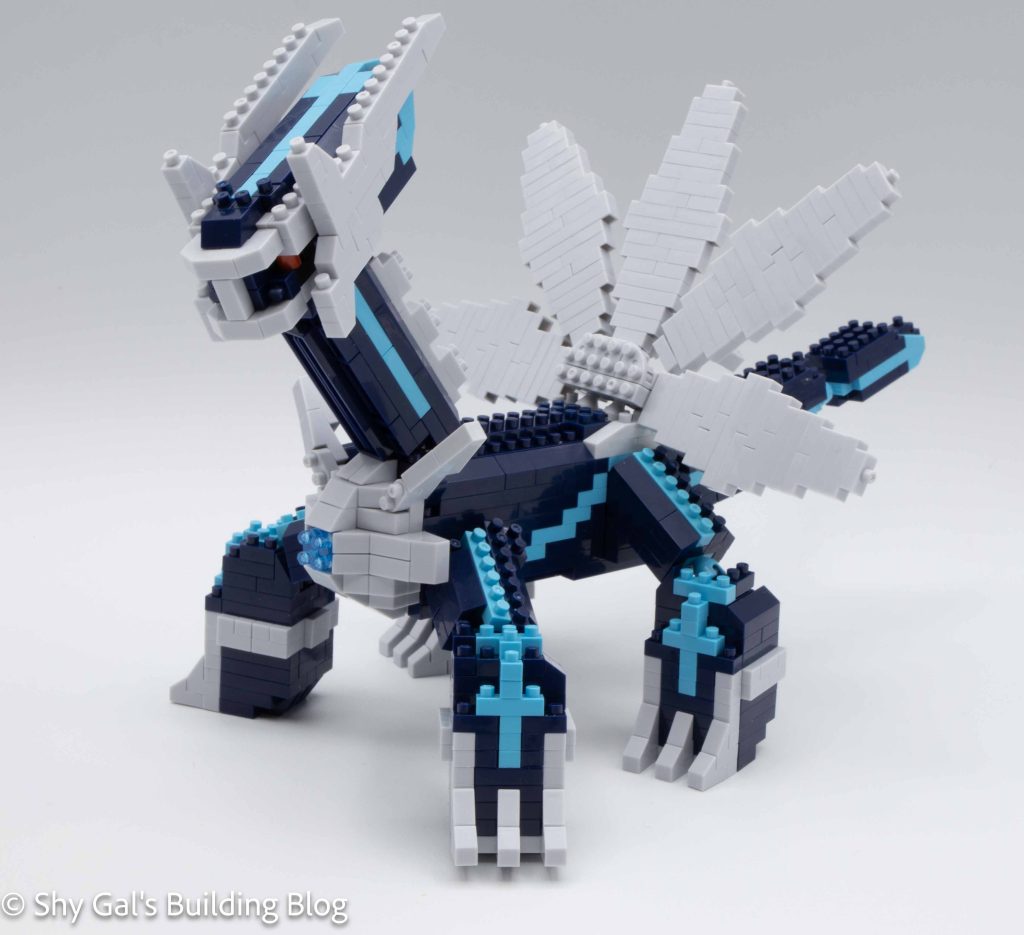
Dialga is built primarily made from navy bricks. While building, the navy bricks appear to be black when I’m digging around in the bags to find the bricks. There are handful of black brciks in the head. After I realized there was black I checked each bag with a flashlight to find the black and noted which bricks were black.

Dialga Deluxe Edition build body detail

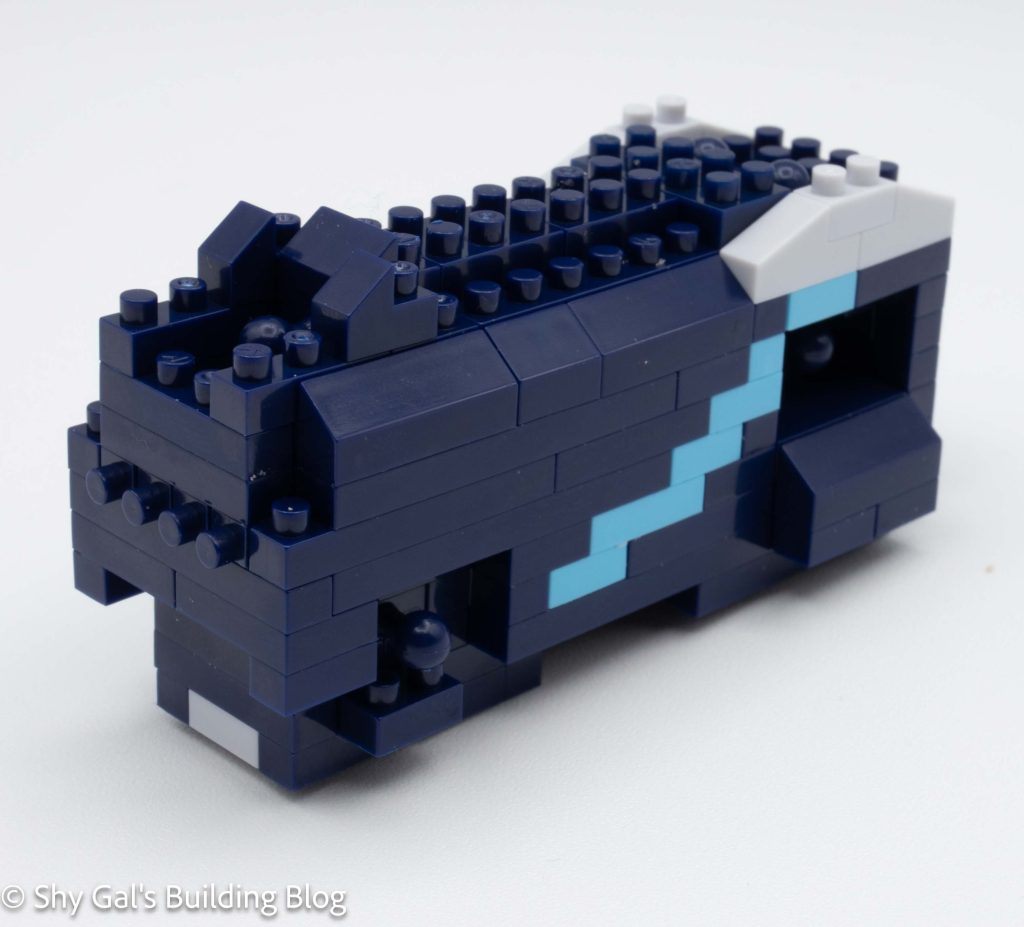
The first section is the main body. The body is very straightforward and I could easily build the body on my nanoblock pad. I was surprised by how many ball joints were in the body while I was building it. I waited until the end to connect the large section together so that I was trying to balance a build and could attach them in a way that made sense.

Dialga Deluxe Edition build gem detail

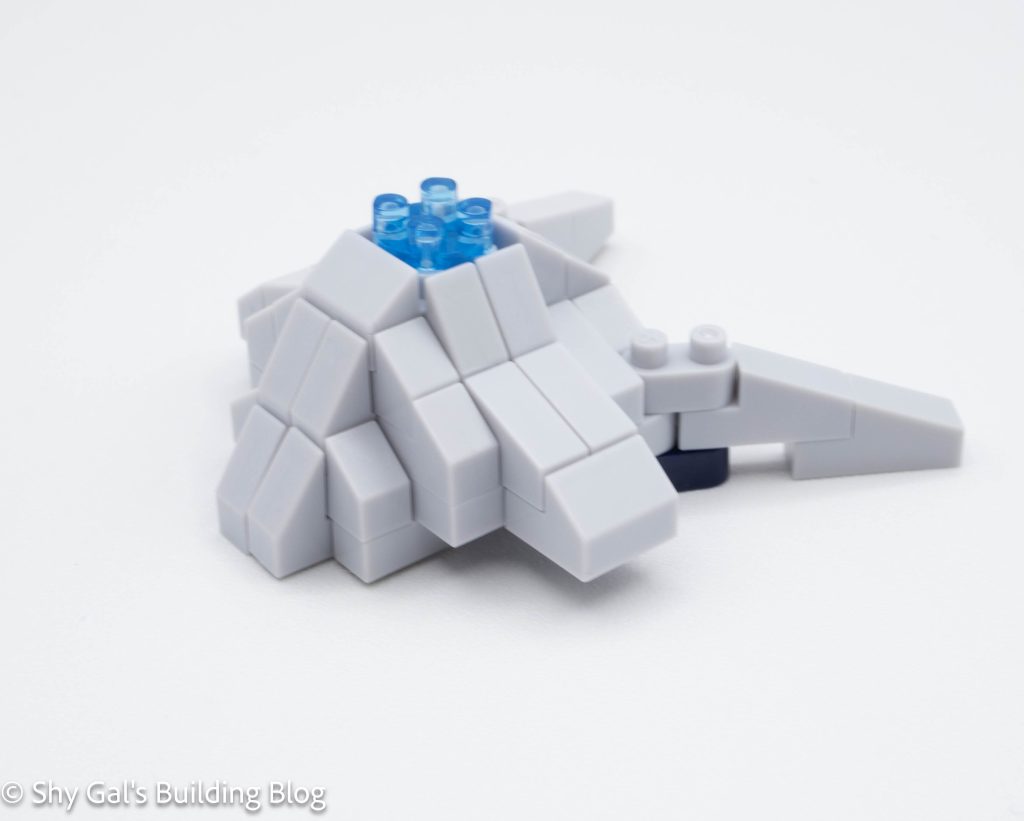
The second section is the gem on Dialga’s chest. It is a bit tricky to keep track of which slanty pieces are needed for each step. All of the grey slanty pieces are in the bag so it’s a bit tricky to find the right piece. Once again I built this section on my nanoblock pad.

Dialga Deluxe Edition build fin detail

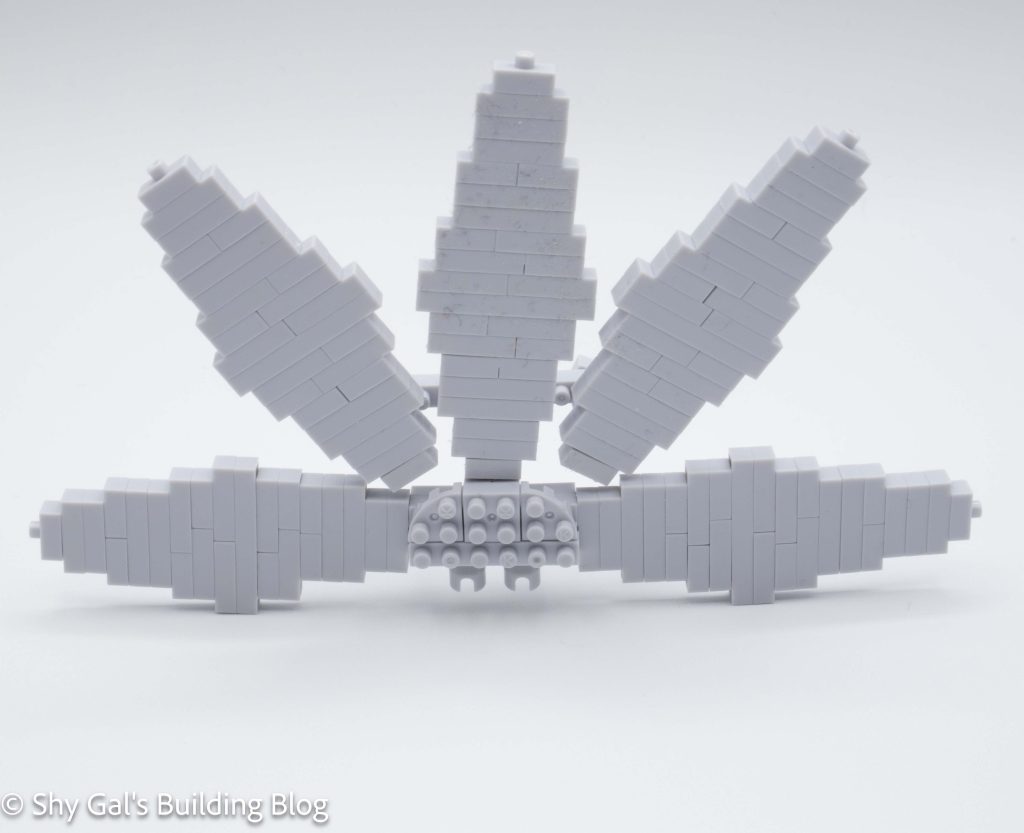
The next section is the fin on Dialga’s back. Each large section of the fin is a tower of nanoblocks. The hardest part of the tower is making sure the layers are properly overlaid so gaps are minimal. However, what makes the fin truly tricky is the center core where all the towers attach. Getting the fins properly spaced out and not overlapping or pushing on each other depends on having everything centered perfectly which is tricky.

The next step is the base of the 4 feet. Each foot is identical and goes up in layers. Each foot is a solid tower of bricks. I was able to lay all 4 feet out on my large nanoblock pad which made it easier to make sure I didn’t miss any steps on any foot because I was looking at all 4 feet at once.

Dialga Deluxe Edition build leg detail

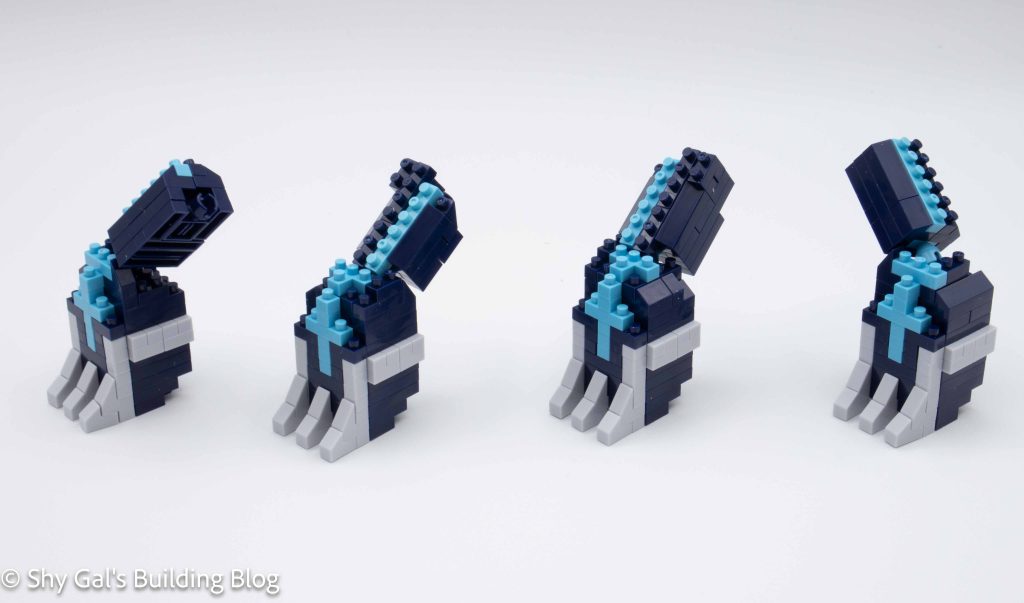
The next step is to build all 4 of Dialga’s legs. Each leg is a combination of adding the leg connection to the foot and the actual leg itself. all of the brick work is fairly straightforward. The biggest problem I had was getting the leg and foot to nicely attach due to how the ball joint was lined up. I wanted the moveable areas on the socket to be at angles but the actual socket only allows for 90 degree movements.

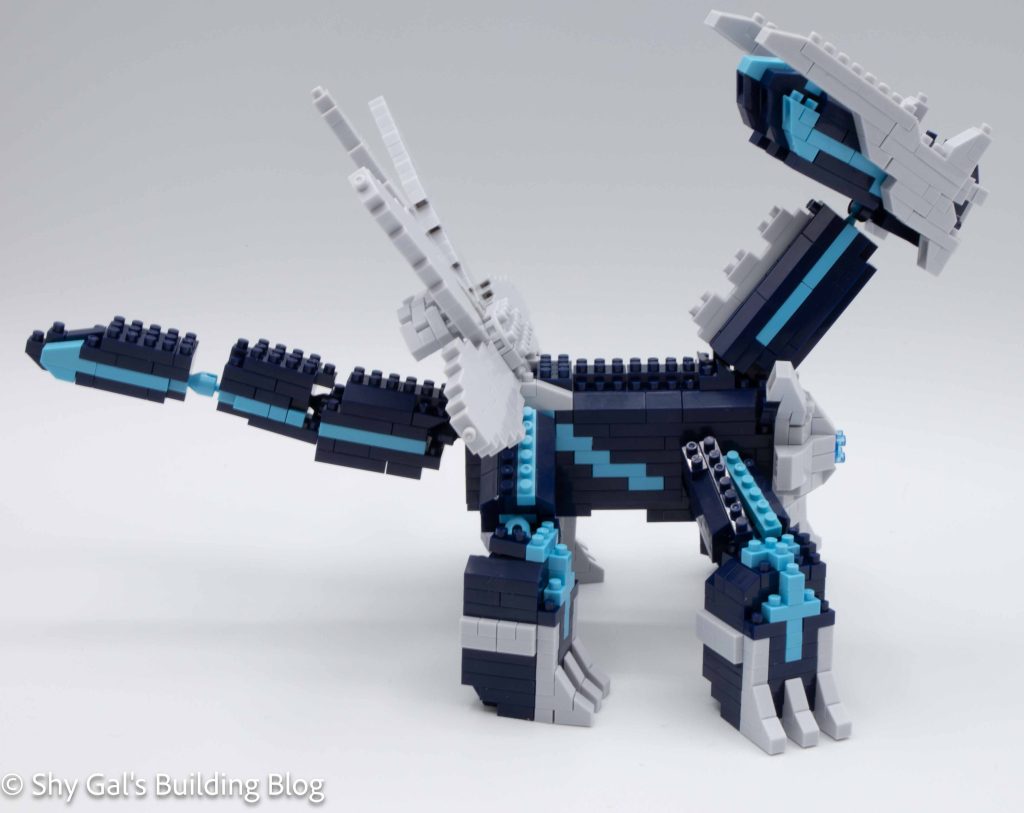
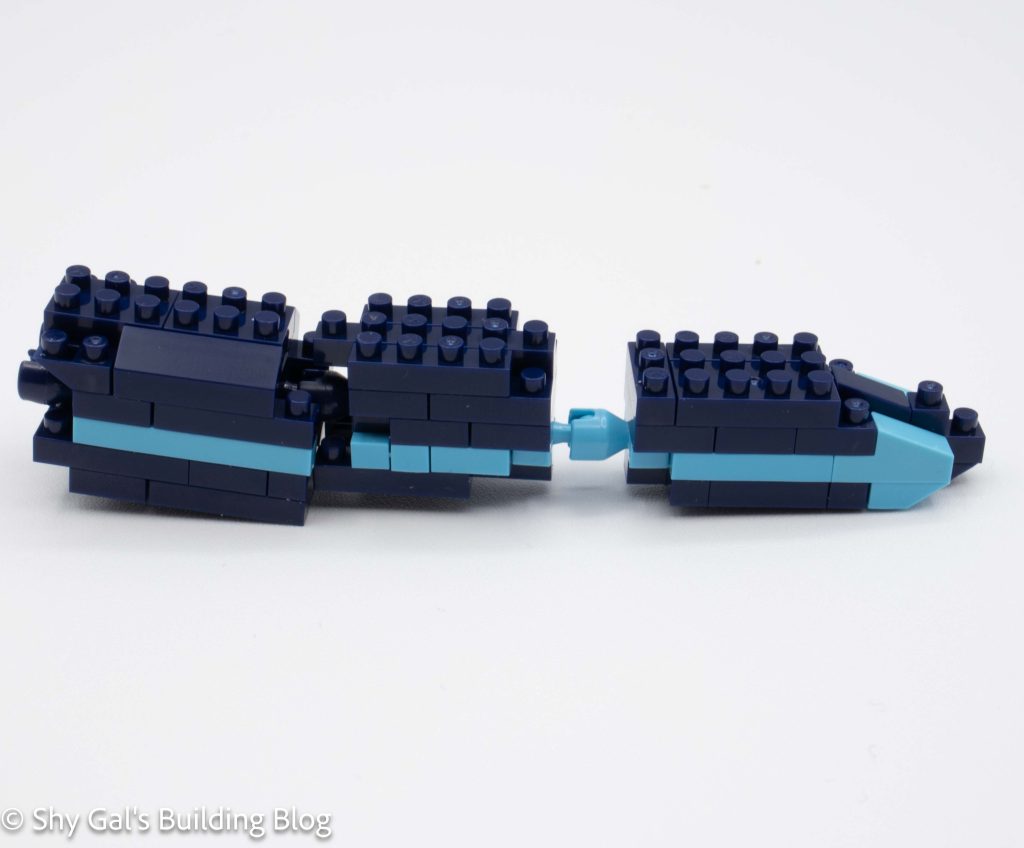
The next 2 sections are the tail and the neck. Both are fairly straightforward with the only real difference being the tail is 3 sections connected with ball joints.

Dialga Deluxe Edition build tail detail

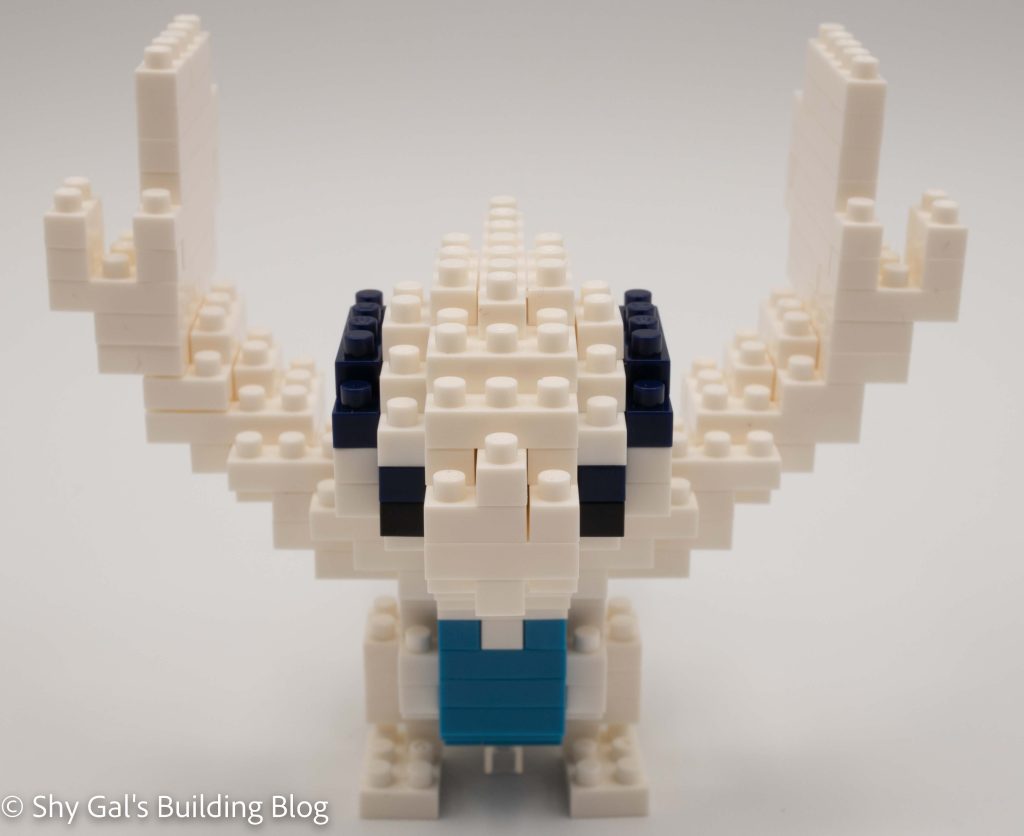
The head is very straightforward to build. The instructions also make it very clear the couple of steps that used black bricks instead of the navy. I really like that the initial head build has studs sticking out the front which allows for building on and creating Dialga’s curved face instead of it being a block.

Dialga Deluxe Edition build head detail

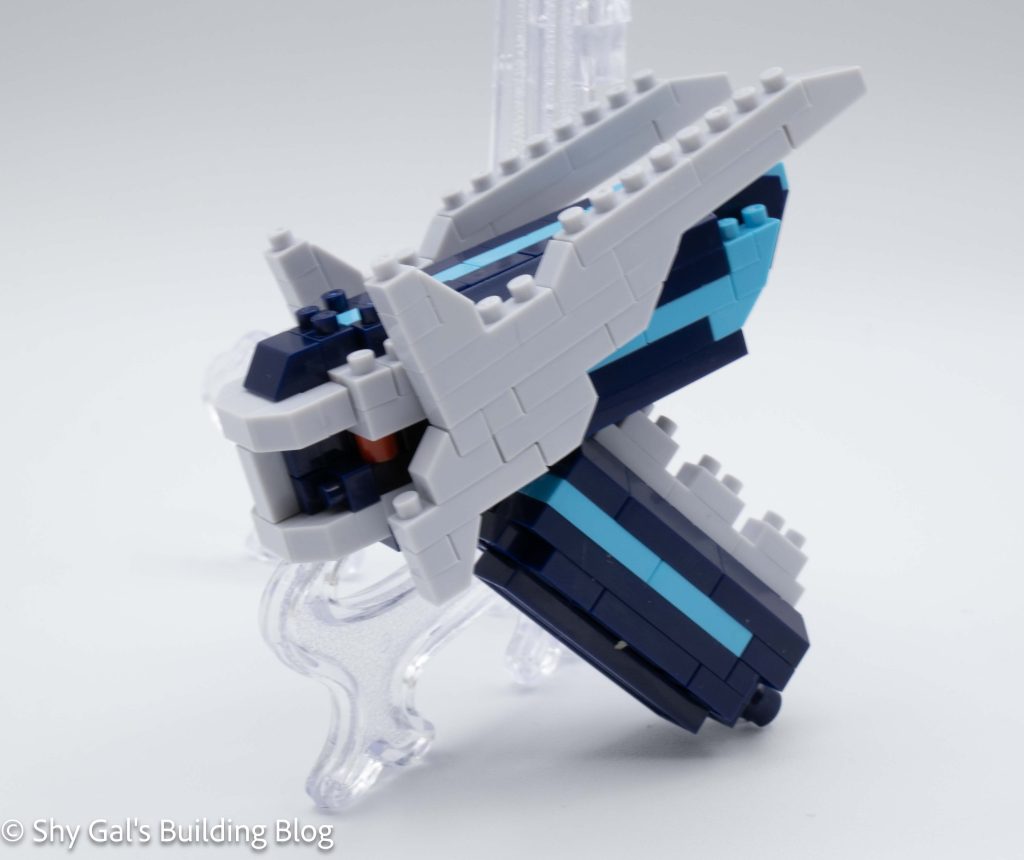
The final step is to build the head decorations on both sides of Dialga’s head. They are identical other than 1 brick which has a side stud that is used to connect the piece to the head. Both pieces are connected by inserting a round 1×1 into a socket. This is my favorite way of connecting bricks, but I think it works in this case.

Dialga Deluxe Edition build back 3/4 view

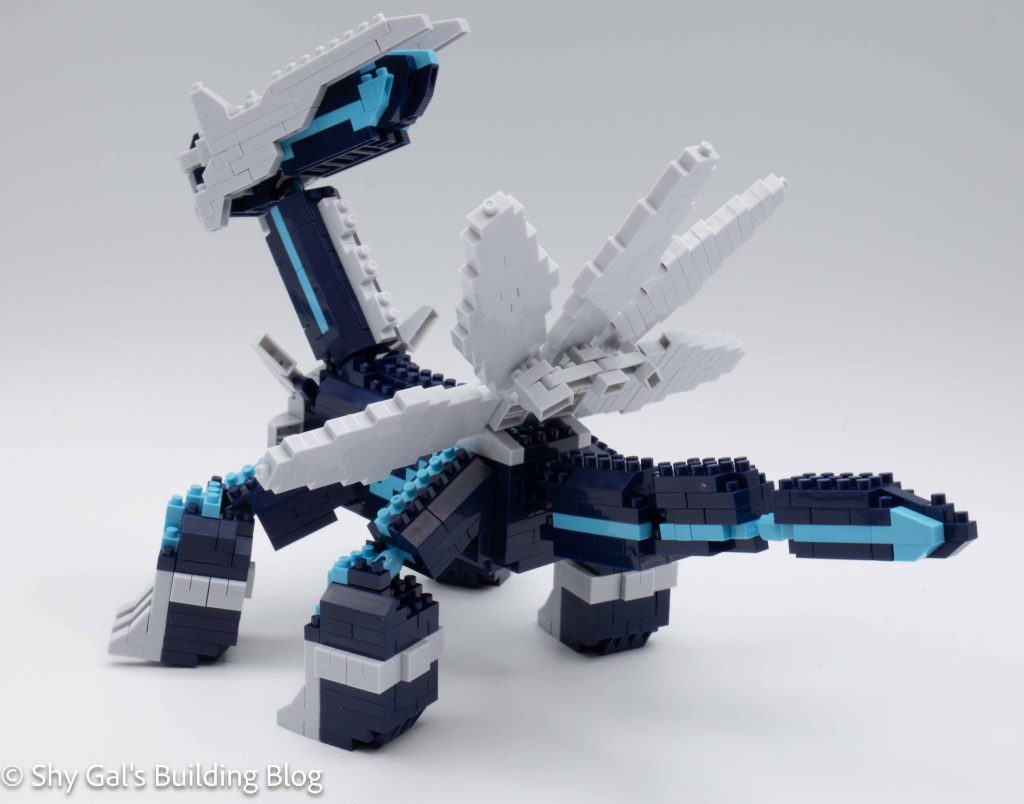
After building all the sections I needed to connect them. I would recommend getting a second pair of hands for this part so that each ball joint can be added but pressure can be kept off the already connected ball joints. First I connected the head to the neck and added the head decorations. Next, I connected the tail to the body. Then I attached the fin. Next, I attached the feet. Finally, I attached the head unit to the body.

Dialga Deluxe Edition build front 3/4 view

Things I liked:

  • The batch builds. Building multiple identical items at once instead of having split-up identical directions.

Things I didn’t like:

  • I wish the instructions had been in a booklet instead of a huge piece of paper.
  • I wish the handful of black had been marked in some way. There are so many bricks that the few black ones were difficult to find.

Review of nanoblock Suicune NBPM_091

Suicune box and build

This post is a review of the nanoblock Suicune build. Suicune is part of the nanoblock Pokemon collection. Wondering what else is part of the Pokemon Collection? Click Here for a list.

Number: NBPM_091

Number of Pieces: 220

Difficulty Rating: 3/5

Suicune front view

Suicune is one of the elemental legendary Pokemon along with Raikou and Entei from generation 2. It is the water elemental Pokemon.

The nanoblock builds for the generation 2 legendaries are all very detailed, so I’m excited to build them all. Suicune has what appears to be delicate ribbons surrounding it. I was sure the ribbons would look good because of how Slyveon’s ribbons looked.

This build begins by laying out the entire body in layers. I love the teal bricks that they used for the main body of Suicune.

The build was mostly straightforward. The head details are simply attached to the front of the body. I really like how Suicune’s face turned out.

Suicune front 3/4 view

Then you add the legs, which is very straightforward.

The final details are creating the ribbons over the head and down the sides. Since it is just chains of bricks, it was a bit tricky to get things to line up perfectly. There are optional clear bricks to support the ribbons. Since I don’t move my finished builds, I didn’t feel like it was necessary to add them.

Suicune back 3/4 view

Things I liked:

  • The ribbons and how they look flowy

Things I didn’t like:

  • How the build would have looked if I had added the extra support bricks

Review of nanoblock Raikou NBPM_089

Raikou build and box

This post is a review of the nanoblock Raikou build. Raikou is part of the nanoblock Pokemon collection. Wondering what else is part of the Pokemon Collection? Click Here for a list.

Number: NBPM_089

Number of Pieces: 250

Difficulty Rating: 3/5

Raikou front view

Raikou is one of the elemental legendary Pokemon along with Entei and Suicune from generation 2. It is the thunder elemental Pokemon.

The nanoblock builds for the generation 2 legendaries are all very detailed, so I’m excited to build them all. Raikou looked to me to have the most detail of the 3 builds.

The build begins with base layers to create the basics of the body. After building the first few layers of the body, you build the basics of the head and attach it to the body.

Raikou side view

After attaching the base layers of the head, the rest of the main body and head are built up in layers. When you add the ears, it’s hard to tell where exactly the bricks you are adding are in the directions.

Then it’s time to add details like fangs, legs, and tail. Each detail is fairly straightforward. The tail was a bit tricky because of the chaining, so it was hard to not press too hard, causing the bricks to pop off.

Raikou back 3/4 view

Things I liked:

  • I really like the amount of detail in Raikou
  • I think that the colors are super accurate for the Pokemon

Things I didn’t like:

  • There is some chaining which makes it hard to keep things exactly where I want the bricks

Review of nanoblock Entei NBPM_090

Entei built and box

This post is a review of the nanoblock Entei build. Entei is part of the nanoblock Pokemon collection. Wondering what else is part of the Pokemon Collection? Click Here for a list.

Number: NBPM_090

Number of Pieces: 240

Difficulty Rating: 3/5

Entei front view

Entei is one of the elemental legendary Pokemon, along with Raikou and Suicune from generation 2. It is the fire elemental Pokemon.

The nanoblock builds for the generation 2 legendaries are all very detailed, so I’m excited to build them all. Entei looks the oddest to be because of the way its coat looks.

This build begins by laying out the entire body in layers. When I originally built the body, I wasn’t careful to read the instructions for which grey to use. This meant I ran out of bricks and needed to start the body again.

Entei side view

Other than the grey issue, the build was mostly straightforward. The head details are simply attached to the front of the body. I really like how Entei’s face turned out.

One of the final details that are added is the details of the smokey coat. Unfortunately, to me, his coat looks a lot more blocky than the actual Pokemon. I’m not sure how the coat could look softer and more like smoke.

Entei back 3/4 view

Things I liked:

  • The detail in the face

Things I didn’t like:

  • The fur on Entei’s back looks very blocky and not very soft

Review of nanoblock Ho-Oh NBPM_033

Ho-Oh build and box

This post is a review of the nanoblock Ho-Oh build. Ho-Oh is part of the nanoblock Pokemon collection. Wondering what else is part of the Pokemon Collection? Click Here for a list.

Names:

  • English: Ho-Oh
  • Japanese: Houou

Number: NBPM_033 

Number of Pieces: 180

Difficulty Rating: 4/5

Ho-Oh front view

Ho-Oh is an unusual nanoblock Pokemon build because it has a difficulty of 4/5. I think it is because it is a challenge to build the wings and tail and getting things to line up correctly. The build has 5 major sections to this nanoblock build. There is a head, a body, 2 wings, and a tail.

The first step is to build the body. It starts with a base layer of white bricks. As you build the body in layers, you will add red for the top of the body and green for the neck.

The second step is to build the head. The head starts is a narrow layer of bricks, and then you build up the head in layers. I really like how the eyes are added to the head. The final step in building the head is adding the crown using yellow bricks. You attach the head to the body but be warned it will now fall over if you try and set it on the base.

Ho-Oh side view

The next step is to build the wings. The process is mirrored between the two wings. The wings are built by having bricks hanging over in each layer. I had some difficulty tracking which layer I was on when I set down the wing for a few minutes, and I picked it up again. I also had a hard time squaring up the white and green bricks. Each wing gets attached, and the build will sit stably when both wings are attached.

Next, you have a quick step to add the feet. It is very straightforward and clear.

The final step is to build the tail. It comes together by putting several small chunks together to create the idea of an open tail. Overall, each chunk is straightforward. However, I had some difficulty telling where exactly to attach to the chunk. I’ve also noticed that each chunk of the tail seems to be loosely connected, so it moves every time I move the build.

Ho-Oh bak 3/4 view

Things I liked:

  • There is a lot of detail for how early in the Pokemon collection this build is.

Things I didn’t like:

  • Overall the build just seems a little loose, and I’m worried about how well it will stay in place long-term. The tail has already shifted without me moving it much.

Review of nanoblock Lugia NBPM_032

Lugia build and box

This post is a review of the nanoblock Lugia build. Lugia is part of the nanoblock Pokemon collection. Wondering what else is part of the Pokemon Collection? Click Here for a list.

Number: NBPM_32

Number of Pieces: 210

Difficulty Rating: 3/5

Lugia front view

Lugia is one of the 2 legendary Pokemon from generation 2. Lugia is the mascot Pokemon for Pokemon Silver.

The Lugia build is the first build where the directions went onto the backside of the pages for a total of 46 total steps. Unlike a lot of builds, it isn’t broken down into smaller steps.

Lugia front 3/4 view

Some of the steps are hard to tell precisely where the bricks go on a layer. I found Lugia’s arms much easier to build than Charizard’s wings.

Overall I liked Lugia. I think its arms are a bit clumpy compared to the fluid arms you see in the anime.

Lugia back 3/4 view

Things I liked:

  • The coloring is fairly accurate

Things I didn’t like:

  • Arms are super clumpy

Link to order: Amazon

Review of nanoblock Rayquaza NBPM_064

Rayquaza build and box

This post is a review of the nanoblock Rayquaza build. Rayquaza is part of the nanoblock Pokemon collection. Wondering what else is part of the Pokemon Collection? Click Here for a list.

Number: NBPM_064

Number of Pieces: 240

Difficulty Rating: 3/5

Rayquaza front view

Rayquaza is one of the 3 legendary Pokemon from generation 3. The 3 legendary pokemon from generation 3 are extremely popular and have appeared in most games since gen 3. The three legendary Pokemon, Kyogre, Groudon, and Rayquaza, all remind me a little bit of the traditional art of the Native Americans of the Pacific Northwest with how their lines are drawn and the use of rings.

Rayquaza back view

In my opinion, this build should be a 4/5, not a 3/5, because of how tricky it is to get everything up. Rayquaza is a very long narrow Pokemon, more like a snake than anything else. Things are different from an average Pokemon build from the beginning because the base is in the shape of an L instead of a square or rectangle. As you build up from the bottom, you constantly have one or 2 studs hanging over. Next, you build another chain of brick similar to the base. Then you add the chunk of the body that is straight up and down to hold the head. This includes adding the arms that are chains connected by single studs. The final step is to add the head. The head is a much more straightforward build than getting the body together. You then connect the body to the base and have completed Rayquaza.

Rayquaza is a highly detailed Pokemon; generally, it is green with red and yellow markings. I really like how the build includes those details. The build is more complicated than many of the level 3s I have completed because of the balancing act of creating the build.

Rayquaza side view

Things I liked:

  • The amount of detail in the final build from the use of color

Things I didn’t like:

  • The final build feels flimsy, so I’m always nervous about moving it.

Link to order:

Review of nanoblock Moltres NBPM_047

Moltres build and box

This post is a review of the nanoblock Moltres build. Moltres is part of the nanoblock Pokemon collection. Wondering what else is part of the Pokemon Collection? Click Here for a list.

Names:

  • English: Moltres
  • Japanese: Fire

Number: NBPM_047

Number of Pieces: 190

Difficulty Rating: 3/5

Moltres 3/4 front photo

Moltres is one of the legendary Pokemon from generation 1. It has been available in some form in most of the later generations. This build is for the Kanto region bird; there is no build for the Galar region Moltres. The other legendary birds are Zapdos and Articuno.

The build comprises 4 sections the body, the head, and the wings that mirror each other. In general, the builds are pretty straightforward as long as you can tell what color you need. In fact, telling which color was the most challenging part because the directions are similar in the gold, orange, and transparent red. Like Zapdos, Moltres is floating on a stand and is pretty stable.

Moltres 3/4 back view

Things I liked:

  • Use of transparent block in the whole build

Things I didn’t like:

  • The colors are super close to the bricks but it is a little hard to tell in the directions

Link to order: Amazon

Review of nanoblock Articuno NBPM_048

Articuno build and box

This post is a review of the nanoblock Articuno build. Articuno is part of the nanoblock Pokemon collection. Wondering what else is part of the Pokemon Collection? Click Here for a list.

Names:

  • English: Articuno
  • Japanese: Freezer

Number: NBPM_048

Number of Pieces: 170

Difficulty Rating: 3/5

Articuno front view

Articuno is one of the legendary Pokemon from generation 1. It has been available in some form in most of the later generations. This build is for the Kanto region bird; there is no build for the Galar region Articuno. Articuno is an ice-type bird that is known for having a flowing tail.

This nanoblock build is made of 4 parts, the body and head combination, 2 wings, and the tail. The head body combo is a reasonably usual build. Once you start building out where the wings attach, it gets a bit more complicated. The wings themselves were simple to build but connecting them was challenging.

Then the tail, I’m not sure that I ever got the tail right. Unlike nanoblock directions, I had a lot of difficulties reading the directions. After trying to create the tail, I’m not sure if it’s supposed to rest on the table along with the base or not. It never looked right as you can see in the photo below. The build ended up constantly tipping over, so I needed to put it on a base plate.

Overall until I got to the tail, I enjoyed building Articuno. Once I got to building the tail, I got frustrated and had difficulty lining everything up.

Articuno 3/4 front shot

Things I liked:

  • It looks like the pokemon

Things I didn’t like:

  • The fact it was tippy no matter how I attached the tail
  • Hard to get the tail to attach, I don’t think I’ve gotten it right yet

Link to order: Amazon

Review of nanoblock Zapdos NBPM_046

Zapdos with box

This post is a review of the nanoblock Zapdos build. Zapdos is part of the nanoblock Pokemon collection. Wondering what else is part of the Pokemon Collection? Click Here for a list.

Names:

  • English: Zapdos
  • Japanese: Thunder

Number: NBPM_046

Number of Pieces: 240

Difficulty Rating: 4/5

Zapdos 3/4 front shot

Zapdos is one of the legendary Pokemon from generation 1. It has been available in some form in most of the later generations. This build is for the Kanto region Zapdos, there is no build for the Galar region Zapdos.

The build is made up of 4 major parts along with the small body. The large parts are the head, 2 wings that are mirrored, and the tail. The body is just a basic cube that has open studs to attach the other body pieces. The head is a pretty simple build. The first real challenge I had was the wings because they don’t have a real base to have them stable so instead of using my pad I had to balance the wings on my hand. The tail is tricky as well because there are lots of chains where things are being held on by one stud.

Overall I really enjoyed the build. I think it appears way more impressive than the work that goes into it.

Zapdos 3/4 back shot

Things I liked:

  • The final nanoblock model looks cool

Things I didn’t like:

  • The tail was tricky to attach without it breaking

Link to order: Amazon