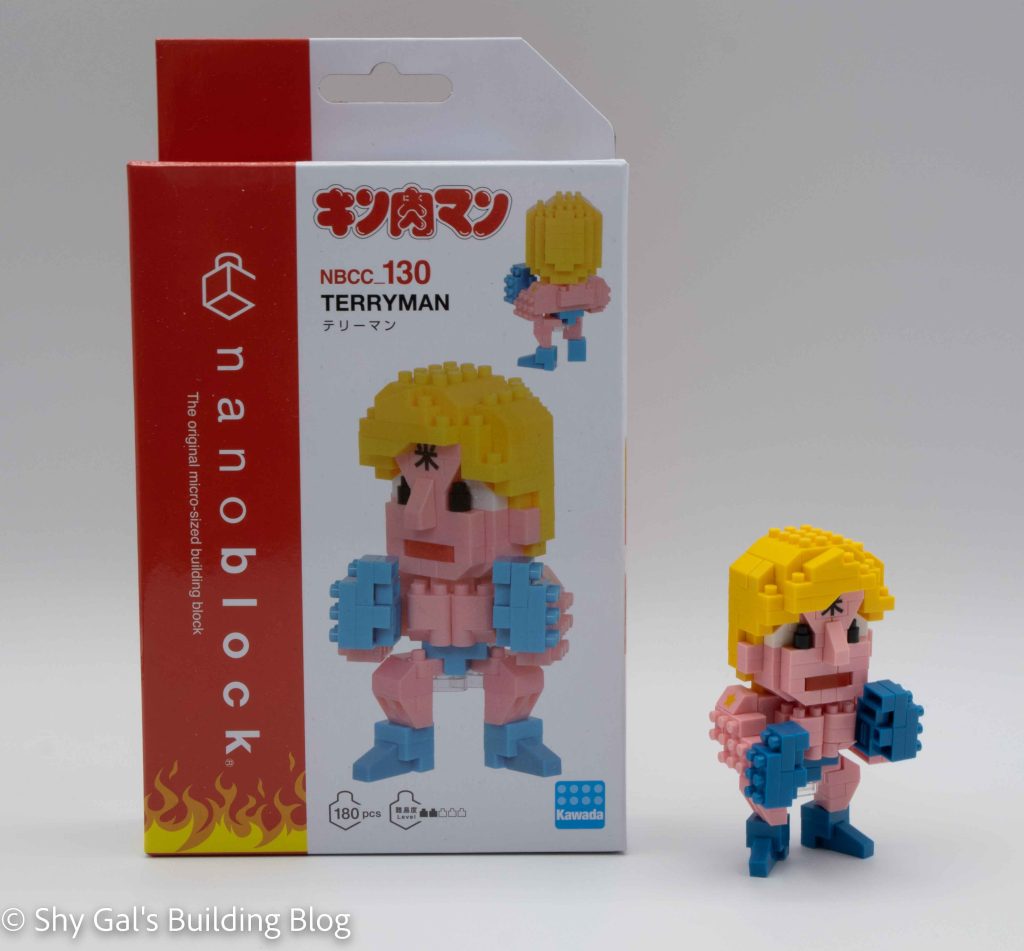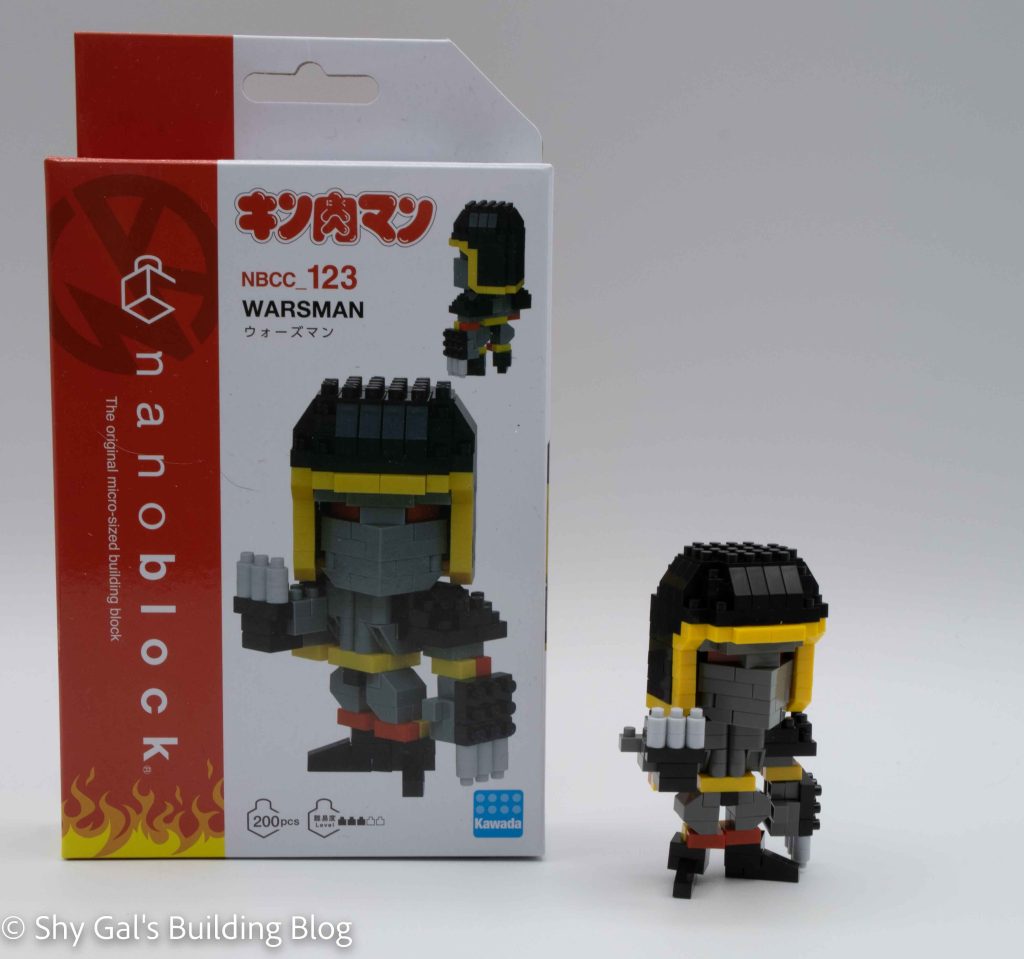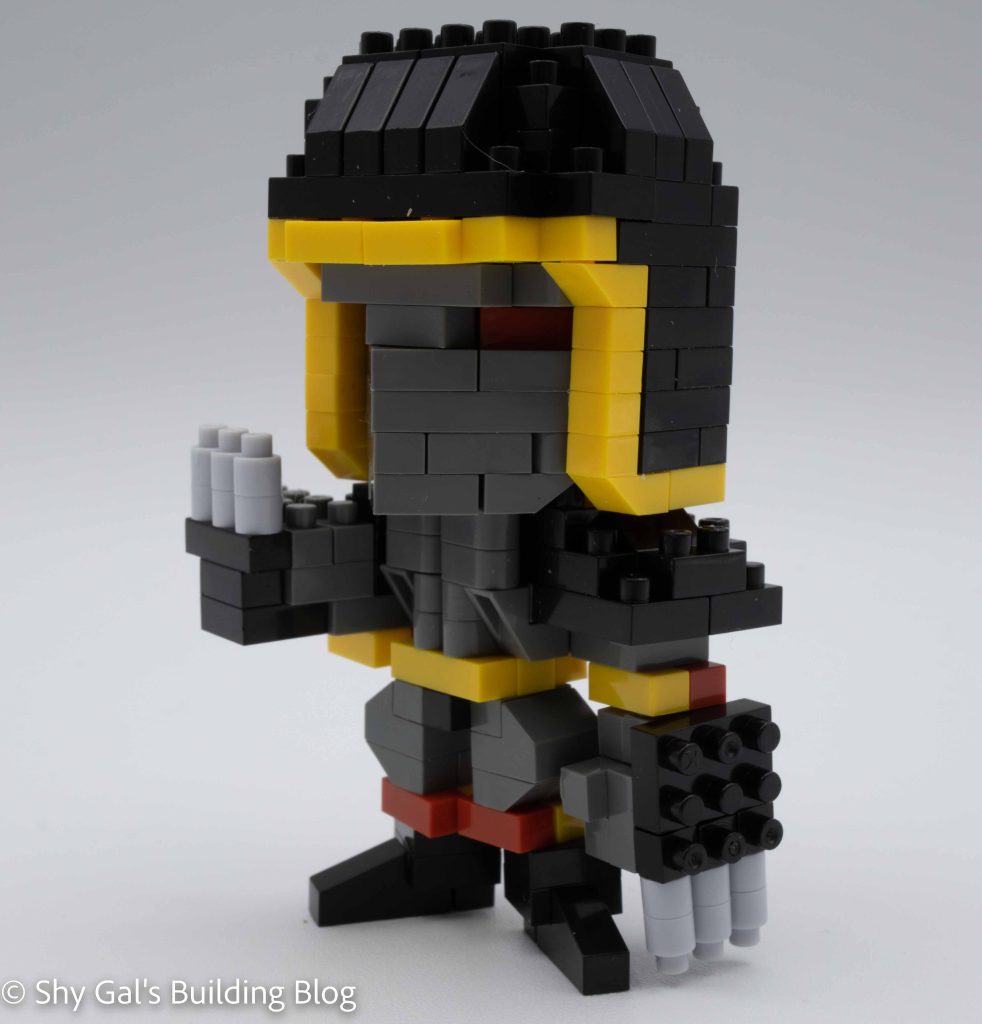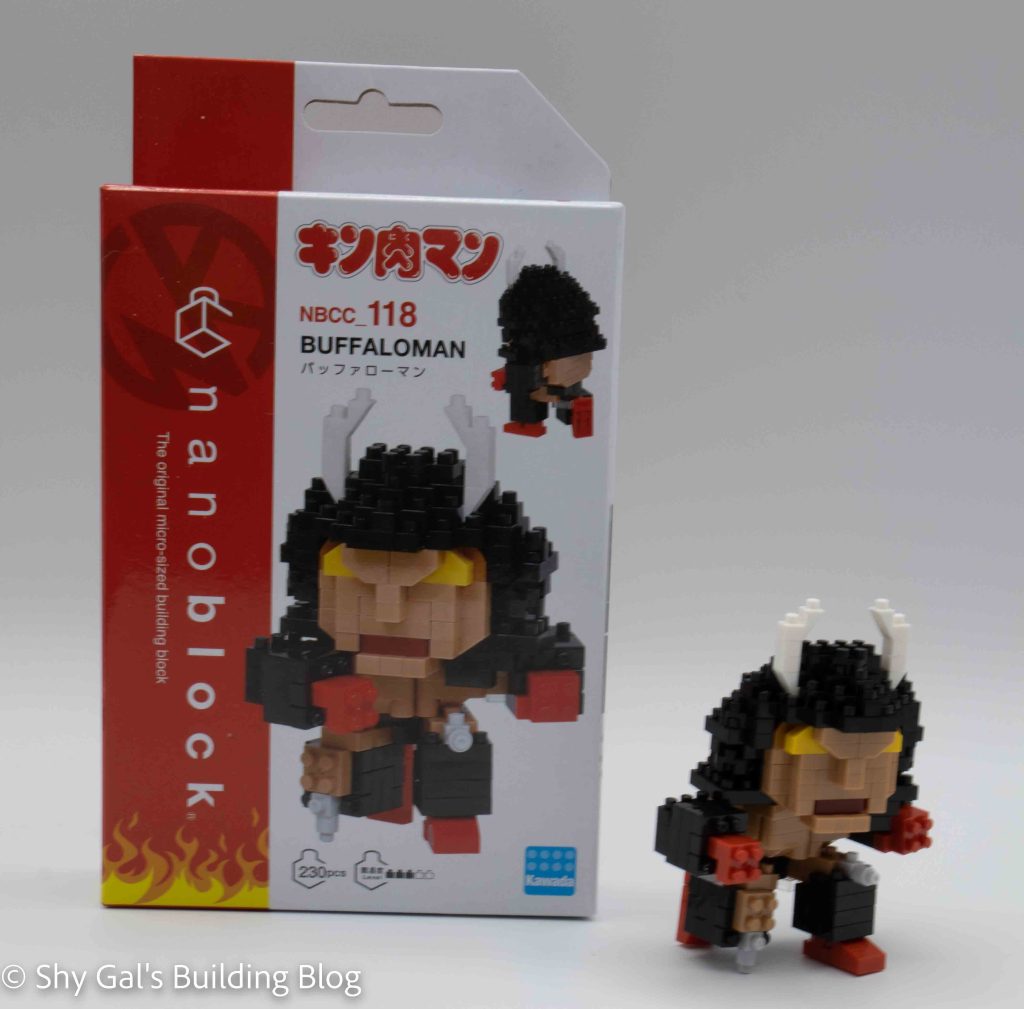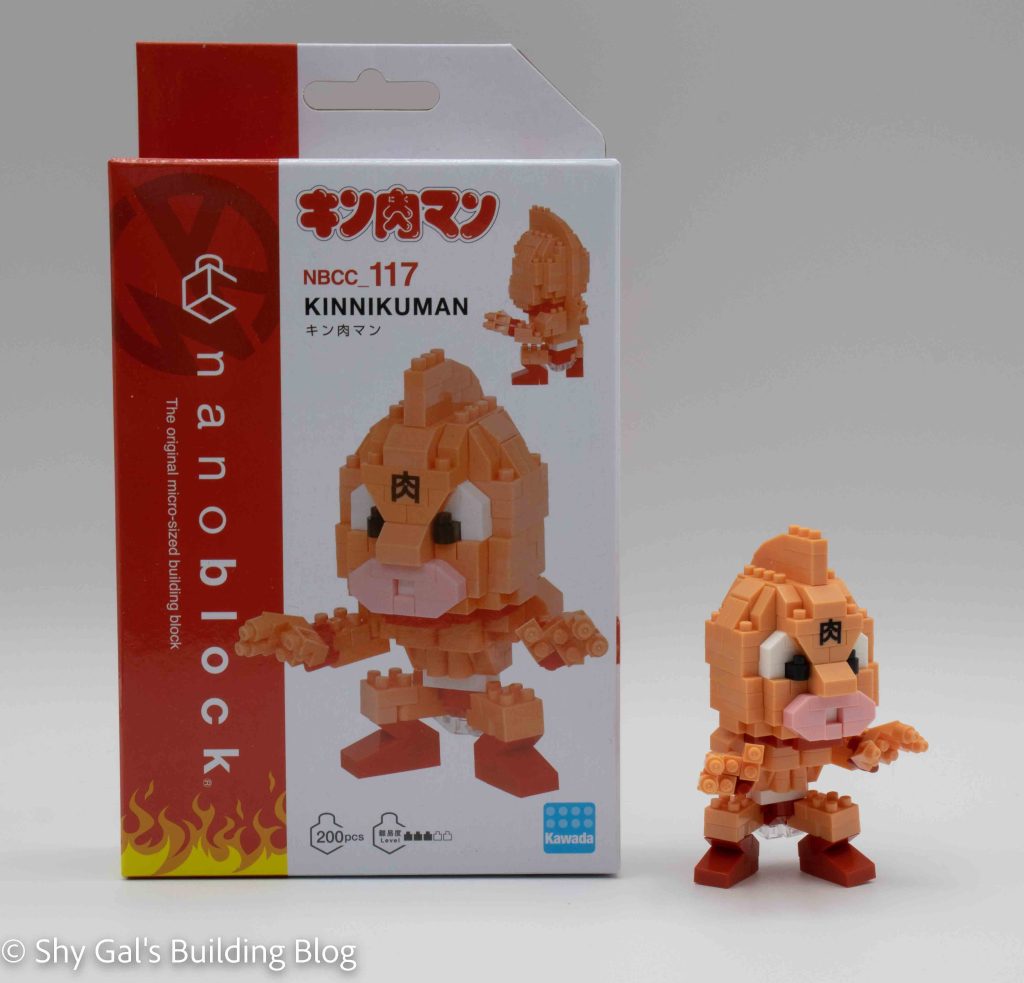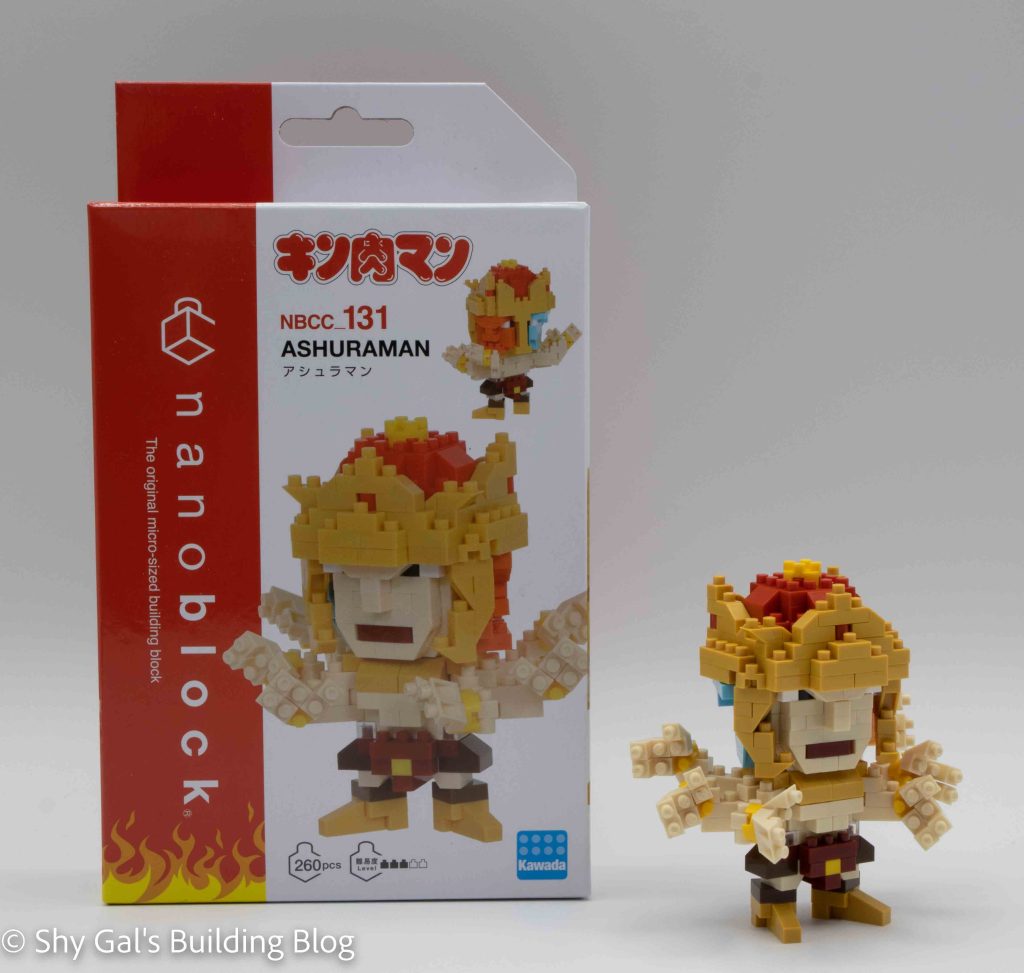
This post is a review of the nanoblock Ashuraman build. Ashuraman is part of the nanoblock Character collection. Wondering what else is part of the Character collection? Click here for a list.
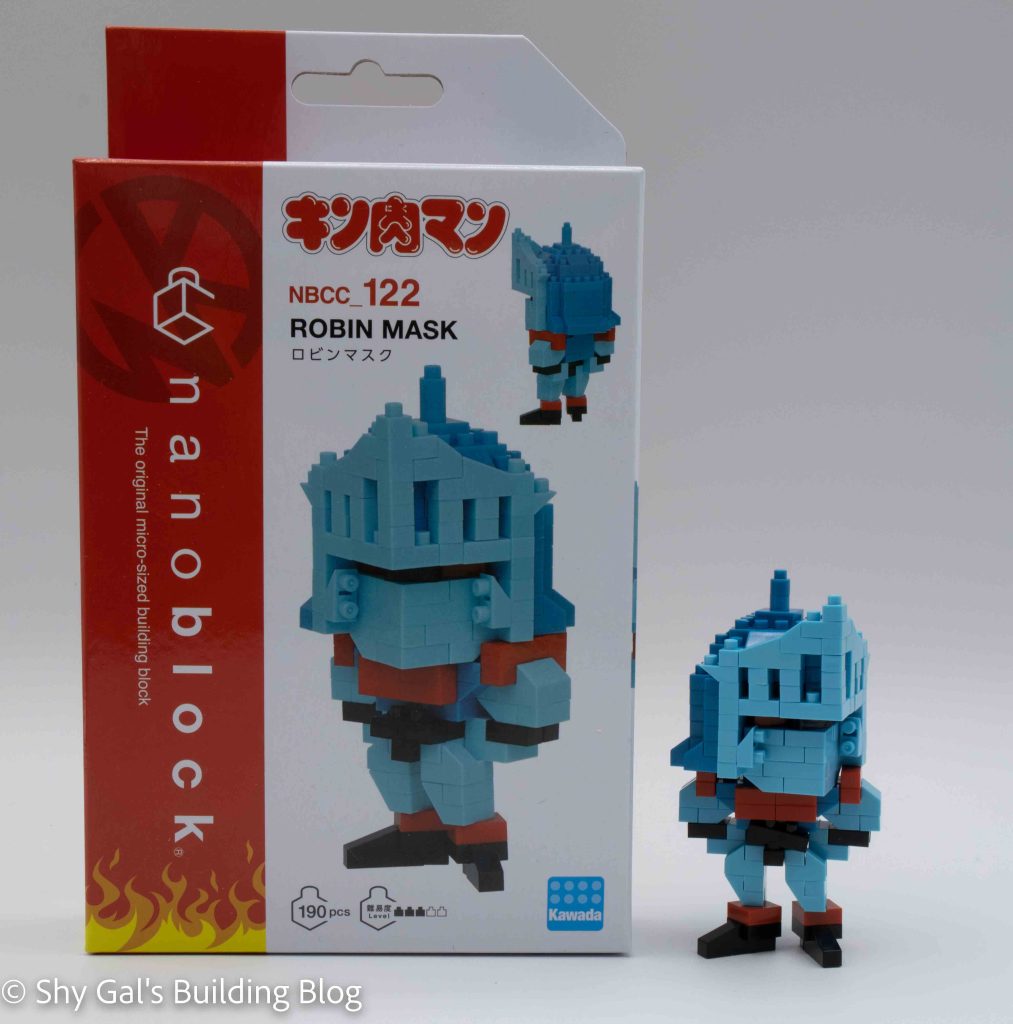
Number: NBCC_131
Number of Pieces: 260
Difficulty Rating: 3/5
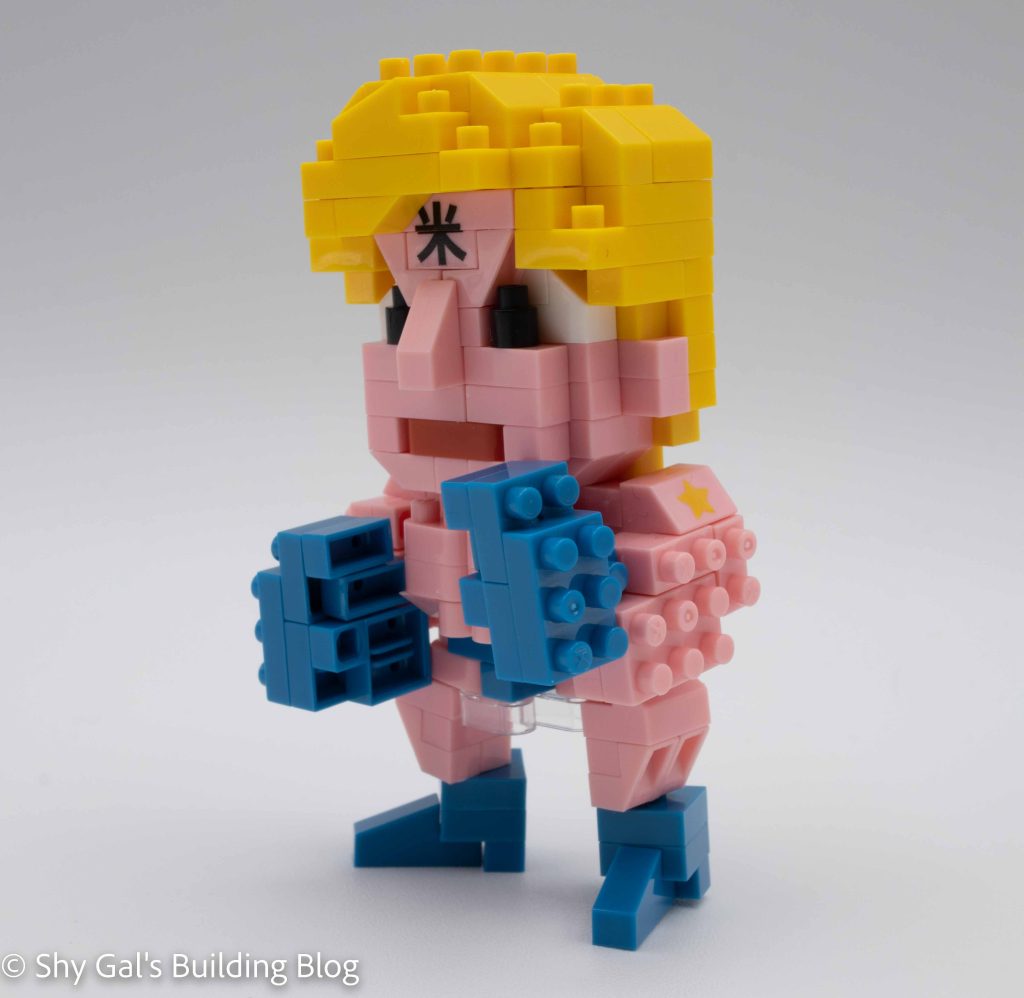
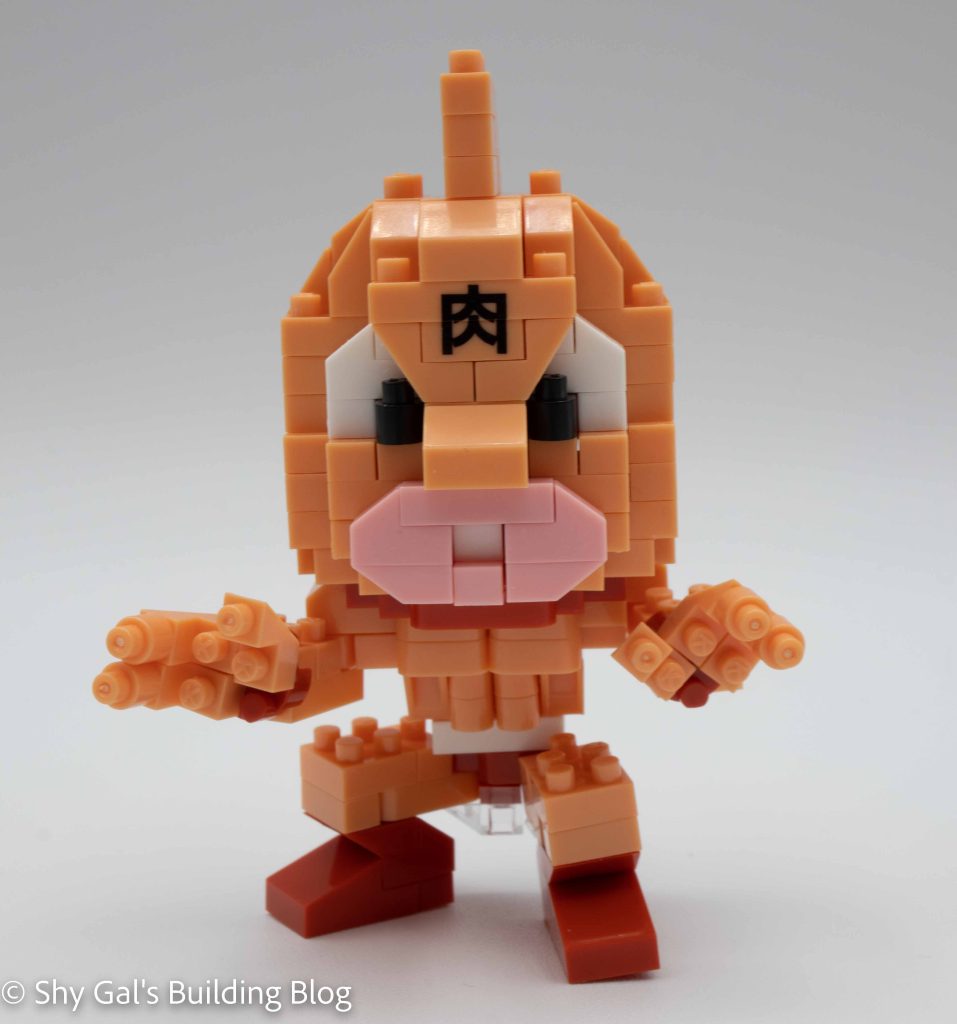
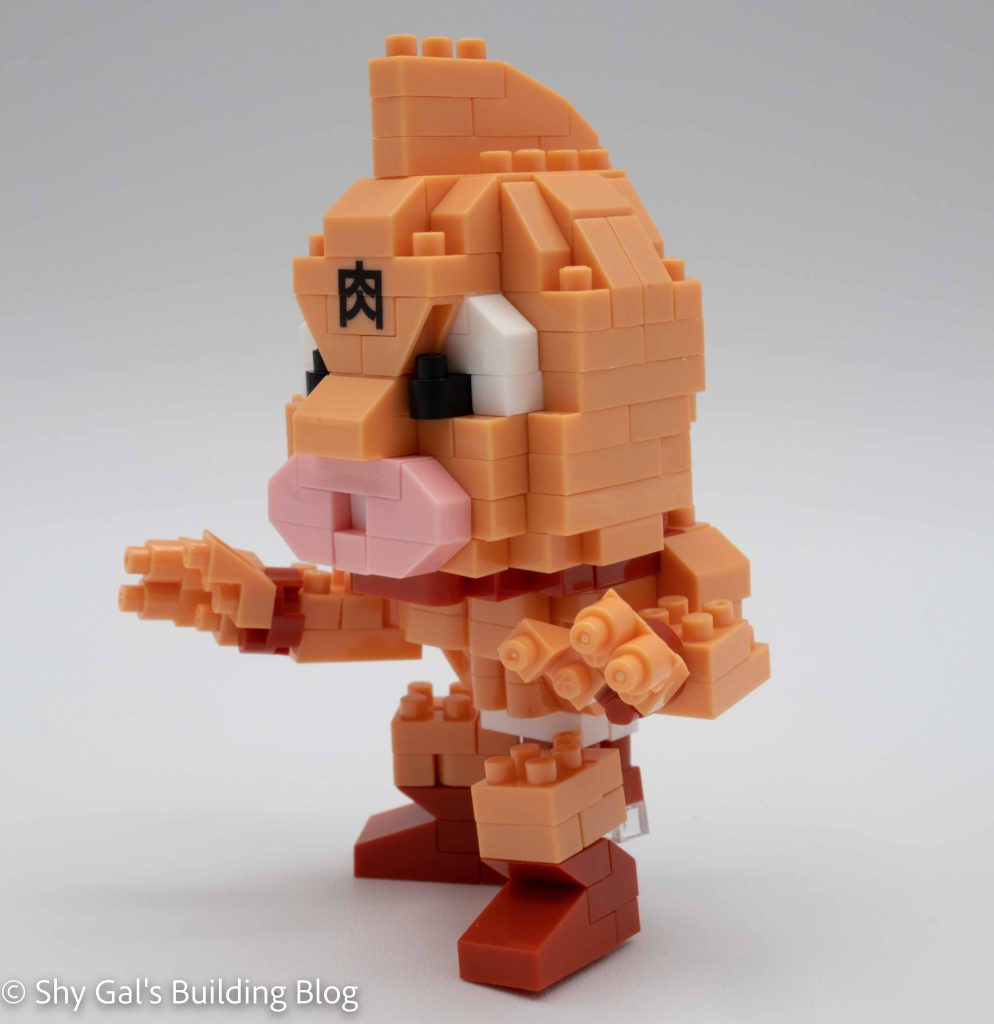
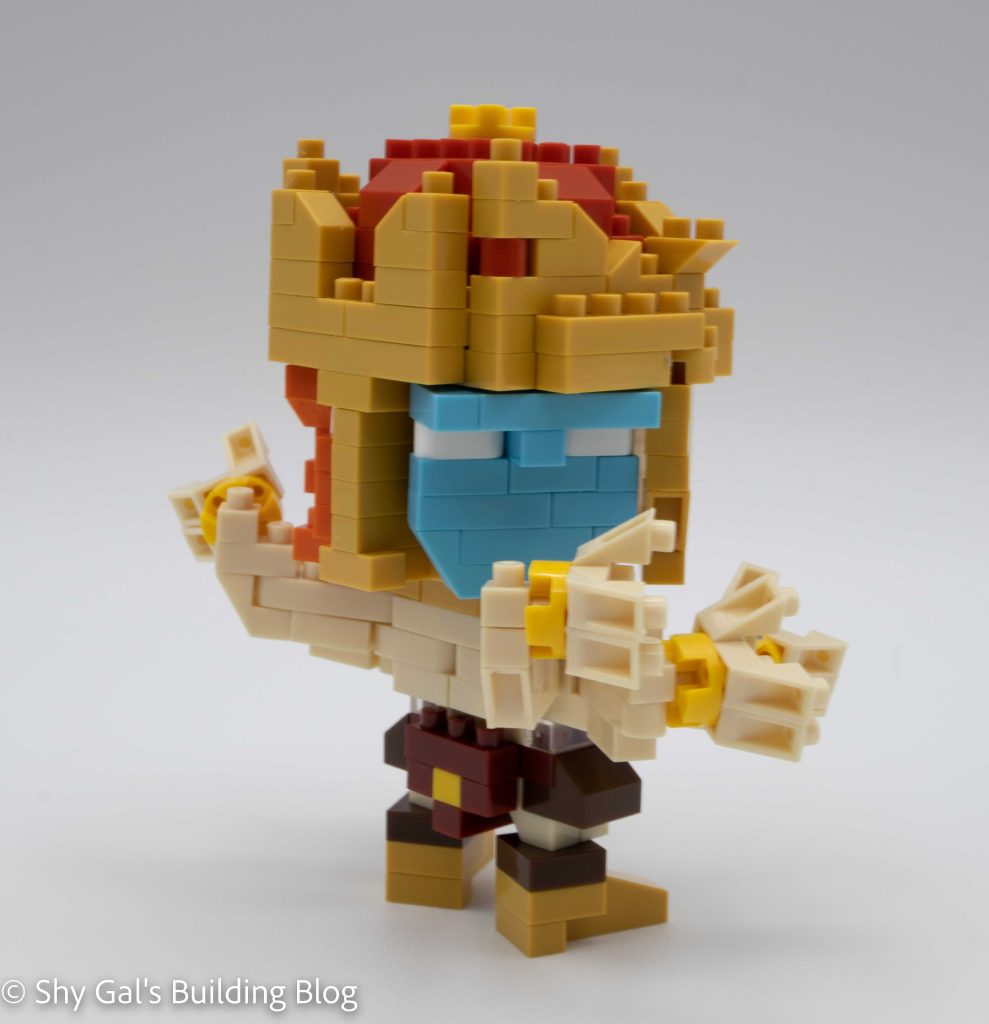
Ashuraman is a character in the Kinnikuman series. He is based on the Hindu god Ashura and has 3 faces. For more information about him, check out his fandom wiki page here.
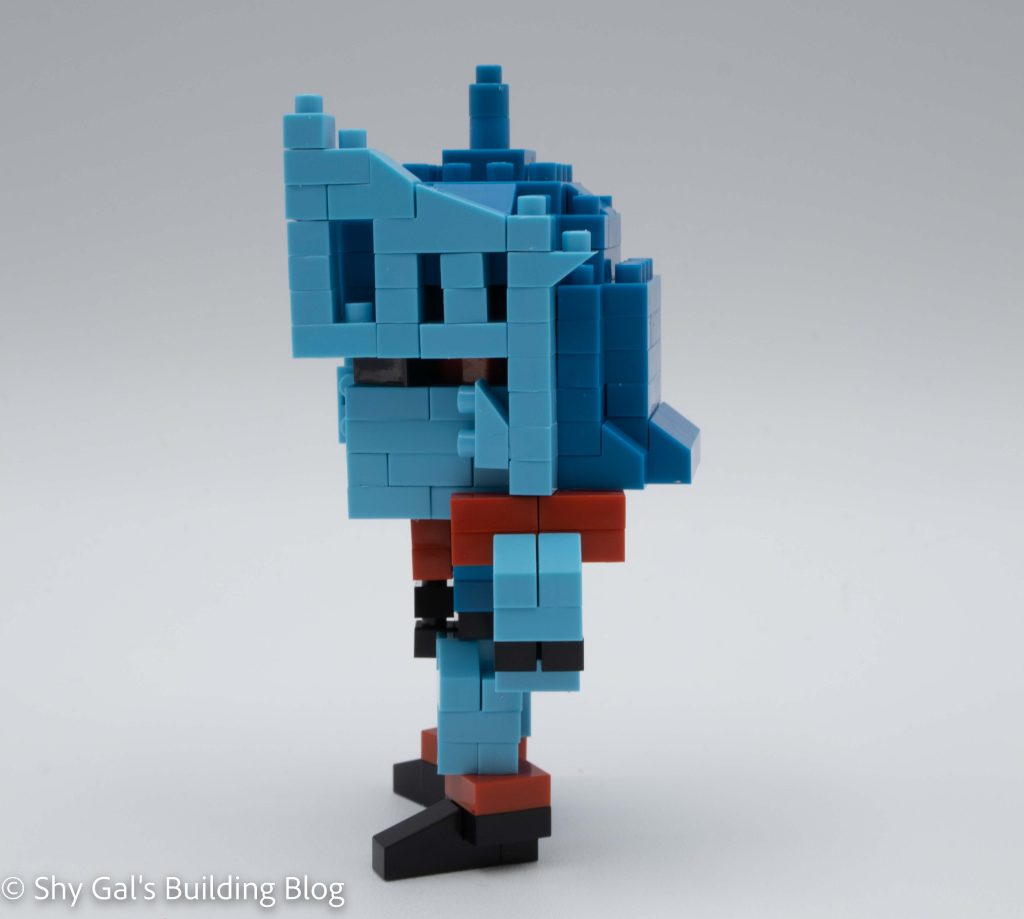
Since Ashuraman has 3 faces, building the head is very different from any of the other Kinnikuman figures.
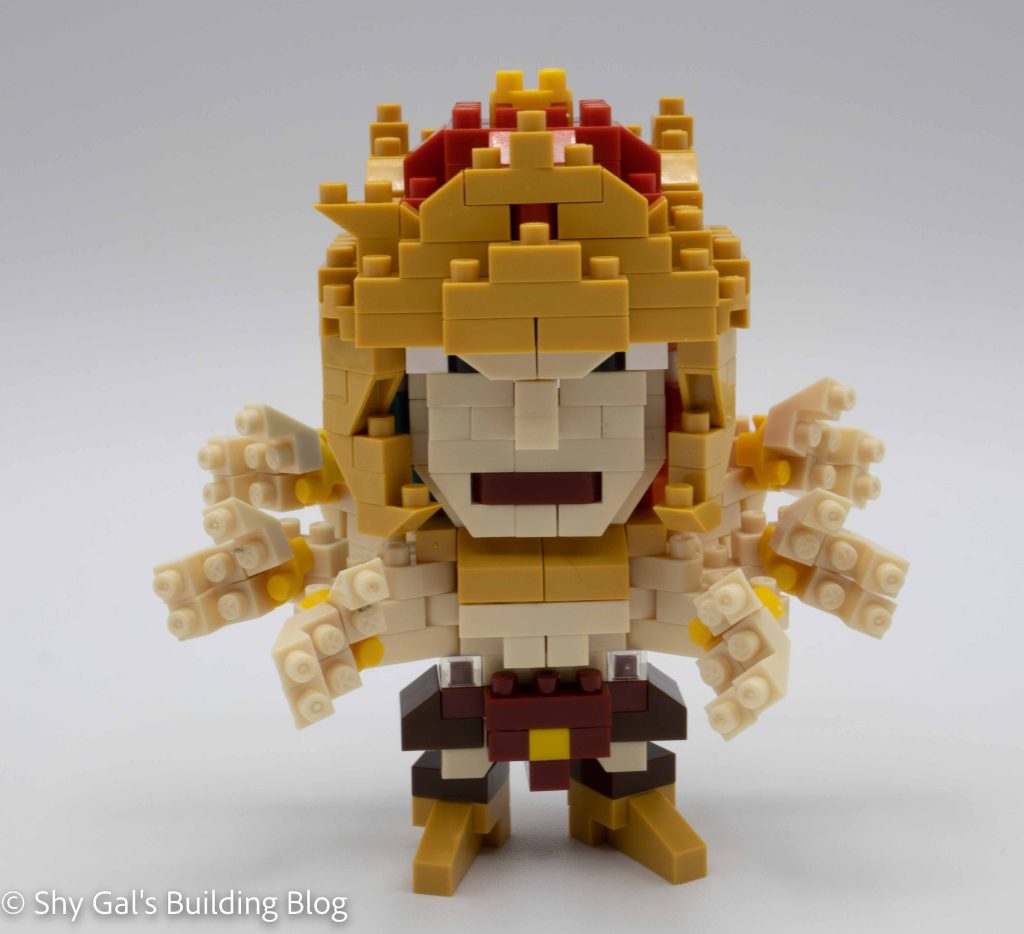
The build begins by creating the center section of the head that divides the 3 faces.
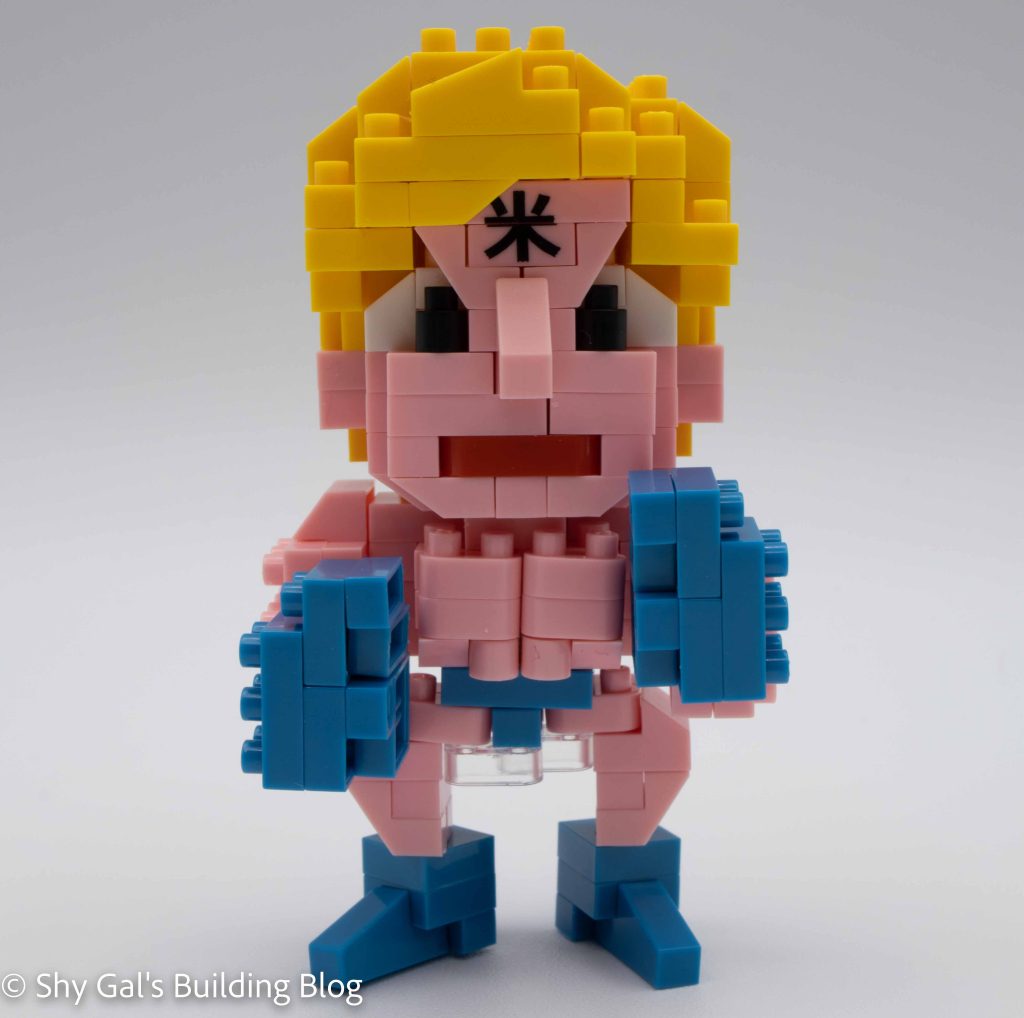
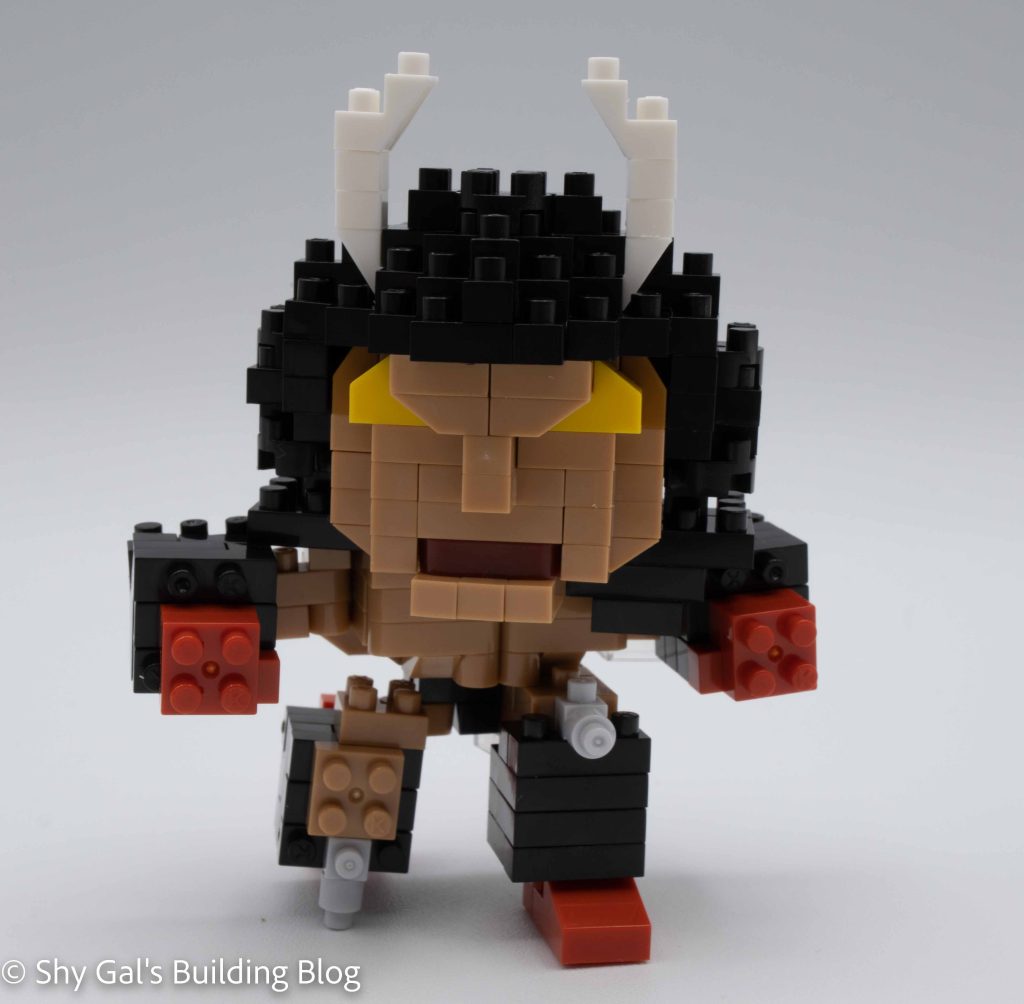
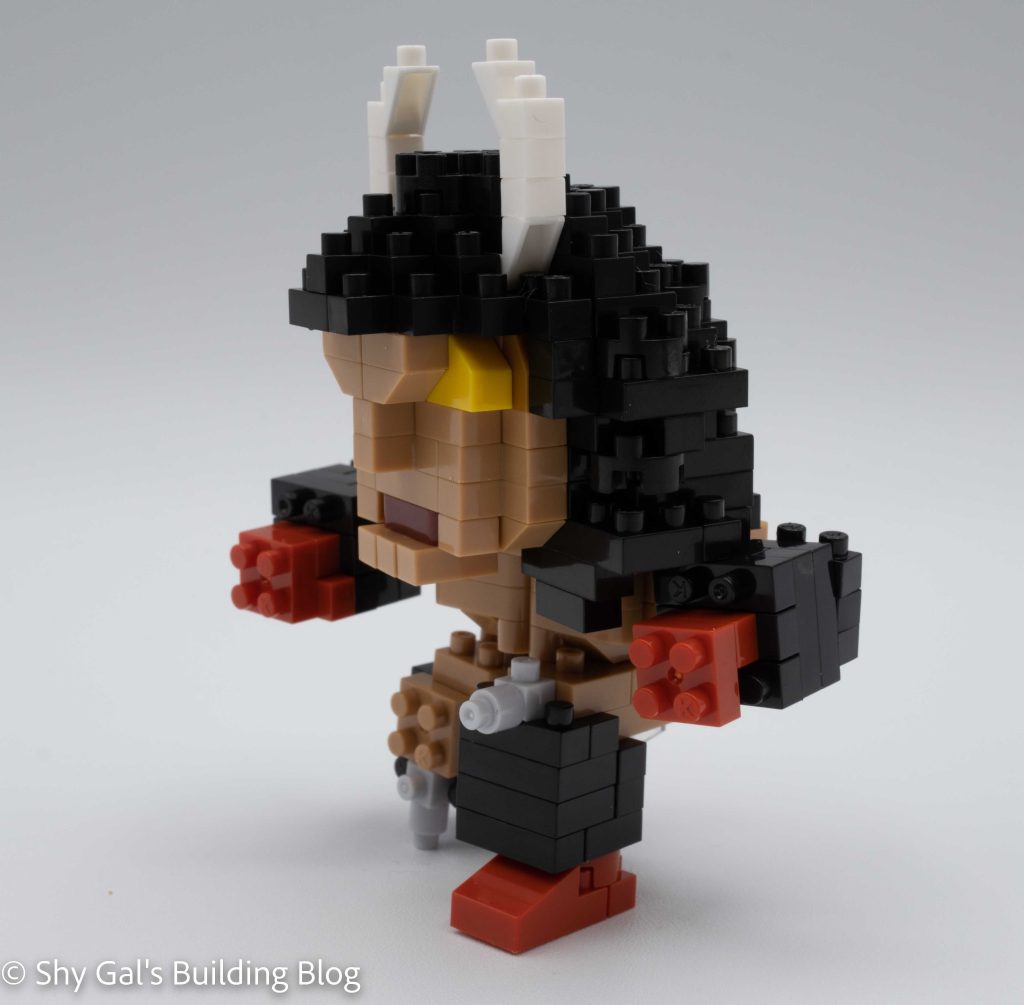
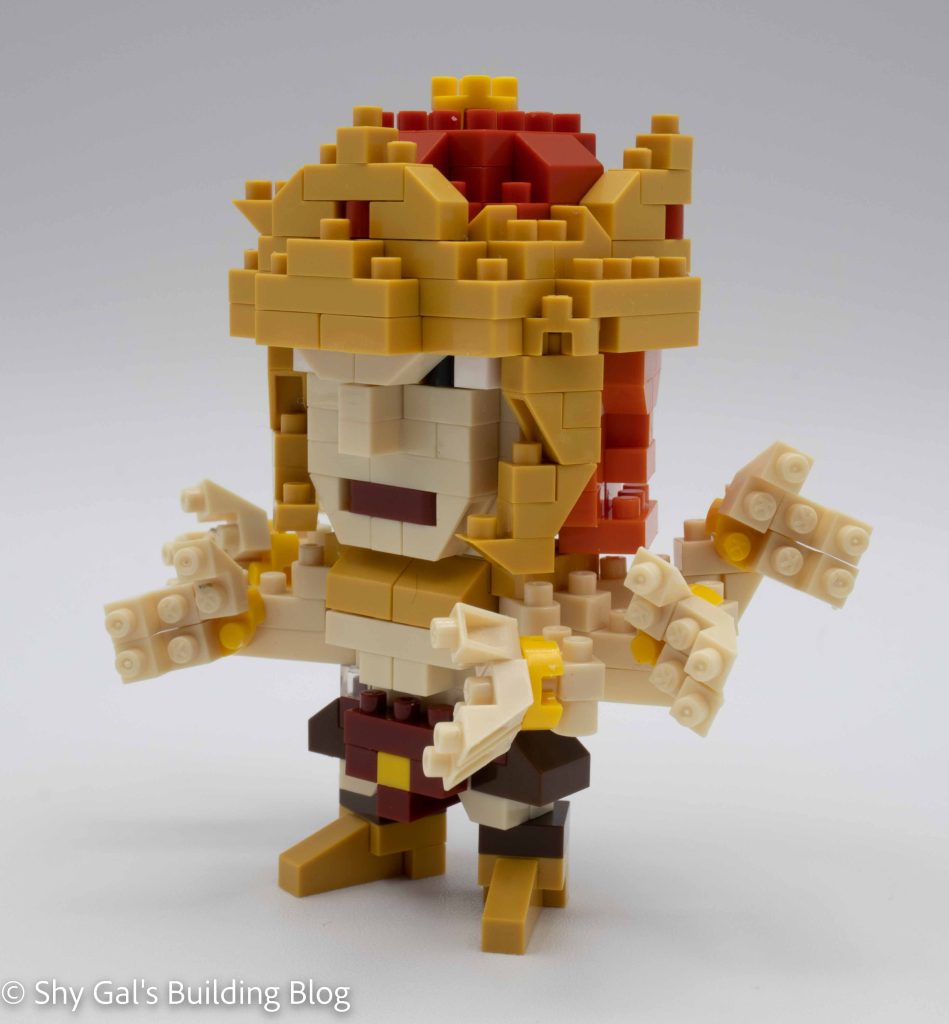
The next section is building the front face. This head is very straightforward and adds the mouth and eyes to the build.
The next several sections is to build Ashuraman’s crown. It takes several steps to build the outline of the crown. After building the outline, the crown goes up in layers with details around the edge. After building the crown, the crown is connected to the main face piece.
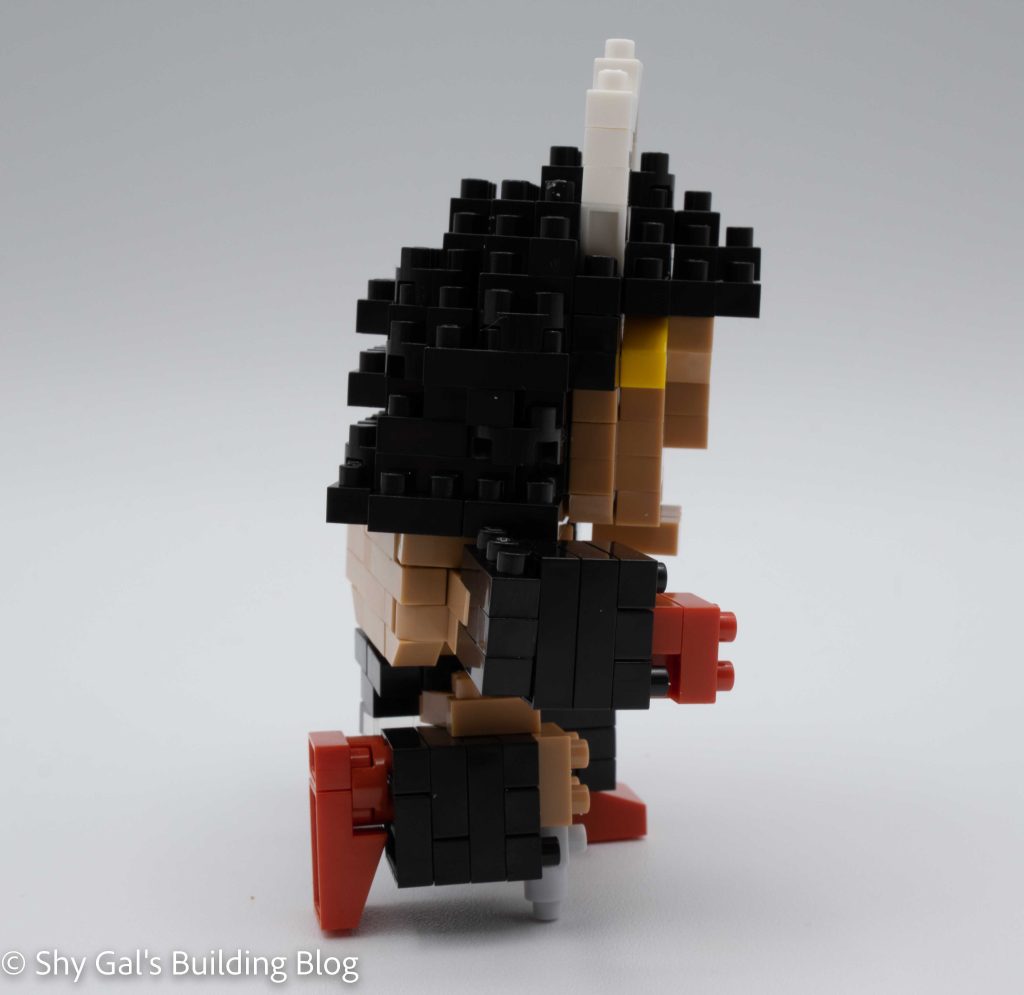
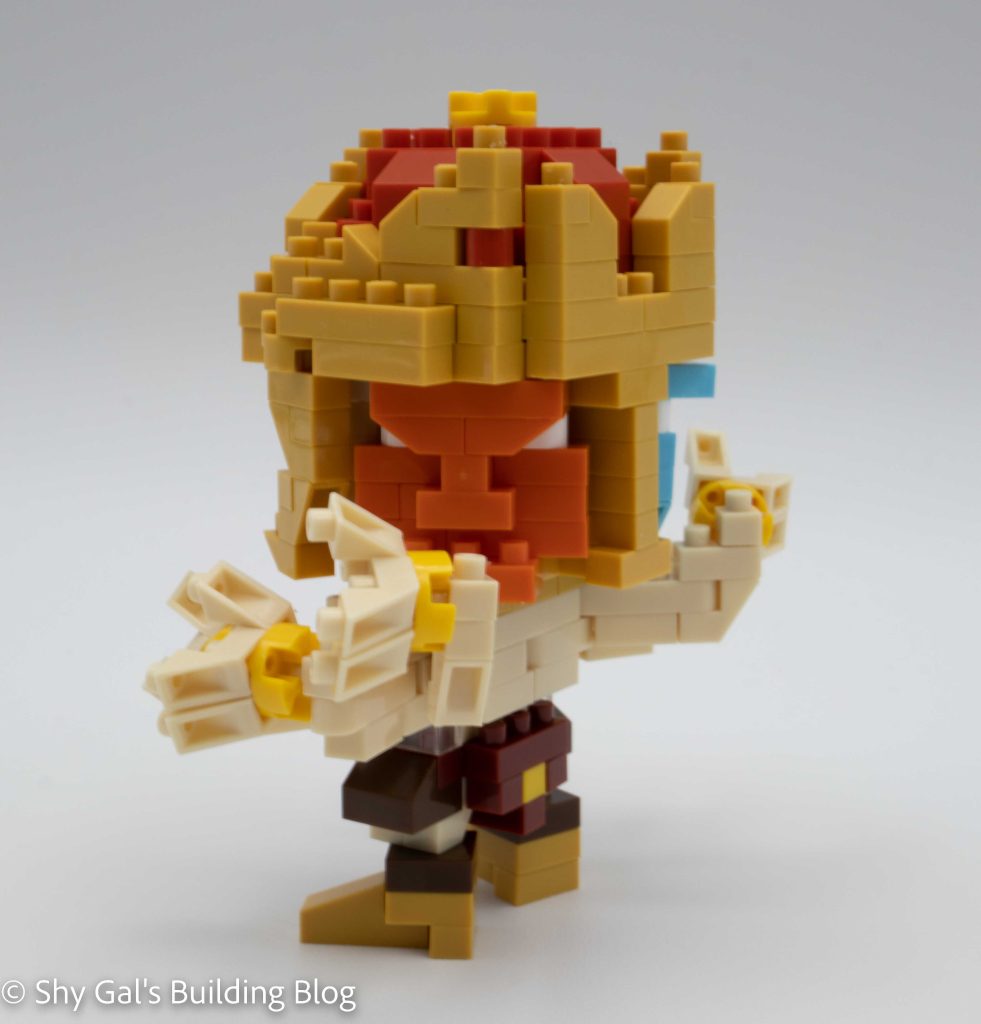
The next collection of steps is building the rest of the head. This includes building the 2 other faces in orange and blue and connecting them in the ball joints. There is also some decorative framing around the main face.
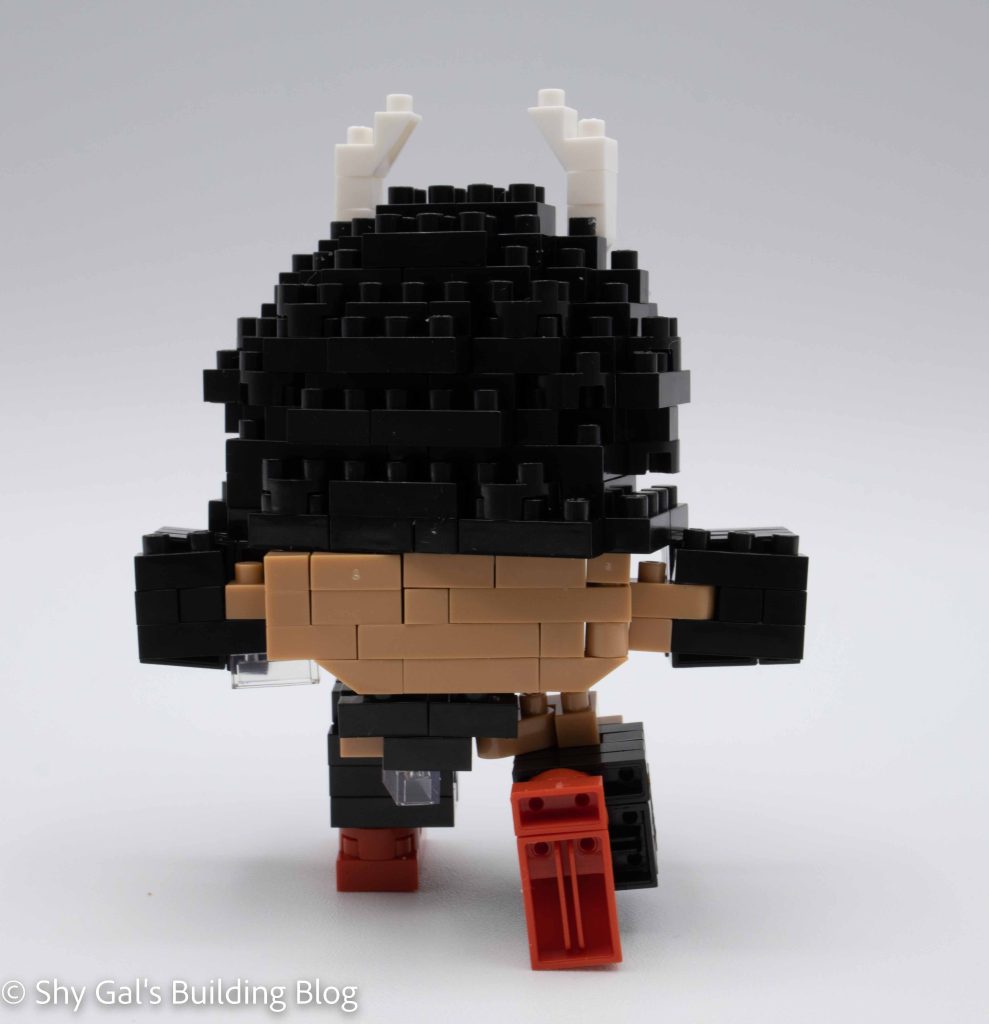
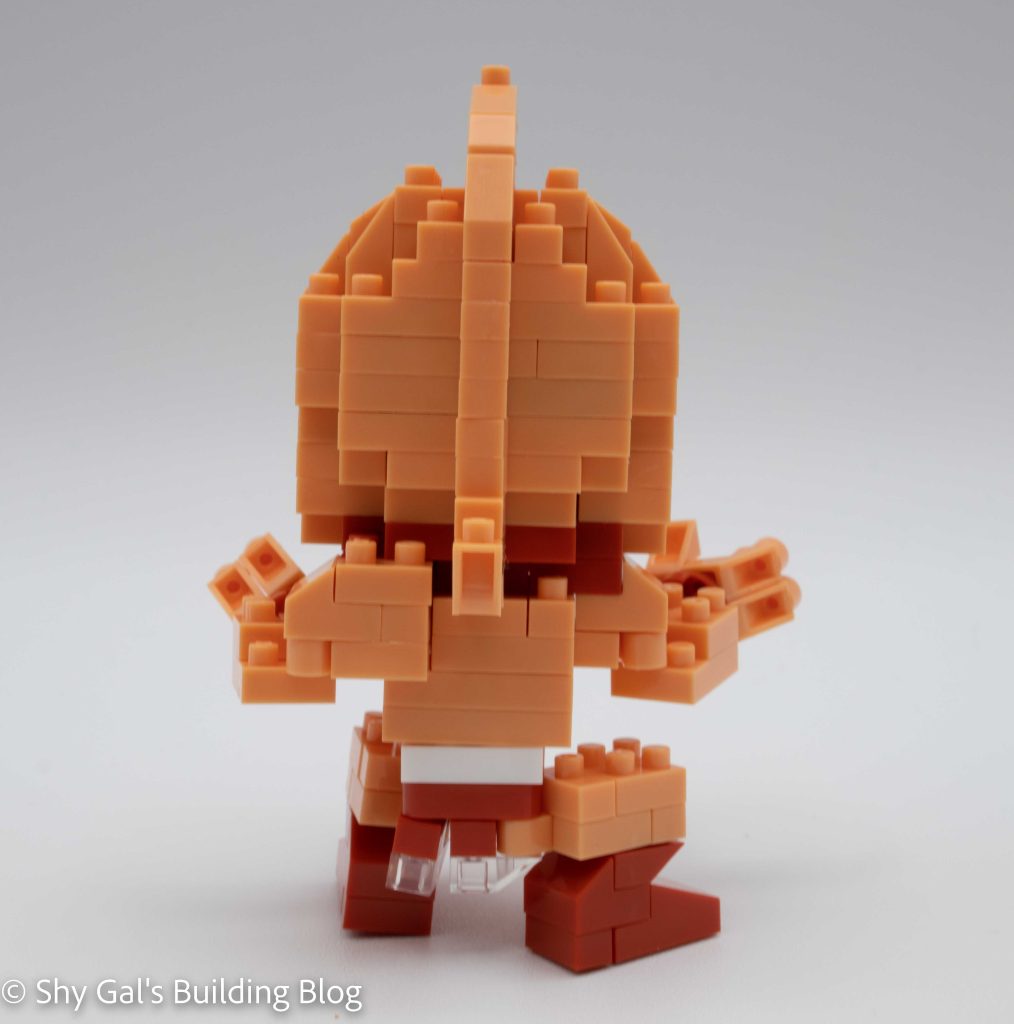
Now it is time to start the body. There are a few layers of maroon and skin tone that create the core of the body. This section is fragile and didn’t really get more solid as I added more bricks.
Then 6 arms are added to the build. After adding the arms, the top of the body is topped off, and the bricks to attach the head are added.
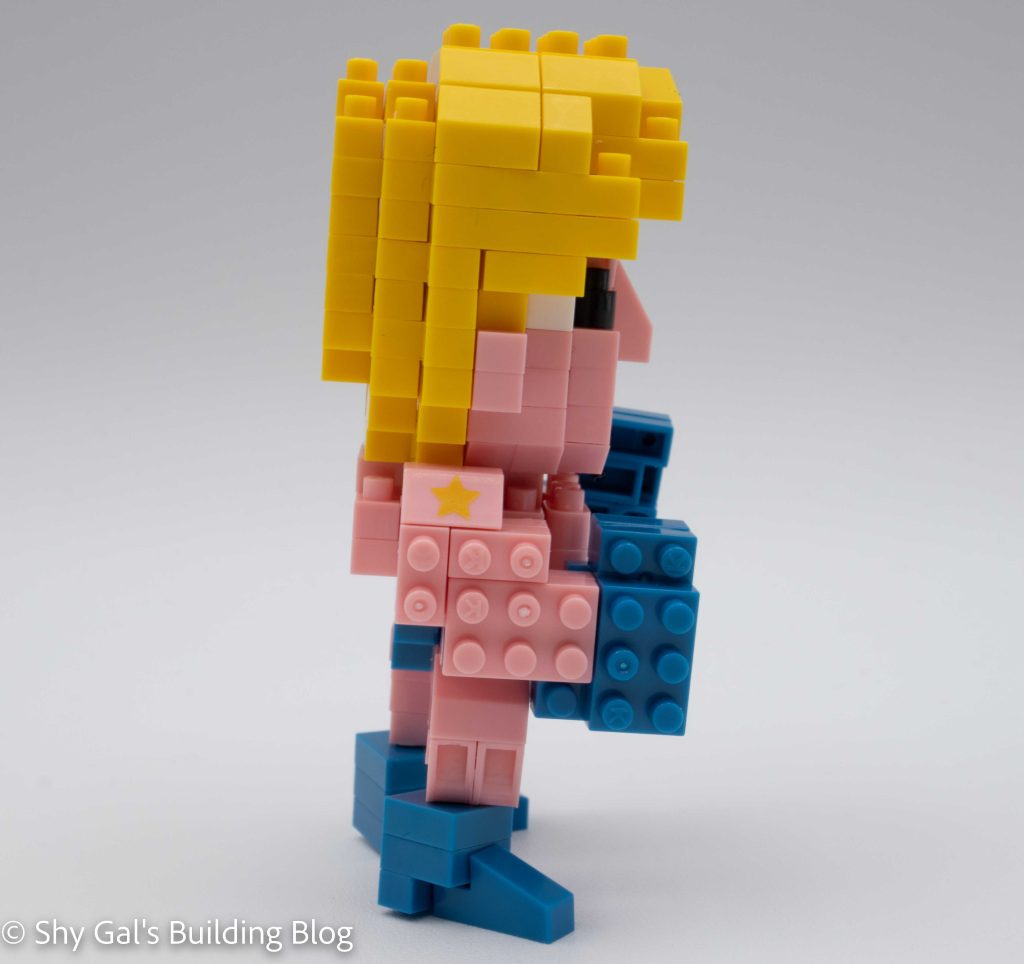
The legs and feet are added. Compared to the rest of the build, adding the feet is very straightforward.
Next, each of the arms receives a hand. They are only tricky to ensure the thumbs are in the right place.
The final step of the build is to add the head onto the body section.
Things I liked:
- I enjoyed building the head because it was so unique
Things I didn’t like:
- The body never got super stable while I was building it up. It was frustrating to be building on such a flexible part.
- Based on his wiki page, he is supposed to be blue. It would have been cool if he had been blue instead of skin tone.