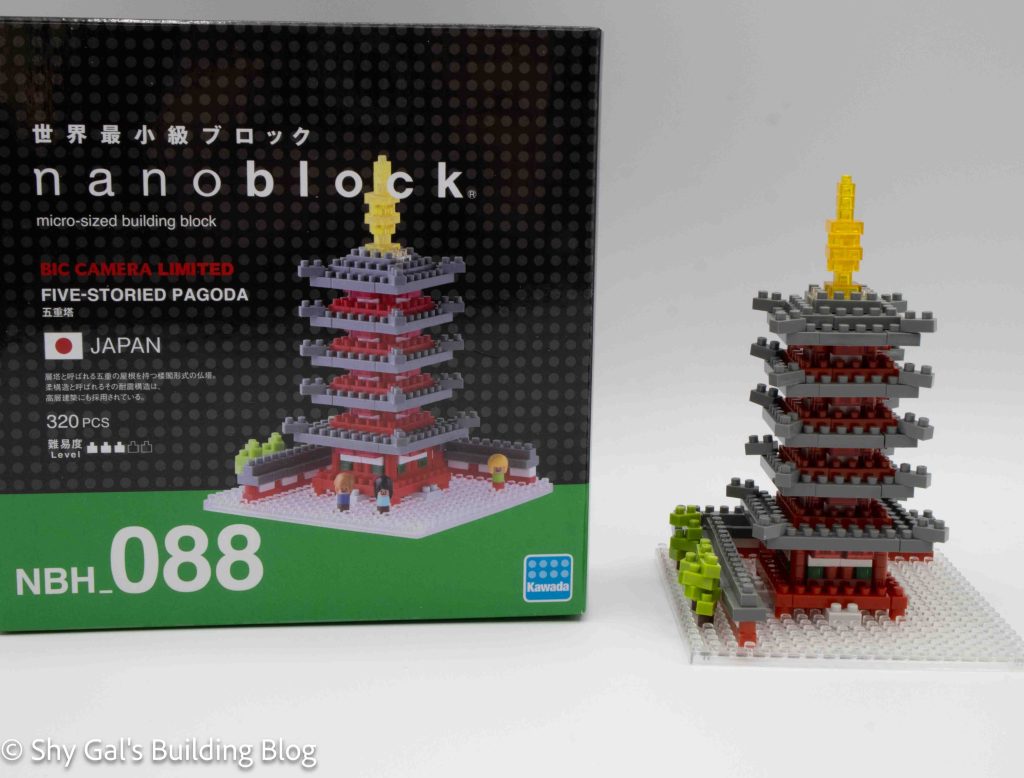
This post is a review of the nanoblock Five-Storied Pagoda build. Five-Storied Pagoda is part of the nanoblock Sights to See collection. Wondering what else is part of the Sights to See collection? Click here for a list.
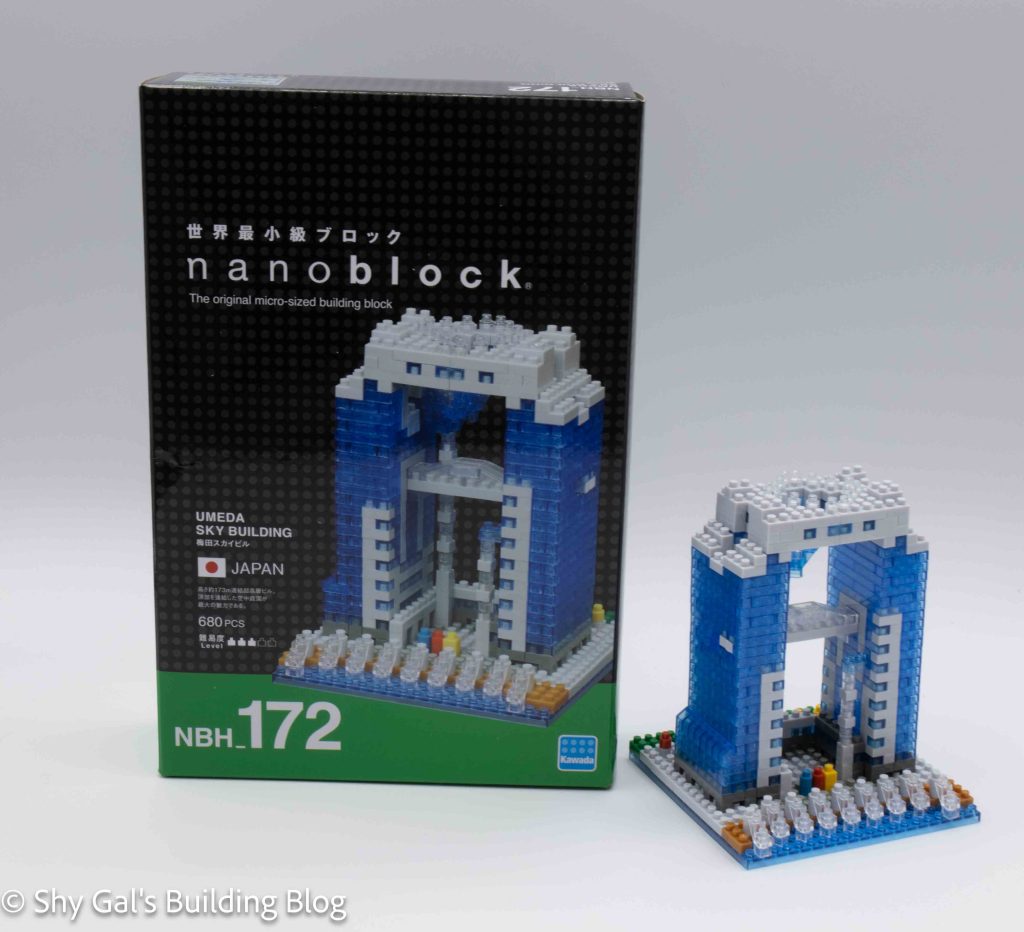
Number: NBH_088
Country: Japan
Number of Pieces: 320
Difficulty Rating: 3/5
This kit is labeled as Bic Camera Limited. Bic Camera is a shop in Japan, so I’m guessing the set was only available there.
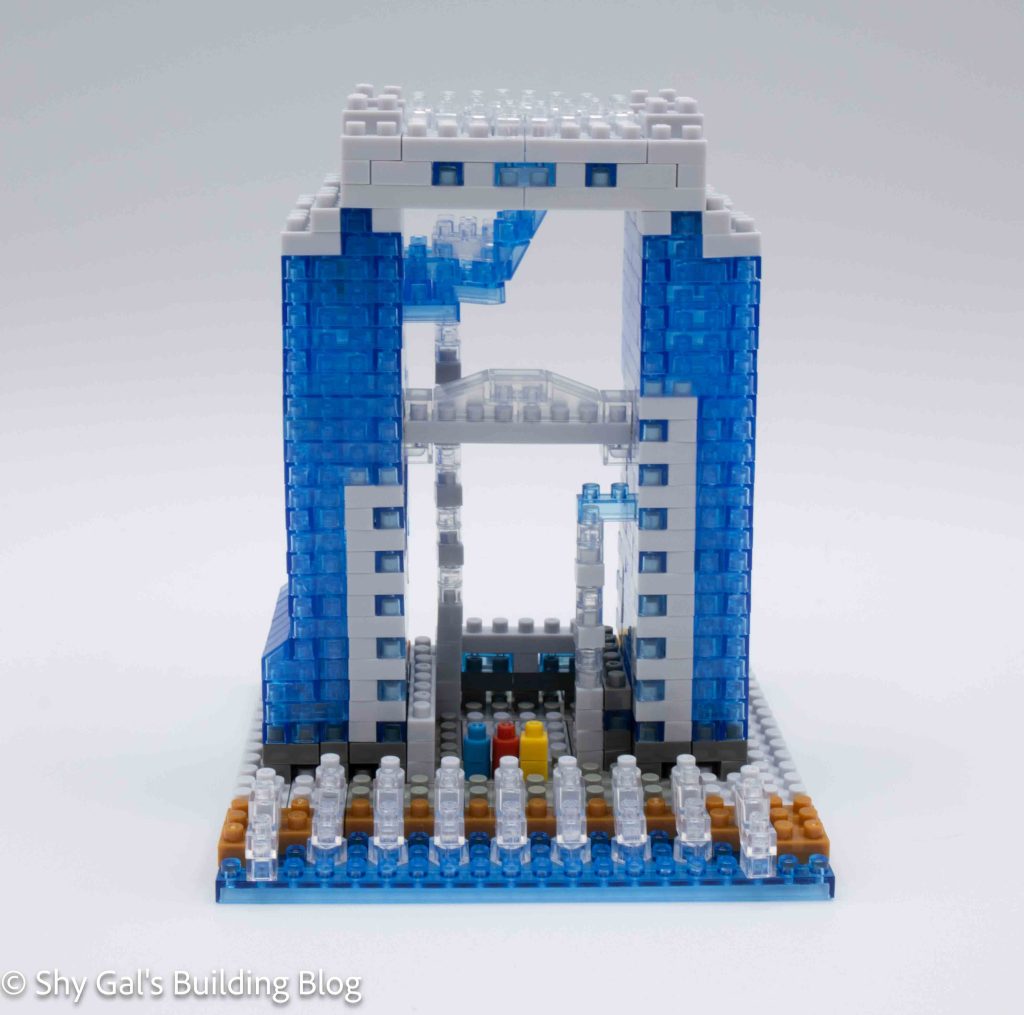
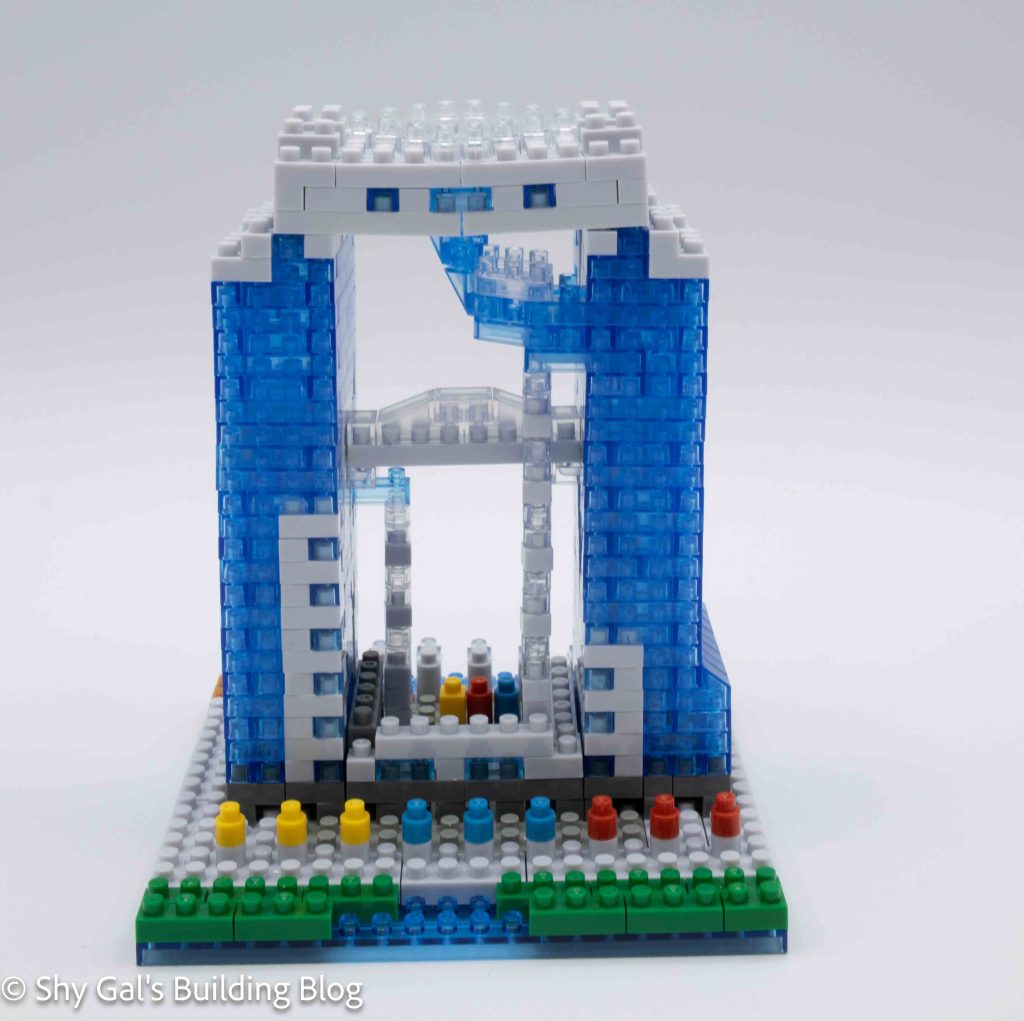
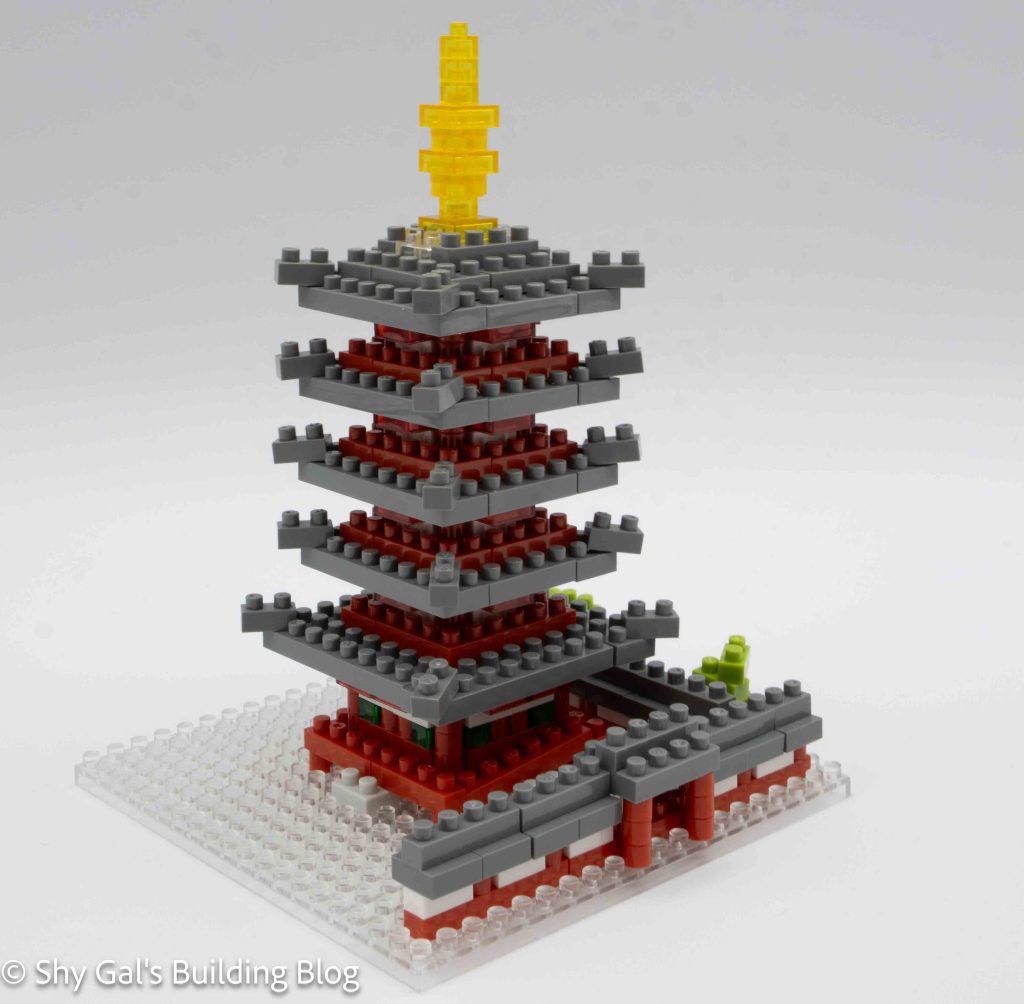
The Pagoda is built on a clear base and has clear blocks throughout it, which means that if the build is put on one of the LED plates, the entire pagoda will light up.
The build begins by laying the base layer of bricks on the clear 20×20 base. This includes the walls and the base of the pagoda. Over the next few steps, the wall is built, and the larger base story of the pagoda is added.
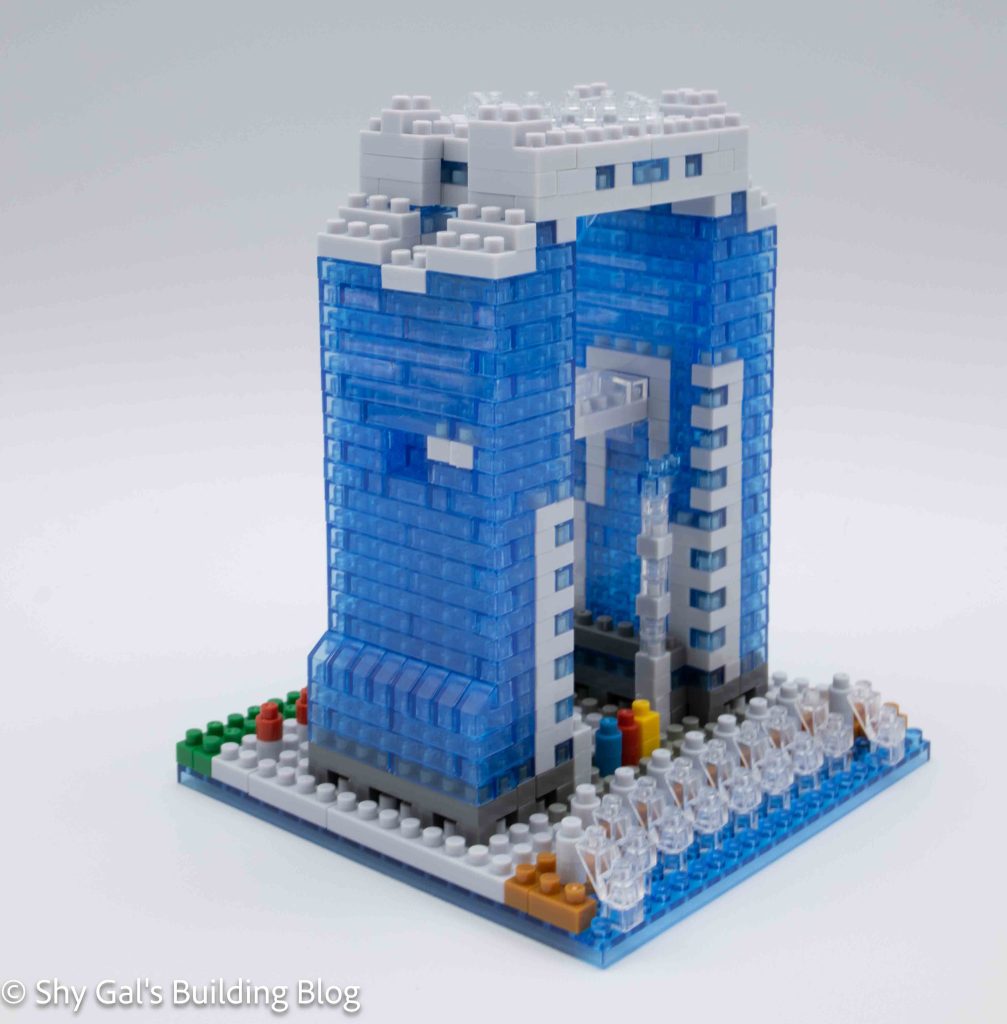
While building the base story of the pagoda, there are some clear green bricks added. In the instructions, they appear to be clear kiwi green instead of the dark green bricks that were provided. I was very confused with this instruction, and it took me a while to figure out to use the dark green.
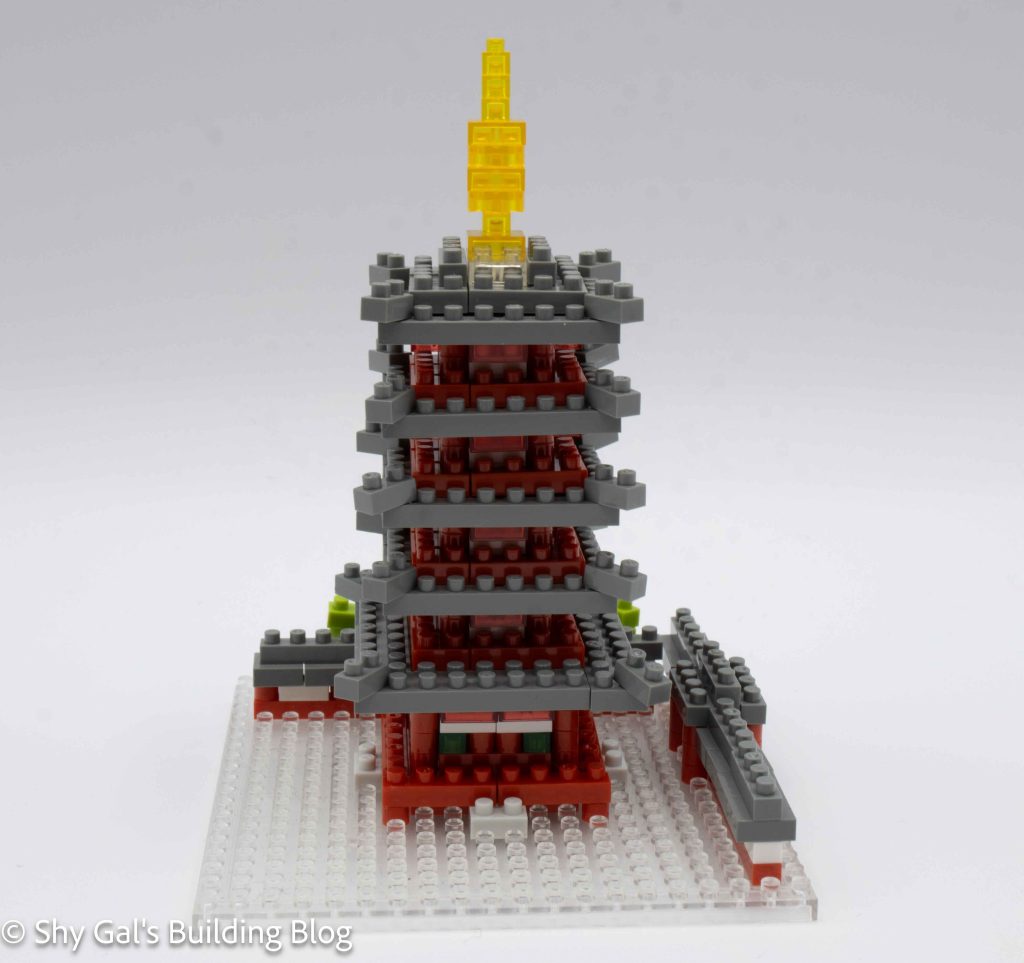
After building the base story, the 4 additional stories are all identical and added using large steps showing about 5 layers of bricks in one step. Even though there are lots of layers, there is a lot of space, and the printed arrows are clear, so the instructions are easy to follow.
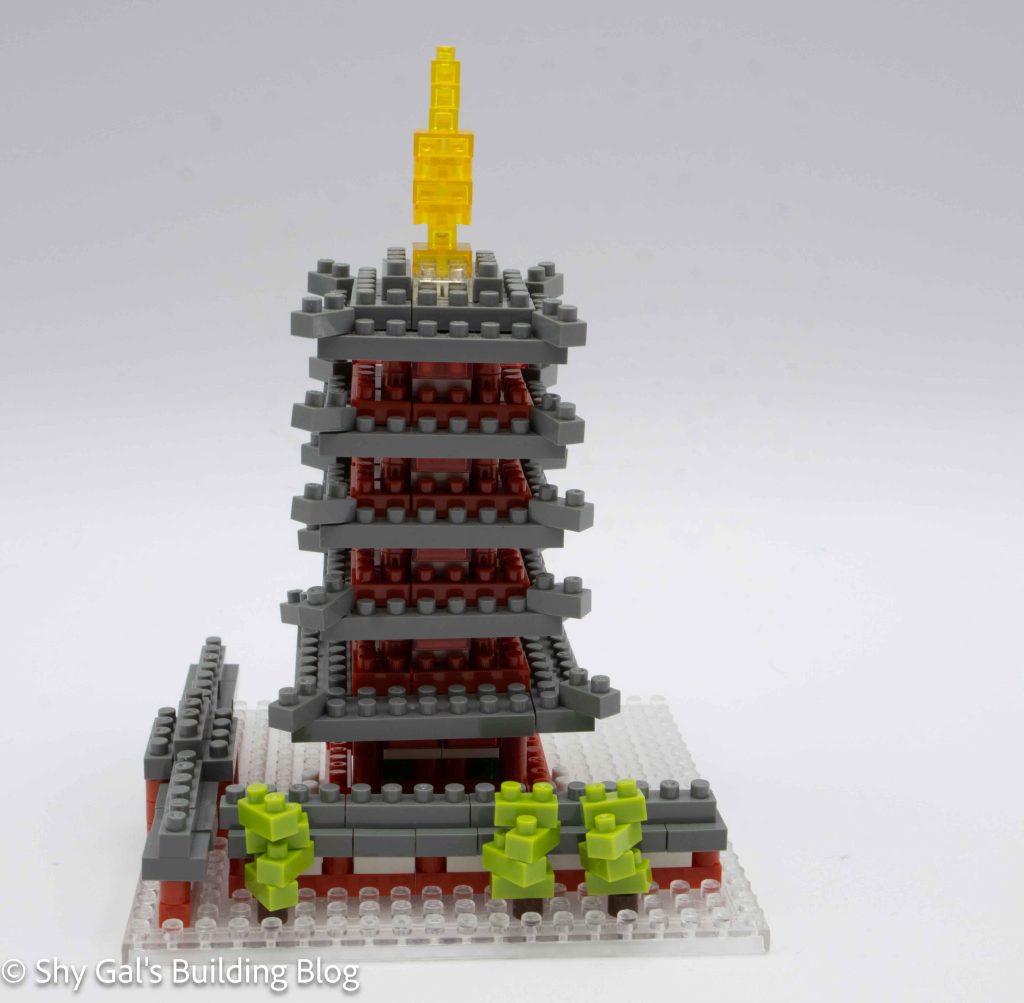
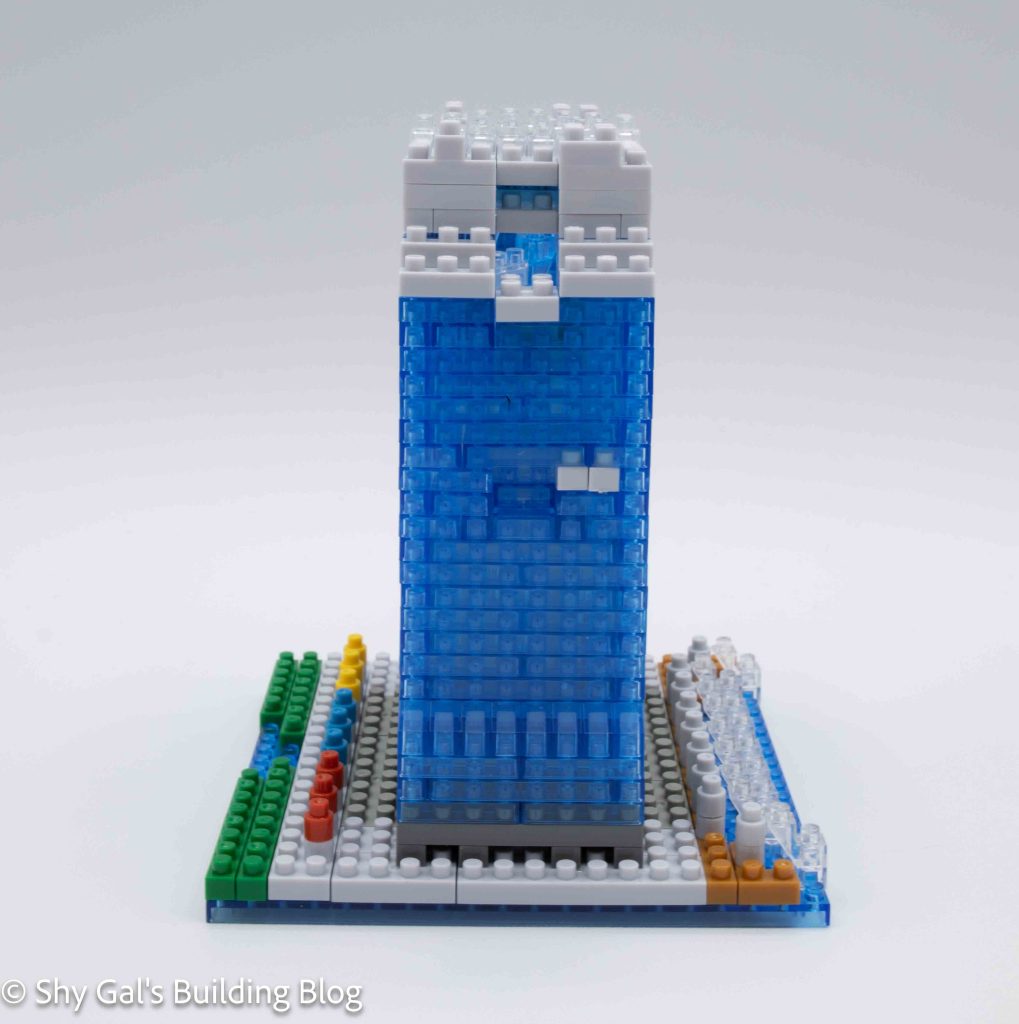
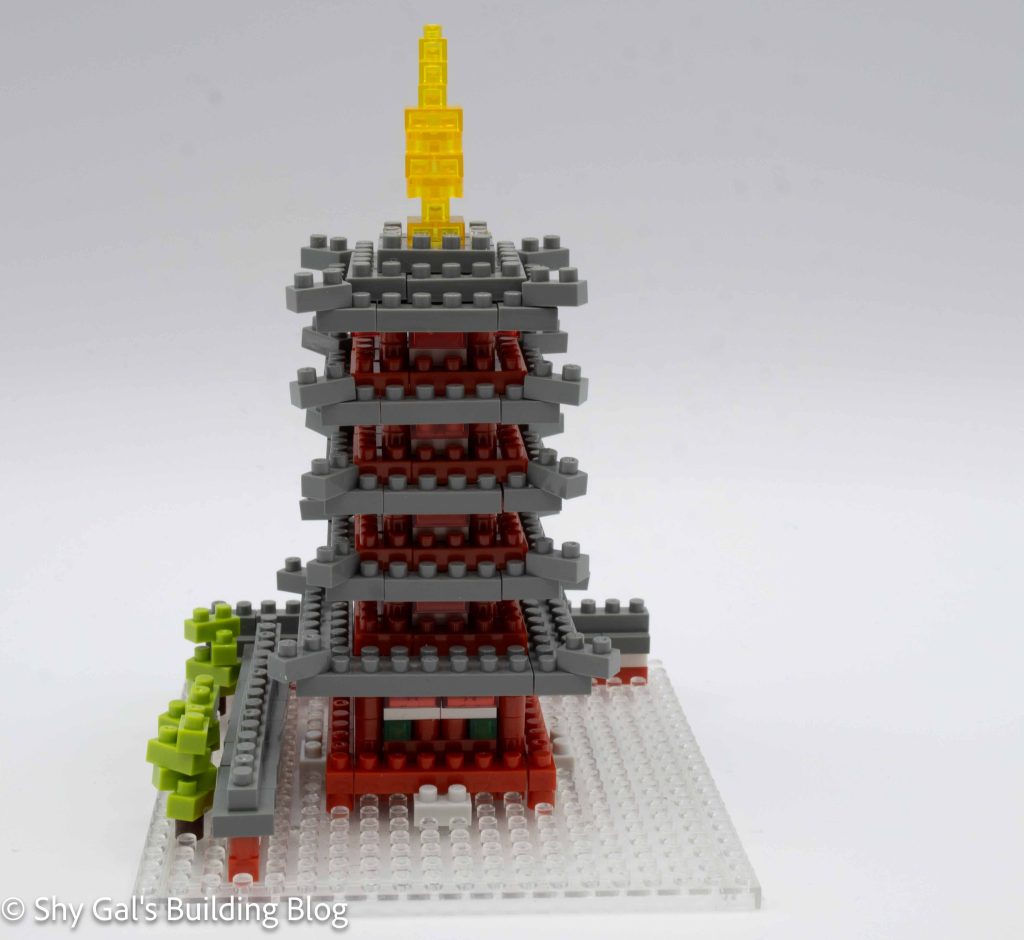
After building all 5 layers, the roof and roof decoration are added. Both are very straightforward.
This kit did come with 3 nanoids that I chose to not include because I’m not sure if they are in scale with the building. A lot of time, nanoids are not to scale.
Things I liked:
- I like the use of the clear blocks so that the pagoda can be lit
Things I didn’t like:
- I wish the color in the instructions for the clear green had been closer to the actual brick color