Review of nanoblock Slime Tower

Slime Tower build and box

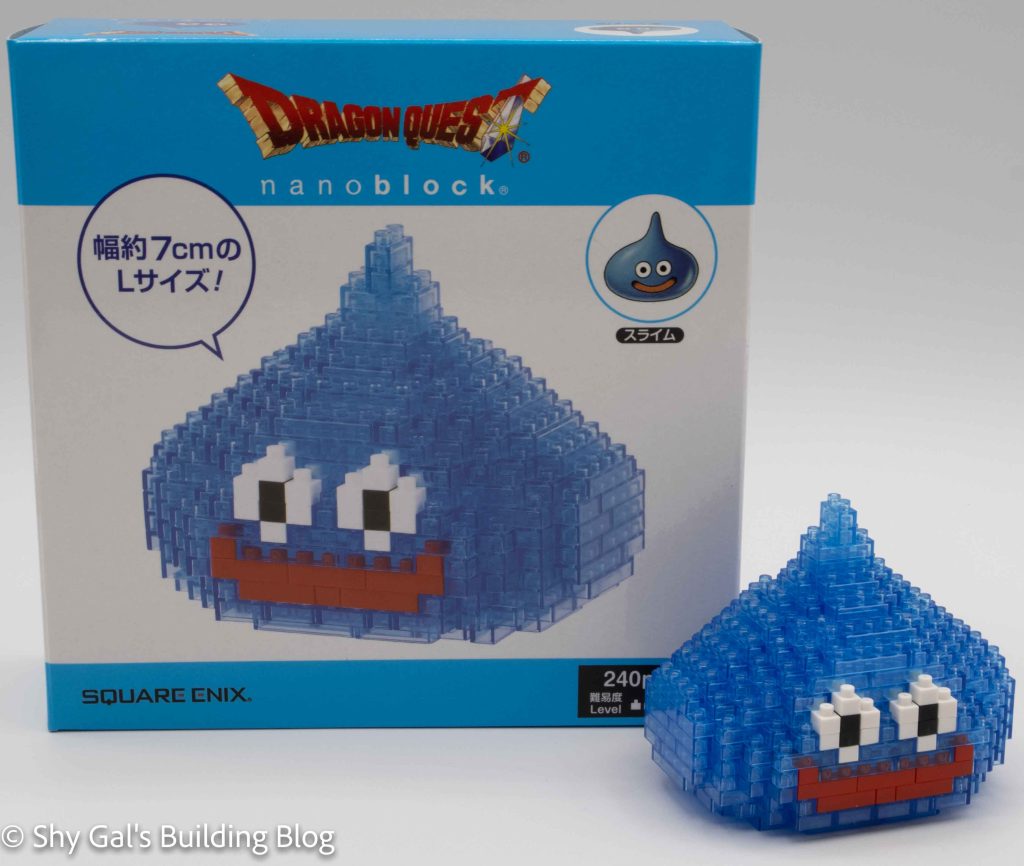
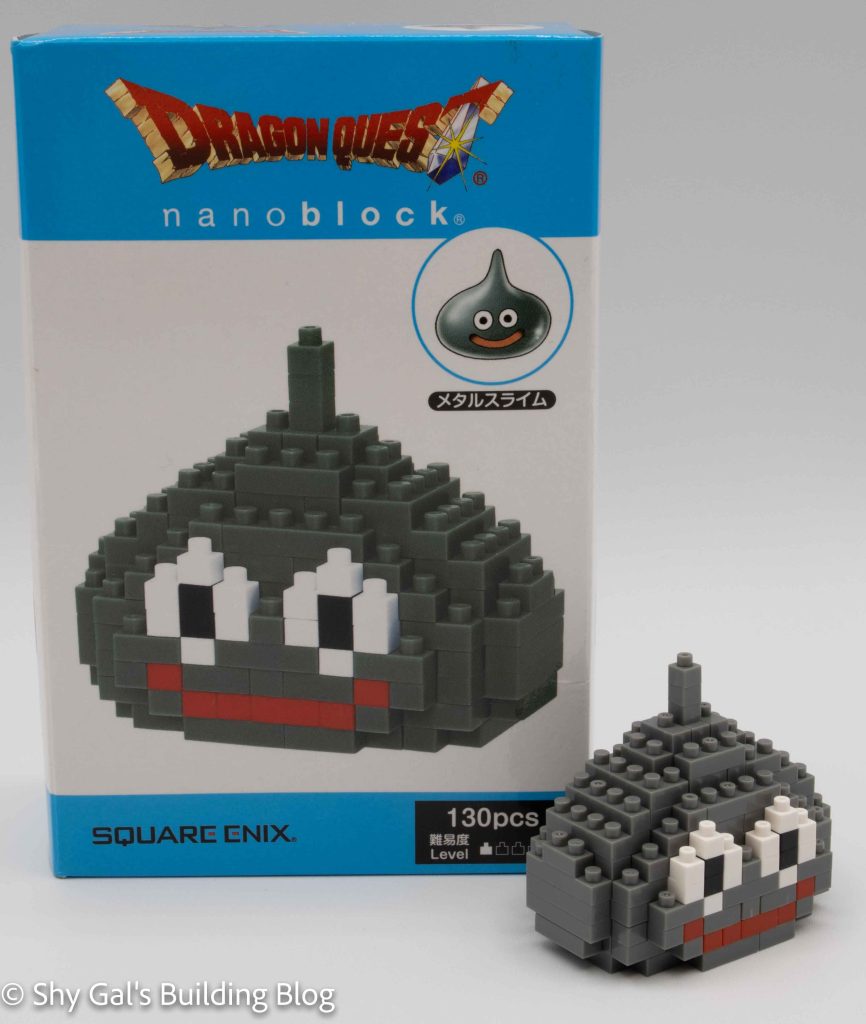
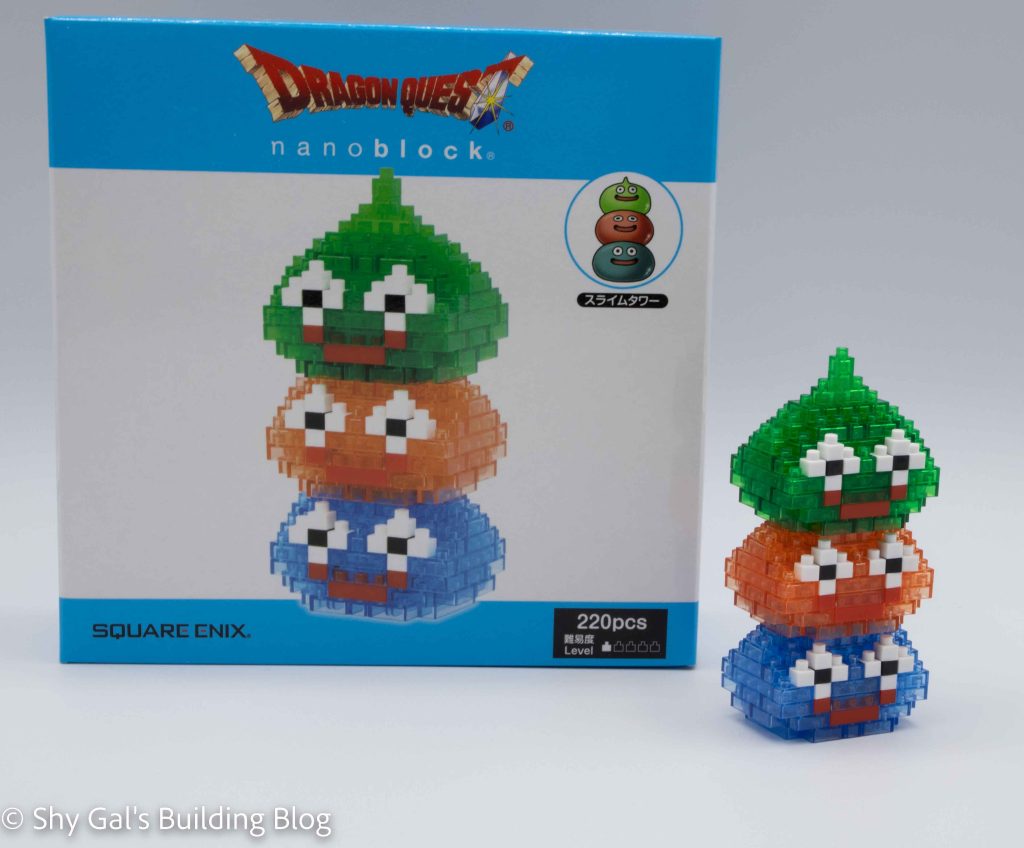
This post is a review of the nanoblock Slime Tower build. Slime Tower is part of the nanoblock Dragon Quest collection. Wondering what else is part of the Dragon Quest collection? Click Here for a list.

Number of Pieces: 220

Difficulty Rating: 1/5

Slime Tower front view

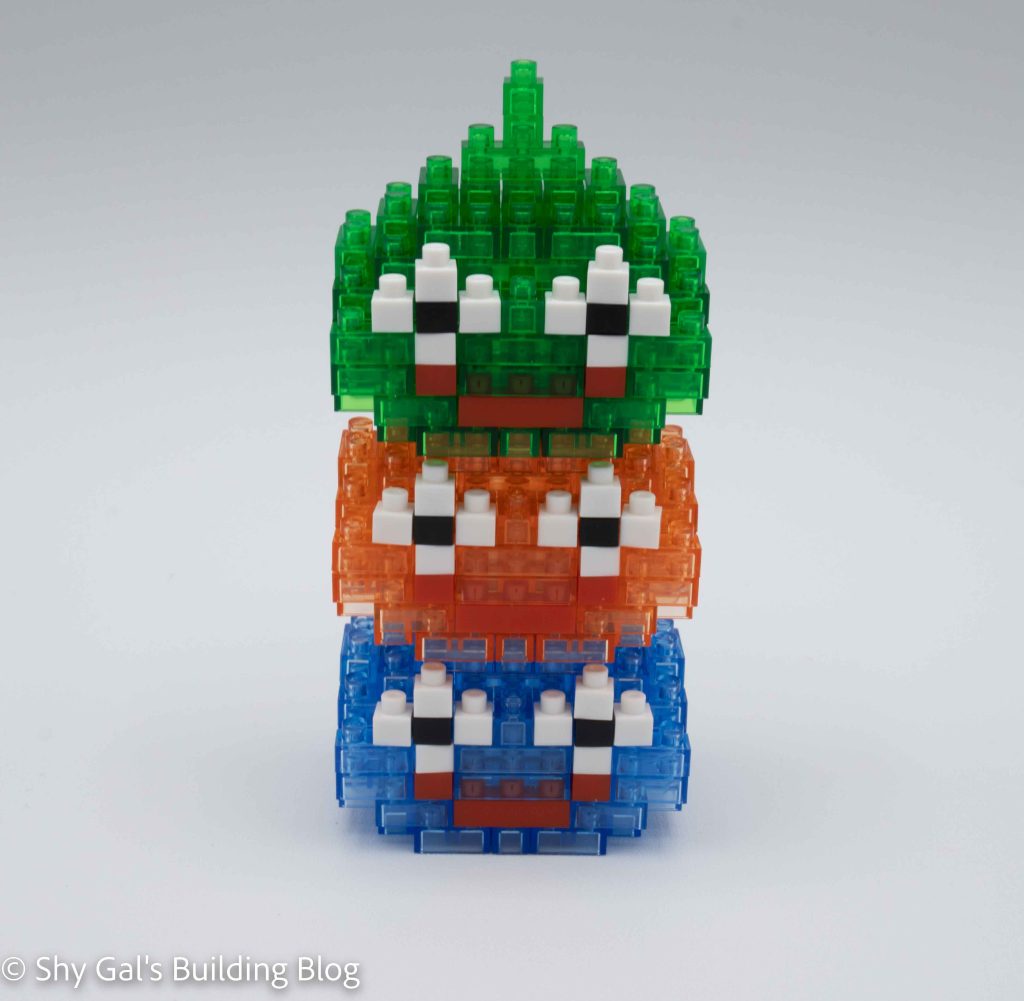
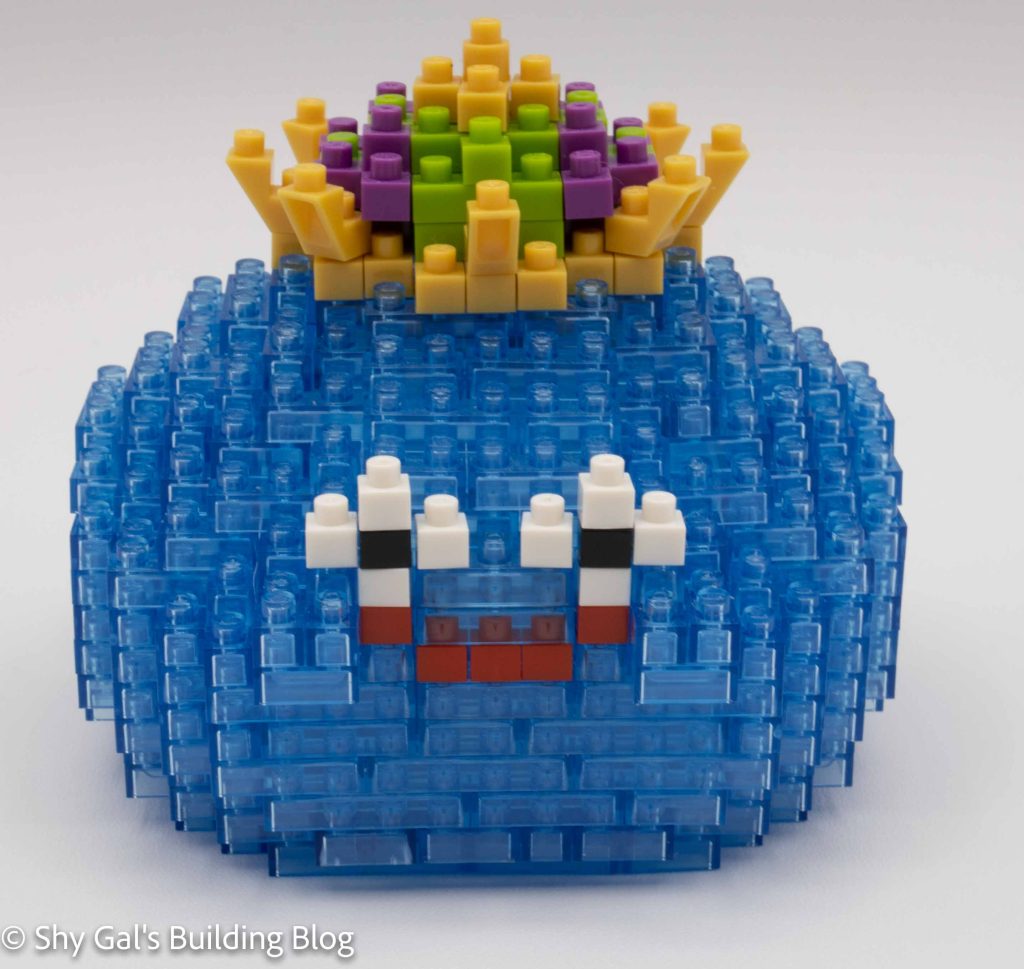
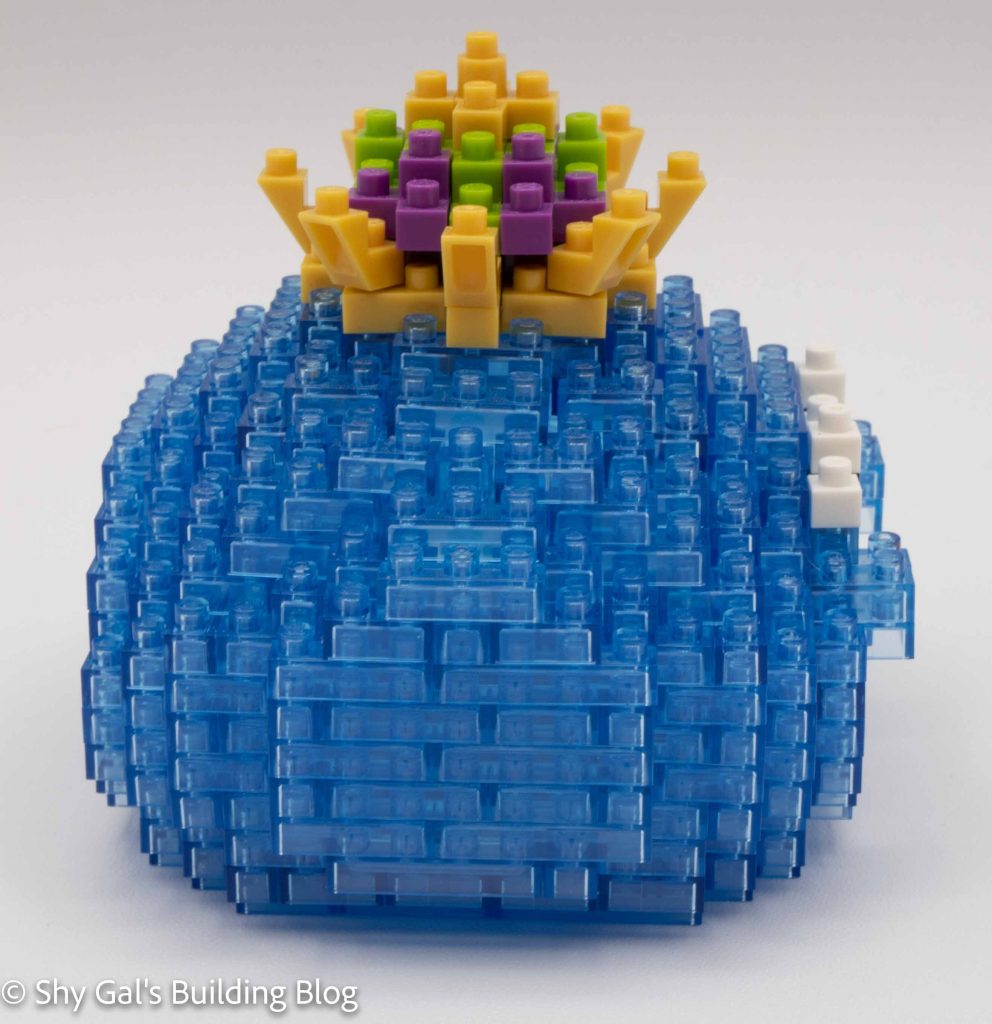
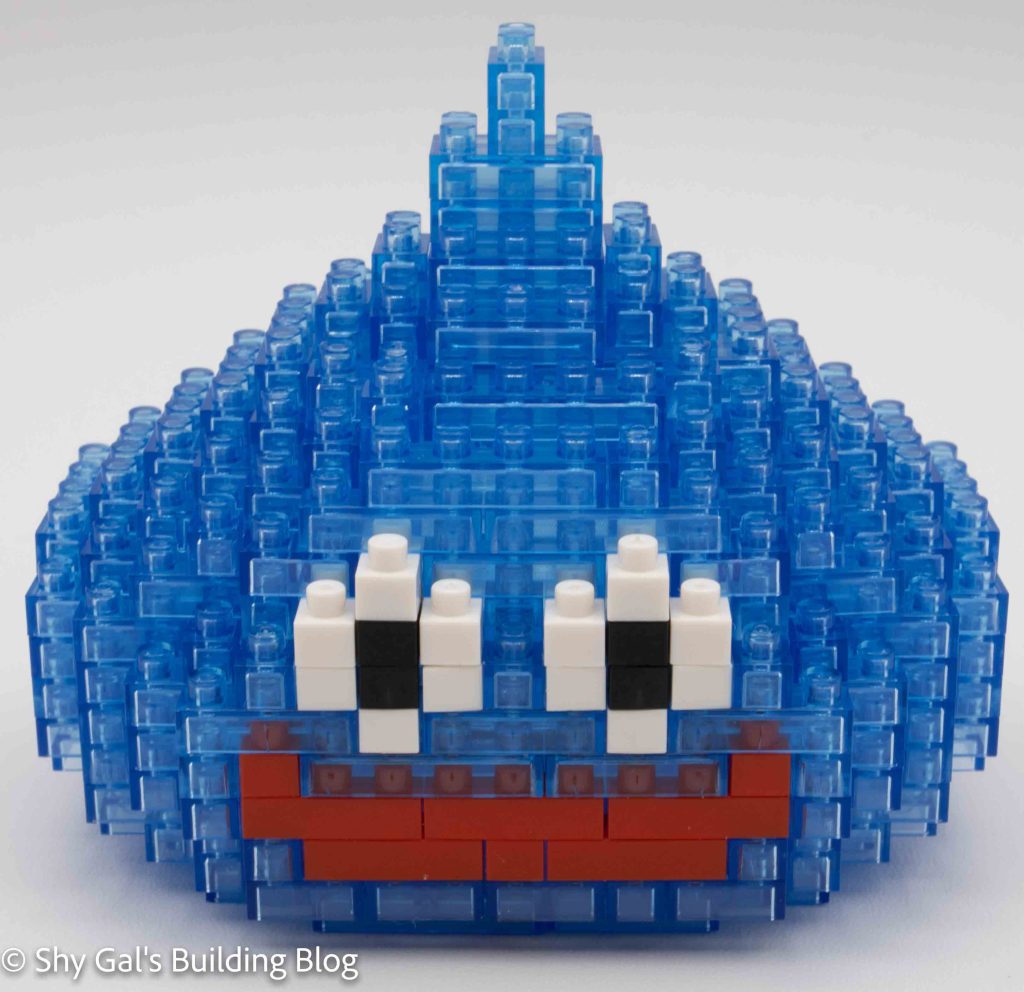
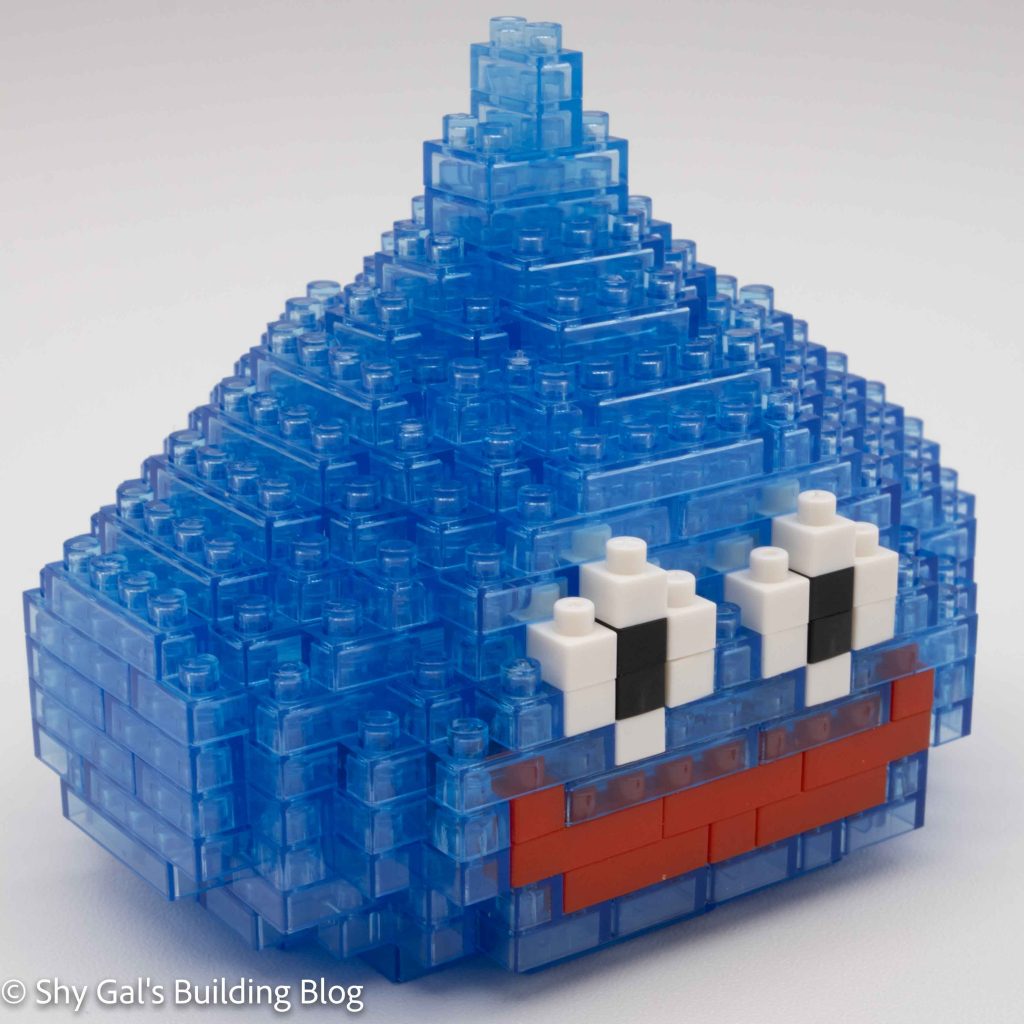
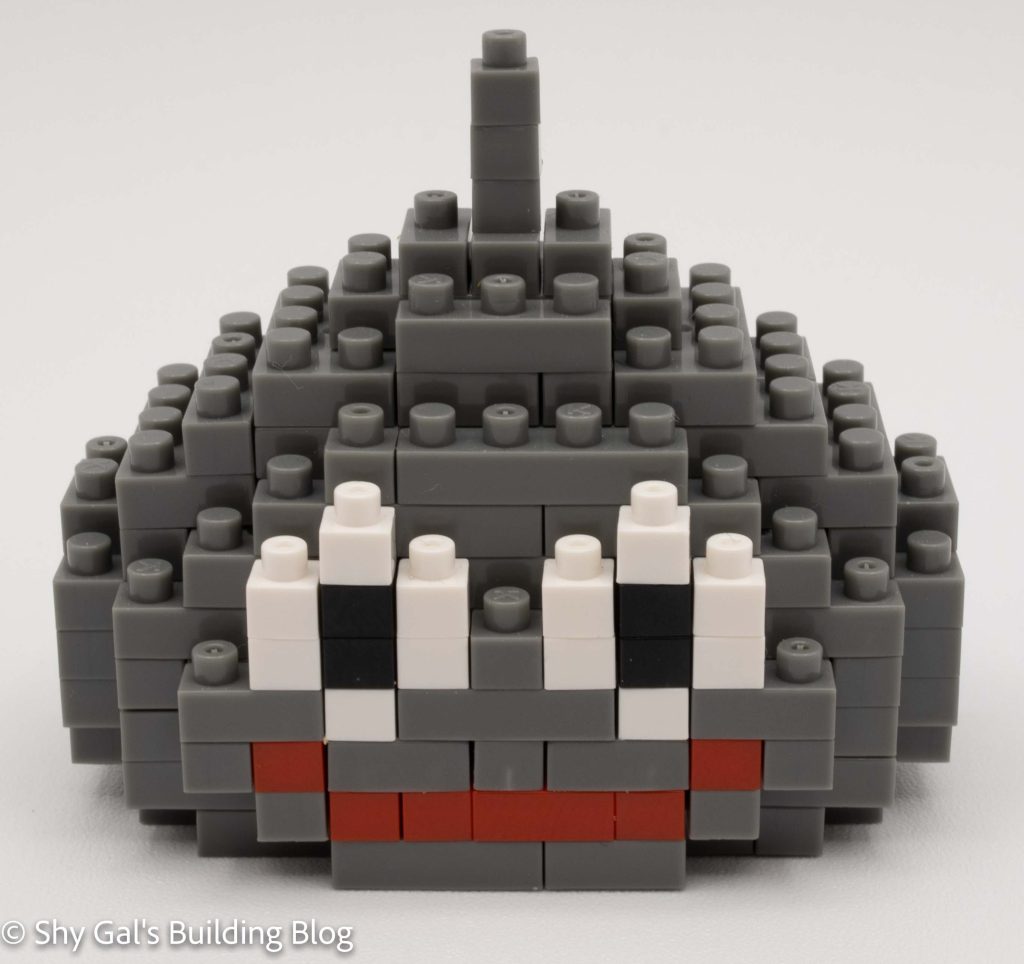
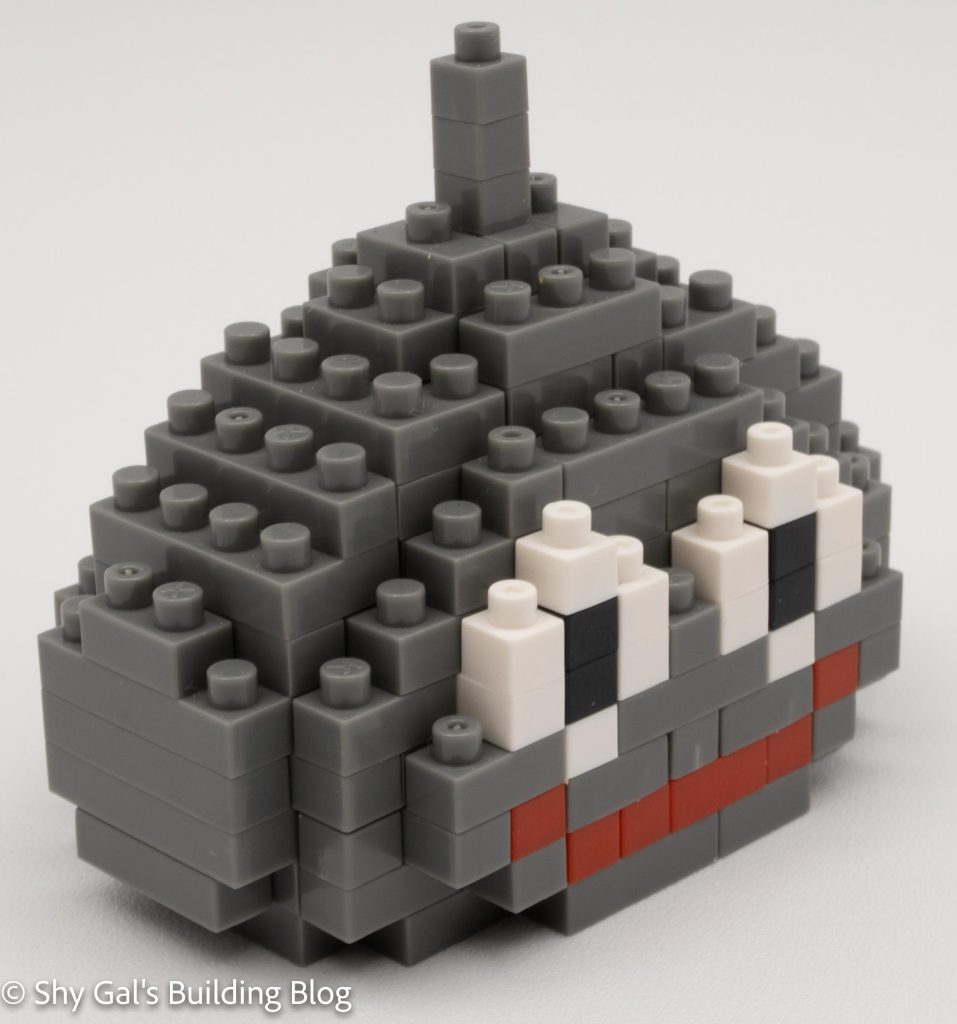
This is a build for a monster that is a collection of slimes. It is a stack of small slime monsters. After building almost all the Dragon Quest slimes, I think I am finally getting the hang of building with clear bricks.

This build is made up of 3 slimes. There is a blue slime, an orange slime, and a green slime. The builds are identical, except the green slime has some extra details on top. You build each of the slimes separately and then put the slimes together.

Slime Tower front 3/4 view

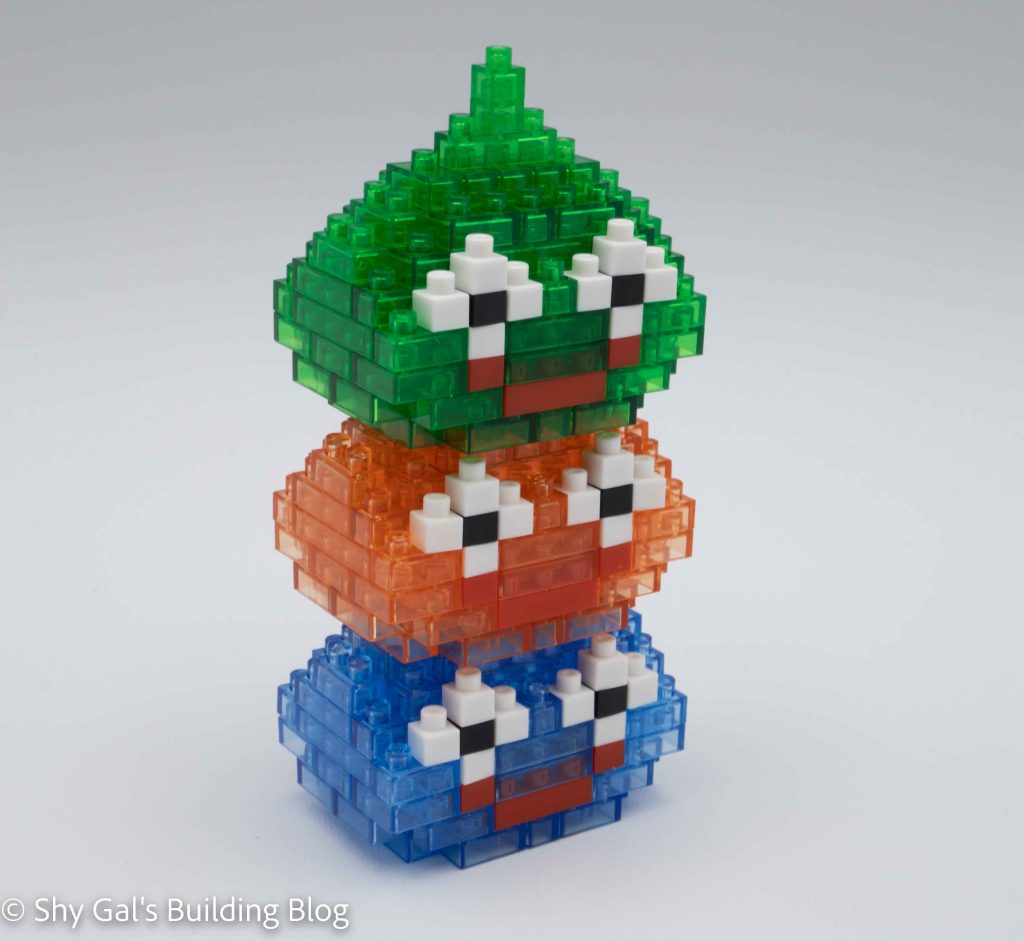
Each slime begins with a base layer in the color of the slime. You then build the slime up in rings that get smaller as you approach the top of the slime. Eventually, you close up the slime. If you are building the green slime, add the final details to the top to make it look like a teardrop.

Slime Tower back view

Things I liked:

  • I’m finally getting the hang of working with the clear blocks
  • Very simple build

Things I didn’t like:

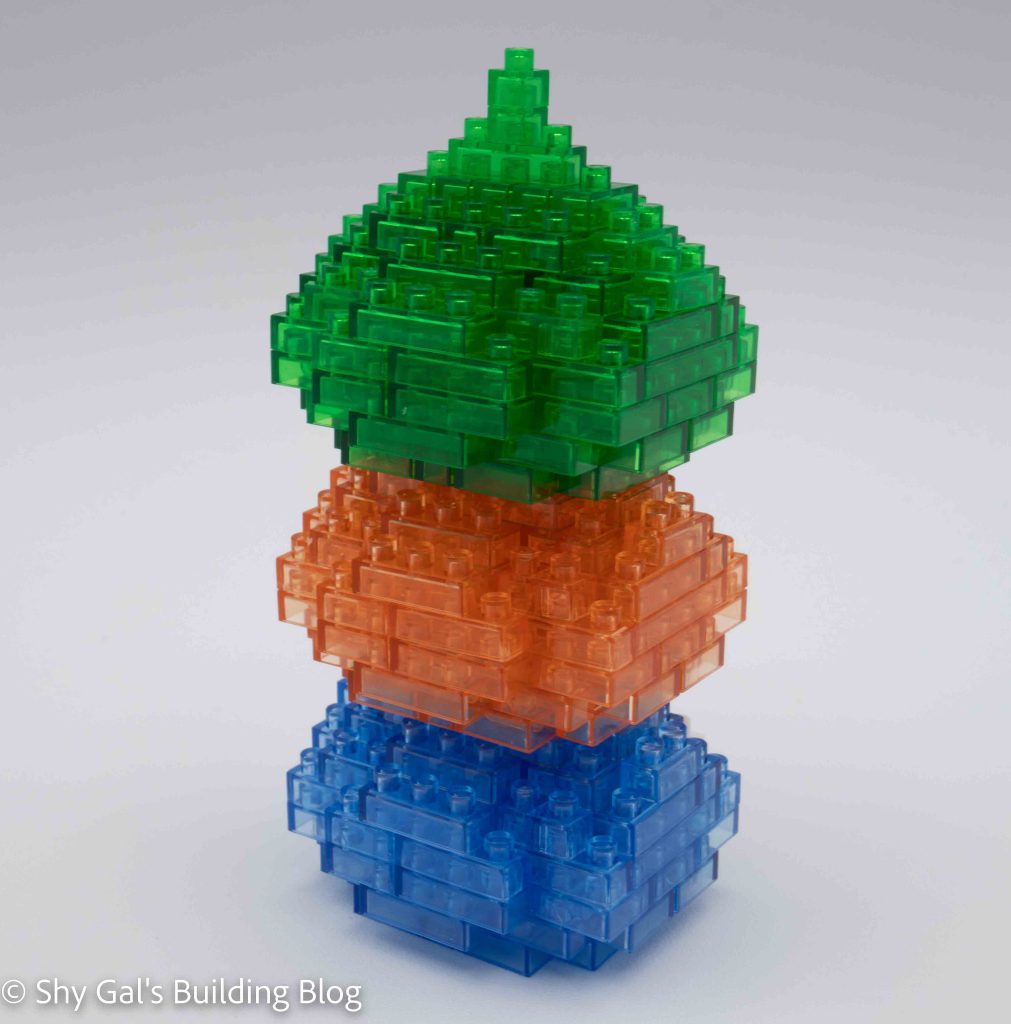
  • The slimes look much less round than normal slimes

Review of nanoblock Slime Knight

This post is a review of the nanoblock Slime Knight build. The Slime Knight is part of the nanoblock Dragon Quest series. Wondering what else is part of the Dragon Quest series? Click Here for a list.

Number of Pieces: 140

Difficulty Rating: 2/5

The Slime Knight is a reasonably common monster in the Dragon Quest series. It looks like a knight that is riding on the slime. When I initially looked at the set, I was worried that the kit would be super hard. I was pleasantly surprised when I got around to building how great the directions were. The build is made of 2 parts the slime and the knight.

The slime begins with a base, and you start building up like the other slime builds. In the second layer, you begin to develop the face of the slime. Over the next 4 steps, you create the rest of the face and close up the top of the slime. Starting in stage 6, you begin to build the knight, but you also add the final bits to make the slime a teardrop.

One of the things I really like about the knight is that none of its limbs are symmetrical. You build the knight on your almost completed slime. You start with legs going in two different directions. Next, you add the knight’s body. After making the body, it’s time to attach the arms. One arm holds a sword, and one arm holds the shield. Both arms have a ton of detail, so you can really tell what the knight is holding. The final detail is the head. It is seated at an angle, so it is lined up with the front of the slime.

Things I liked:

  • The amount of detail and how both sides of the knight don’t match

Things I didn’t like:

  • I don’t love the clear with the solid color on the slime

Review of nanoblock Slime King

Slime King build and box

This post is a review of the nanoblock Slime King build. The Slime King is part of the nanoblock Dragon Quest series. Wondering what else is part of the Dragon Quest series? Click Here for a list.

Number of Pieces: 370

Difficulty Rating: 3/5

Slime King front view

Slime Kings are giant slime. In some games, you battle a smaller Slime that calls friends. Once there are 5 or so Slimes on the battlefield, they merge into a Slime King. In other games, the Slime King is a monster you can talk and interact with.

Like most of the other slime builds, this build is created with clear blocks. Regular nanoblocks are used for the face and crown. This build is similar to the Slime L build for the base. Over the first 5 steps, you lay out the bottom of the build while also making the second layer that holds the base together. After completing the base, you begin to add height to the build. You do this by tracing around the outside. You add a few layers of just blue to make up the fat body of the slime. Then you add the details of the face, including eyes and a mouth, in additional layers. After you add the face, you begin to close up the body. Once the head of the slime is almost closed up, it’s time to add the crown. You start with a layer of goldish yellow bricks to form the base of the crown. You then add the green and purple detail of the body of the crown. The crown is topped off with a gold detail as a finish.

Overall after completing the base, I found this build to be delightful. The base is tricky, along with some of the steps to close up the body. I feel like the build is highly recognizable as a King Slime. I really like some of their details to make it look right. This includes the coloring of his crown and the fact that they created puffed-out cheeks.

Slime King side view

Things I liked:

  • The cheeks are puffed out, though it is a bit hard to see.
  • I like the detail in the crown

Things I didn’t like:

  • I’m still not a fan of clear bricks

Review of nanoblock Dracky

Dracky build and box

This post is a review of the nanoblock Dracky build. The Dracky is part of the nanoblock Dragon Quest series. Wondering what else is part of the Dragon Quest series? Click Here for a list.

Number of Pieces: 170

Difficulty Rating: 2/5

Dracky front view

Dracky is one of several recurring monsters in the Dragon Quest series. It kind of looks like a bat. I liked the navy color, which is also unique for a nanoblock. The model is round and balanced on three 1×3 bricks. I was worried the model would have difficulty standing, but I was pleasantly surprised that it balanced just fine.

The build begins with a base of navy bricks. On the second layer, you begin to add the mouth. You continue to build up the outside of the monster, eventually adding the details of the fangs and eyes. You ultimately close up the beast, and then it’s time for more details. First, you build wings that mirror each other. I like that these wings have some depth instead of just being flat. Next, you add the tiny antennas that are just a chain of 1x2s. The final step to the Dracky is to add his little feet and tail. Once you have the completed monster, it’s time to get it up on the stand.

Dracky back view

Things I liked:

  • The unique color
  • How solid it is standing

Things I didn’t like:

  • The instructions for the feet and tail are super compact

Review of nanoblock Golem

This post is a review of the nanoblock Golem build. Golem is part of the nanoblock Dragon Quest collection. Wondering what else is part of the Dragon Quest Collection? Click Here for a list.

Number of Pieces: 180

Difficulty Rating: 4/5

The Golem was the first non-slime build from the Dragon Quest series that I picked up. I made the purchase because of the angles that this build had. I loved how the legs are on an angle and how the arms aren’t symmetrical.

The build is rated as a level 4, and I agree entirely with this ranking. You start by building the core of the central top part of the body, which is relatively straightforward other than adding a brick to the underside that eventually holds the arm. Next, you build the head and lower abdomen, which are simple builds but a bit of a challenge to get connected in the right place because of how the photos look. Then you build the Golem’s left arm and leg; both the arm and leg have tricks to add angles and bends to the joints. The last step is building the right arm and leg. The leg uses the same tricks as the left side to generate angles. The right arm is just a stack of bricks that is pretty easy to create.

Overall I really enjoyed the build and the tricks used to add angles to the Golem. I also like how solid the build is overall, and I don’t feel like the build is going to lose any parts.

Things I liked:

  • How soild and like an acutal Golem the build is

Things I didn’t like:

  • The angles can be tricky with getting things lined up

Review of nanoblock Slime L

Slime L build with box

This post is a review of the nanoblock Slime L build. Slime L is part of the nanoblock Dragon Quest collection. Wondering what else is part of the Dragon Quest Collection? Click Here for a list.

Number of Pieces: 240

Difficulty Rating: 2/5

Slime L front view

Slimes are the quintessential monster family in the Dragon Quest games. There is a whole family of slimes, but the first one you always run into is the classic blue form. nanoblock has two slime models, a normal one in scale with the rest of the slimes and the large model.

I got this kit before I got my nanoblock pad, so I had a lot of trouble getting the entire base layer lined up. This was also my first build made of primarily clear bricks because clear bricks have a bit more flex, I had to adjust. The large slime build takes several steps to build the entire base. The steps to build the base also connect the base bricks, so when you are done, you are ready to build up the height of the build. Once you are building the height, the build is very straightforward.

Overall I really like the large Slime. I think it is highly recognizable as the monster it’s supposed to be. I think the solid bricks that make up the slime face stick out a lot with the clear body.

Slime L front 3/4 view

Things I liked:

  • It’s highly recognizable

Things I didn’t like:

  • How the few solid brick looks surrounded by all the clear

Review of nanoblock Mimic

Mimic with box

This post is a review of the nanoblock Mimic build. Mimic is part of the nanoblock Dragon Quest collection. Wondering what else is part of the Dragon Quest Collection? Click Here for a list.

Number of Pieces: 160

Difficulty Rating: 2/5

Mimic Front View

Mimics are a monster that appears in most Square Enix games. Unlike most monsters in these games where you have random encounters, Mimics appear to be treasure chests on the map. When you open the chest, instead of getting treasure, you enter a battle with a monster that looks like a treasure chest.

The Mimic build uses turquoise and purple, which are 2 colors you don’t see very much. The build is split into 2 parts: the chest’s top and bottom. The base is pretty solid, and a standard build. I really like the details of the eyes and teeth on the top section of the bottom. The top is building a stretched pyramid and straightforward. The 2 pieces are held together with a clear ball joint so you can position the lid exactly where you want it.

Mimic 3/4 front view

Things I liked:

  • How the colors look

Review of nanoblock Metal Slime

Metal Slime build with box

This is a review of the Dragon Quest Metal Slime build. This build doesn’t have a product number. Wondering what else is part of the Dragon Quest Collection? Click Here for a list.

Number of Pieces: 130

Difficulty Rating: 1/5

metal slime from front

The Metal Slime build is unique amongst the nanoblock slime builds because it is the only build that uses standard blocks for the slime. I think they did this because the Metal Slime is supposed to be a shiny silver that really stands out from all the other slimes. Metal Slimes are impervious to magic and give a considerable amount of bonus exp if you manage to defeat them before they run away.

Overall the build is highly straightforward, as you would expect from a level 1. You begin with a base and build up. There is a bit of overhang in the first couple of steps, but nothing too difficult if you have done builds before. Next, you build up around the edge of the slime, creating a hollow center. The opening at the top gets smaller and smaller until you close up the top of the slime. Finally, you add the details to the top to create the teardrop shape that slimes are known for.

I like the coloring of the solid nanoblock bricks over the usual clear bricks. I feel like the mouth and eyes match the look and feel better when the bricks are solid compared to clear.

metal slime 3/4

Things I liked:

  • I like the used of solid nanoblock bricks over the use of clears in the normal build
  • It’s a nice clean straightforward build