Review of nanoblock King Doraemon CN-25

King Doraemon build with box

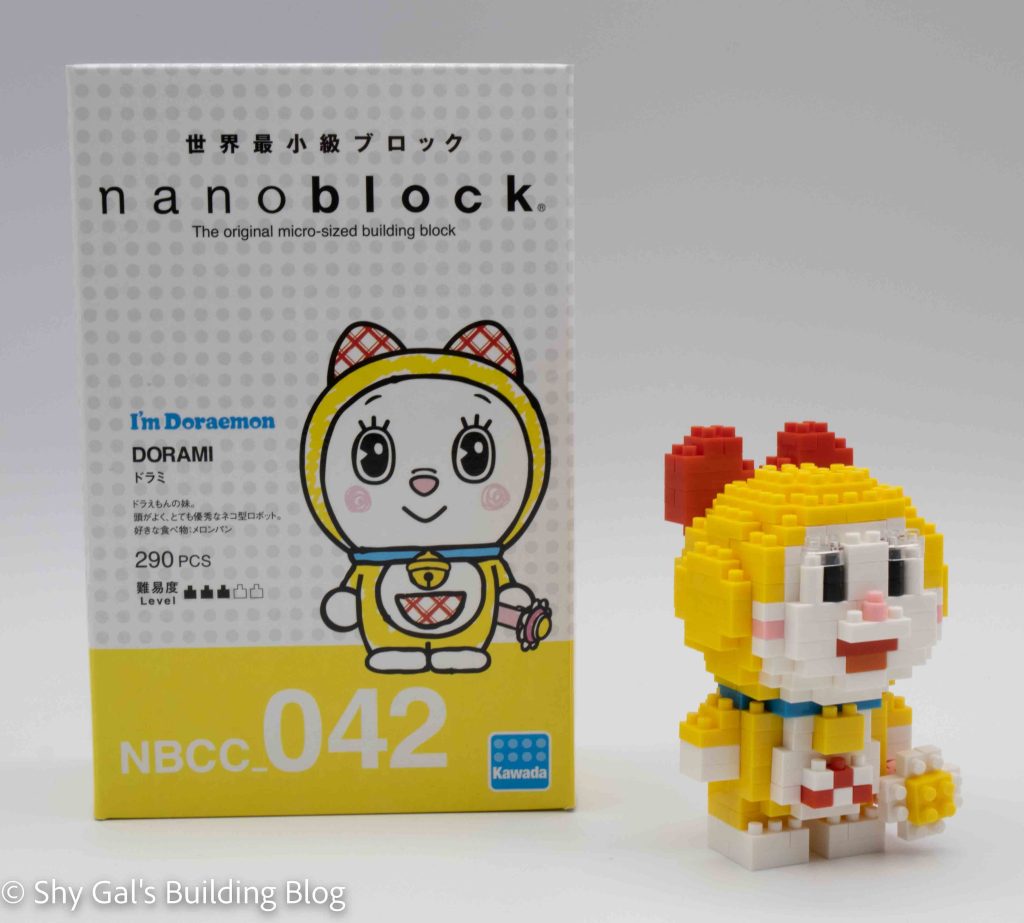
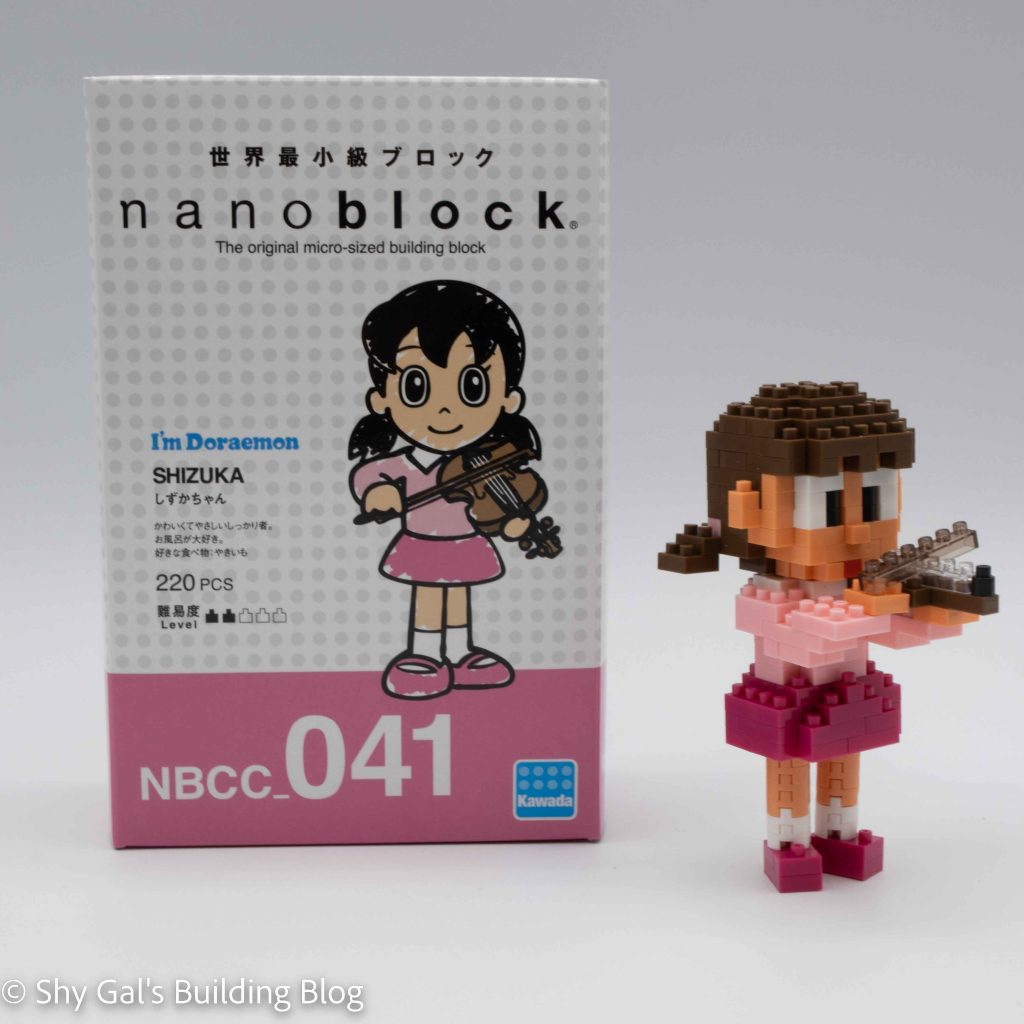
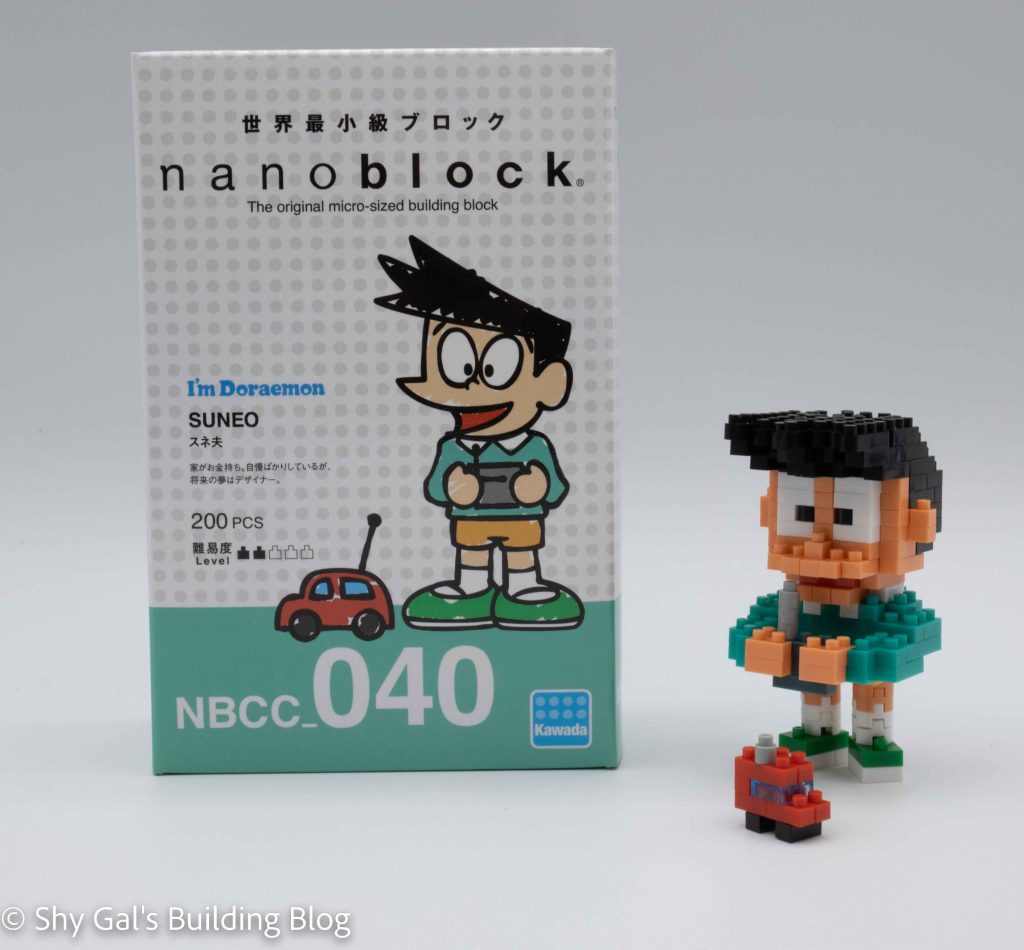
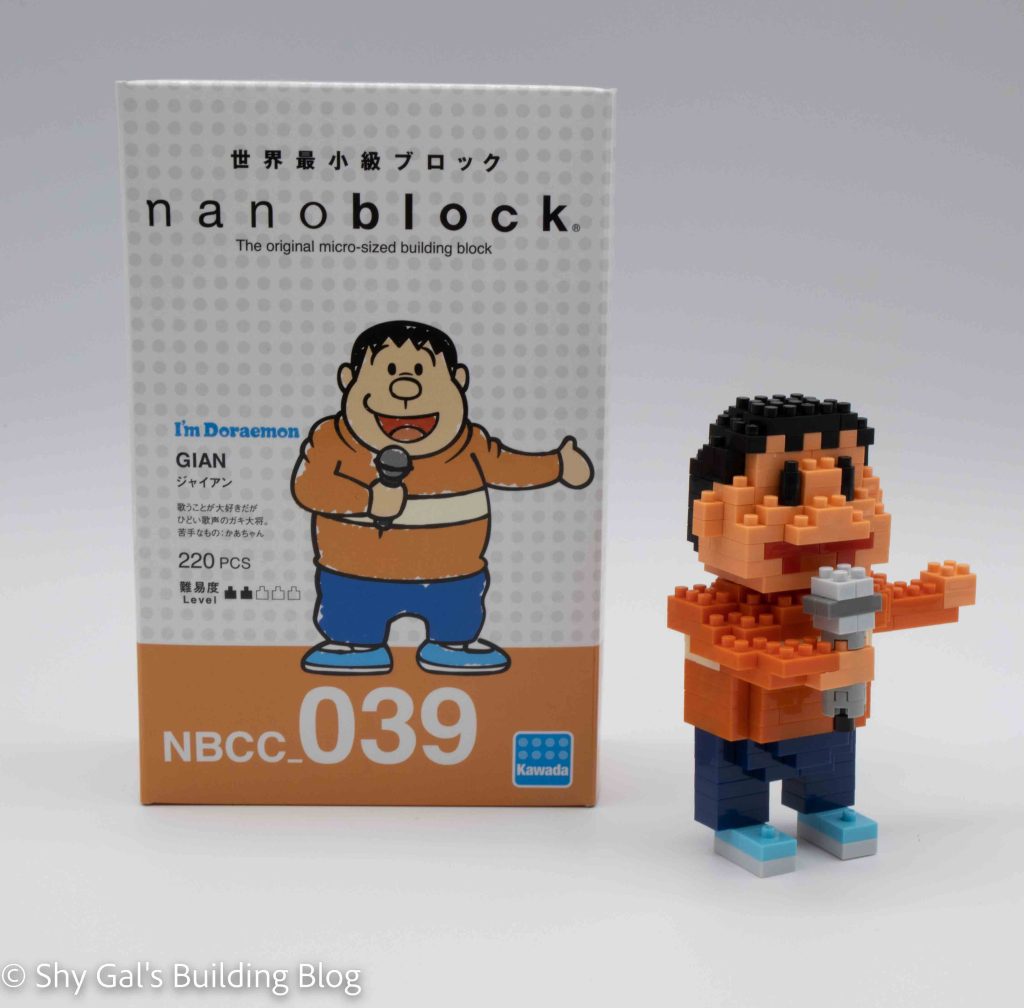
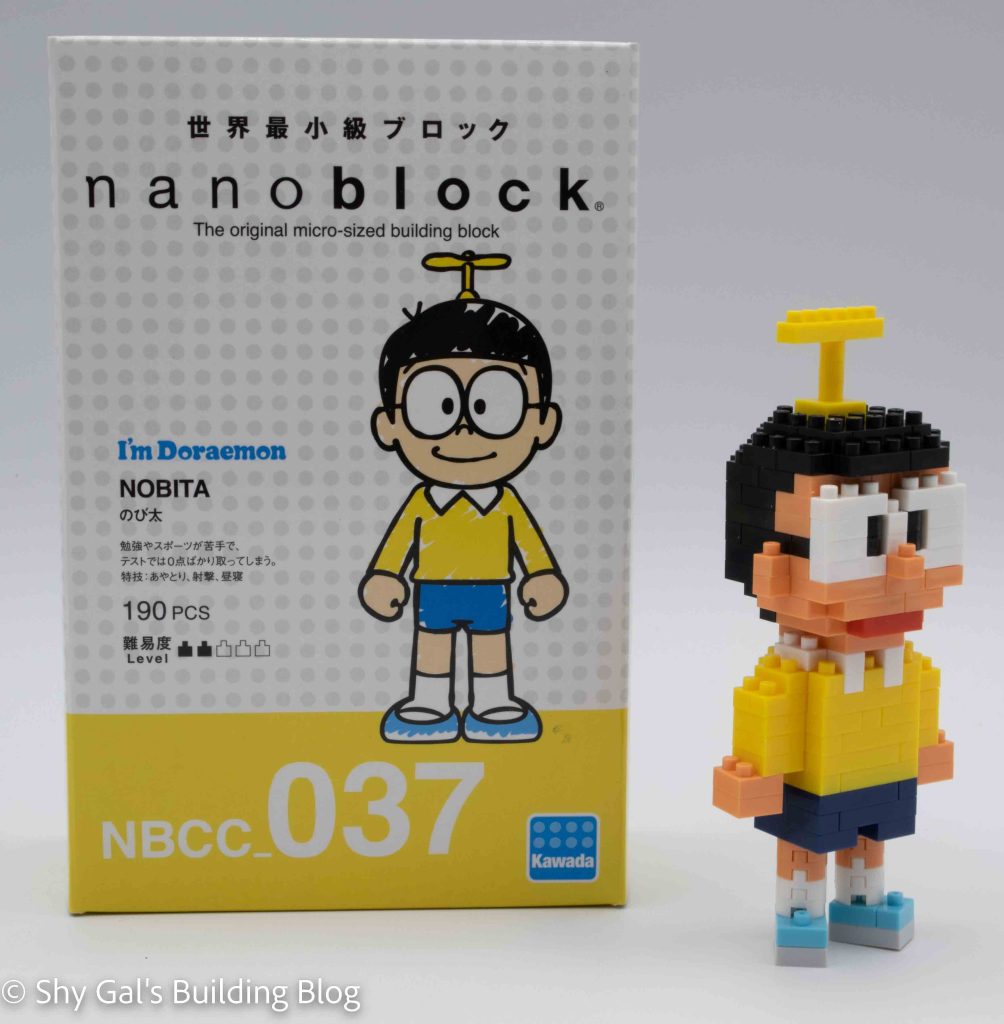
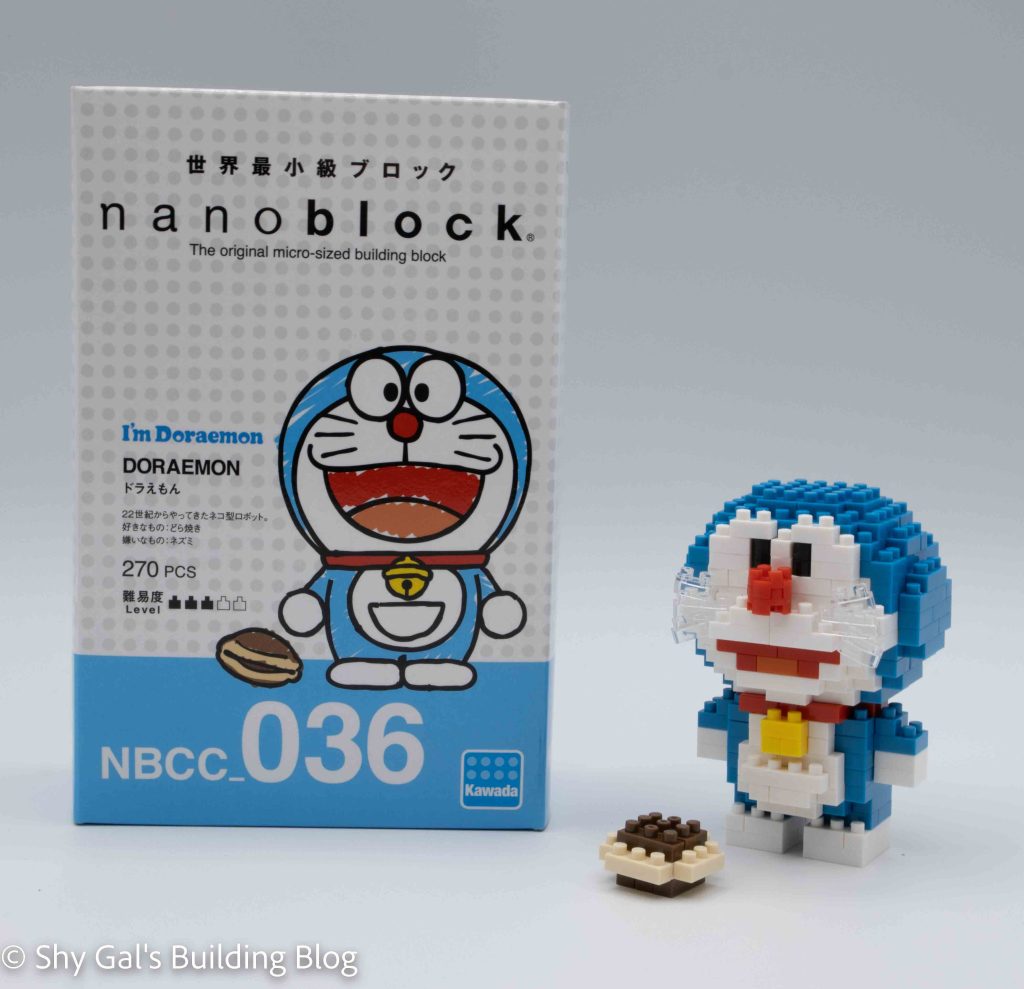
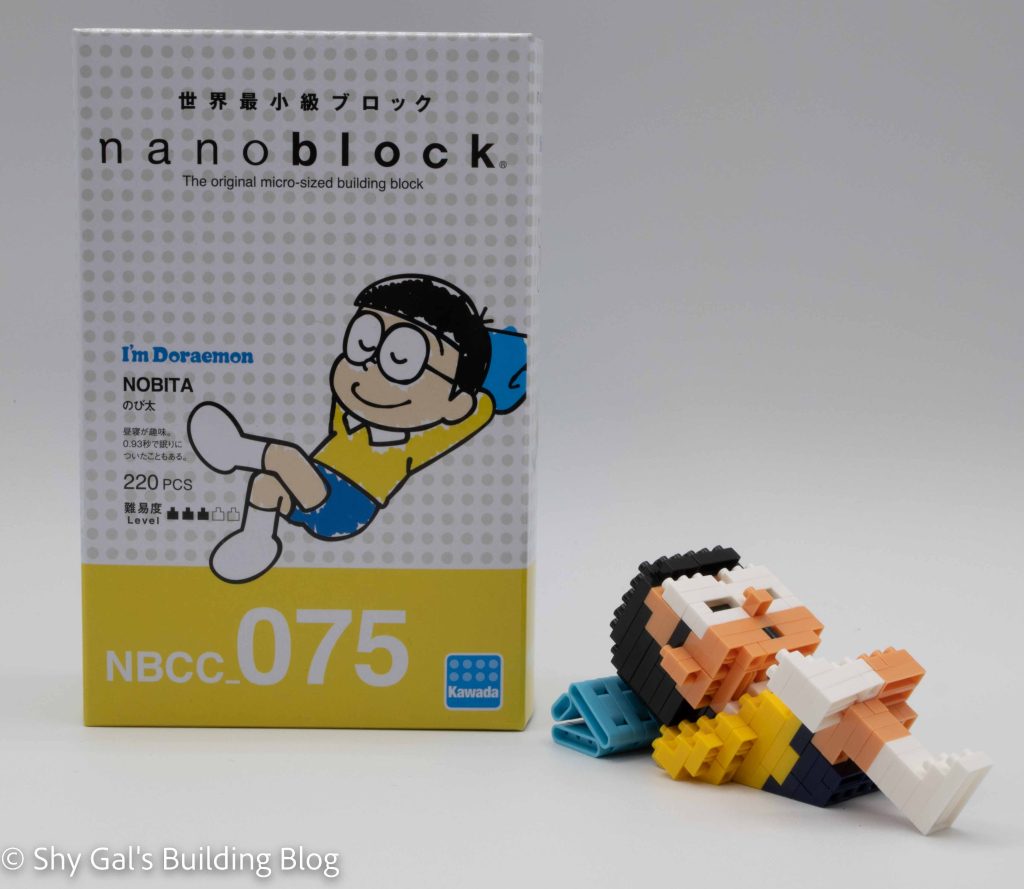
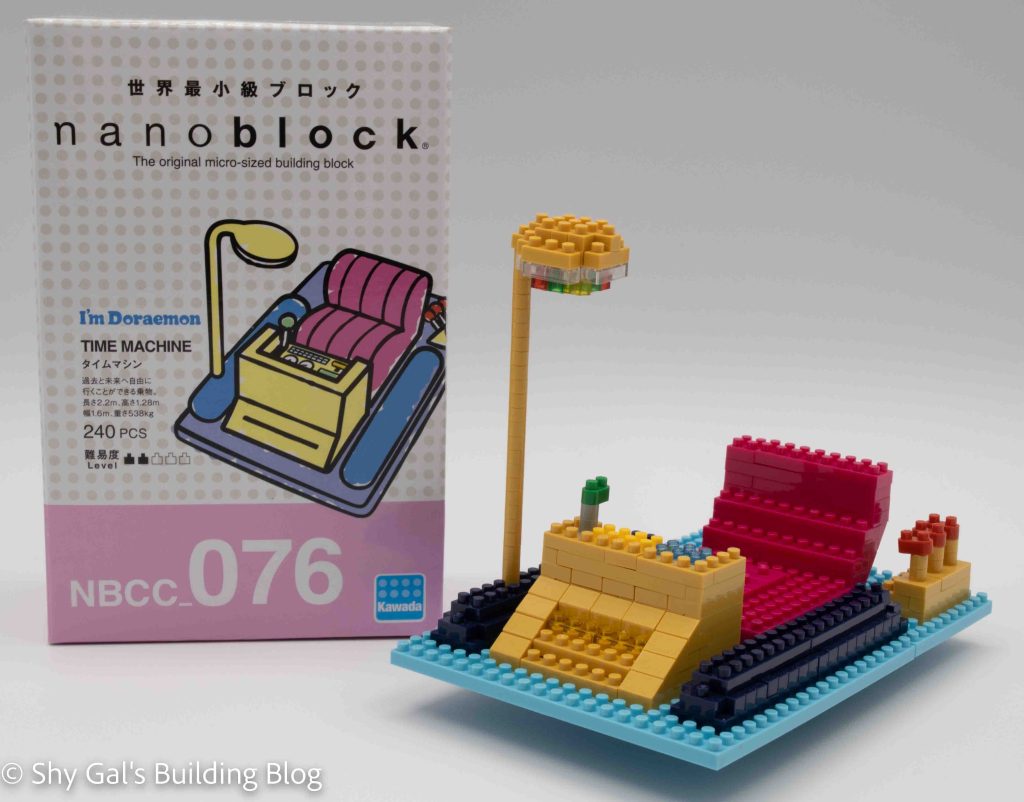
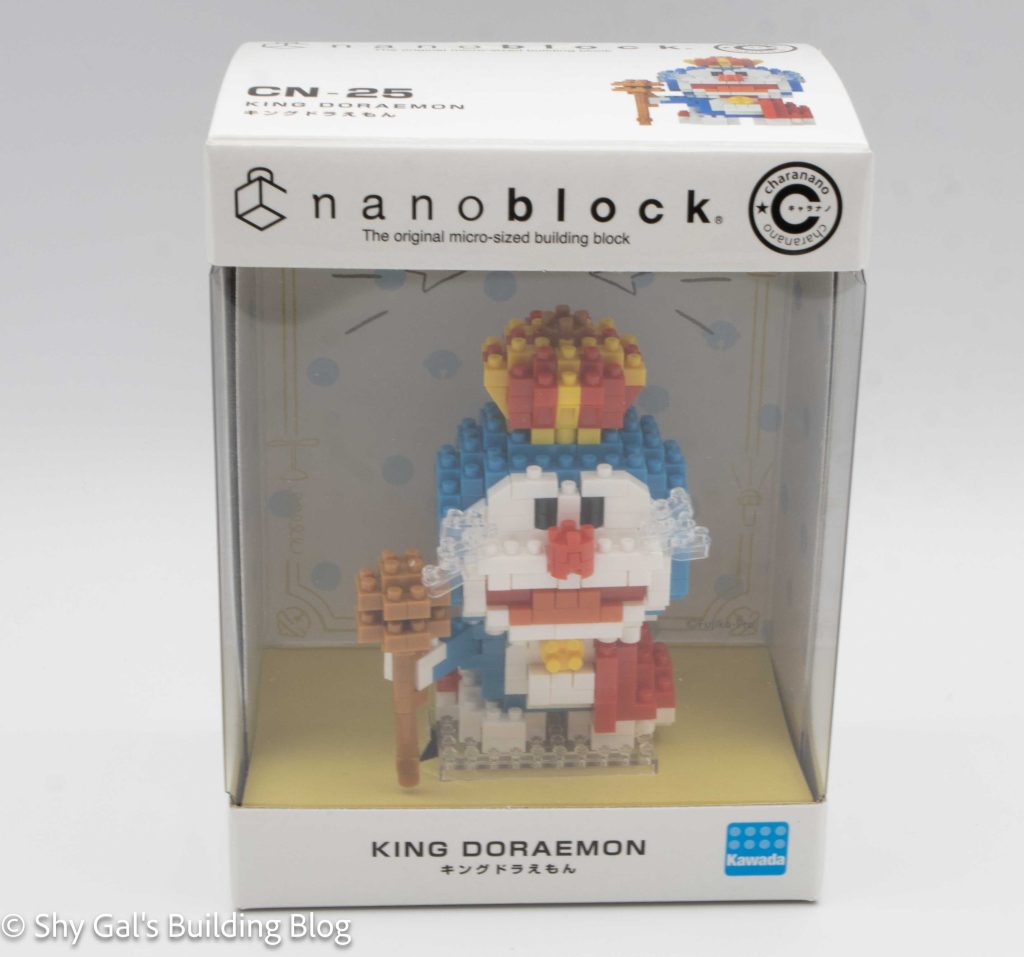
This post is a review of the nanoblock King Doraemon build. King Doraemon is part of the nanoblock charanano collection. Wondering what else is part of the charanano collection? Click here for a list.

King Doraemon build front view

Number: CN-25

Number of Pieces:

Difficulty Rating: 2/5

King Doraemon build front 3/4 view

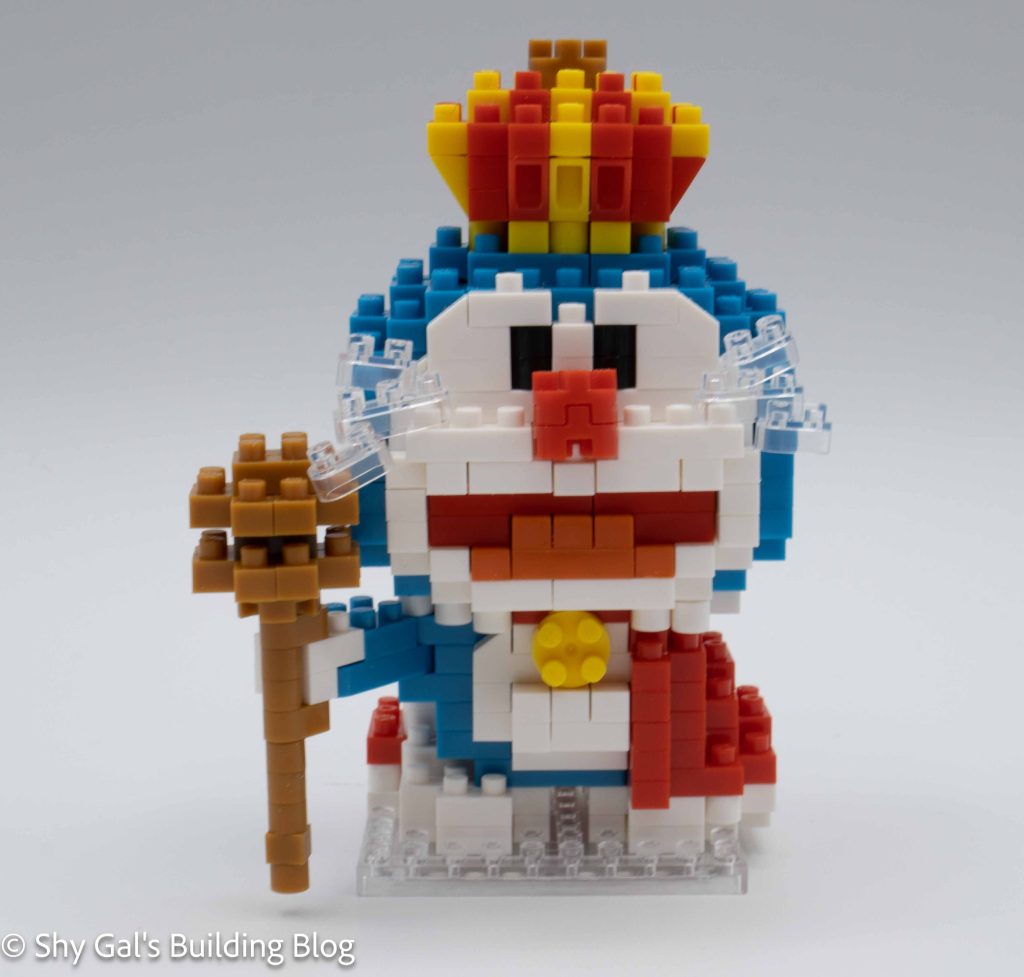
Doraemon is a robot that comes from the future. There is a line of builds featuring several different characters from the anime in the character line. King Doraemon is for the 50th anniversary of Doraemon and is part of the charanano line, which is unique because of the display boxes.

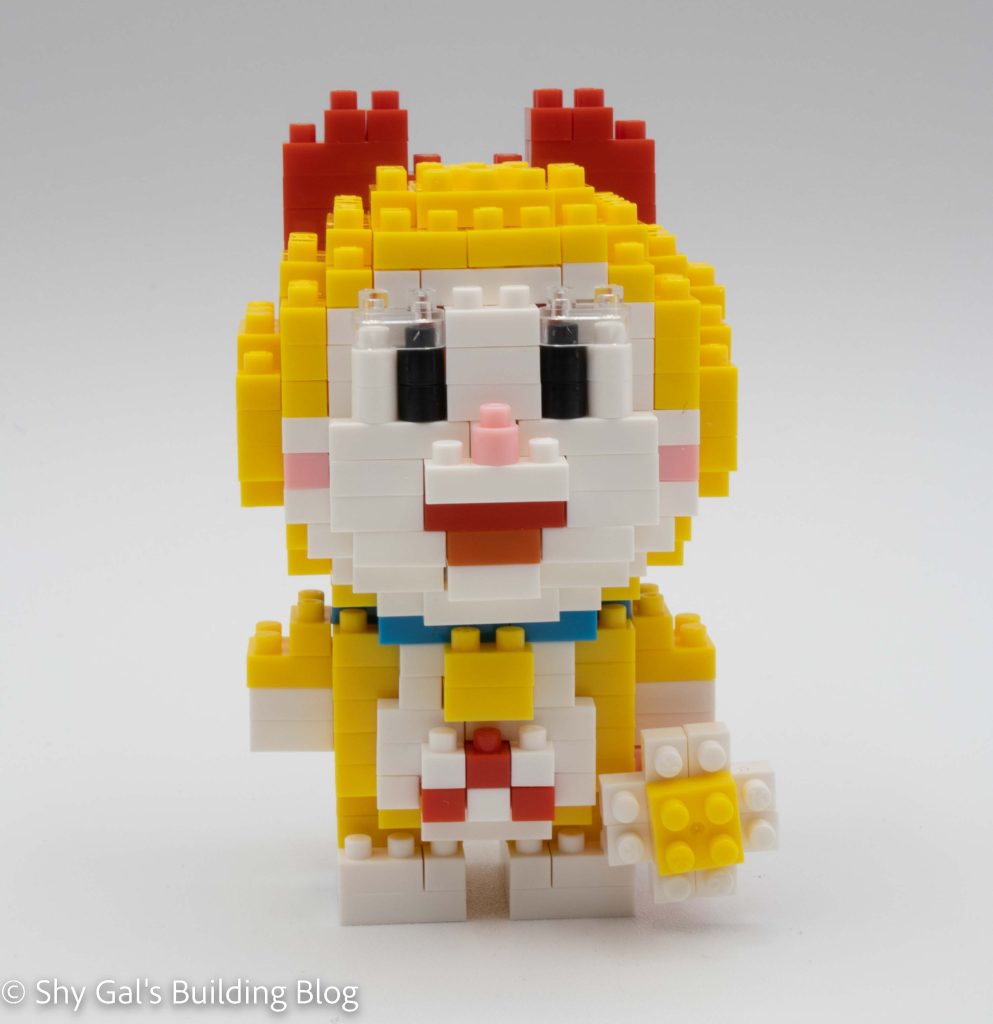
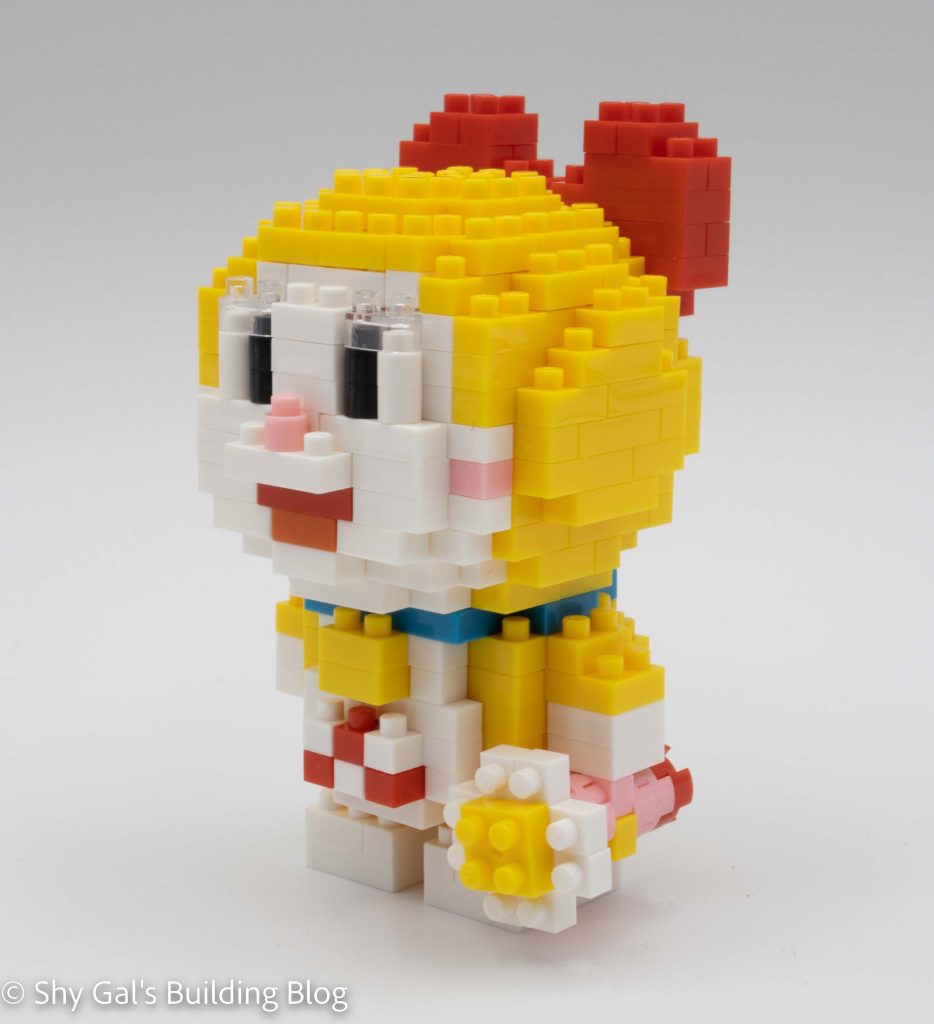
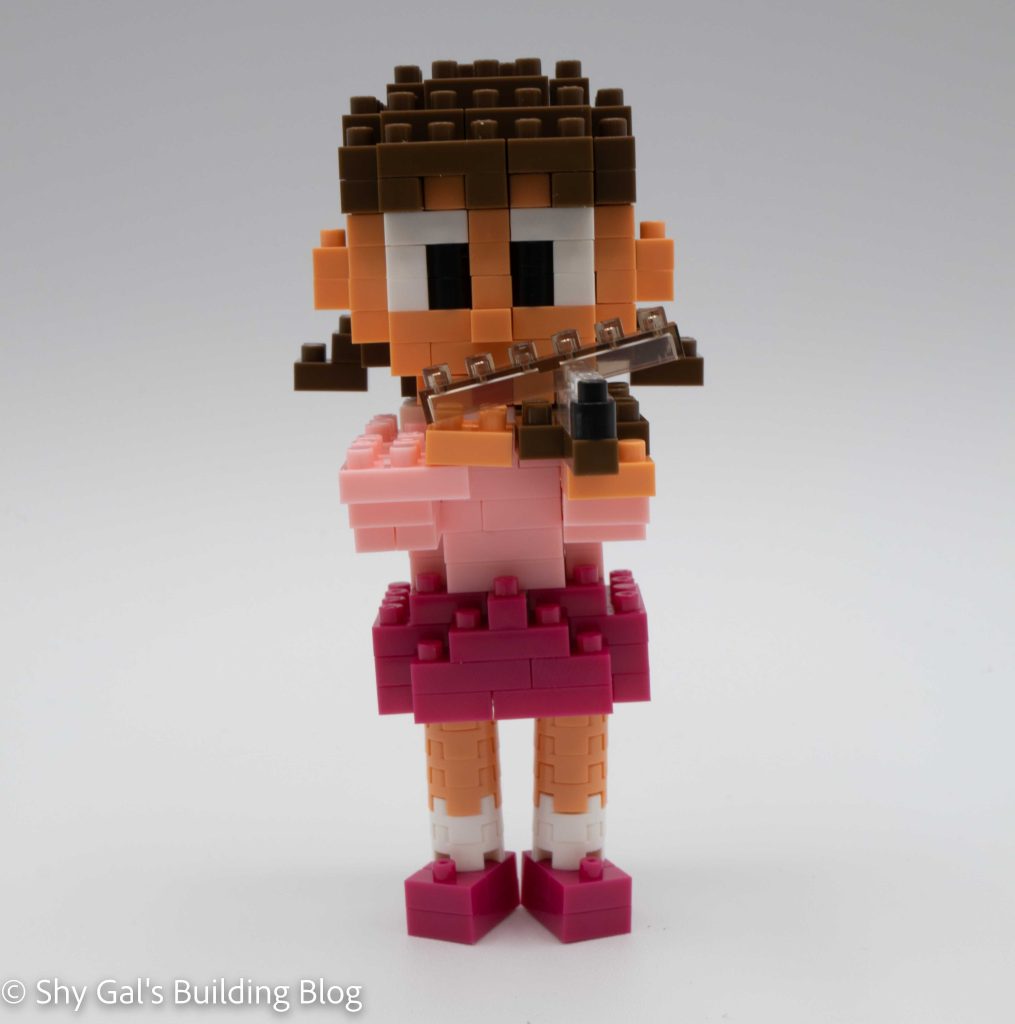
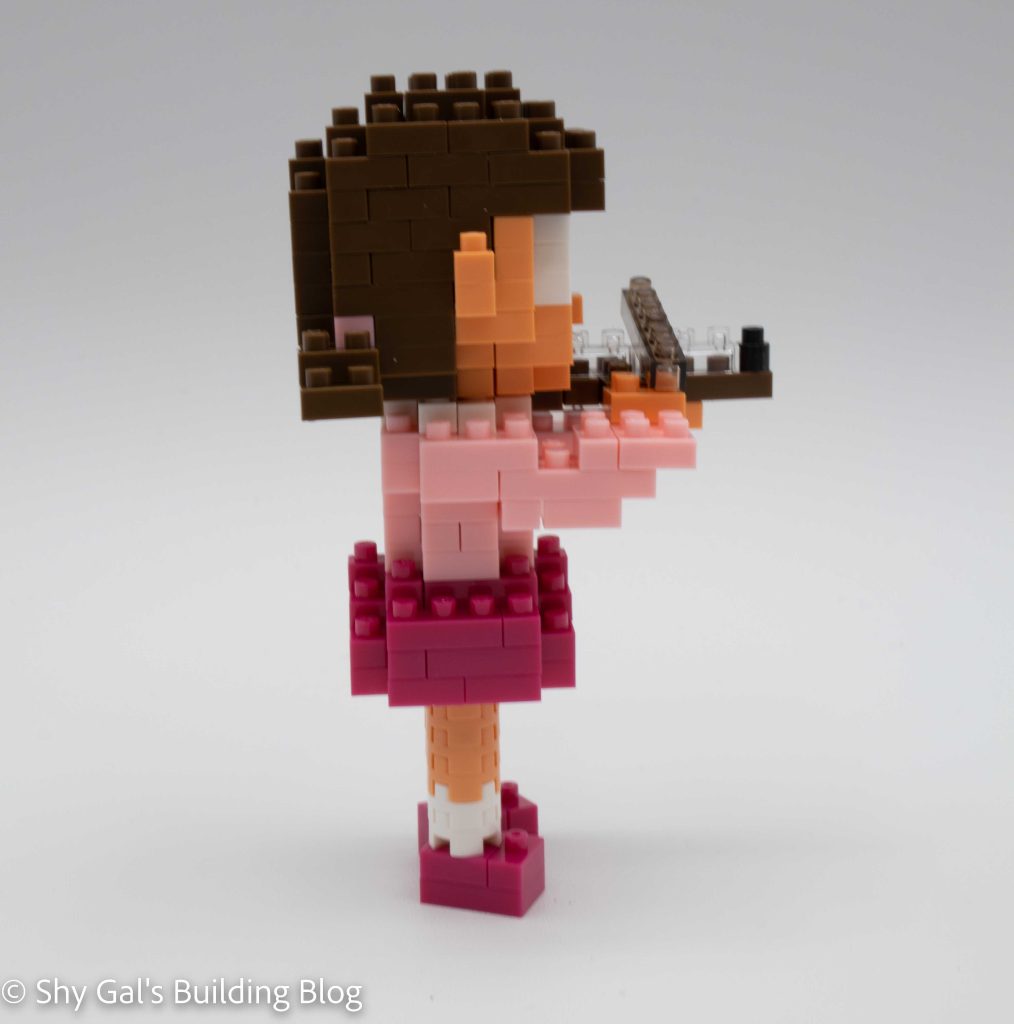
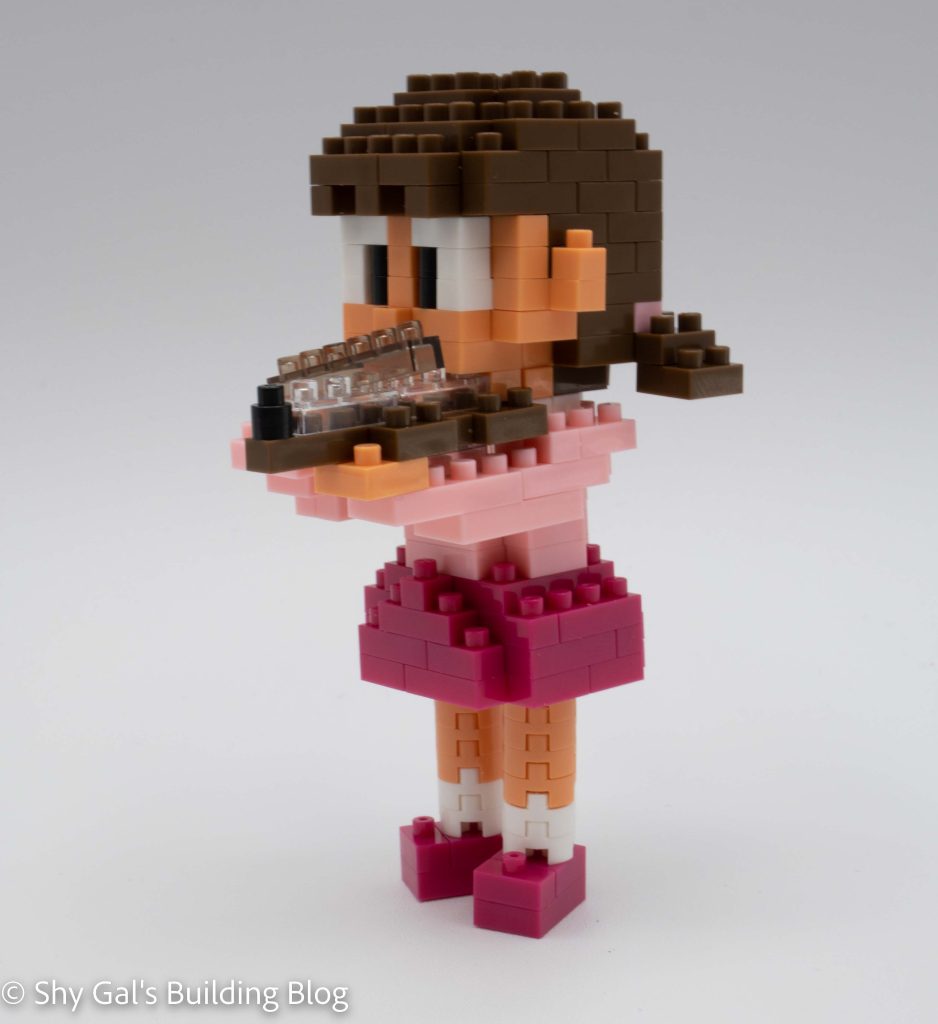
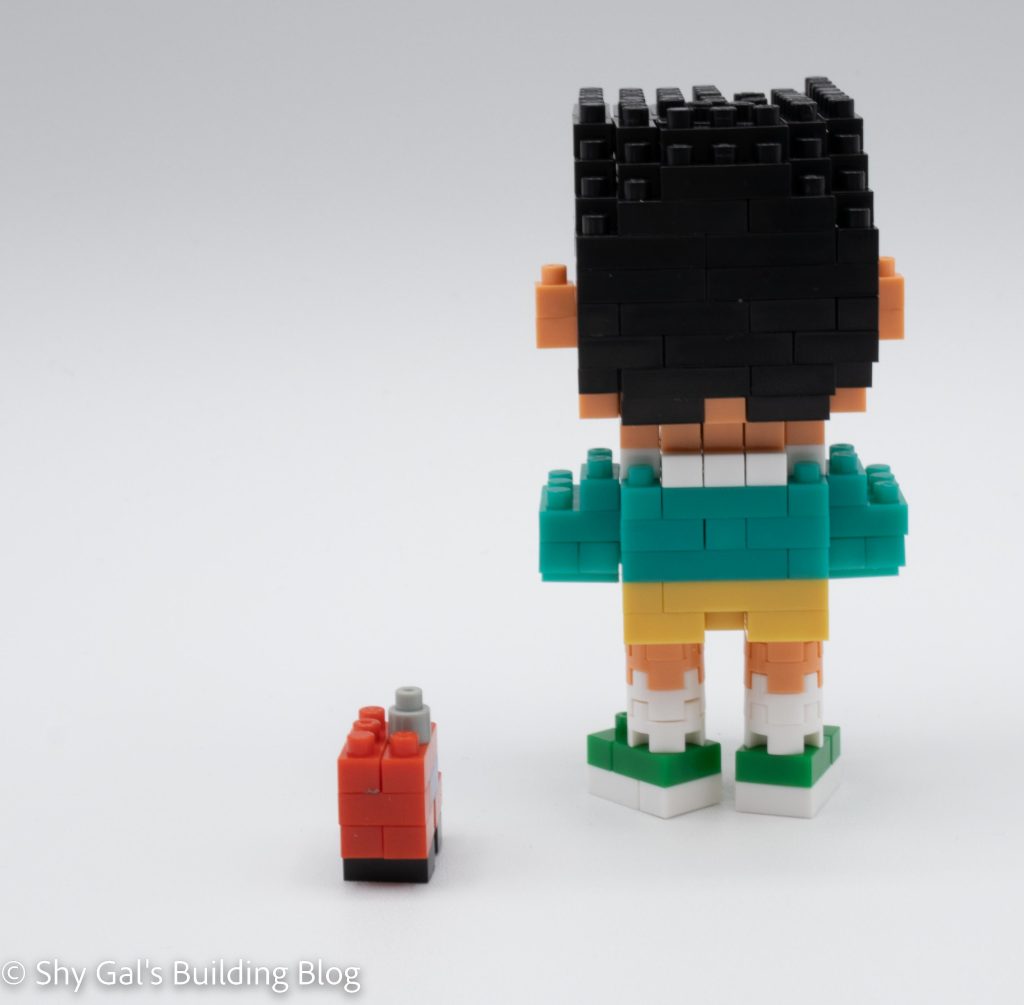
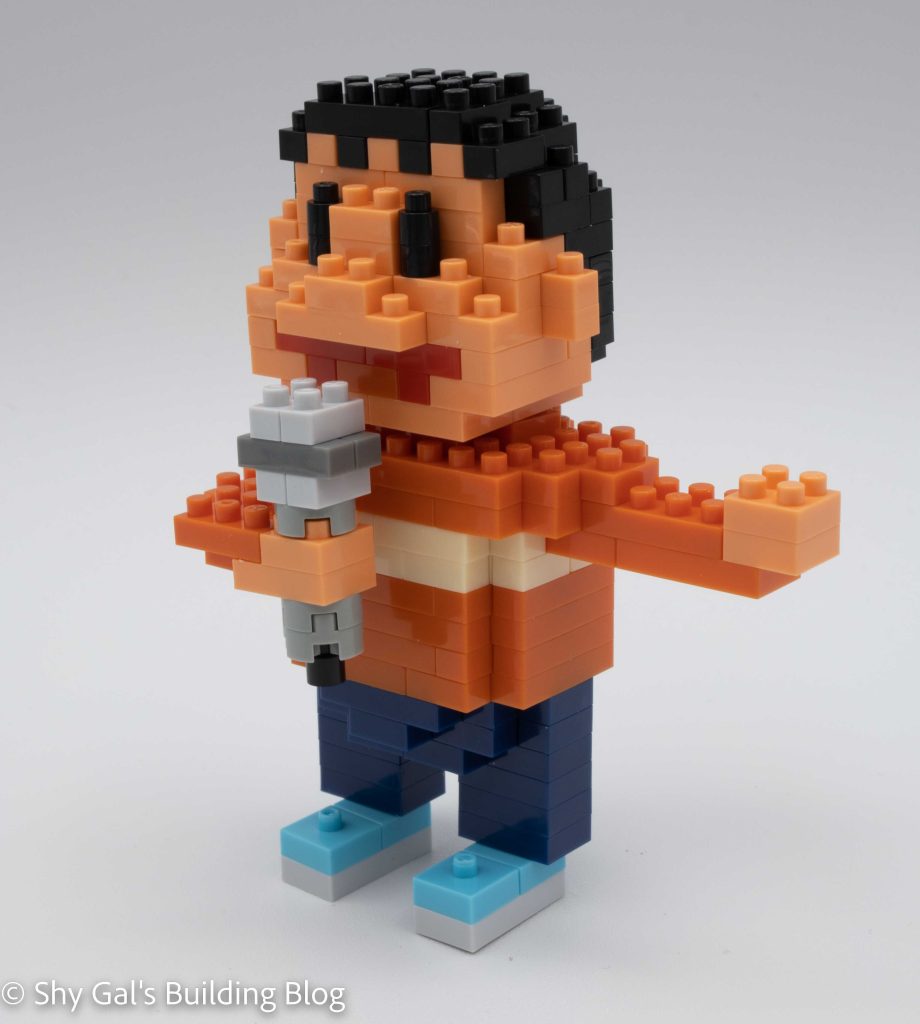
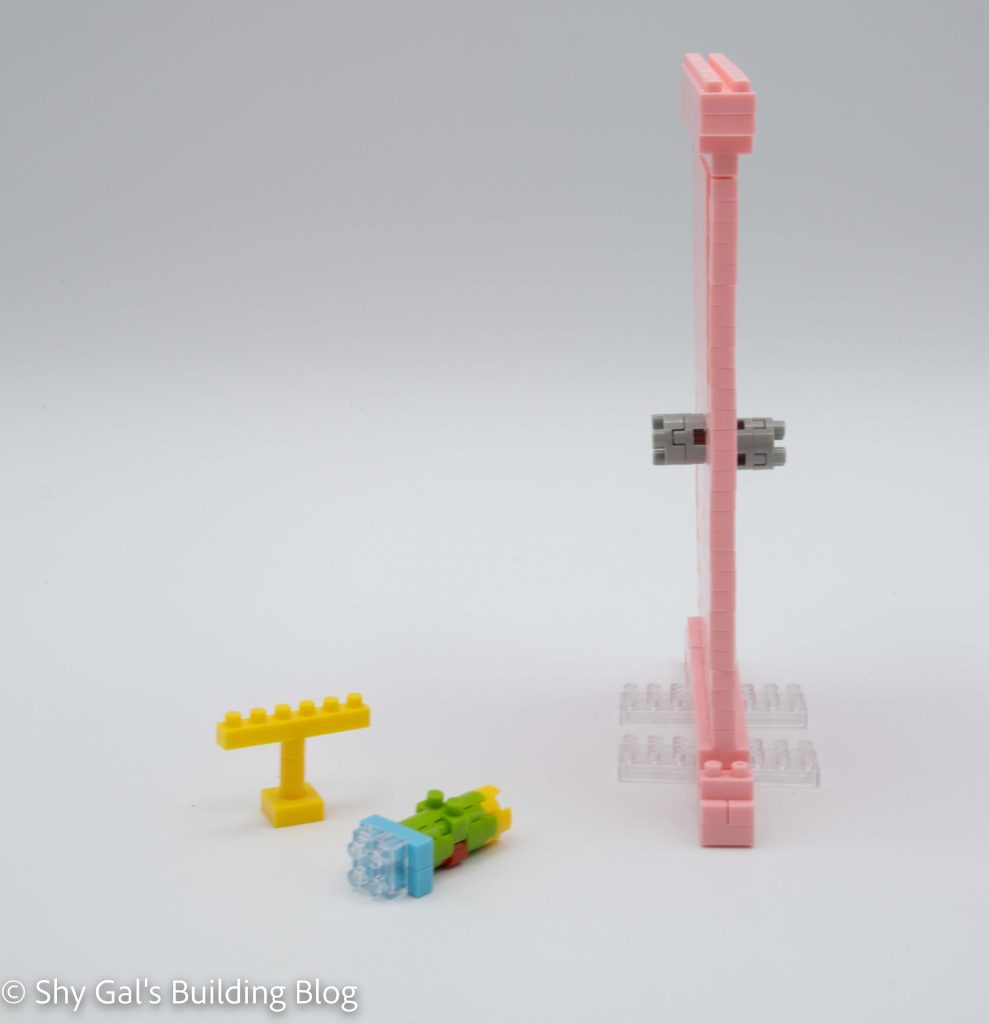
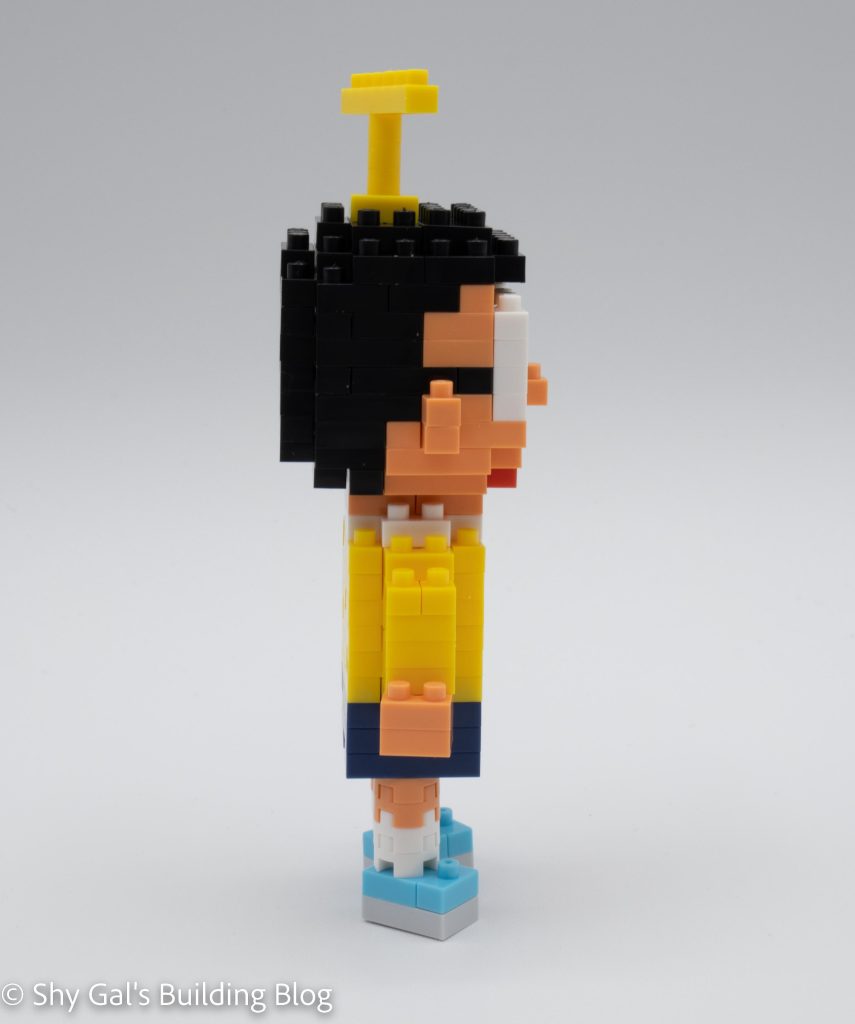
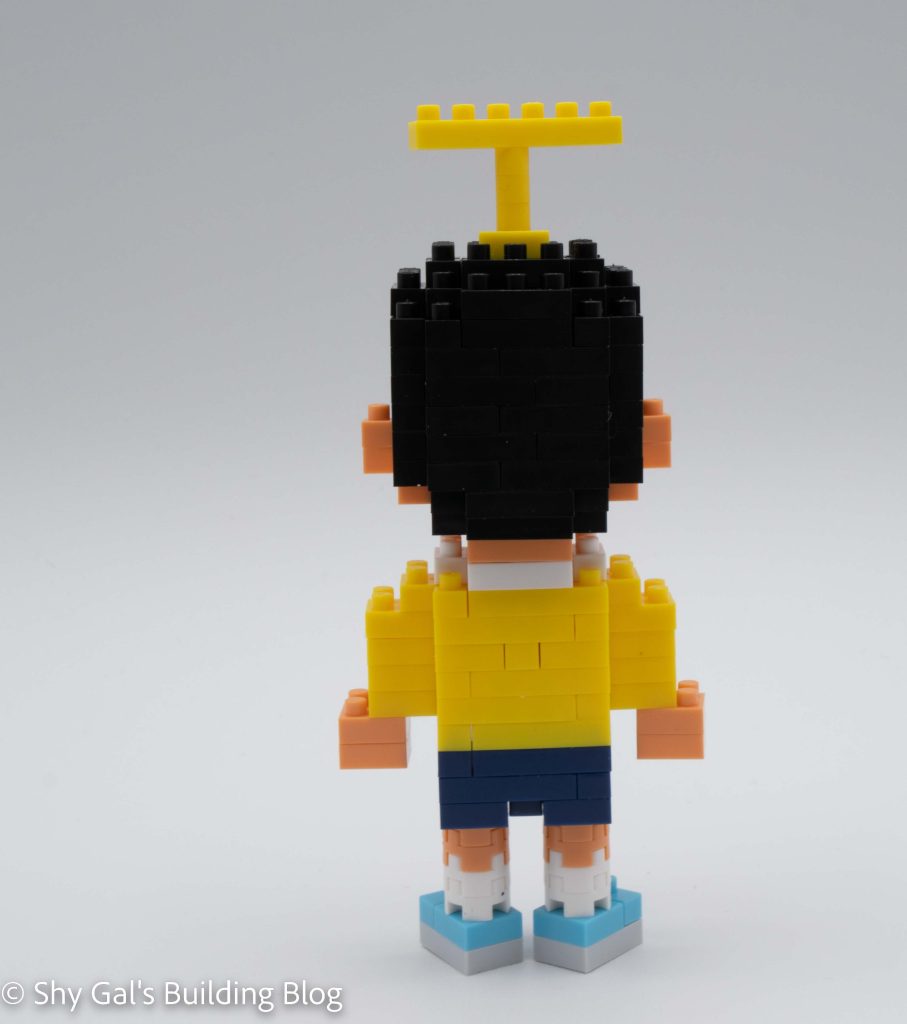
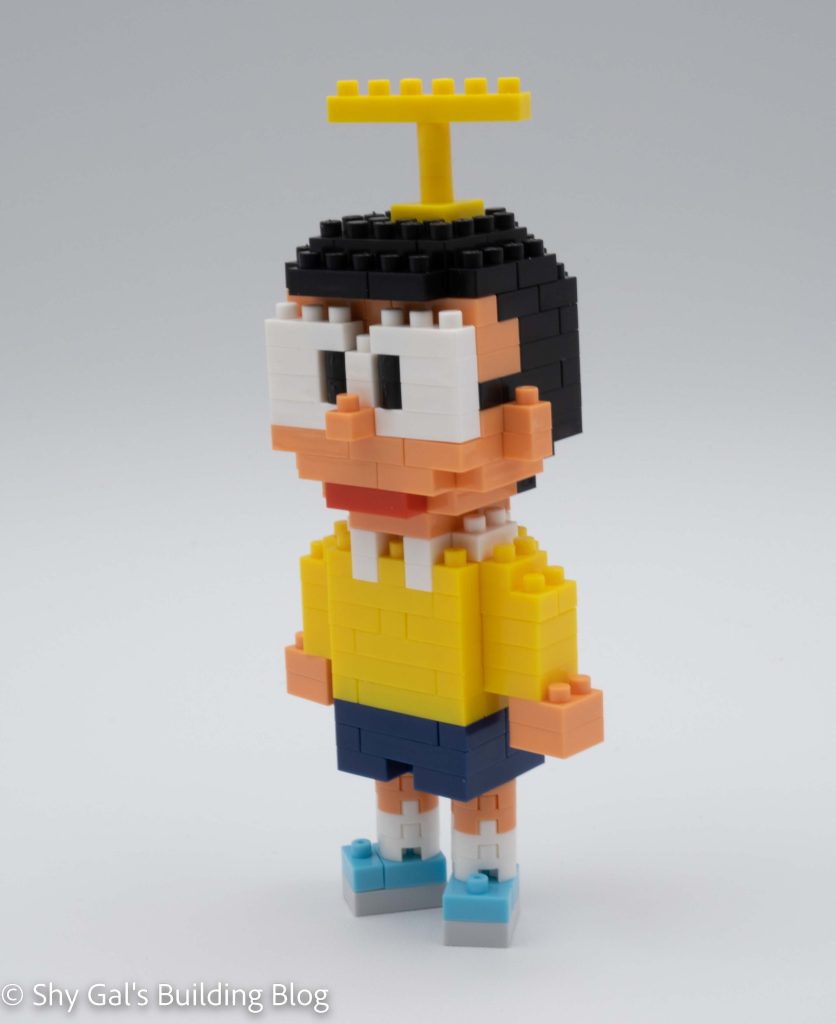
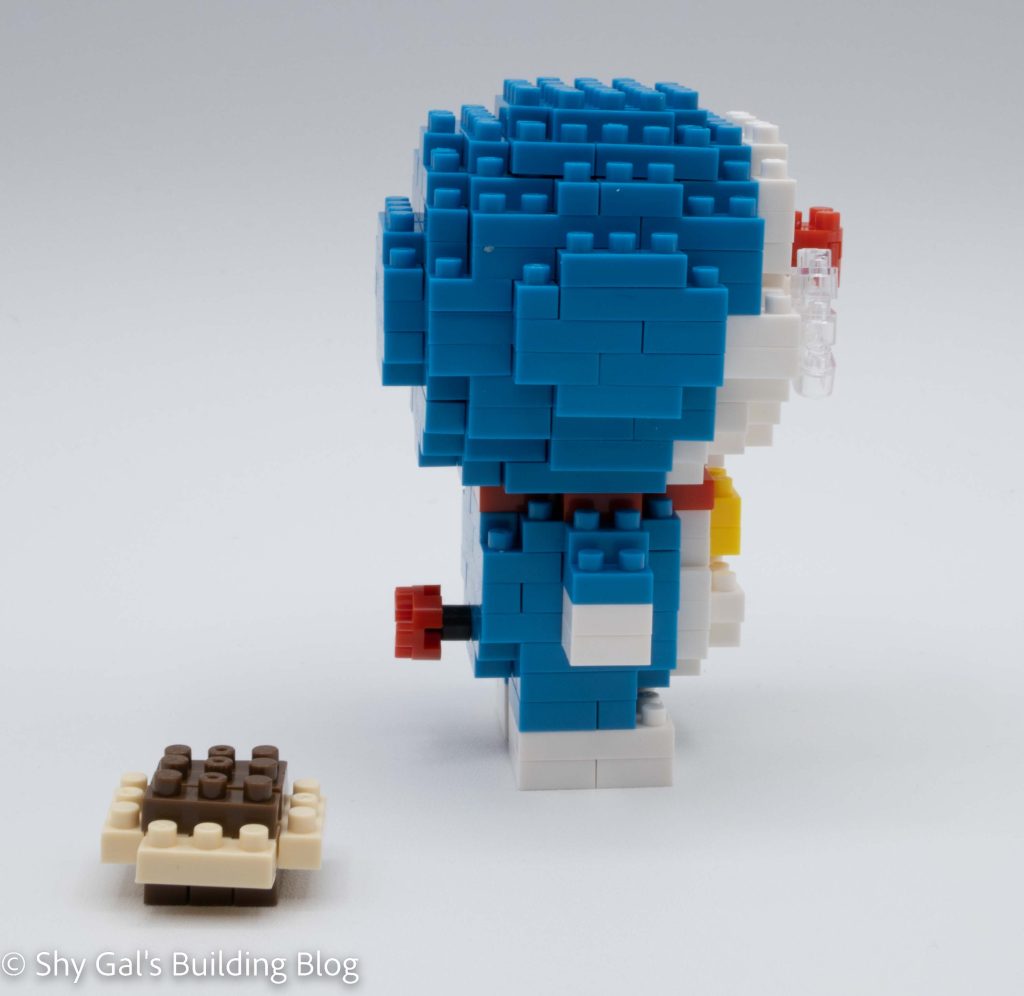
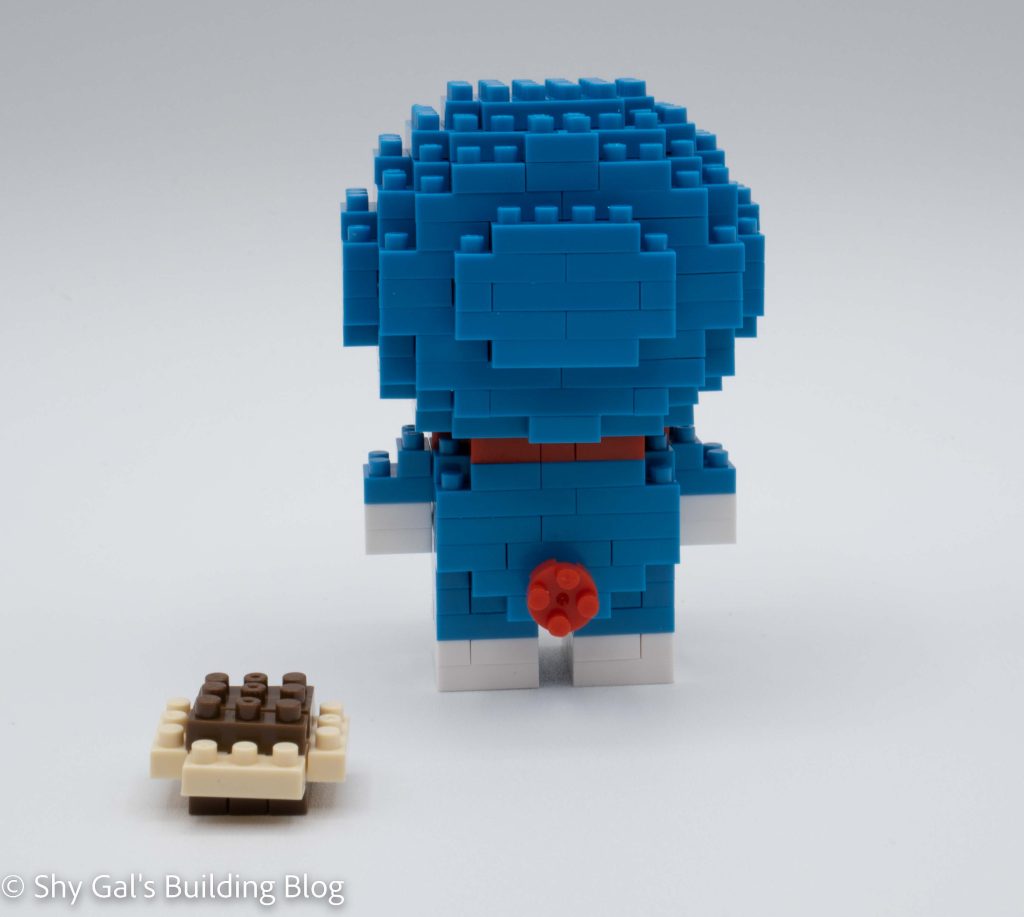
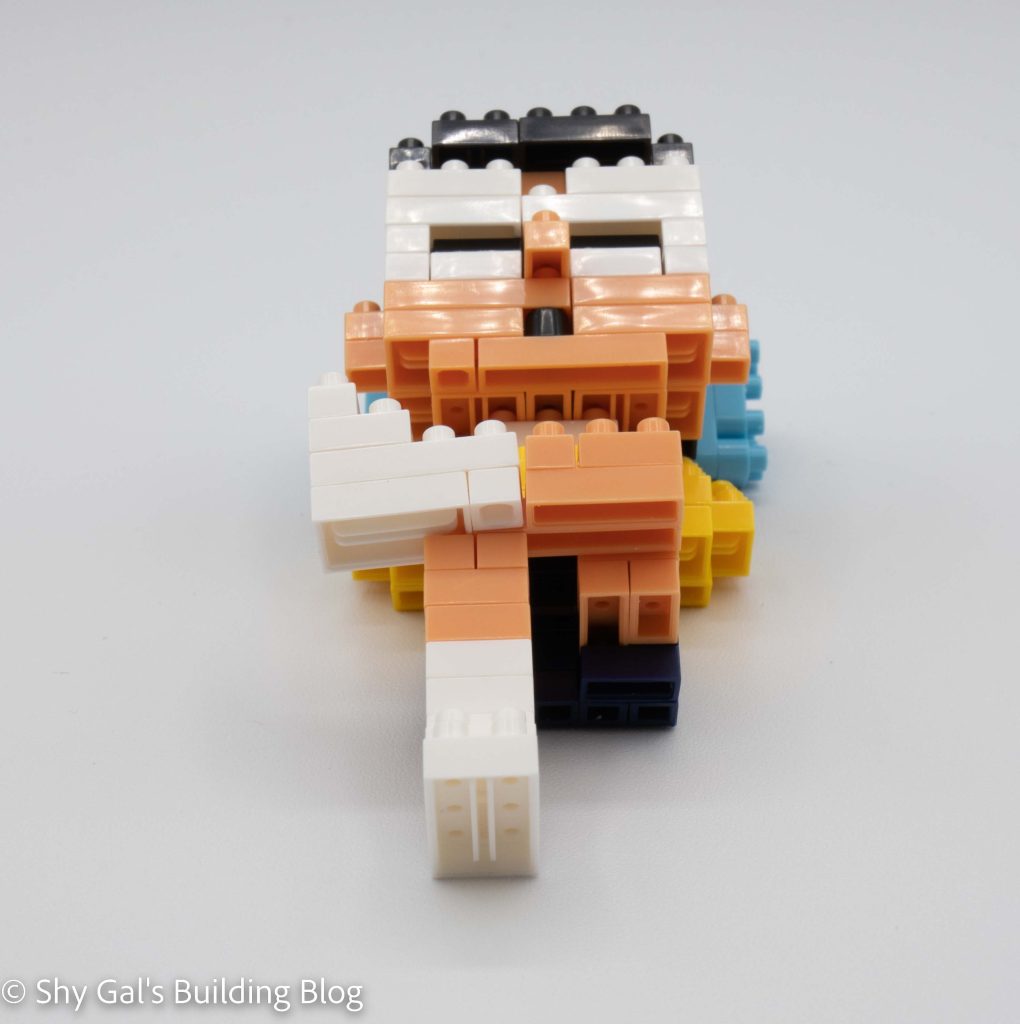
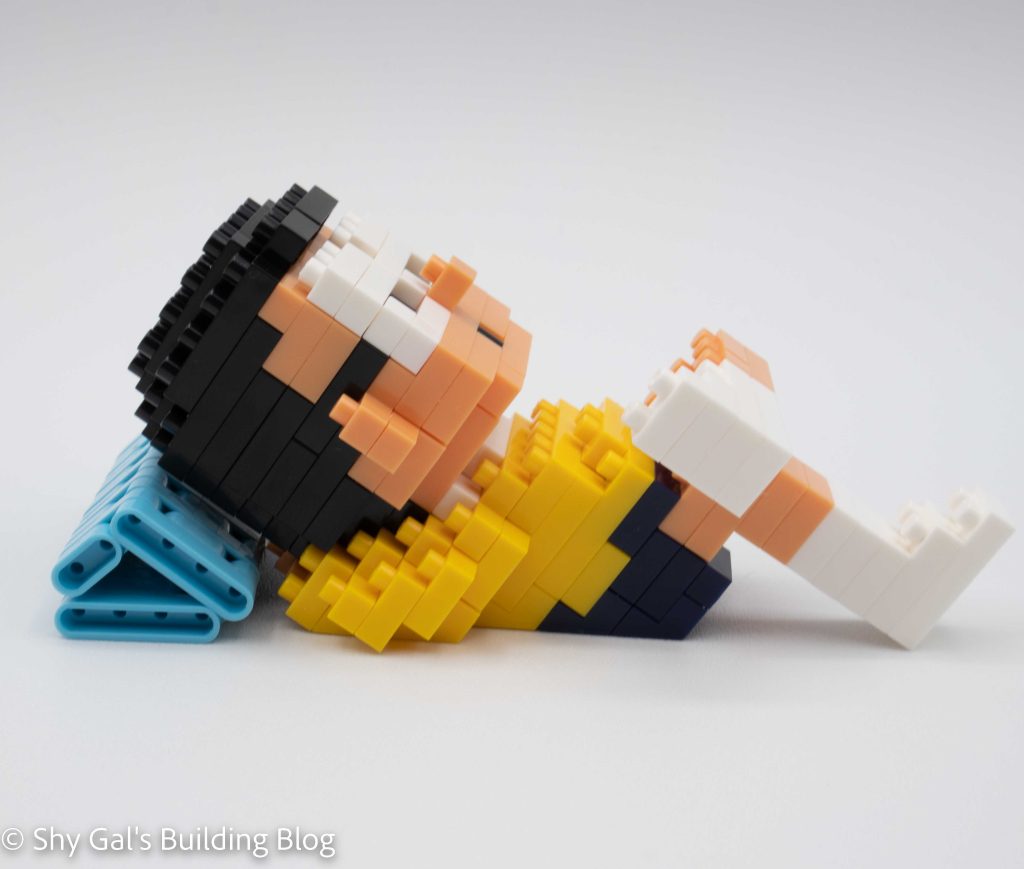
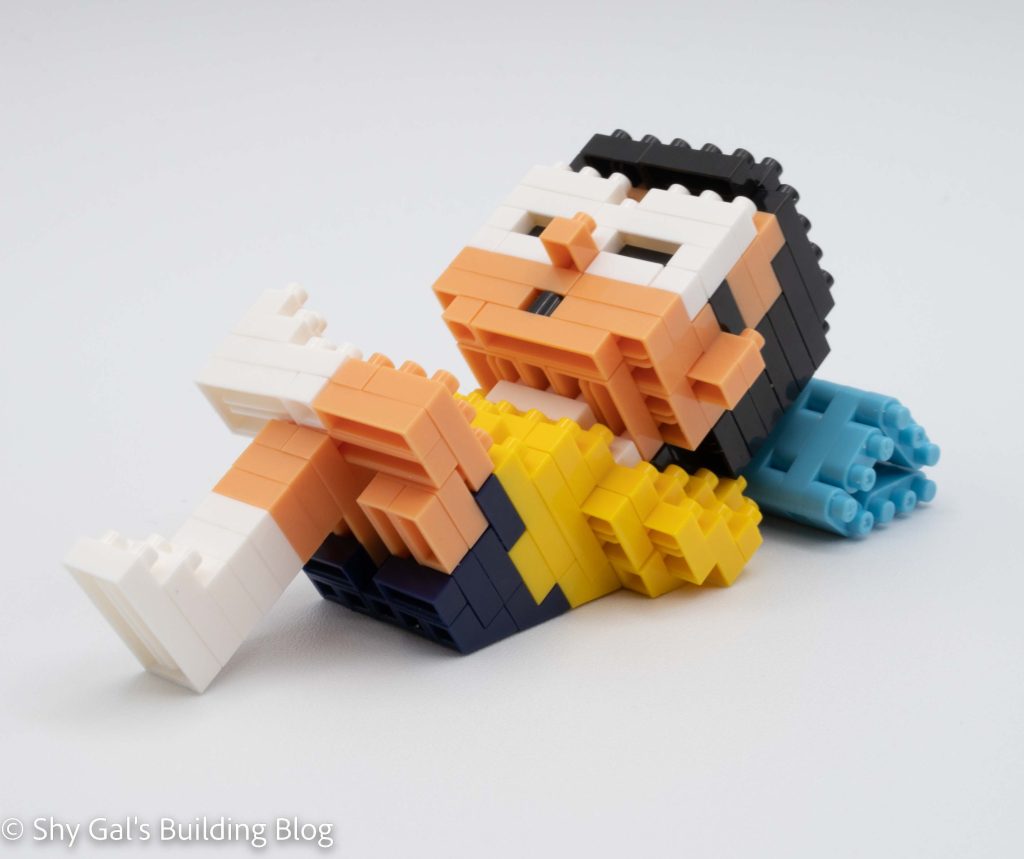
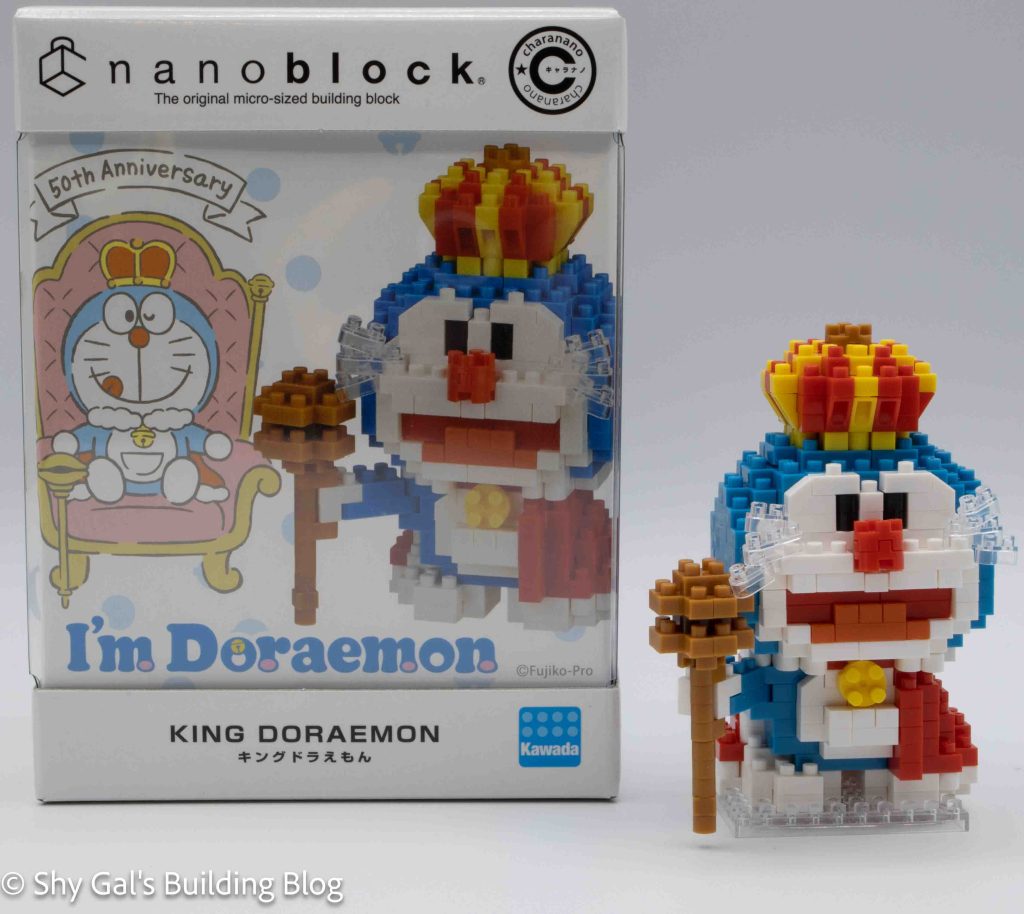
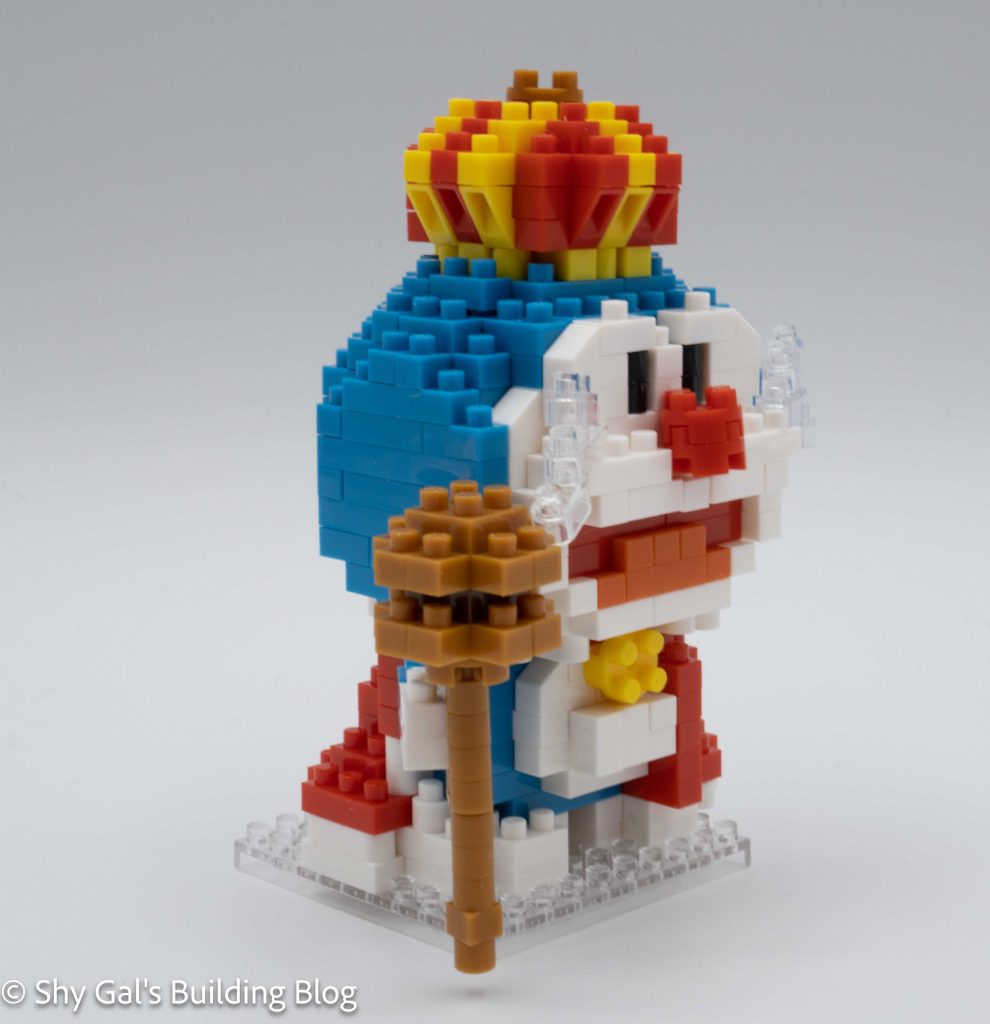
I really like this build because it has an asymmetrical shape for the body. The build begins with a clear base and an outline of white bricks. You then add a layer of white bricks. It is hard to tell which bricks are part of the new layer and which were in the previous layer when you are laying white bricks throughout the build. In the third step, you add Doraemon’s blue and the cape’s red. You continue to layer up the red, white, and blue to create the build adding various details. In step 6, you add the outstretched right arm and held it in place with 1 stud. The one stud is locked in place in the next layer, so it is sturdy in place. Because the brick from Step 6 is curved, you can angle the arm as you want. The next major step after adding on the arm creating and attaching the scepter. I found this step tricky because the bottom was so flimsy it kept breaking off as I continued to build. I ended up waiting until the end to attach the scepter so that it wouldn’t fall off. The final step for the body is to connect the bell on the front of Doraemon.

King Doraemon build back 3/4 view

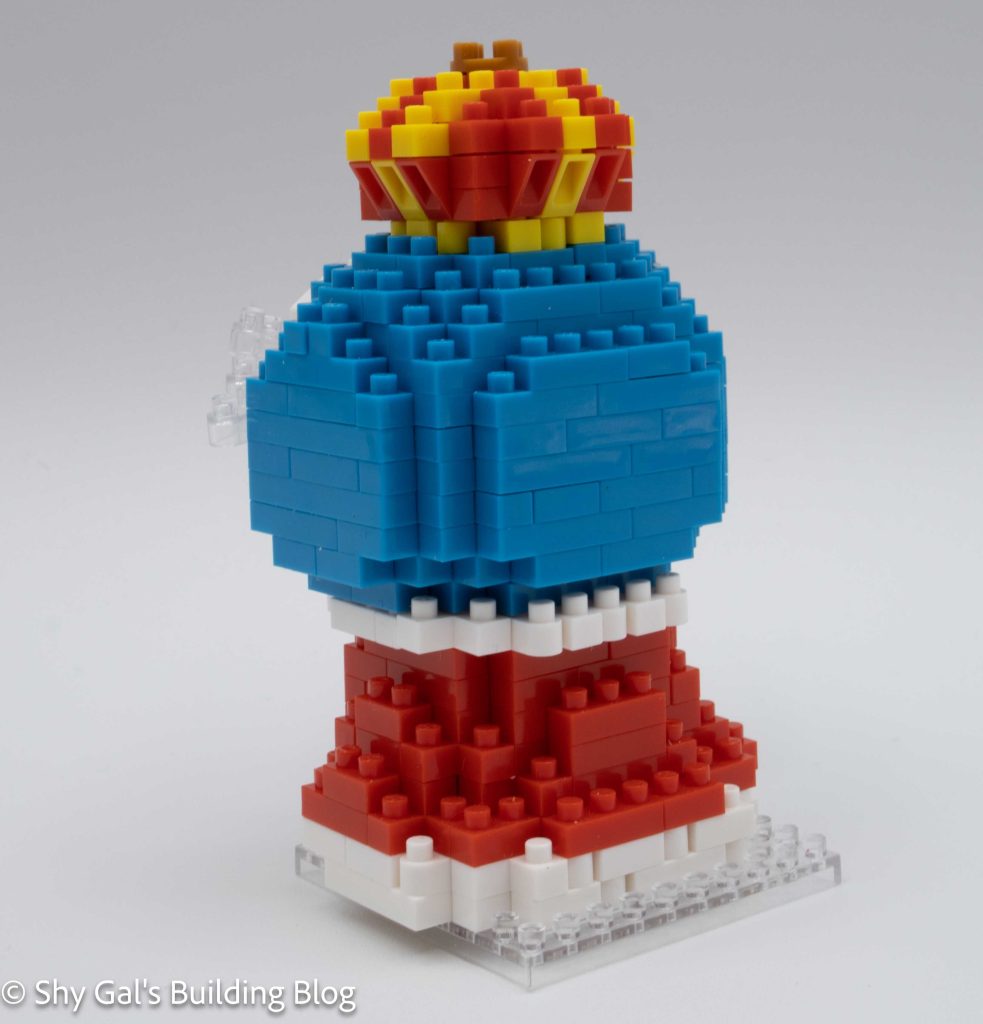
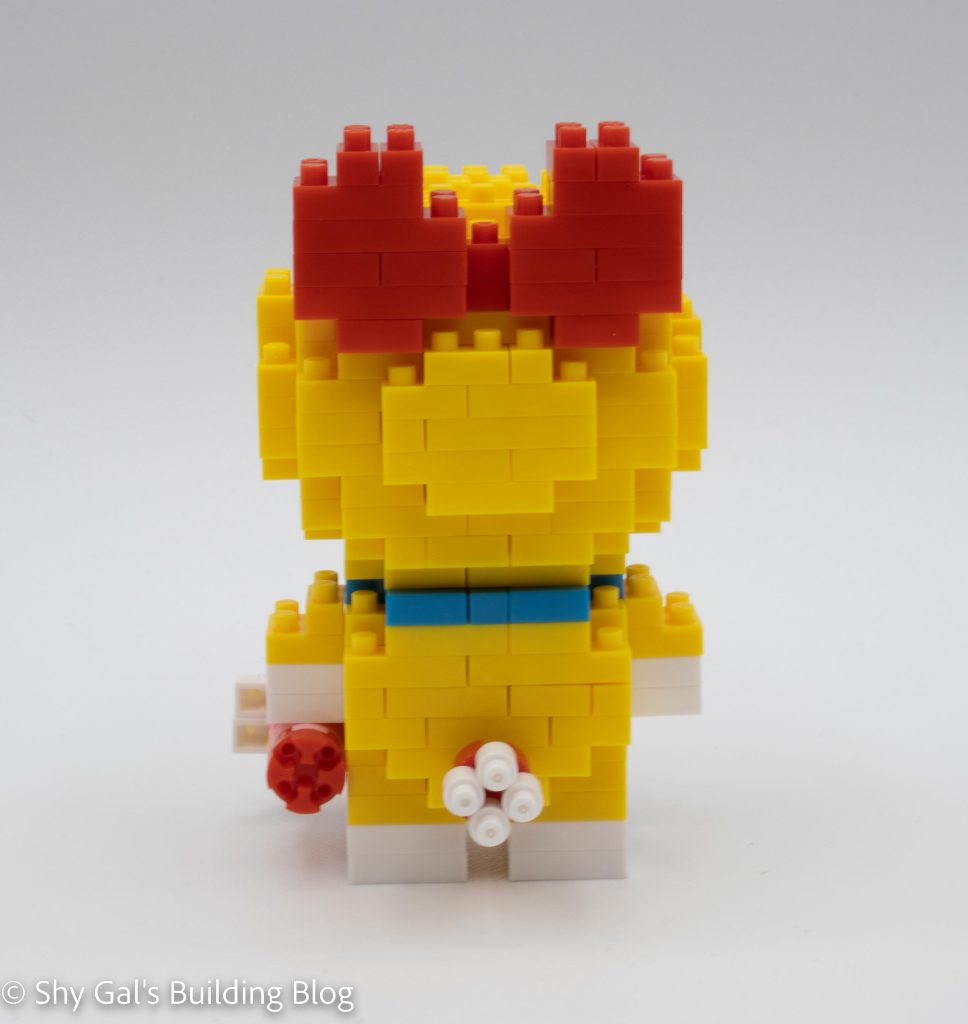
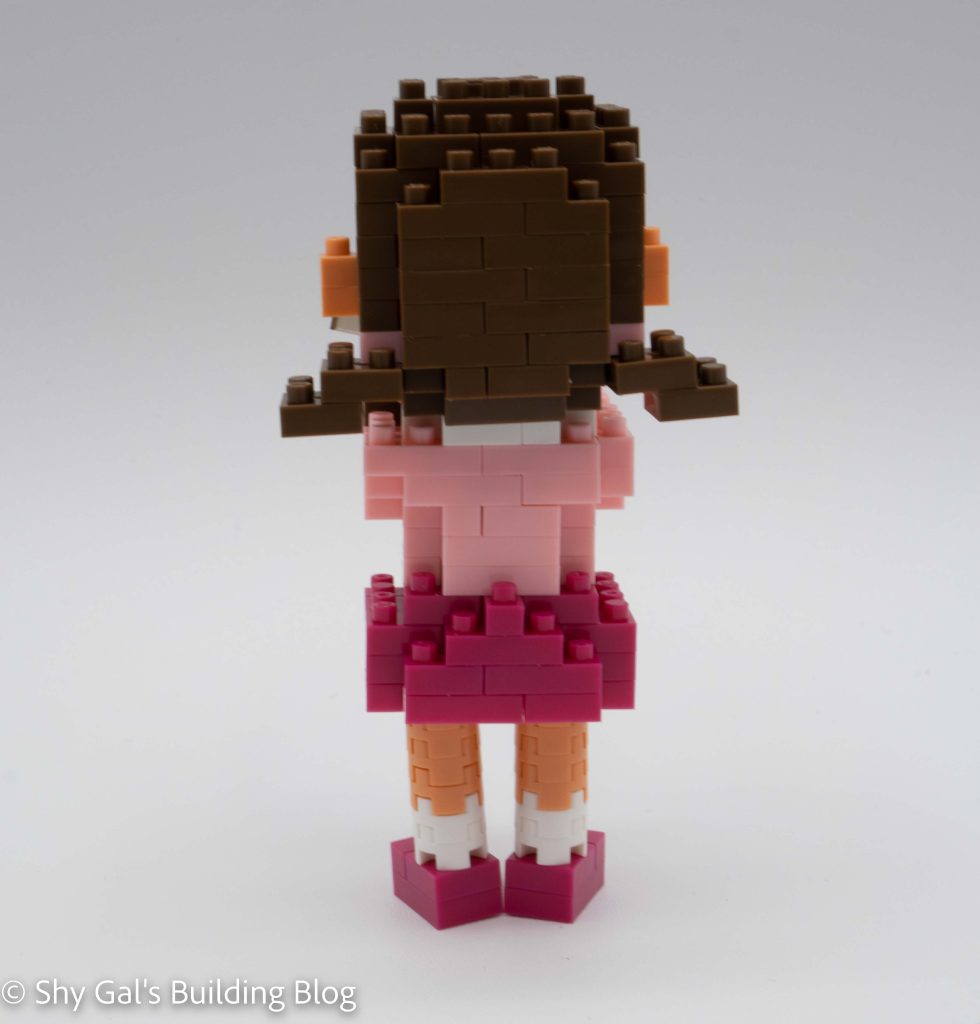
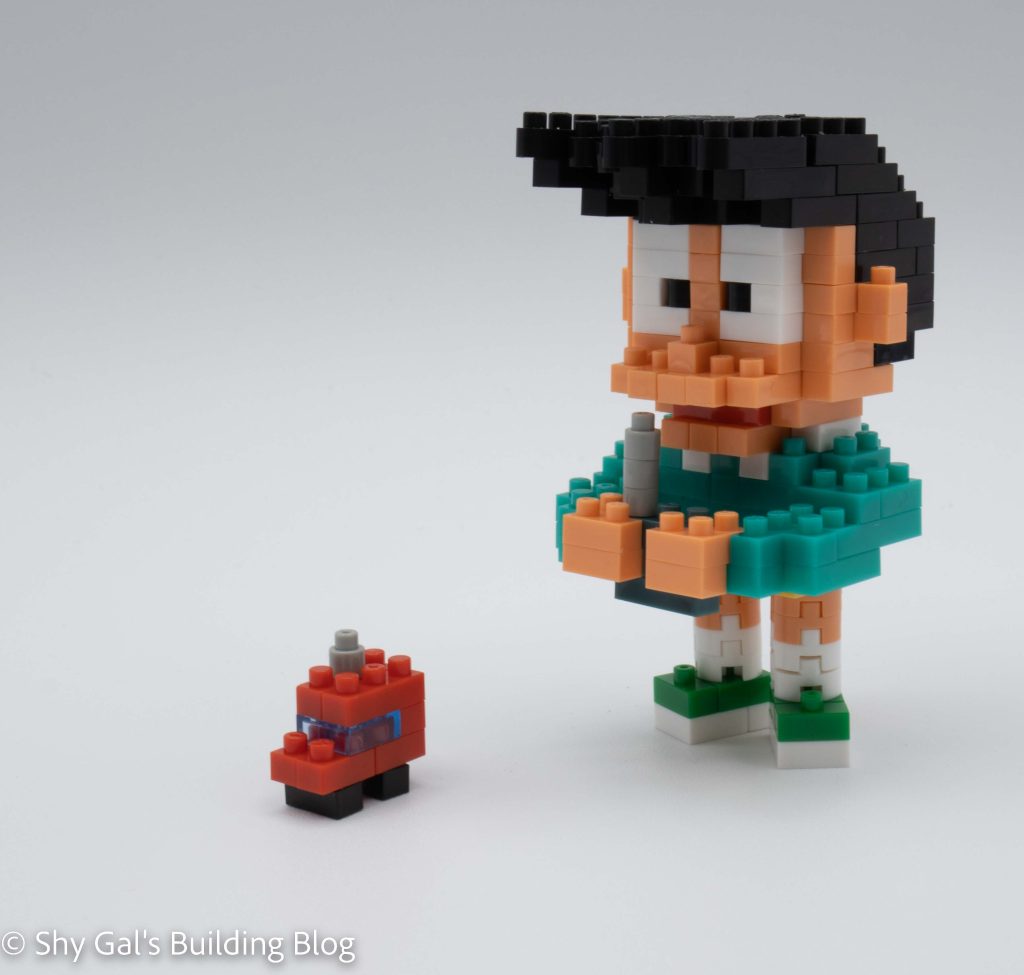
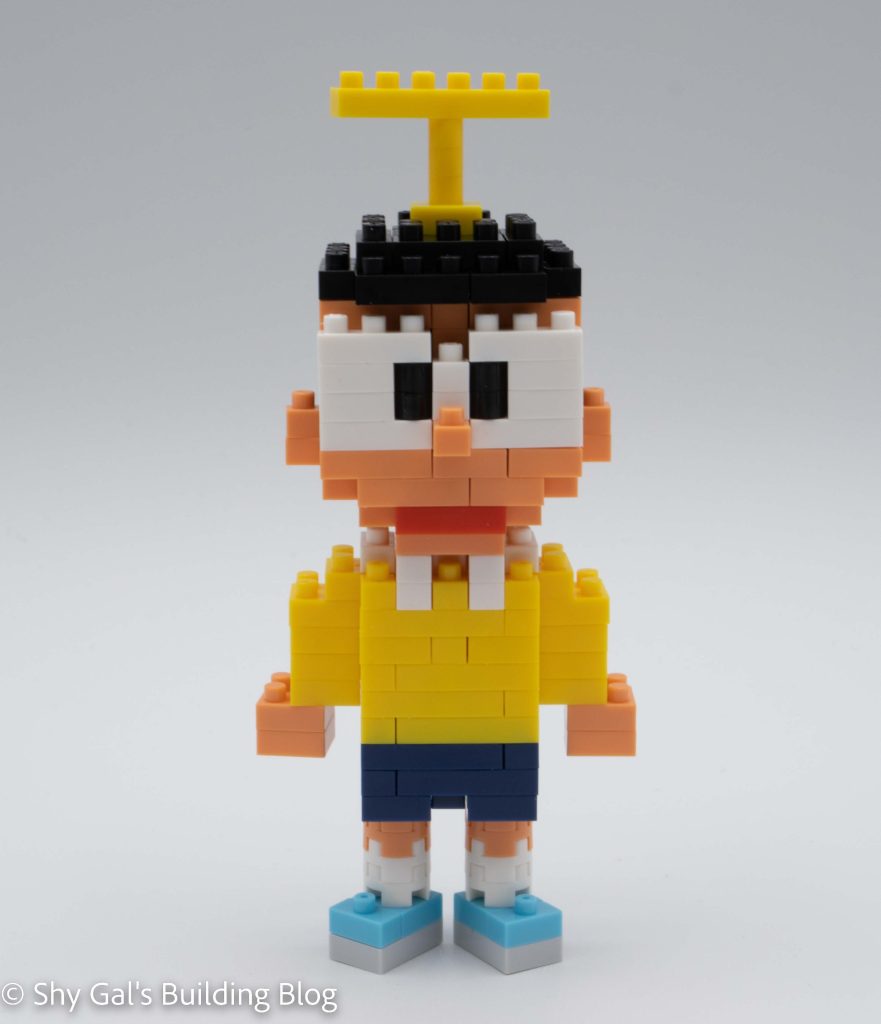
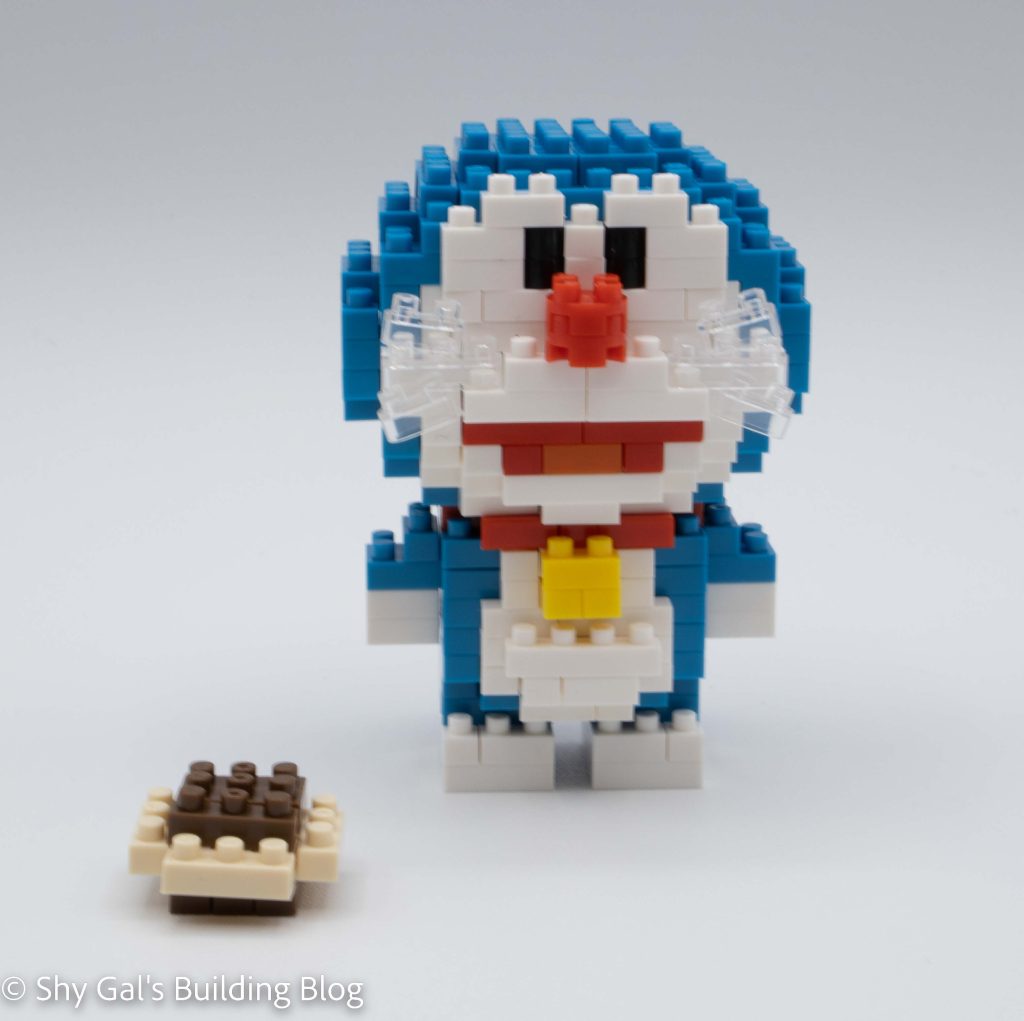
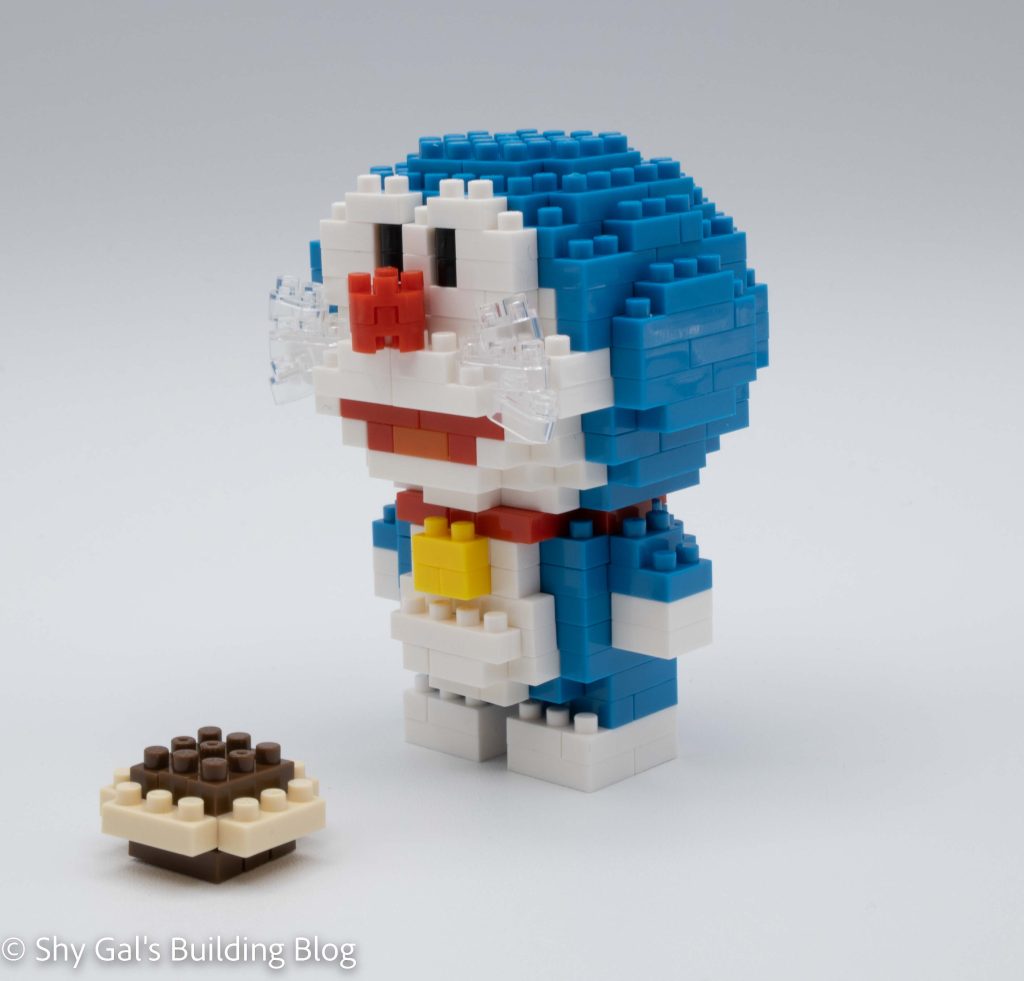
The next major part of the build is to build the head. You begin with a ring of blue and white bricks. You add layers of blue and white along with pink and red for the mouth. You continue to add layers, adding facial details and slowly closing up the head. After closing up the head, you add the crown. You add yellow and red that curves up and flatten out to create a crown. You add a final brown brick at the top of the crown. Since the head is completed, you can now attach the head to the body. Once connected, you add Doraemon’s whiskers as the final step of the build.

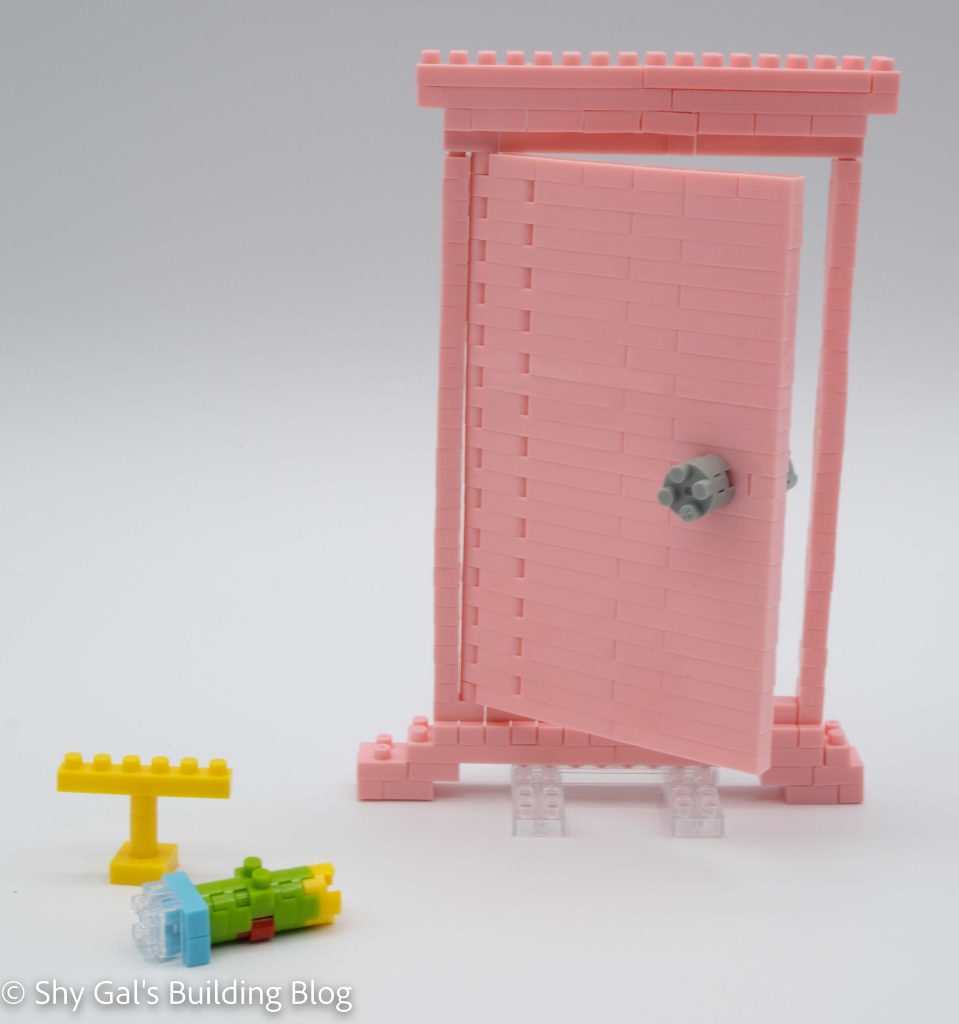
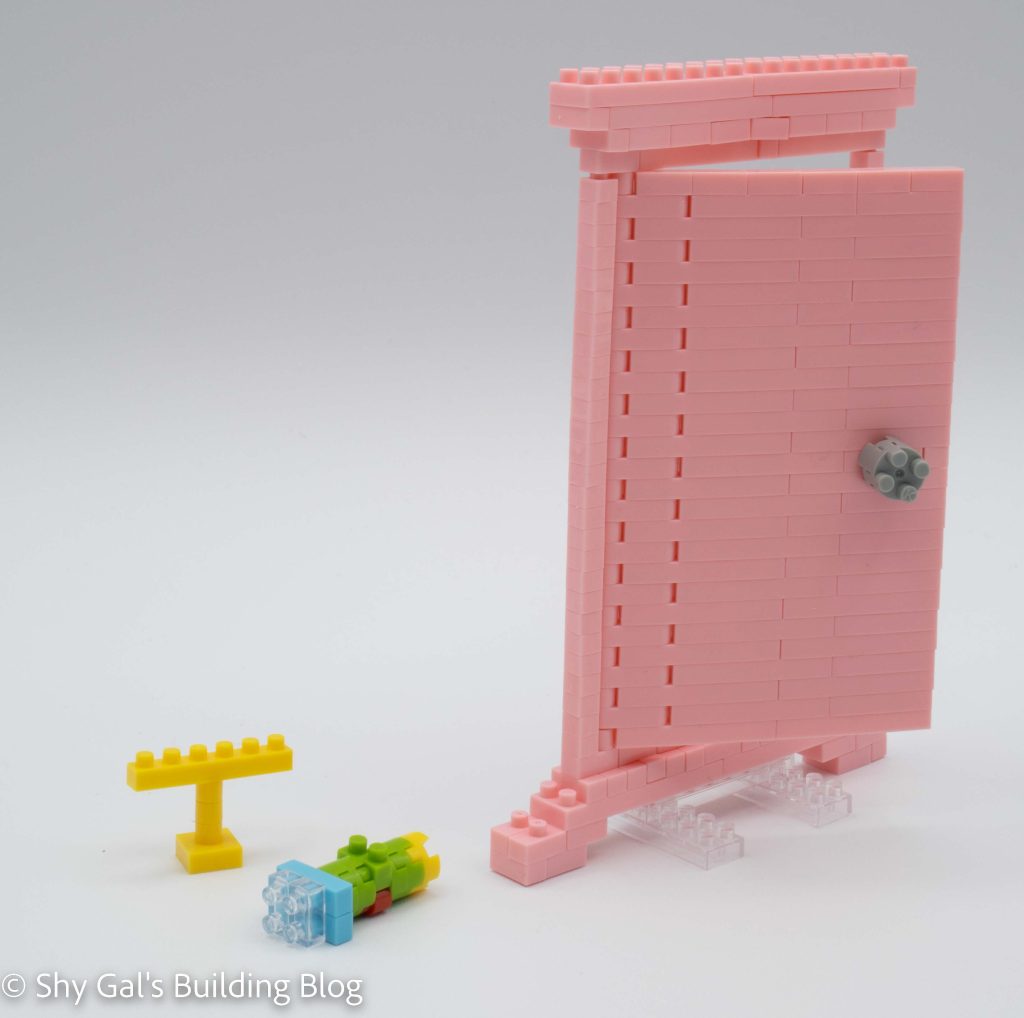
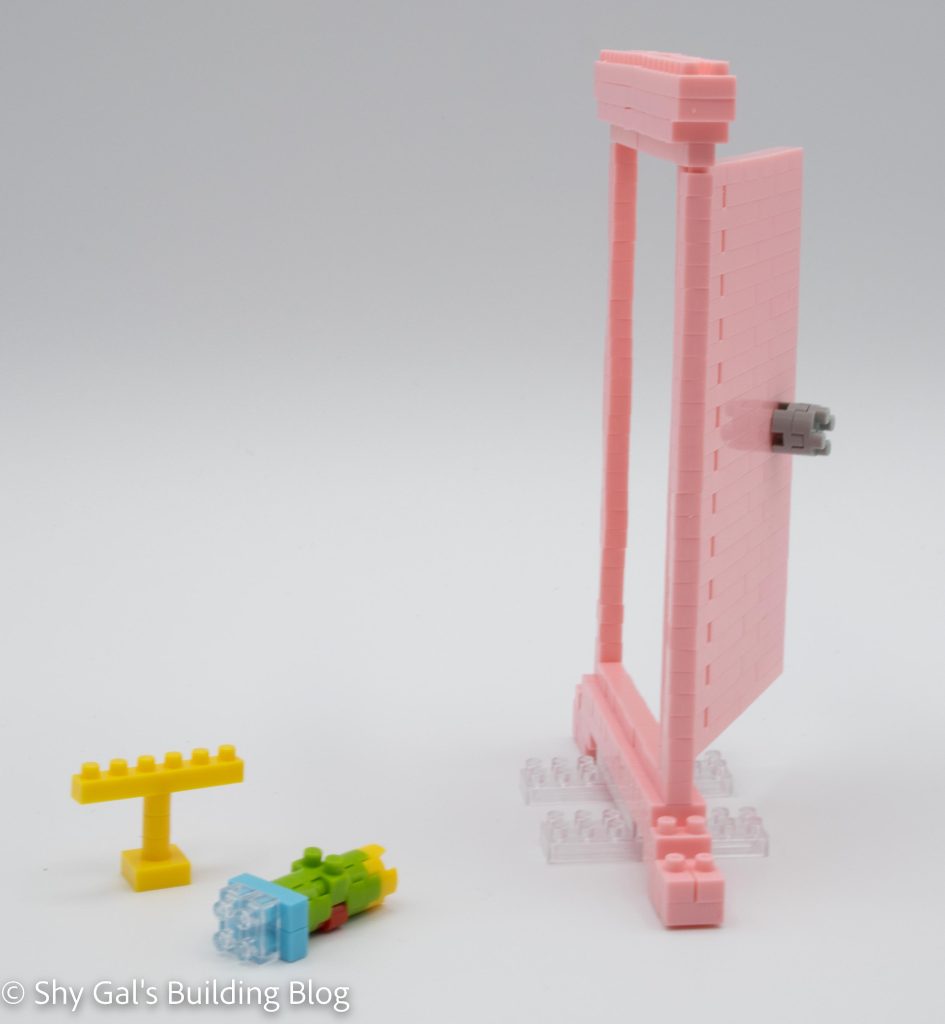
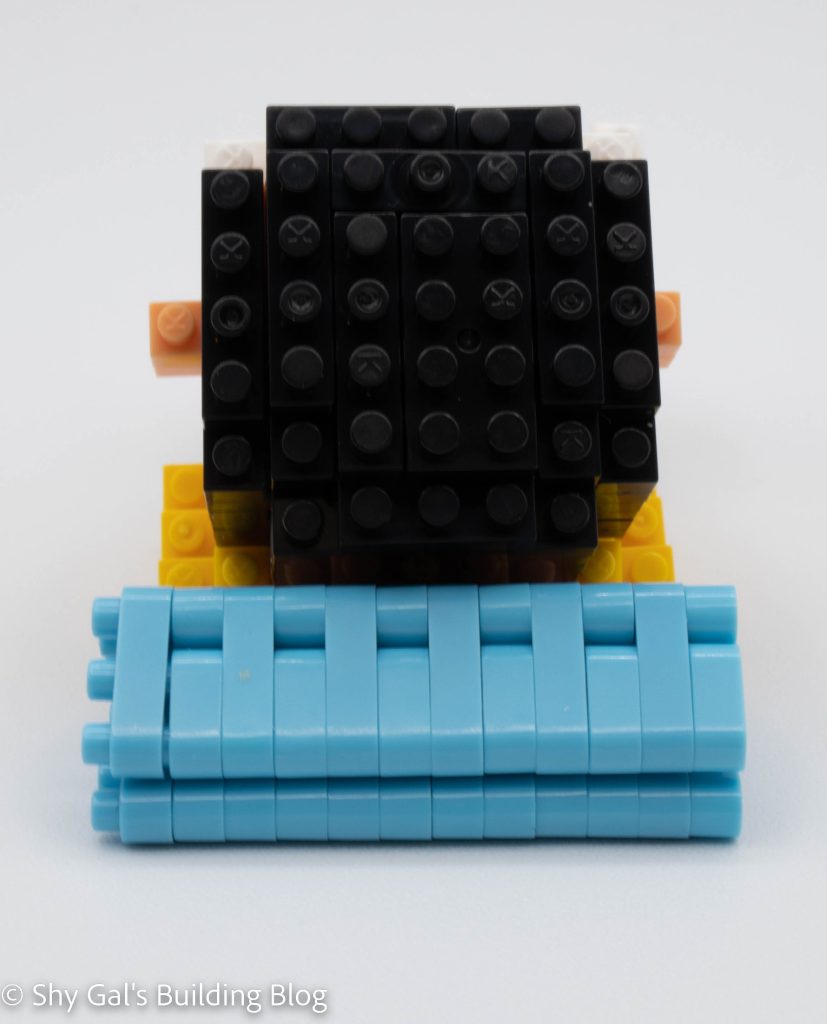
Now that you have the completed build, it’s time to get it into the case. This build is more complicated than the other charanano builds because the bottom of the robe flows over the edge of the base brick. This means that the cardboard doesn’t curve down over the build.

King Doraemon build inside box

Things I liked:

  • The fact I can position the arm

Things I didn’t like:

  • Getting the scepter to attach properly is difficult.

Review of nanoblock Dorami NBCC_042

Dorami build and box

This post is a review of the nanoblock Dorami build. Dorami is part of the nanoblock Character collection. Wondering what else is part of the Character Collection? Click Here for a list.

Number: NBCC_042

Number of Pieces: 290

Difficulty Rating: 3/5

Dorami build front view

Dorami is the younger sister of Doraemon. She is bright yellow with a red bow. For more information about Dorami, check out her wiki page here.

Dorami’s nanoblock build has 2 pieces. There is a head and a body. She also has a gadget that she can hold.

Dorami build side view

The body starts with a base layer of mostly yellow bricks. As you build the body, you add her pouch and her arms. Once you have made the core of the body, you add the feet and the tail.

After building the body, you make the head. Building the head is basically building a sphere while adding the facial details. Dorami has eyes, cheeks, nose, and a mouth. You also add the base for her bow. Once you build the sphere, you add the bow to the back of her head.

Dorami build back view

Dorami has a gadget that she can hold. I think it is the Small Light that is also included in the Dokodemo Door. It is a very straightforward build.

Dorami build 3/4 view

Things I liked:

  • I loved that they made one of the other Robot Cats from the series. I wish they would make more.

Things I didn’t like:

  • Dorami has a pocket unlike Doraemon, but I’m not sure that is clear what it is in this build

Review of nanoblock Shizuka NBCC_041

Shizuka build and box

This post is a review of the nanoblock Shizuka build. Shizuka is part of the nanoblock Character collection. Wondering what else is part of the Character Collection? Click Here for a list.

Number: NBCC_041

Number of Pieces: 220

Difficulty Rating: 2/5

Shizuka build front view

Shizuka is the main female in the Doraemon series. She is also the main love interest for Nobita. For more information about her and her changes over the years, check out her wiki page here.

This build is made up the 2 parts. There is the head and the body.

Shizuka build side view

The build starts with a base layer of dark pink bricks to make the base of the skirt. The skirt is built up in layers, and eventually, you build the shirt with light pink bricks. I really like the detail of Shizuka holding the violin. Lining up the bricks for the violin was a bit tricky.

Shizuka build back view

After you build the body, you need to build the head. The head begins with a base layer and builds up in layers. As you build the head up, you add the ears, nose, and eyes. Flip it over once you close the head and add the pigtails and mouth. Then you connect the head to the body and finish the build.

Shizuka build 3/4 view

Things I liked:

  • The fact Shizuka is playing the violin

Things I didn’t like:

  • The bricks used for the skin seem to have an orangish tint

Review of nanoblock Suneo NBCC_040

Suneo build and box

This post is a review of the nanoblock Suneo build. Suneo is part of the nanoblock Character collection. Wondering what else is part of the Character Collection? Click Here for a list.

Number: NBCC_040

Number of Pieces: 200

Difficulty Rating: 2/5

Suneo build front view

Suneo is one of the main characters in the Doraemon series. He often hangs out with Gian and picks on Nobita. For more information about Suneo, check out his wiki page here.

This build is different from many of the Doraemon builds. This is because it is all built together instead of 2 pieces.

Suneo build side view

The build begins with a base of golden bricking to create the pants. Layers are then added to make the pants and then the top. Once you finish the shirt, you go directly into building the head.

The head is a bit more complicated by adding bits of bricks to enlarge the head and add details. You will add the eyes, nose, and ears when adding the details. The most dramatic part of this build is the hair. Suneo has hair that sticks out in front of his head, and the build captures the hair nicely while allowing the build to still stand.

Suneo build back view

Once you have built the head, you need to add the arms and legs. The arms are straightforward, but make sure you are careful when you attach the hands to the arms because if you don’t, the build won’t complete properly. The placement of the finished legs is a bit tricky. If you don’t place them just right the build will tip over.

The final step is to build the little remote control car. It is very straightforward.

Suneo build 3/4 view

Things I liked:

  • The added detail of the little car
  • The detail in the hair

Things I didn’t like:

  • I wish they had used the skin-tone bricks from the Demon Slayer builds. The skin tone is a little orange for my liking.

Review of nanoblock Gian NBCC_039

Gian build and box

This post is a review of the nanoblock Gian build. Gian is part of the nanoblock Character collection. Wondering what else is part of the Character Collection? Click Here for a list.

Number: NBCC_039

Number of Pieces: 220

Difficulty Rating: 2/5

Gian build front view

Gian is the main antagonist in the Doraemon series. He is a bully that picks on the other kids in the neighborhood, especially Nobita. For more information, check out his wiki page here.

Gian build side view

The build is made up of 2 segments: the body and the head.

The first part is building the body. You begin with a layer of navy bricks to make up the legs. You build the body up in layers and rings while adding the outstretched arms. Once you close up the body, you add the details for the hands. This includes Gian holding a microphone in his right hand. The final step of the body is to add the legs and feet to the bottom of the body build.

Gian build back view

The second segment of the nanoblock build is the head. Like the body, it because with a layer of bricks. It is built up in rings, basically creating a sphere. As you add the rings, you will add the details of the mouth, ears, and eyes.

Once you finish the head and close up the sphere, you attach it to the body to complete the build.

Gian build 3/4 view

Things I liked:

  • The detail of adding the microphone being held in his hand

Things I didn’t like:

  • The color of the skin tone bricks is very close to the orange so it was a bit difficult to tell which bricks to use while building

Review of nanoblock Dokodemo Door & Small Light & Take Copter NBCC_038

Dokodemo Door & Small Light & Take Copter build and box

This post is a review of the nanoblock Dokodemo Door & Small Light & Take Copter build. Dokodemo Door & Small Light & Take Copter is part of the nanoblock Character collection. Wondering what else is part of the Character Collection? Click Here for a list.

Number: NBCC-038

Number of Pieces: 200

Difficulty Rating: 2/5

Dokodemo Door & Small Light & Take Copter builds front view

The Dokodemo Door (or  Anywhere Door in English) is one of Doraemon’s many gadgets. It is one of the most popular and frequently used gadgets in the series. For information check out the Doraemon wiki page.

The main part of the kit is the door. Overall the door needs to be put together very cleanly or else the top of the door won’t attach cleanly. There are also 2 mini builds for the light and copter.

Dokodemo Door & Small Light & Take Copter builds front 3/4 view

The door begins with creating the base of the door. It is a bit hard to tell how much overhang there should be past the clear bricks with the first layer of pink in the instructions. Next, you build the door frame. The door frame can be tricky because you want all 27 1×1 bricks to line up so that the frame is square.

Dokodemo Door & Small Light & Take Copter build side view open door

After building the outside frame, you build the actual door. The door is built in repeating layers of pink bricks. One layer is different because that is where you add the doorknobs. A nice detail is that the knob is on both sides. After building the door you attach it to the frame.

Once you’ve completed the door, you need to add the top of the door. The build is very straightforward. Be careful attaching the top because if you haven’t done the build tightly, the top won’t attach cleanly.

The final step is to do the two mini builds for the Small Light & Take Copter which are quick and straightforward.

Dokodemo Door & Small Light & Take Copter builds wide view with closed door

Things I liked:

  • The bonus items are nice
  • The fact that the door opens and closes

Things I didn’t like:

  • Getting the sides of the door lined up was tricky
  • My door is very fragile because the door is a bit taller than the sides

Review of nanoblock Nobita NBCC_037

Nobita build and box

This post is a review of the nanoblock Nobita build. Nobita is part of the nanoblock Character collection. Wondering what else is part of the Character Collection? Click Here for a list.

Number: NBCC_037

Number of Pieces: 190

Difficulty Rating: 2/5

Nobita build front view

Nobita is the protagonist of the Doraemon series. He is lazy, which really bothers Doraemon. For more information about Nobita, check out the Doraemon wiki page about him here. This is the original nanoblock kit for Nobita and has him standing up like a normal nanoblock build. The second model is one where Nobita lying down on his back.

Nobita build side view

This build is made of 2 parts the head and the body.

The body is a simple build that begins with a base layer of navy bricks. The layers are added to the base to create the pants. Once the pants are made, you add layers of yellow to create the body. The top of the torso also has the details of a white collar. The final step of the body is to add the arms and legs. When I added the legs, the build became tippy, so it is important to make sure it is stable before adding the head.

The second part of the build is to build the head. It begins with a base of skin tone and black bricks. You then build up the head in layers creating Nobita’s glasses and eyes along with the rest of the head. Once you closed up the head, you add the mouth and the neck. The final step of the main build is to attach the head to the body.

Nobita build back view

This build, like several of the Doraemon builds, has a miniature build. This build comes with take-copter which attaches to Nobita’s head. There is also a take-copter with the Dokodemo Door build.

Nobita build 3/4 view

Things I liked:

  • The details of the glasses and the copter in the build

Things I didn’t like:

  • The feet aren’t super stable, so the build doesn’t still flat if you aren’t careful.

Review of nanoblock Standing Doraemon NBCC_036

Standing Doraemon build and box

This post is a review of the nanoblock Doraemon build. Doraemon is part of the nanoblock Character collection. Wondering what else is part of the Character Collection? Click Here for a list.

Number: NBCC_036

Number of Pieces: 270

Difficulty Rating: 3/5

Standing Doraemon front view

This is the second version of Doraemon I have built. The other is the sitting version which you can read the review here.

This build is broken up into the body and the head. There is also a mini build for the cream doughnut.

Standing Doraemon build side view

You begin this nanoblock build by building the body. The body is a pretty straightforward build that goes up in layers. I was worried about the second layer because the ring of bricks on the outside of the build wasn’t complete so I was worried there would be a gap. As layers are added to the body, details like the hands, bell, tail and collar are all added. Once you have built the main segment of the body, you add the feet. I was pleasantly surprised that the legs covered the gap created in layer 2.

Standing Doraemon build back view

Once the body is built, it’s time to make the head. You begin the head by building 2 pieces for the front and back of the head. These pieces are combined to create the first few layers of the head. You add on layers by adding to the outer ring of the head. Be careful adding the layers just over the mouth because they stick out and aren’t flush. Keep adding layers with the rings getting smaller. There is an odd step to add the bricks that become the space between the eyes, but it looks a little funny while building the head layer. Once you have closed up the head, it’s time to add the final details of the eyes, nose, and whiskers.

The final step is to build to connect the head to the body. There is also a mini build that is very straightforward to make your Doraemon a sweet treat.

Standing Doraemon 3/4 view

Things I liked:

  • The fact that the gap was filled in, so I didn’t need to figure out how to fill the gap
  • The number of details that create Doraemon

Things I didn’t like:

  • There is a gap in the eyes that I don’t really like, and I feel is noticeable
  • I feel like the feet are blocky and aren’t rounded like Doraemon’s actual feet

Review of nanoblock Lying Nobita NBCC_075

Lying Nobita build and box

This post is a review of the nanoblock Nobita build. Nobita is part of the nanoblock Character collection. Wondering what else is part of the Character Collection? Click Here for a list.

Number: NBCC_075

Number of Pieces: 220

Difficulty Rating: 3/5

Lying Nobita build front view

Nobita is the protagonist of the Doraemon series. He is lazy, which really bothers Doraemon. For more information about Nobita, check out the Doraemon wiki page about him here. This is the second nanoblock kit for Nobita and has him lying down instead of standing up like a normal nanoblock build.

This is an unusual build because instead of the final model standing, the final build is lying down on his back. This is created using the bricks that I call the steps. They are the bricks that are 1×2, but one stud is a brick higher with a slanted connection.

This nanoblock build is made up of the body, the head, and a little pillow.

Lying Nobita build side view

The body begins by building a base layer. It begins using step bricks to create Nobita’s back. You make the body in layers. You eventually add the leg that crosses over the body. You keep adding onto the body with each layer, adding a step brick to create Nobita’s back that finished build will lie on. The body ends with completing the arms that go around the back of the head.

Lying Nobita build back view

The other major piece of the build is the head. Like the body, the head is built in layers. The head is very straightforward. There are nice details to create the mouth and glasses. I also like how the eyes are a little inset which adds to the various details of the build.

The final build is a pillow for Nobita to lie on. It is simply a stack of rounded blue bricks that you curl around to make a triangular pillow.

Lying Nobita build 3/4 view

Things I liked:

  • The positioning of Nobita is very unique for the nanoblock characters

Things I didn’t like:

  • That the navy and the black bricks were in the same bag

Review of nanoblock Time Machine NBCC_076

This post is a review of the nanoblock Time Machine build. The Time Machine is part of the nanoblock Character Collection. Wondering what else is part of the Character Collection series? Click Here for a list.

Number: NBCC_076 

Number of Pieces: 240

Difficulty Rating: 2/5

Doraemon is known for having all kinds of tools. One of these is a Time Machine. You can use the Doraemon model NBCC_074 to have Doraemon sitting and controlling the machine.

The build begins by starting with a base and extending on the base. From there, you add additional detailed outlines on the base. You continue to build the details of the time machine. You build up the chair and the console as you build on each layer. I really like that the chair is set up so it’s compatible with the Doraemon build. I really like the details of the console and the use of clear bricks in the details.

Once you have created most of the machine, you flip it over and add the supports to tie the base bricks together. I think this step should have been earlier because I had problems with the base staying connected when I was building. The last thing you add is the lamp. Stacking 24 1×1 round pieces on top of each over is difficult to get straight. The final detail is the lamp. It was tricky to get the lamp on and getting the lamp set straight.

In general, I wasn’t super excited when I completed this build. The Time Machine by itself is a little boring because it is just a seat and a lamp. I did get excited; however, when I added the Sitting Doraemon (NBCC_074), I did in another build because it made it look a lot less empty.

Things I liked:

  • The playability of the set

Things I didn’t like:

  • The light is hard to get perfectly straight
  • The build is a little boring by itself