Review of nanoblock Dialga Deluxe Edition NBPM_094

Check out my new review of the ! Link in bio.

#nanoblock #nanoblocks #pokémon #pokemon #pokemoncommunity #block #toyart #microblock
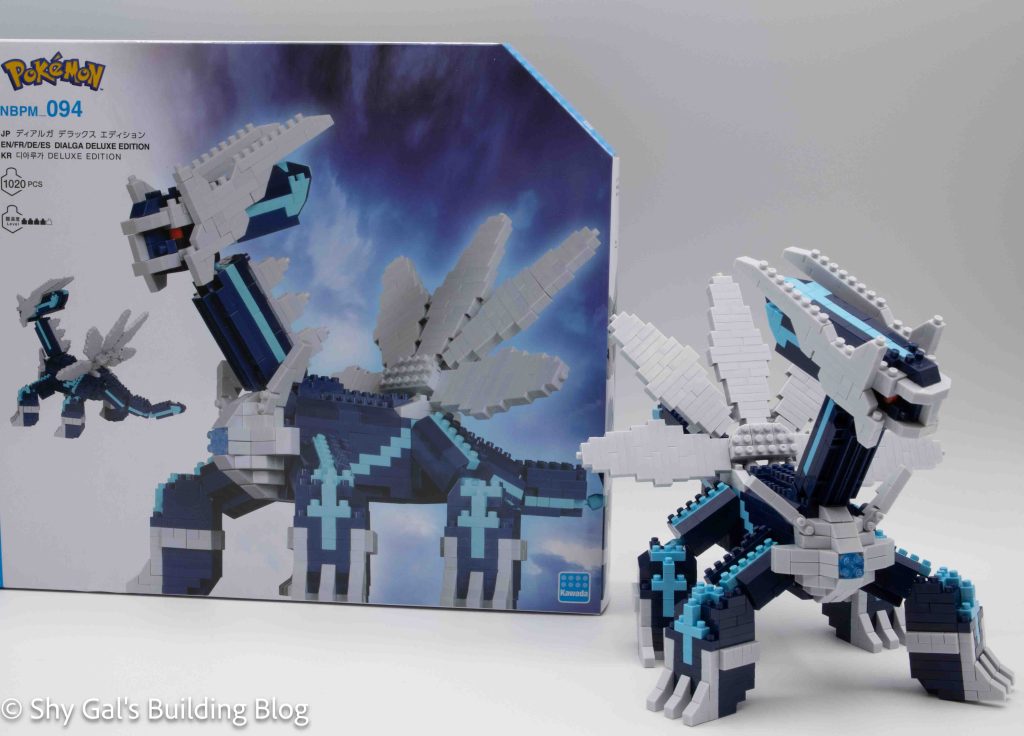
Dialga Deluxe Edition build and box

This post is a review of the nanoblock Dialga Deluxe Edition build. Dialga is part of the nanoblock Pokemon collection. Wondering what else is part of the Pokemon collection? Click here for a list.

Number: NBPM_094

Number of Pieces: 1020

Difficulty Rating: 4/5
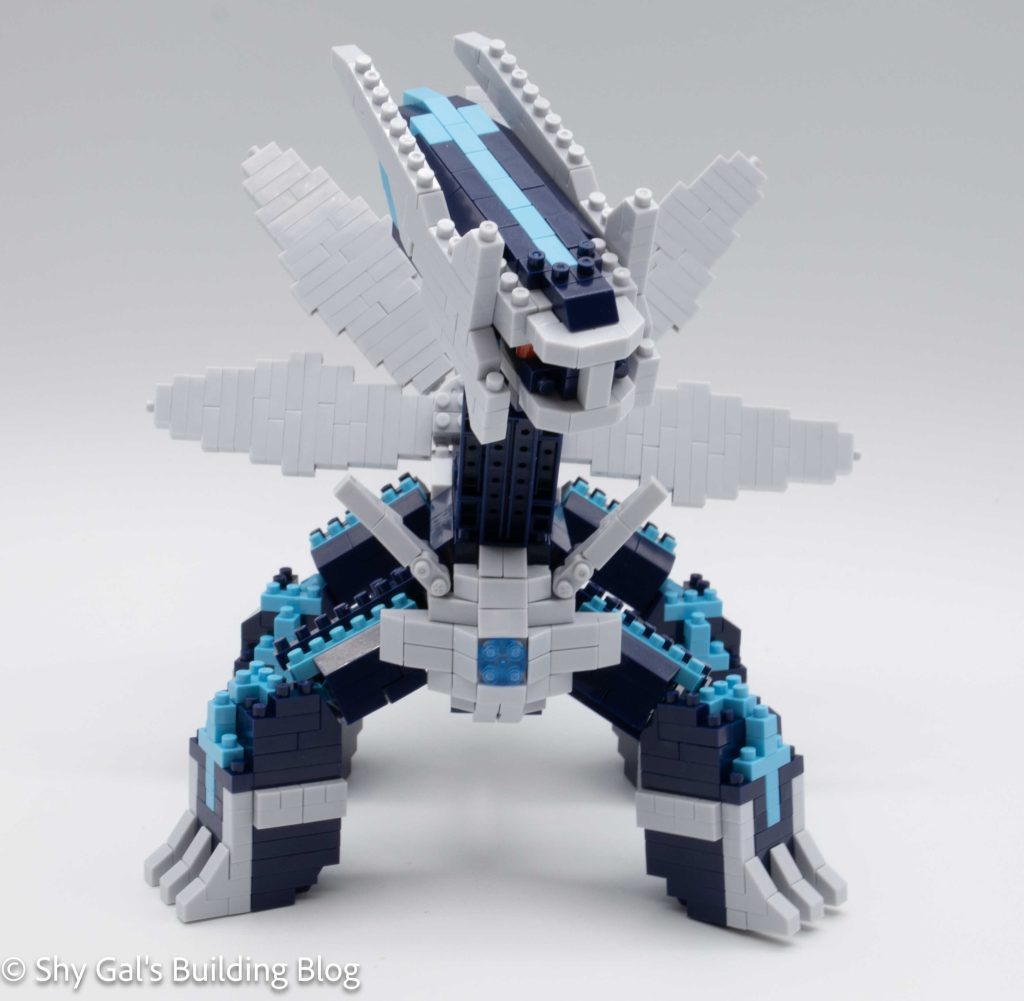
Dialga Deluxe Edition build front view

Dialga is one of the generation 4 box legendary Pokemon. It is the master of time. Dialga and Palkia are the only Deluxe nanoblock Pokemon that don’t have also have standard builds.

When I opened the box, I was sad to see that the instructions were printed on a huge piece of paper instead of a booklet. Some of the deluxe kits I’ve built have had booklets and I prefer those. There were 13 bags of bricks so I knew I needed to build the Dialga on my table instead of my tray table.
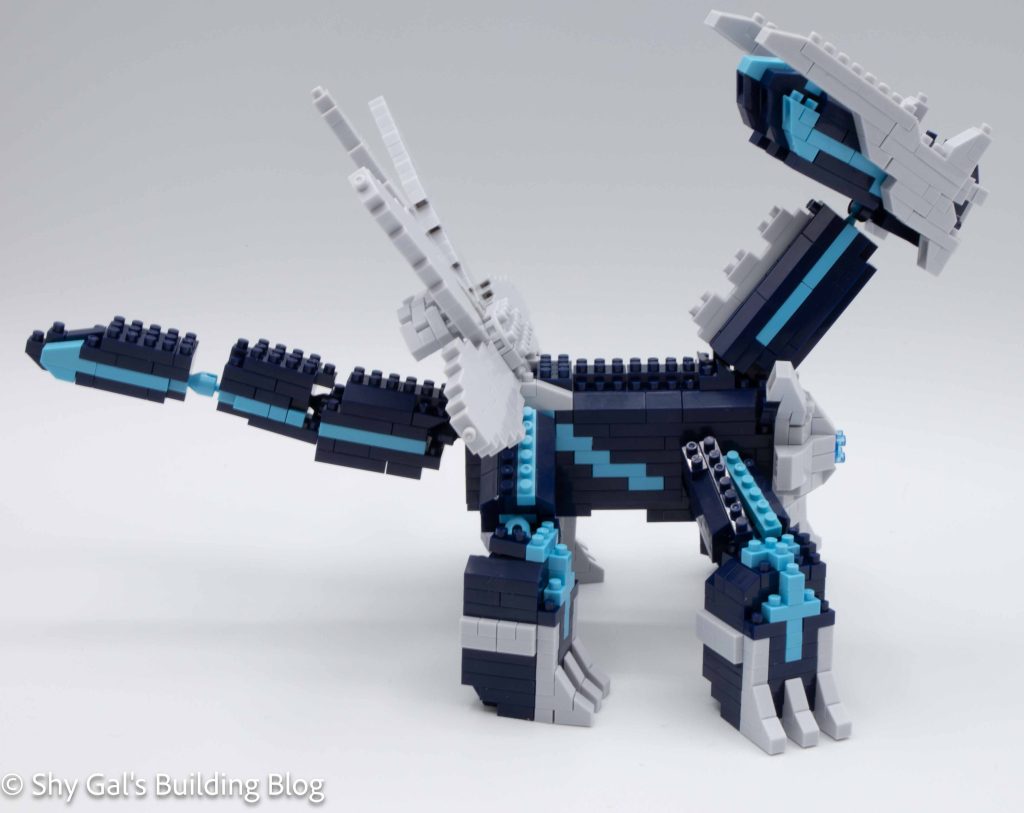
Dialga Deluxe Edition build and side view

Dialga is built primarily made from navy bricks. While building, the navy bricks appear to be black when I’m digging around in the bags to find the bricks. There are handful of black brciks in the head. After I realized there was black I checked each bag with a flashlight to find the black and noted which bricks were black.
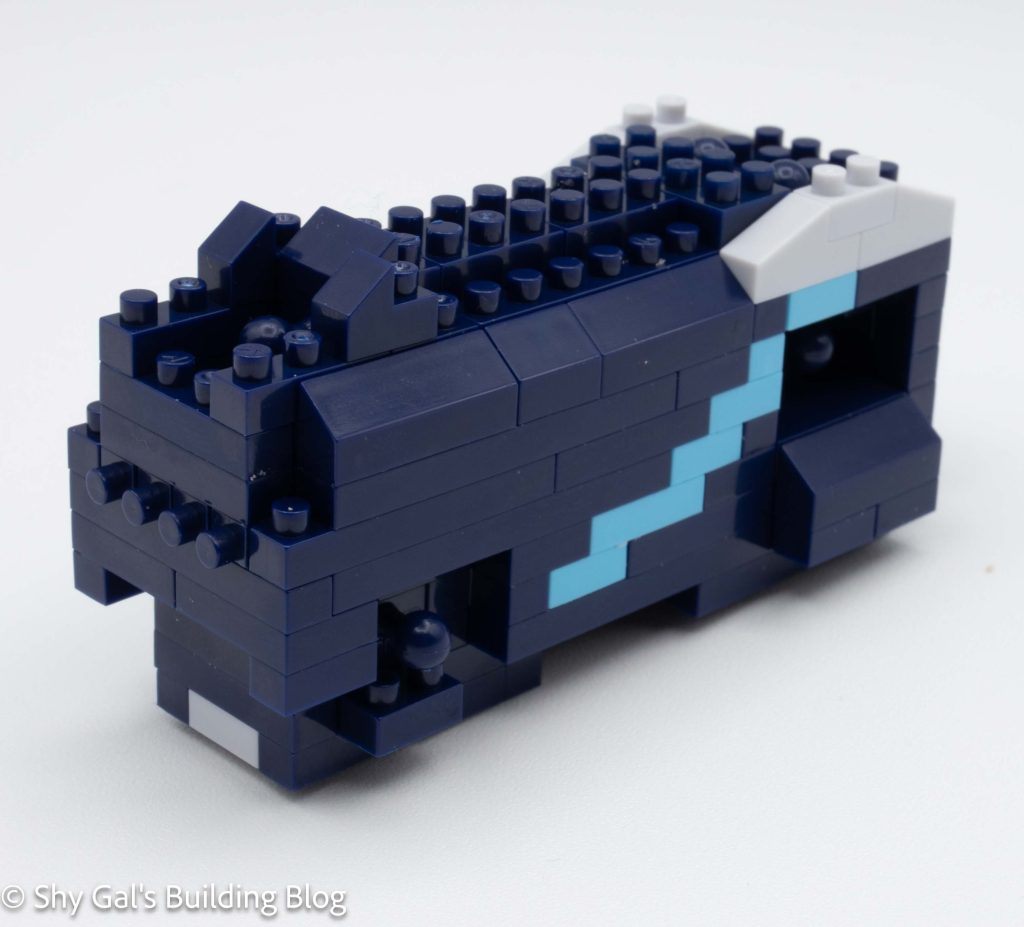
Dialga Deluxe Edition build body detail

The first section is the main body. The body is very straightforward and I could easily build the body on my nanoblock pad. I was surprised by how many ball joints were in the body while I was building it. I waited until the end to connect the large section together so that I was trying to balance a build and could attach them in a way that made sense.
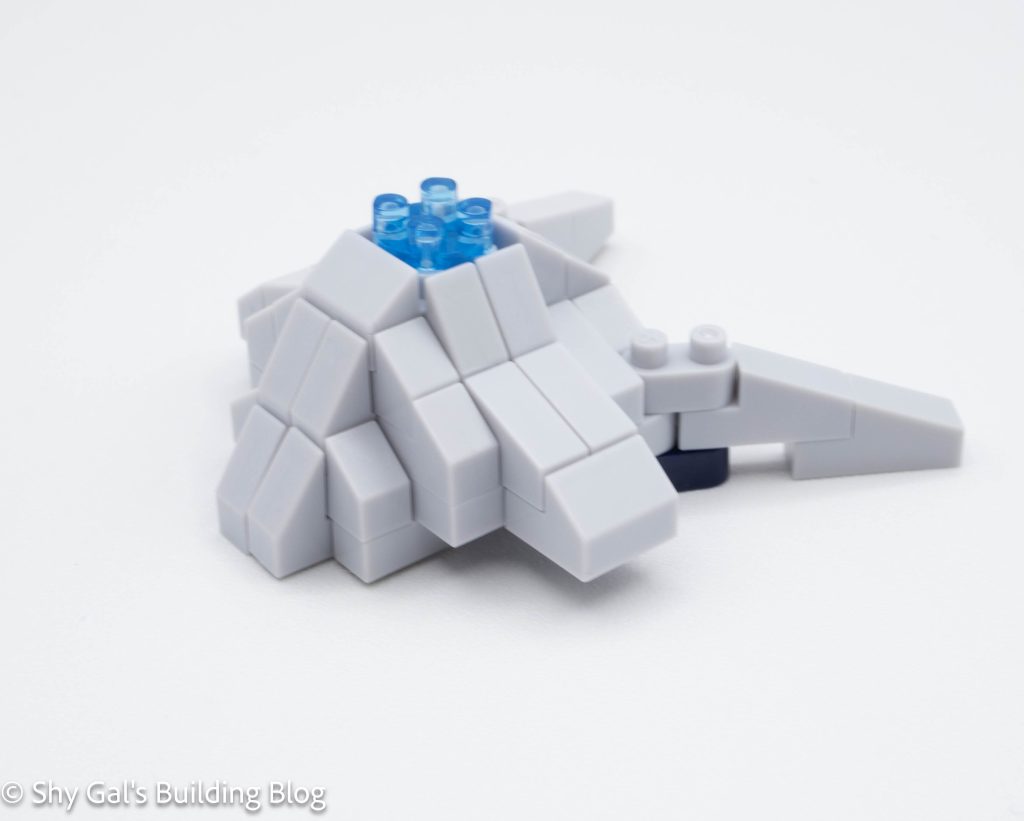
Dialga Deluxe Edition build gem detail

The second section is the gem on Dialga’s chest. It is a bit tricky to keep track of which slanty pieces are needed for each step. All of the grey slanty pieces are in the bag so it’s a bit tricky to find the right piece. Once again I built this section on my nanoblock pad.
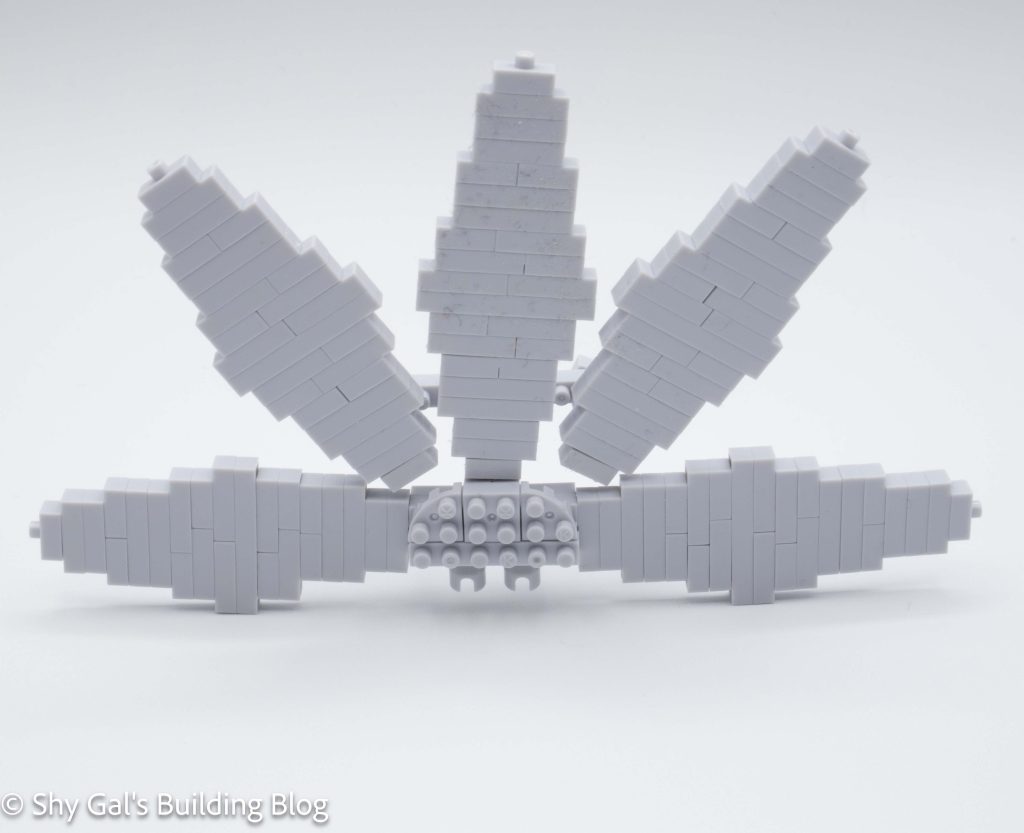
Dialga Deluxe Edition build fin detail

The next section is the fin on Dialga’s back. Each large section of the fin is a tower of nanoblocks. The hardest part of the tower is making sure the layers are properly overlaid so gaps are minimal. However, what makes the fin truly tricky is the center core where all the towers attach. Getting the fins properly spaced out and not overlapping or pushing on each other depends on having everything centered perfectly which is tricky.

The next step is the base of the 4 feet. Each foot is identical and goes up in layers. Each foot is a solid tower of bricks. I was able to lay all 4 feet out on my large nanoblock pad which made it easier to make sure I didn’t miss any steps on any foot because I was looking at all 4 feet at once.
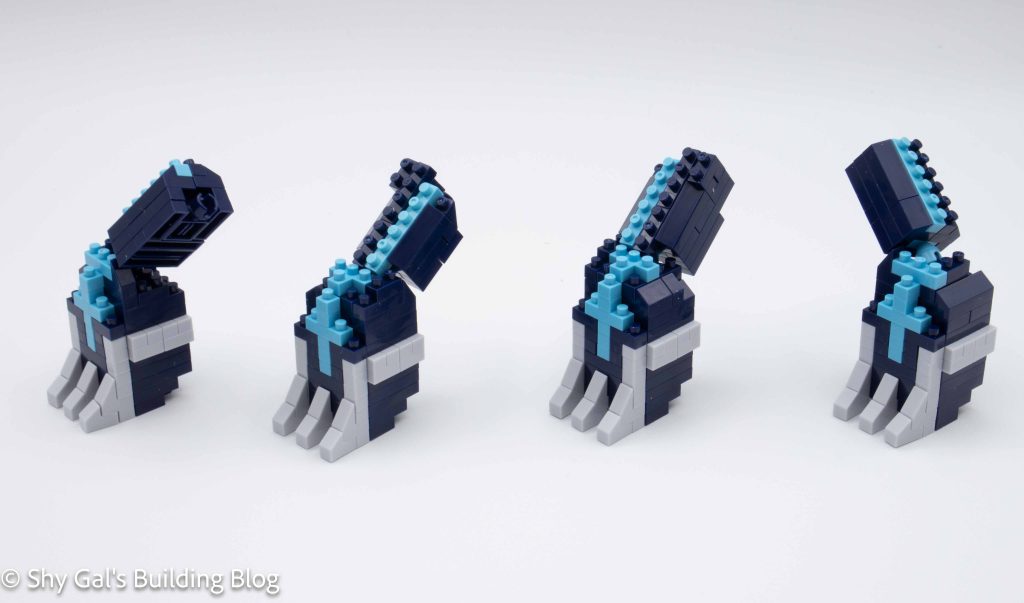
Dialga Deluxe Edition build leg detail

The next step is to build all 4 of Dialga’s legs. Each leg is a combination of adding the leg connection to the foot and the actual leg itself. all of the brick work is fairly straightforward. The biggest problem I had was getting the leg and foot to nicely attach due to how the ball joint was lined up. I wanted the moveable areas on the socket to be at angles but the actual socket only allows for 90 degree movements.

The next 2 sections are the tail and the neck. Both are fairly straightforward with the only real difference being the tail is 3 sections connected with ball joints.
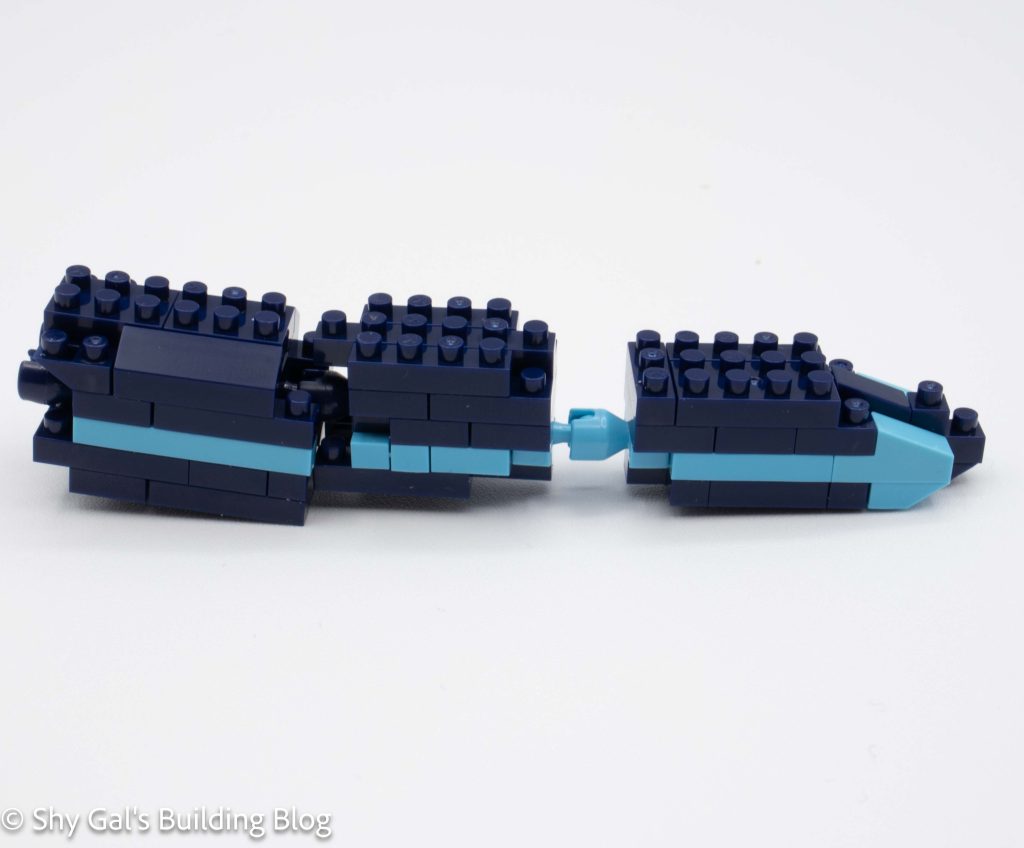
Dialga Deluxe Edition build tail detail

The head is very straightforward to build. The instructions also make it very clear the couple of steps that used black bricks instead of the navy. I really like that the initial head build has studs sticking out the front which allows for building on and creating Dialga’s curved face instead of it being a block.
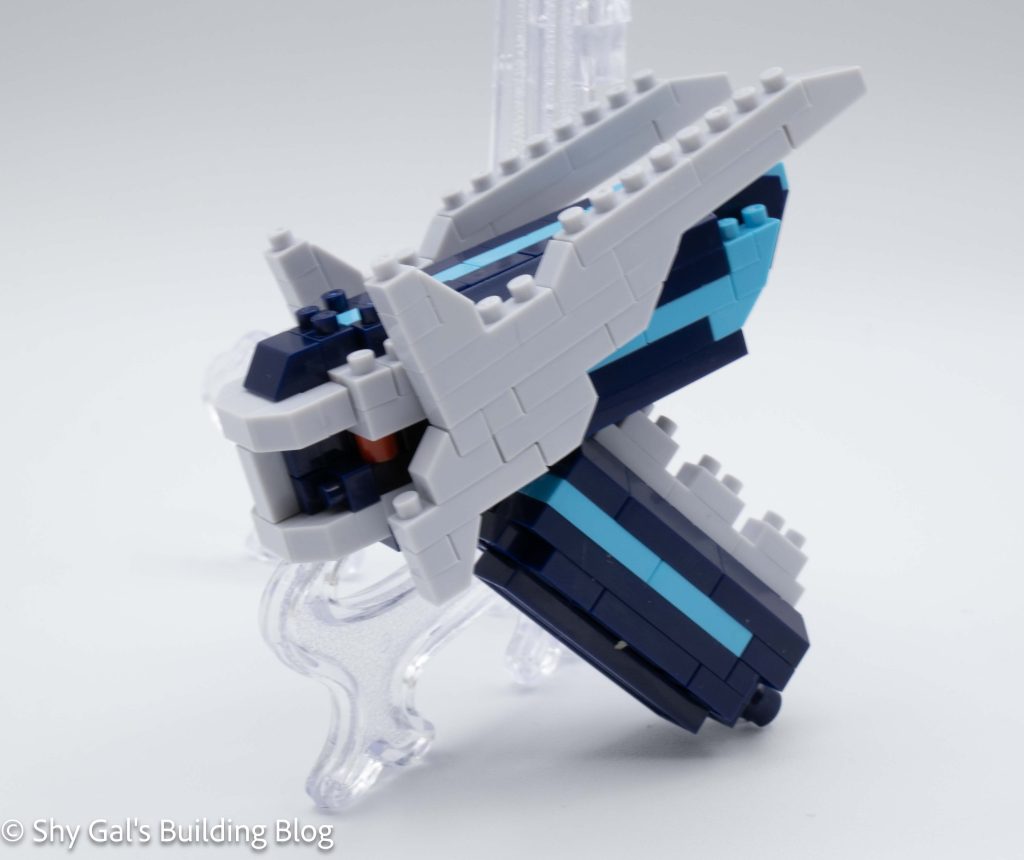
Dialga Deluxe Edition build head detail

The final step is to build the head decorations on both sides of Dialga’s head. They are identical other than 1 brick which has a side stud that is used to connect the piece to the head. Both pieces are connected by inserting a round 1×1 into a socket. This is my favorite way of connecting bricks, but I think it works in this case.
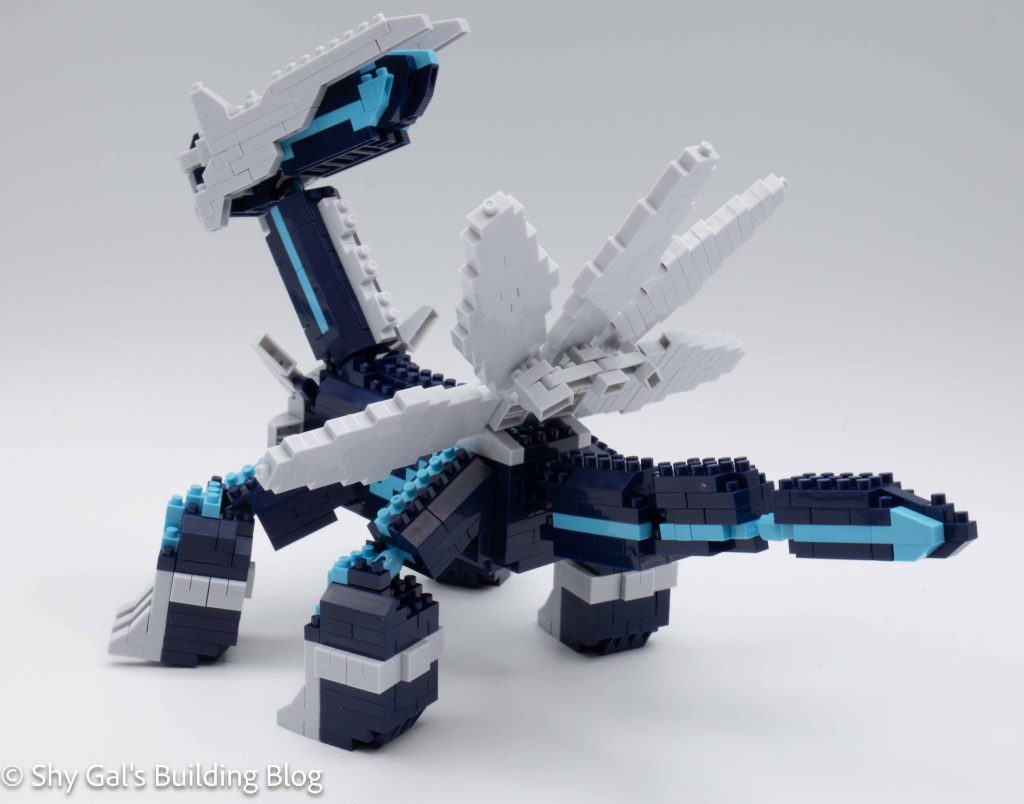
Dialga Deluxe Edition build back 3/4 view

After building all the sections I needed to connect them. I would recommend getting a second pair of hands for this part so that each ball joint can be added but pressure can be kept off the already connected ball joints. First I connected the head to the neck and added the head decorations. Next, I connected the tail to the body. Then I attached the fin. Next, I attached the feet. Finally, I attached the head unit to the body.
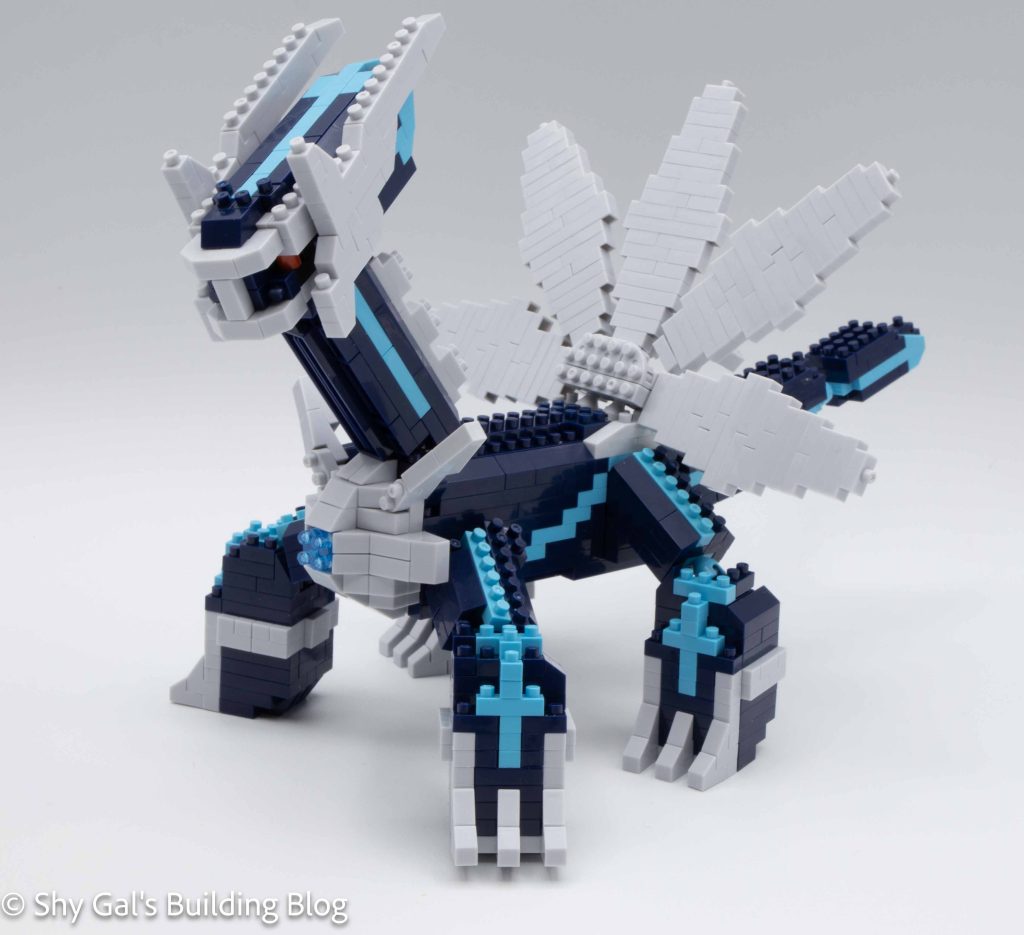
Dialga Deluxe Edition build front 3/4 view

Things I liked:

  • The batch builds. Building multiple identical items at once instead of having split-up identical directions.

Things I didn’t like:

  • I wish the instructions had been in a booklet instead of a huge piece of paper.
  • I wish the handful of black had been marked in some way. There are so many bricks that the few black ones were difficult to find.
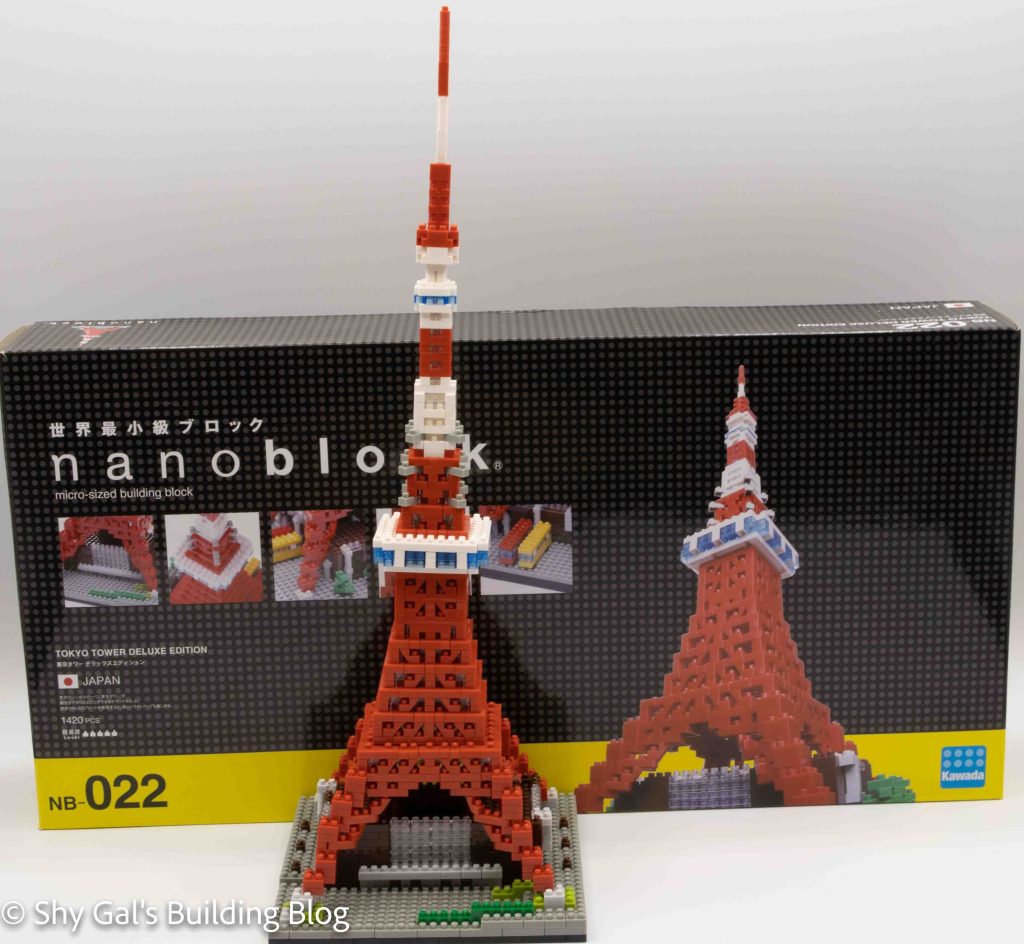
Review of nanoblock Tokyo Tower Deluxe Edition NB-022

Tokyo Tower Deluxe Edition Build with box

Number: NB-022

Number of Pieces: 1420

Difficulty Rating: 5/5

Tokyo Tower is one of the more recognizable sites in Tokyo, Japan. It is the landmark you often see in movies or anime that tells you that the events are happening in Tokyo. It is a red and white radio tower. I haven’t had the chance to see it in person, but it is on my travel list when I go to Tokyo. The Deluxe build for Tokyo Tower is like no other nanoblock kit I have made before. I’m sure there are similar builds in the other deluxe builds, but I haven’t gotten there yet.

The build is broken up into sections A-E. Each section is the base or a section of the tower that is similar. I built things a section at a time. Overall, steps A and B included the most areas that I had to rebuild.

The first thing I had to figure out was how to organize all the nanoblocks. While working on the build, I tried several different methods. I’ll share my opinions on brick storage for just standard storage and working on large builds in another post.

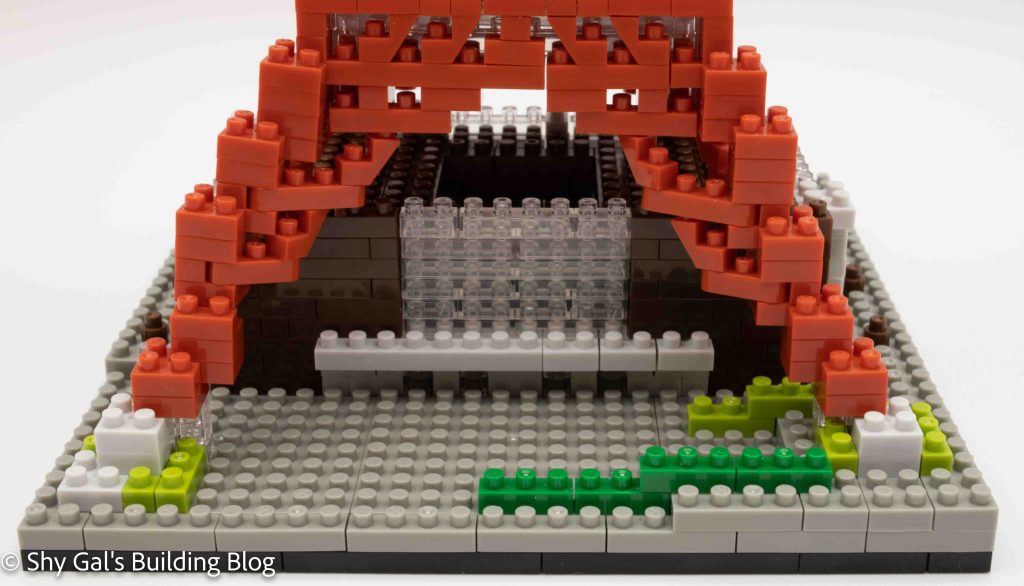
Section A is the base of the tower. Unlike the lego builds I have done, nanoblock doesn’t have baseplates, so you need to make your own. You do this by laying out 2 by something size bricks in squares and placing 10x1o squares on top. This part was a bit tricky because it doesn’t like to lie flat, so I ended up investing in one of the rubber hammers that people use to make sure LEGOs are together. Section A includes the building at the base. The building requires excellent attention to detail because it can be hard to distinguish between the clear and light grey brick. Section A also includes the brinks to connect the tower to the base.

Tokyo Tower Deluxe Edition sections A & B

Section B is the first part of building the tower. You begin by making a square that ends up being at the top of Section B. You then build the legs that connect the tower to the base. I found this part to be tricky because the legs are flexible and shift from side to side. It was also tricky getting all four legs into the exact spot needed to attach to the base.

Tokyo Tower Deluxe Edition section C

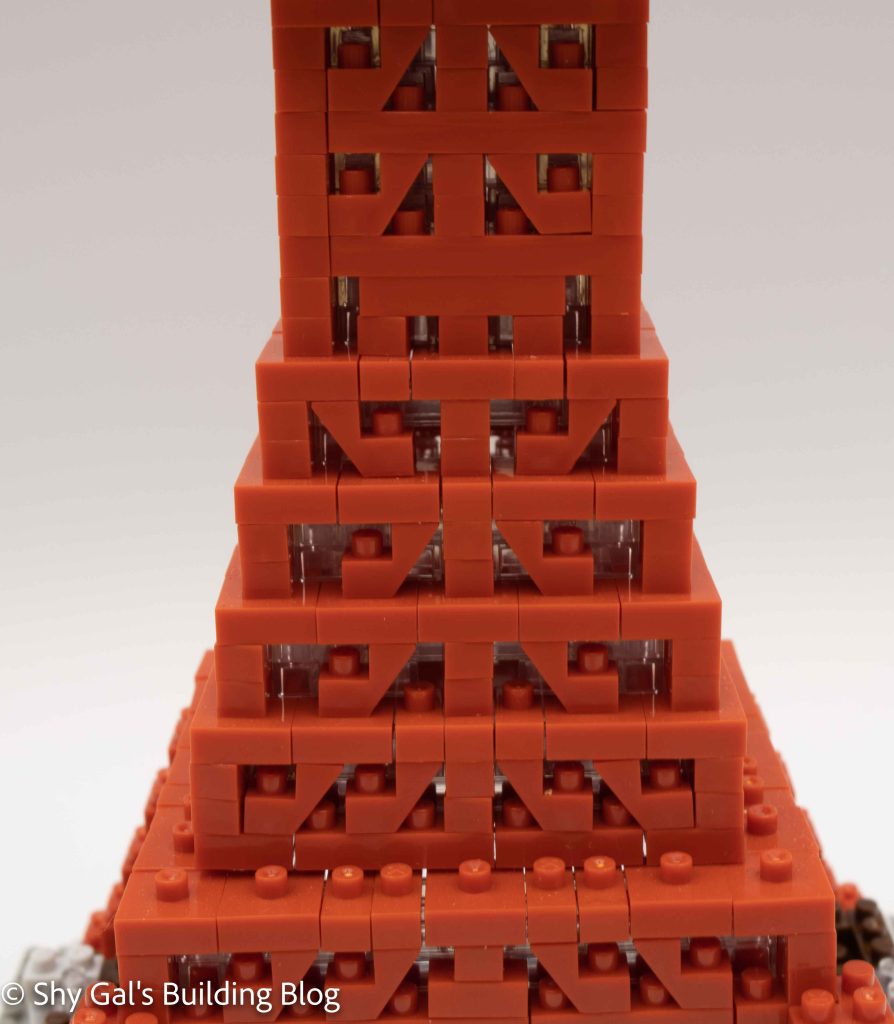
Section C is a reasonably straightforward build. It is working to build the height of the tower. You start with a square outline and build up from there. The directions to make the lattice are clear, so you know that you build the right thing.

Tokyo Tower Deluxe Edition Section D

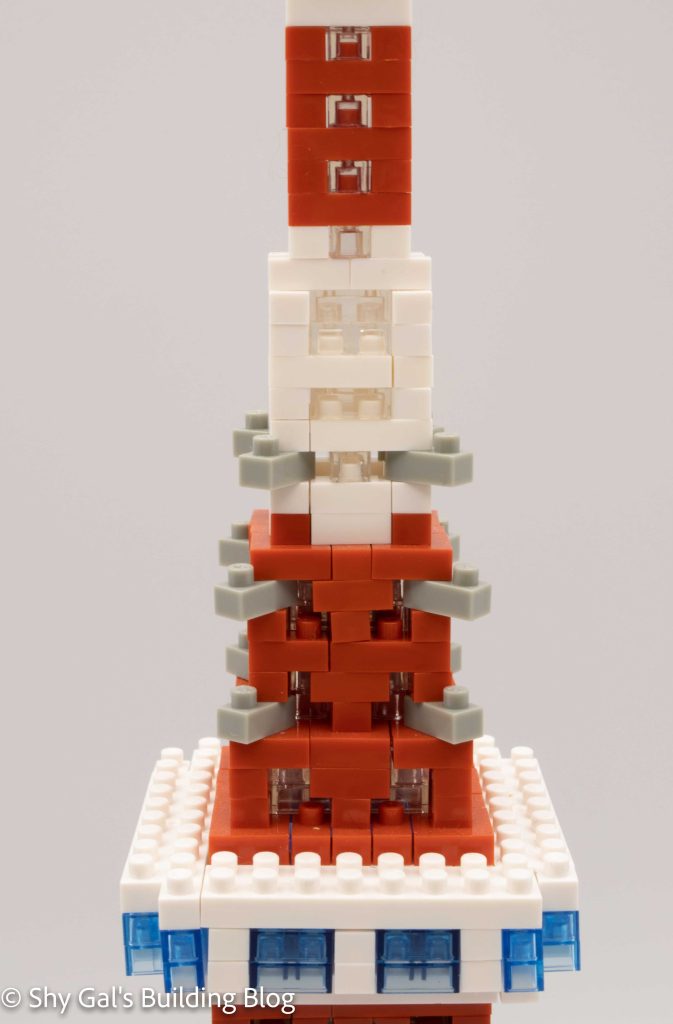
Section D has the observation level and the first white stripe that gives Tokyo Tower its distinctive look. Once you build the observation deck, you continue to build up the tower’s height.

Tokyo Tower Deluxe Edition Section E

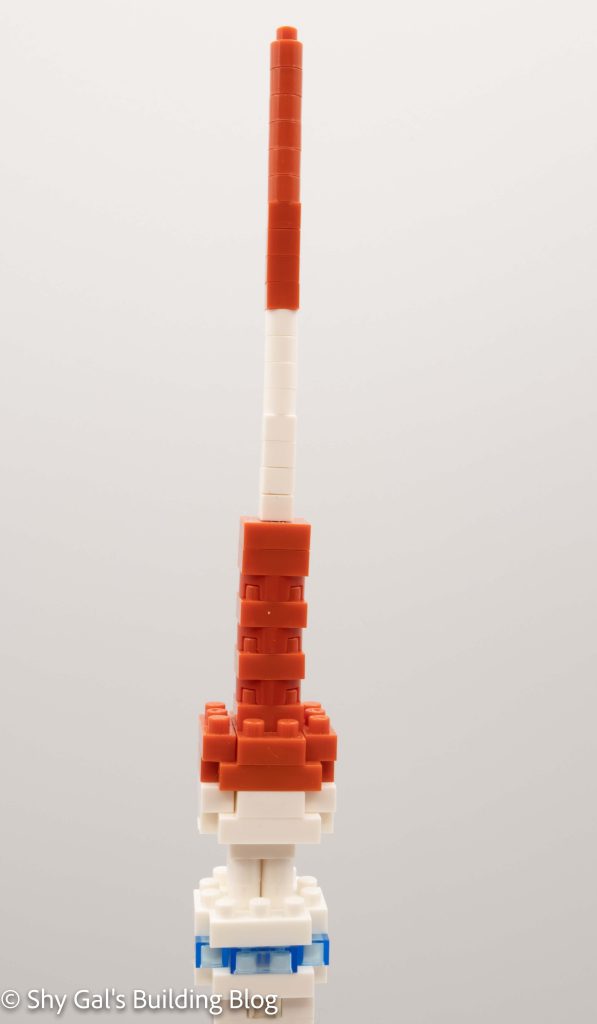
Section E is the top of the tower. It is primarily a pillar made of 1×1 nanoblocks.

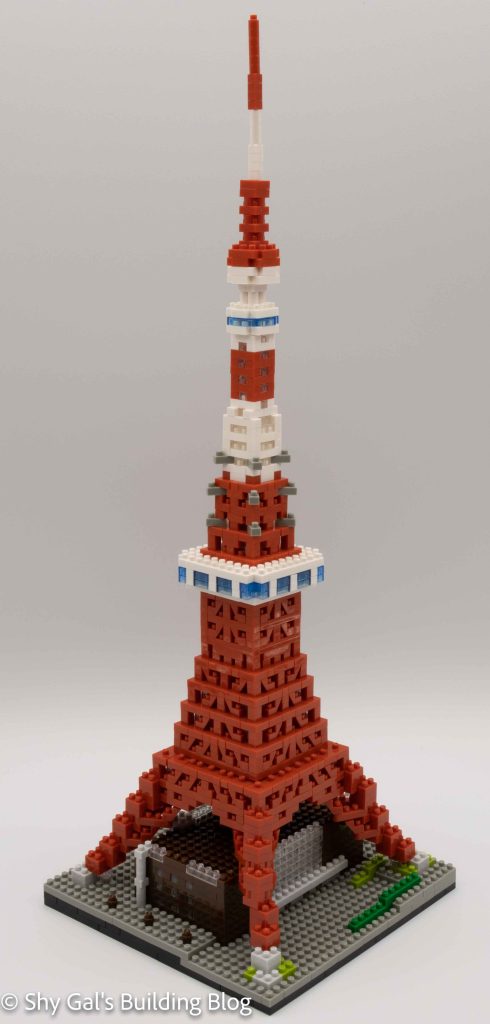
Overall I really enjoyed each layer of the tower. I really enjoy the lattice on the tower and how it really looks like the actual tower. I’m saddened that my base doesn’t sit flat, even though I was really careful while building.

Tokyo Tower Deluxe Edition Finished build

Things I liked:

  • The amount of detail and how it looks like the lattice of the real tower

Things I didn’t like:

  • The top of the tower is a line of single bricks so it is hard to get it straight.
  • The final tower still doesn’t sit flat on a table

Review of nanoblock Pikachu Deluxe Edition NBPM_036

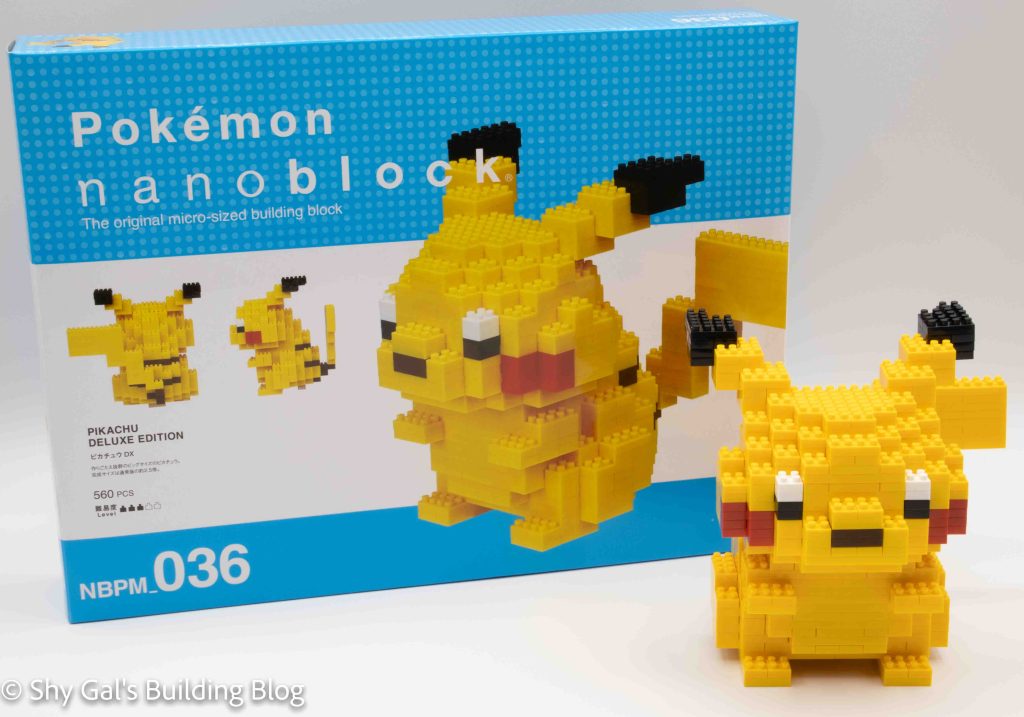
Pikachu Deluxe Edition build and box

This post is a review of the nanoblock Pikachu Deluxe Edition build. This build is part of the nanoblock Pokemon collection. Wondering what else is part of the Pokemon Collection? Click Here for a list.

Number: NBPM_036

Number of Pieces: 560

Difficulty Rating: 3/5

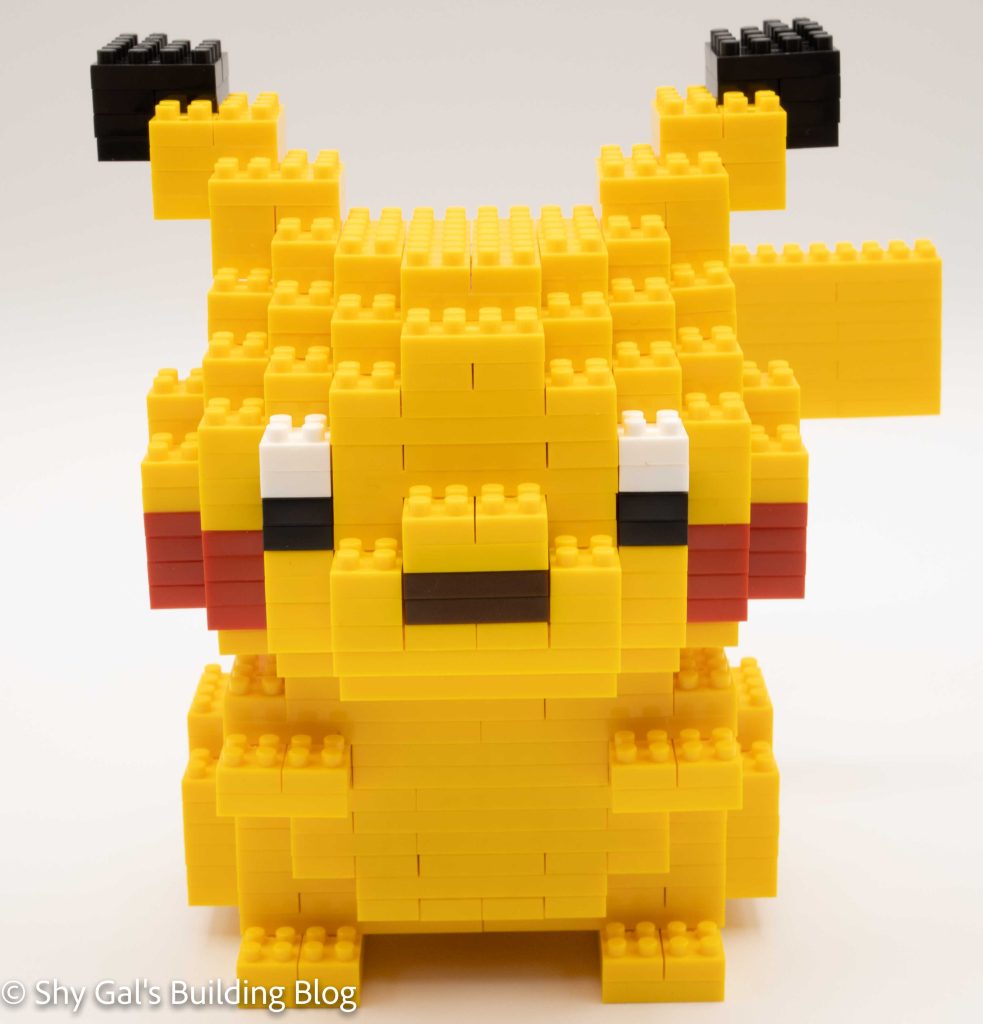
Pikachu Deluxe Edition front view

Deluxe Pikachu was the first deluxe Pokemon kit. I love my giant Pikachu, and he usually sits ready to stomp on one of my Lego cityscapes.

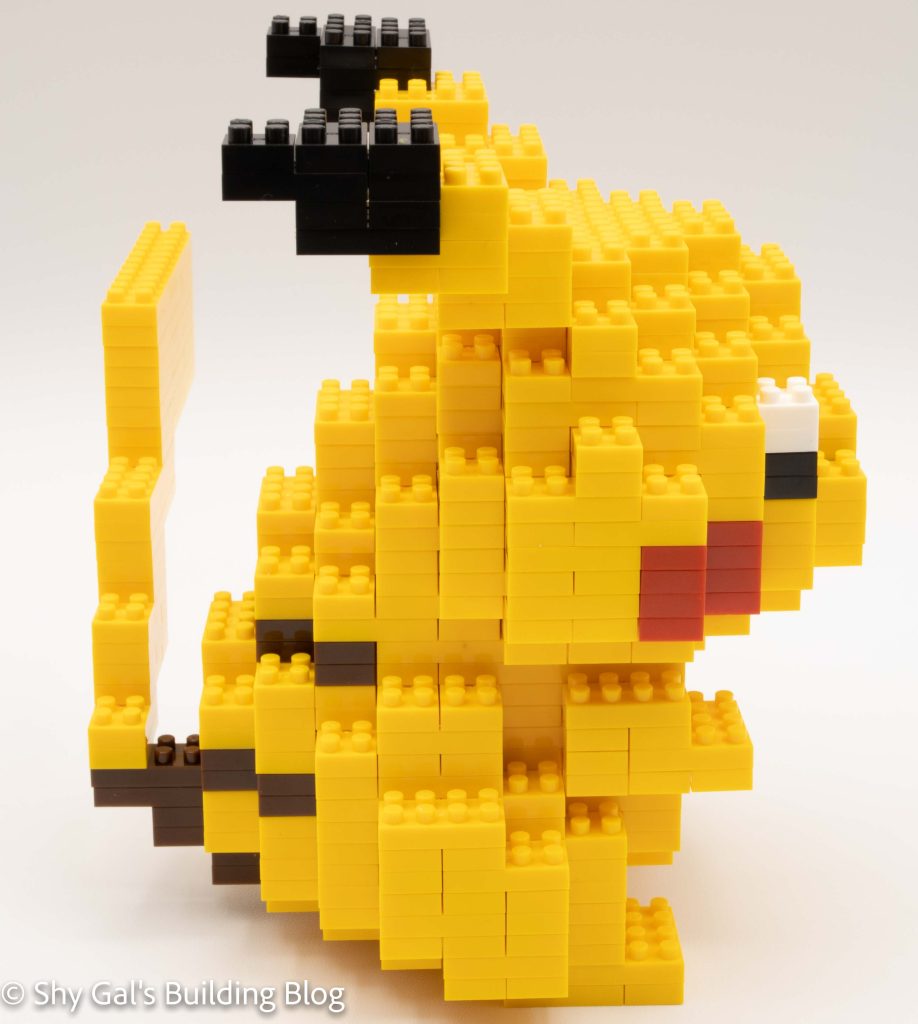
Pikachu Deluxe Edition side view

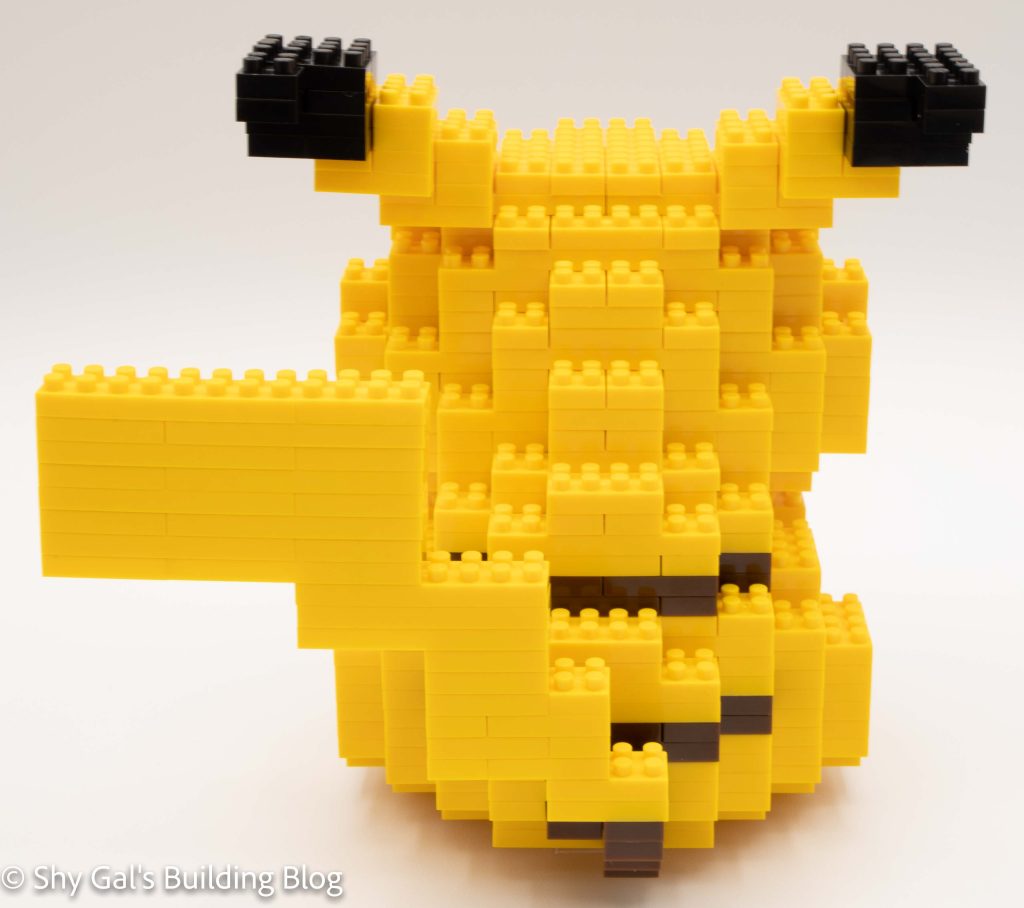
Deluxe Pikachu is similar to normal Pikachu (NBPM_001), but it uses much larger bricks. The largest brick is 2 X 8, which is larger than anything in most non-deluxe Pokemon sets. Overall, Deluxe Pikachu starts with a solid base and builds up in layers from the bottom up. Bricks of various colors create the stripes and the cheeks. I find that the most challenging part of Pikachu, and the thing I keep fixing, is his tail. The tail itself stays together without a problem. The problem is that the tail doesn’t want to remain attached to the 2×2 brick it is supposed to stay on.

Overall I really like Deluxe Pikachu. I think he looks super cute, especially for where nanoblocks were at the time. Based on the other Pokemon kits that came out at similar times to when Deluxe Pikachu was released, the slanted blocks didn’t really exist, so Pikachu had no choice but to be blocky. If the kit came out today, I could see Pikachu being more curved.

Pikachu Deluxe Edition back view

Things I liked:

  • I just like the giant Pikachu

Things I didn’t like:

  • I wish it was less blocky overall