Review of nanoblock Umeda Sky Building NBH_172

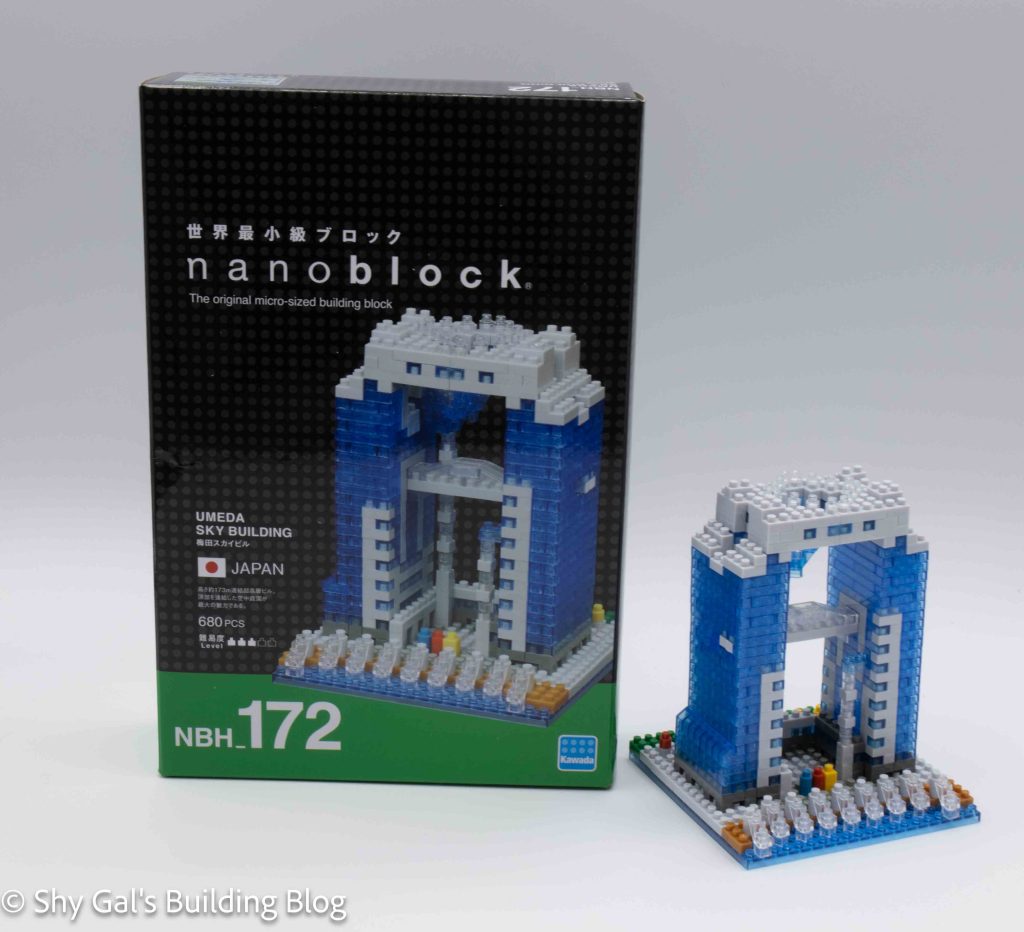
Umeda Sky Building build and box

This post is a review of the nanoblock Umeda Sky Building build. Umeda Sky Building is part of the nanoblock Sights to See collection. Wondering what else is part of the Sights to See collection? Click here for a list.

Umeda Sky Building is one of the tallest buildings in Osaka Prefecture. It is 2 towers that are connected by bridges and escalators. For more information, check out the wiki page.

Number: NBH_172

Country: Japan 

Number of Pieces: 680

Difficulty Rating: 3/5
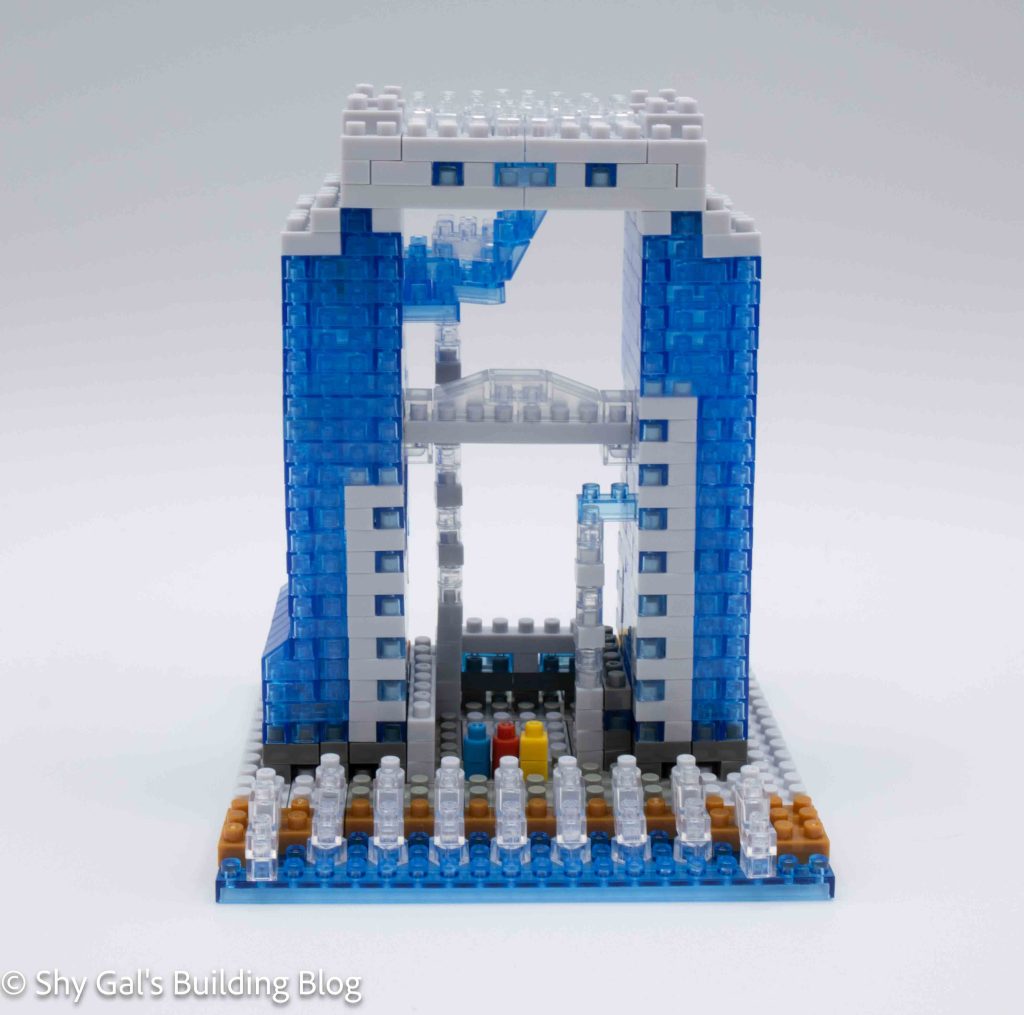
Umeda Sky Building build front view

Umeda Sky Building was a kit I bought open; I ensured there were bricks and instructions. Before starting the build, I pulled the kit that arrived apart and split all the bricks into reasonable piles. I then started the build.

This build has 2 major sections there is the building and the roof.

The first thing I noticed about the build was that starting from the base layer wasn’t symmetrical. This made me excited to see how the final build would look.

The first step is to create a base layer on the 20×20 base. There are a variety of colors in the base to create the various textures around the building.
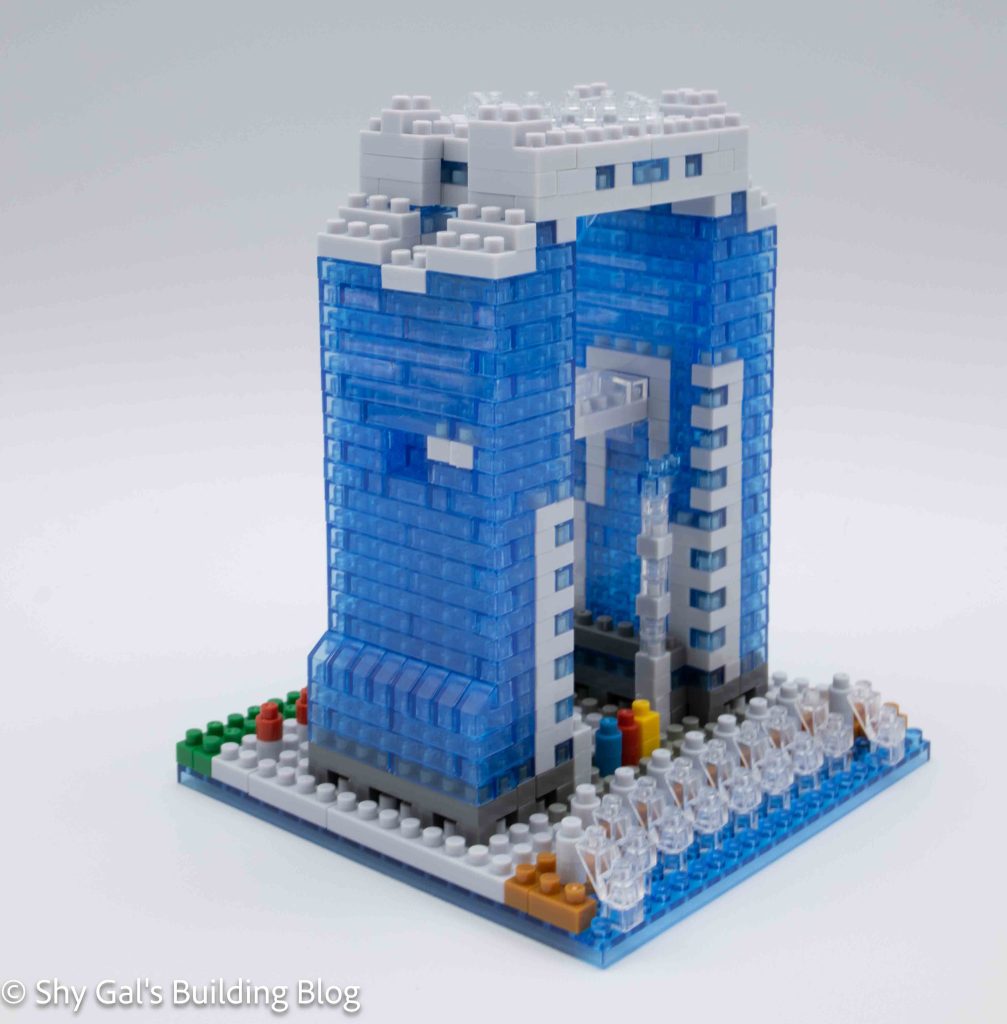
Umeda Sky Building build 3/4 view

The next step is to create the base of the building. Starting in step 4, the actual windows on the outside of the building are outlined and begin creating the walls of the buildings. The building goes up in layers over the next 20 steps. Each layer is different from the previous one and needs to be carefully tracked.

The trickiest part of building the main section of the building is creating the elevators. This is because it is a chain of 1×1 bricks that can easily snap as you are adding bricks. It is also easy to miss adding a brick to any given layer since the new brick just hangs out separately from the large chunks in the directions.
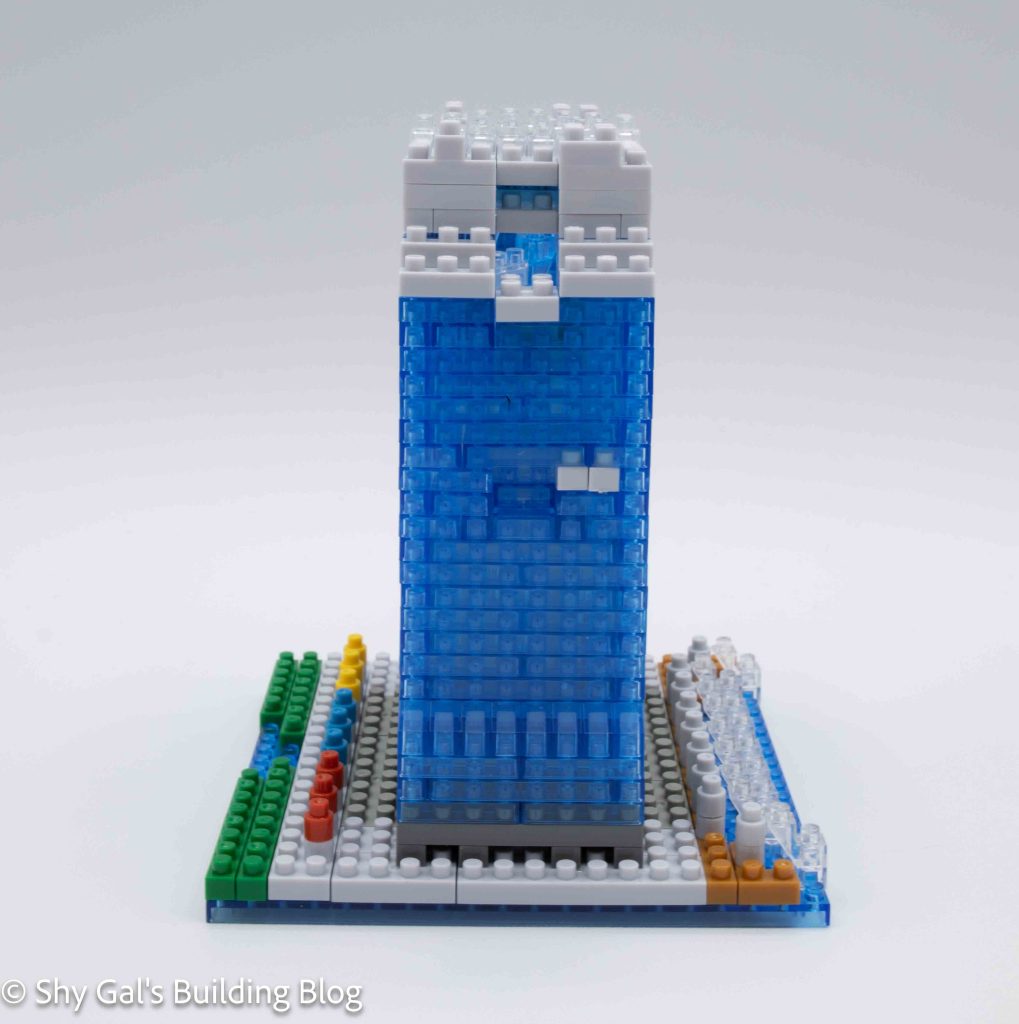
Umeda Sky Building build side view

After building most of the building and locking the elevators in place, it’s time to add the escalators that go across the open area between the towers. I really like that this detail is included and how the escalators are created.

The main building is completed with a few more layers of bricks that create the top of the building

The roof was very straightforward. I could lay the roof out on my pad to create the roof. Finding enough round clears took a while because they were hard to see and like moving.

After building the roof, the final step is to attach the roof to the building.
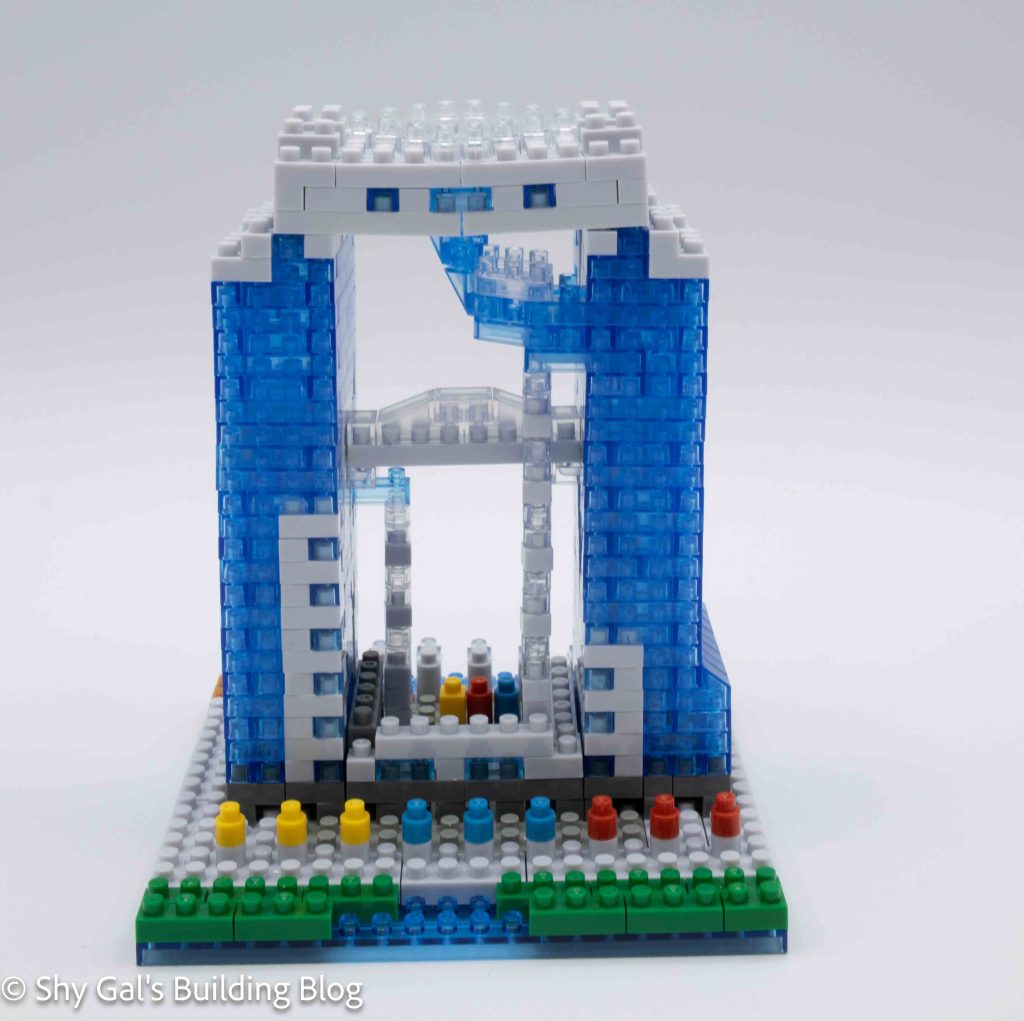
Umeda Sky Building build back view

Things I liked:

  • That the build isn’t symmetrical
  • The escalators in the center of the build

Things I didn’t like:

  • I’m not sure what all the details at the bottom of the building are supposed to be
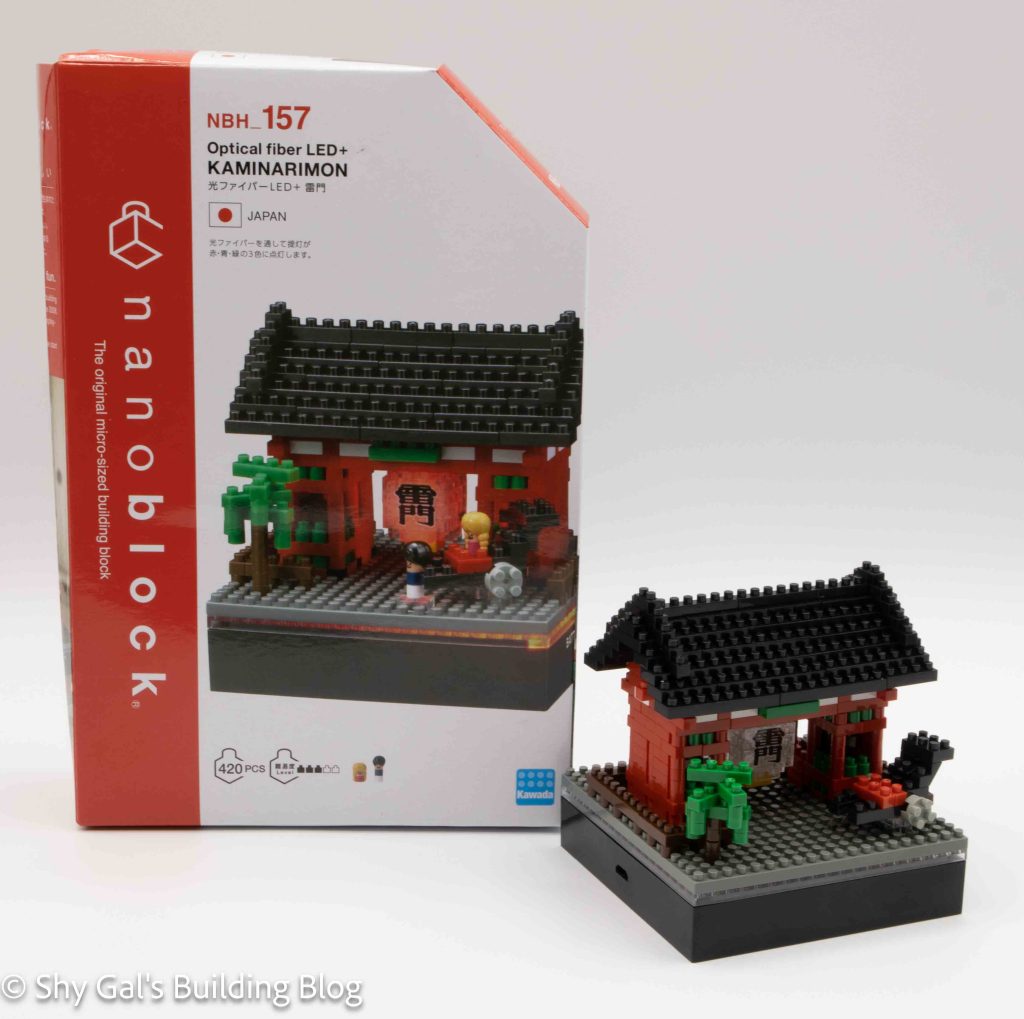
Review of nanoblock Optical Fiber LED+ Kaminarimon NBH_157

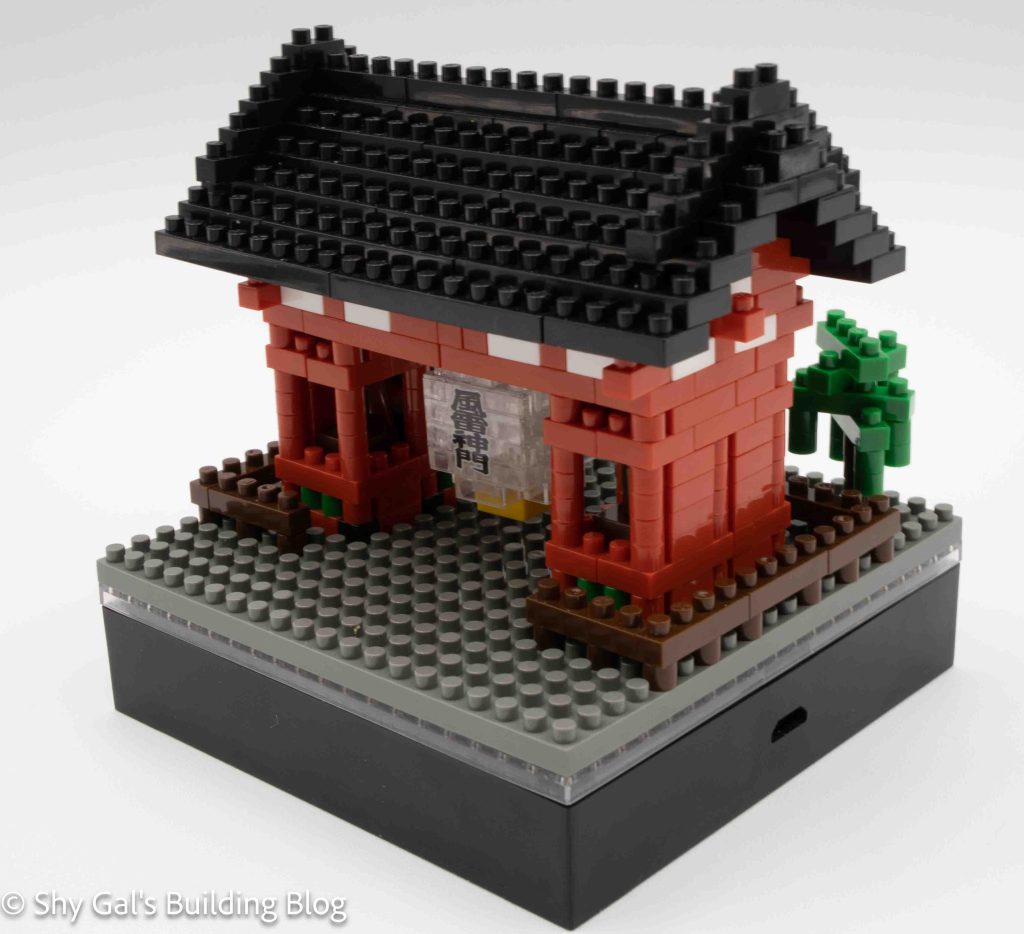
Optical Fiber LED+ Kaminarimon box and build

This post is a review of the nanoblock Optical Fiber LED+ Kaminarimon build. The Optical Fiber LED+ Kaminarimon is part of the nanoblock Sights to See series. Wondering what else is part of the Sights to See series? Click here for a list.

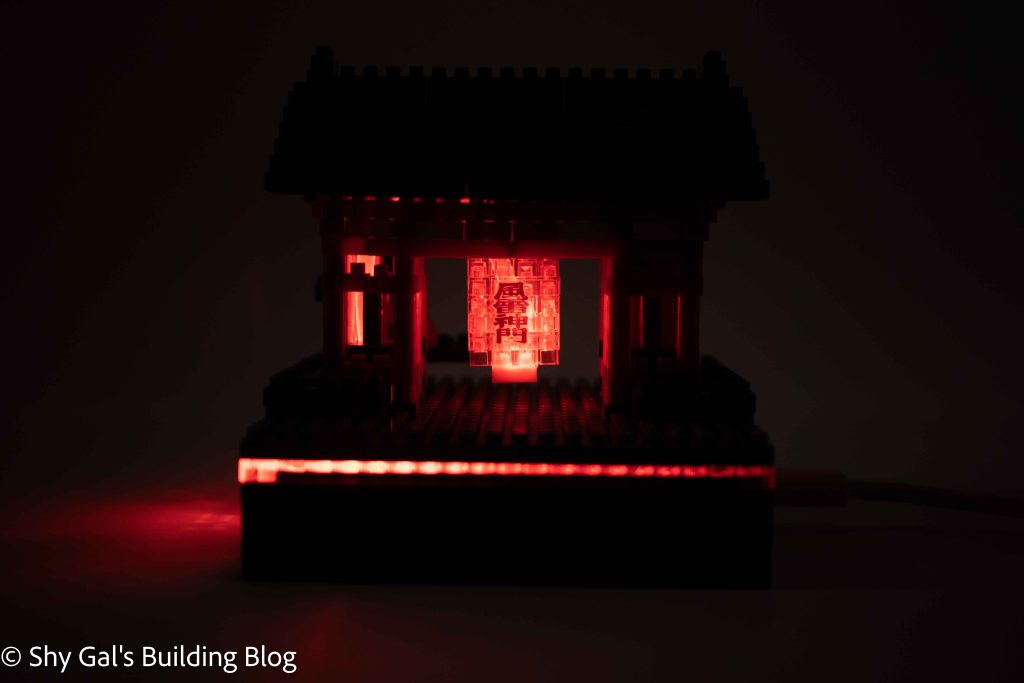
Optical Fiber LED+ Kaminarimon lit in the dark

Number: NBH_157

Number of Pieces: 420

Difficulty Rating: 3/5

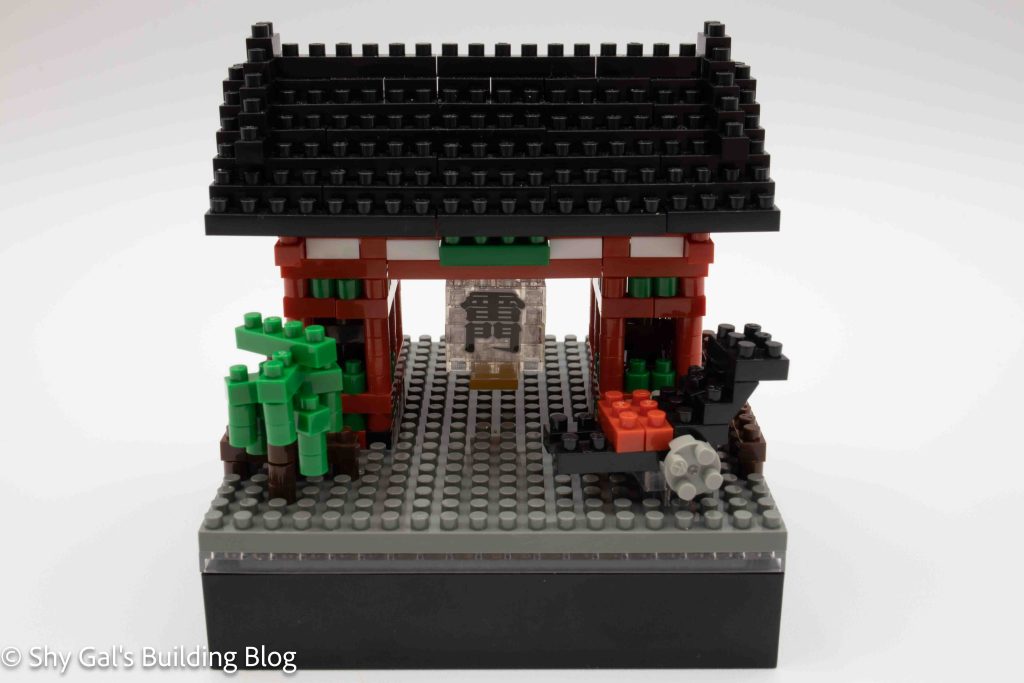
Optical Fiber LED+ Kaminarimon build front view

I picked up this version of Kaminarimon because it came with an LED plate. The plate is NB-26, and I will write a separate review for the plate. I liked that the lantern in the model would light up, and I wanted to see exactly how that would work in a build.

The build began a bit different than the build I had done before because the first thing you need to do is line the hole in the base plate up with the indent in the LED plate. After that, you build a usual build by adding to the build to create the outline of the building. After a few steps, you begin the tricky balancing act of building around the pole. The pole is inserted into the hole in the base and goes up through one side of the gate. You create the rest of the structure around the pole from that point on.

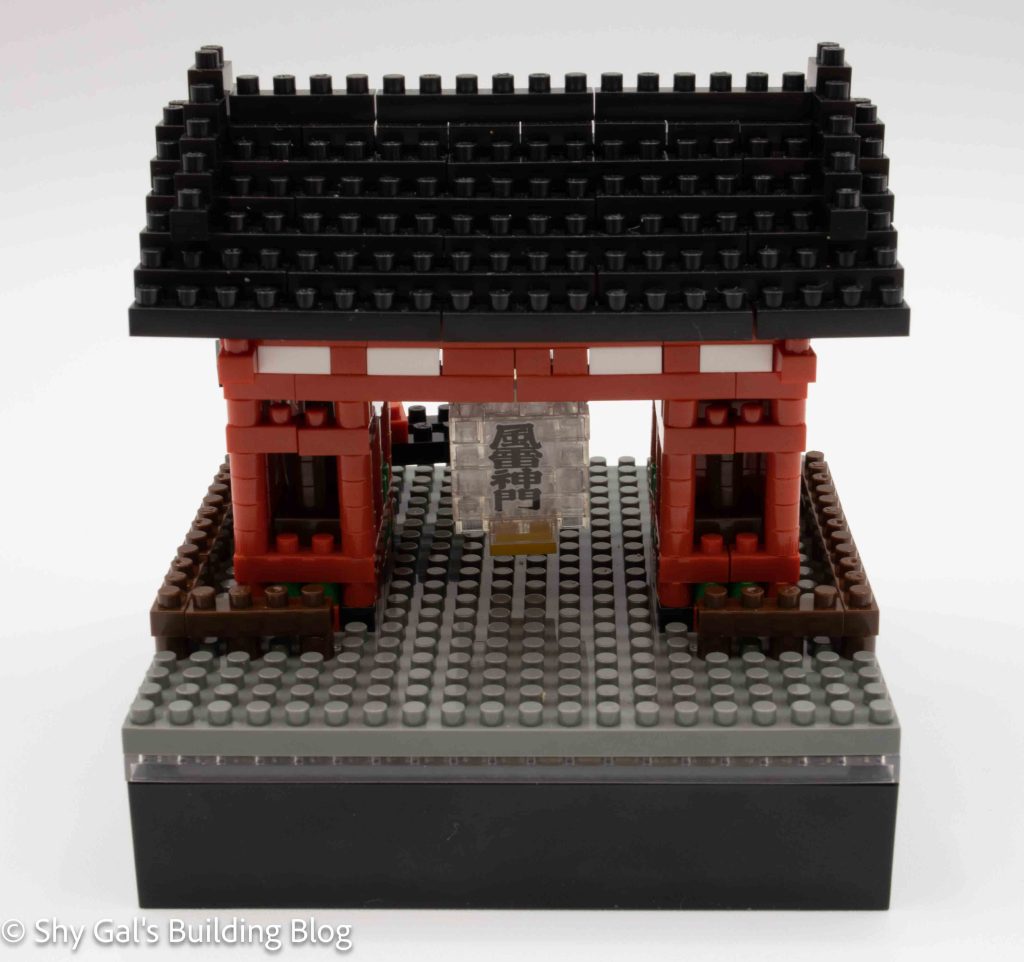
Optical Fiber LED+ Kaminarimon build back view

Then you build the lantern in the middle of the gate; the build for the lantern is straightforward. In a rare fashion for me, I put the stickers on the lanturn. (Click here to read why I don’t normally use the nanoblock stickers). I used the stickers here because I knew that I would be able to move the lantern in one piece if I did need to take the build apart to move. Getting the lantern to hold on was tricky because it was only held on by 1 stud. Once you have the center Lantern hanging, you take the pole and insert it into the lantern. For me, This was the most challenging part because the pole kept breaking loose or popping off the bricks meant to hold it in place. At this point, you can turn on the LED plate and see how the lantern lights up. I thought this was really cool.

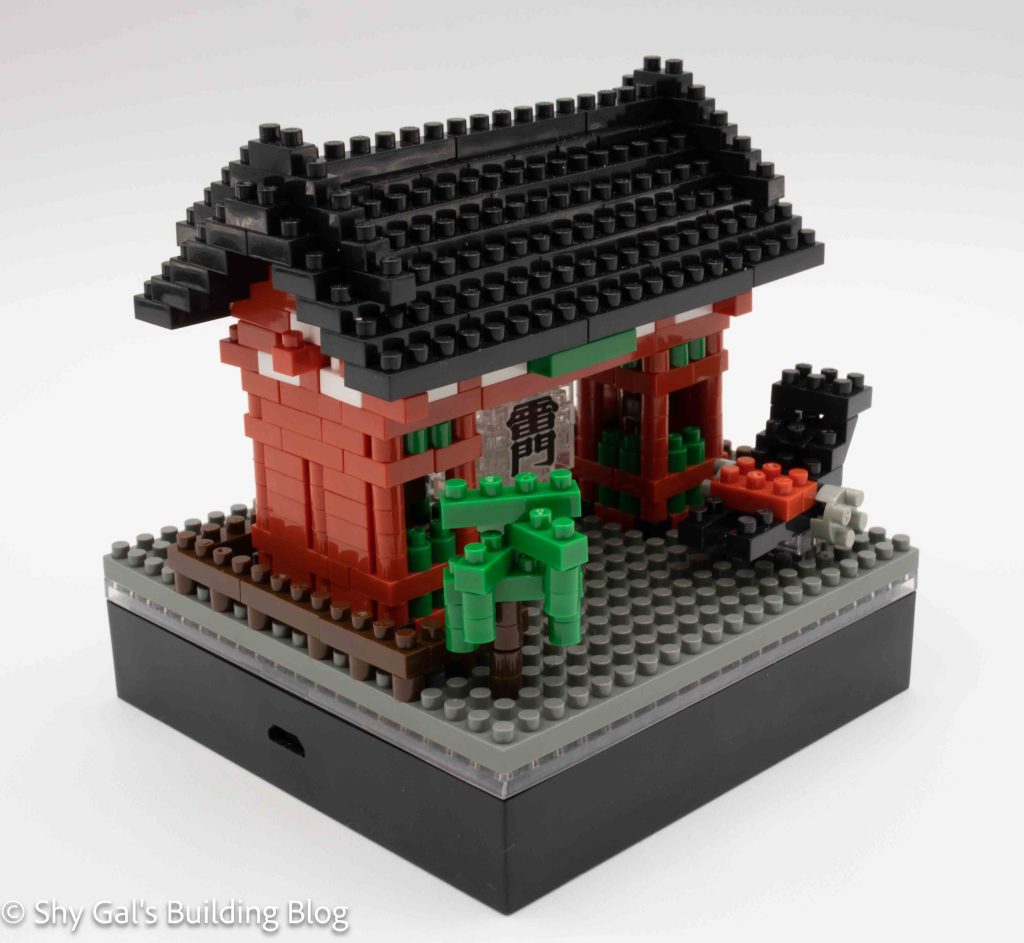
Optical Fiber LED+ Kaminarimon front 3/4 view

The last significant step of the build is to put the roof together. After fighting with the pole and the lantern, the roof was simple. It was tricky to attach the roof since it was all in one piece, but I managed to get it on without anything breaking. After that, I put the tree and carriage together. I did not add the little people that came with the build. I personally don’t think that the people really go with the rest of the build in terms of size and detail.

Overall I was delighted with how Kaminarimon turned out. I really like what the lighting adds to the build, especially when the light is set to red.

Optical Fiber LED+ Kaminarimon back 3/4 view

Things I liked:

  • The additional detail adds the light to the lantern

Things I didn’t like:

  • Fighting with the pole. Maybe things would have gone better if I had let it rest overnight with a weight on it to bend it.

Review of nanoblock Tokyo Tower Deluxe Edition NB-022

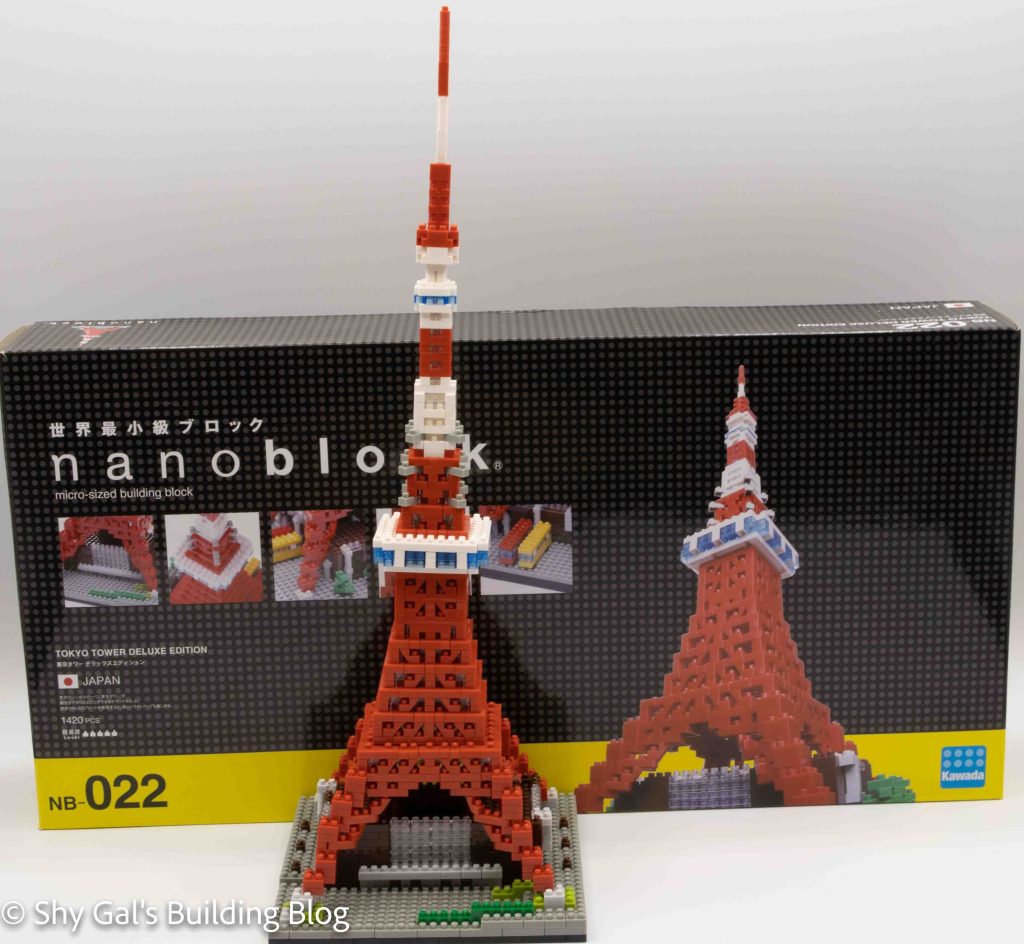
Tokyo Tower Deluxe Edition Build with box

Number: NB-022

Number of Pieces: 1420

Difficulty Rating: 5/5

Tokyo Tower is one of the more recognizable sites in Tokyo, Japan. It is the landmark you often see in movies or anime that tells you that the events are happening in Tokyo. It is a red and white radio tower. I haven’t had the chance to see it in person, but it is on my travel list when I go to Tokyo. The Deluxe build for Tokyo Tower is like no other nanoblock kit I have made before. I’m sure there are similar builds in the other deluxe builds, but I haven’t gotten there yet.

The build is broken up into sections A-E. Each section is the base or a section of the tower that is similar. I built things a section at a time. Overall, steps A and B included the most areas that I had to rebuild.

The first thing I had to figure out was how to organize all the nanoblocks. While working on the build, I tried several different methods. I’ll share my opinions on brick storage for just standard storage and working on large builds in another post.

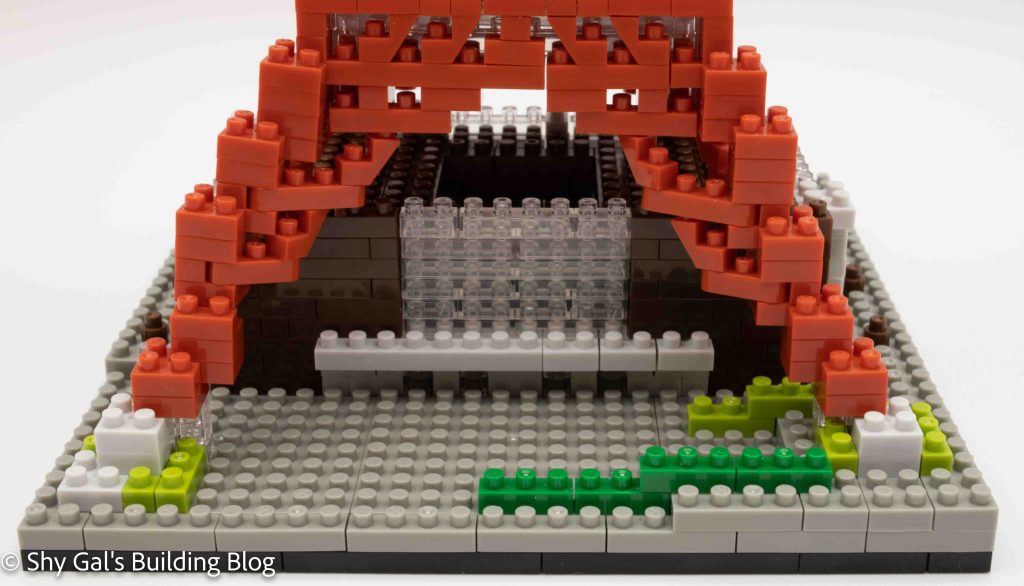
Section A is the base of the tower. Unlike the lego builds I have done, nanoblock doesn’t have baseplates, so you need to make your own. You do this by laying out 2 by something size bricks in squares and placing 10x1o squares on top. This part was a bit tricky because it doesn’t like to lie flat, so I ended up investing in one of the rubber hammers that people use to make sure LEGOs are together. Section A includes the building at the base. The building requires excellent attention to detail because it can be hard to distinguish between the clear and light grey brick. Section A also includes the brinks to connect the tower to the base.

Tokyo Tower Deluxe Edition sections A & B

Section B is the first part of building the tower. You begin by making a square that ends up being at the top of Section B. You then build the legs that connect the tower to the base. I found this part to be tricky because the legs are flexible and shift from side to side. It was also tricky getting all four legs into the exact spot needed to attach to the base.

Tokyo Tower Deluxe Edition section C

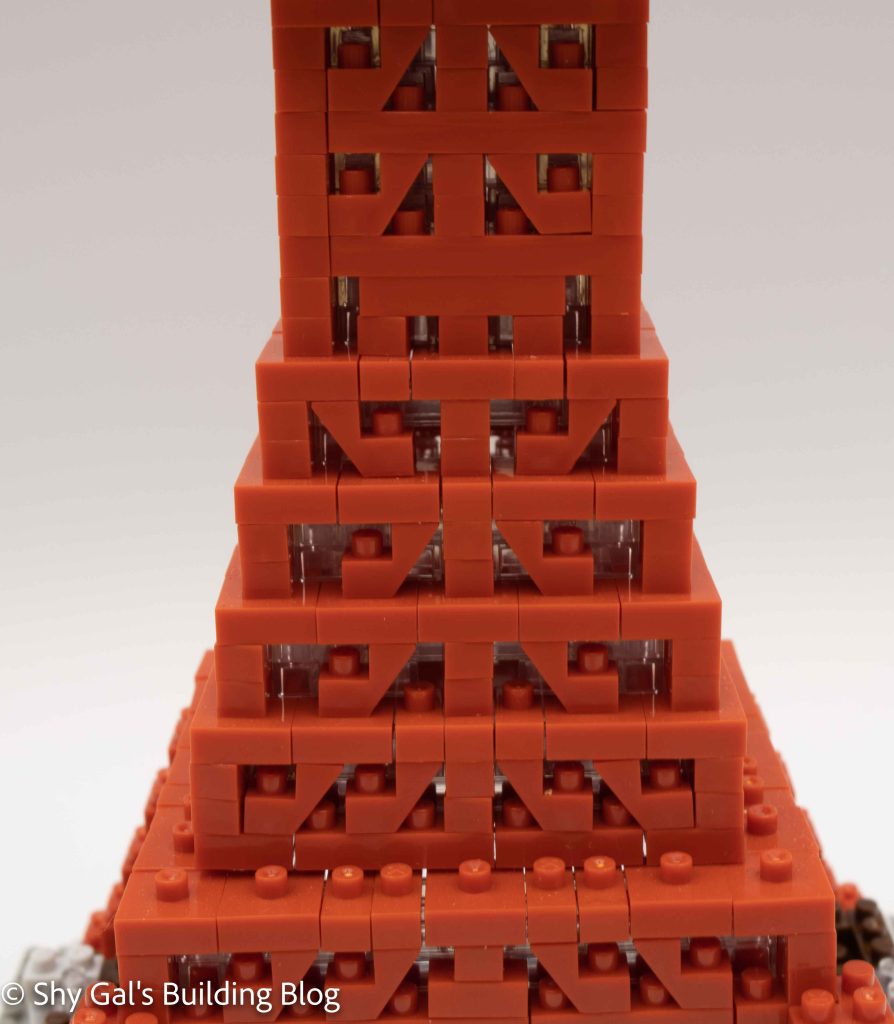
Section C is a reasonably straightforward build. It is working to build the height of the tower. You start with a square outline and build up from there. The directions to make the lattice are clear, so you know that you build the right thing.

Tokyo Tower Deluxe Edition Section D

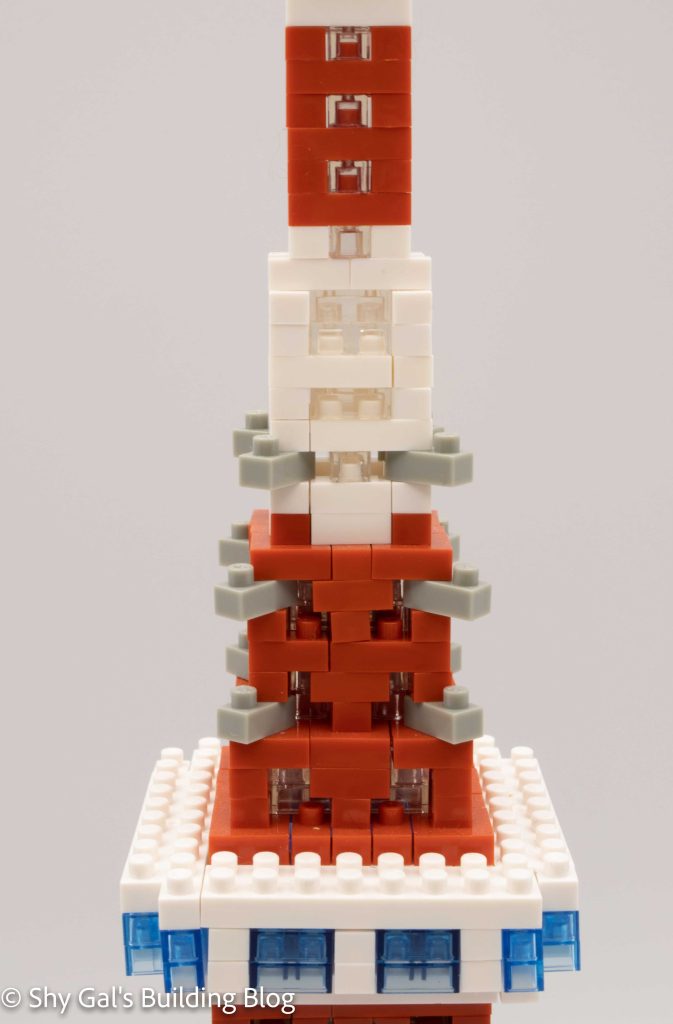
Section D has the observation level and the first white stripe that gives Tokyo Tower its distinctive look. Once you build the observation deck, you continue to build up the tower’s height.

Tokyo Tower Deluxe Edition Section E

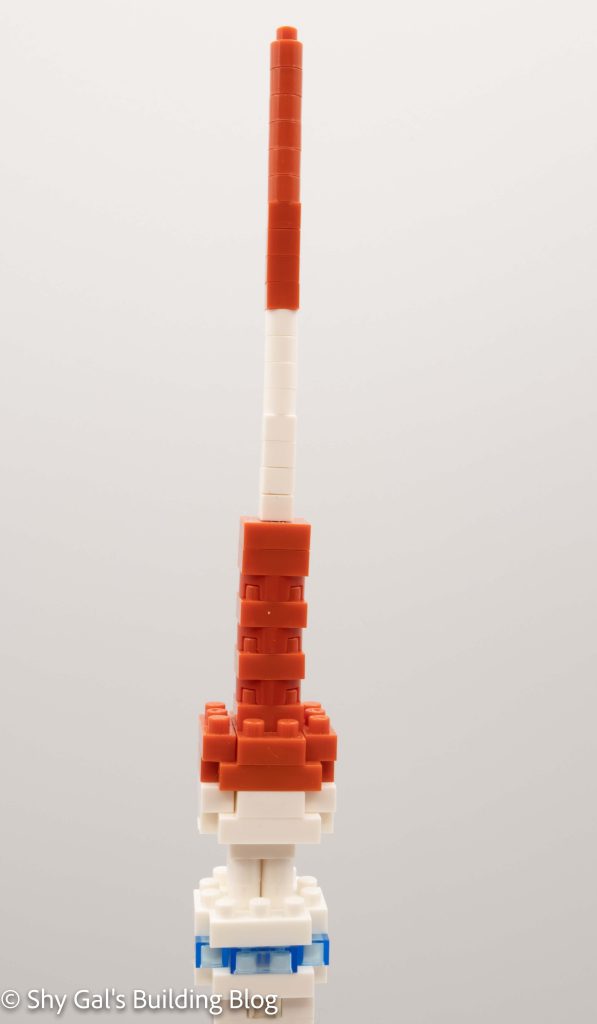
Section E is the top of the tower. It is primarily a pillar made of 1×1 nanoblocks.

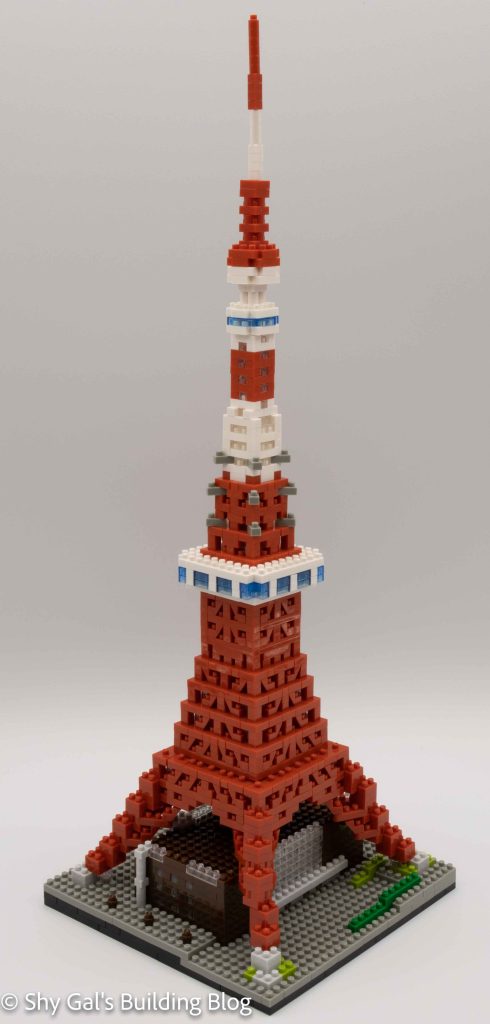
Overall I really enjoyed each layer of the tower. I really enjoy the lattice on the tower and how it really looks like the actual tower. I’m saddened that my base doesn’t sit flat, even though I was really careful while building.

Tokyo Tower Deluxe Edition Finished build

Things I liked:

  • The amount of detail and how it looks like the lattice of the real tower

Things I didn’t like:

  • The top of the tower is a line of single bricks so it is hard to get it straight.
  • The final tower still doesn’t sit flat on a table

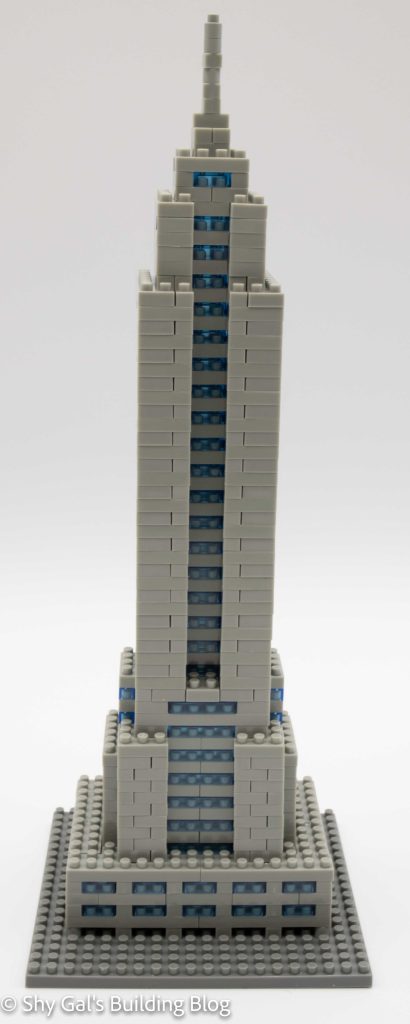
Review of nanoblock Empire State Building NBA_001

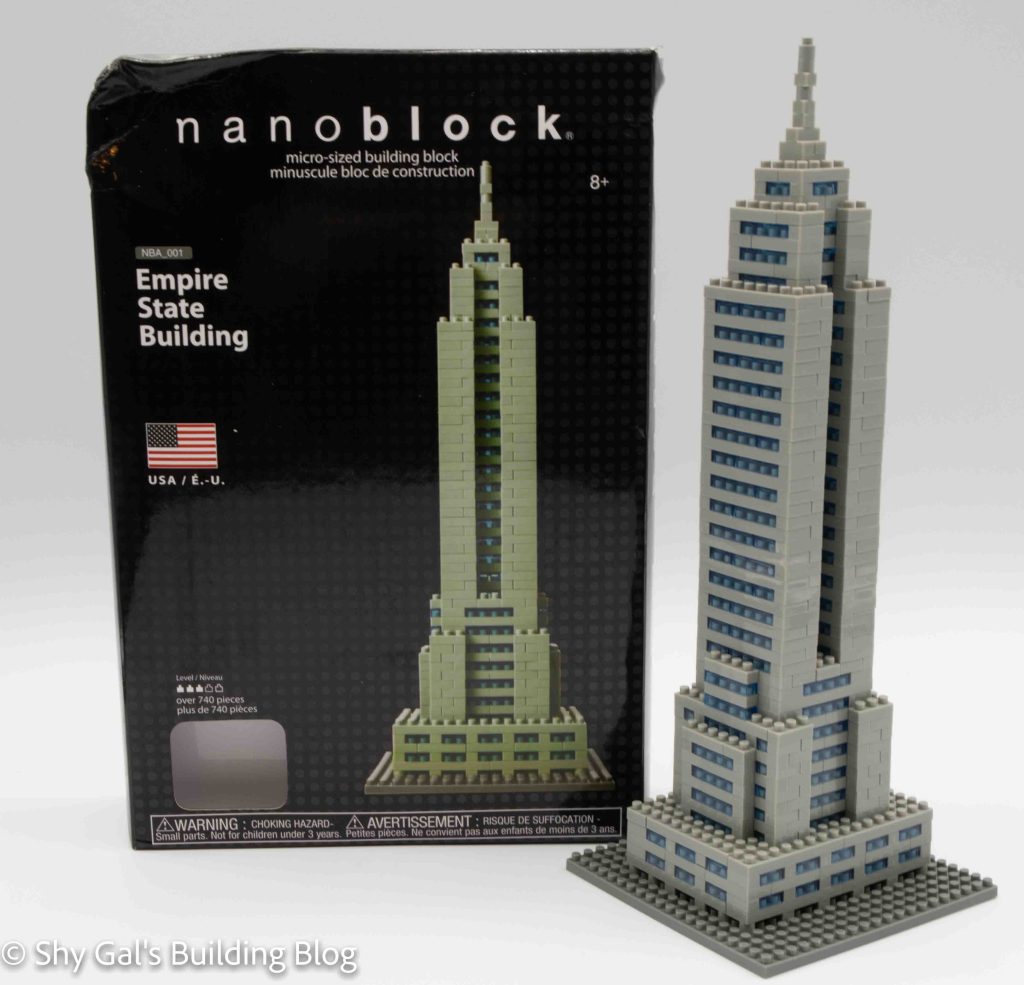
Empire State Building build and box

This post is a review of one of the nanoblock Empire State Building builds.

Number: NBA_001

Number of Pieces: 740

Difficulty Rating: 3/5

Empire State Building side view

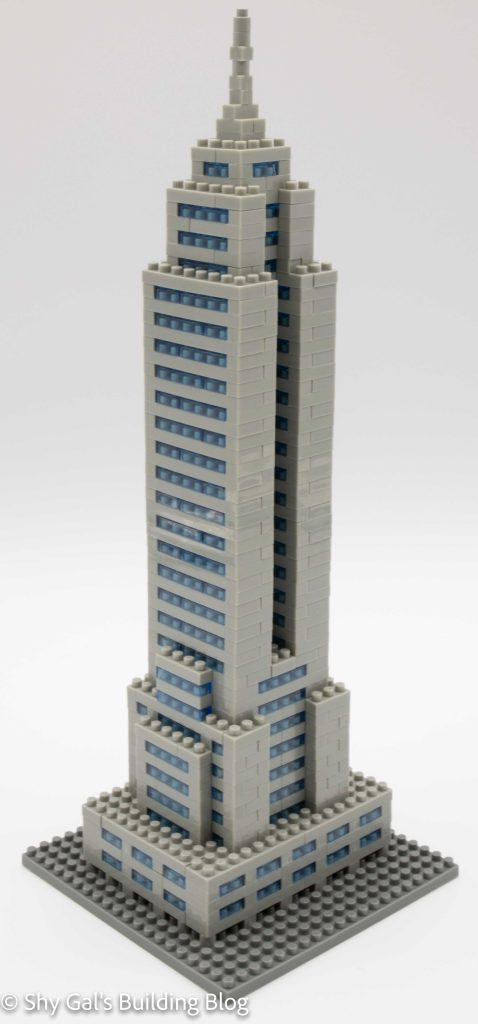
One of the most recognizable buildings in New York City is the Empire State Building. Almost every building company has made at least one if not multiple models. I know nanoblock, for example, has 2 or more because they have different product numbers. Overall I feel like this model does an excellent job of including multiple major details of the building, including where the building has indents.

Overall I did not love the build. You start with a base plate and build up. The first couple of layers are annoying because you are putting 2 wide bricks on top of one-line stacks, which means things can be leaning into the center. After the first couple of layers, things just get repetitive. There is actually a direction telling you to repeat steps 6 more times.

Empire State Building 3/4 view

Things I liked:

  • It looks like the building

Things I didn’t like:

  • Very repetitive build