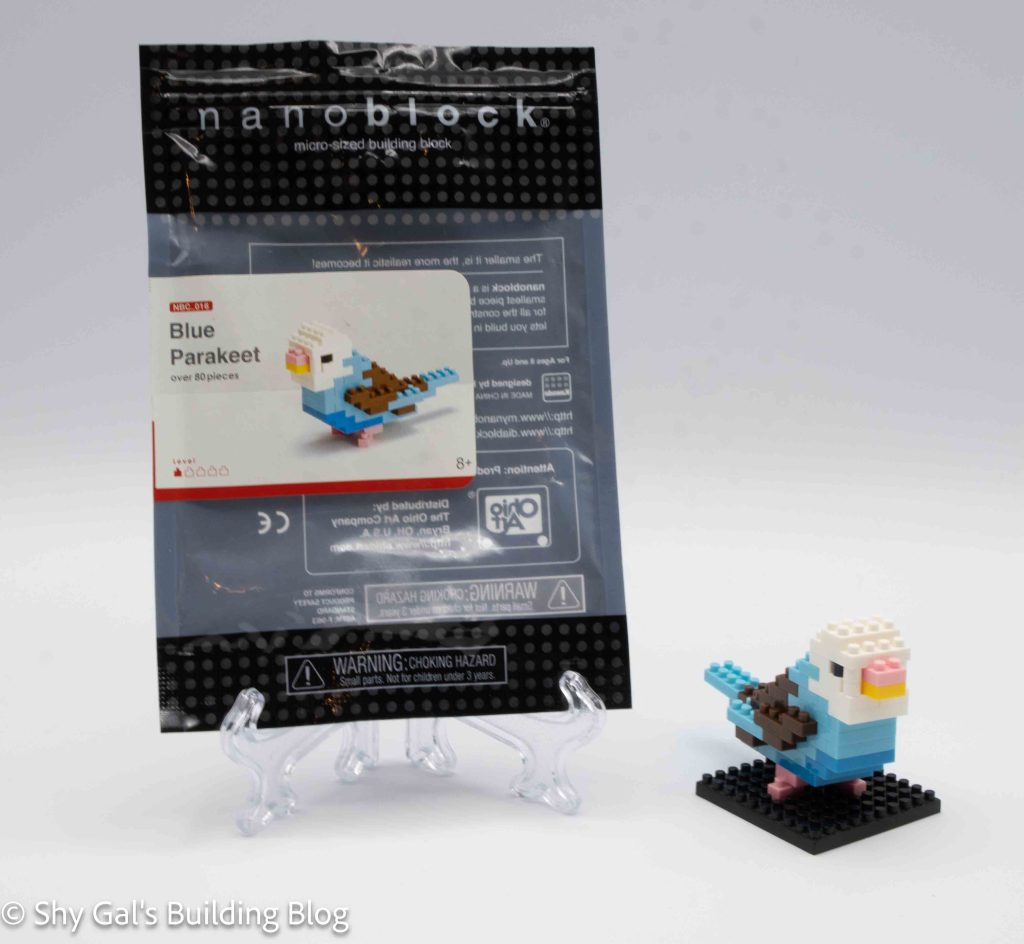
Review of nanoblock Blue Parakeet or Budgerigar NBC_016

Blue Parakeet build and package

This post is a review of the nanoblock Blue Parakeet build. Blue Parakeet is part of the nanoblock Mini Collection series. Wondering what else is part of the Mini Collection? Click here for a list.

Number: NBC_016 

Number of Pieces: 80

Difficulty Rating: 2/5
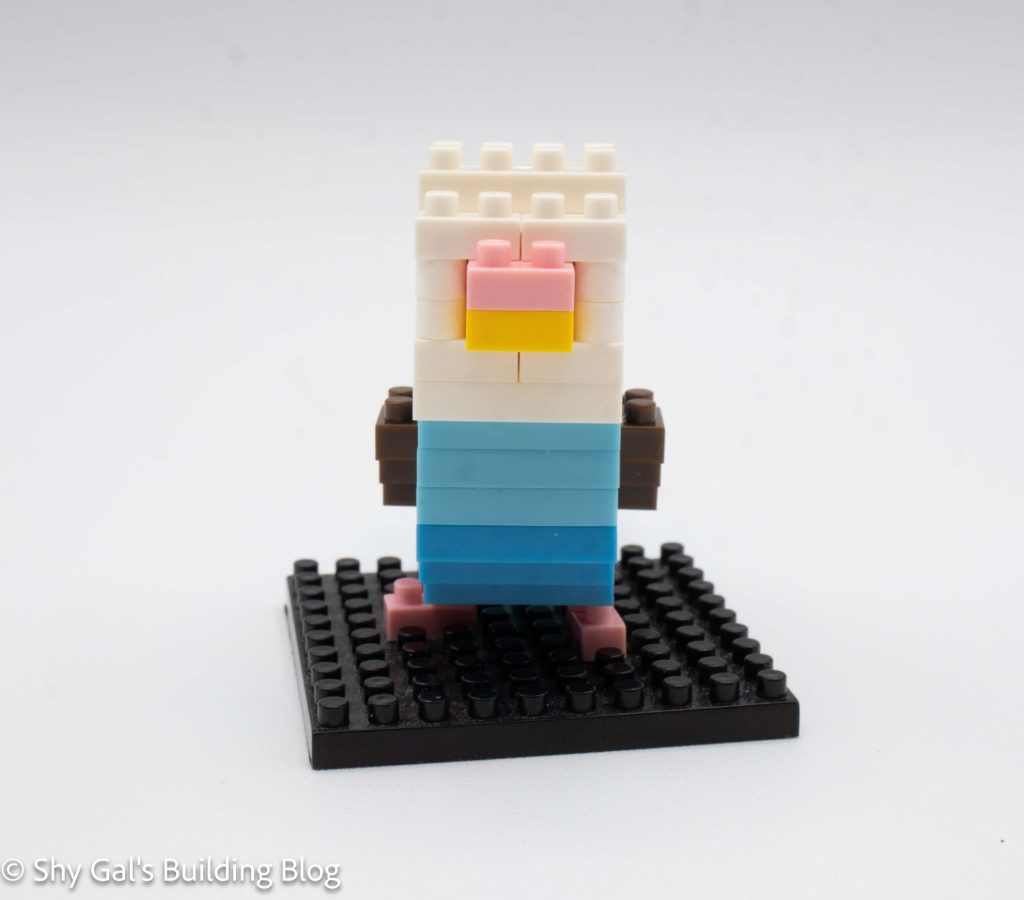
Blue Parakeet build front view

I’m not sure which name to identify this kit as. This is because I have 2 kits that both have the number NBC_016; however, each kit has a different name. I think the name may depend on where the kits were sold. I’m not sure where in the world these kits came from. I’ve chosen to identify this kit more as Blue Parakeet since I’m pretty sure there are multiple kits named Budgerigar.
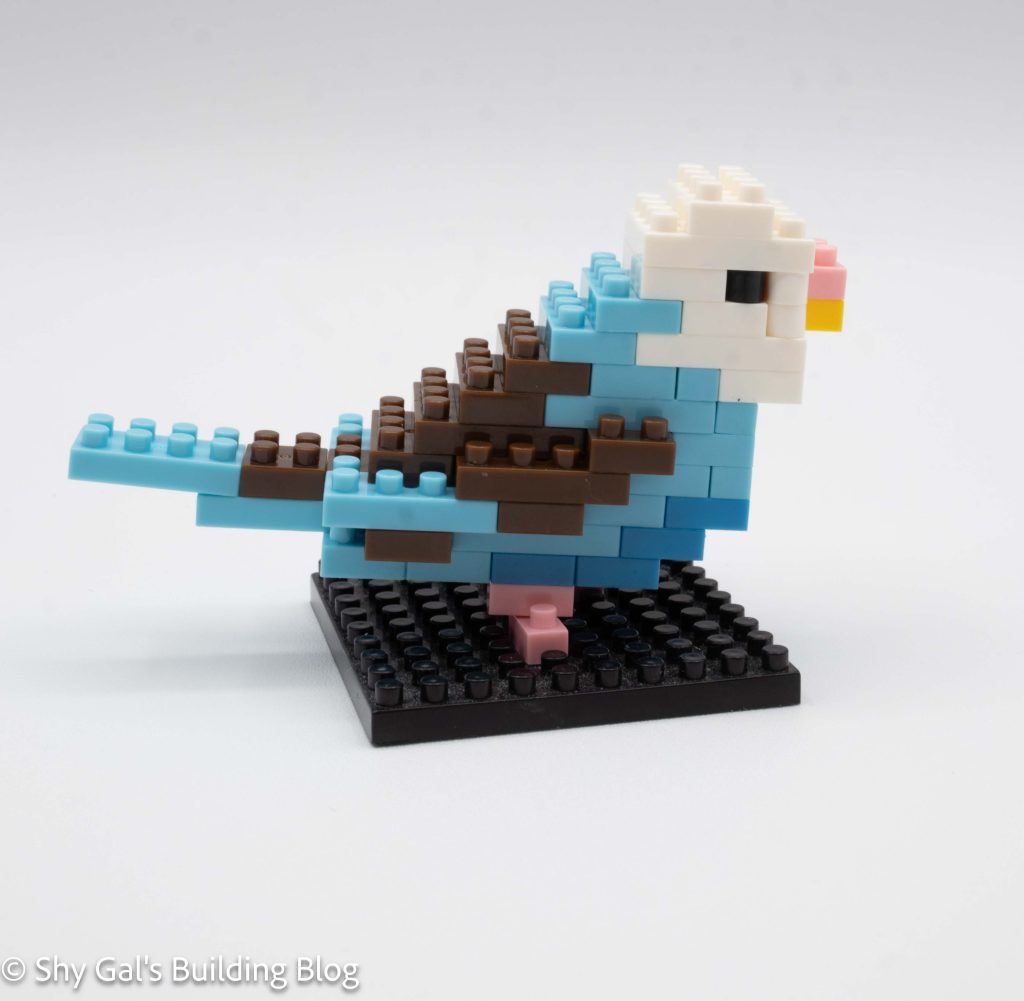
Blue Parakeet build side view

The kit begins with bricks in two shades of blue. The parakeet goes up in layers, shifting between blues and brown to build the body.
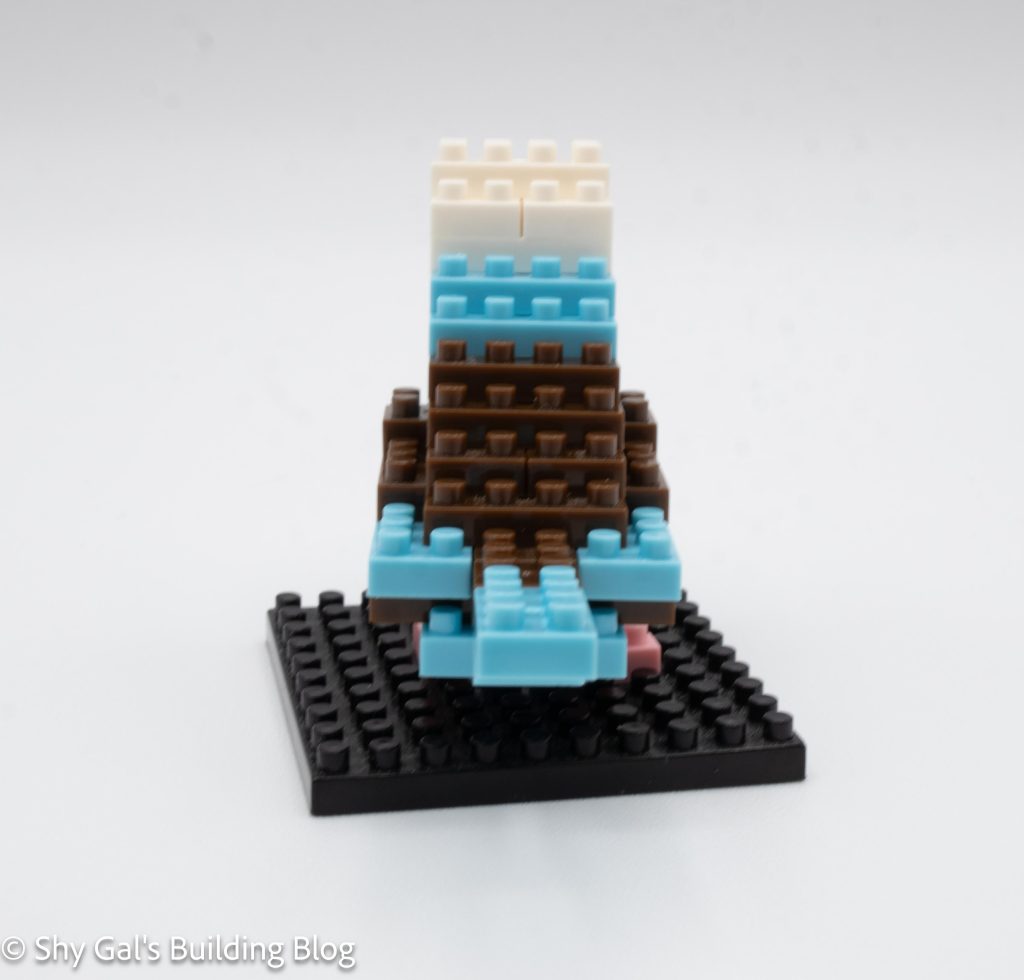
Blue Parakeet build back view

After building the body, the head is built in white. Details like the beak and eyes are added while the head is being built.

The final step is to add the legs and feet. The parakeet comes with a base to place the finished bird on.
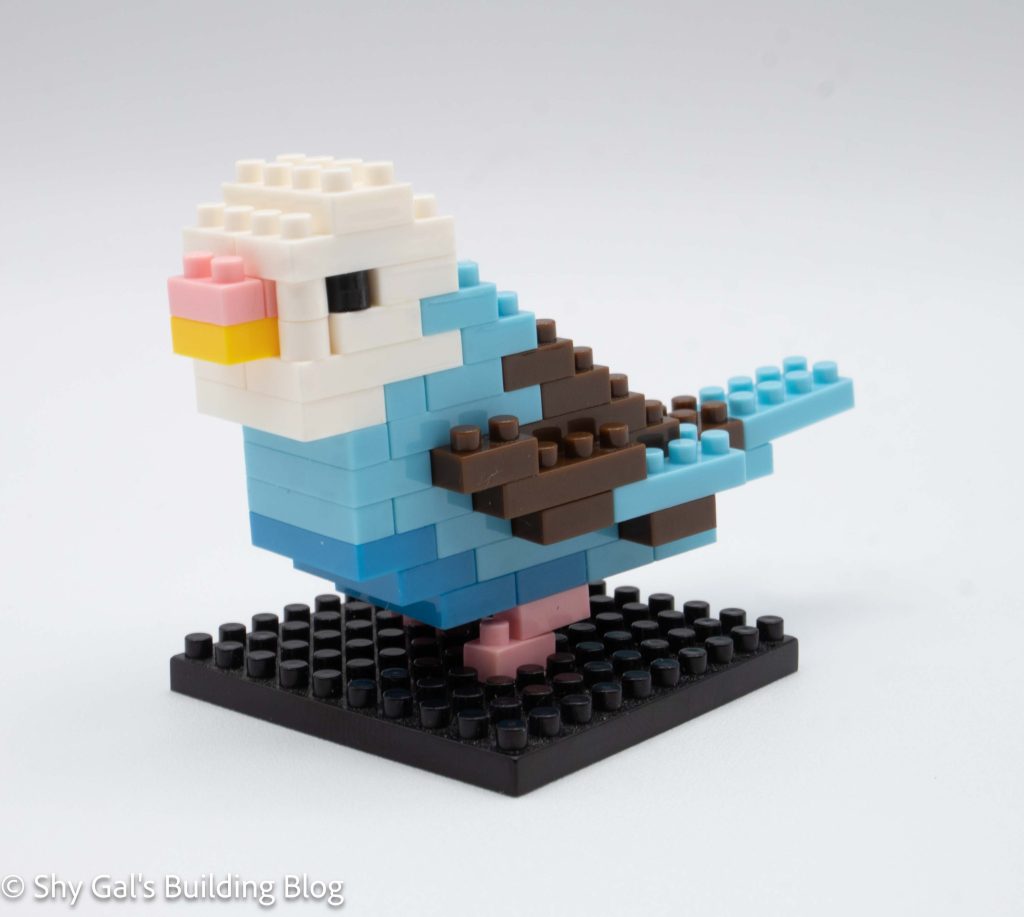
Blue Parakeet build 3/4 view

Things I liked:

  • I like the number of colors that go into the build between the shades of blue, brown, and white.

Things I didn’t like:

  • The fact that the kit has multiple names is confusing
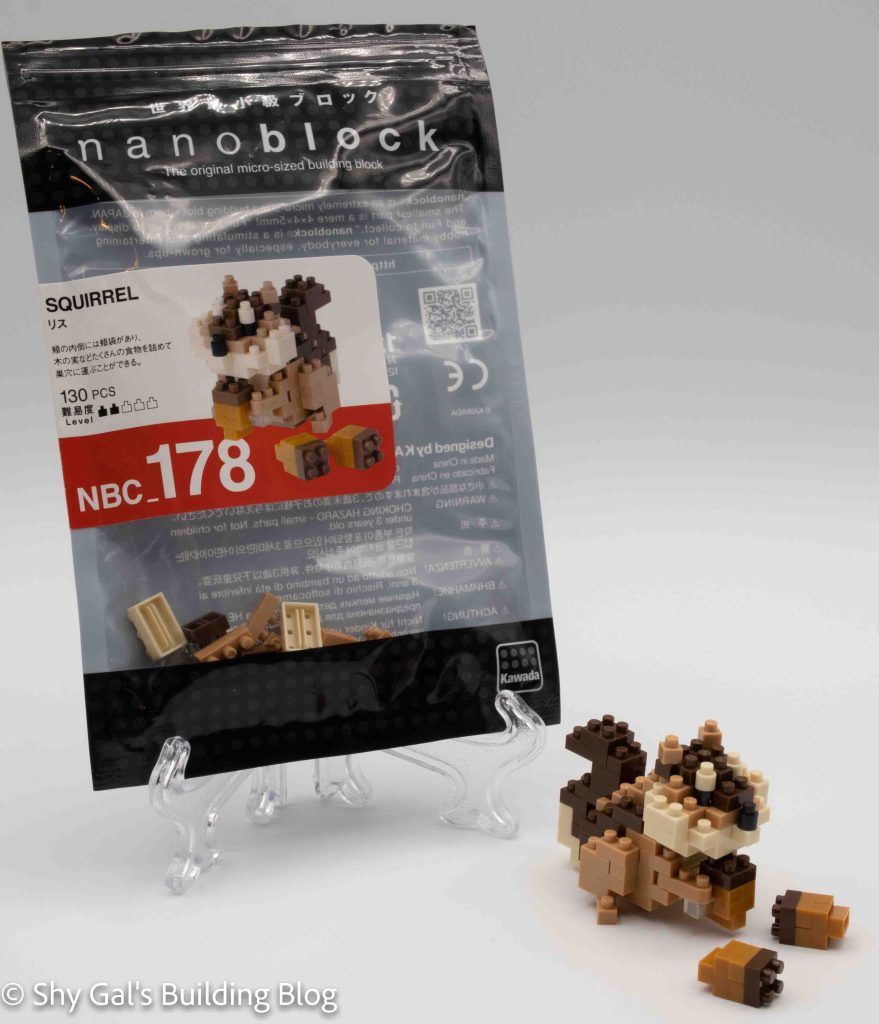
Review of nanoblock Squirrel NBC_178

Squirrel build and package

This post is a review of the nanoblock Squirrel build. Squirrel is part of the nanoblock Mini Collection series. Wondering what else is part of the Mini Collection series? Click here for a list.

Number: NBC_178

Number of Pieces: 130

Difficulty Rating: 2/5

Squirrel front view

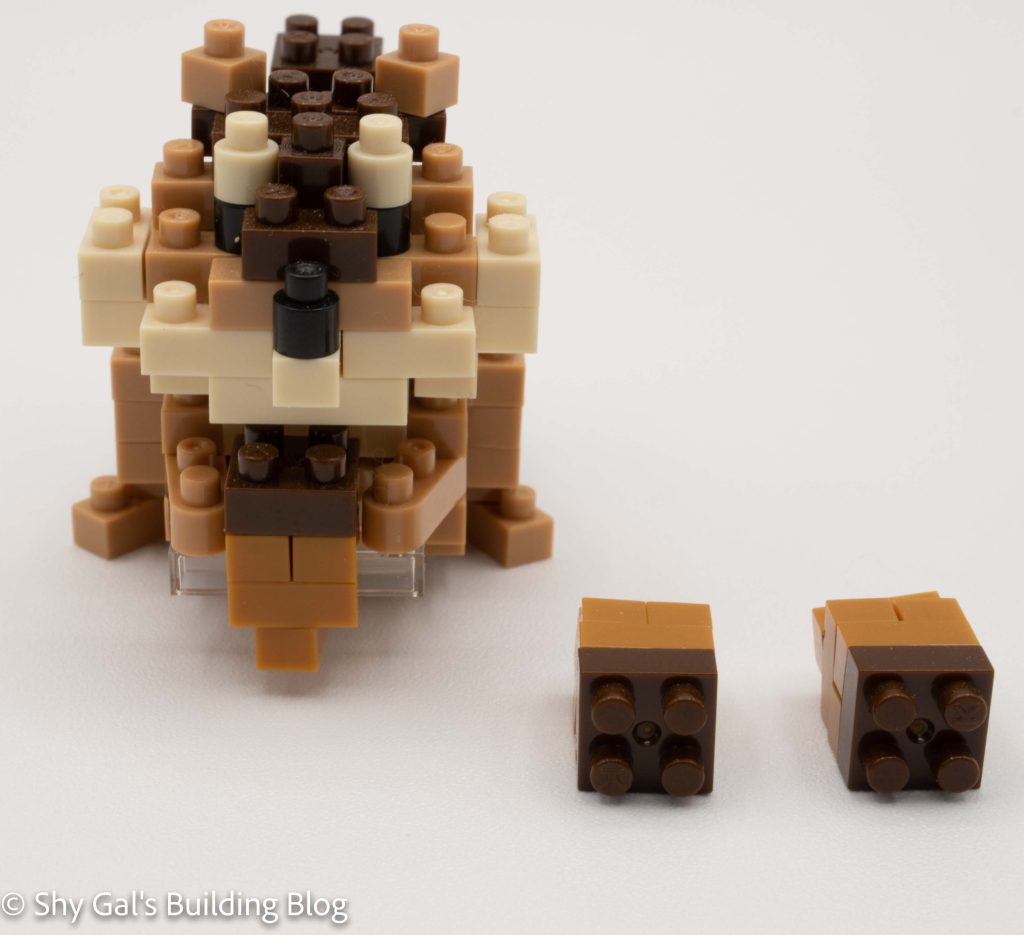
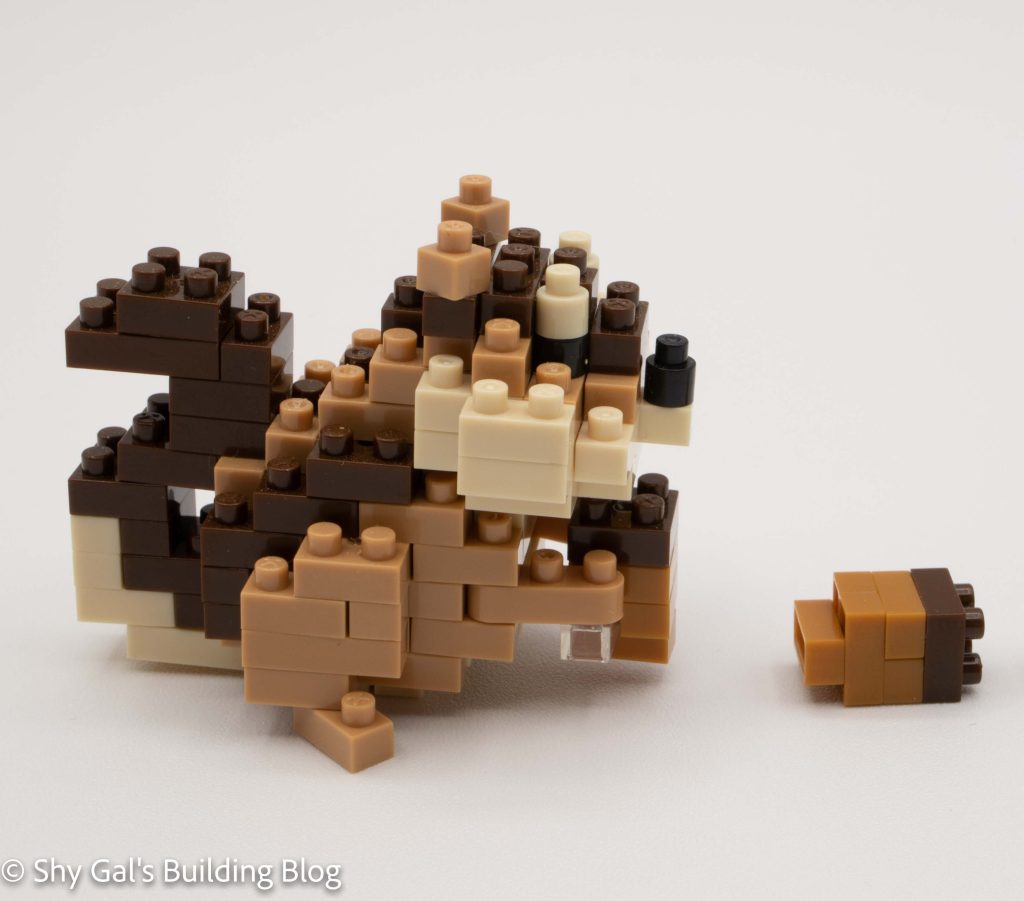
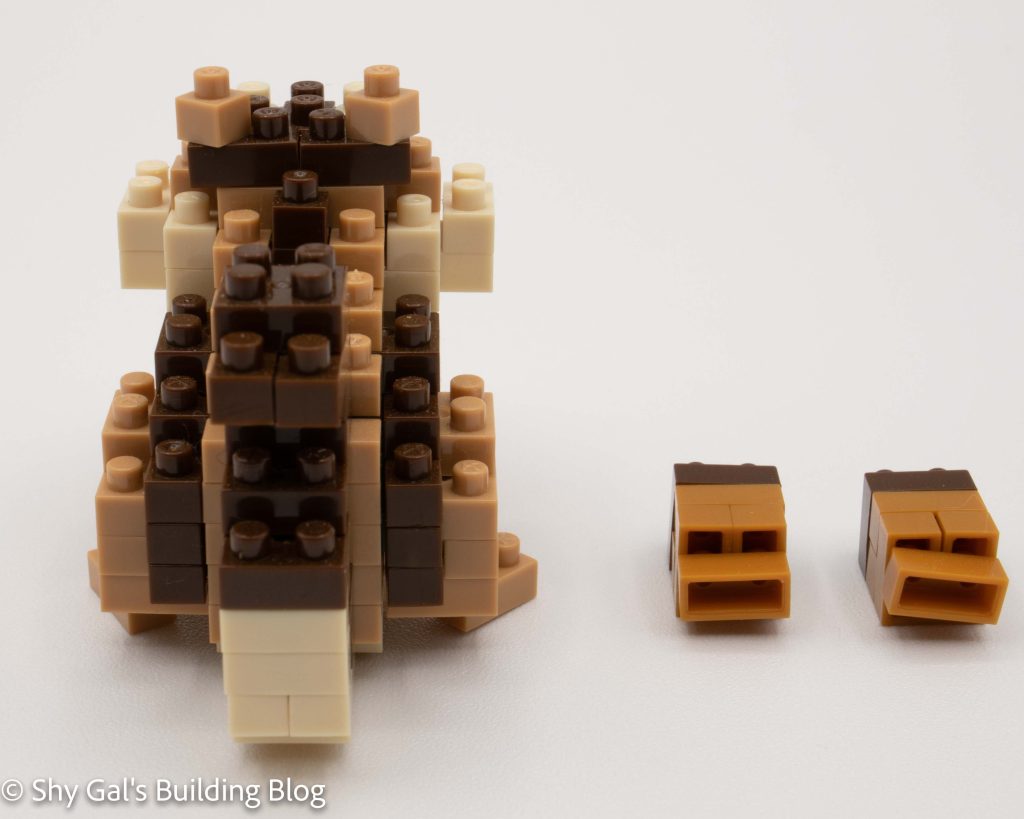
The Squirrel build starts as a basic build, starting with a base and building the height of the Squirrel. After step 5, you turn the build upside down and add the feet, the acorn it holds, and the base of the tail. Once you flip it back right-side-up, you build and attach the tail and head. 2 extra acorns sit near the Squirrel.

Squirrel side view

Overall I think the Squirrel is adorable. I like that it looks like its cheeks are full and puffed up.

Squirrel back view

Things I liked:

  • The extra acorns

Review of nanoblock Red Panda NBC_194

Red Panda build and package

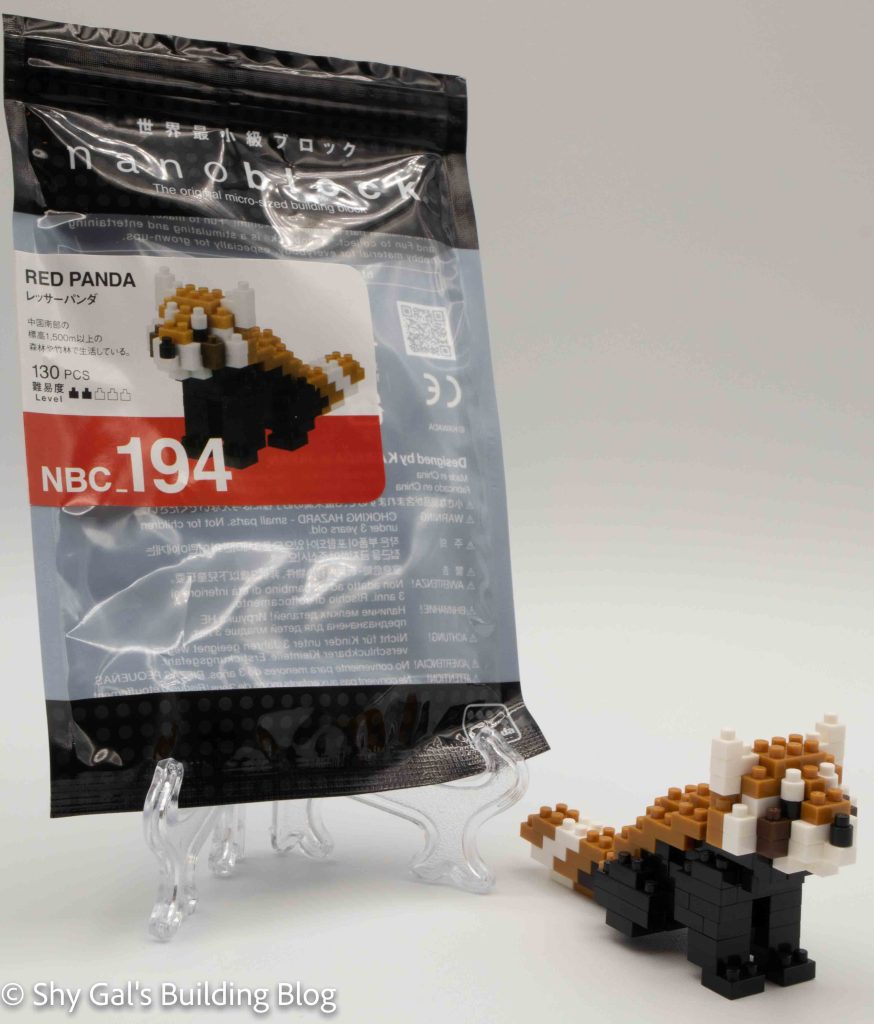
This post is a review of the nanoblock Red Panda build. The Red Panda is part of the nanoblock Mini Collection series. Wondering what else is part of the Mini Collection series? Click here for a list.

Number: NBC_194

Number of Pieces: 130

Difficulty Rating: 2/5

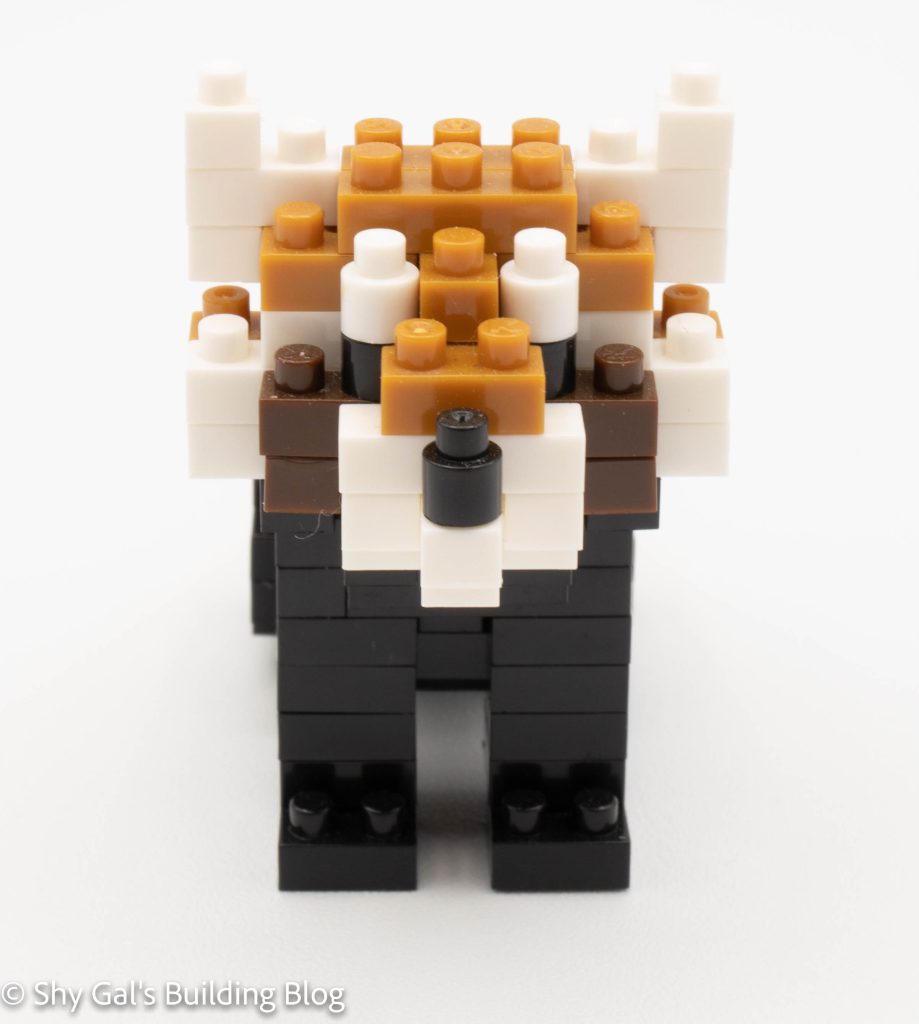
Red Panda front view

Red Pandas are smaller furry animals that live in China and Nepal. Their habitat is getting cut down significantly due to human activity. They look a little like super fluffy raccoons. They are also prevalent in zoos worldwide.

This build is building chunks of the nanoblock and connecting them together to create the Red Panda.

Since the animal is on a slant, you start with the back of the animal and work forward. The first 5 steps are building the body and preparing the base for the head to attach onto.

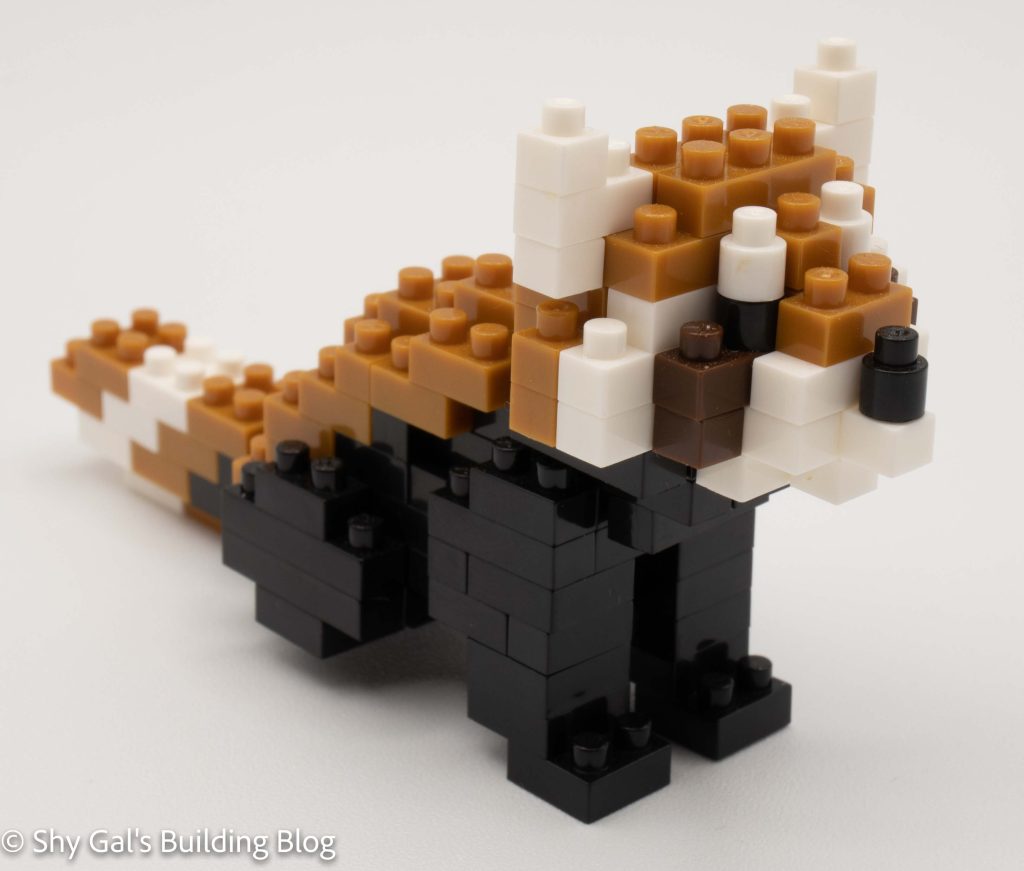
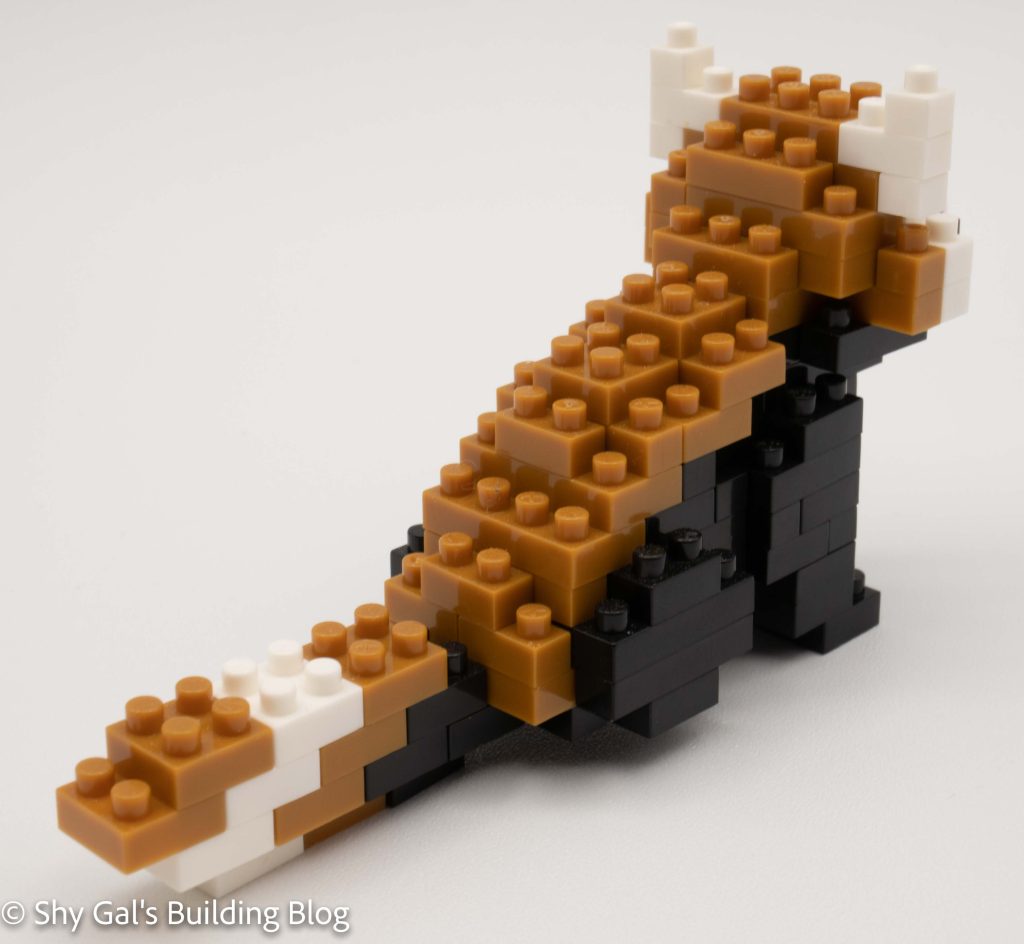
In step 6, you make the head with reasonable detail, including round eyes and an additional shade of brown to create the cheeks. Once you attach the head, you build the tail with striped detail.

The final step is to connect the paws so that the build sits flat.

Red Panda 3/4 front view

Overall I enjoyed this build. I liked building the individual chunks and seeing the red panda come together in larger pieces. In most of my builds, things come together in layers, so the chunks were a nice change. I really like the detail in the face and tail, which are vital to making this build recognizable.

Red Panda back 3/4 view

Things I liked:

  • The amount of detail in the head
  • The stripes in the tail

Review of nanoblock Fantasy Collection(Phoenix, Unicorn, and Dragon)

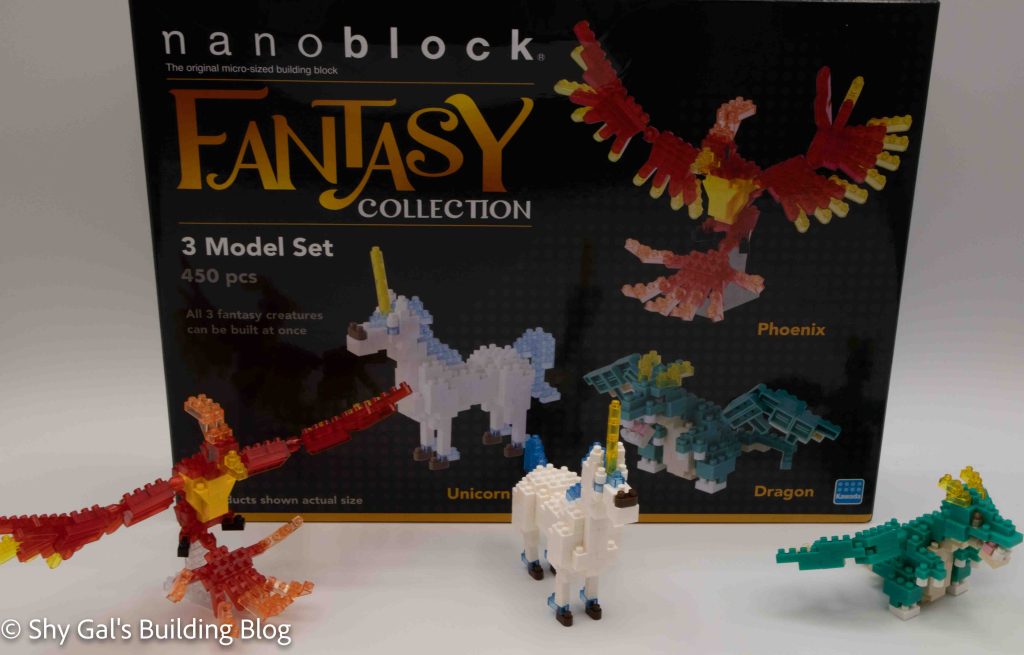
Fantasy Collection(Phoenix, Unicorn, and Dragon) builds and box

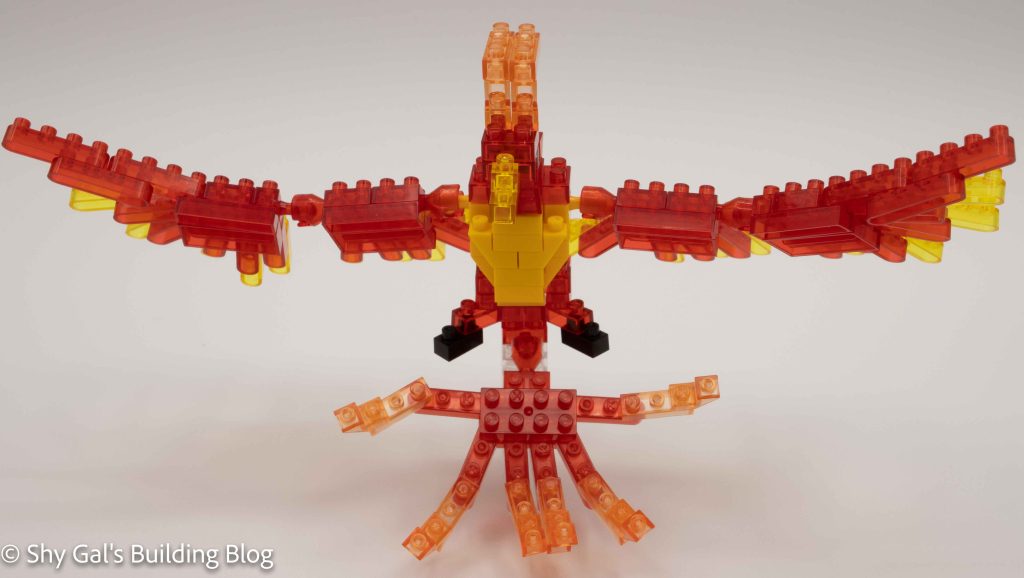
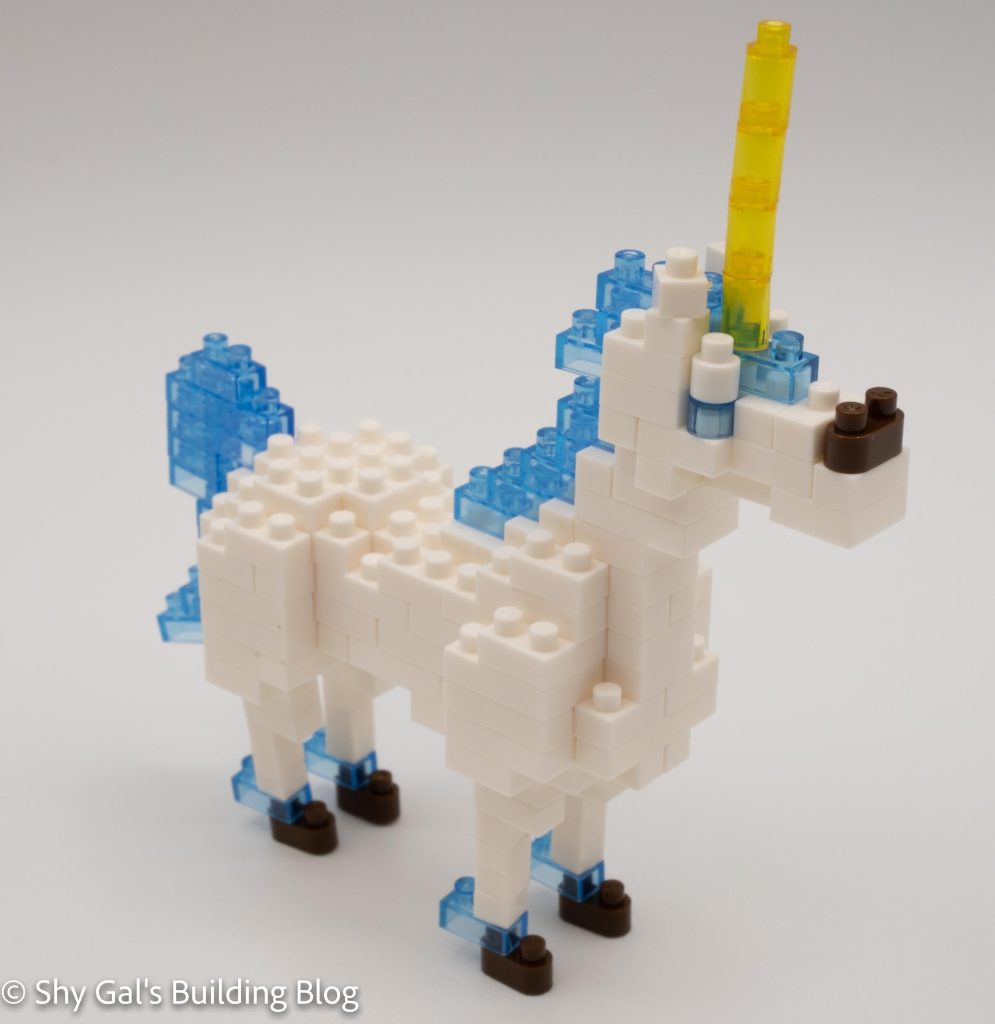
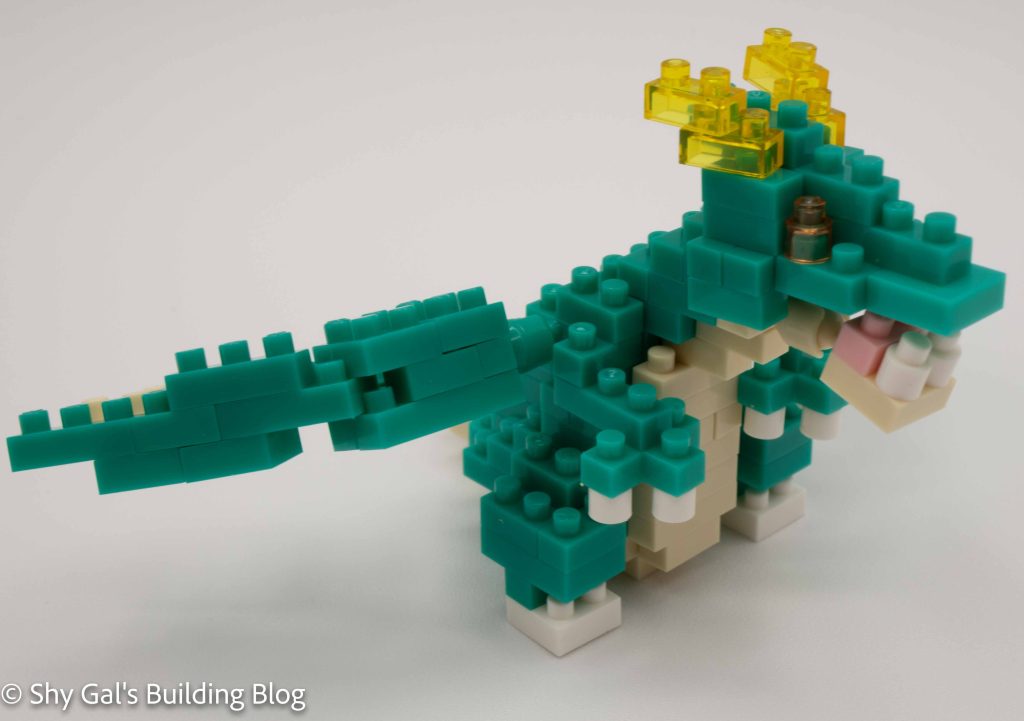
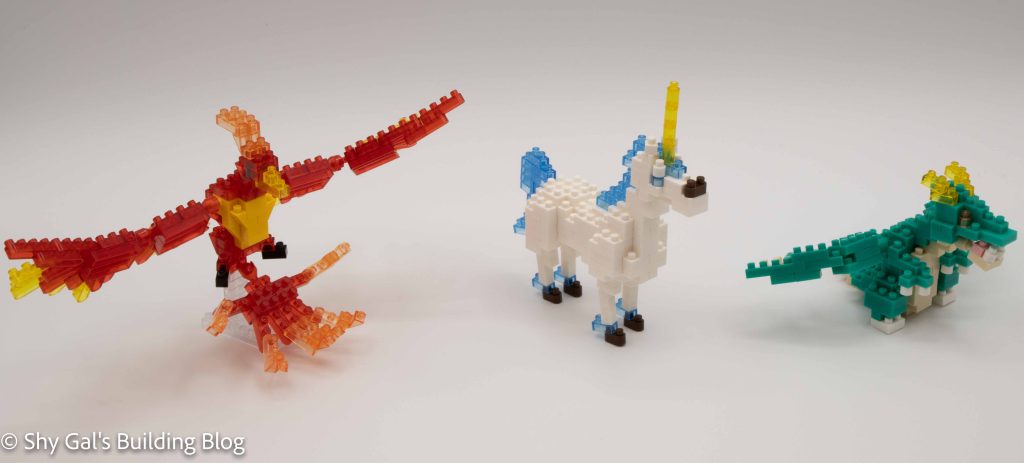
This review is for a collection of nanoblock builds in a box called Fantasy Collection. These builds are called Phoenix, Unicon, and Dragon. All of these builds are part of the nanoblock Mini Collection series. These were the first builds I made that used the ball joints to make moveable parts. Each set is available separately, so I will try to provide links to the individual builds if I can find them.

Phoenix

Phoenix build

Phoenix was by far my favorite of these three builds. It looks like the classic phoenix rising from the ashes. It uses the ball joints to create the outstretched wings and the tail. It is made of almost all transparent blocks and appears to float while sitting on a stand as a build. I found working with so many transparent tricky because they seem to stretch more than the standard solid nanoblocks. The hardest part of the build was to get the Phoenix to stand on its base. If things aren’t just layered just right or the tail isn’t centered, the build will just tip over.

Link to order: Amazon

Unicorn

Unicorn build

The Unicorn is probably the most straightforward of all the builds. It doesn’t have any ball joints, and it mostly layers up the body of the Unicorn. It is almost all white with a transparent mane and horn. The Unicorn has narrow legs that are stacked 1 stud thick going up. I was worried that the build would have a hard time standing up but was pleasantly surprised when I tried to stand it up. The main thing I don’t like about the Unicorn is I think the horn is too long and wide for the head of the Unicorn.

Link to order: Amazon

Dragon

Dragon build

The dragon build is relatively straightforward. First, you build the body. The hardest part of making the body is getting the arms lined up because it’s a chain held together by one brick. Second, you build the head, which is again relatively simple. The mouth is held together with a ball joint, allowing it to move. The last step is to build and attach wings that contain ball joints so that the wings can move. Overall, I enjoyed the build, and I really like the color of the dragon, which is a reasonably unique color.

Link to order: Amazon

Phoenix, Unicorn, and Dragon and builds

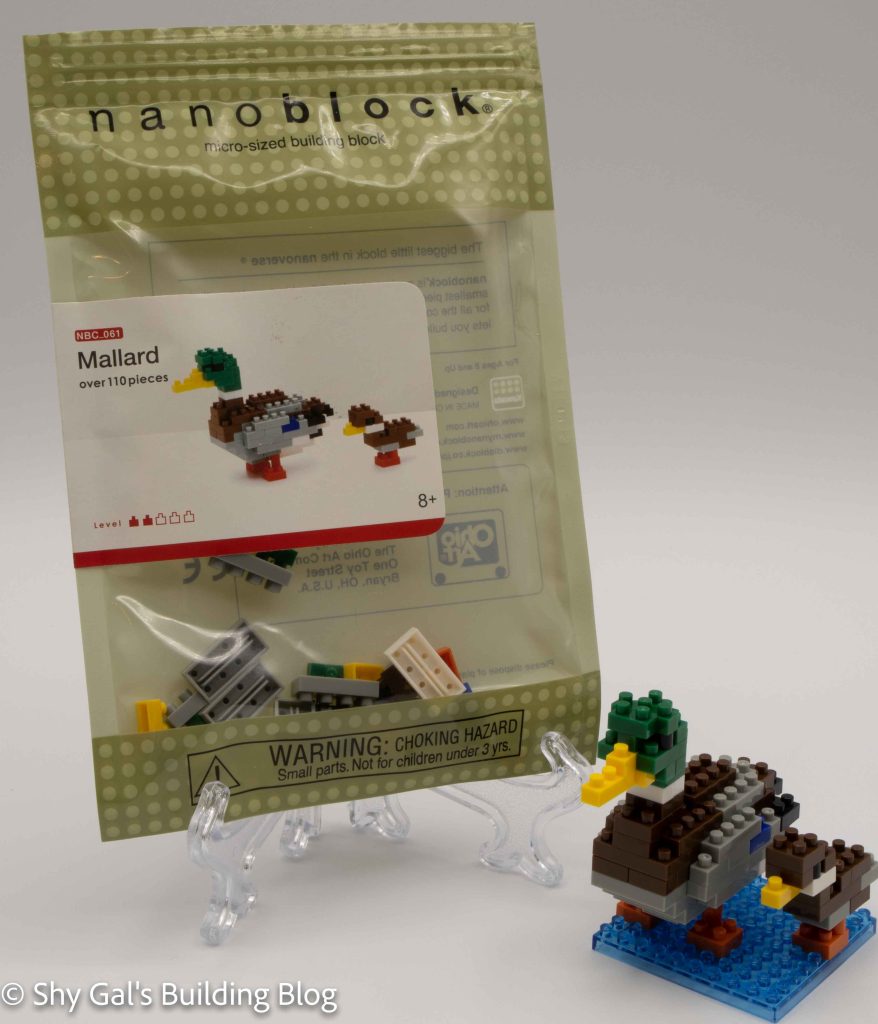
Review of nanoblock Mallard NBC_061

Mallard build and package

This post is a review of the nanoblock Mallard build. The Mallard is part of the nanoblock Mini Collection series. Wondering what else is part of the Mini Collection series? Click here for a list.

Number: NBC_061

Number of Pieces: 110

Difficulty Rating: 2/5

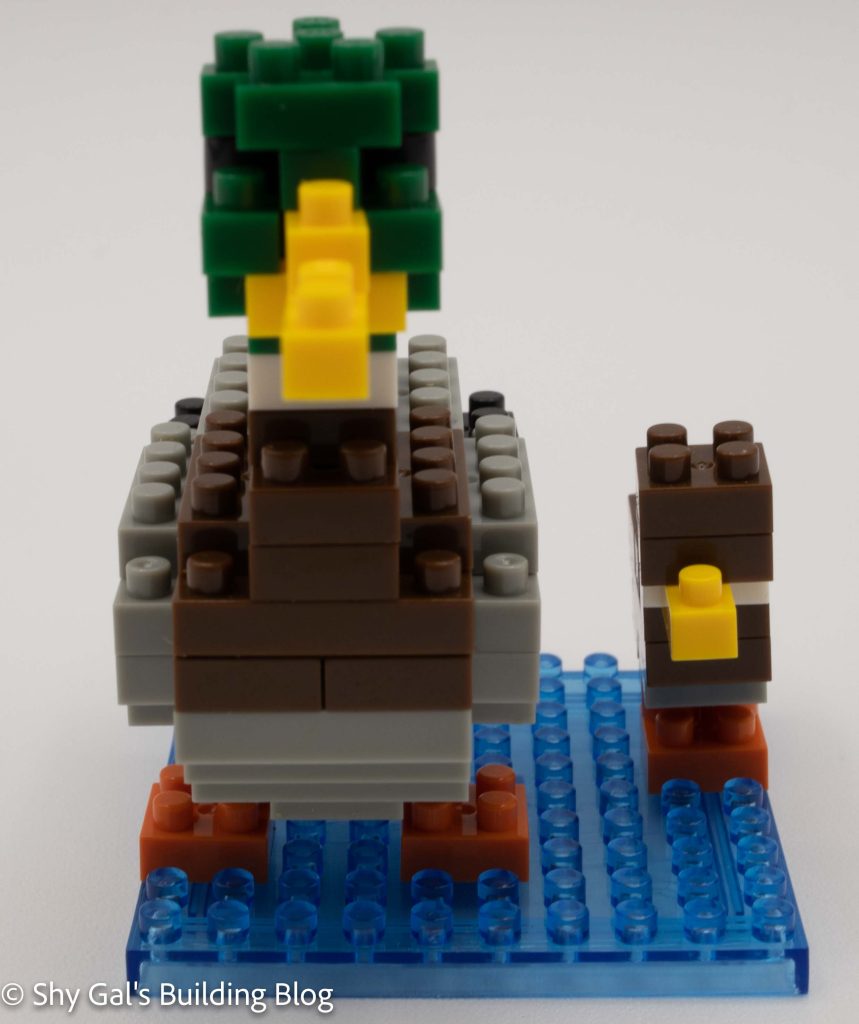
Mallard front view

Mallards are a type of duck that I grew up seeing. The males have all kinds of coloring, including beautiful iridescent feathers on their backs. There are 2 ducks, one adult male, and I’m not sure what the other is supposed to be for this kit. The second duck is much smaller, so I don’t think it’s a female, but it is also entirely the wrong color to be a chick.

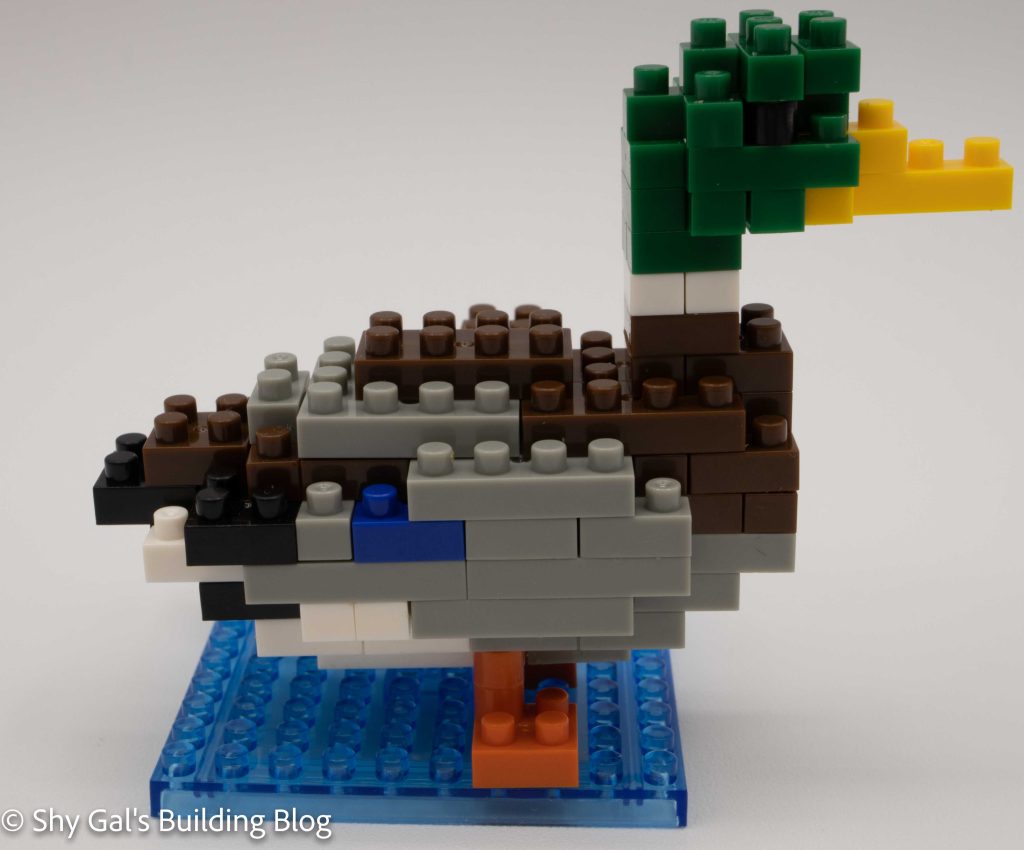
Mallard side view

The adult male is straightforward. You start with a pair of bricks and build up from there. There are many colors in the build, creating the colors in the Mallard’s feathers. The head of the male is a little tricky because getting everything lined up can be challenging. It is also tricky to get attached to the body. The second duck is very straightforward with excellent directions.

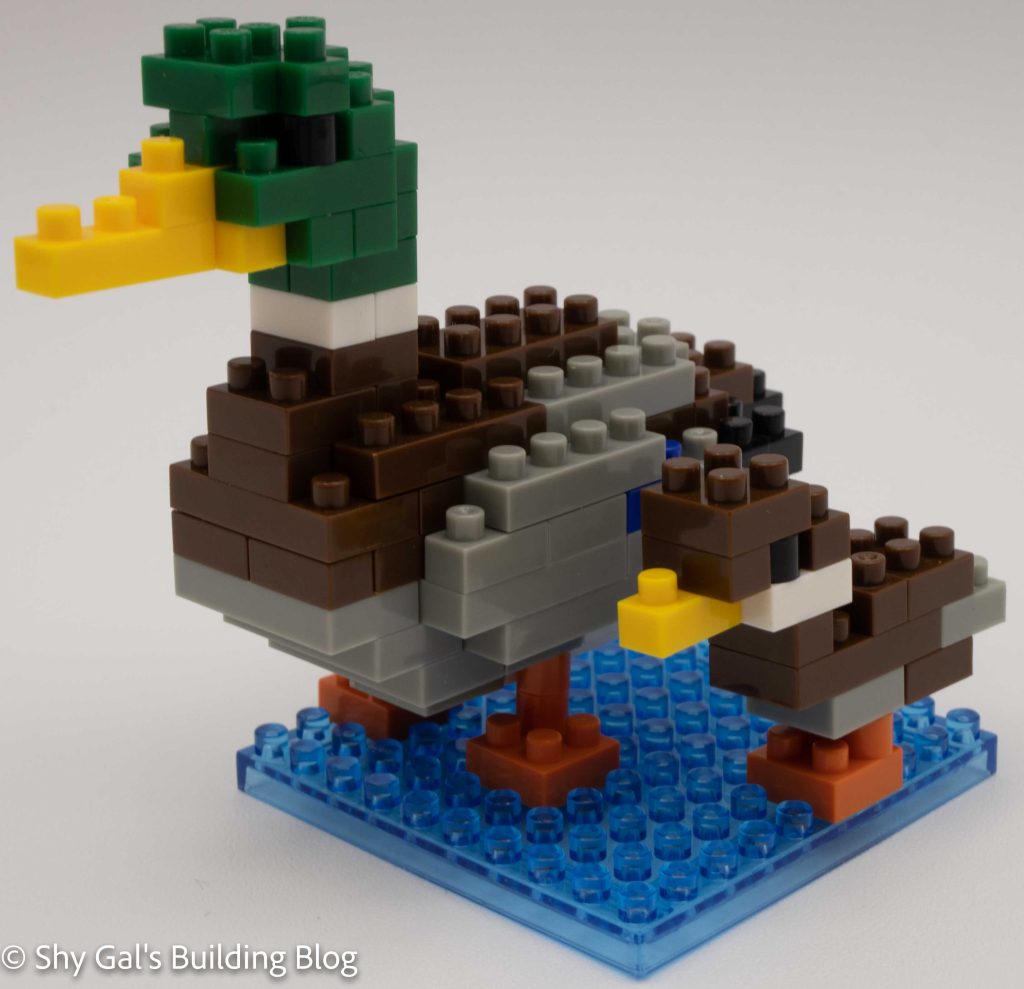
Mallard 3/4 front view

Things I liked:

  • That the ducks are on 1 plate to keep them safe
  • The number of colors on the male duck

Things I didn’t like:

  • Everything about the second duck.

Review of nanoblock Polar Bear NBC_294

Polar Bear build and package

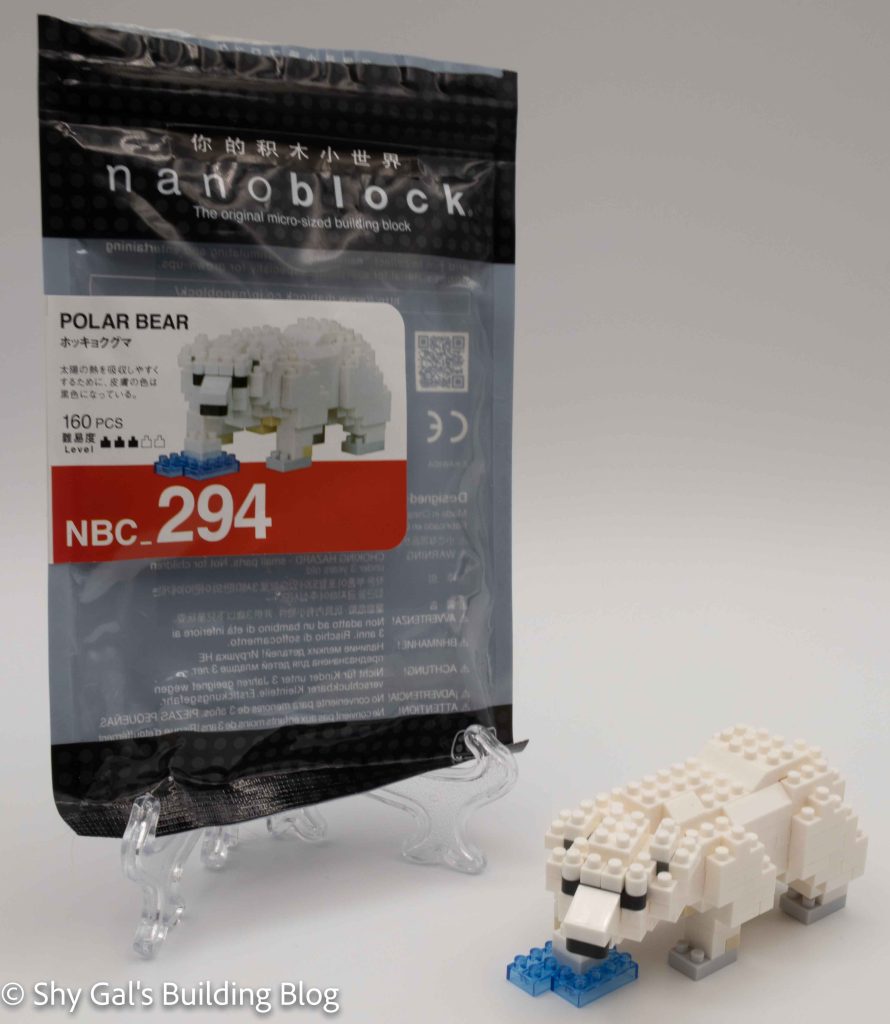
This post is a review of the nanoblock Polar Bear build. The Polar Bear is part of the nanoblock Mini Collection series. Wondering what else is part of the Mini Collection series? Click here for a list.

Number: NBC_294

Number of Pieces: 160

Difficulty Rating: 3/5

Polar Bear front 3/4 view

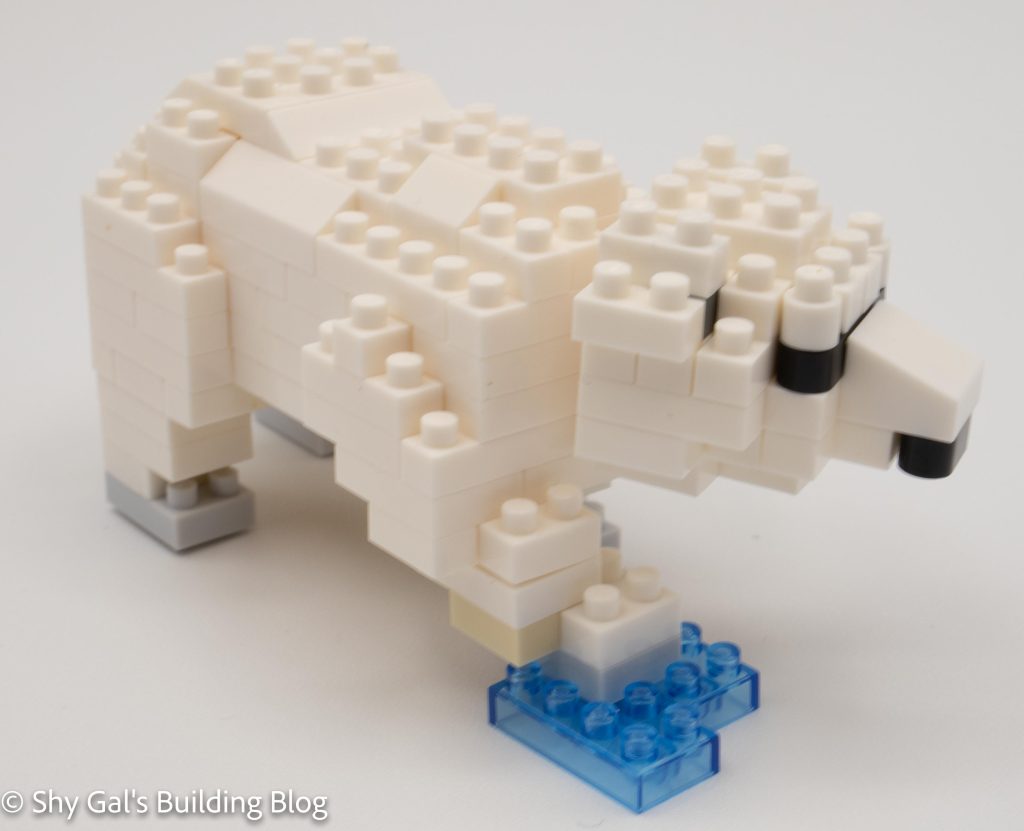
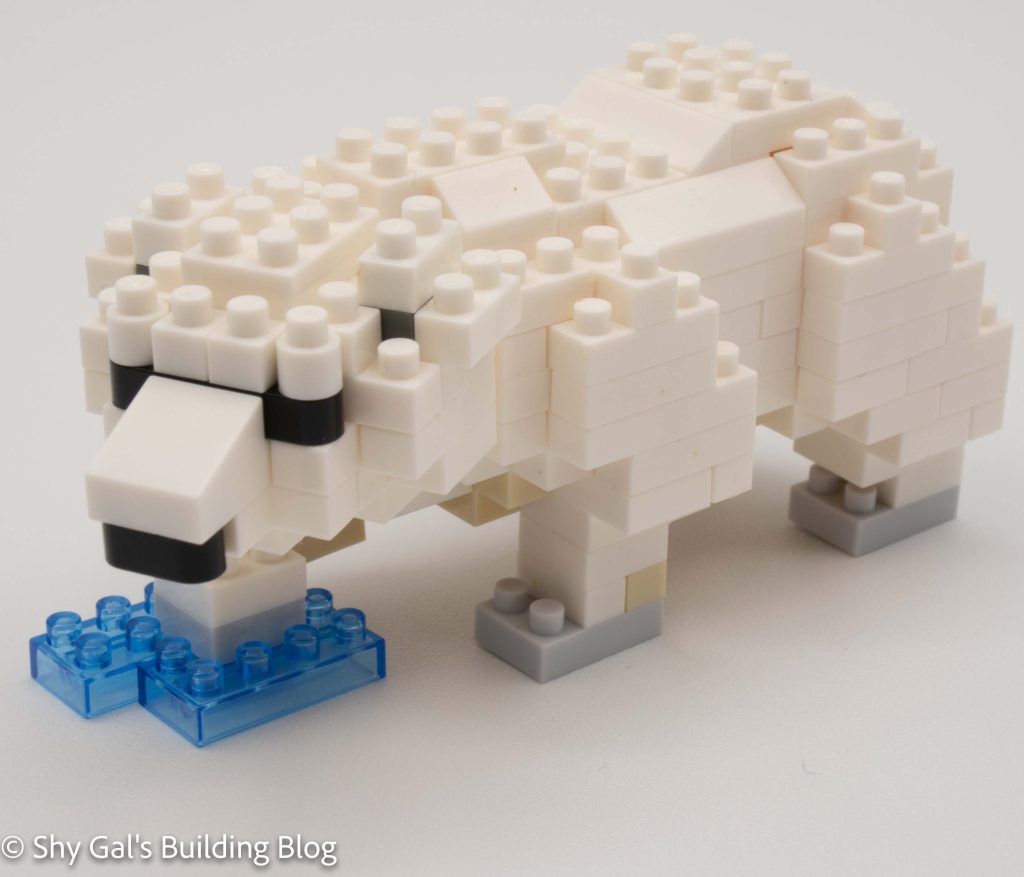
I originally picked up the polar bear kit because I really liked the asymmetric nature of the build since one of his paws is on the ice flow.

I was delighted that I had my nanoblock pad for putting the body together. The base of the bear is larger than most of the classic collection builds. I was also surprised that the bear is made of white and a bit of cream. I couldn’t really see the detail in the photo on the packaging, so it was a pleasant surprise.

Polar Bear back 3/4 view

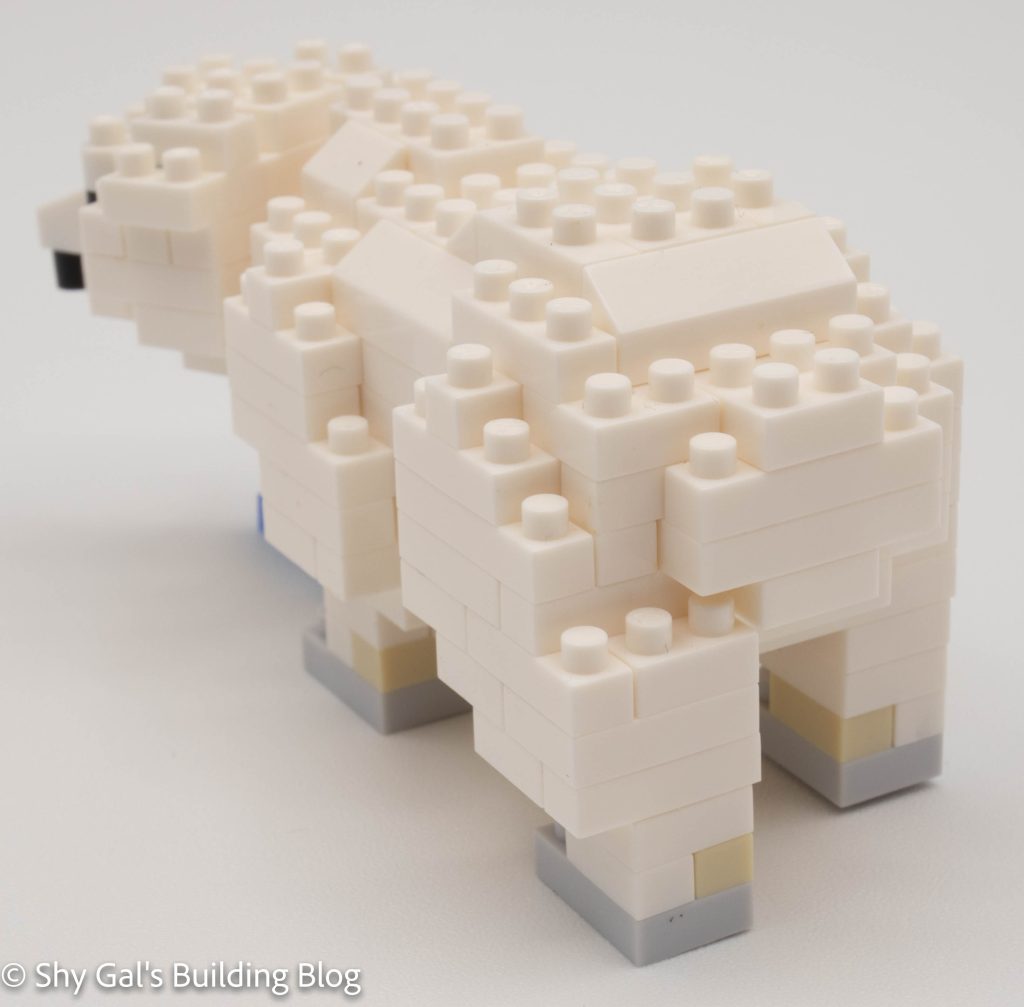
Once you layout the base layer of the body, you build up the rest of the body. Then you build the head, which is pretty straightforward. The next step is adding the final details to the back. I find it hard to tell which are the new blocks and the previous layer. Then you need to flip the bear over and add details to the stomach and paws. I liked the use of cream to add more detail to the feet.

Overall, I really liked building the bear. I really like the detail of the cream added to the white to add some detail. I didn’t like that it was hard to tell which layer was when adding details to the bear’s back.

Polar Bear front 3/4

Things I liked:

  • The use of cream to add contrast

Things I didn’t like:

  • The directions to add detail to the back

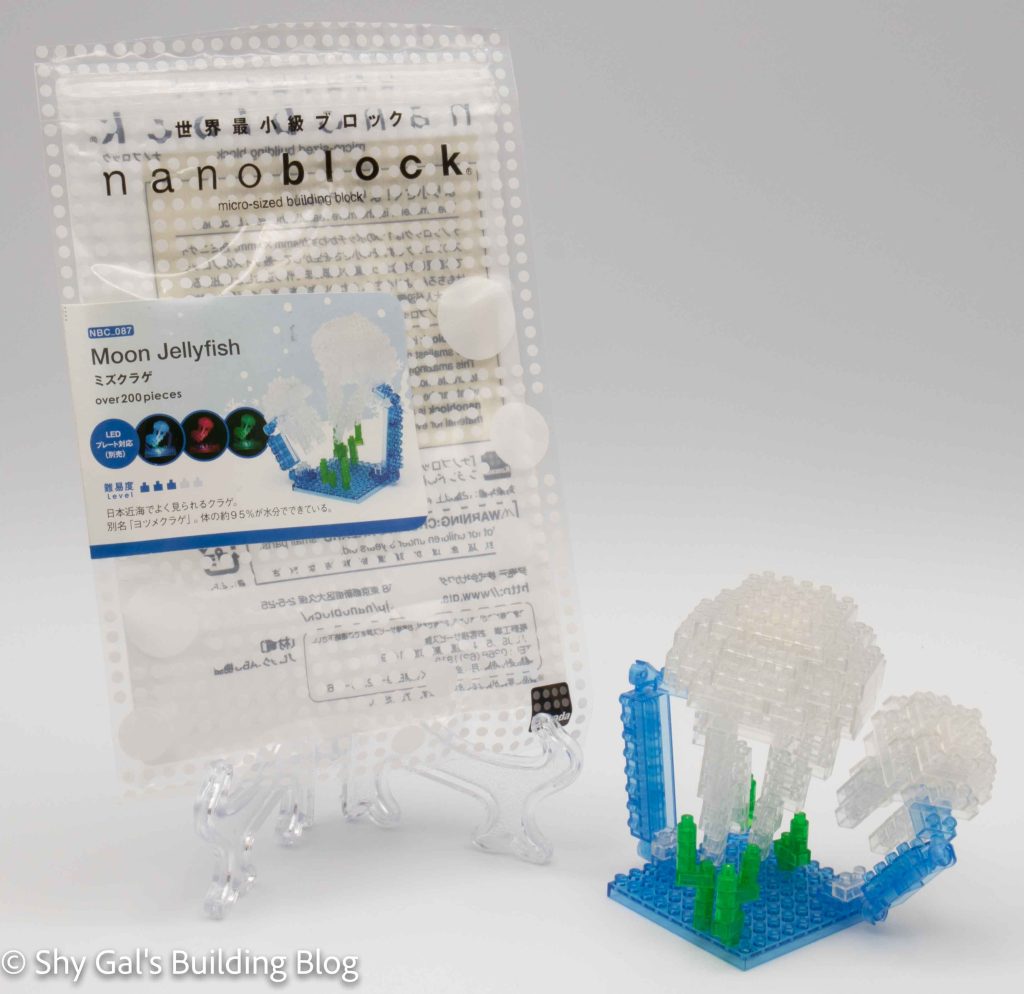
Review of nanoblock Moon Jellyfish NBC_087

Moon Jellyfish build and package

This post is a review of the nanoblock Moon Jellyfish build. The Moon Jellyfish is part of the nanoblock Mini Collection series. Wondering what else is part of the Mini Collection series? Click here for a list.

Number: NBC_087

Number of Pieces: 200

Difficulty Rating: 3/5

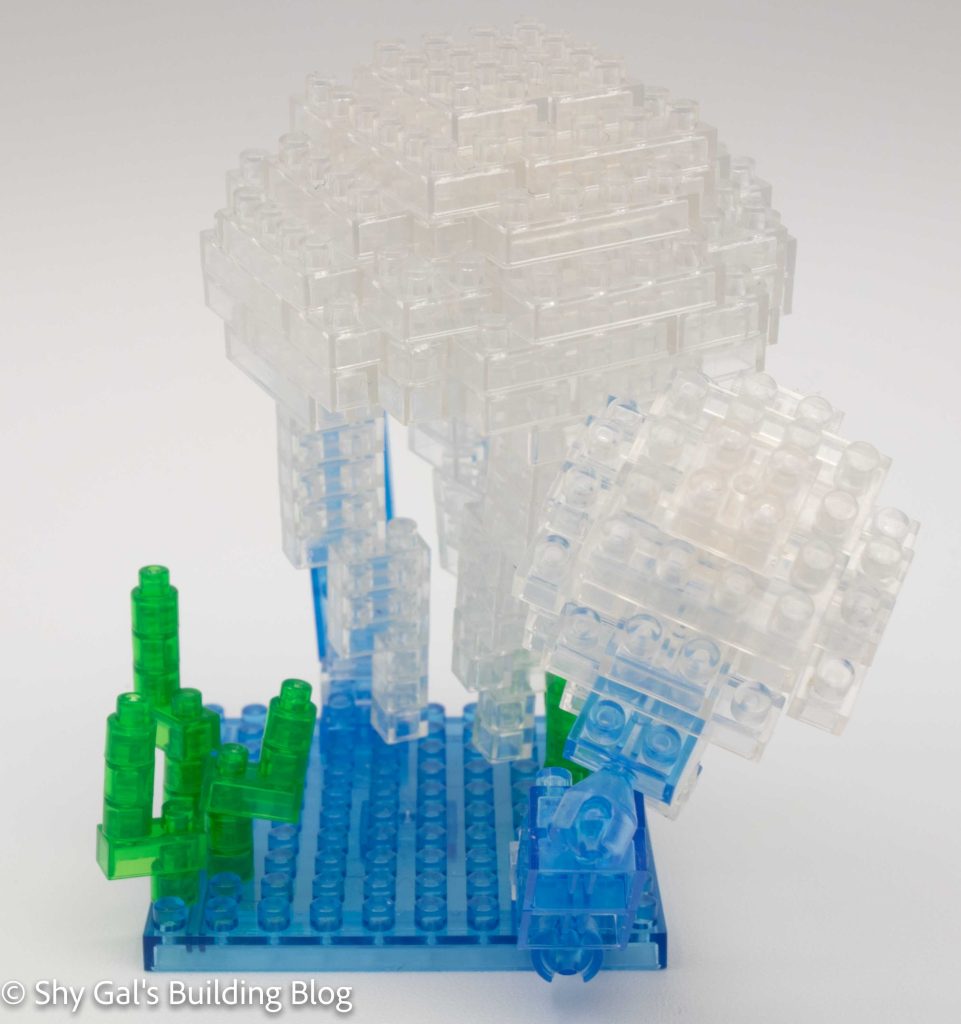
Moon Jellyfish build

Moon Jellyfish appear to be a relatively common kind of jellyfish. They usually are entirely transparent.

The build for either jellyfish’s body isn’t too difficult if you pay careful attention to the layer you are working on. What you have already built is marked in blue, so what you have already done is apparent.

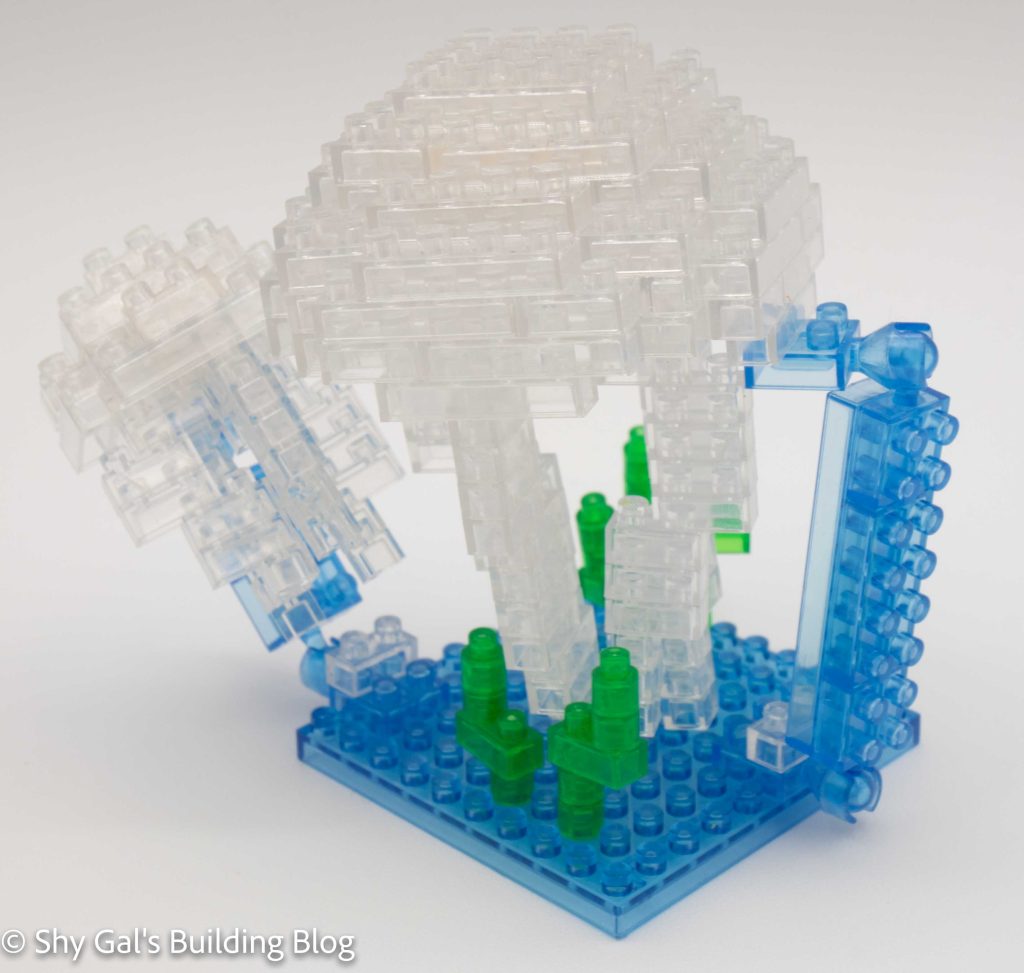
Moon Jellyfish build

Once you have made the body, you have one of the most challenging steps to complete. You need to attach the tentacles. It is challenging to tell where precisely the tentacle connects to the main body.

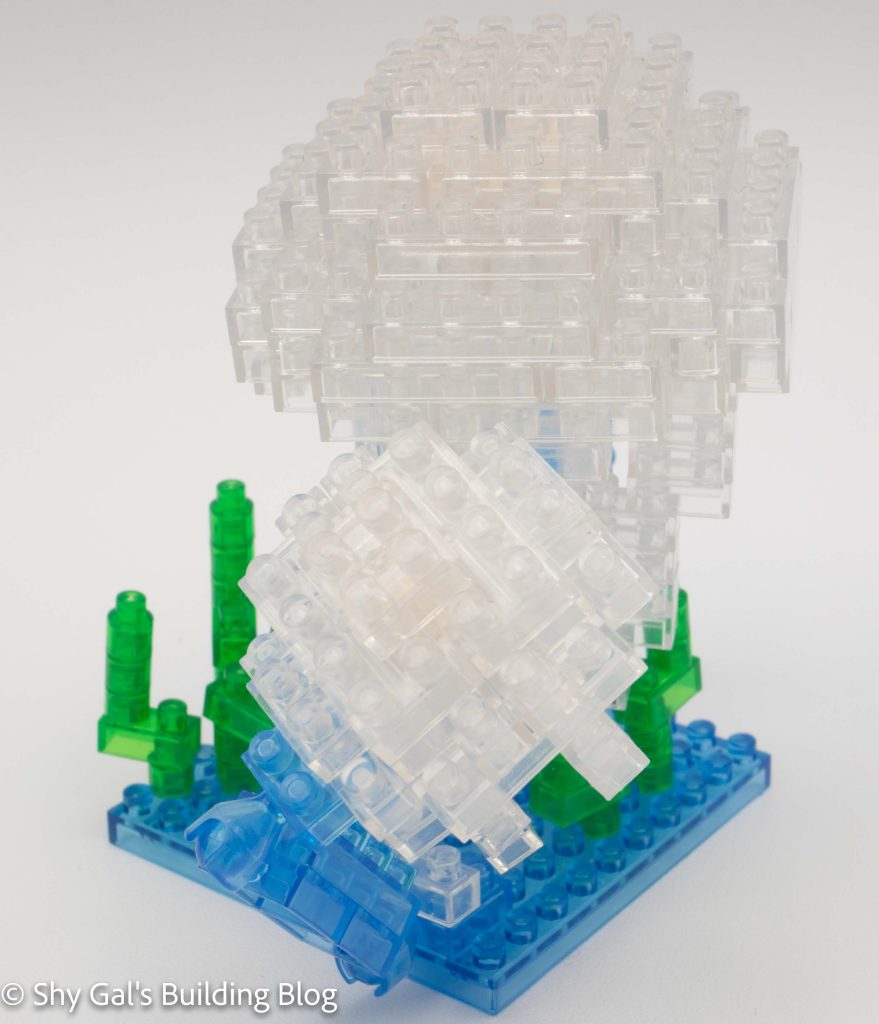
After you build the 2 jellyfish, you still need to make a base for them to hang on. There are some simple plants and the blue chains of ball joints that hold up the jellyfish. The chains are incredibly flexible, so it can move around and break when you attach the jellyfish.

Moon Jellyfish build

Things I liked:

  • The collection of clear blocks looks unique and cool

Things I didn’t like:

  • The final build is flexible and easy to break

Review of nanoblock Green Spotted Puffer NBC_085

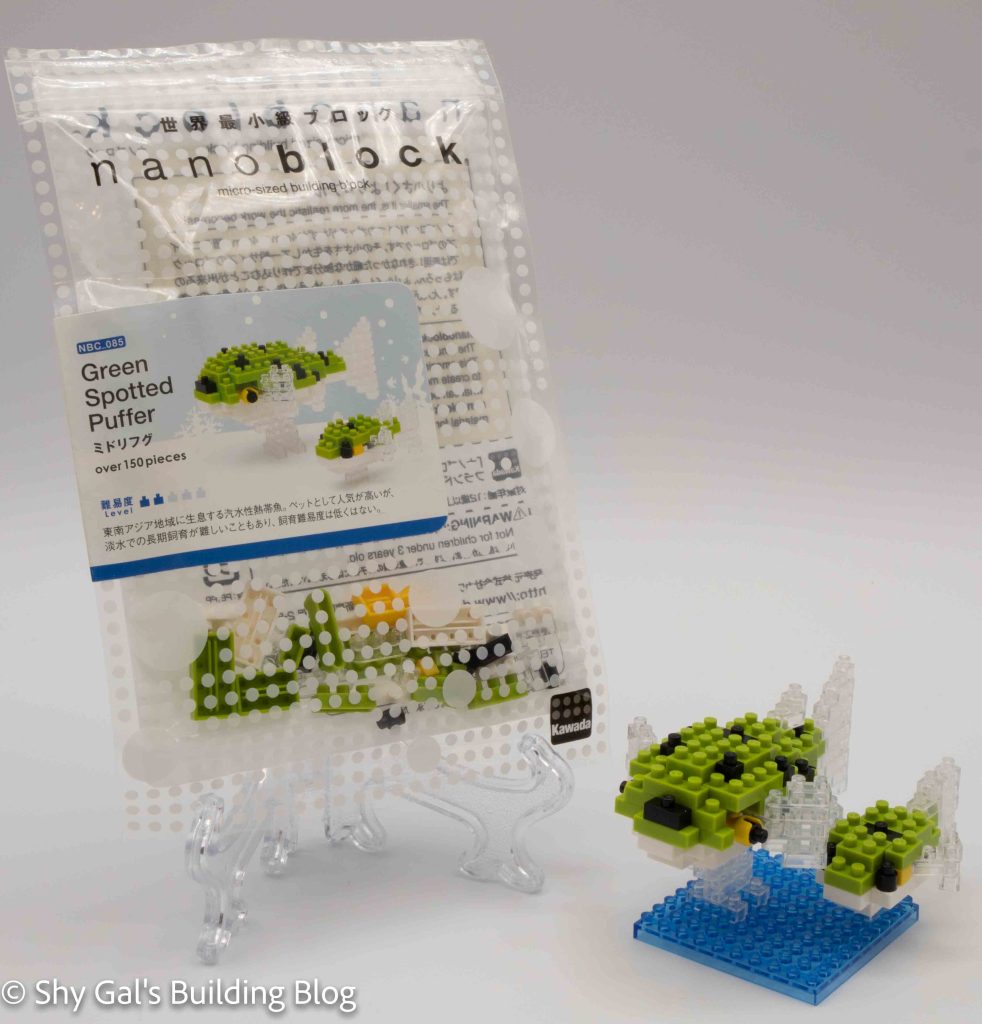
Green Spotted Puffer build and package

This post is a review of the nanoblock Green Spotted Puffer build. The Green Spotted Puffer is part of the nanoblock Mini Collection series. Wondering what else is part of the Mini Collection series? Click here for a list.

Number: NBC_085

Number of Pieces: 150

Difficulty Rating: 2/5

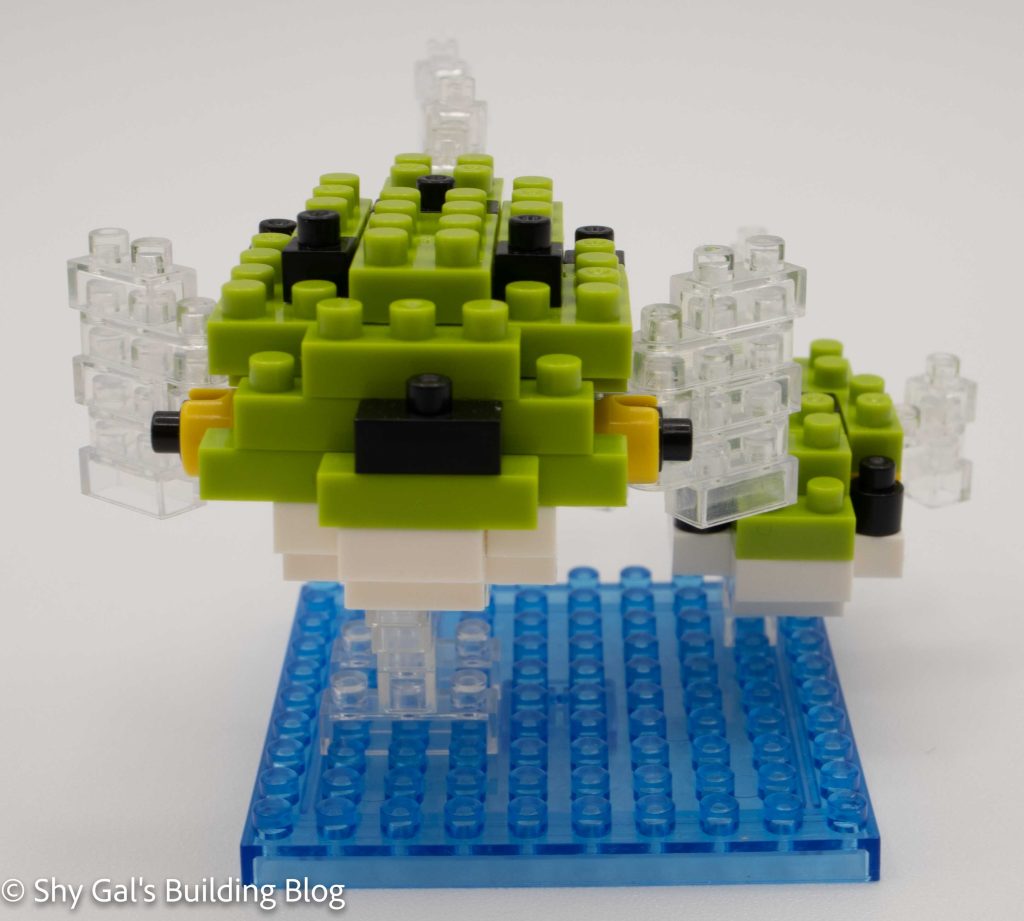
Green Spotted Puffer front view

The Green Spotted Puffer is a real fish. They are often freshwater fish.

This is a sweet little build. I really liked how the fish looked in the package. I was a little worried about how the models would stand up, but when I opened the package, I was pleasantly surprised to find a base for the model to sit on.

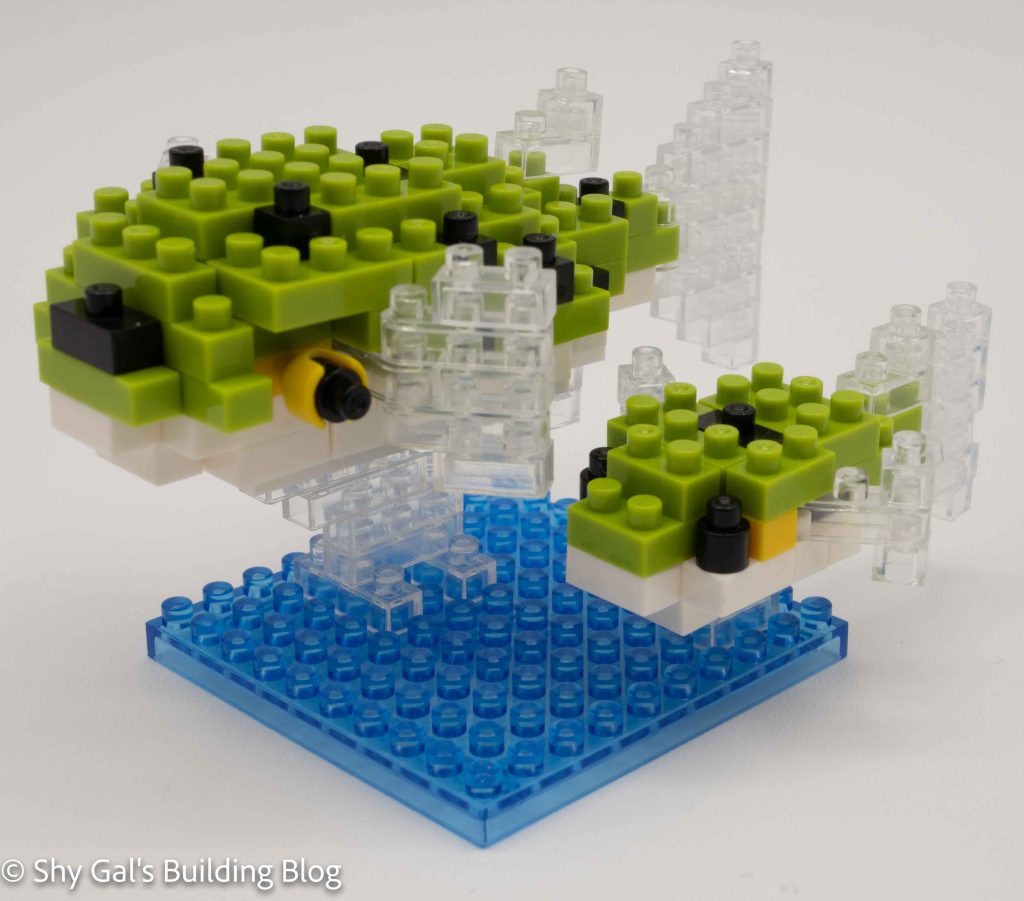
Green Spotted Puffer 3/4 front view

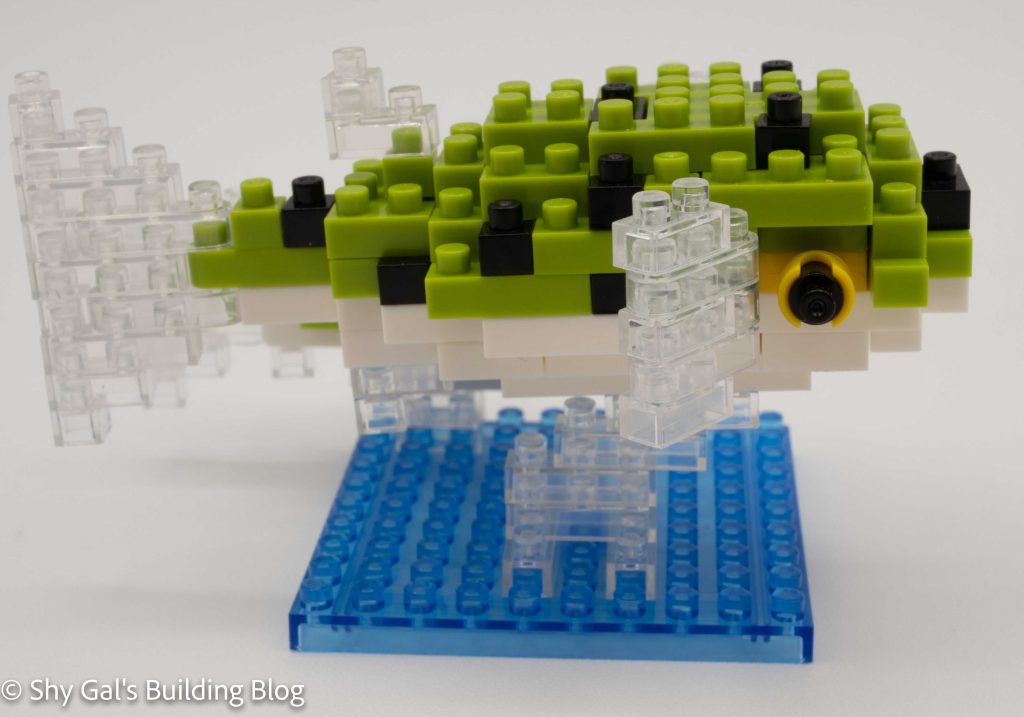
There are two fish in this build, a large one and a small one. The large fish overall was a fairly straightforward build. You start with a base that layers up. There are some details and creative use of bricks, like how the eyes are created from the non-ball side of the ball joint. The hardest part for me was getting all the clear bricks lined up. The small fish is straightforward with no real bonus details.

Green Spotted Puffer side view

Things I liked:

  • That there was a nice base to put both fish on

Things I didn’t like:

  • So many clear blocks to balance

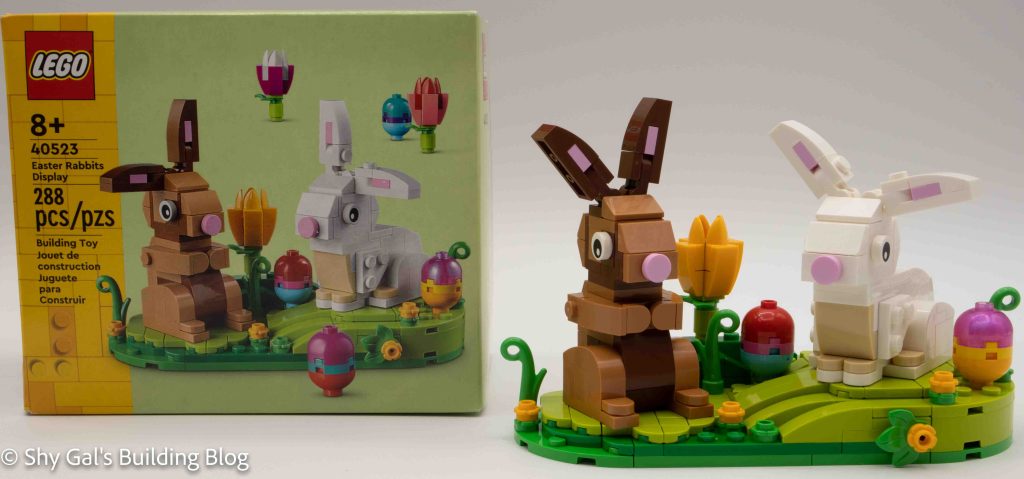
Review LEGO Easter Rabbits Display 40523

Easter Rabbit build and box

This post is a review of the LEGO Easter Rabbits Display build.

Number: 40523

Number of Pieces: 288

Difficulty Rating: 8+

Release Year: 2022

Retired as of Publishing: No

This LEGO kit comes with 2 instruction manuals. One has the instructions for the Rabbits, and the other has the instructions. I personally wish that the bunnies were split up so that I could split building the bunnies with my husband. I think that the number of steps of the base and Rabbits requires them to be broken up the way they are.

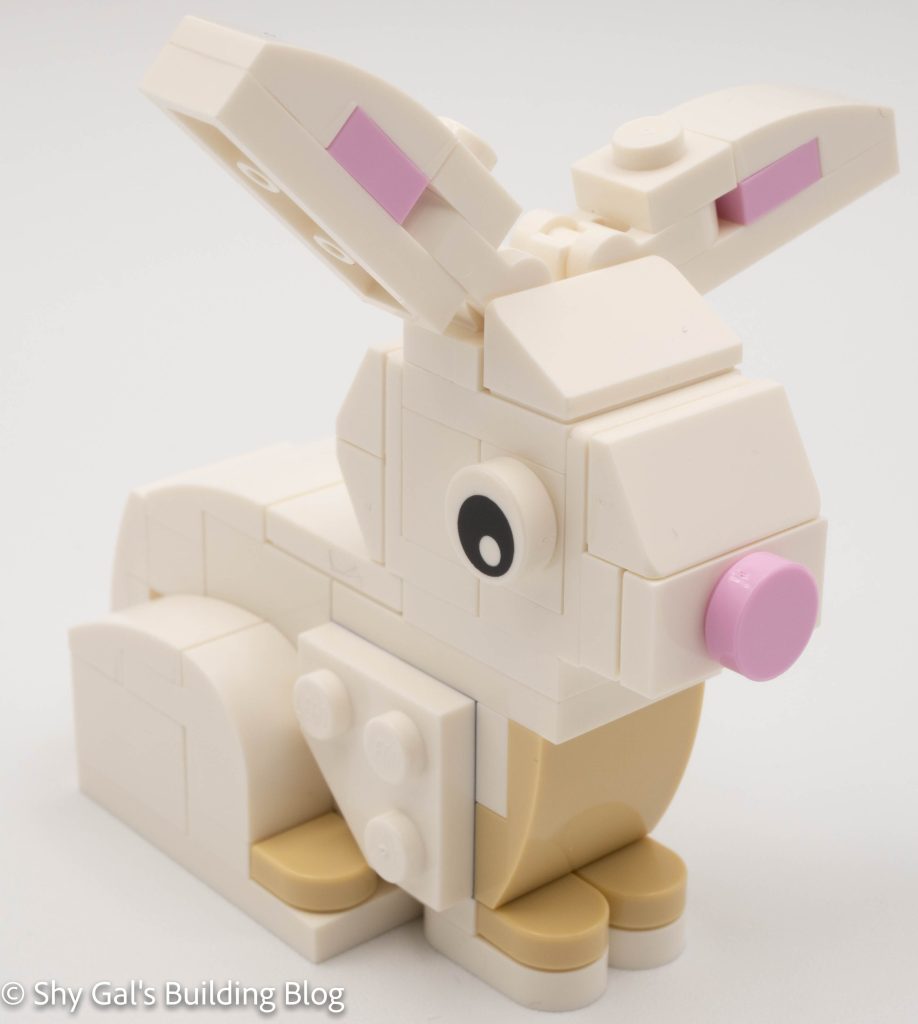
White Rabbit with 3/4 front view

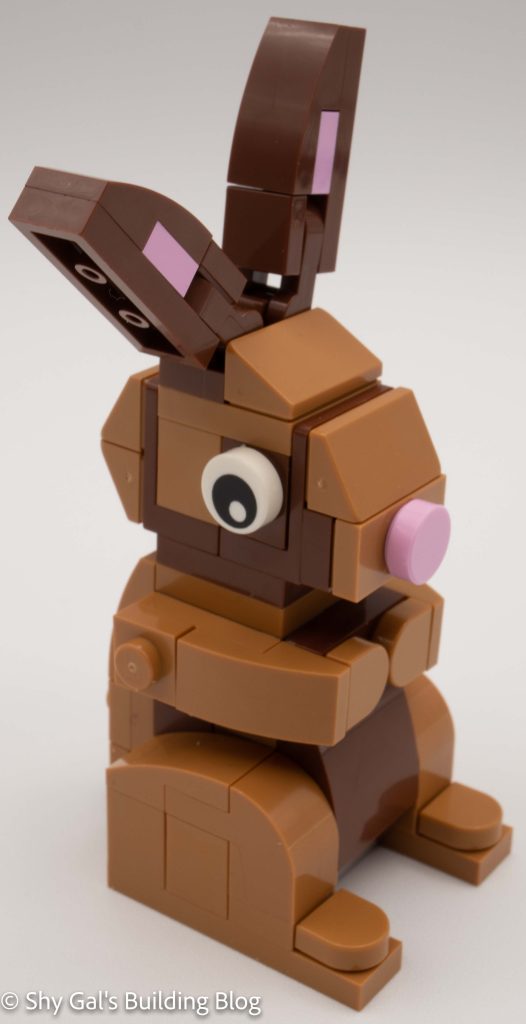
Instruction book 1 is the instructions for the bunnies. Overall the rabbits are pretty static, having only ears that move. The builds are very straightforward, with excellent directions to create each rabbit.

Brown Rabbit with 3/4 font view

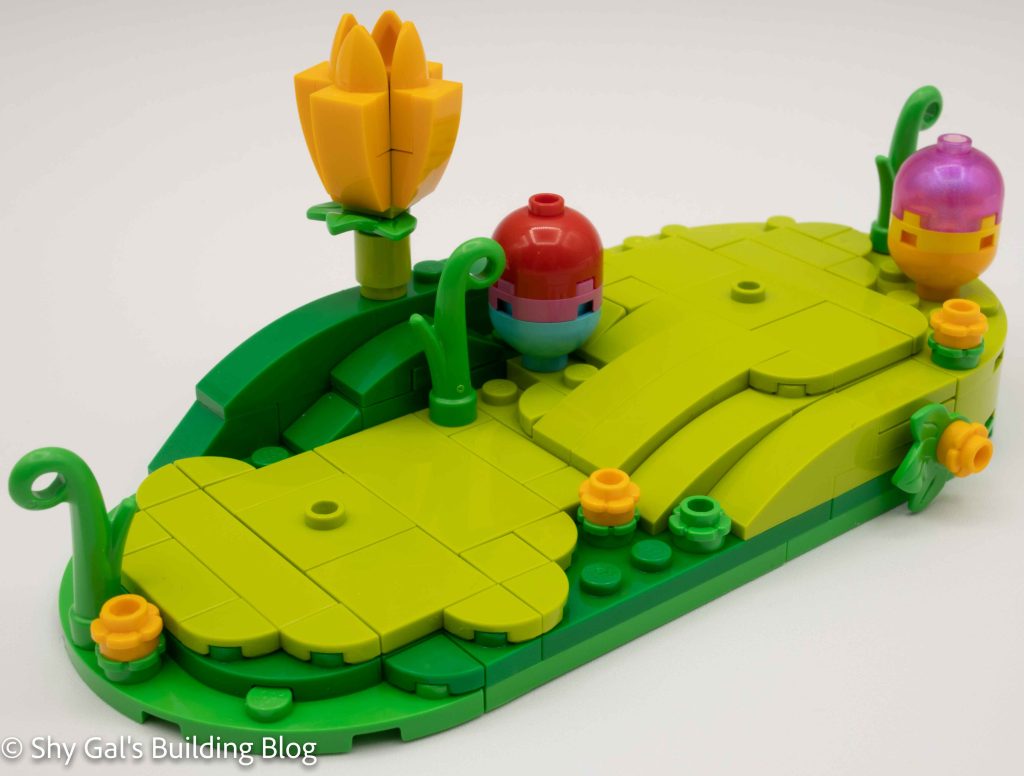
Instruction book 2 is to build the base that the bunnies sit on. It creates a little grass hill with various egg and flower decorations. I found the base more challenging to make than the bunnies because more pieces were added by step, so it was easy to miss a part here or there. There are two studs in the light green grass to place the bunnies. It limits where you can place them, but I think it makes a nice diorama.

Base for Rabbits to sit on

Things I liked:

  • I think the bunnies are super cute

Things I didn’t like:

  • I wish the Bunnies had been split between the manuals

Link to buy: LEGO