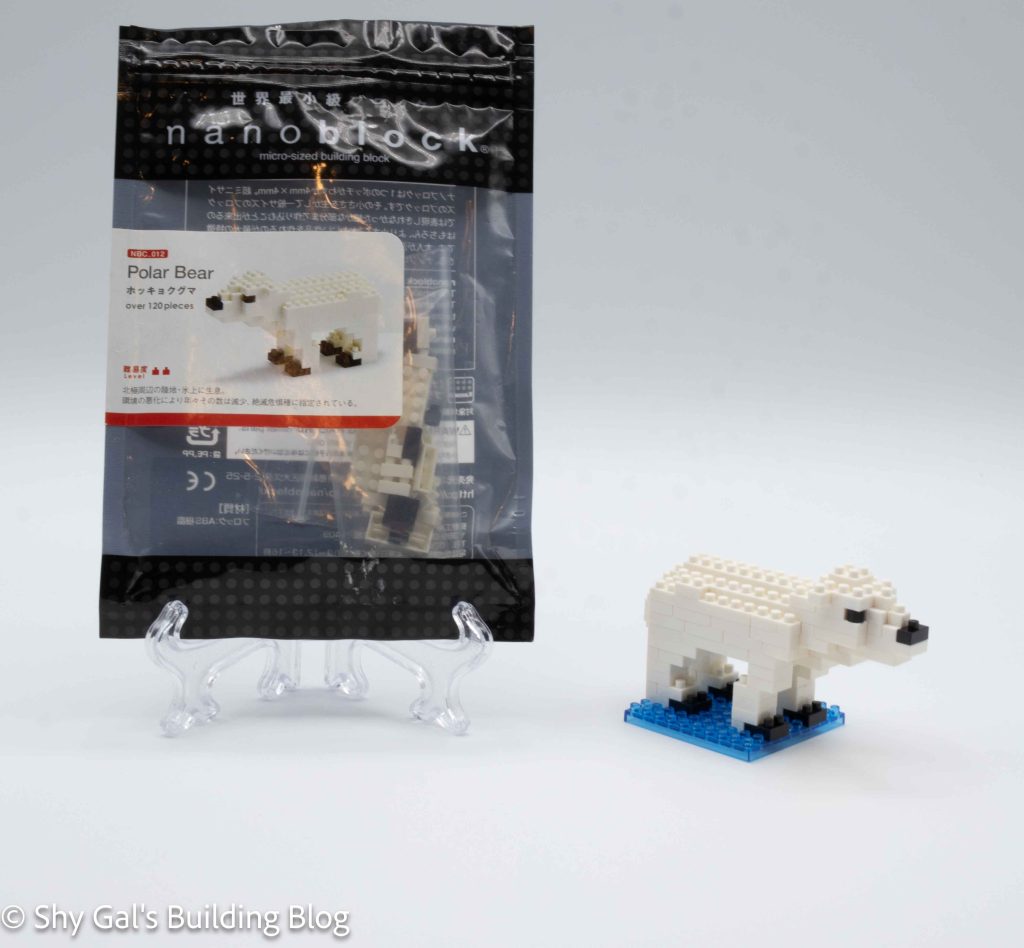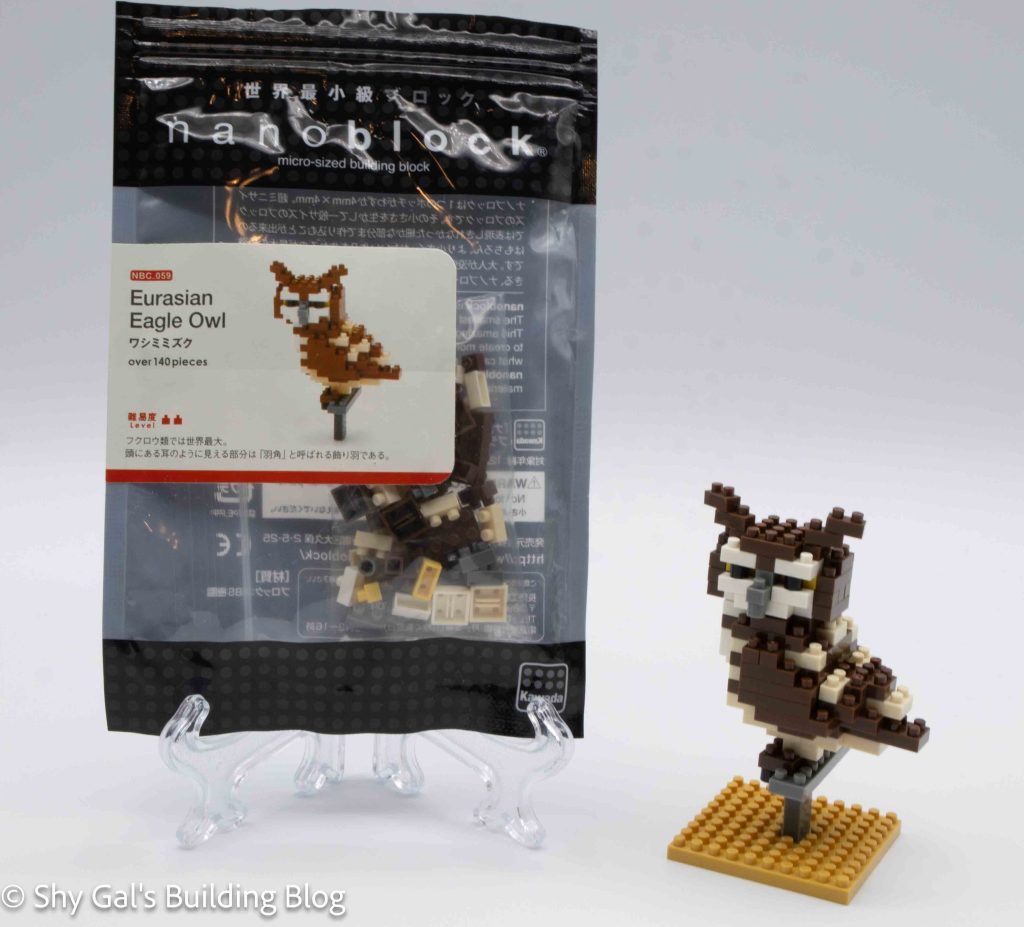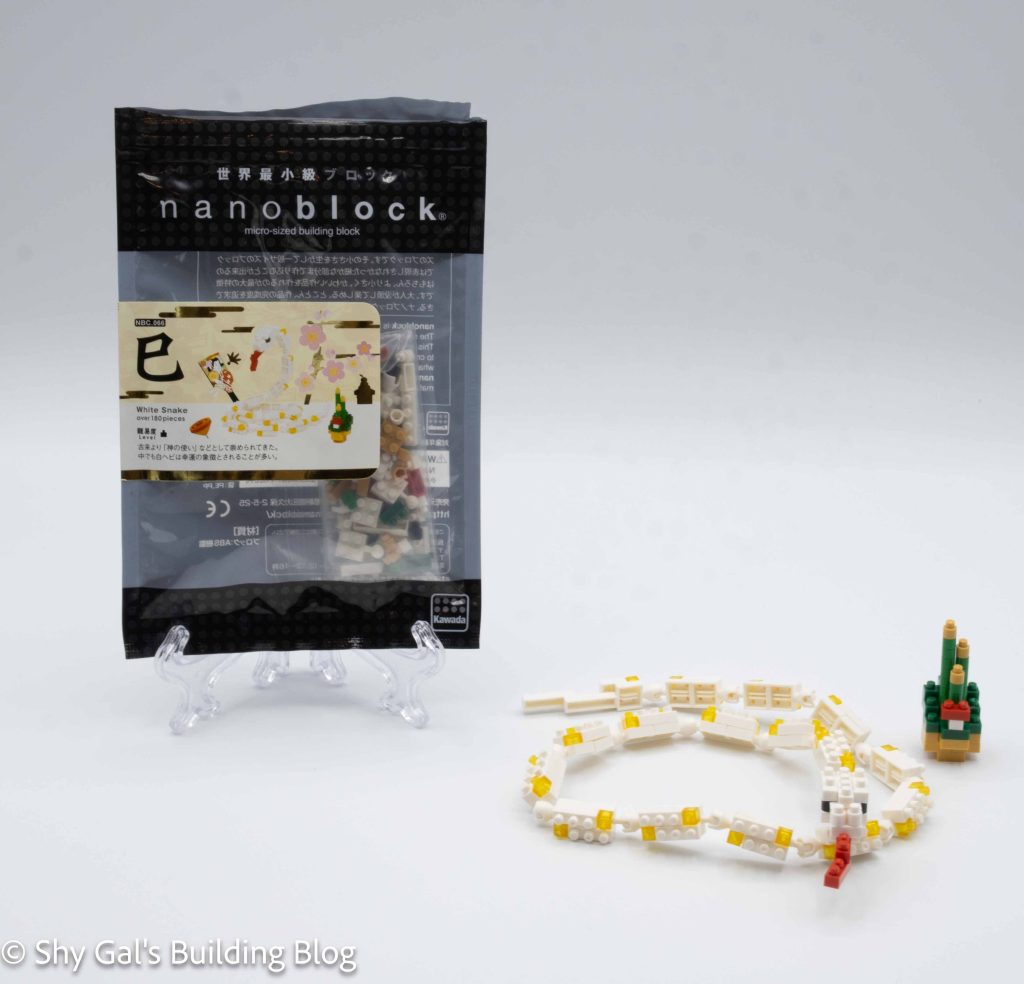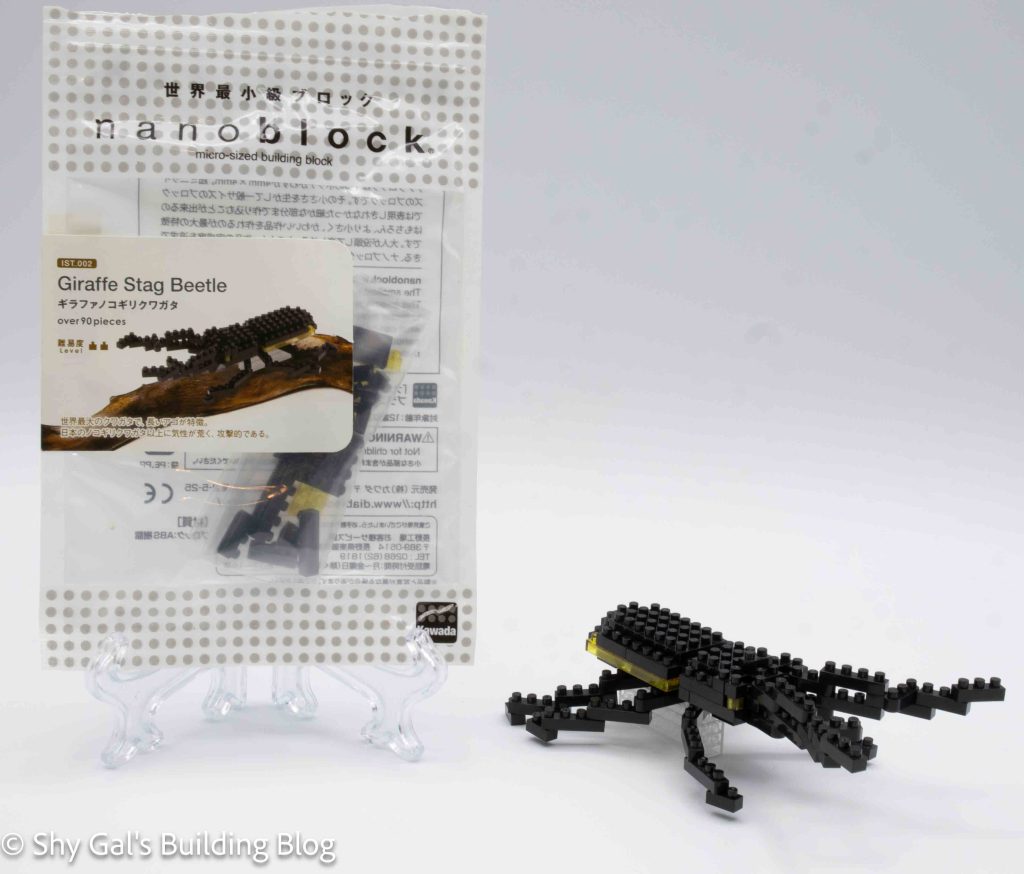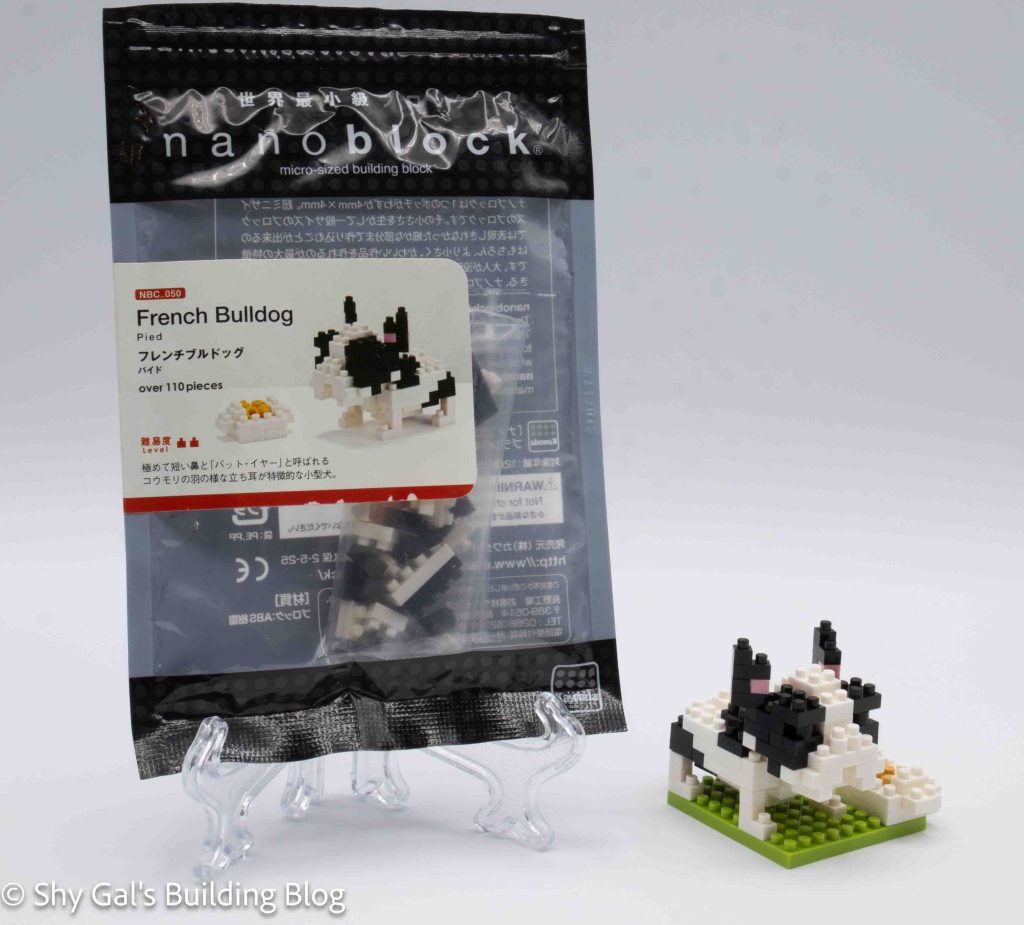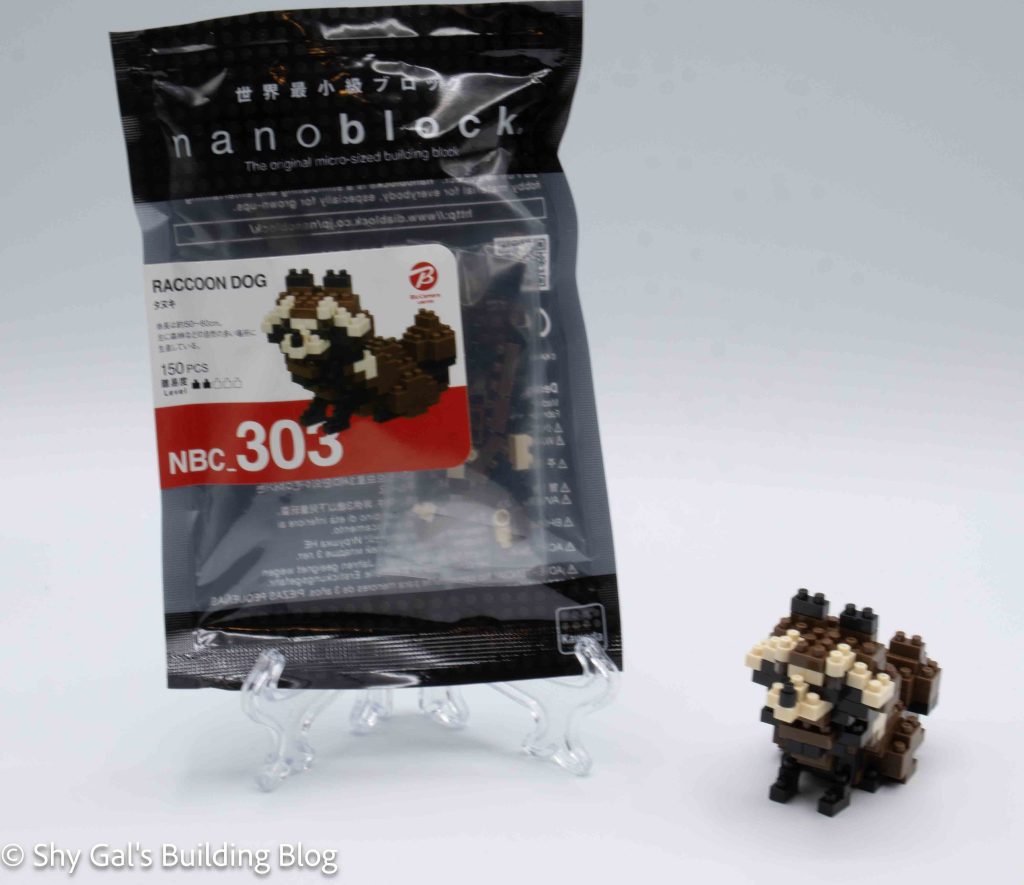
This post is a review of the nanoblock Racoon Dog build. Raccoon Dog is part of the nanoblock Mini Collection series. Wondering what else is part of the Mini Collection? Click here for a list.
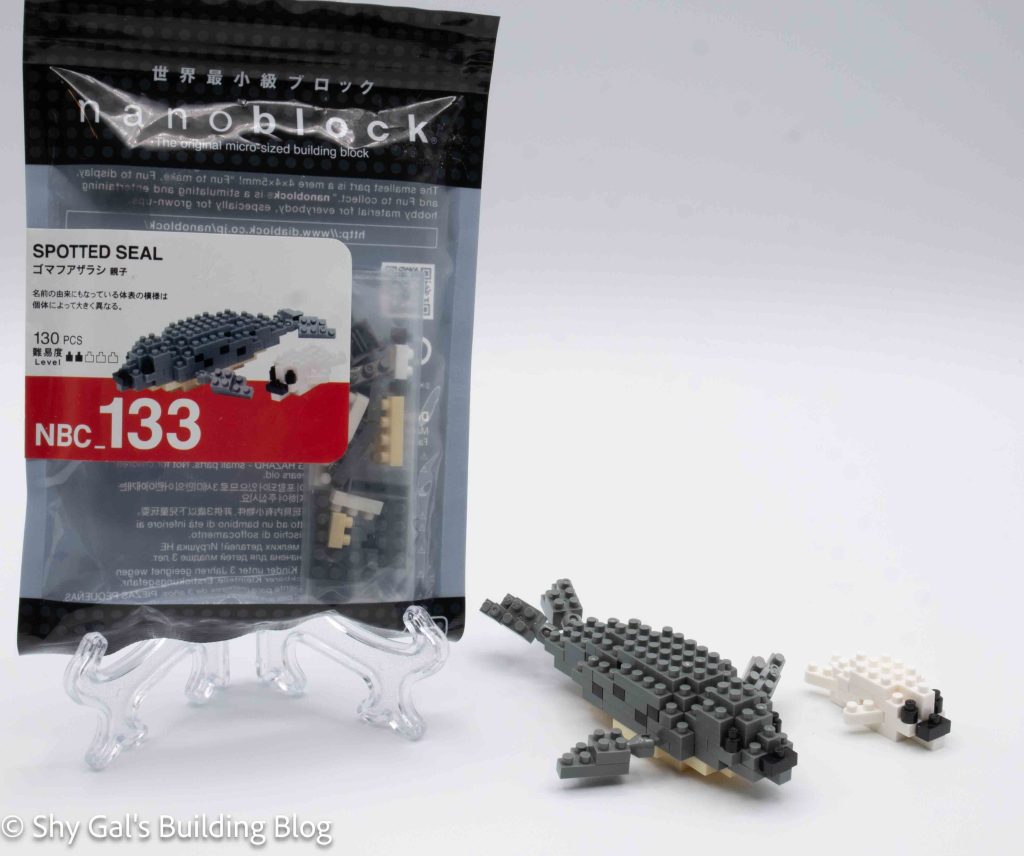
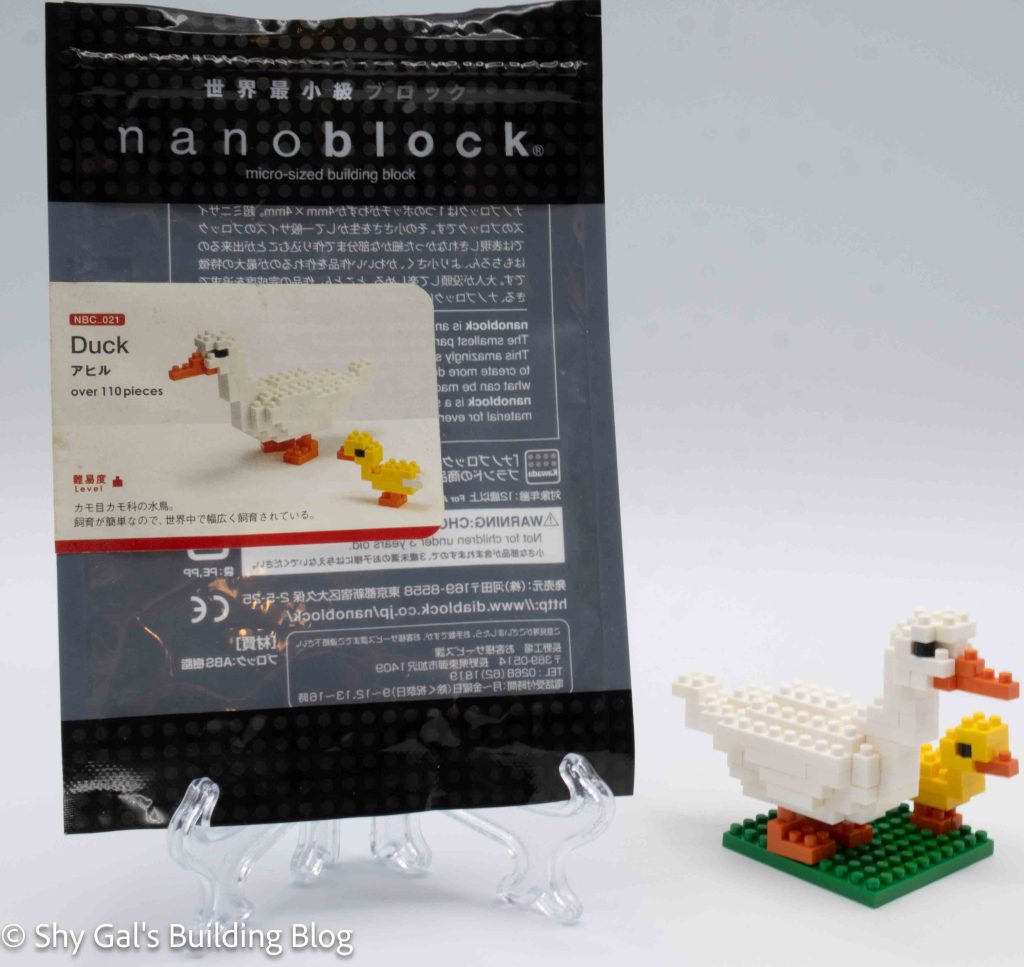
Number: NBC_303
Number of Pieces: 150
Difficulty Rating: 2/5
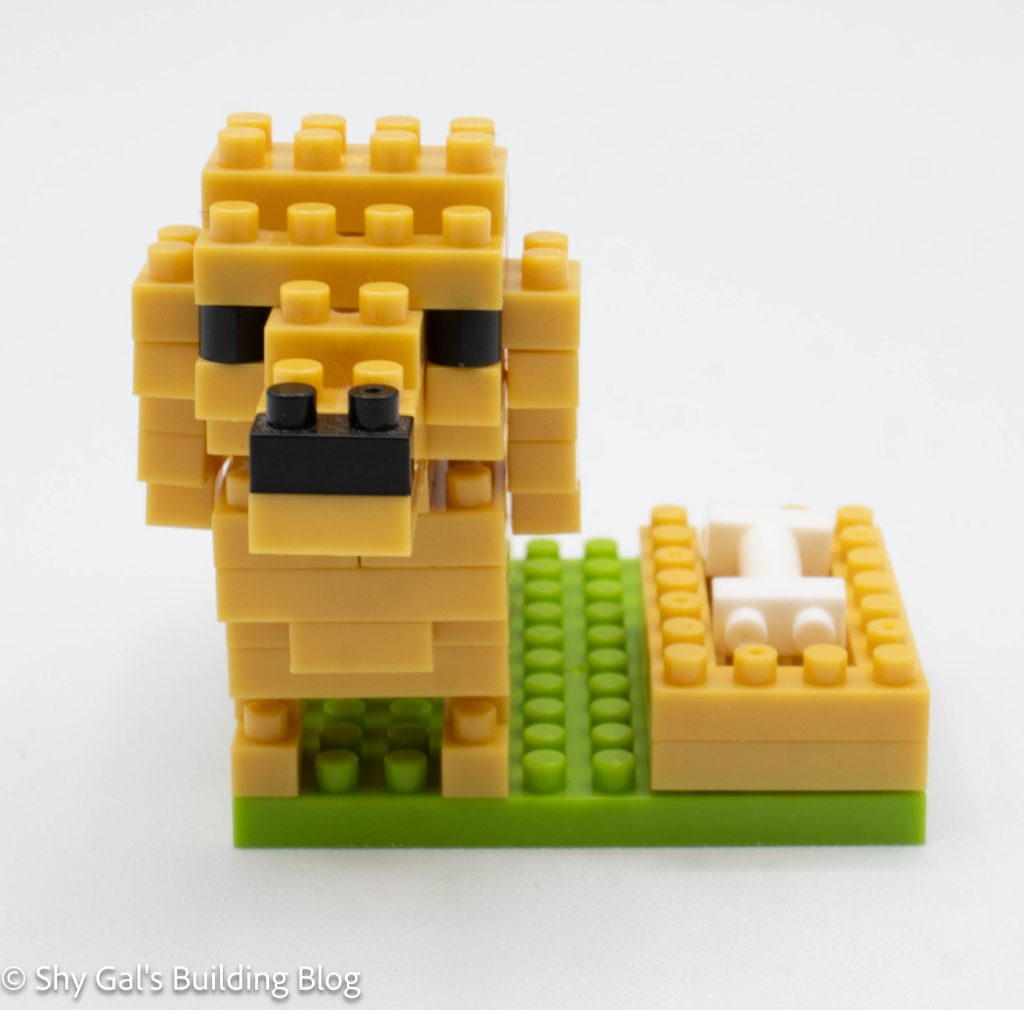
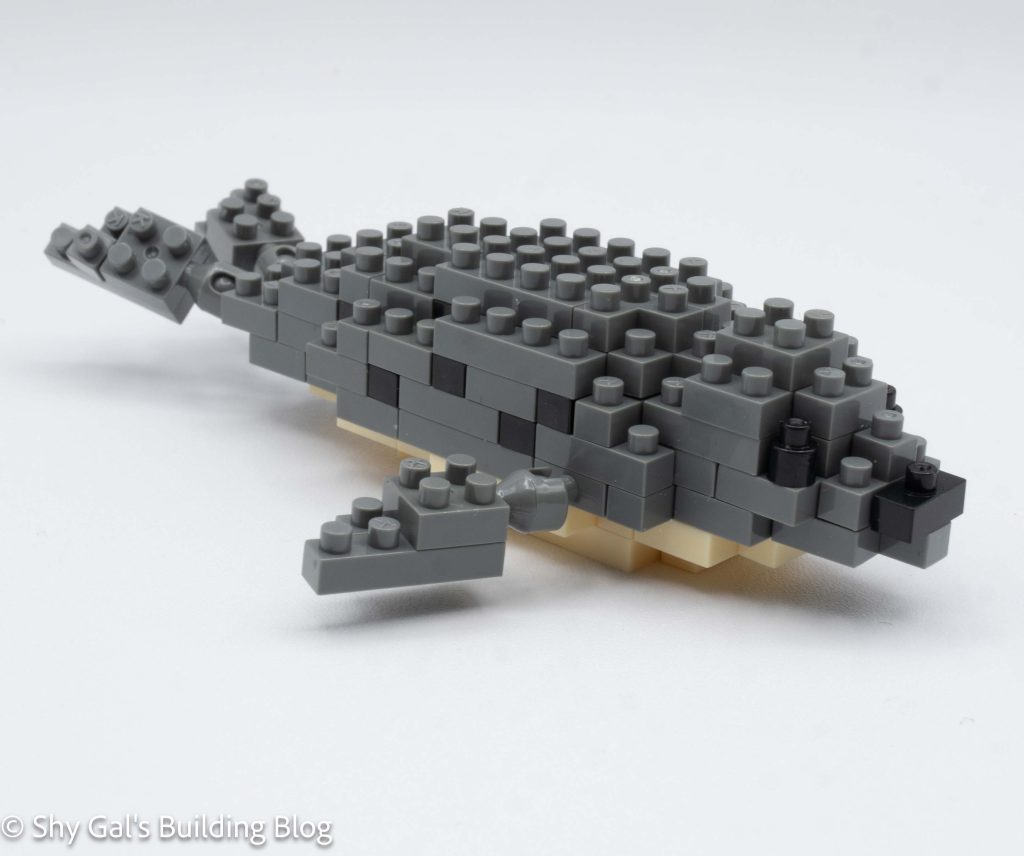
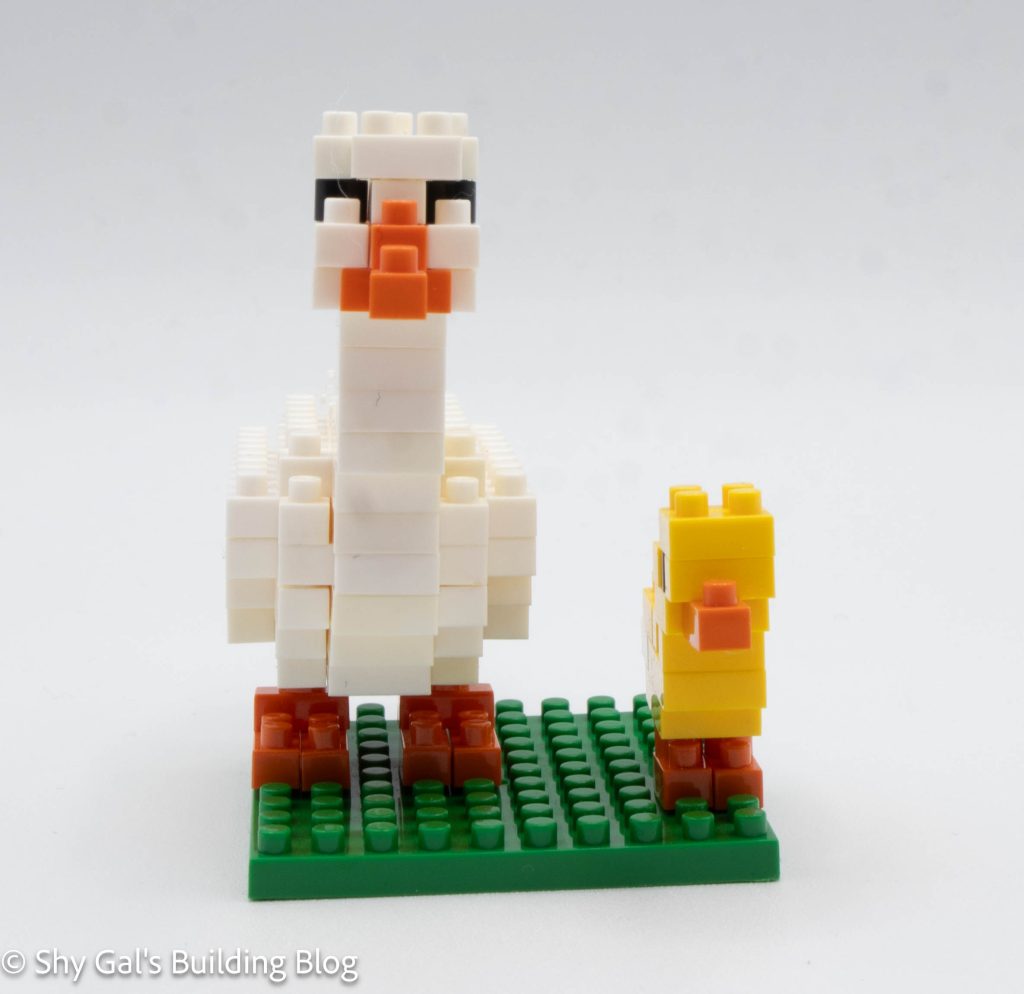
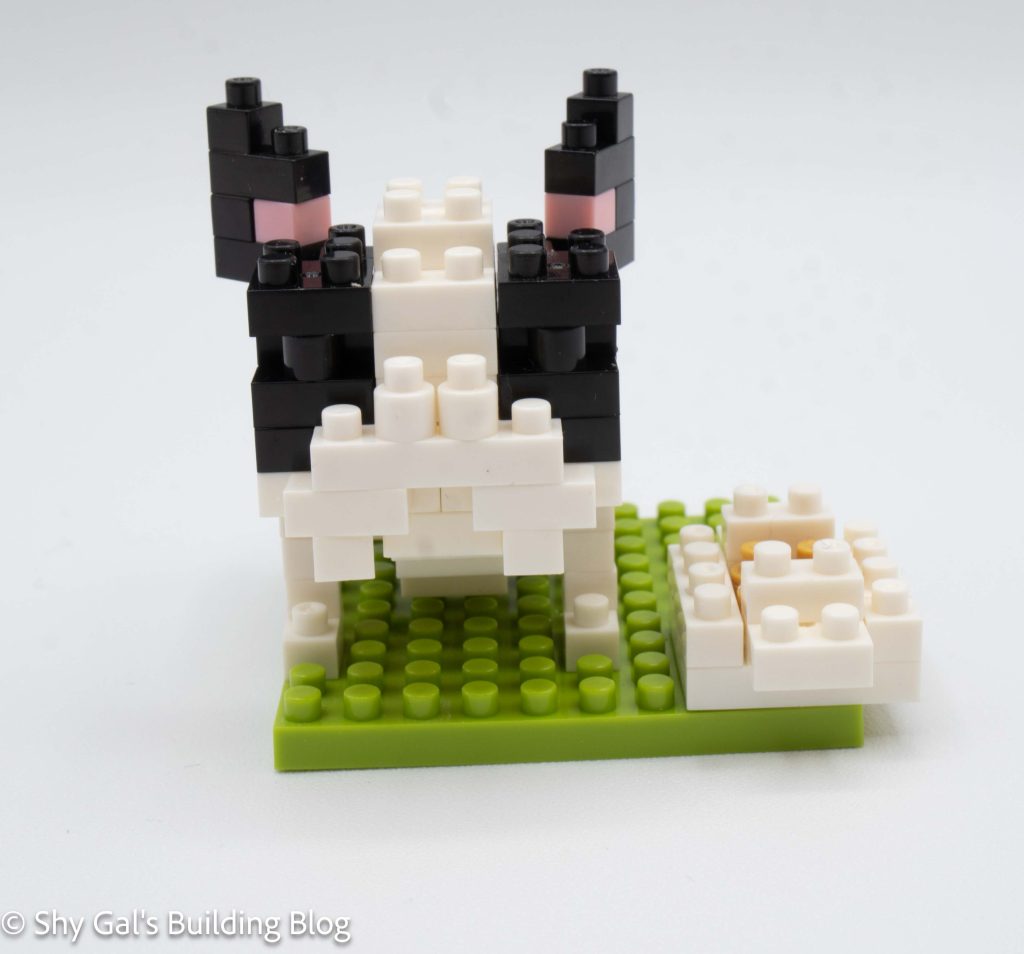
This build has 2 major sections, the head, and the body.
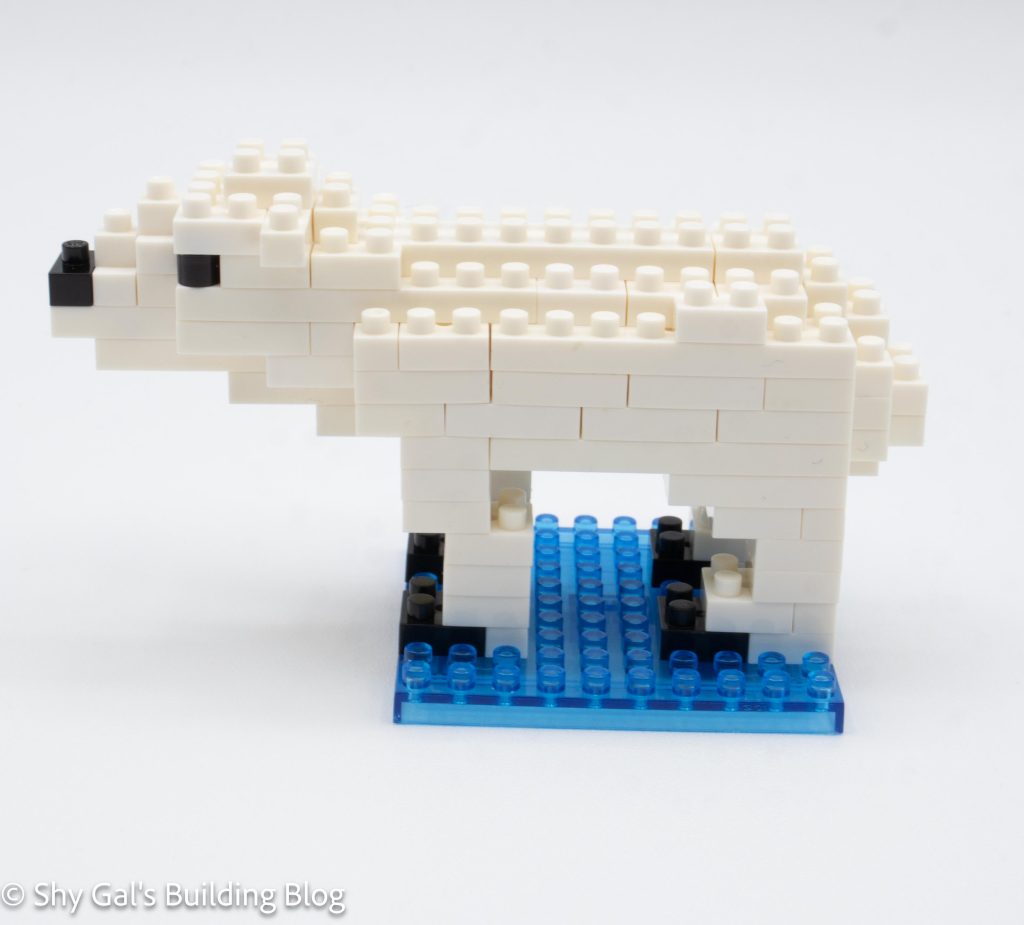
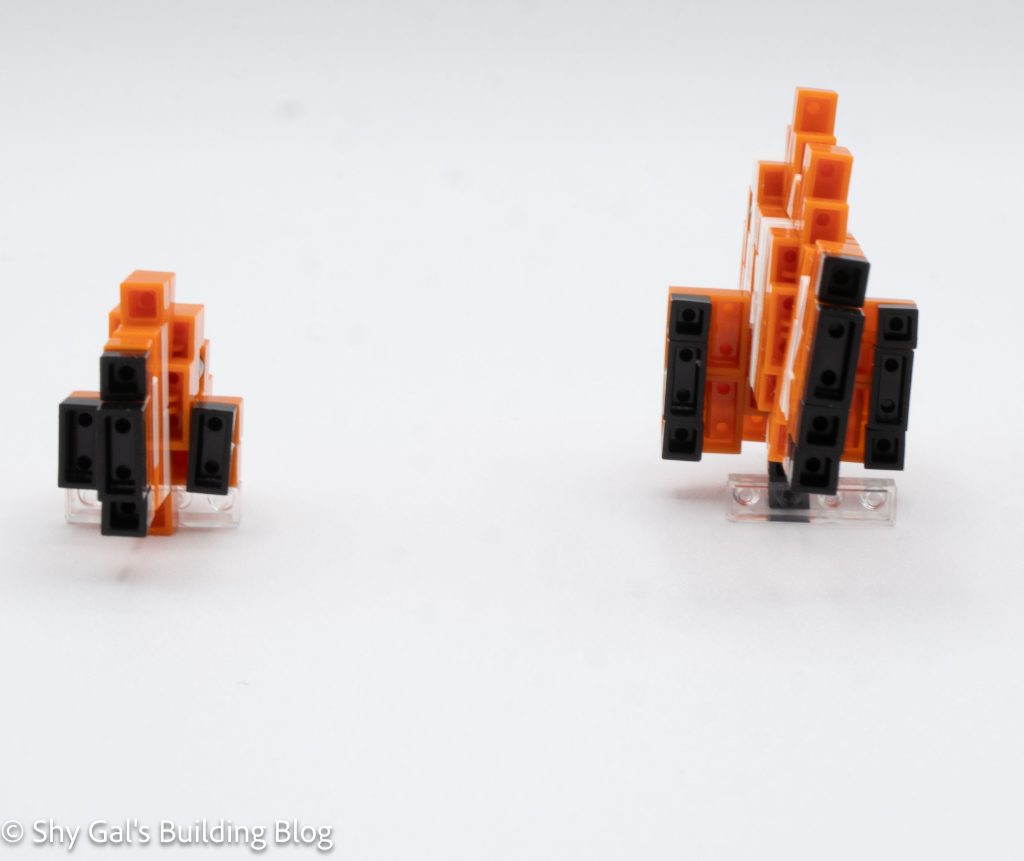
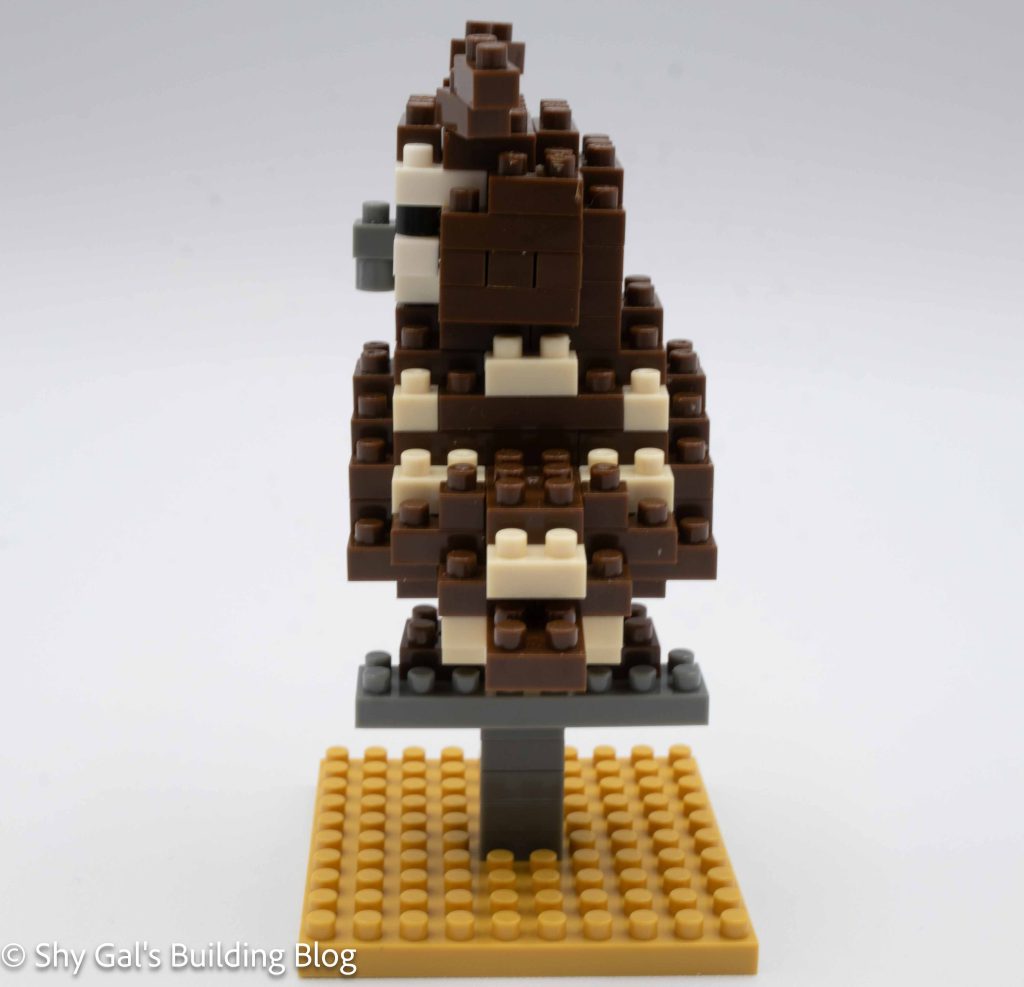
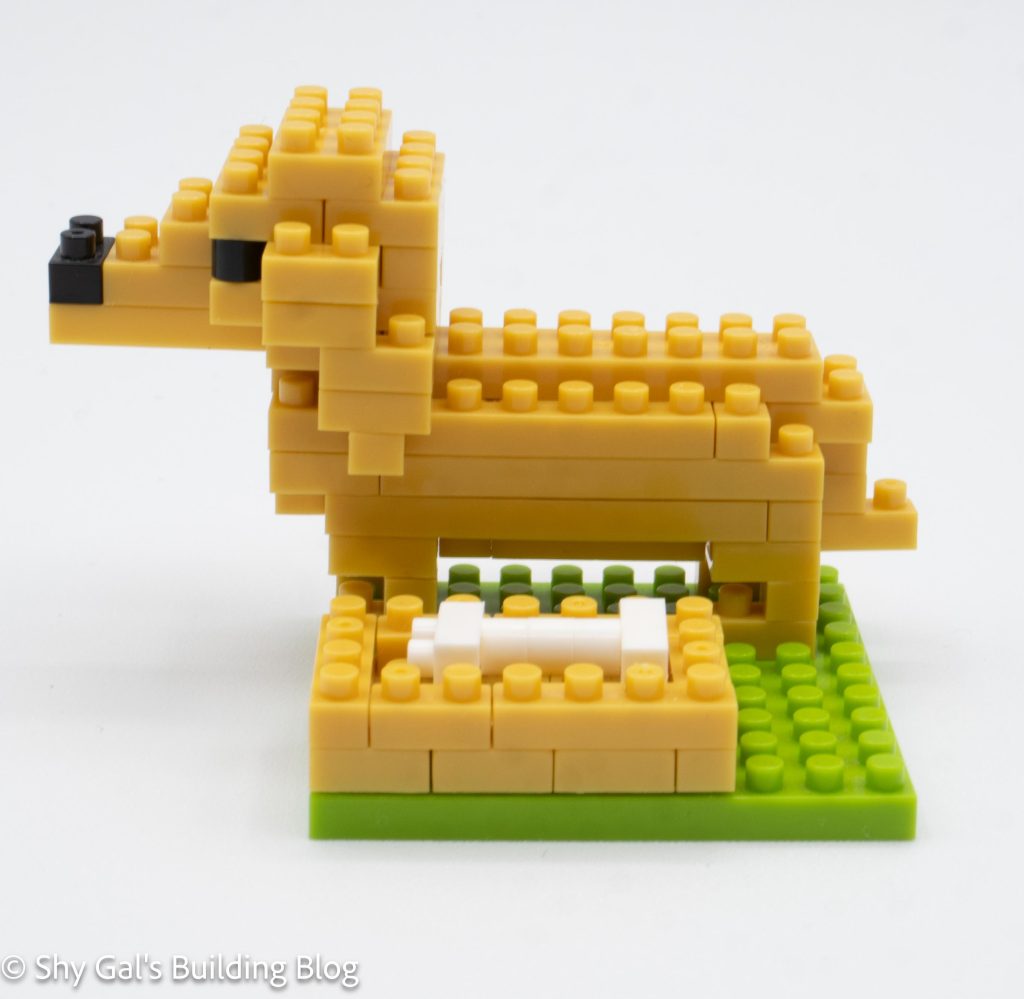
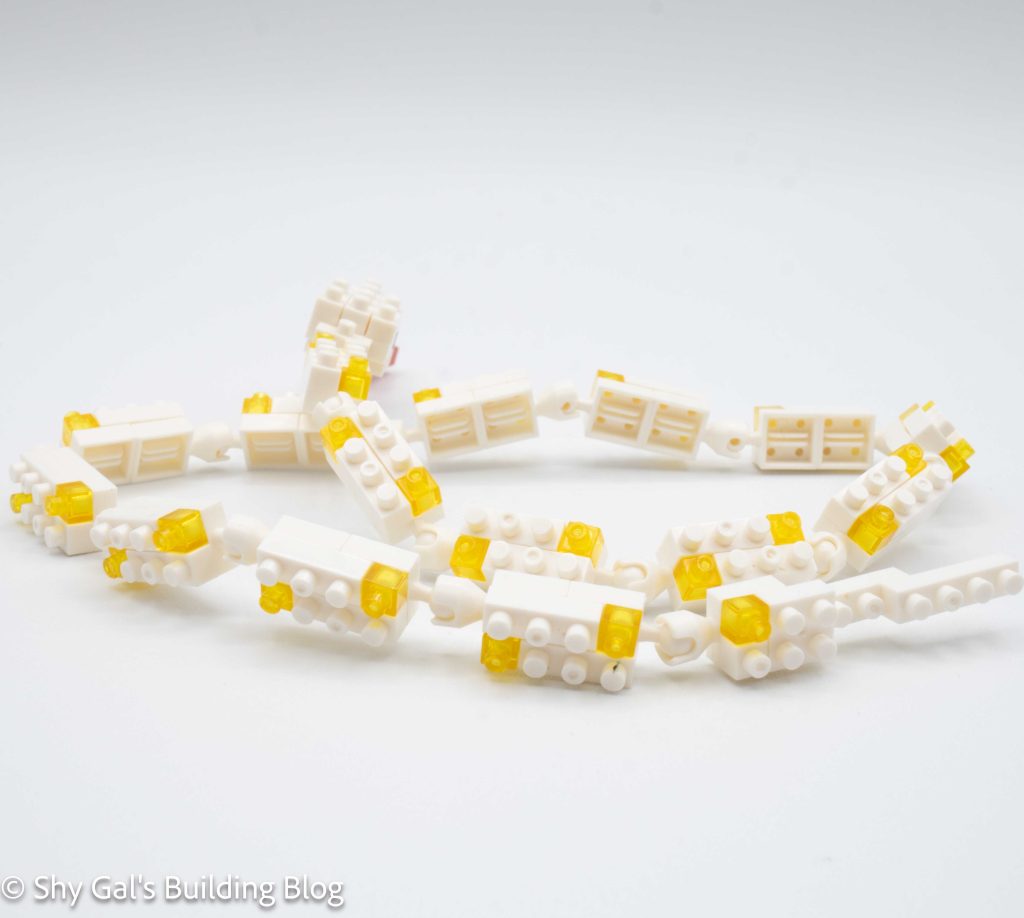
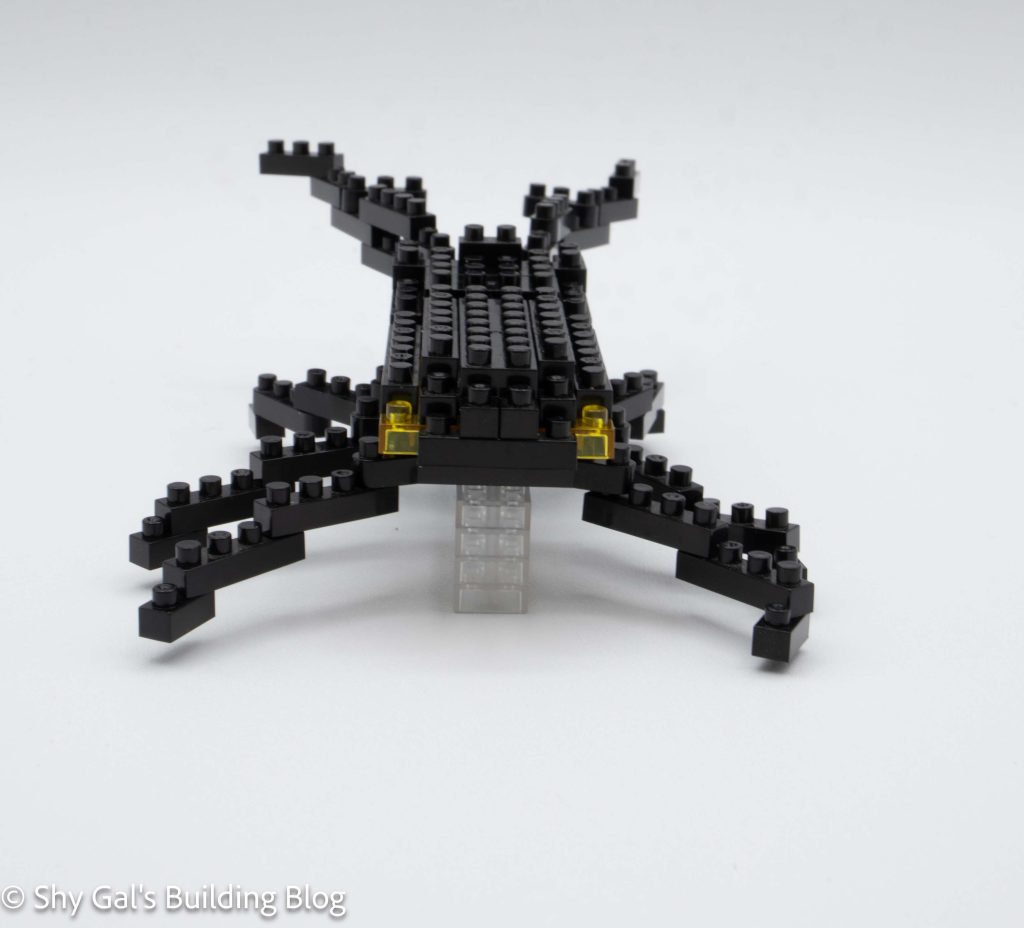
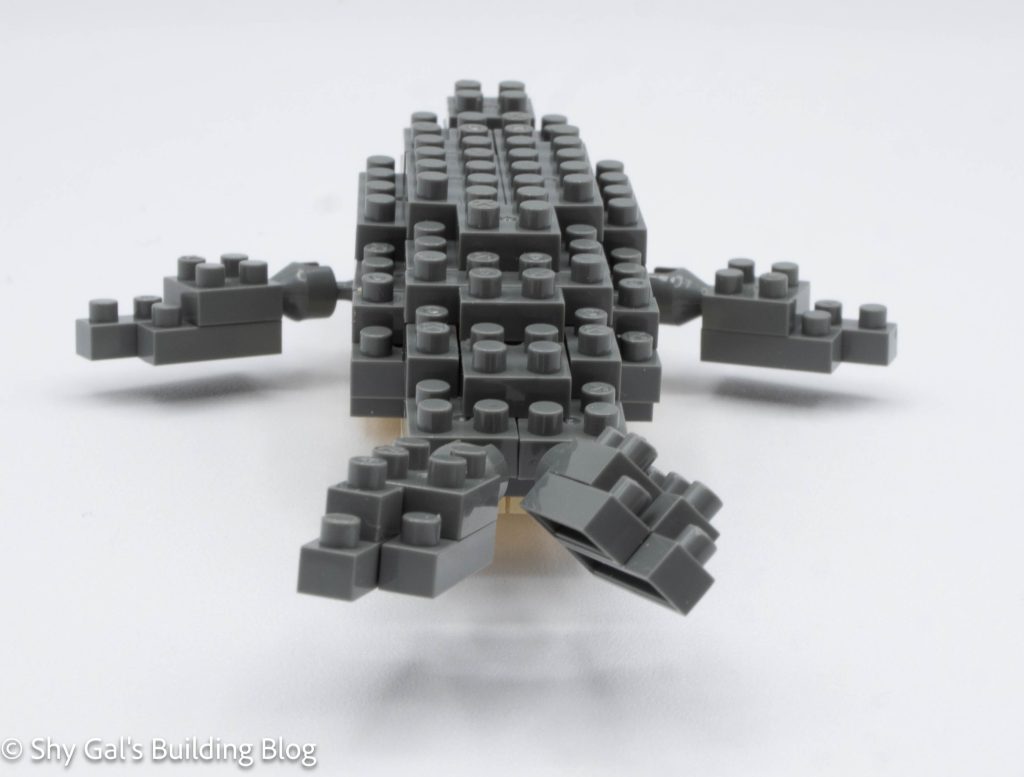
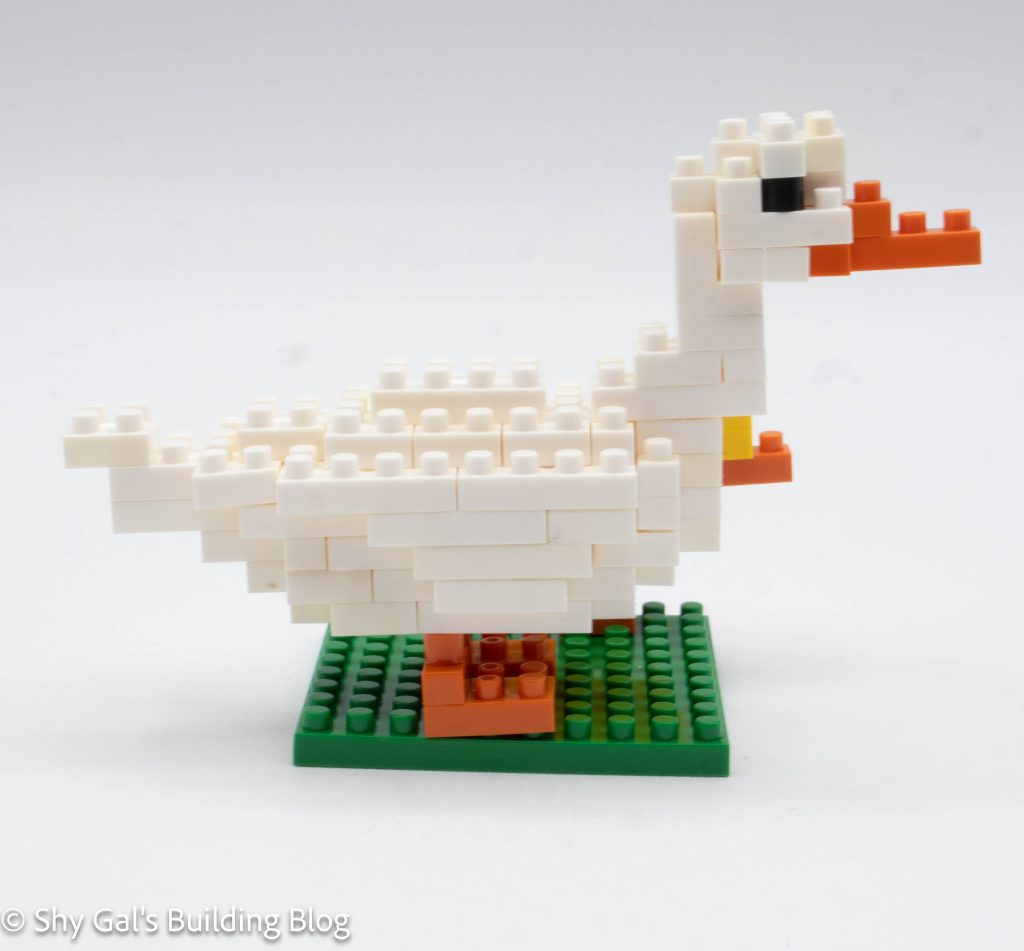
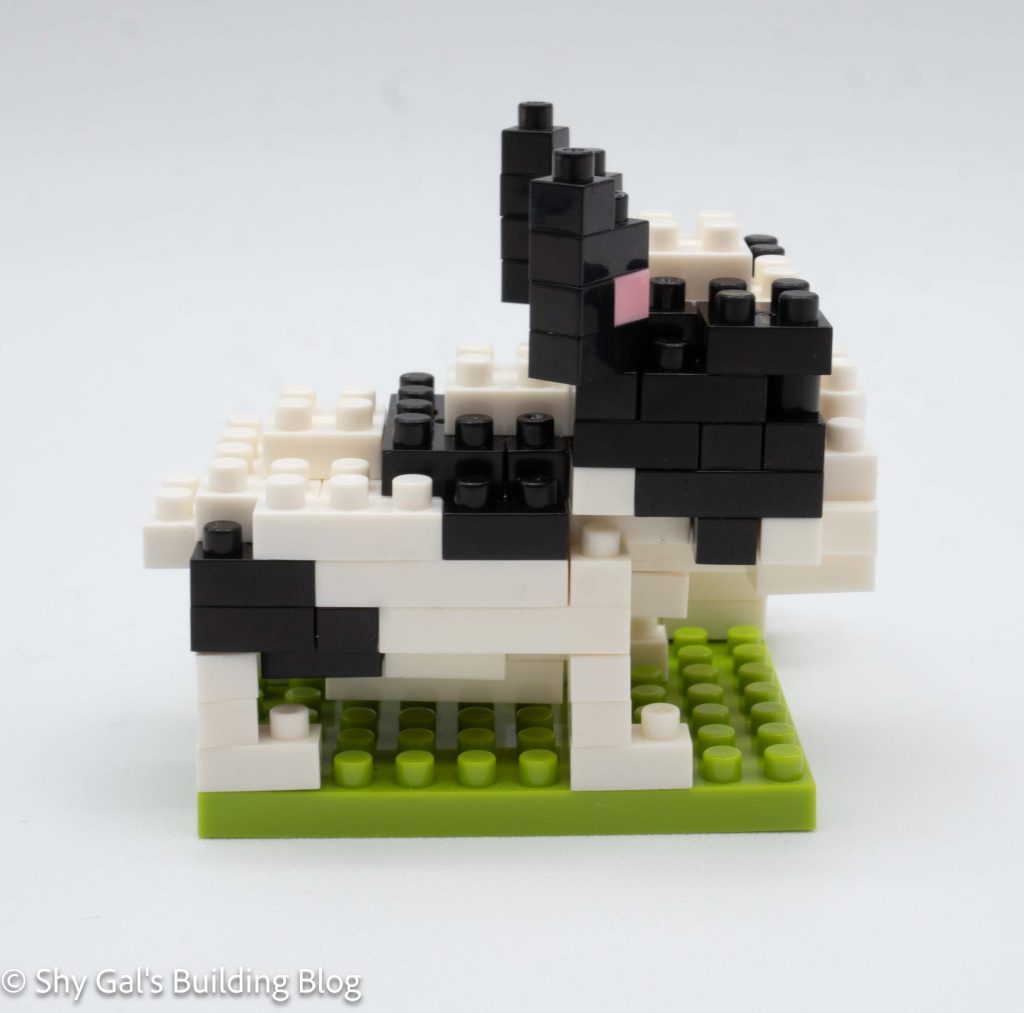
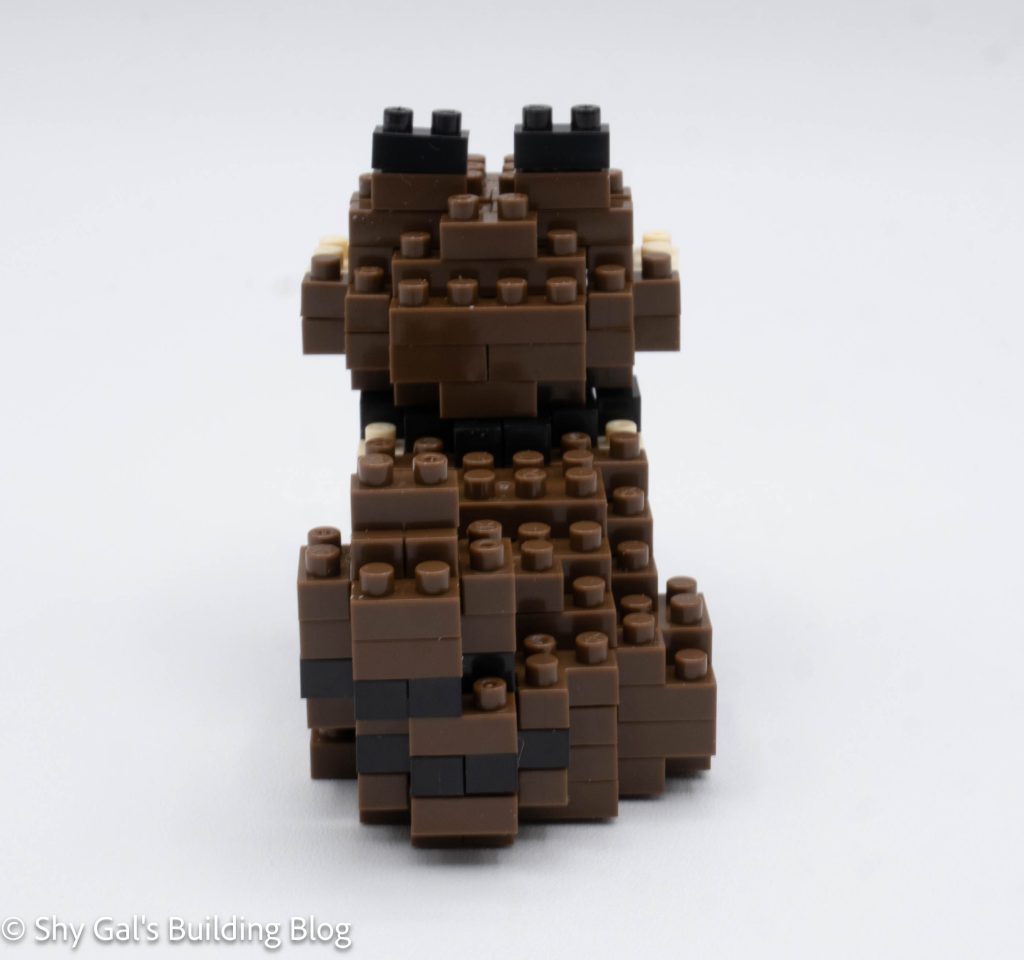
I began the body by laying my base layer on my nanoblock pad. I was able to easily follow the directions for all the layers. The layers seemed a bit haphazard, and it was hard to tell what I was creating as I put the bricks together.
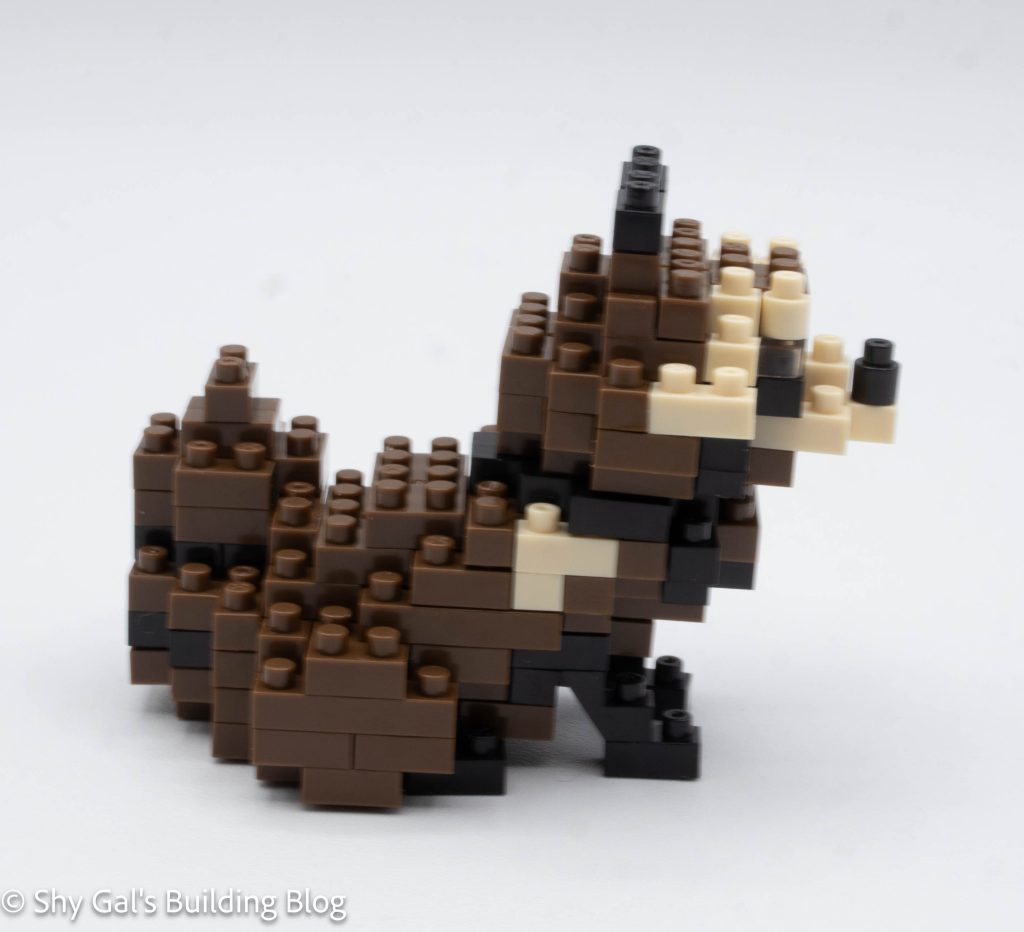
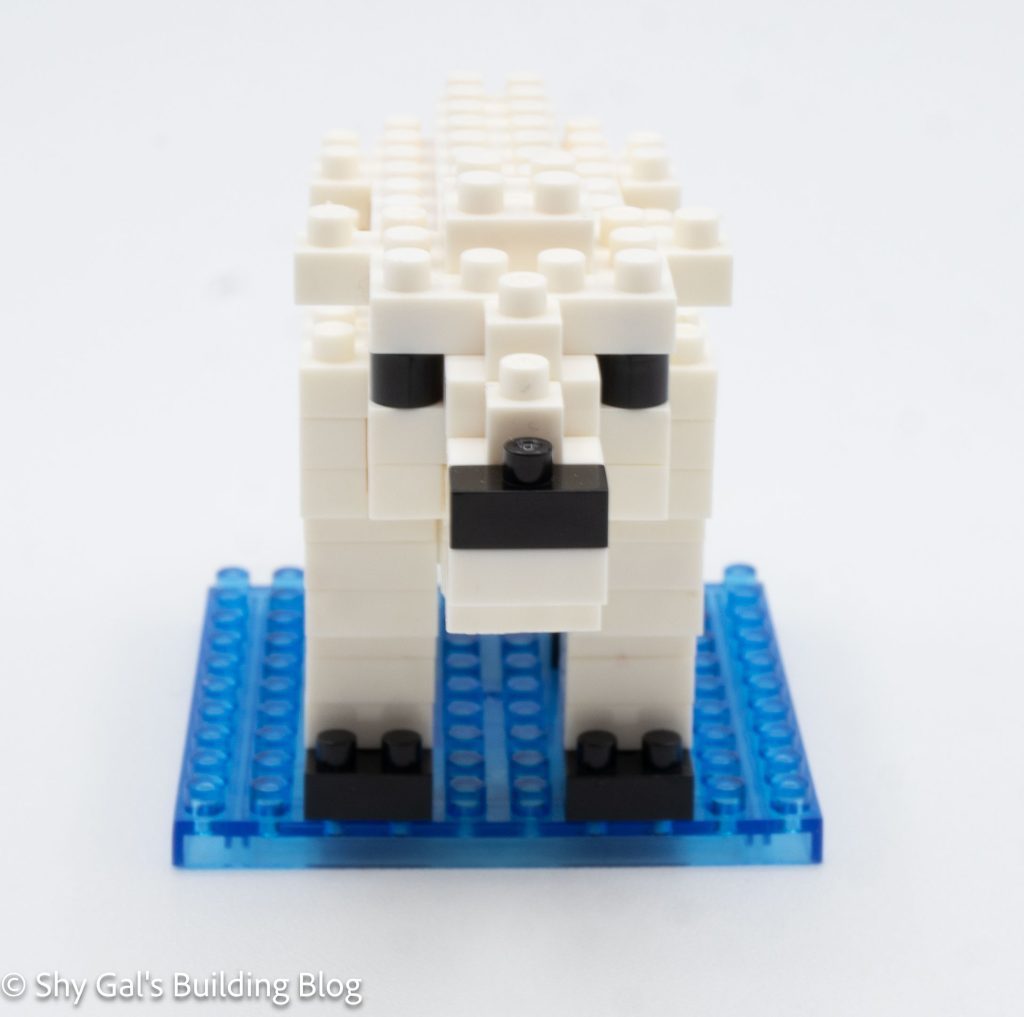
The top of the body has a layer of flat bricks where the head will be attached. Because there is a flat layer with only 1 stud to hold the head, the head can rotate around.
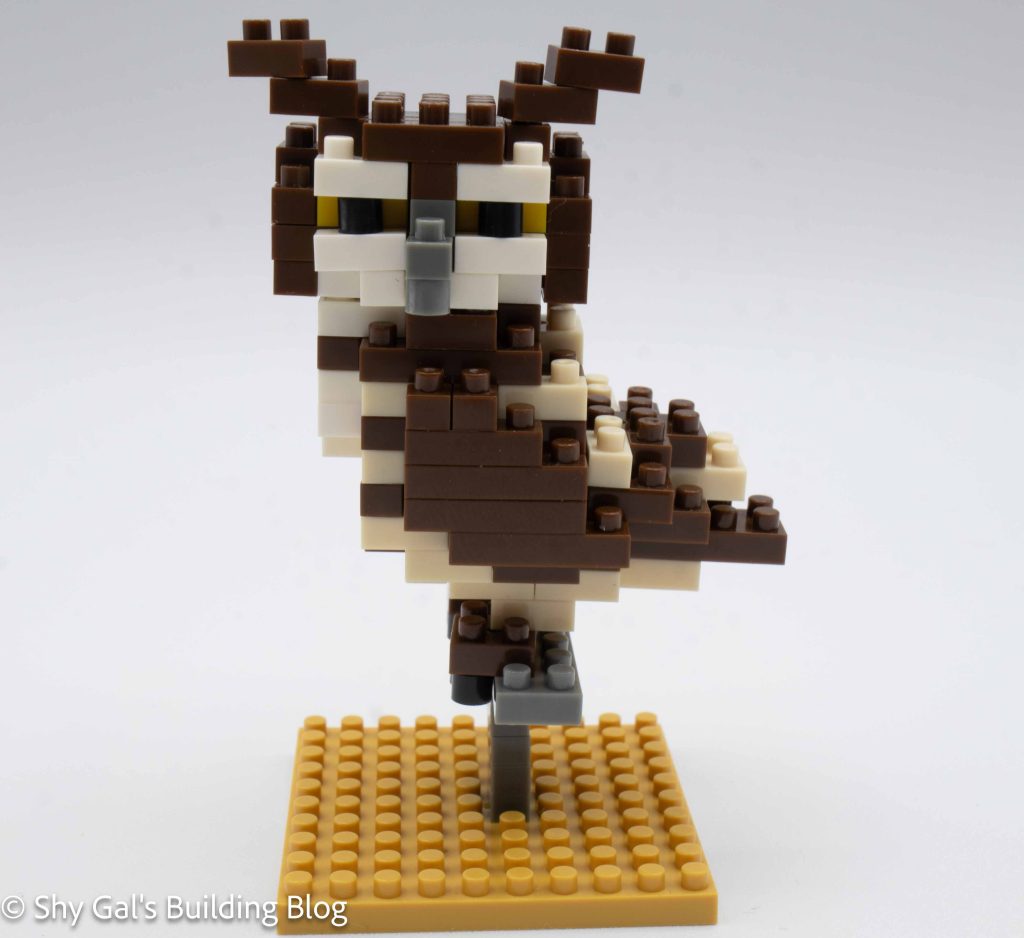
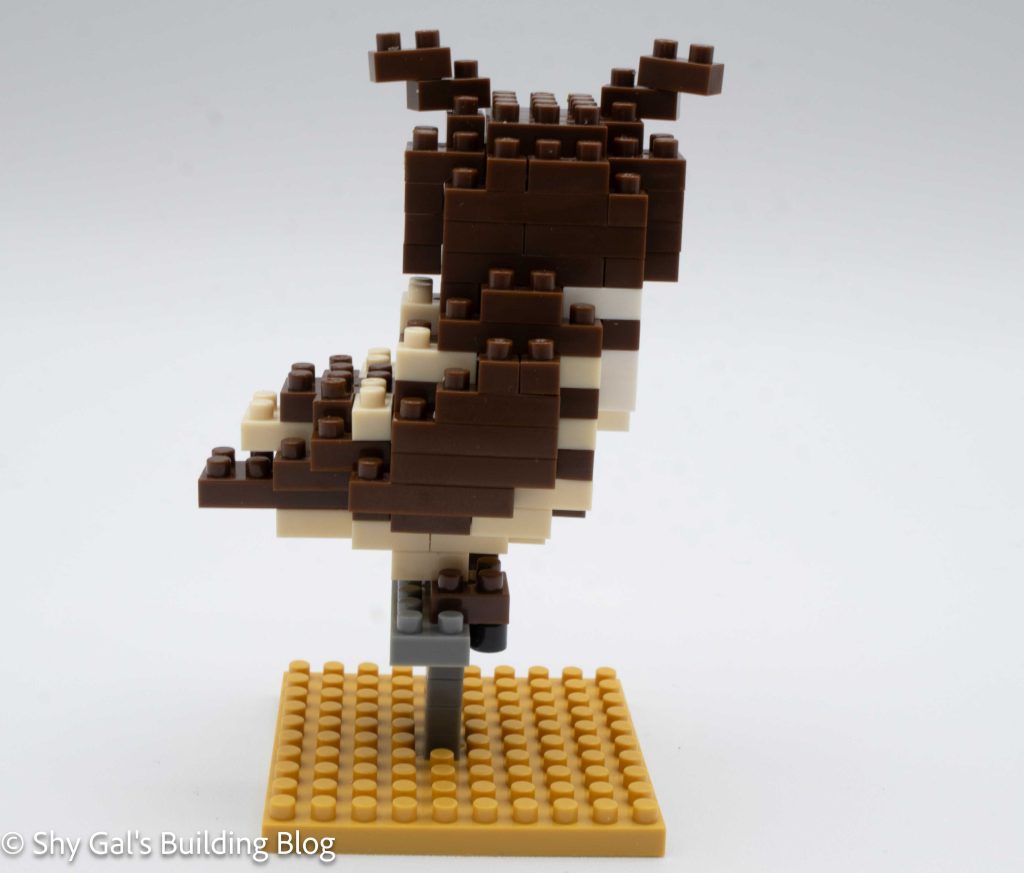
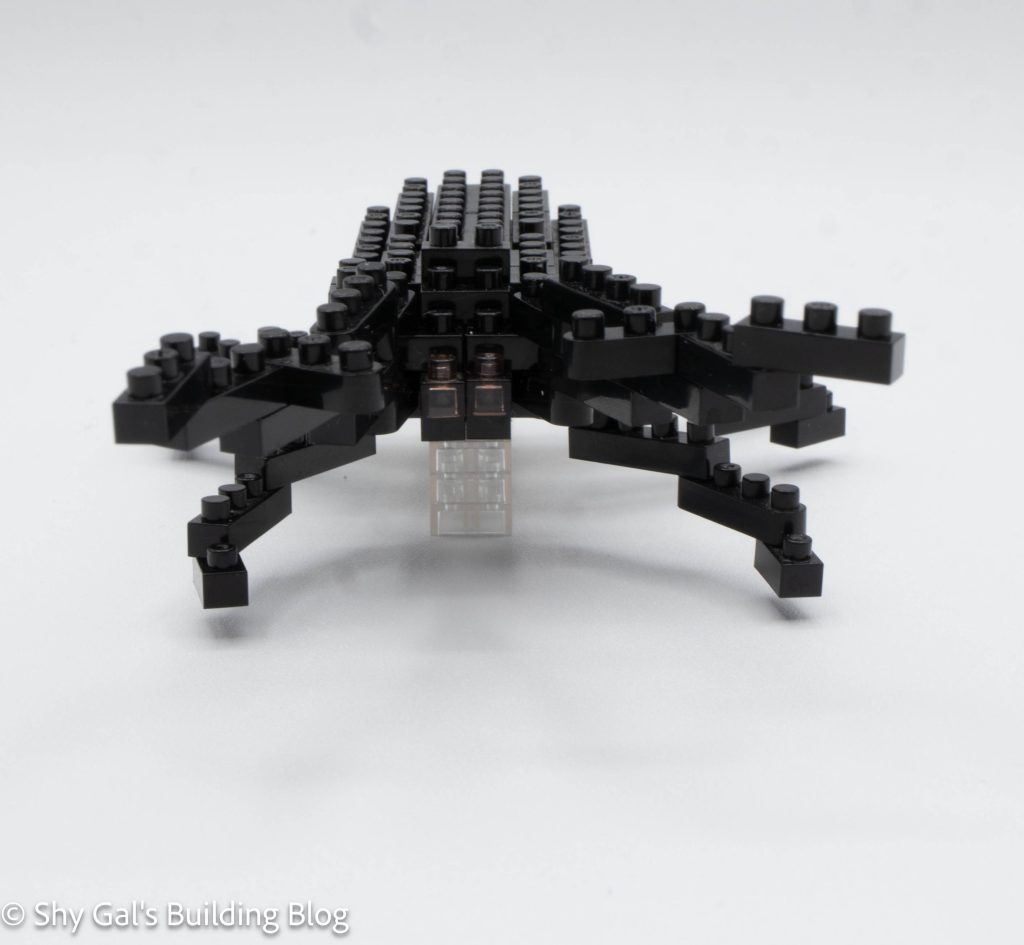
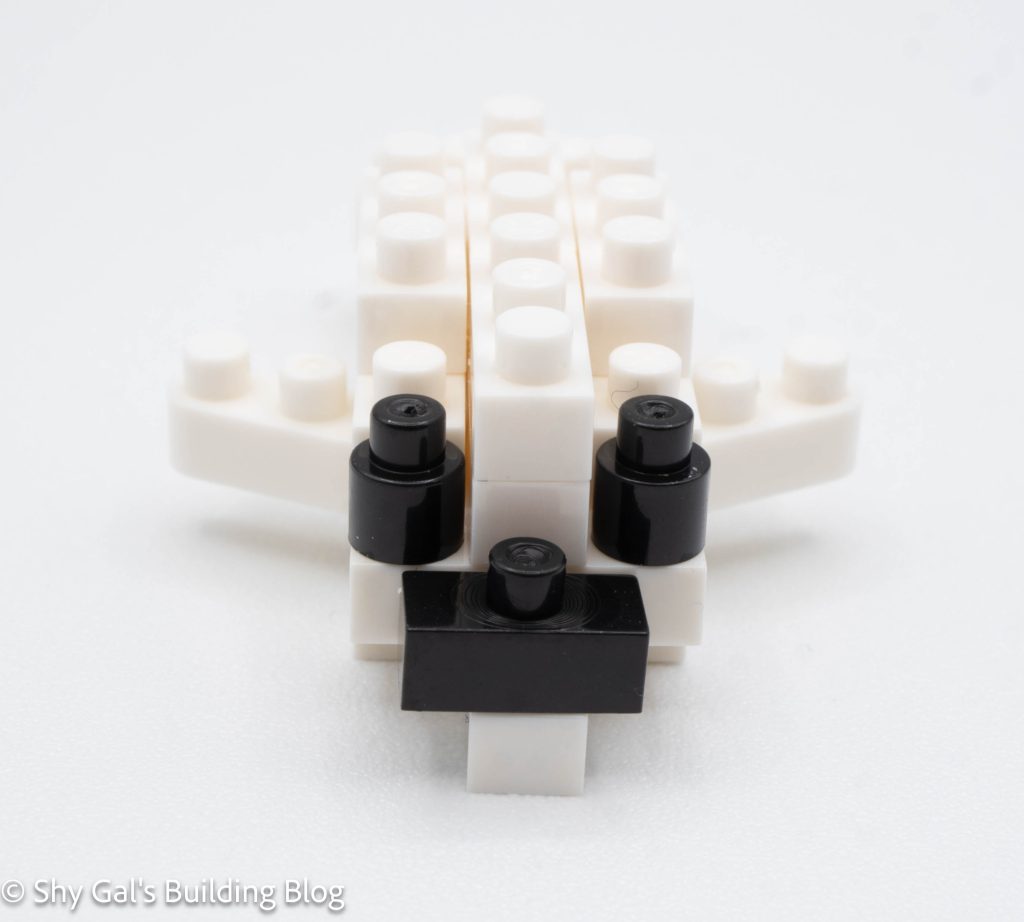
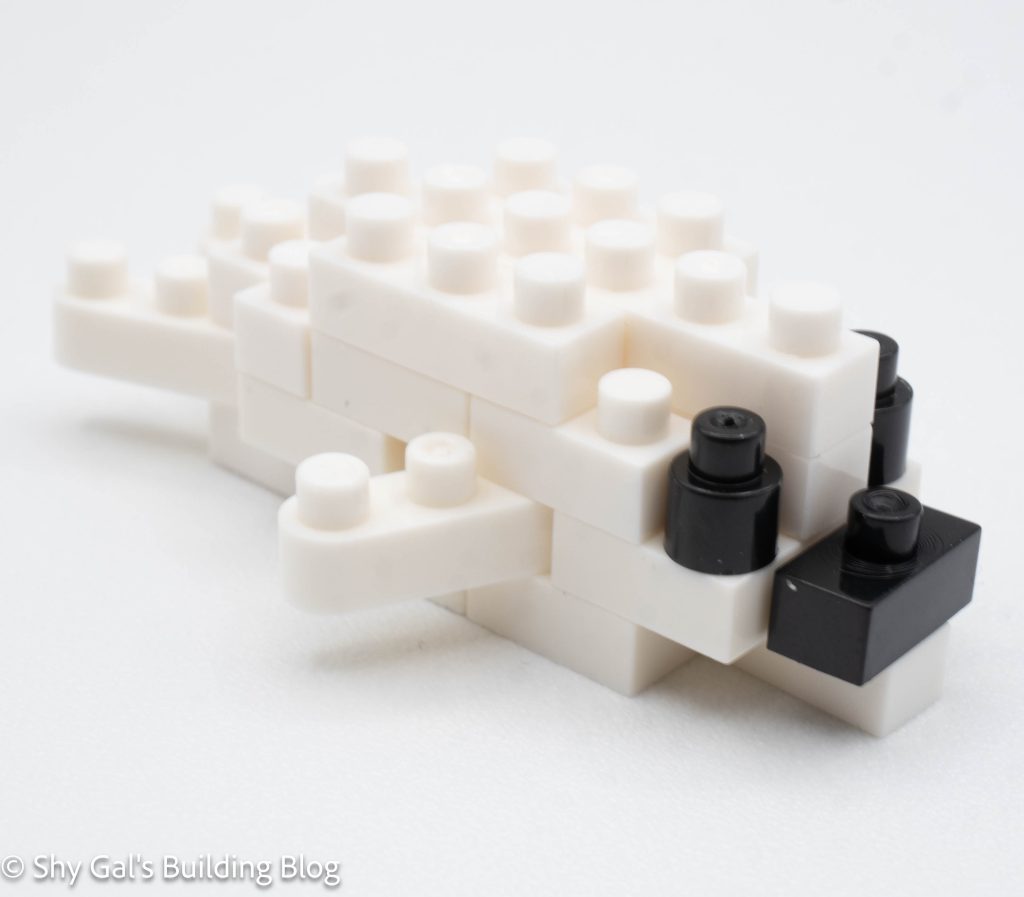
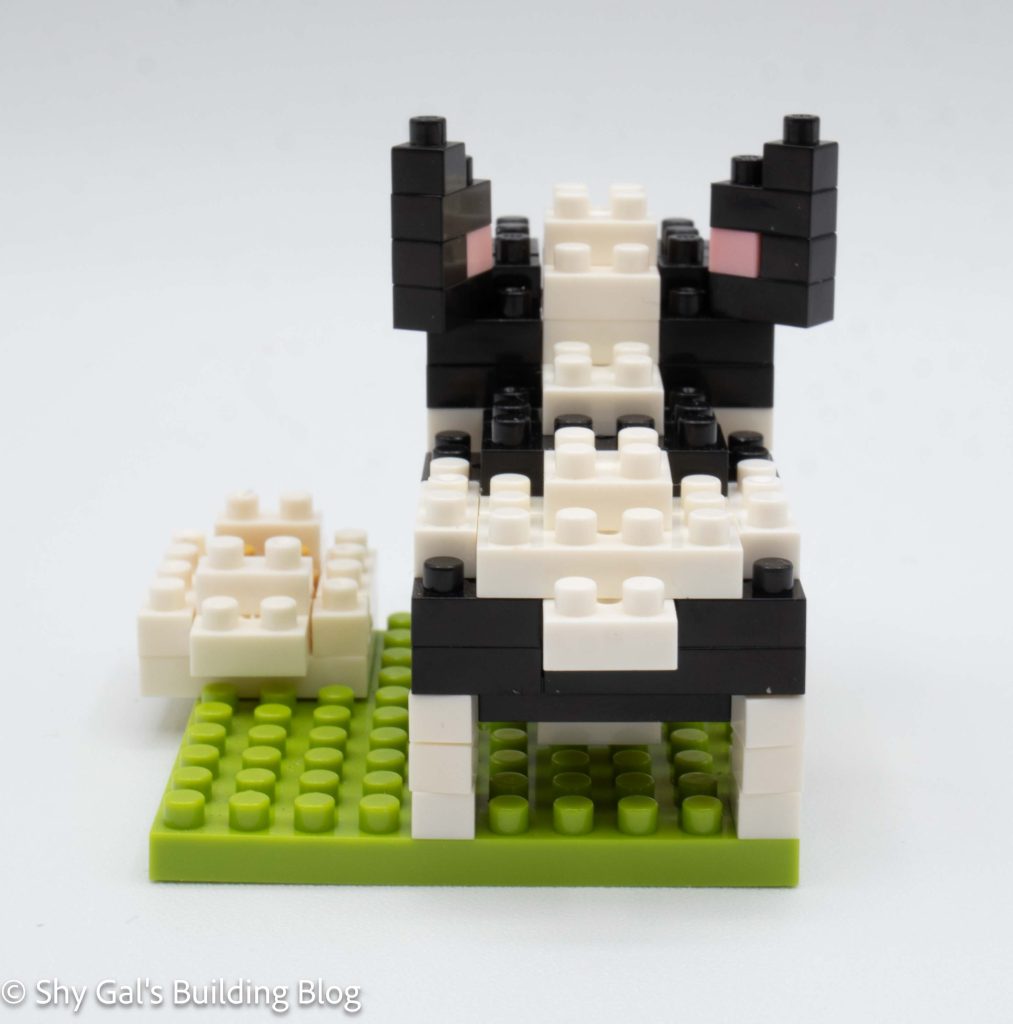
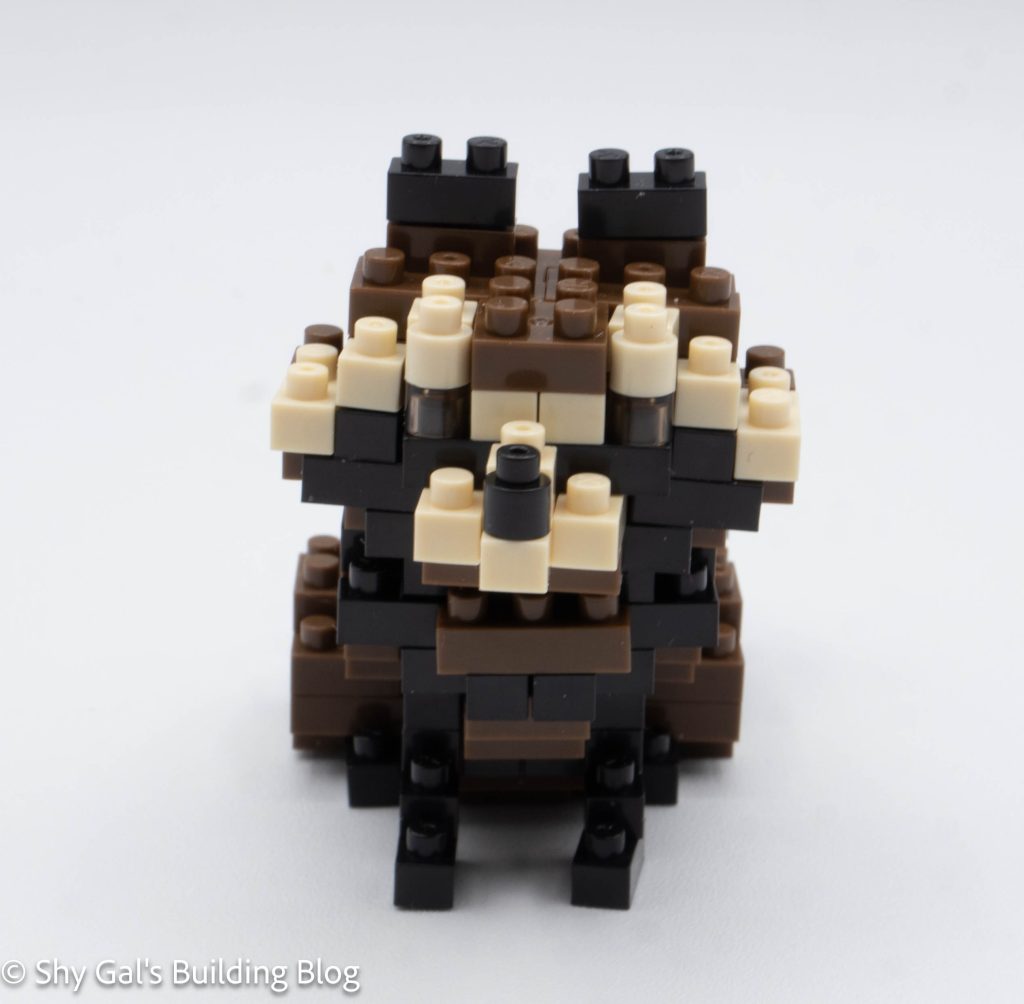
I wasn’t able to figure out how to lay the head out on my nanoblock pad, so I just built it on the table. Other than lining up the front and back sections, the head is fairly straightforward.
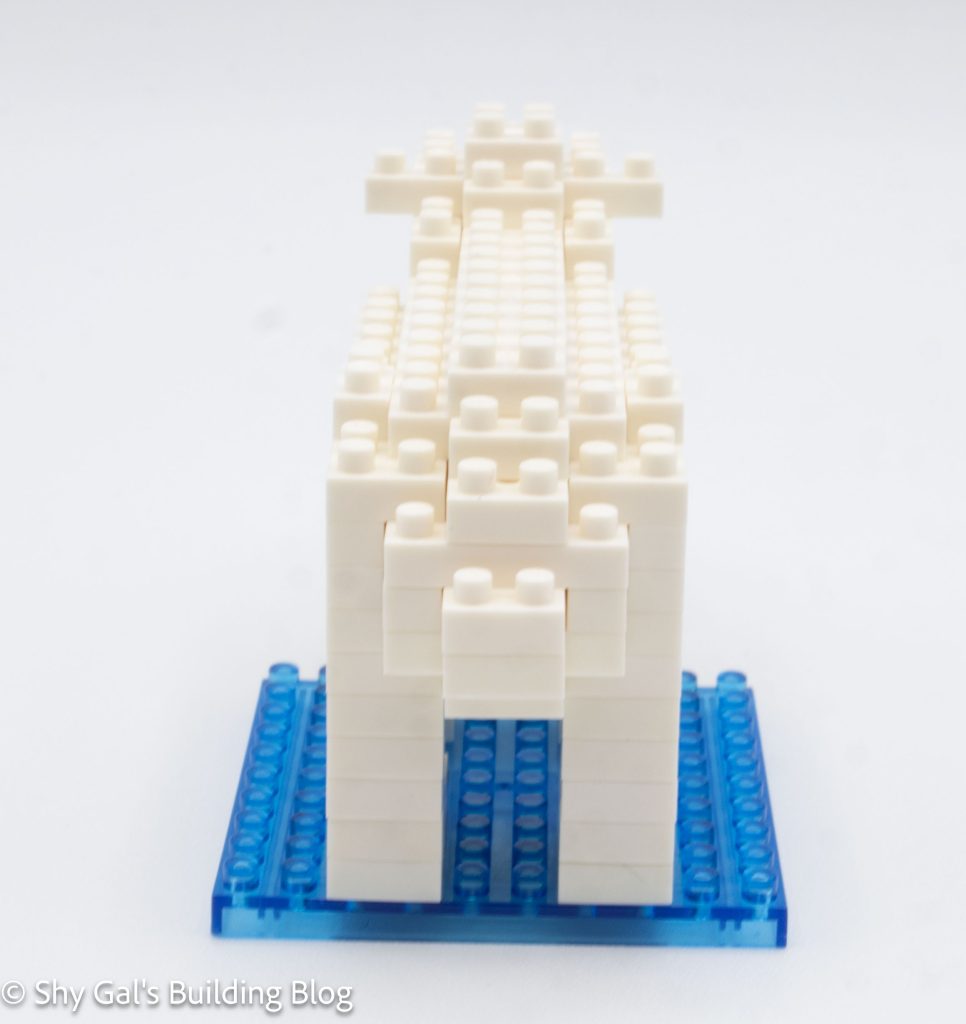
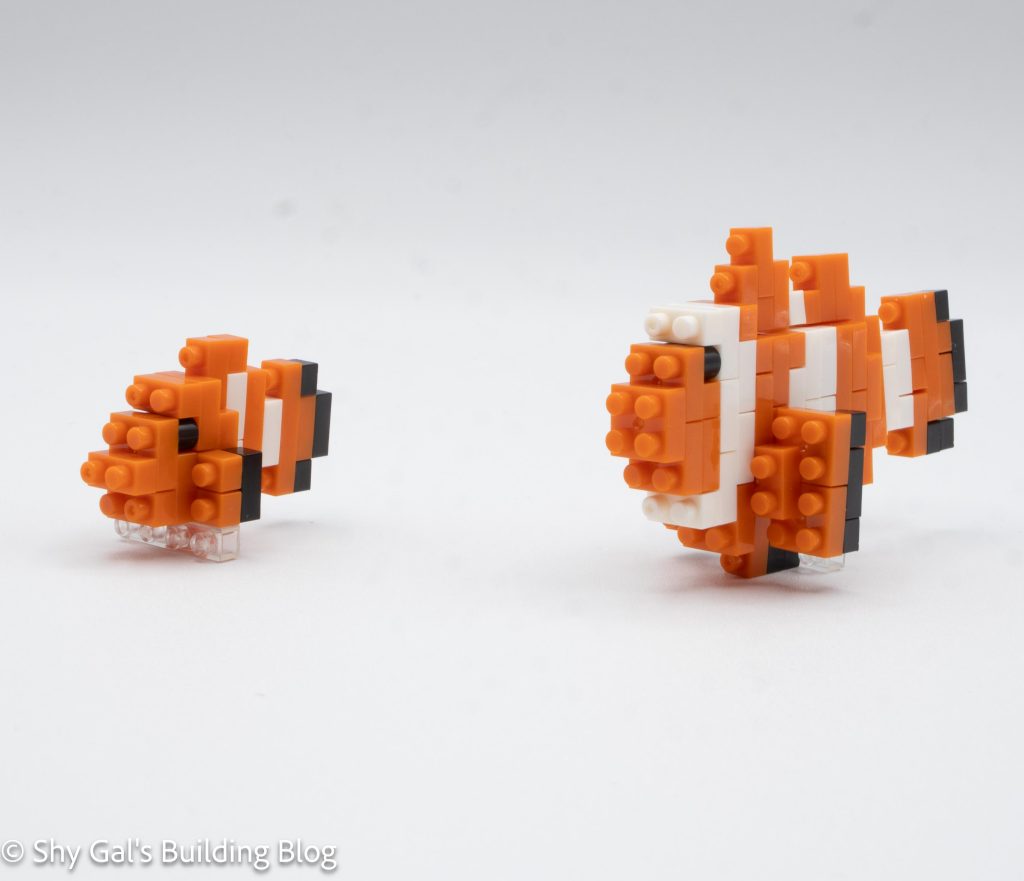
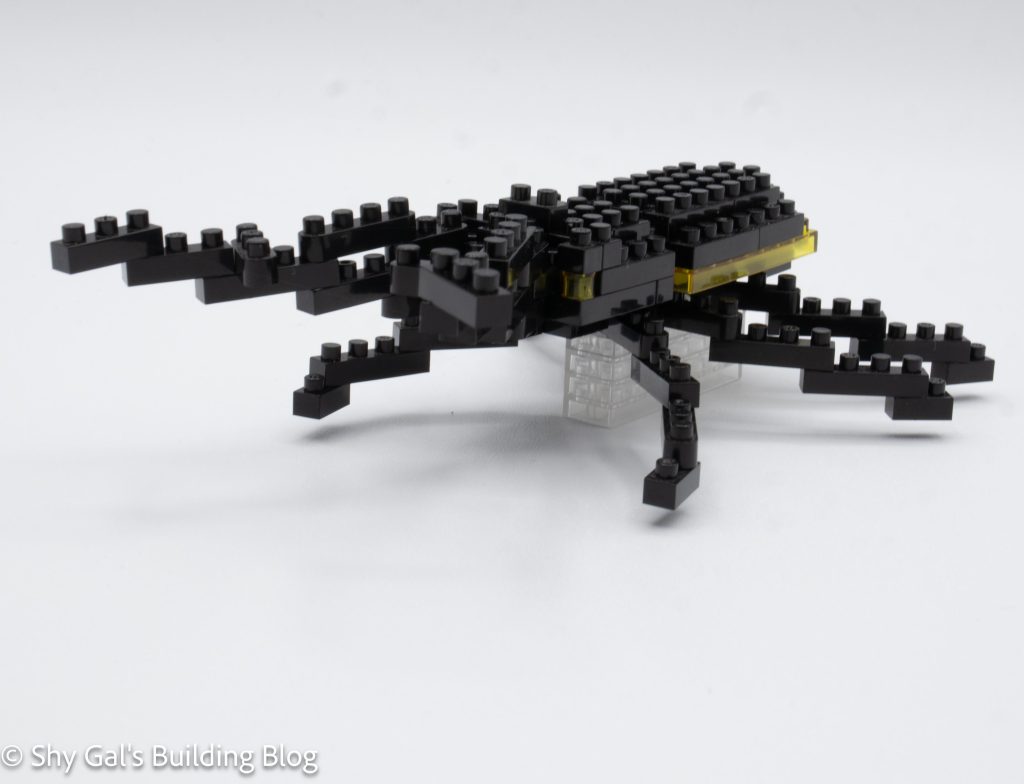
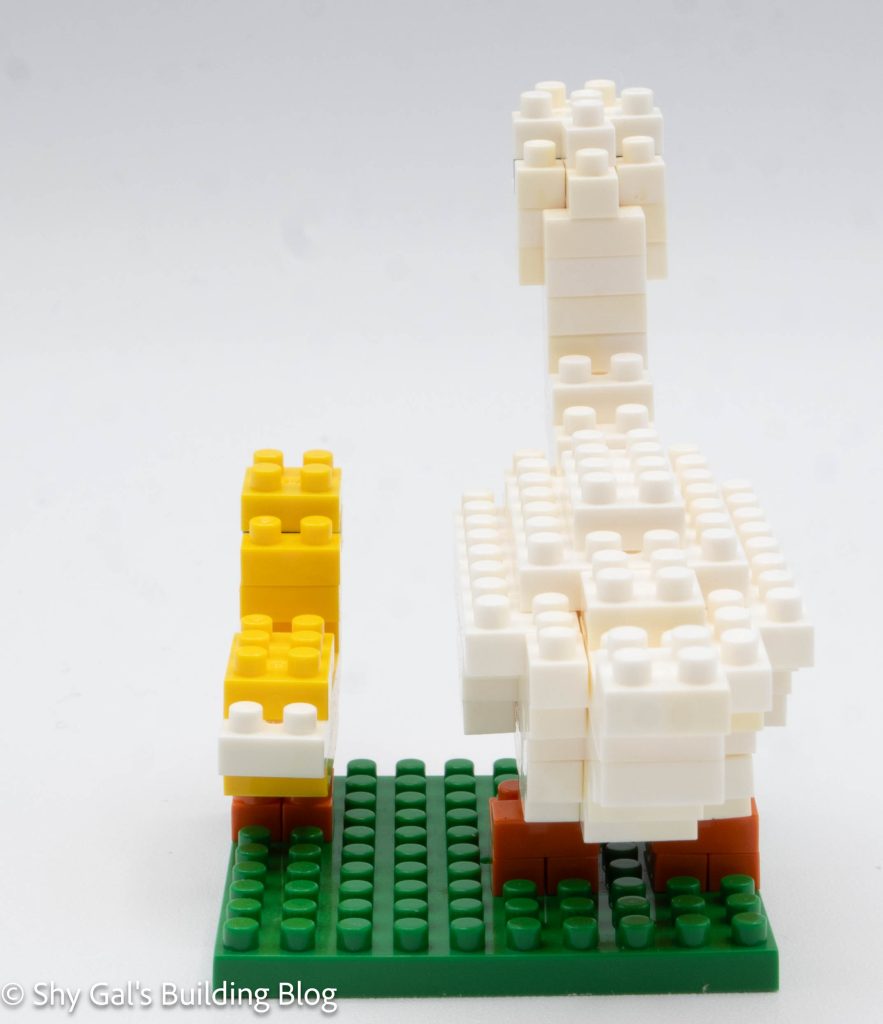
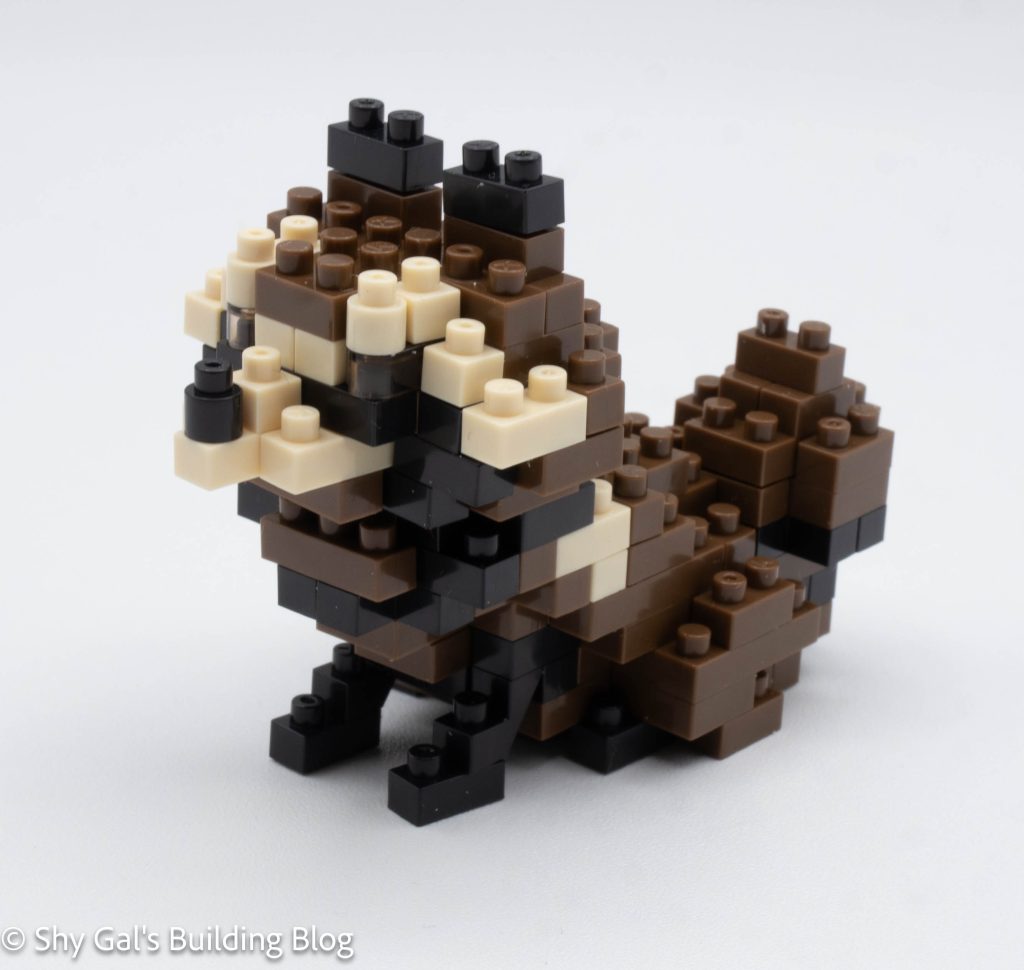
The final steps are to add the front legs and attach the head. The front legs are very straightforward. Figuring out exactly where to attach the head was a bit tricky but the instructions did make sense on close inspection.
Things I liked:
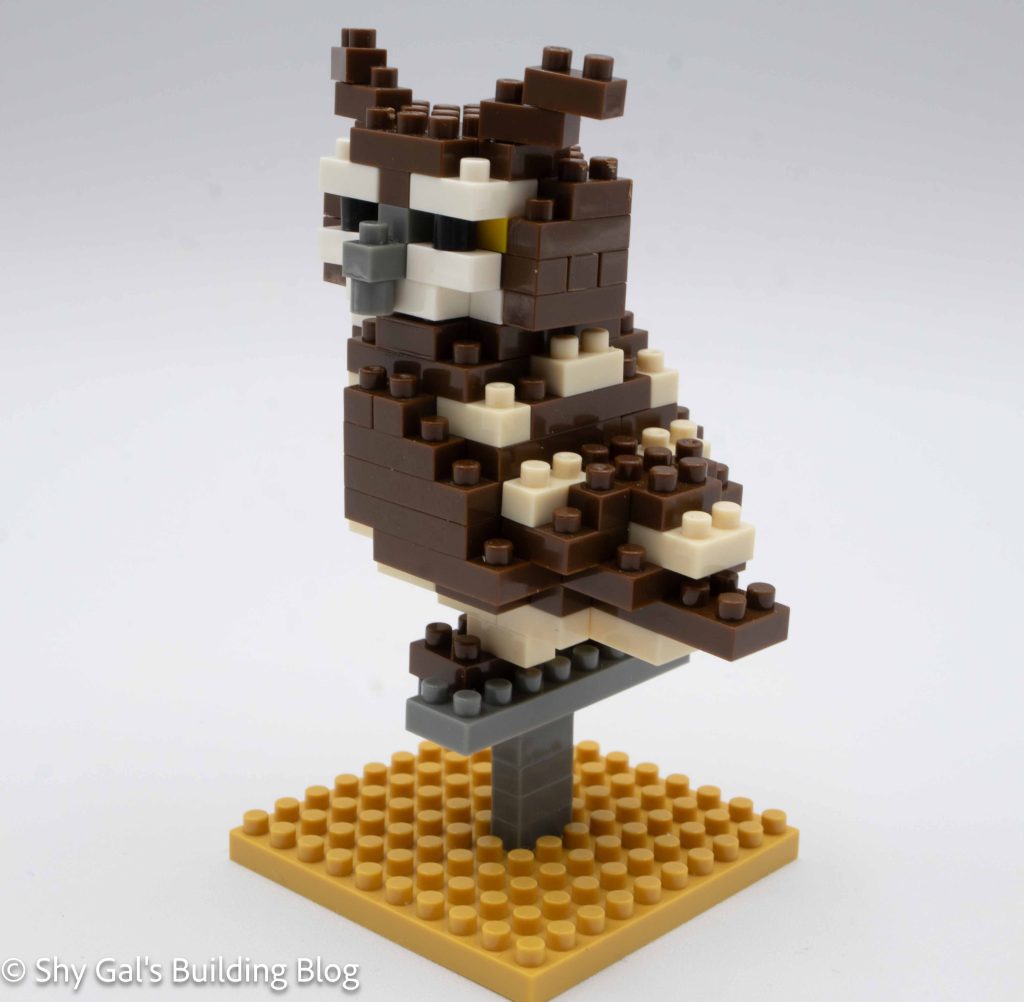
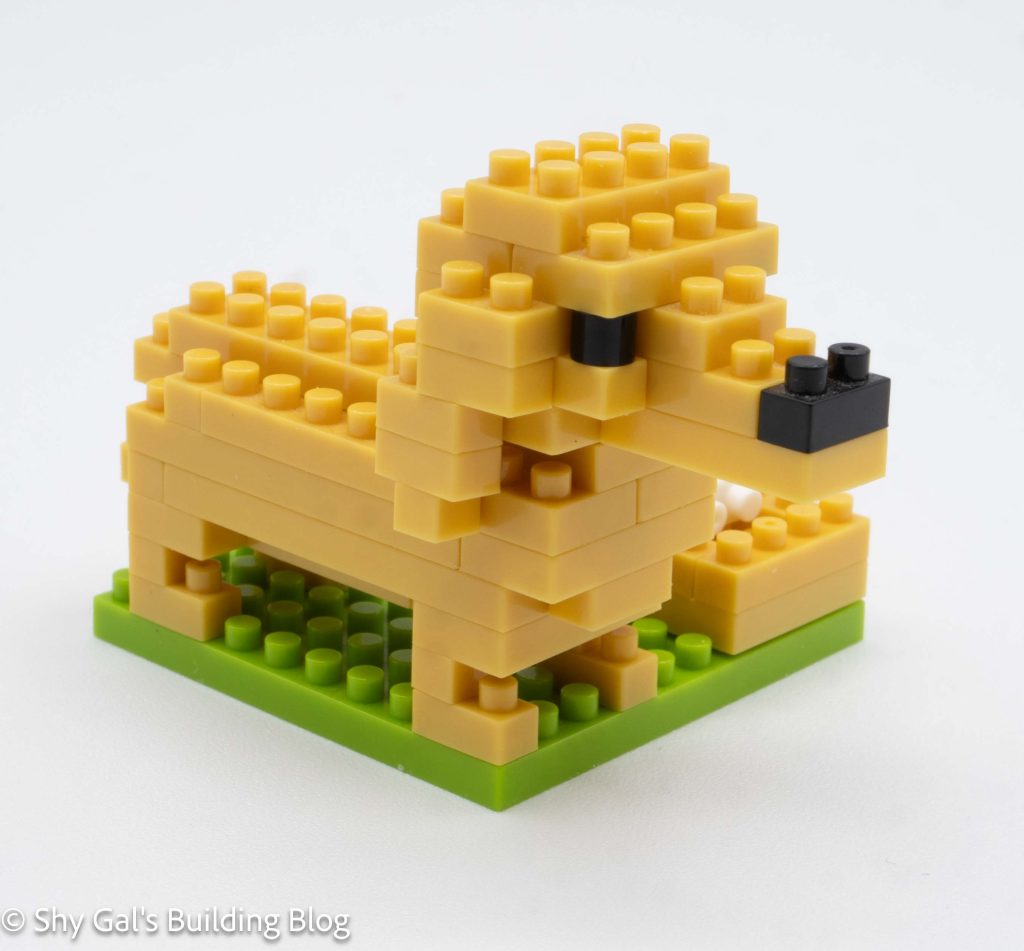
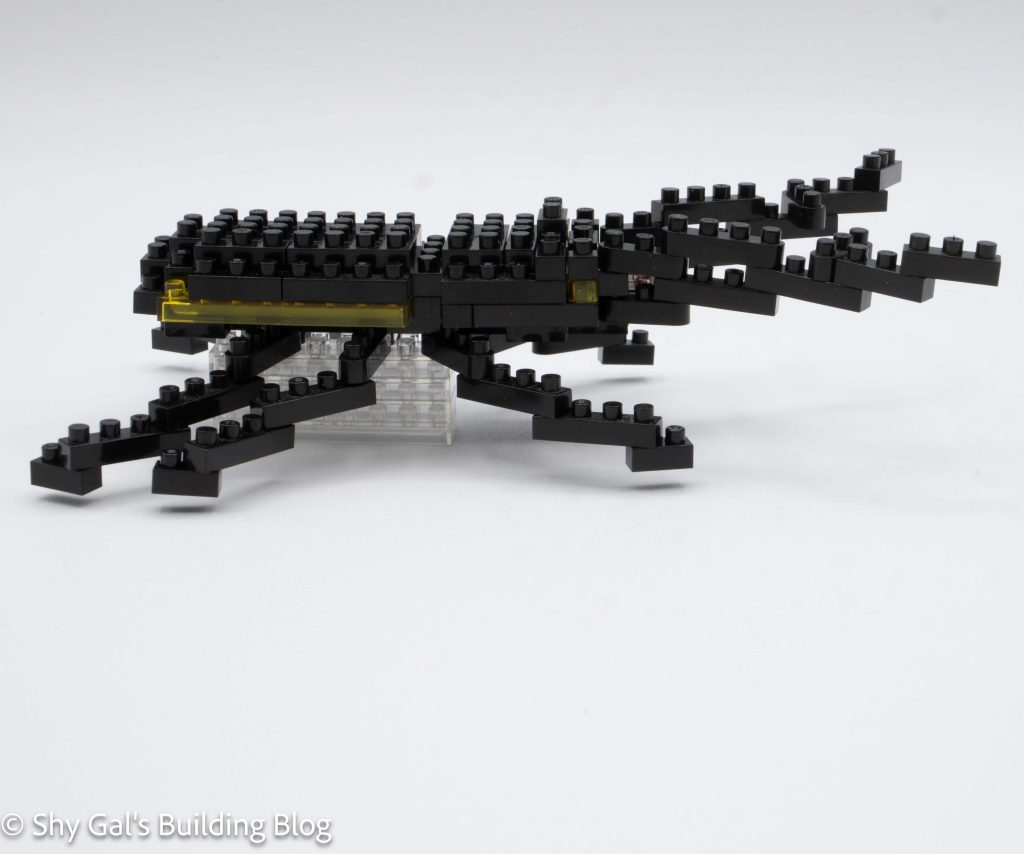
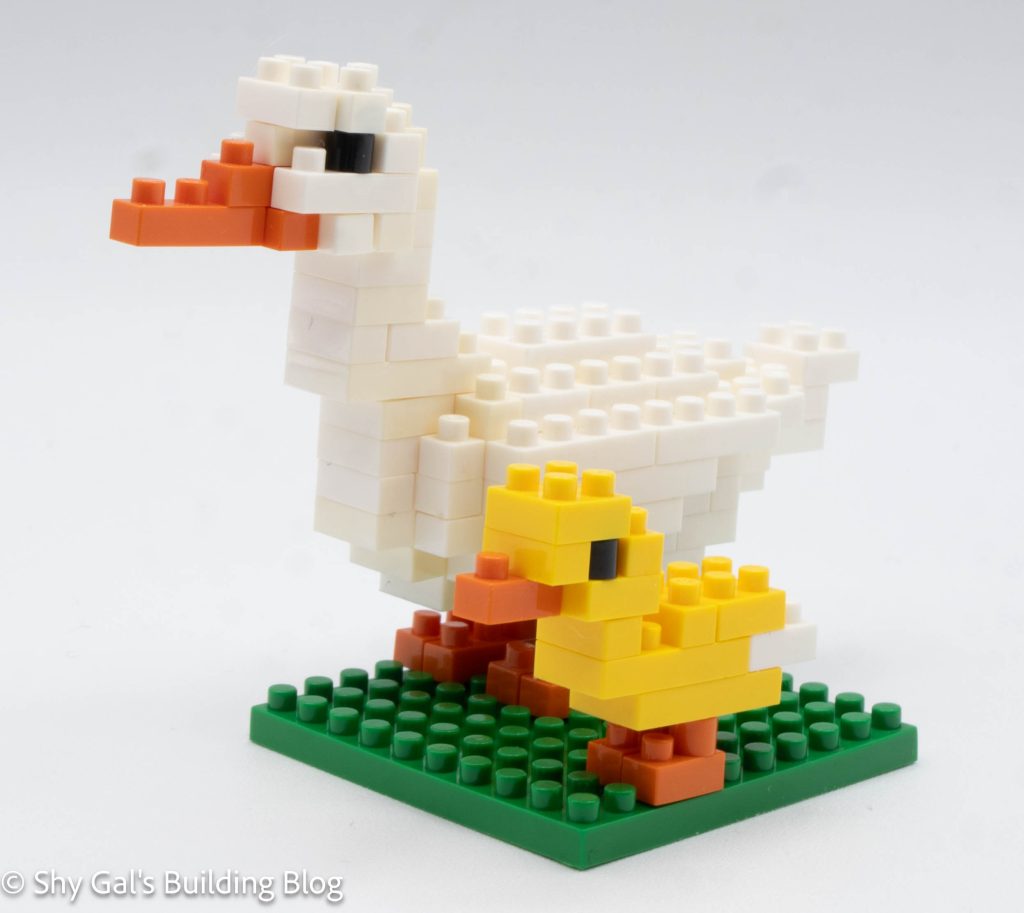
- I really like the stripy tail and how the head looks
- I like that the head is posable
Things I didn’t like:
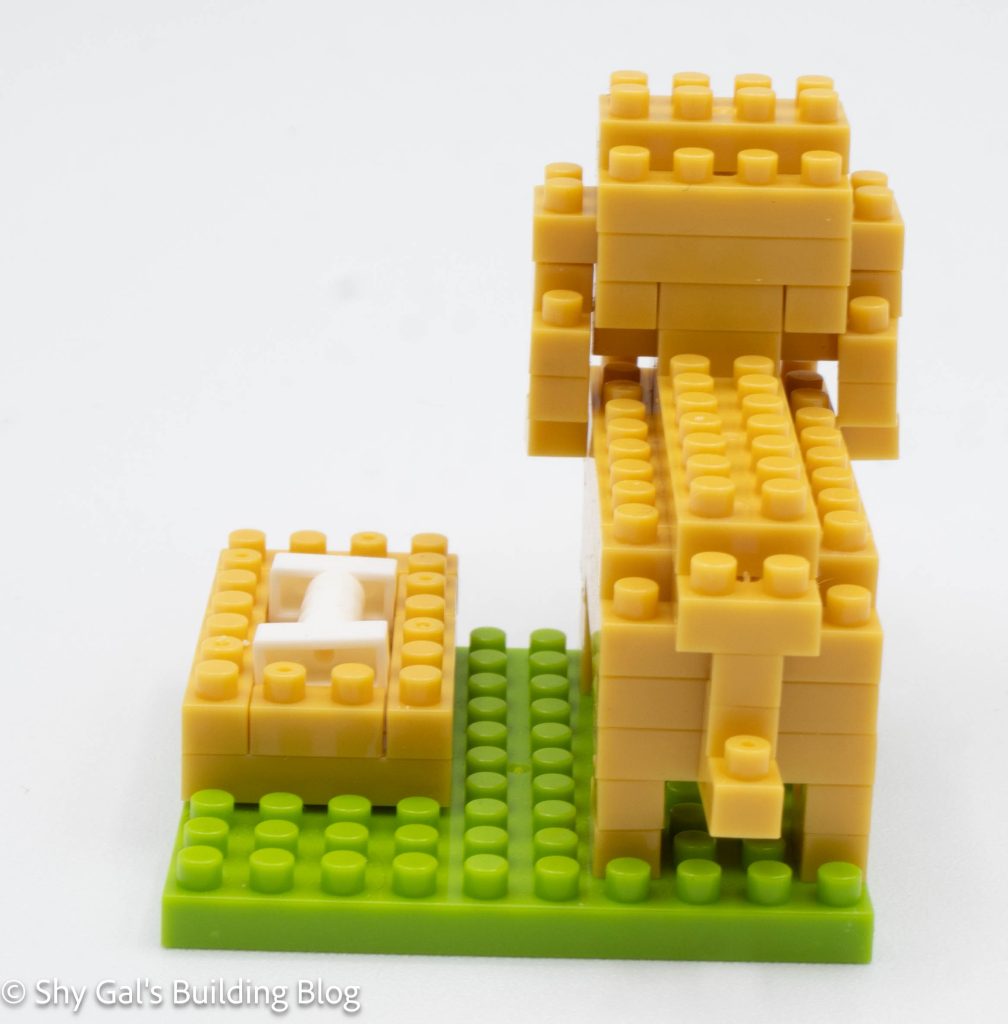
- When I picked the build off my pad, I kept popping off the hind legs