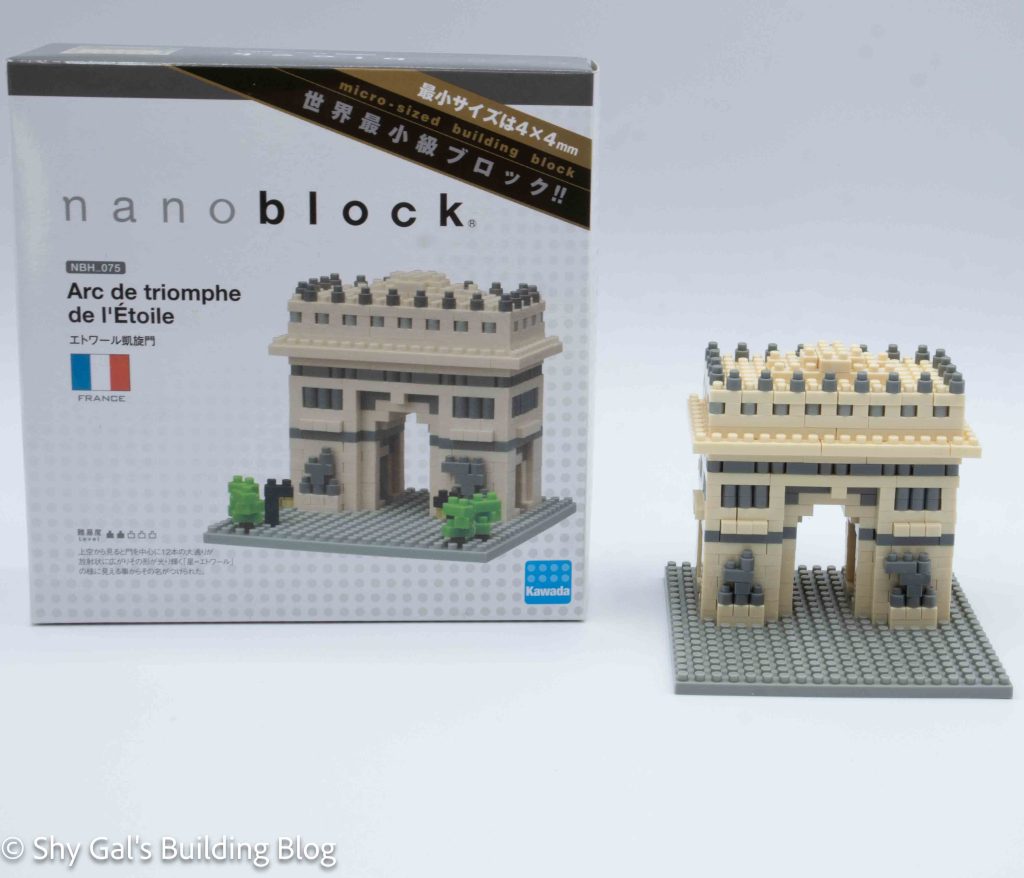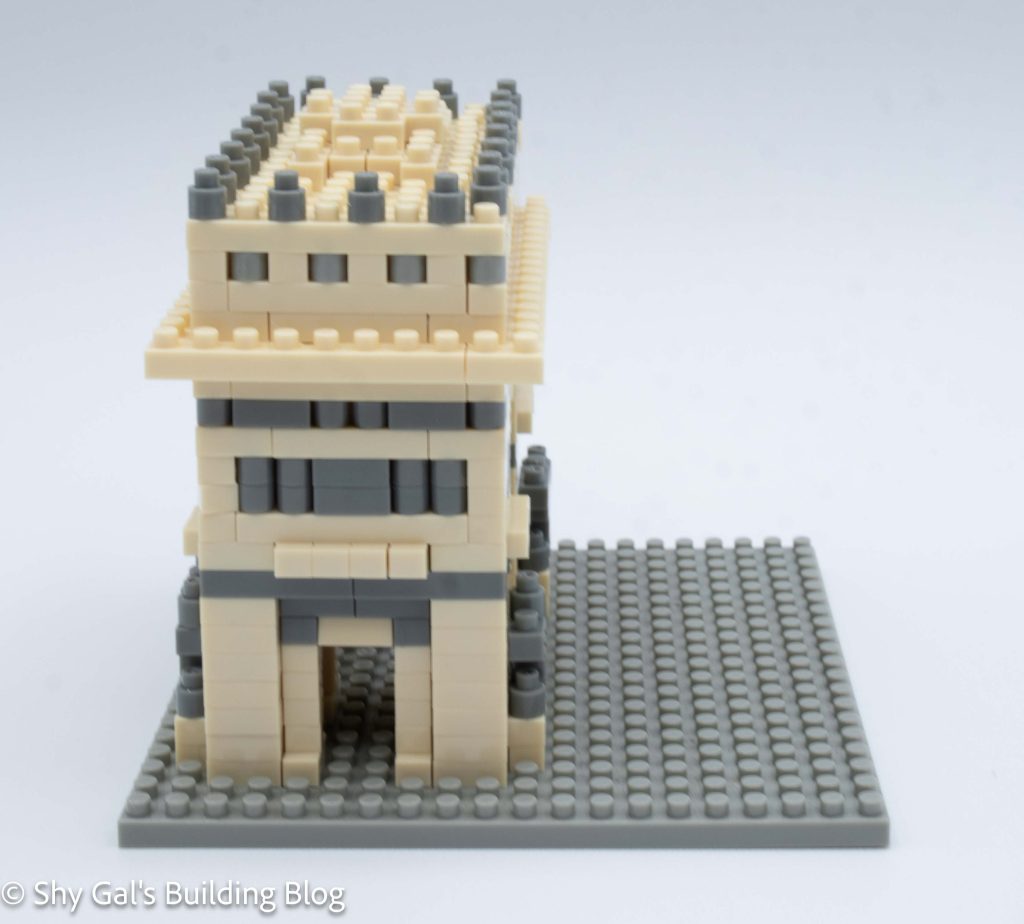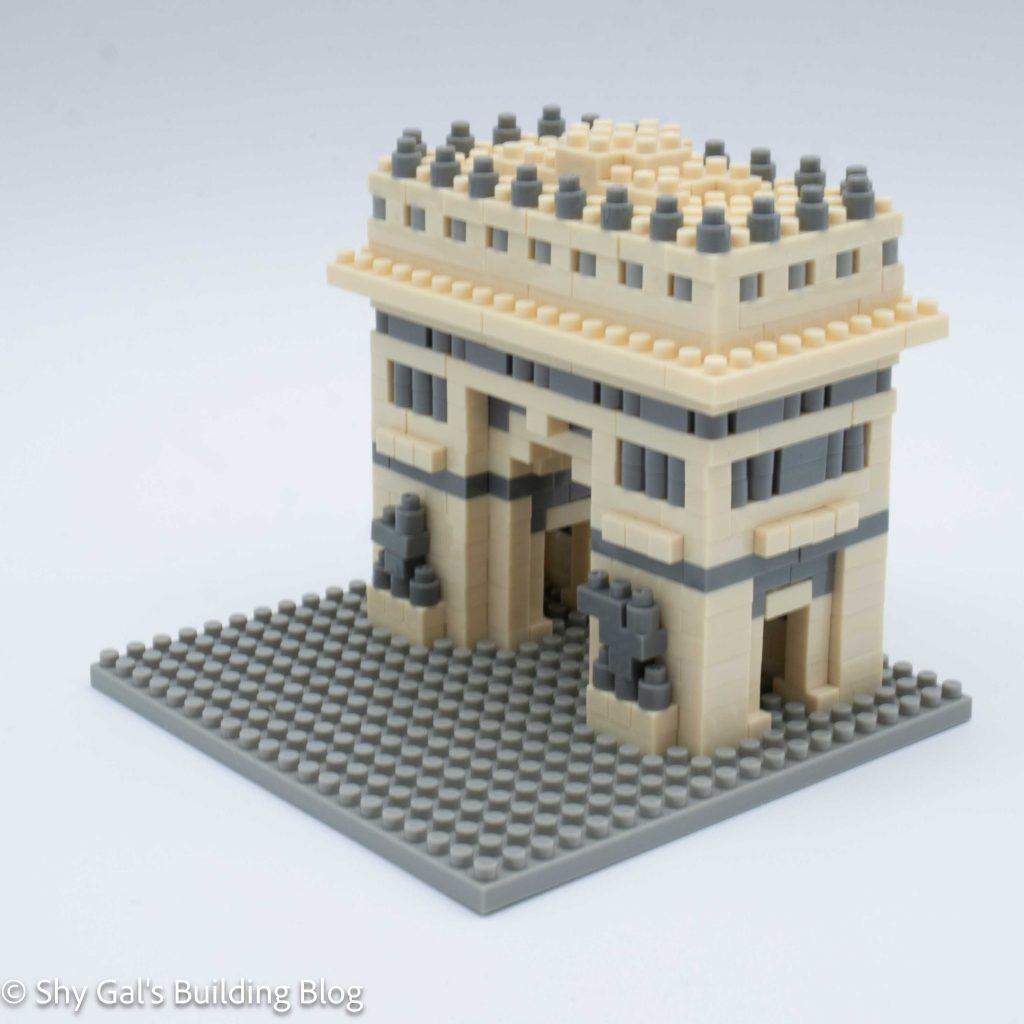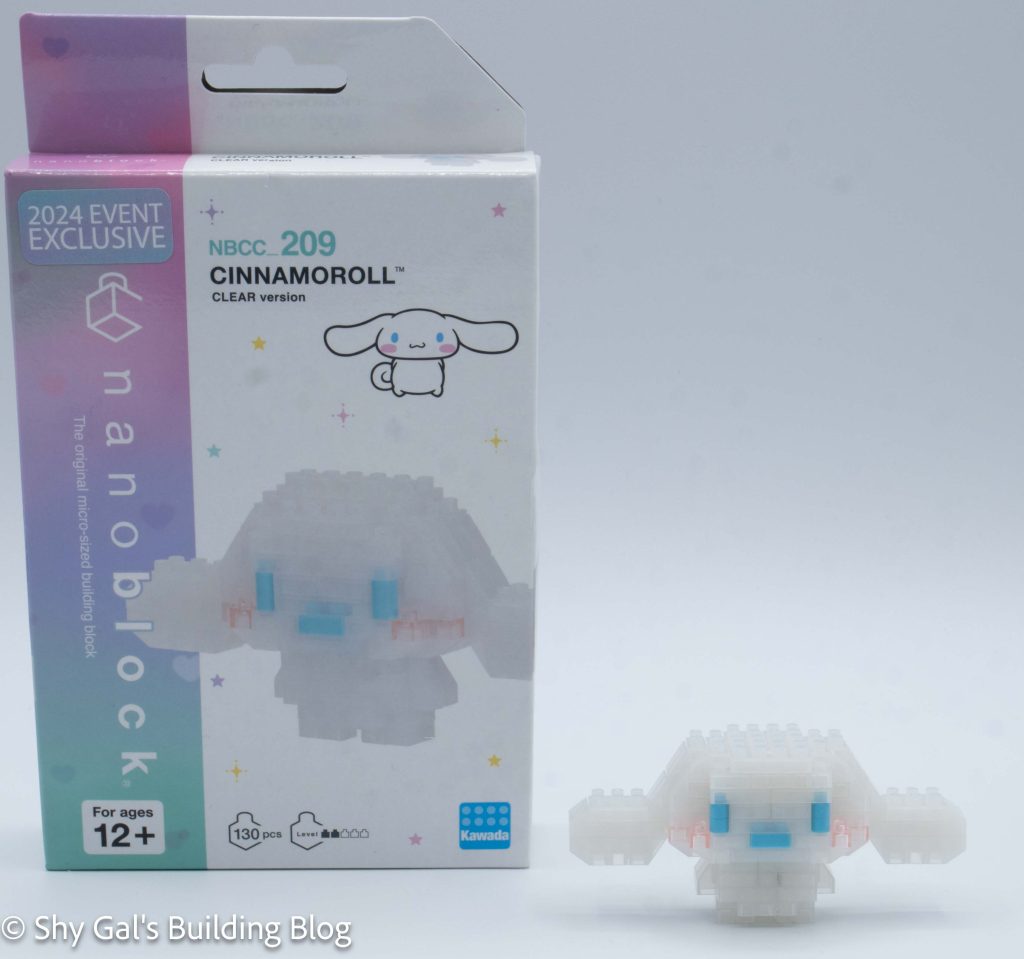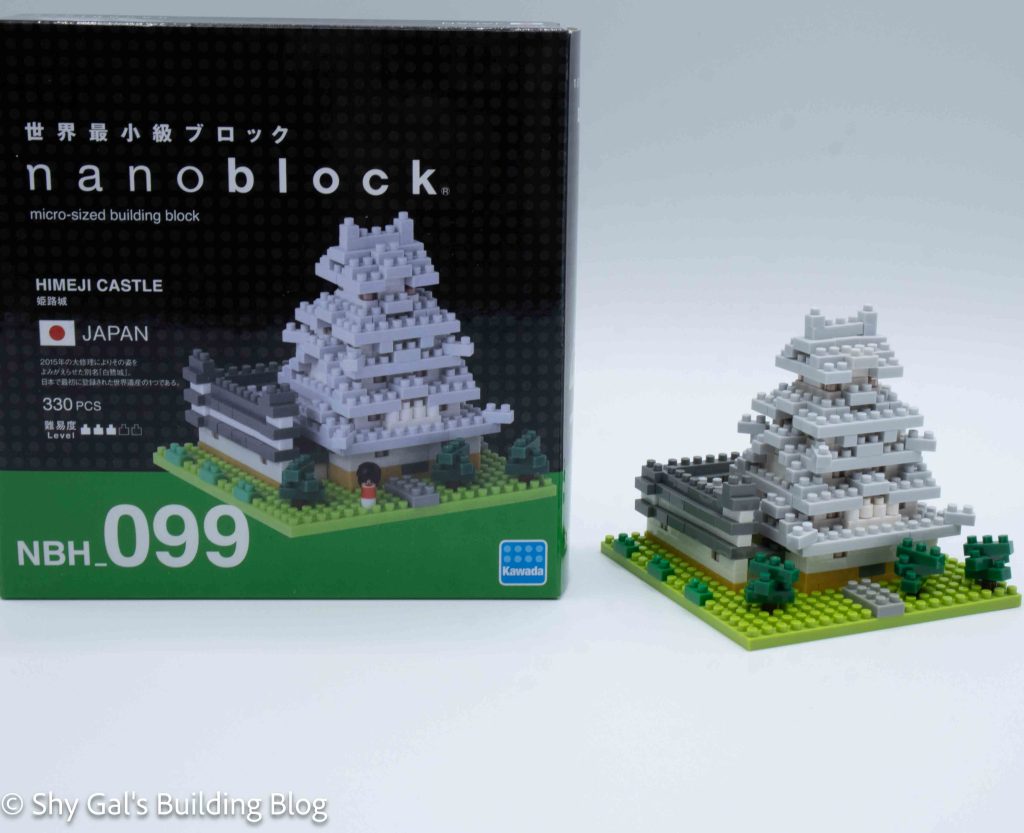
This post is a review of the nanoblock Himeji Castle build. Himeji Castle is part of the nanoblock Sights to See collection. Wondering what else is part of the Sights to See collection? Click here for a list.
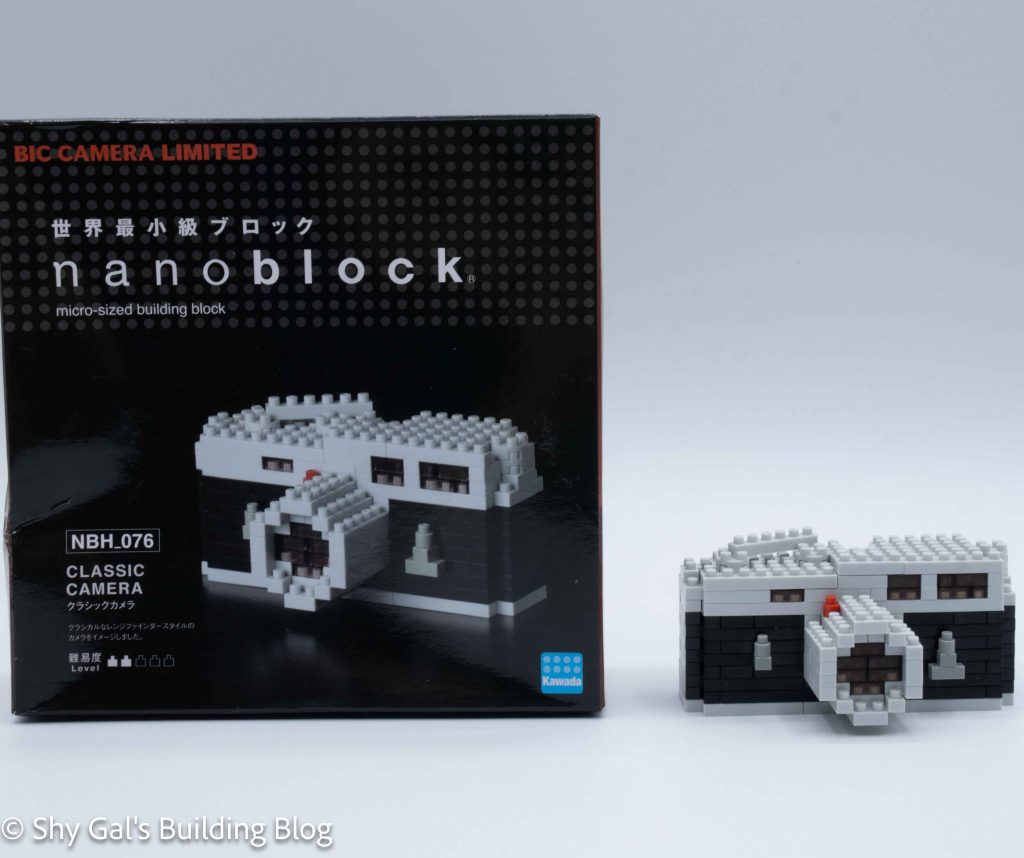
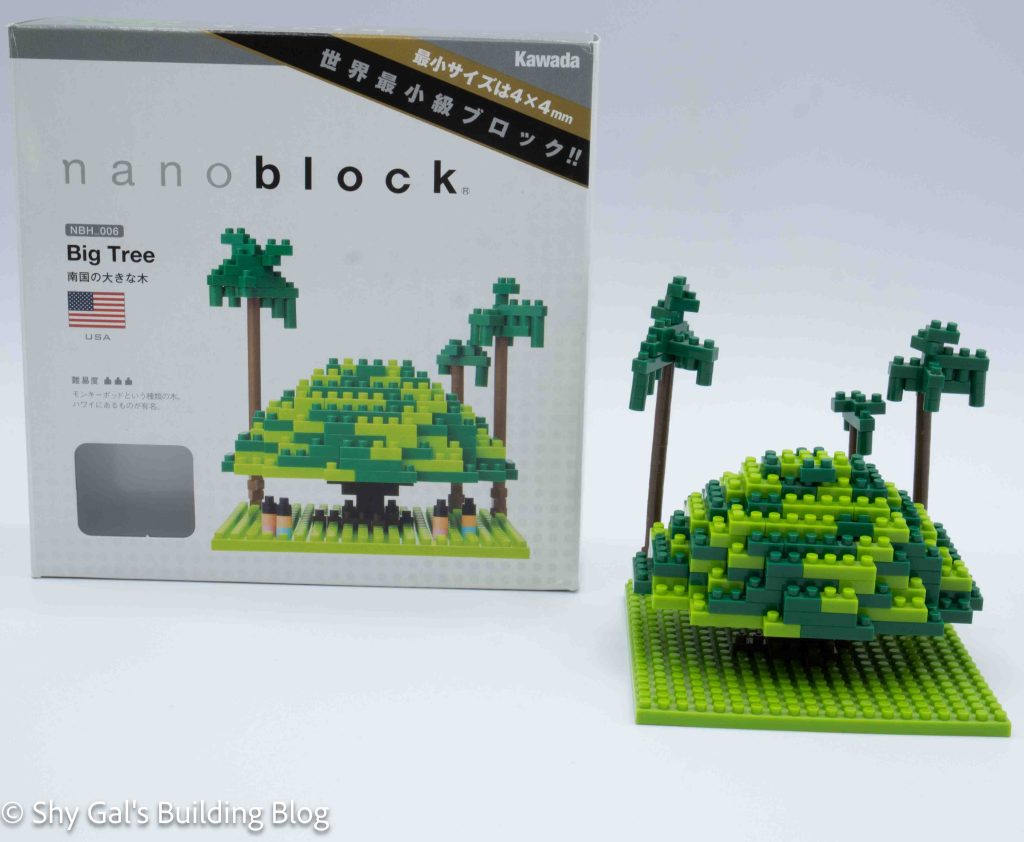
Number: NBH_099
Country: Japan
Number of Pieces: 330
Difficulty Rating: 3/5
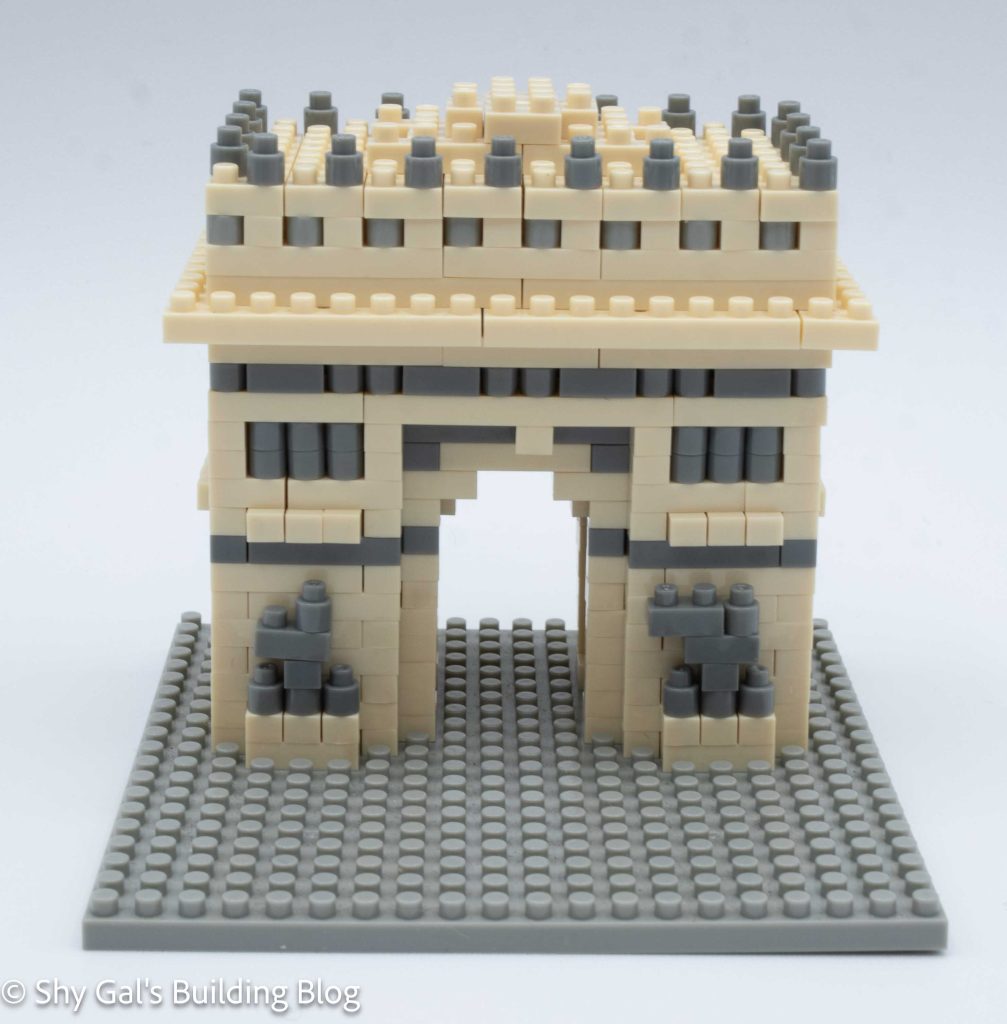
This build begins by laying the outline of the castle and wall on the baseplate.
The next steps are adding a couple layers of bricks to create the castle and the wall.
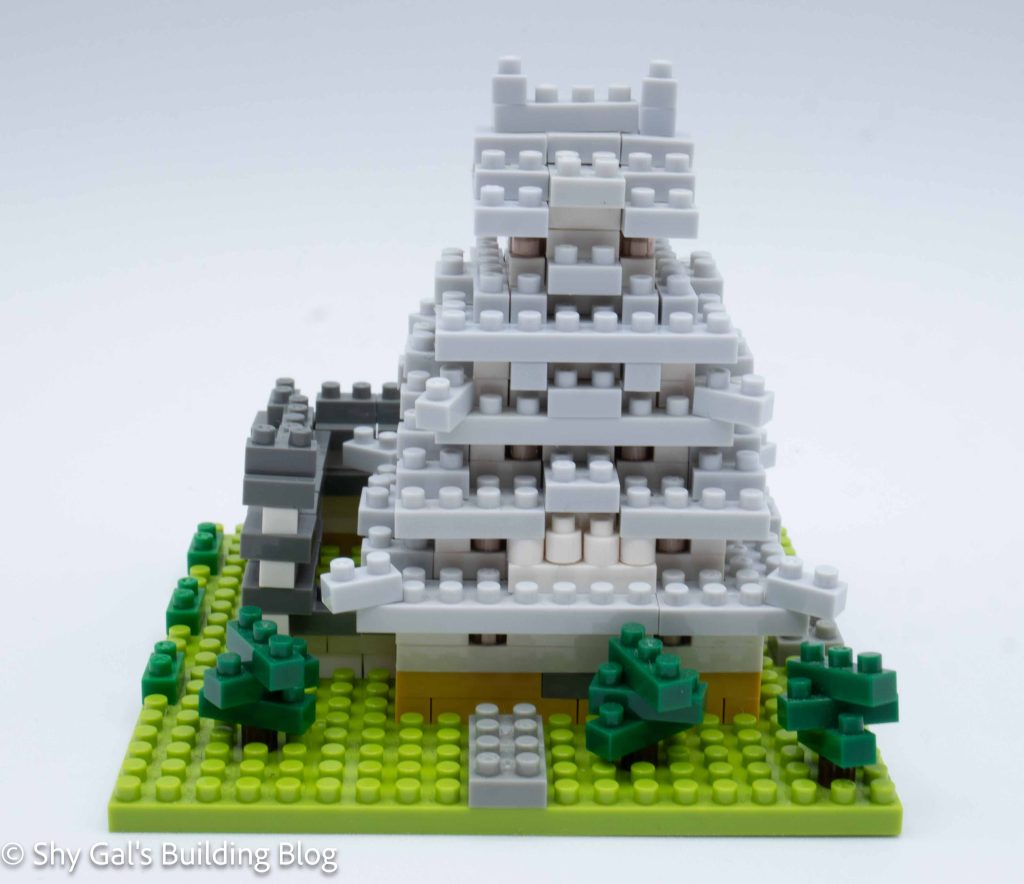
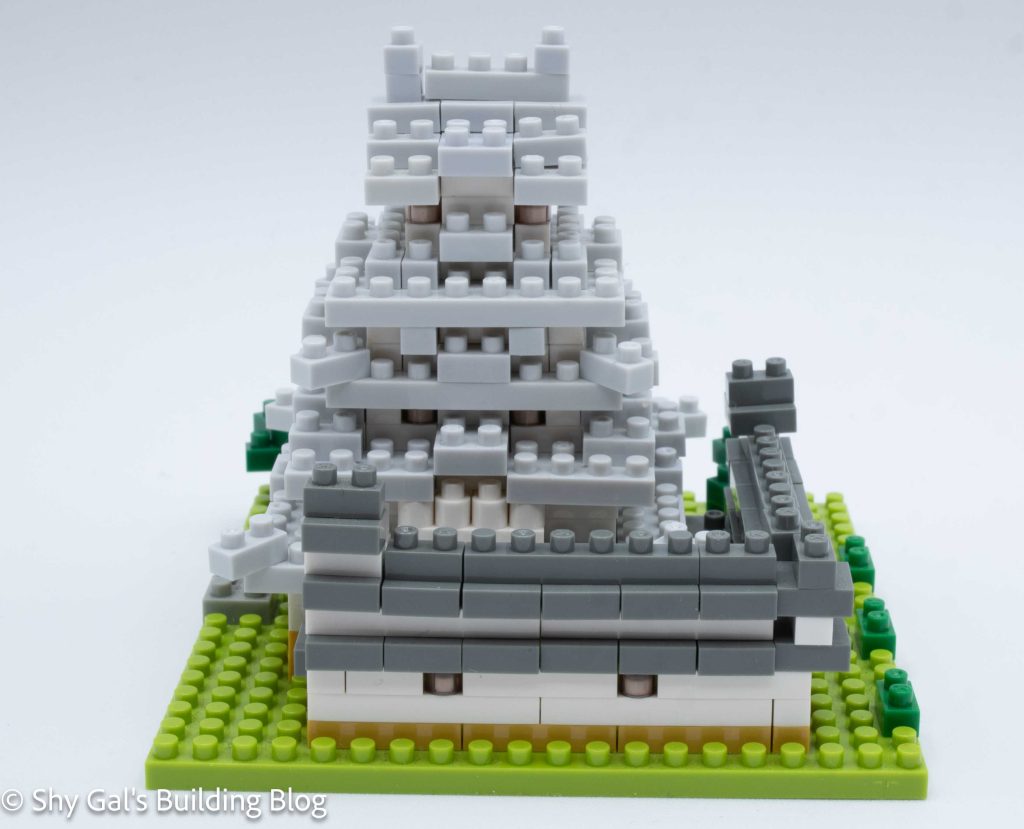
The next steps are to add the large walls on the side of the building. These use dark grey to create the roof details on the walls. Each step also adds a layer to the castle building.
Then, a couple more layers are added to the castle before starting on the roof.
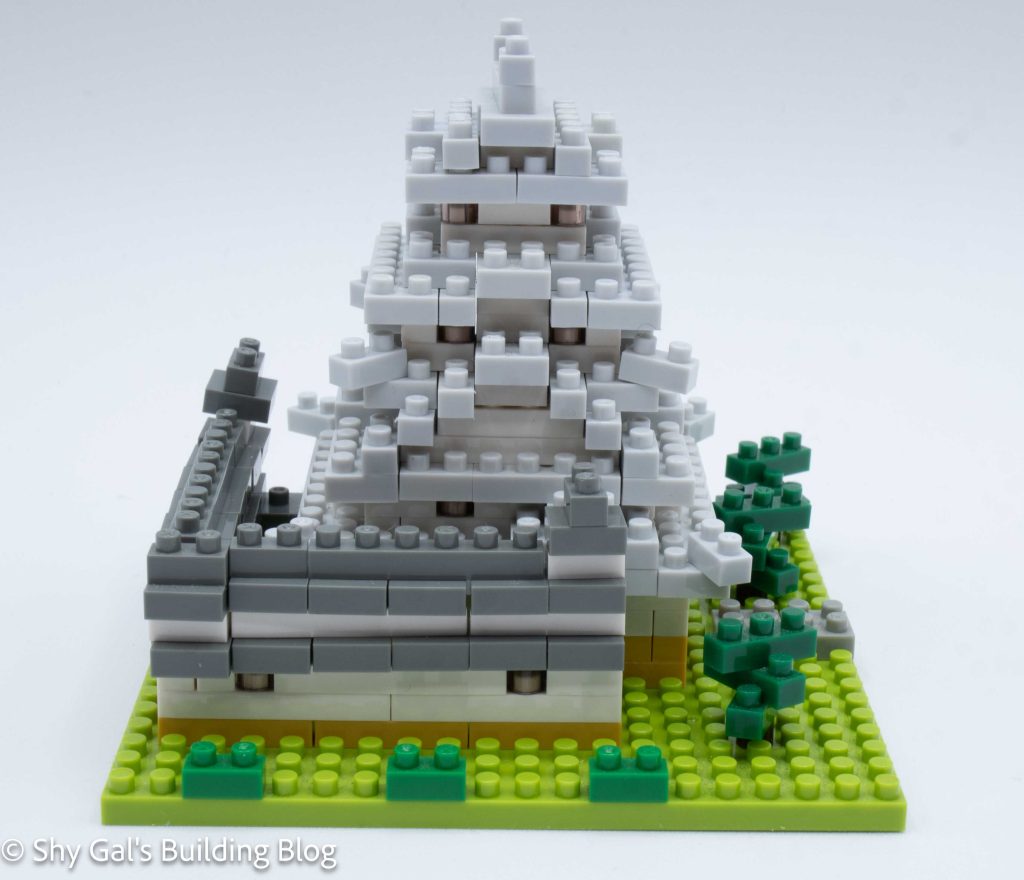
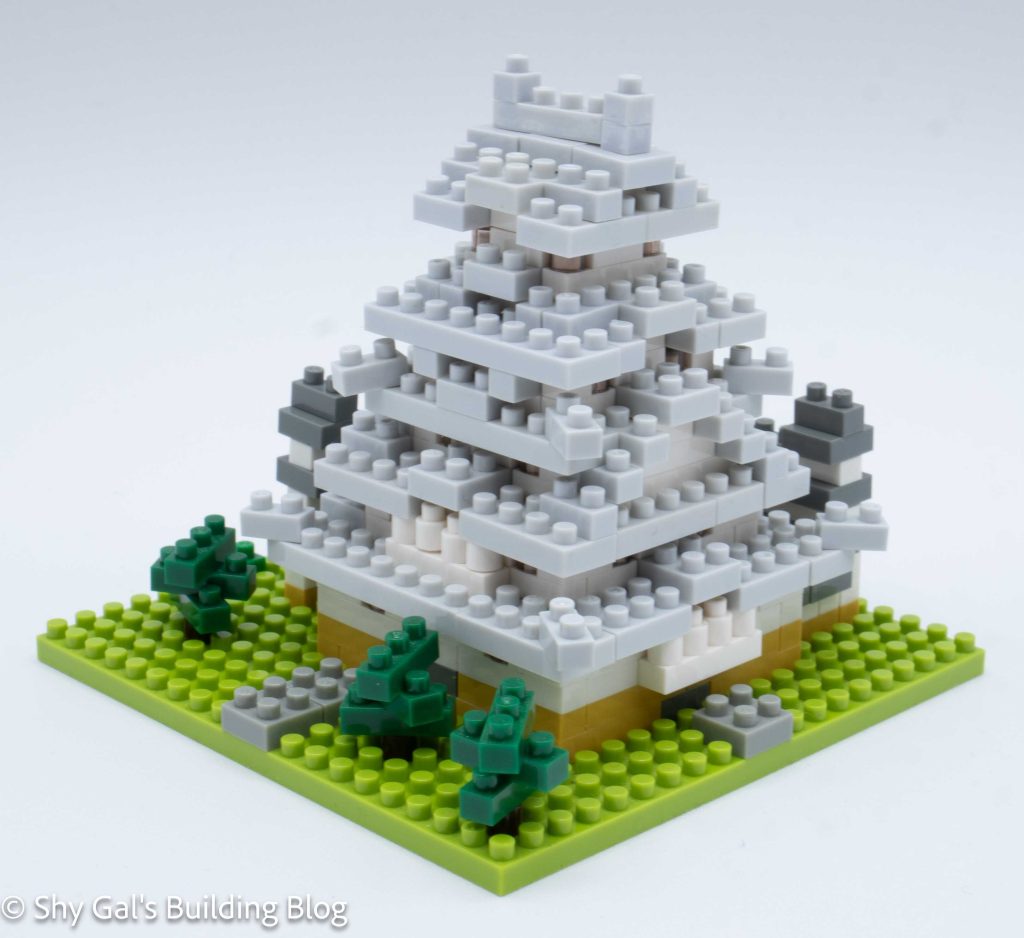
The next several steps are to create the light grey roof.
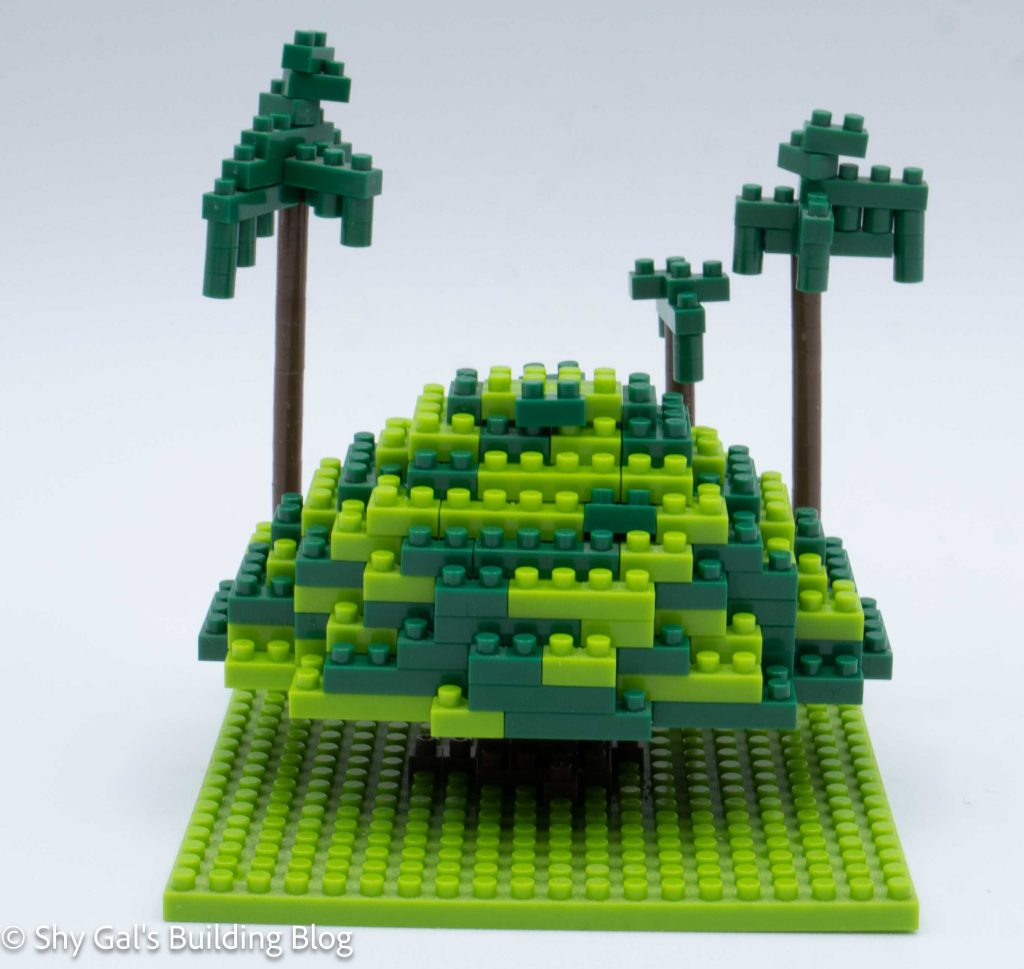
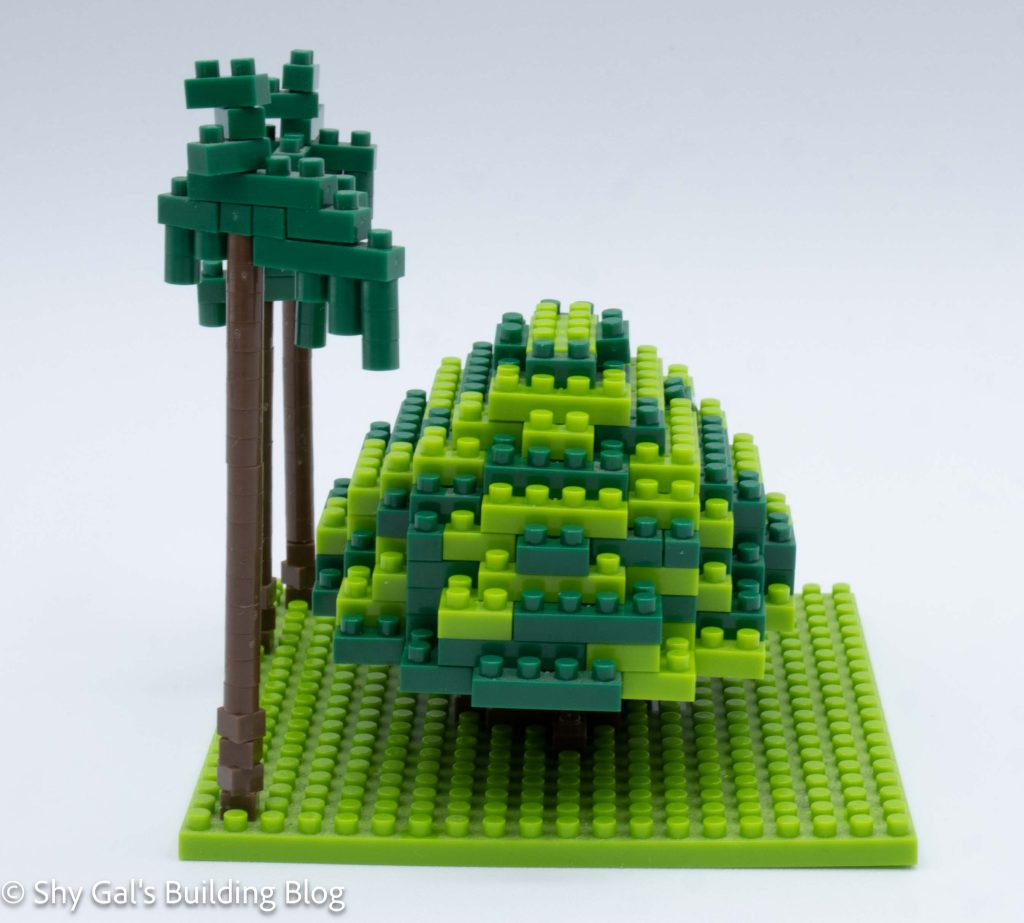
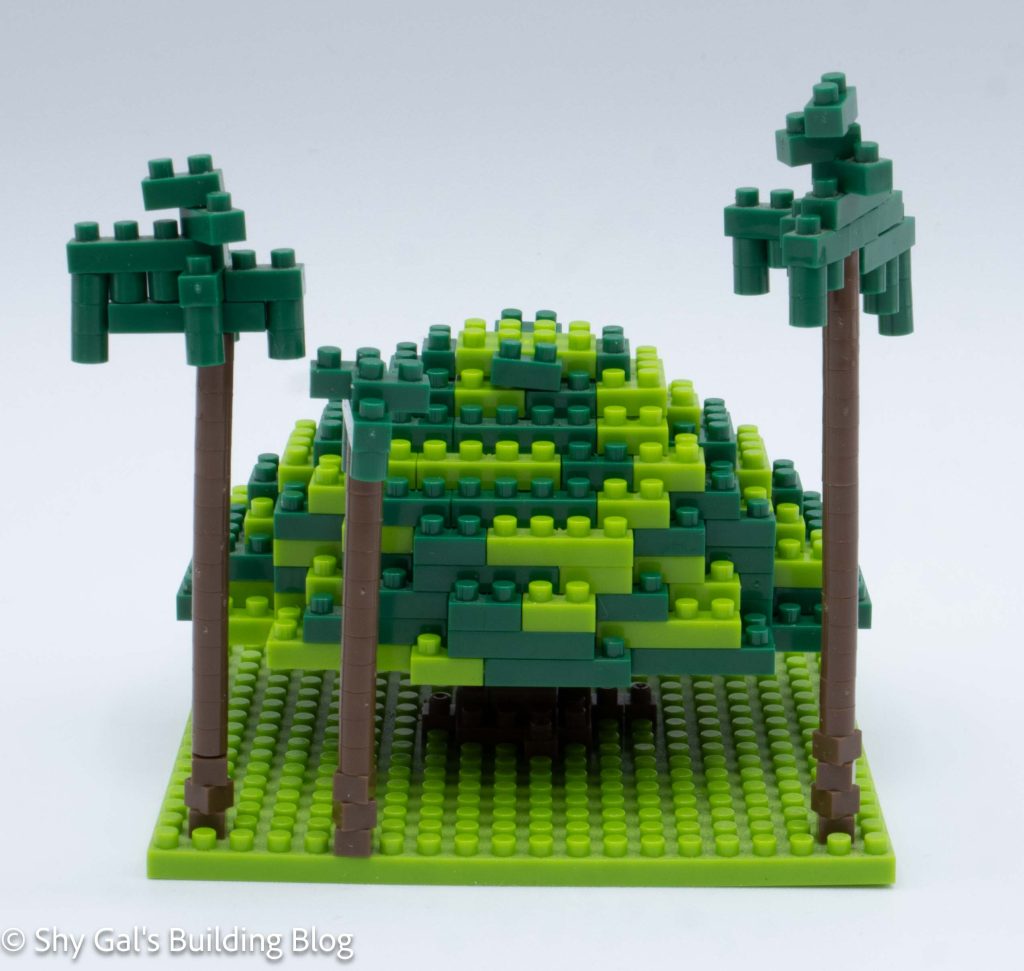
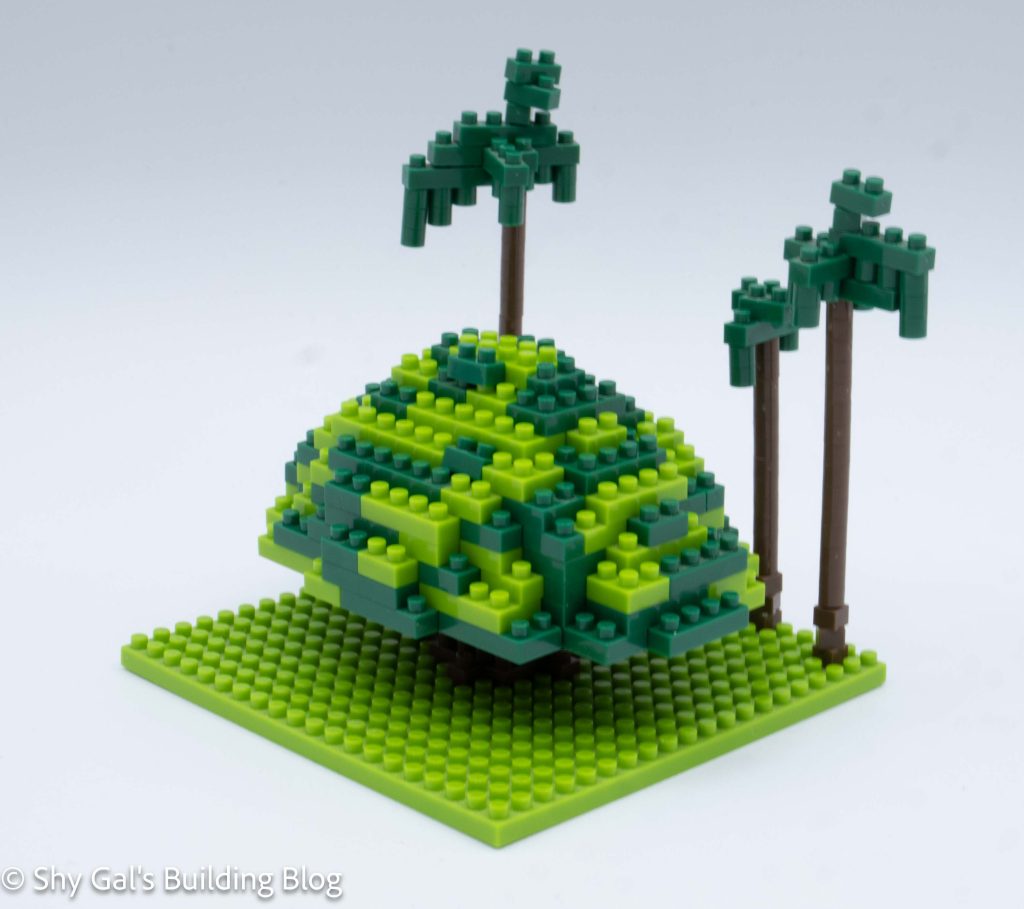
The last step was to add the trees to the baseplate. I didn’t add them when the instructions said to because I knew I would keep knocking them off when I was building the rest of the building.
This kit also came with nanoids, but I didn’t include them because I knew they didn’t match the scale.
Things I liked:
- I like the various shades of grey that are used to add details to the build
Things I didn’t like:
- I don’t love how the tower at the wall corner doesn’t line up with either of the walls