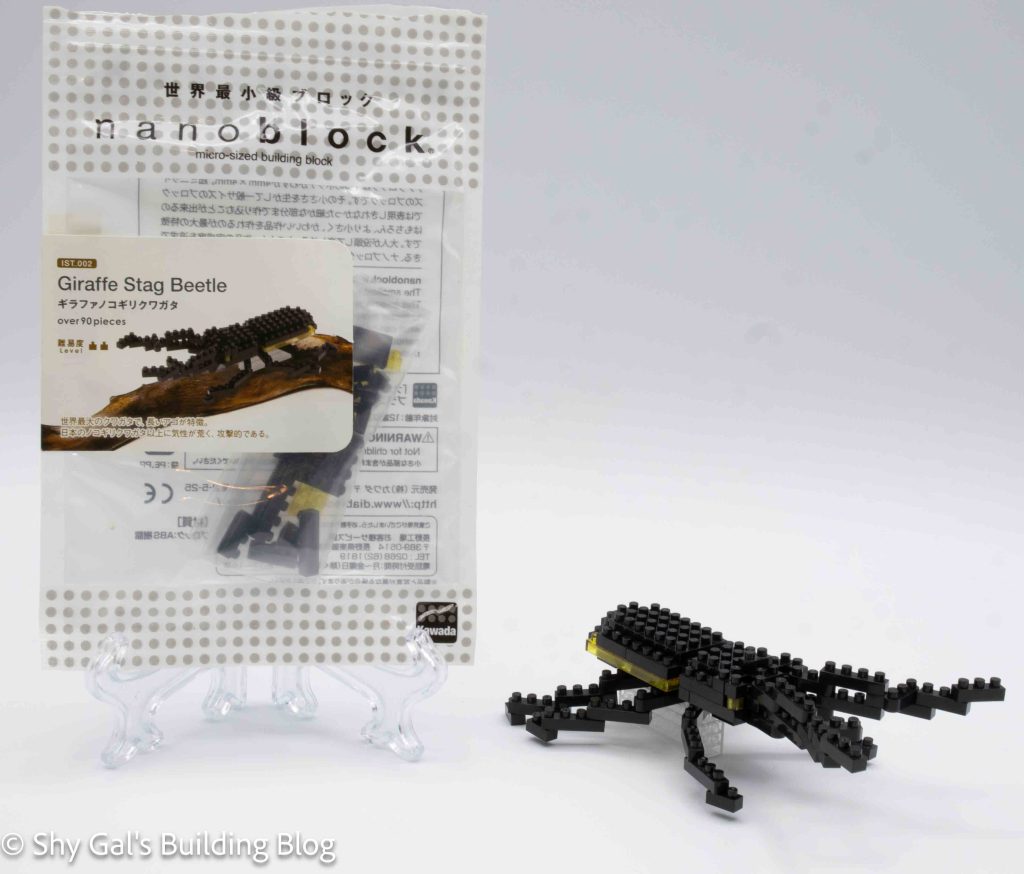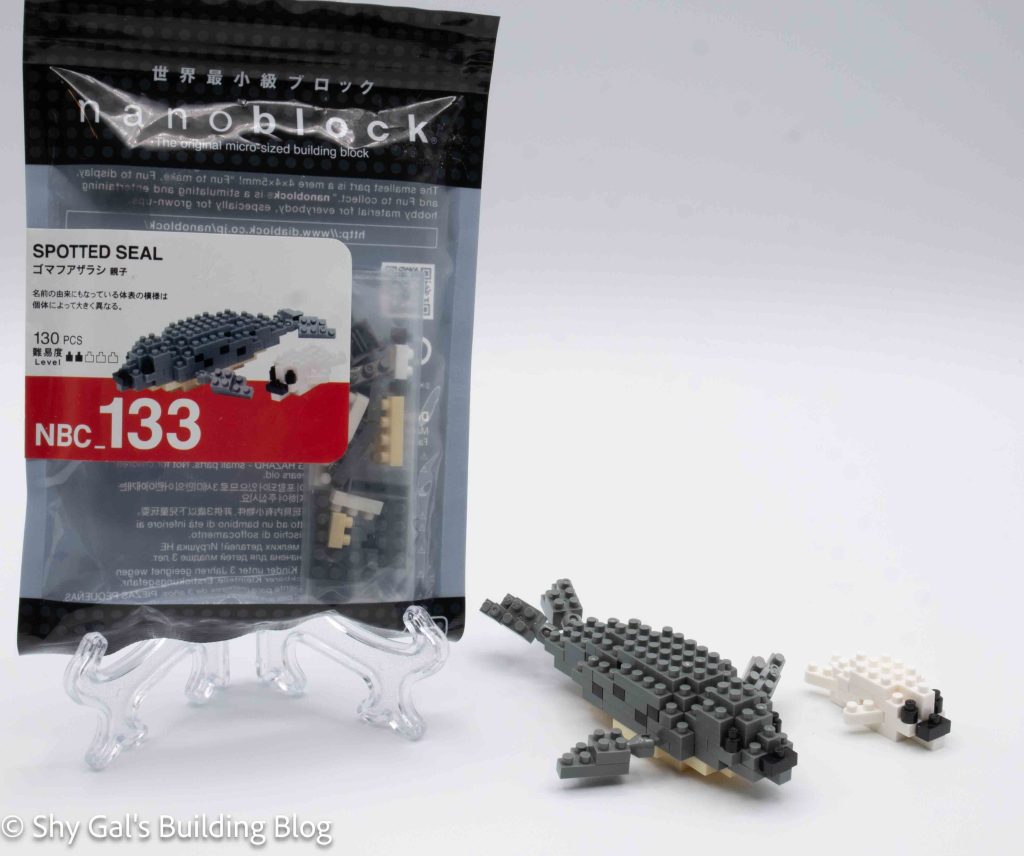
This post is a review of the nanoblock White Snake build. White Snake is part of the nanoblock Mini Collection series. Wondering what else is part of the Mini Collection? Click here for a list.
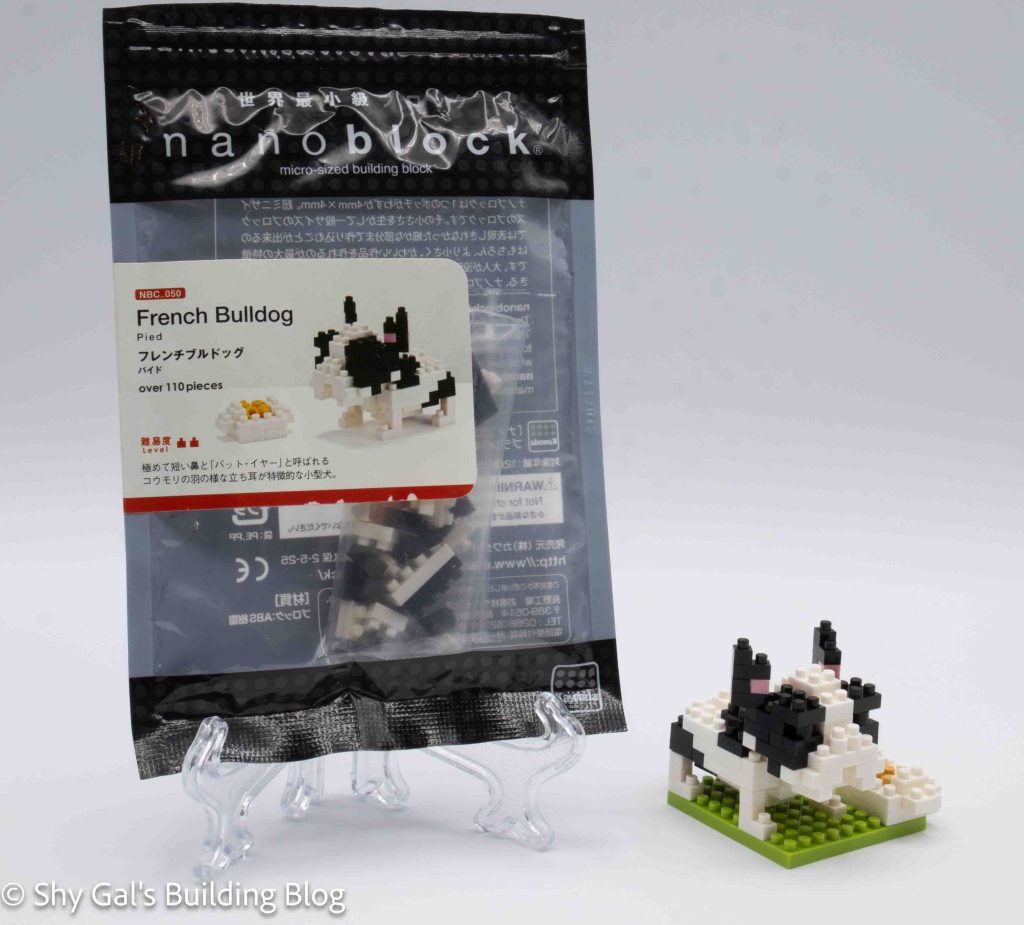
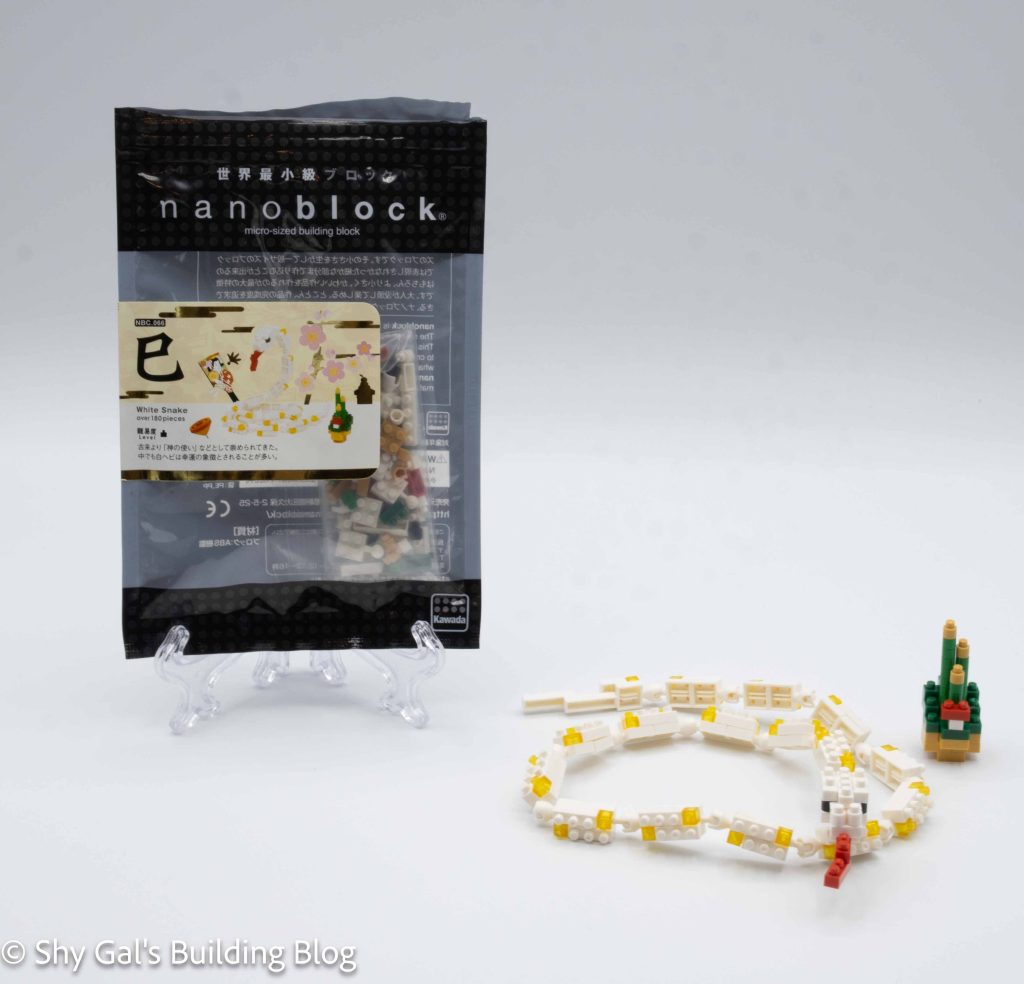
Number: NBC_066
Number of Pieces: 180
Difficulty Rating: 1
This kit is part of the original Zodiac collection and was rereleased in the Zodiac Collection.
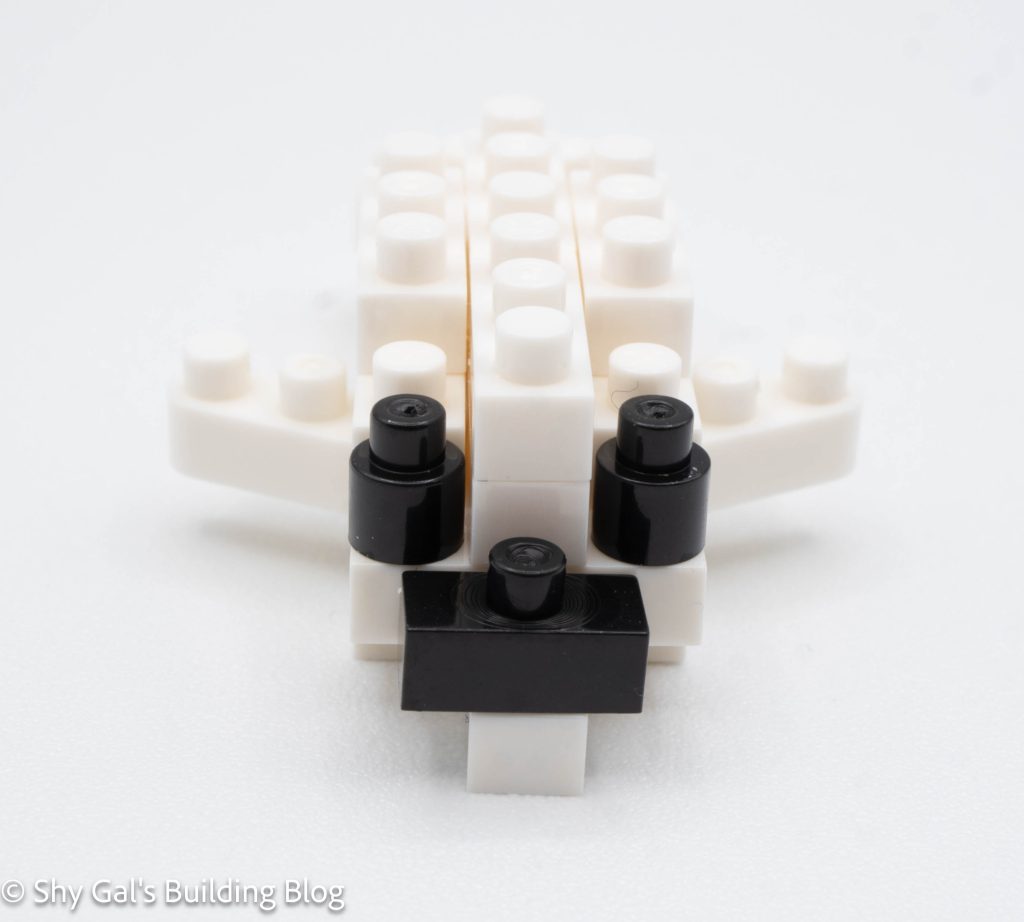
I bought this kit used, knowing I would at least get the instructions. I also ended up getting all the bricks to complete the kit. Sadly, however, the white has become yellow with age. The discolored bricks may be visible in my photographs.
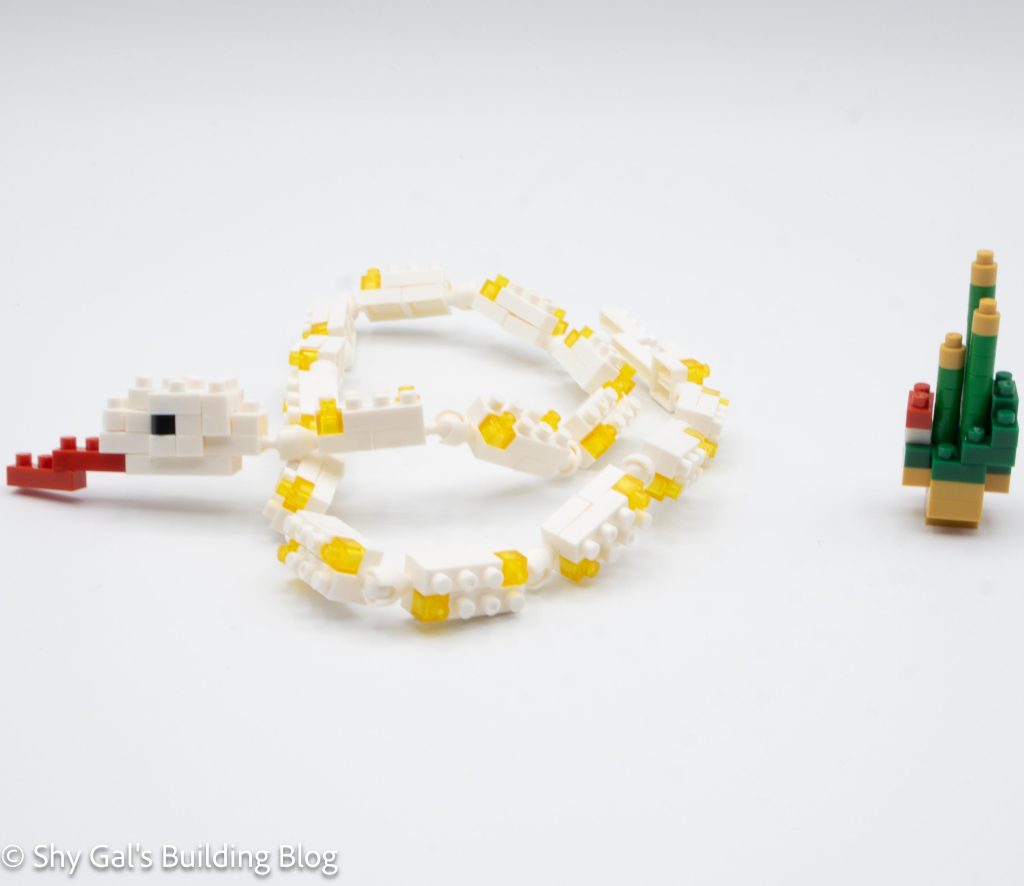
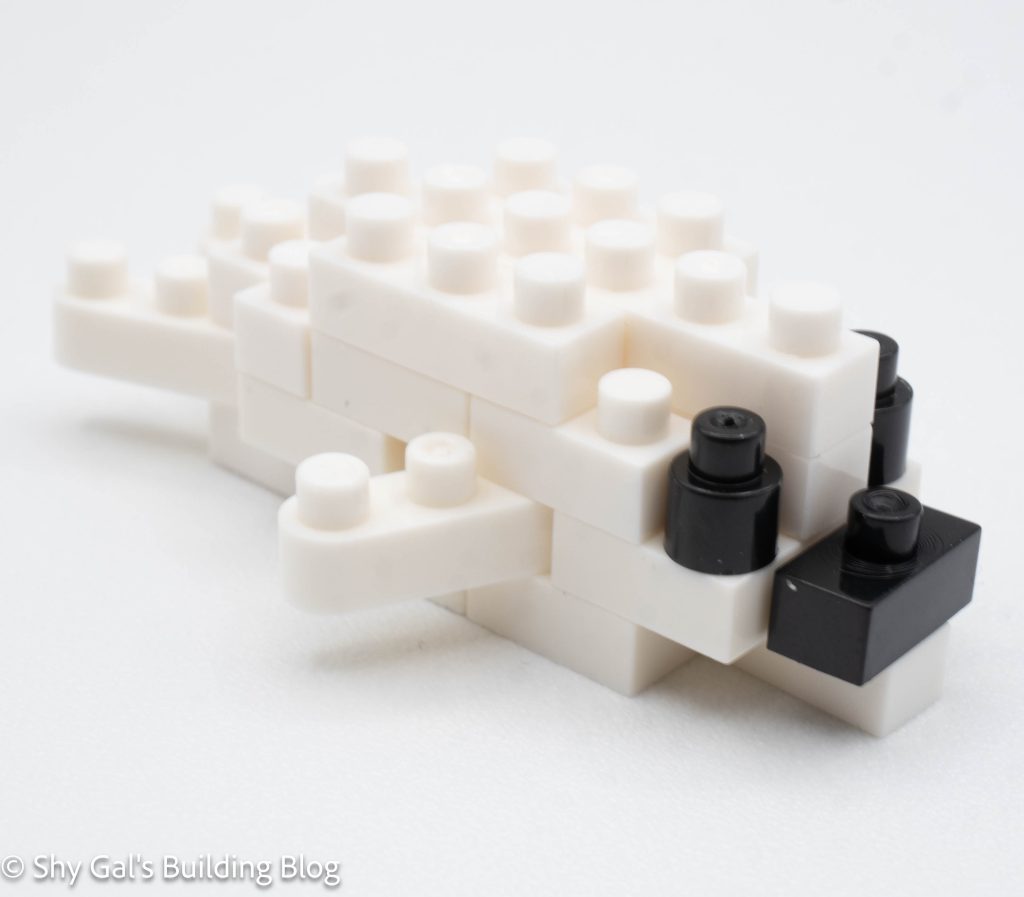
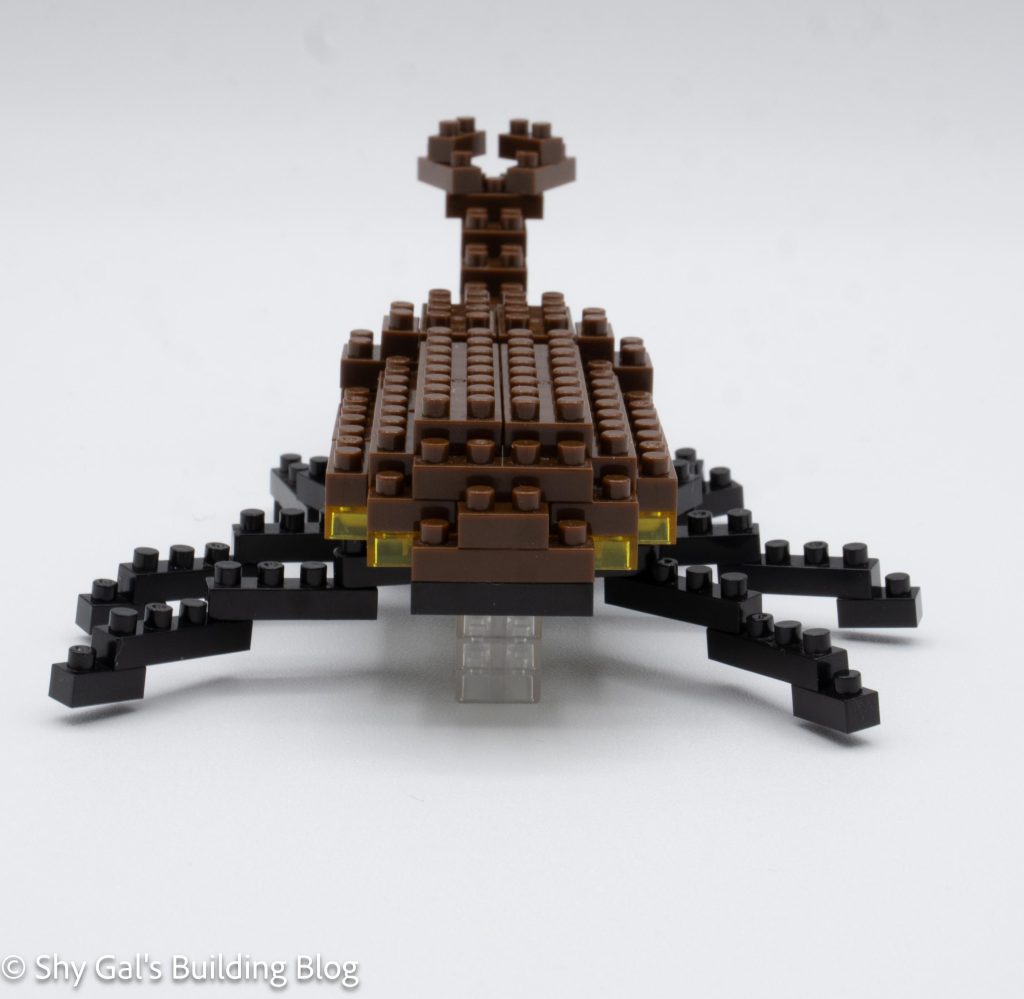
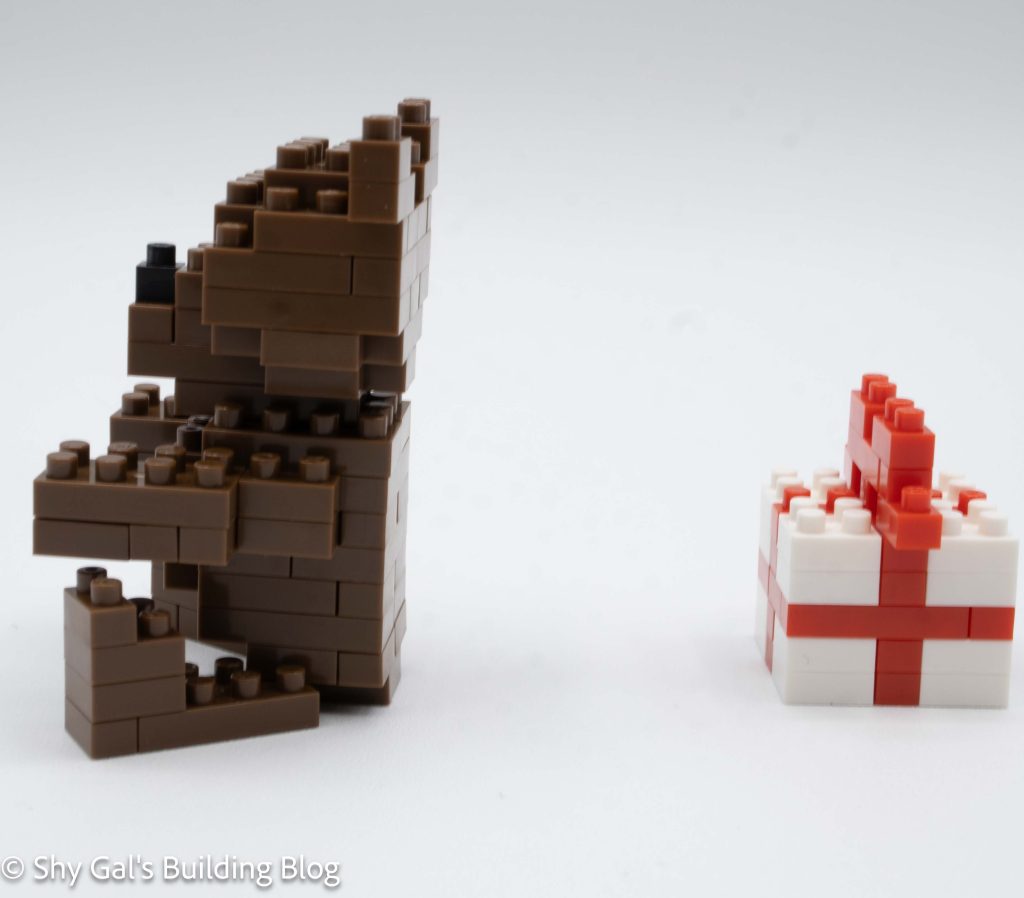
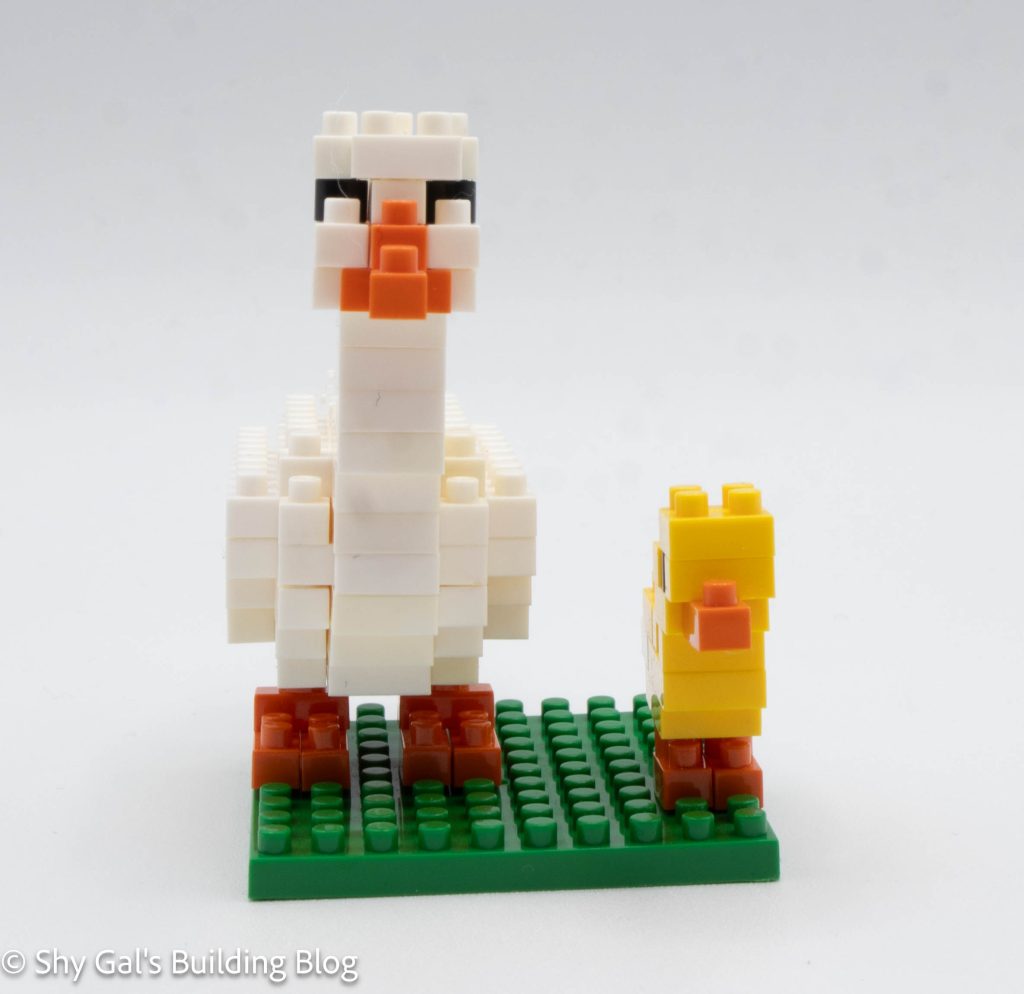
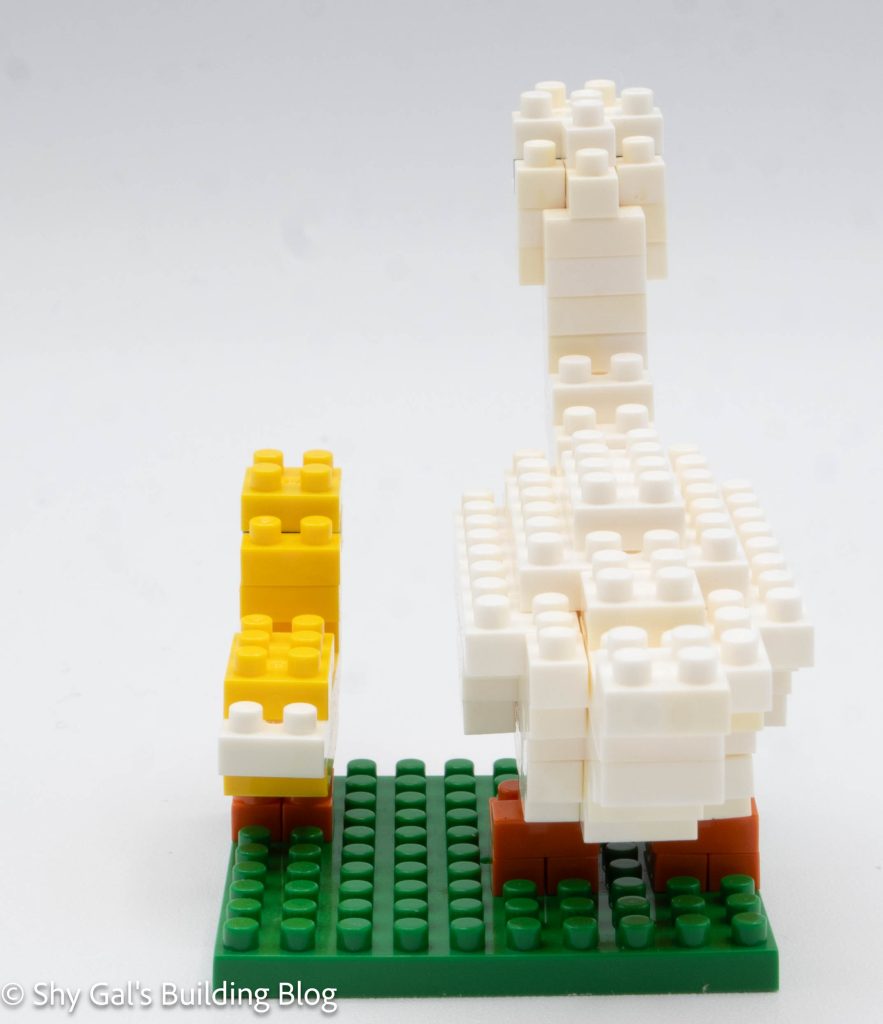
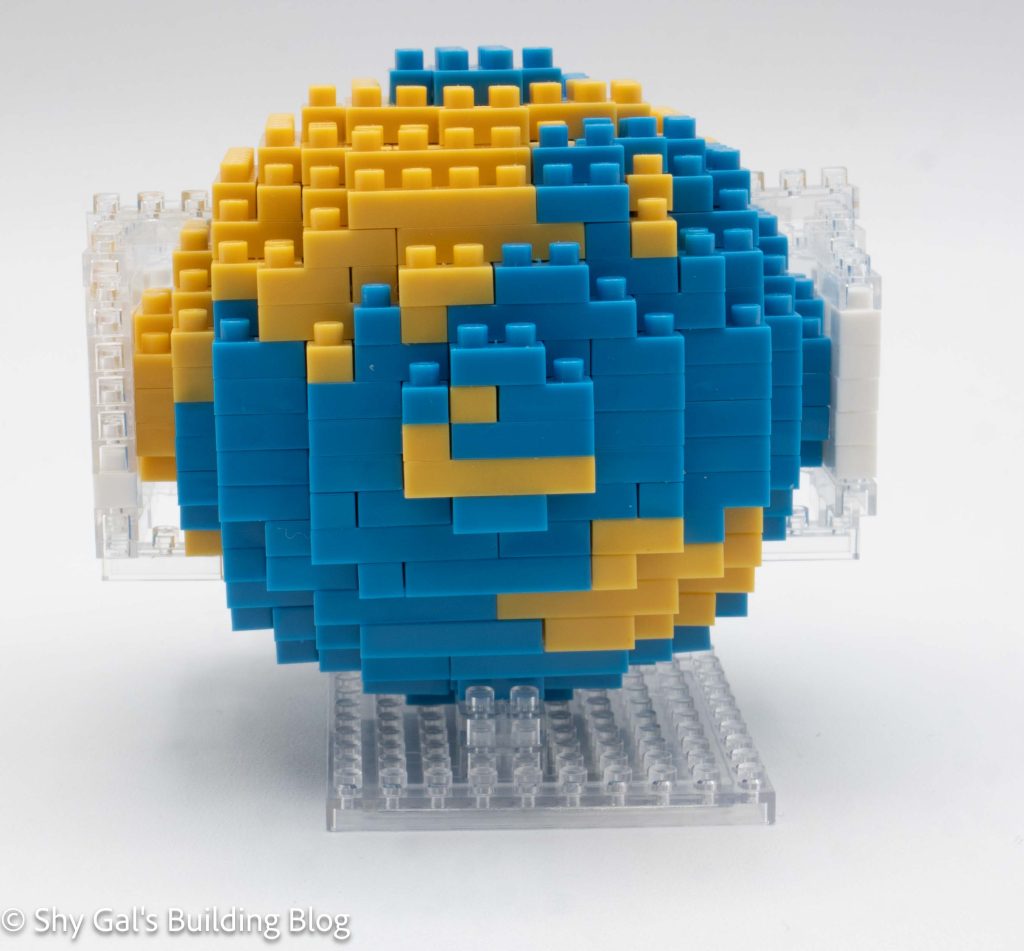
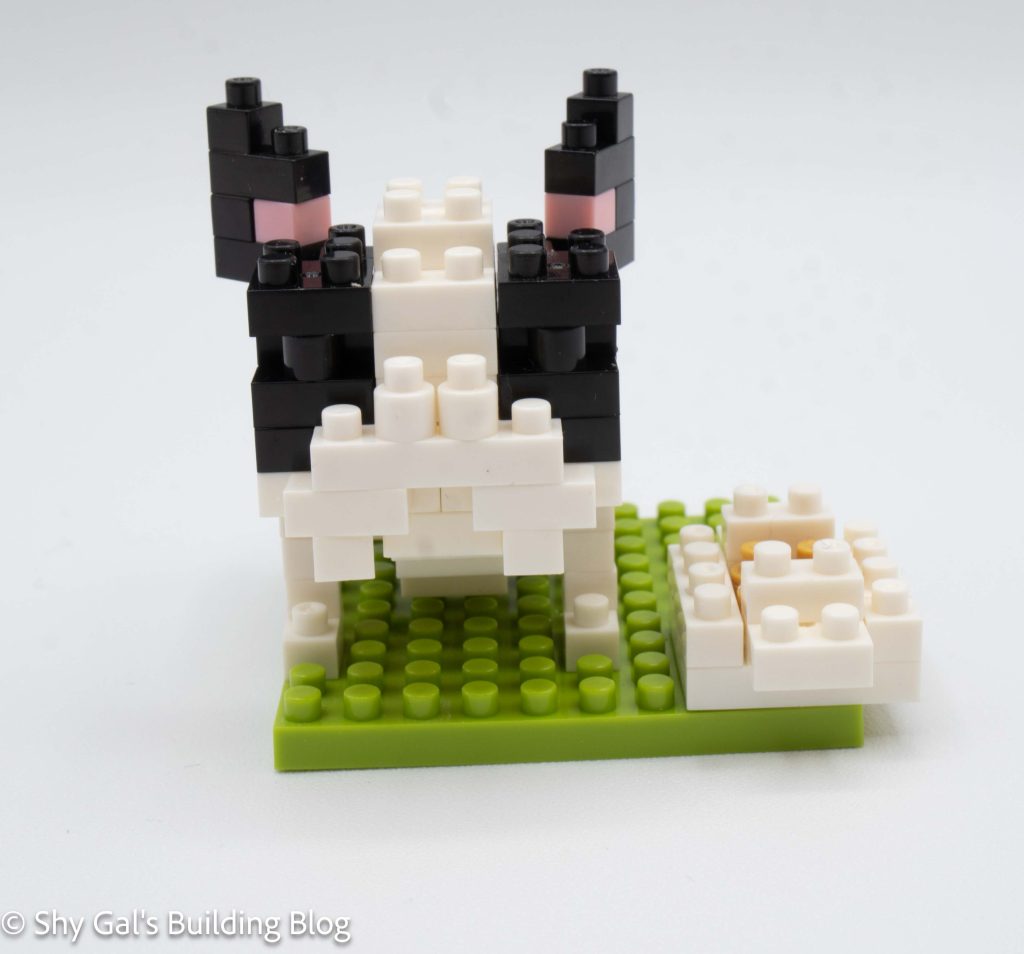
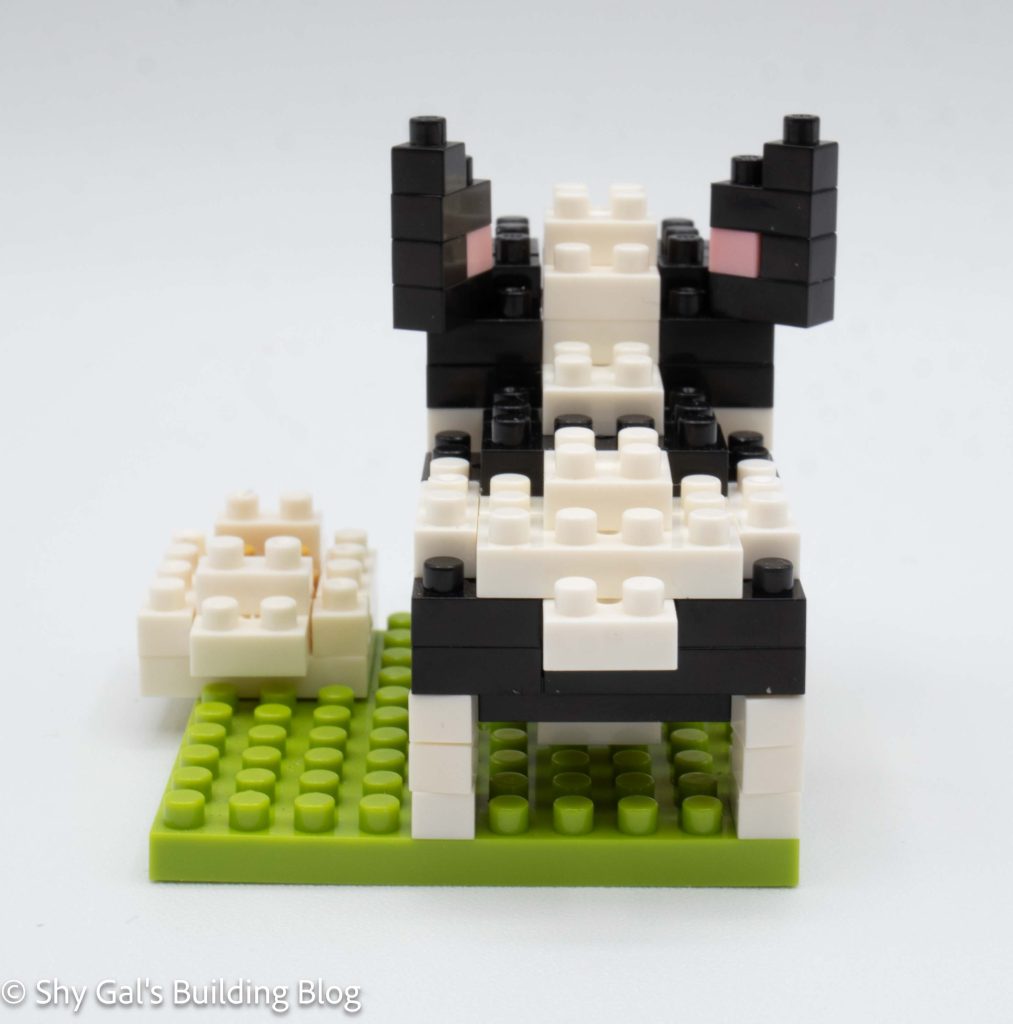
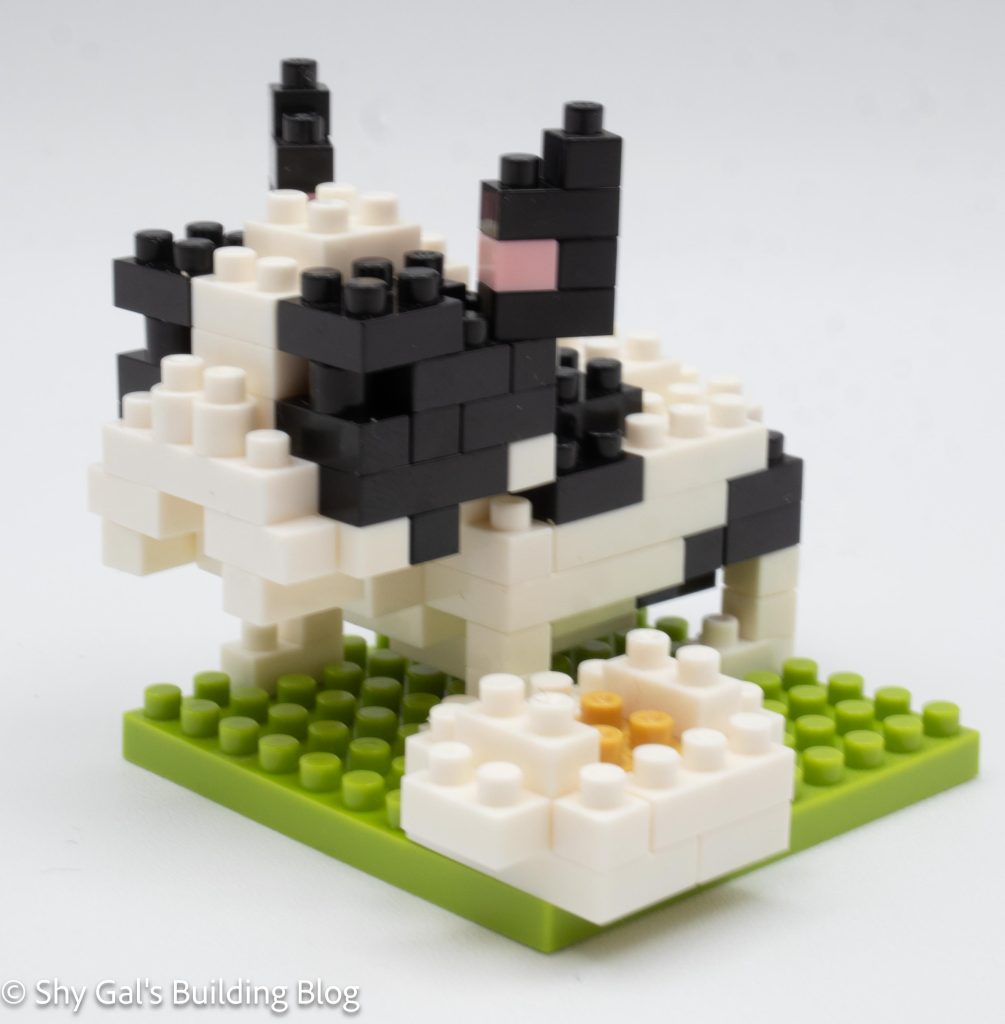
This build has 2 sections. There is a snake and a bamboo decoration.
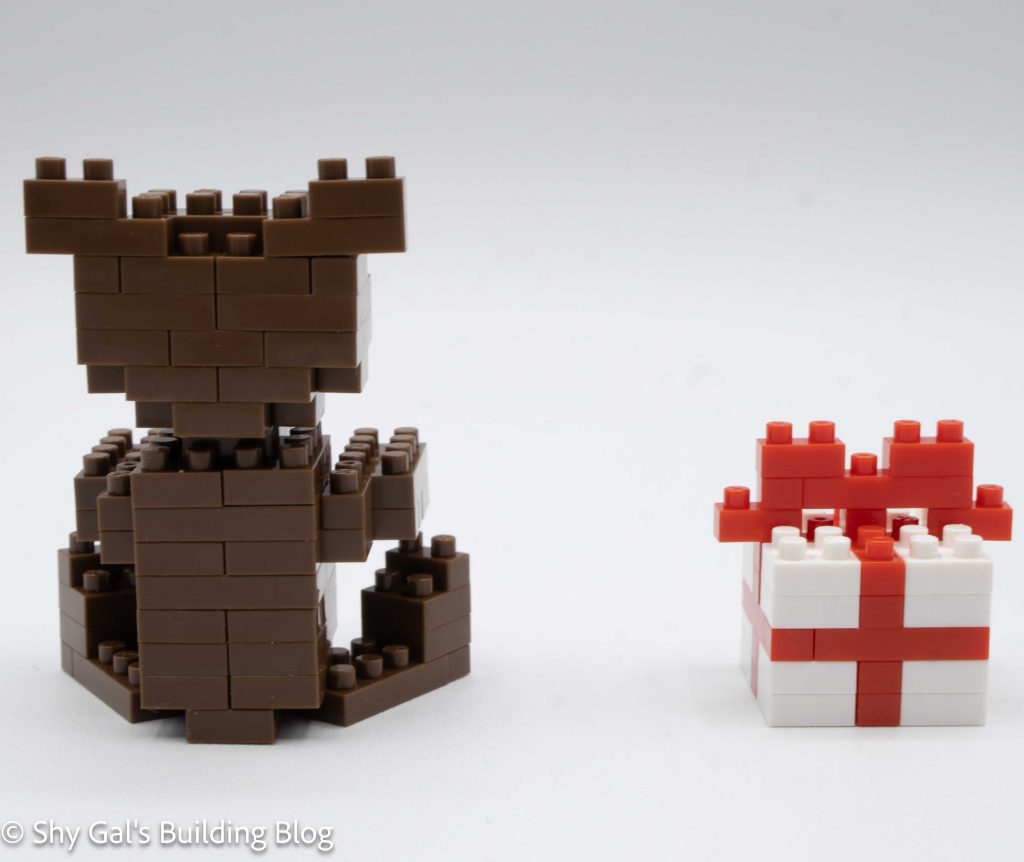
The bamboo decoration is very pretty straightforward. The most difficult part is counting the various sections of bamboo.
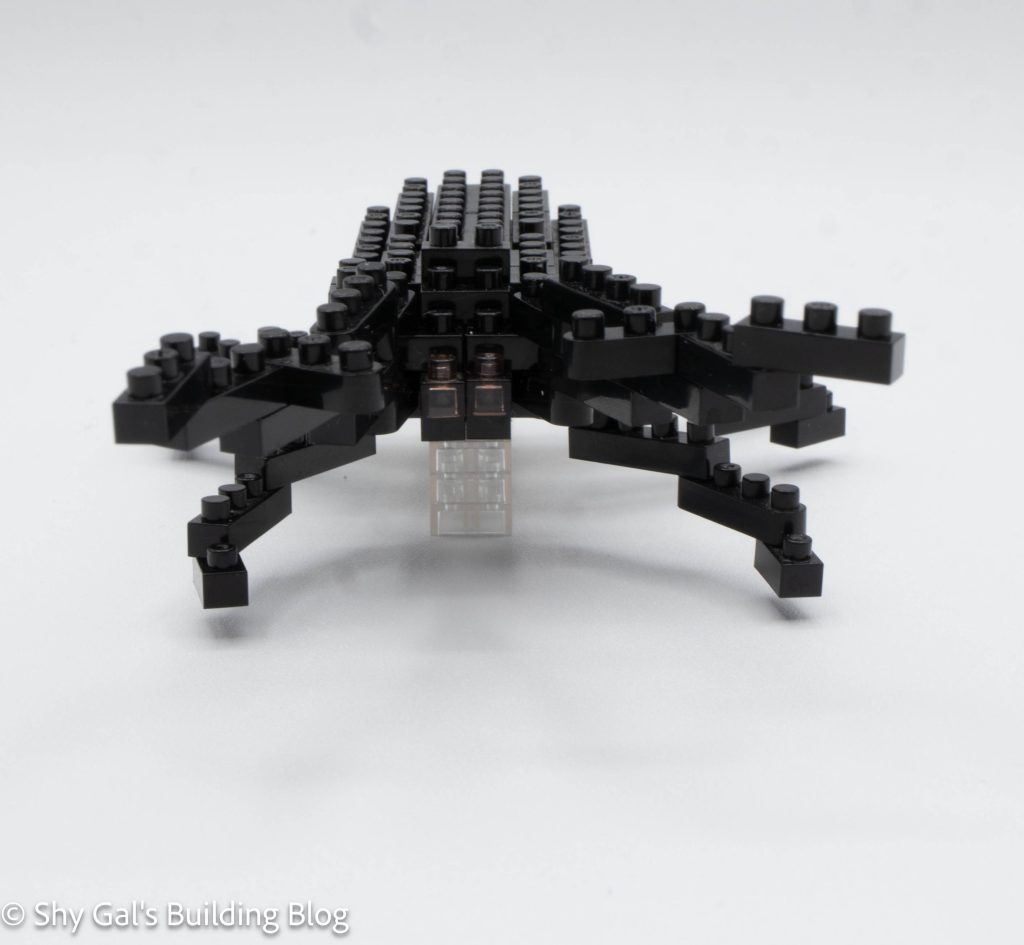
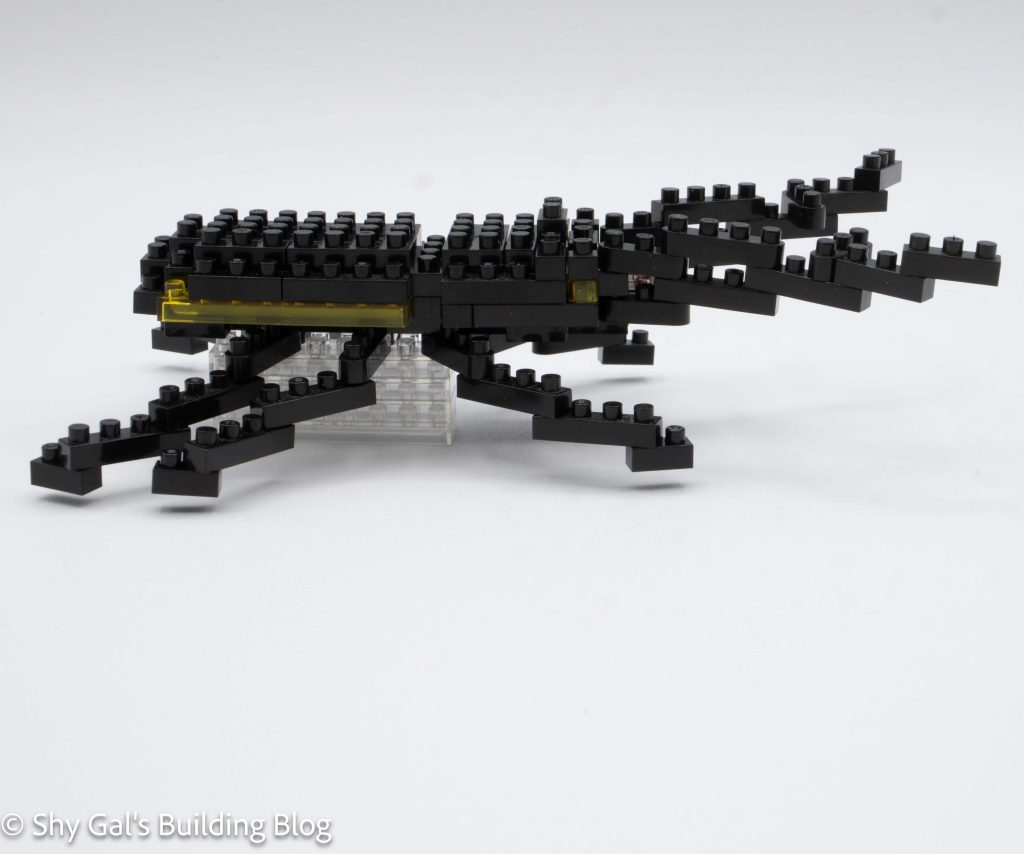
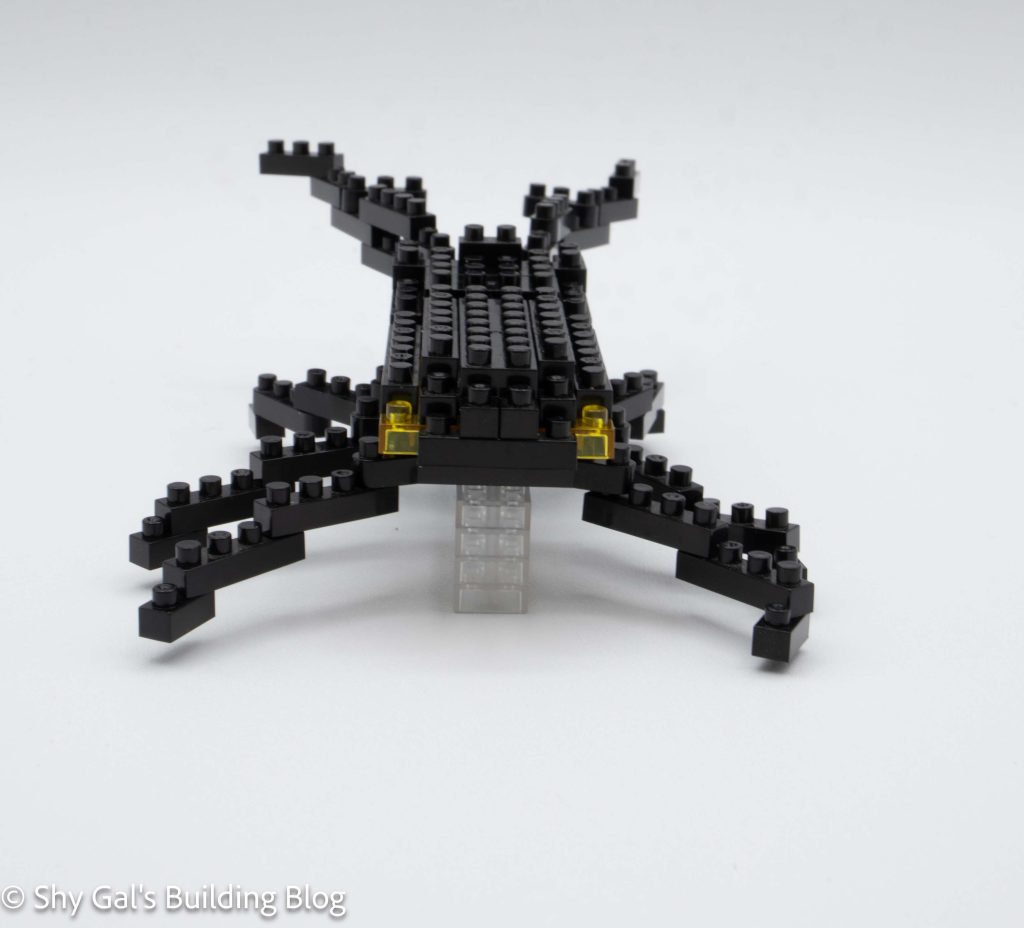
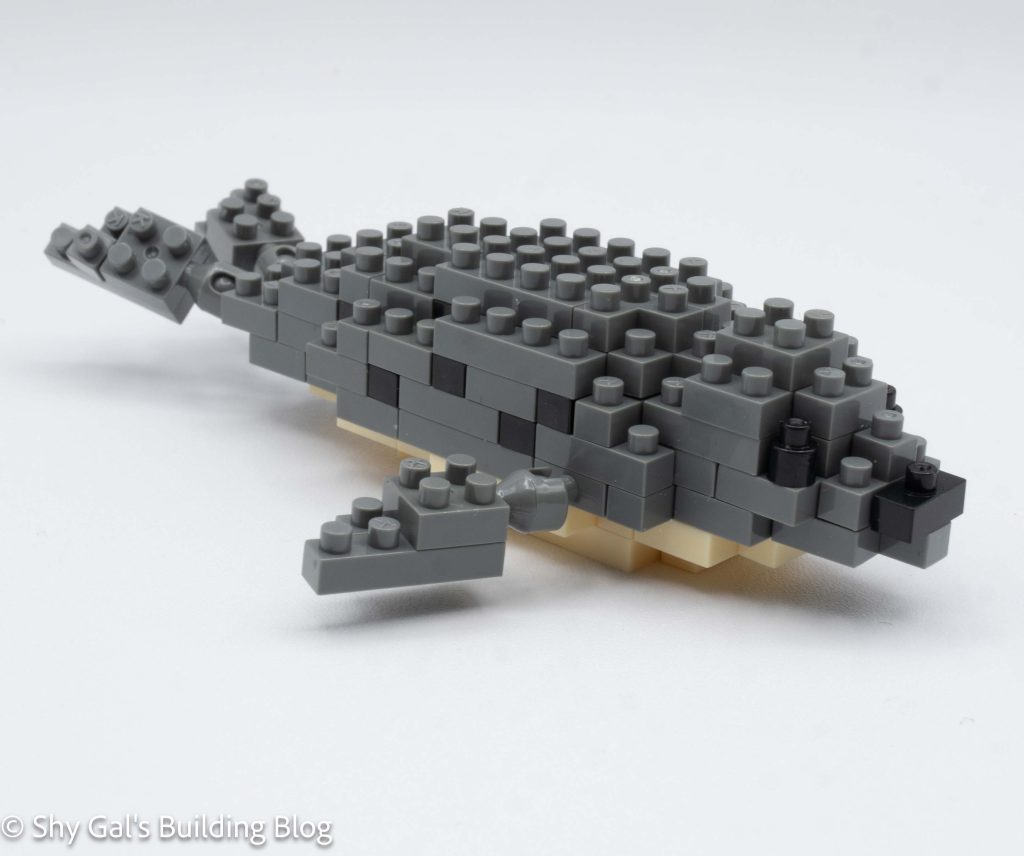
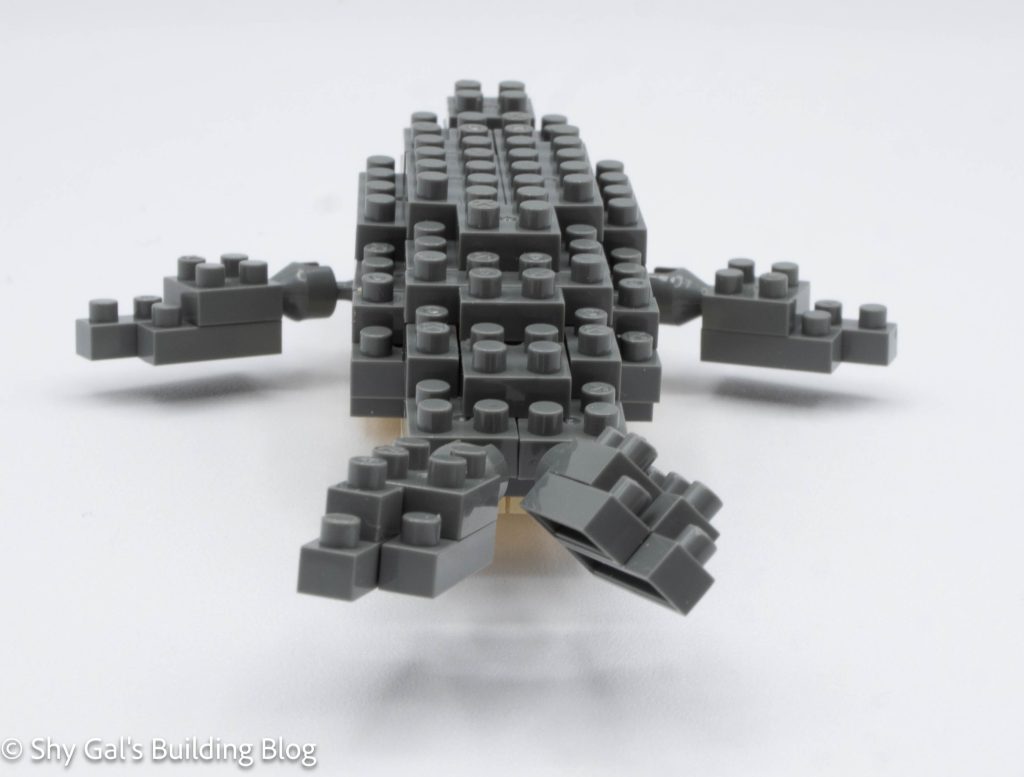
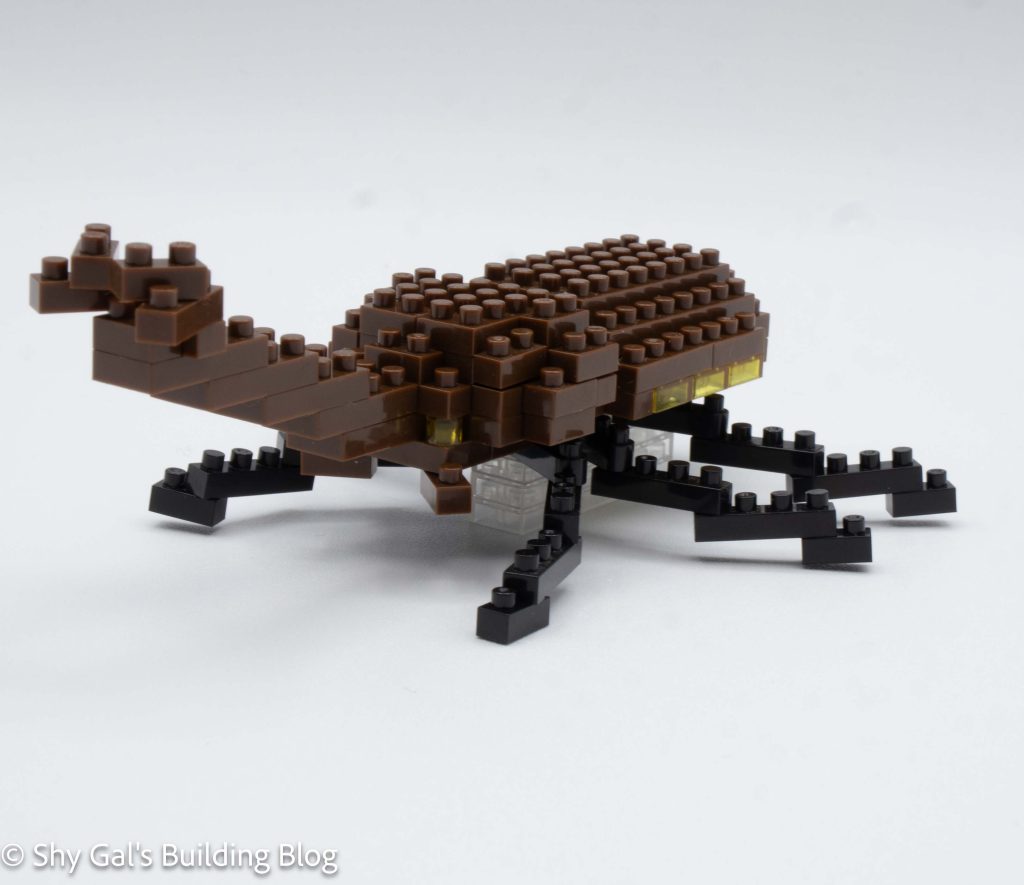
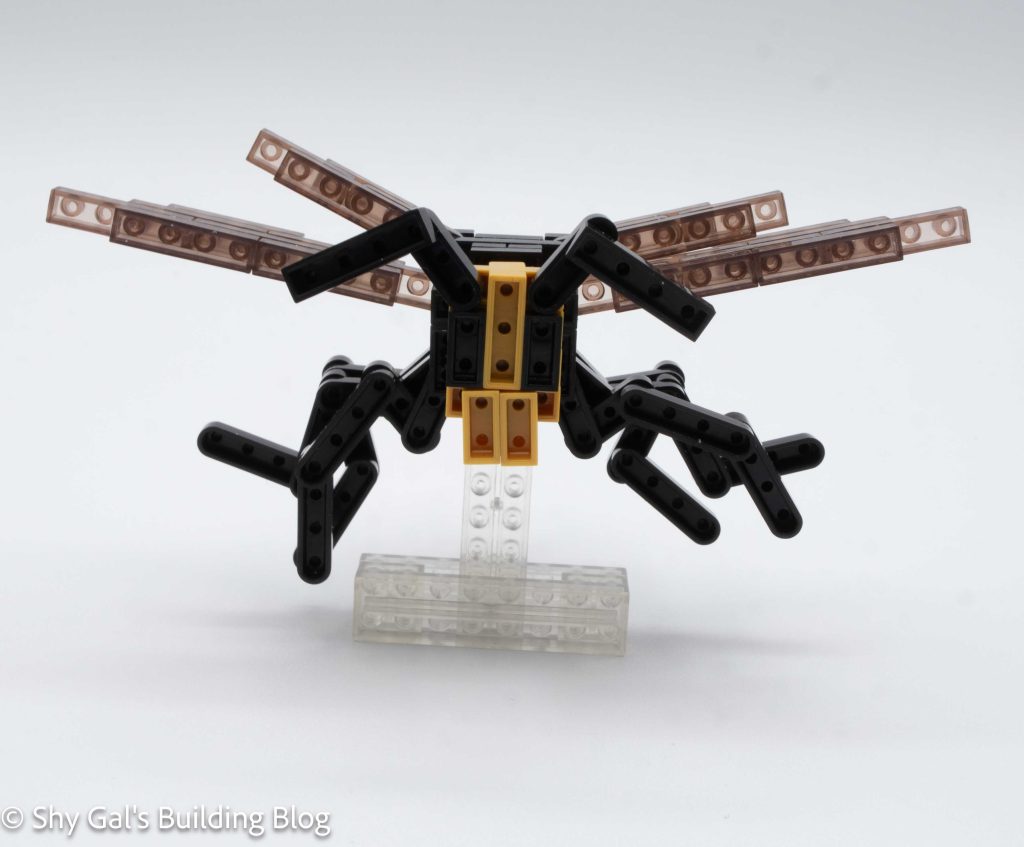
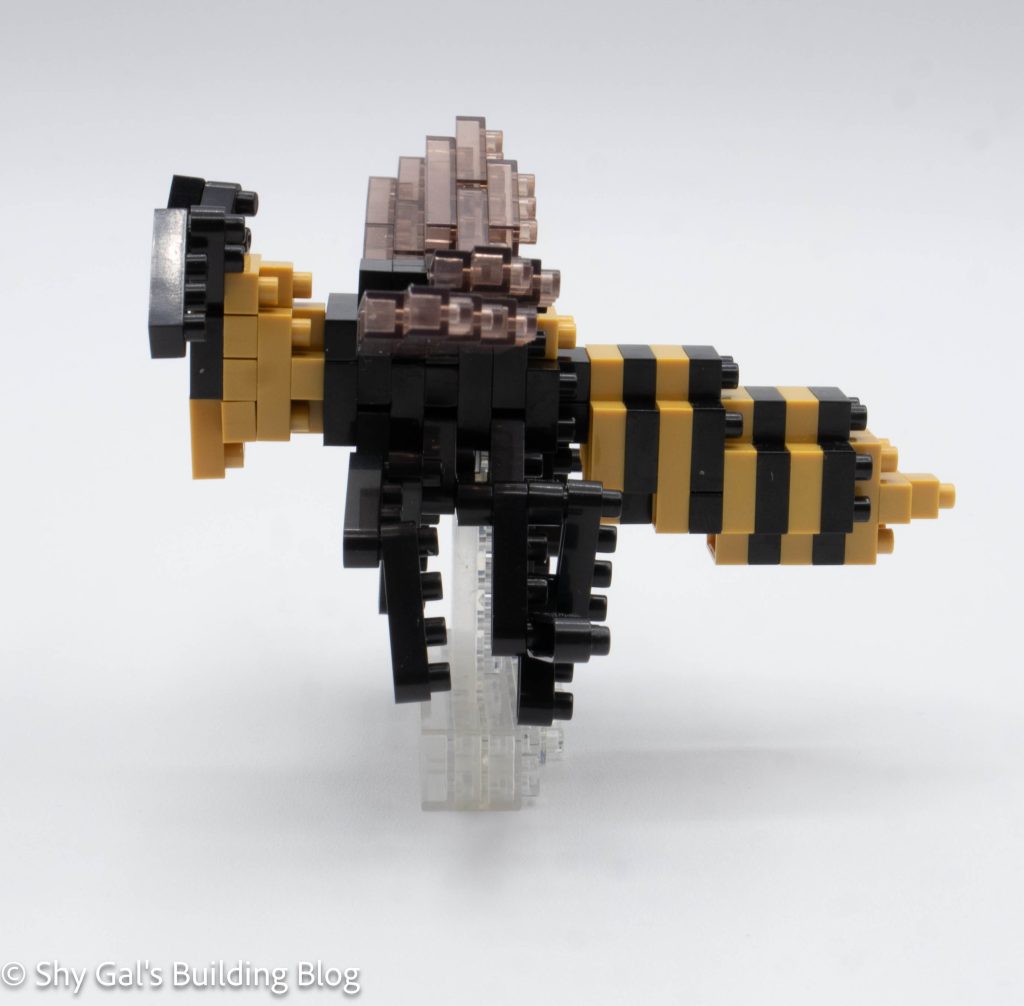
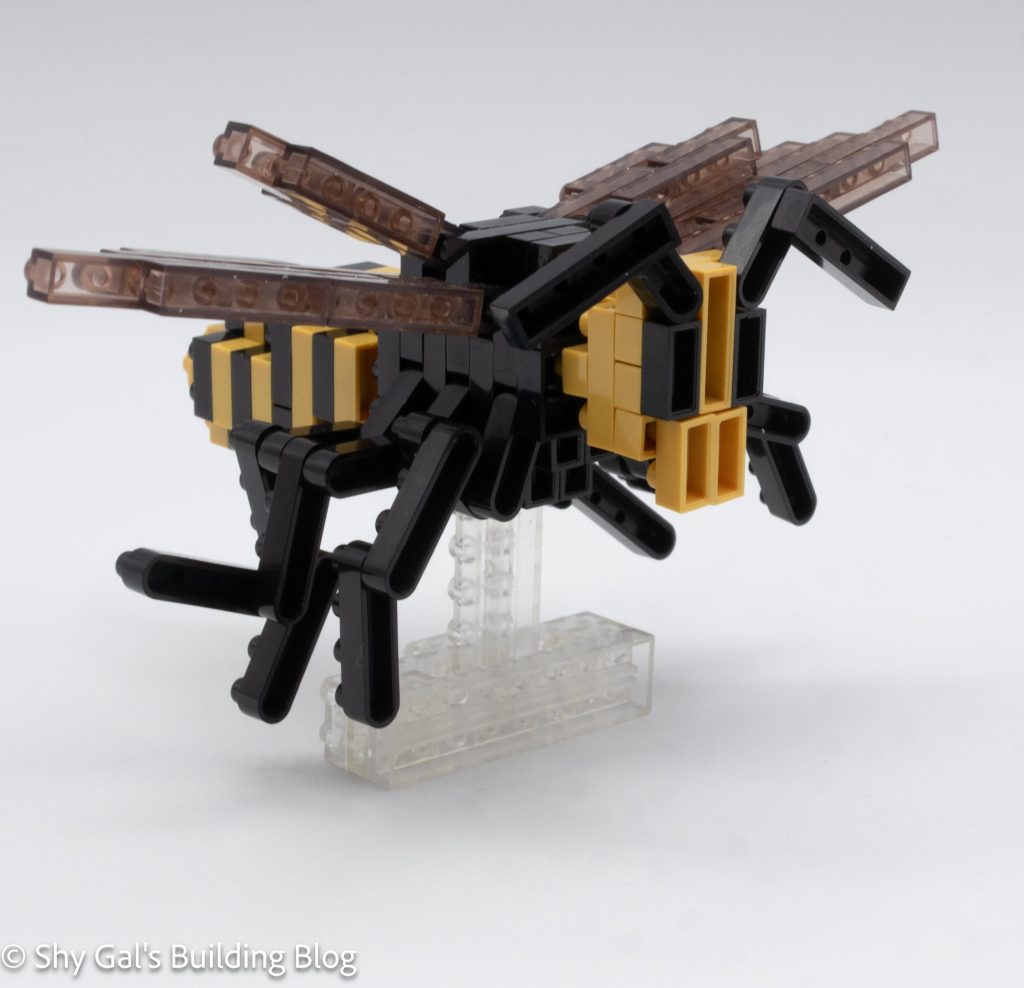
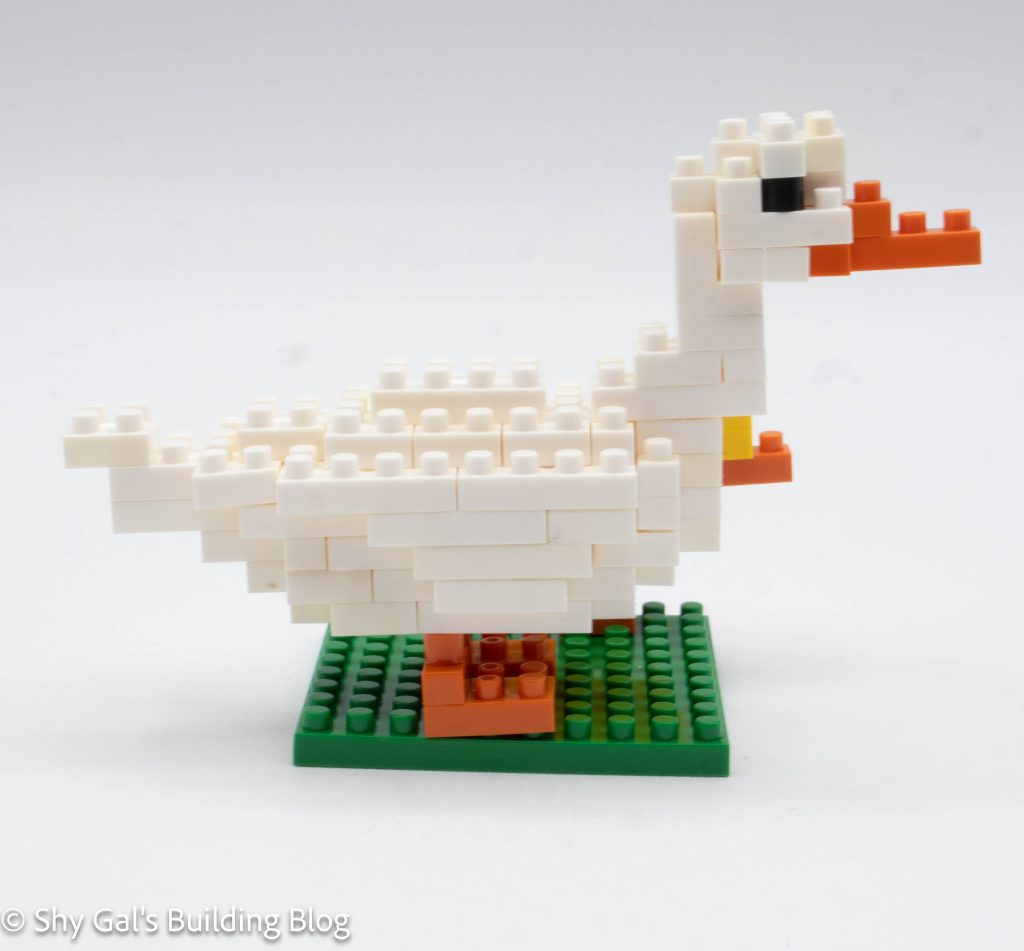
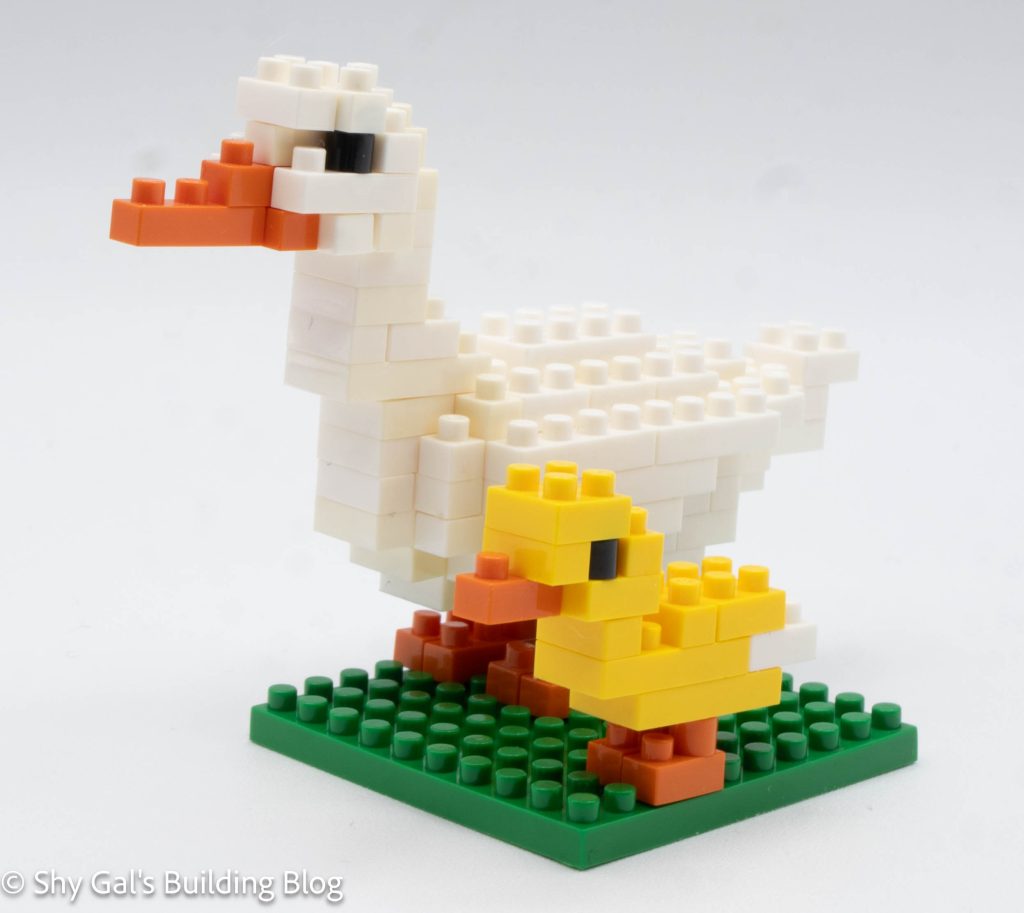
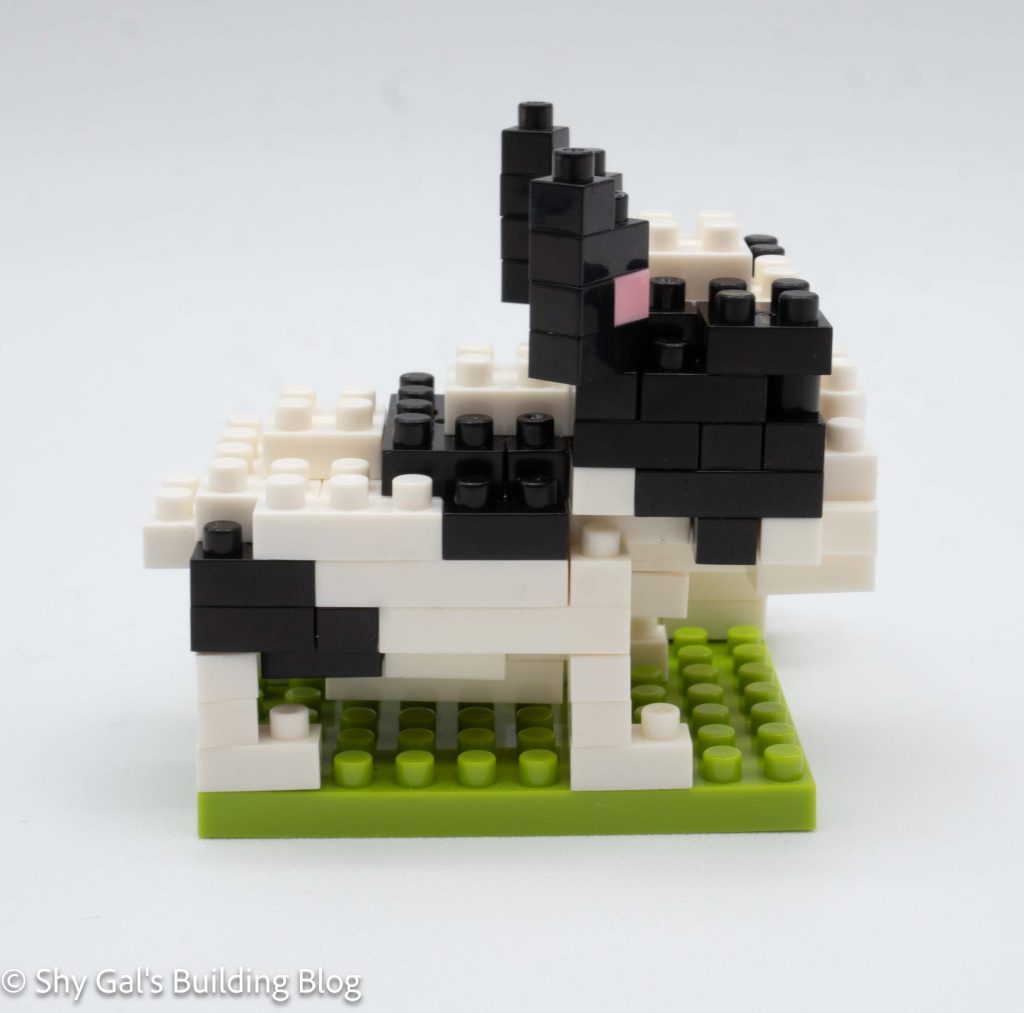
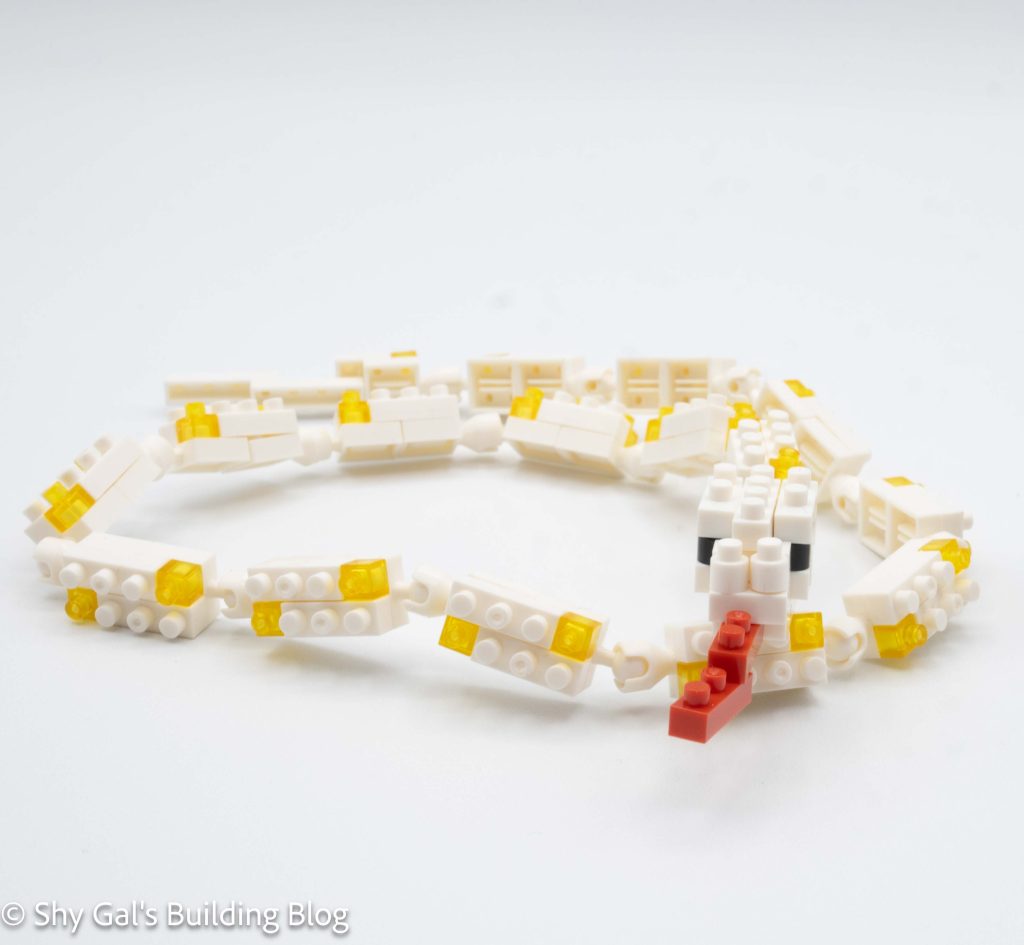
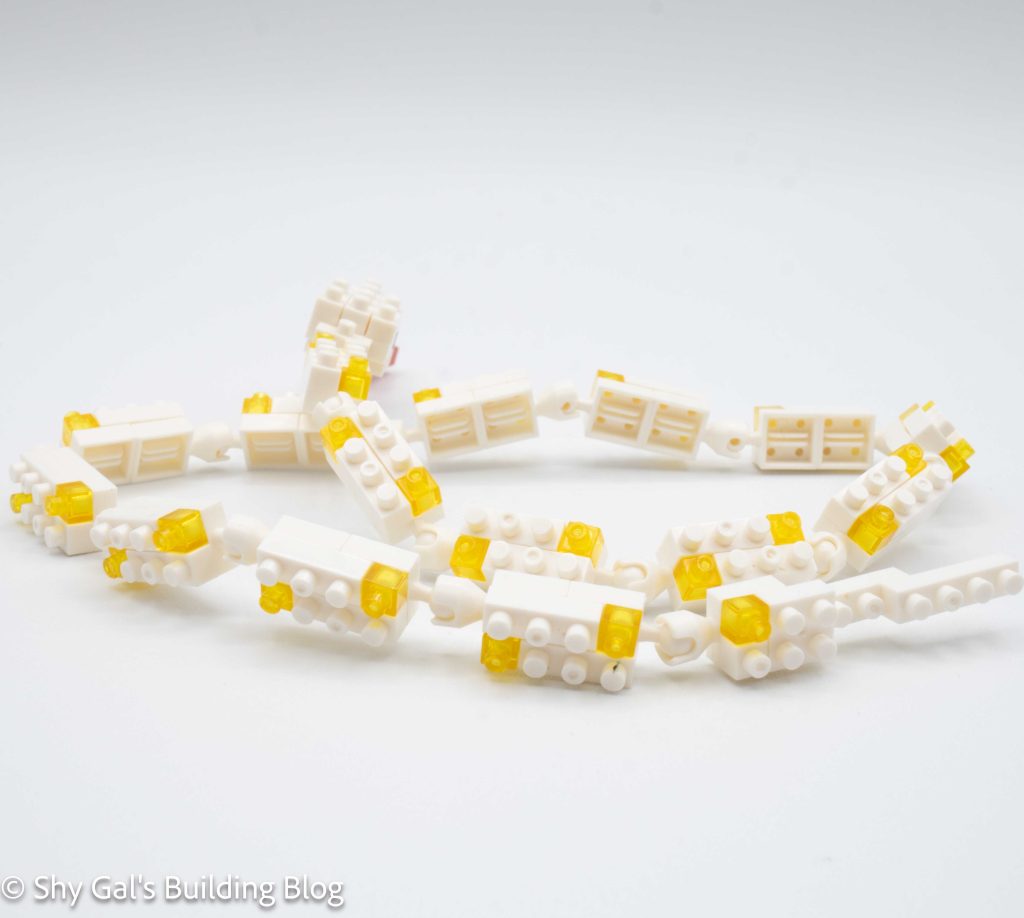
The snake has three sections, each very straightforward. There is a head and tail section. The main body is made of 15 sections. All of these body sections have yellow details that make the snake’s scales. All of the sections are connected with ball-and-socket joints.
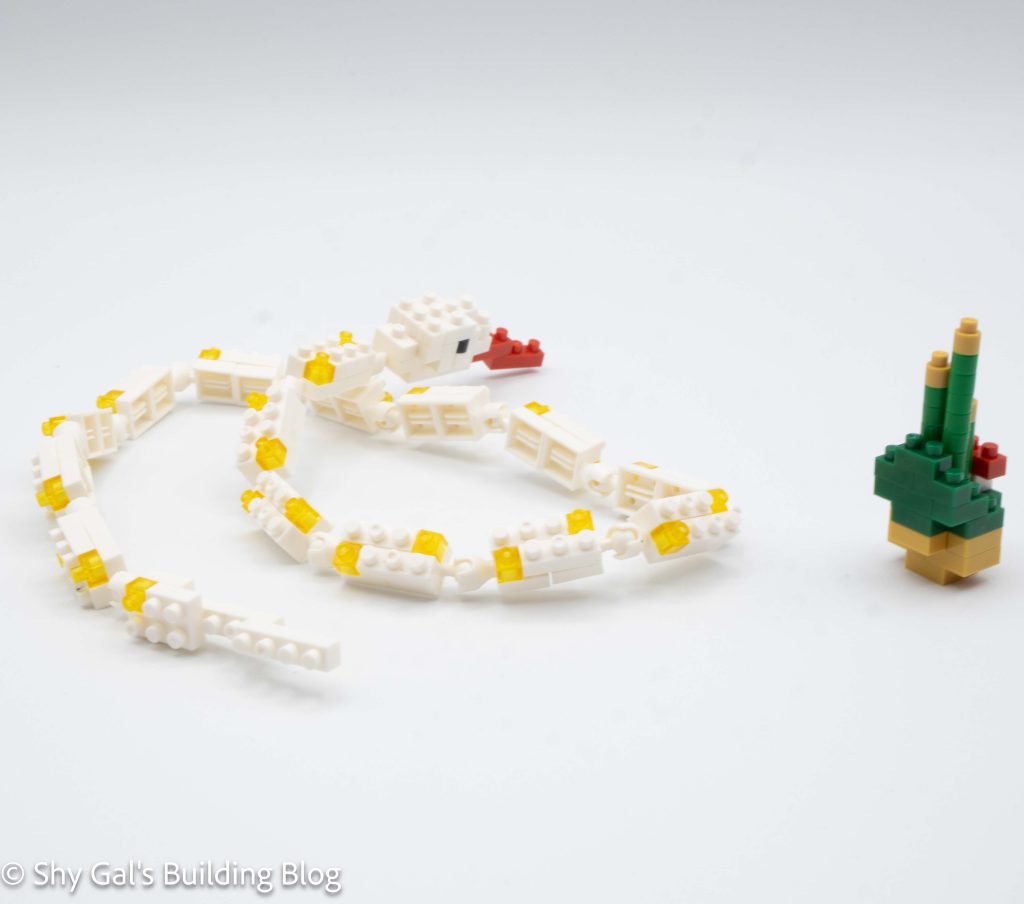
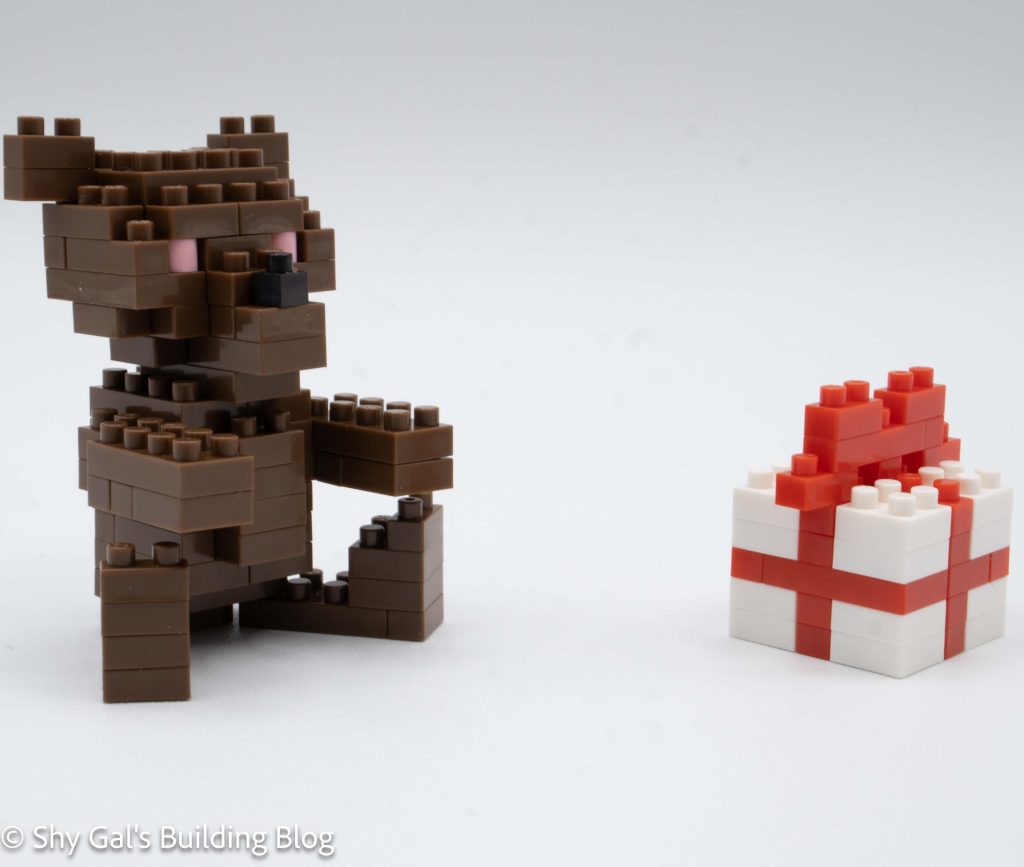
The photo of the completed snake shows a highly posed snake. I’m unsure if it’s because my kit had older joints, but my finished build wasn’t very posable.
Things I liked:
- I like the little detail in the main sections of the body of the snake
Things I didn’t like:
- I don’t like that the snake isn’t posable