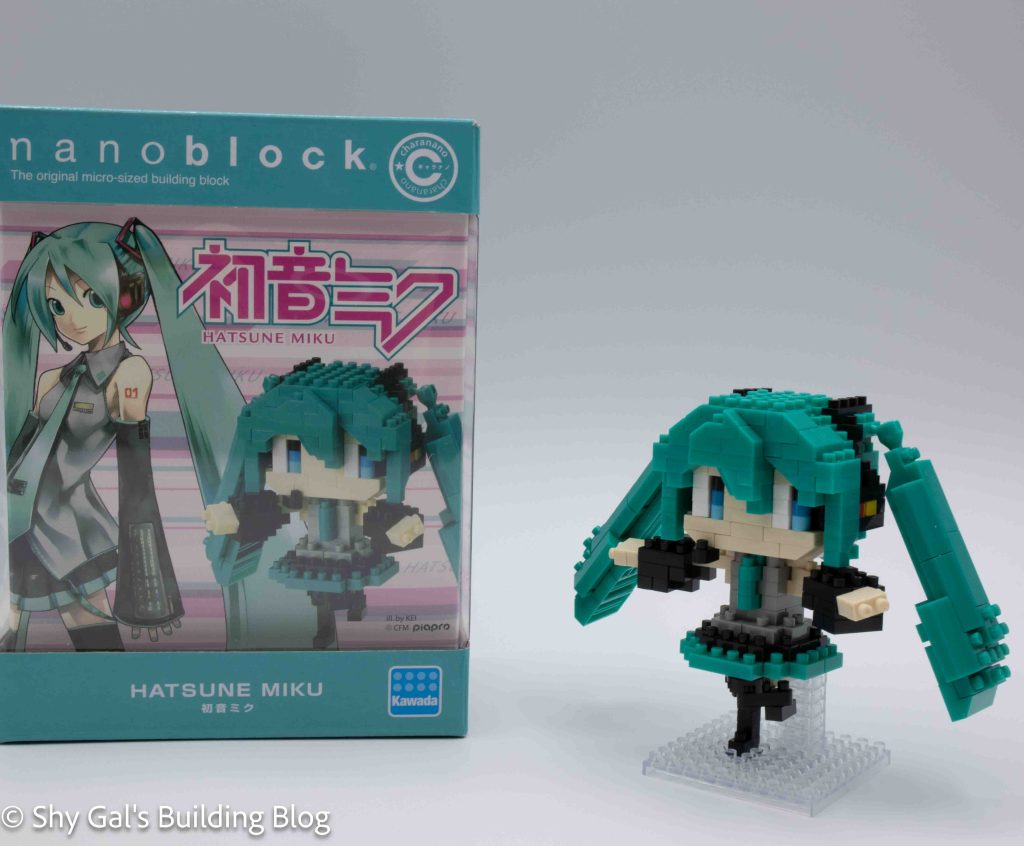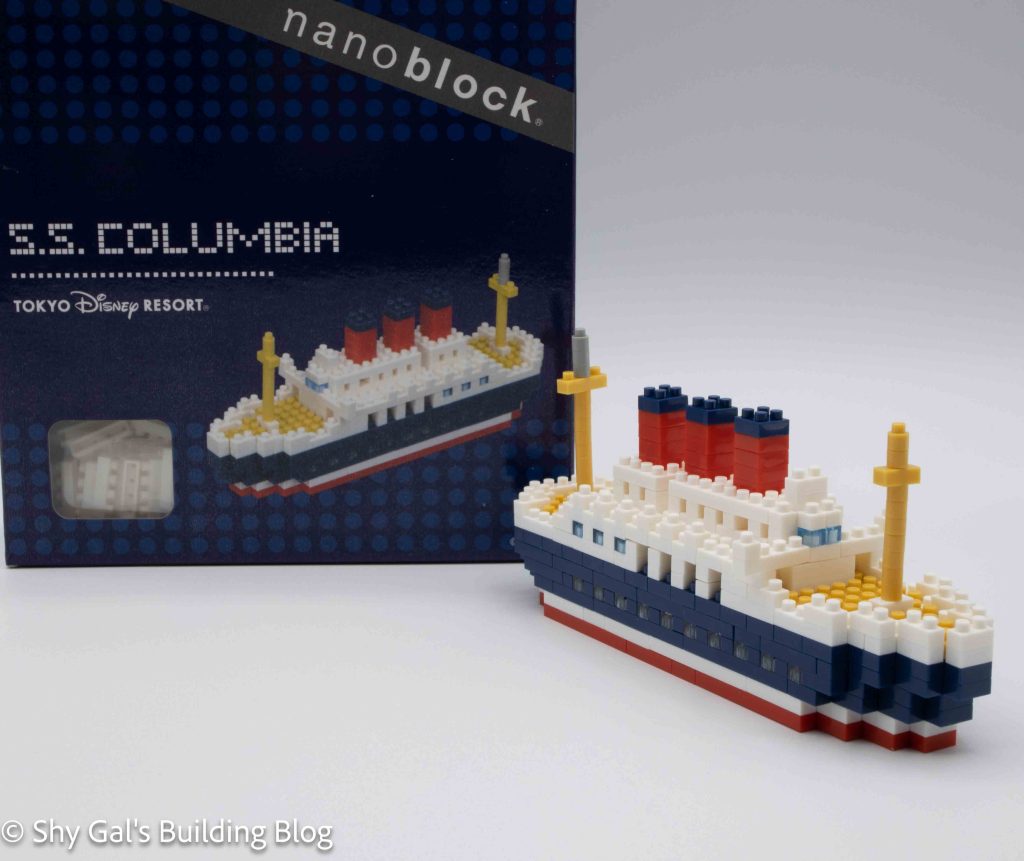
This post is a review of the nanoblock S.S. Columbia build. S.S. Columbia is part of the nanoblock Disney attraction collection. Wondering what else is part of the Disney attraction collection? Click Here for a list.
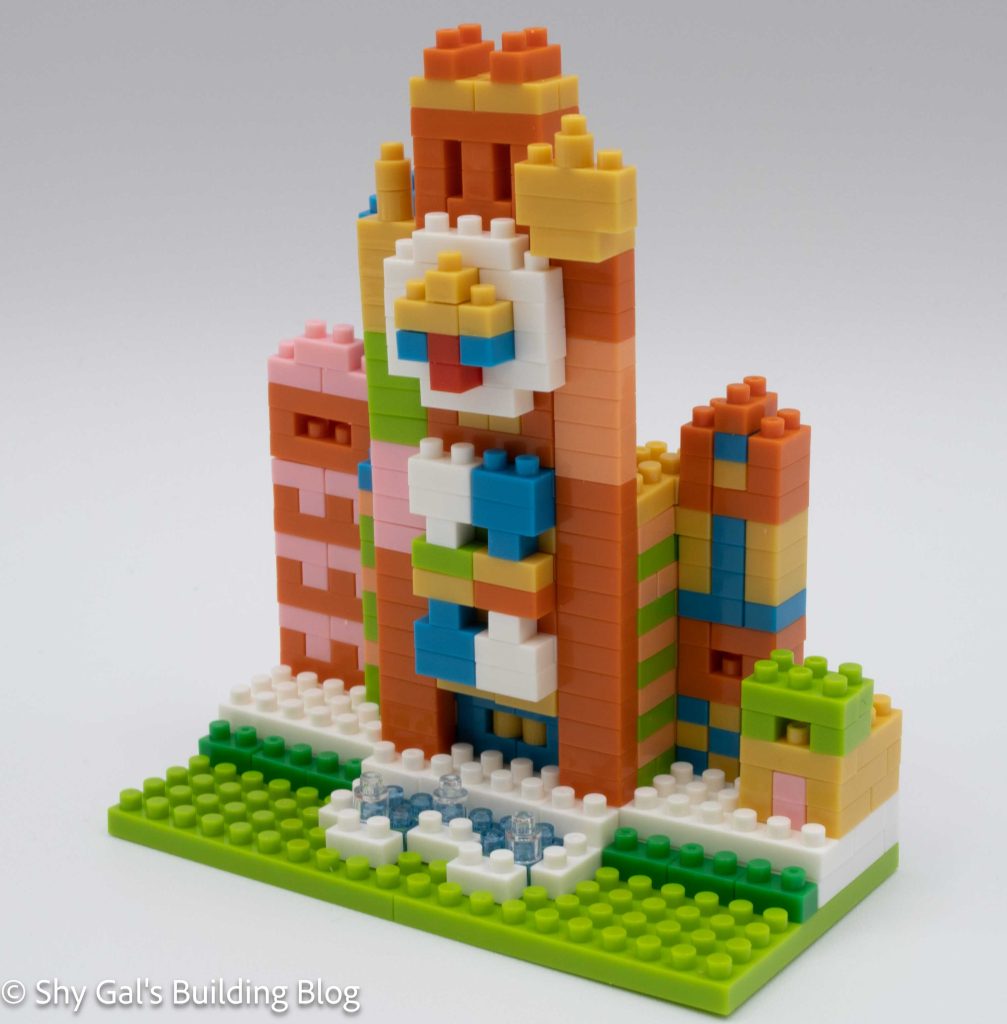
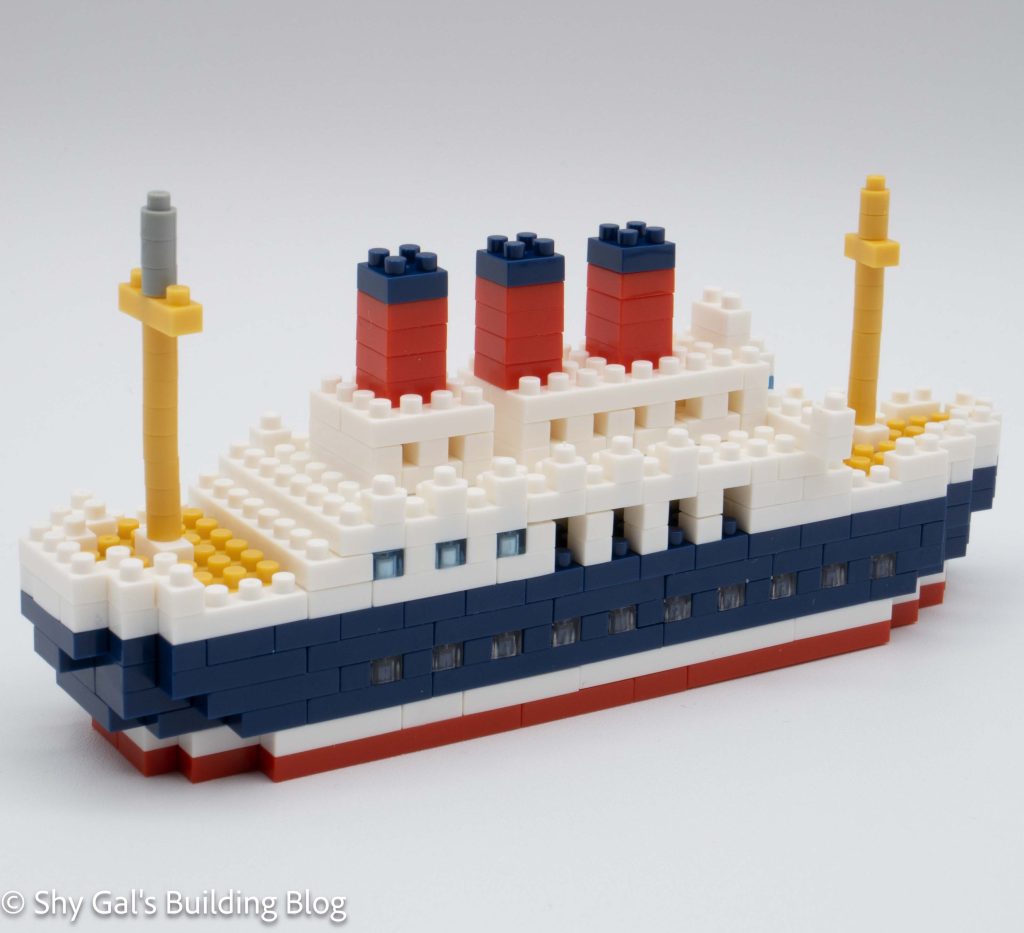
The S.S. Columbia is a passenger ship reminiscent of the old passenger boats from the early 1900’s such as the Titanic.
The S.S. Columbia is a passenger ship that is at Tokyo DisneySea. There is a dining room on the ship. For more information, check out the Disney wiki page here.
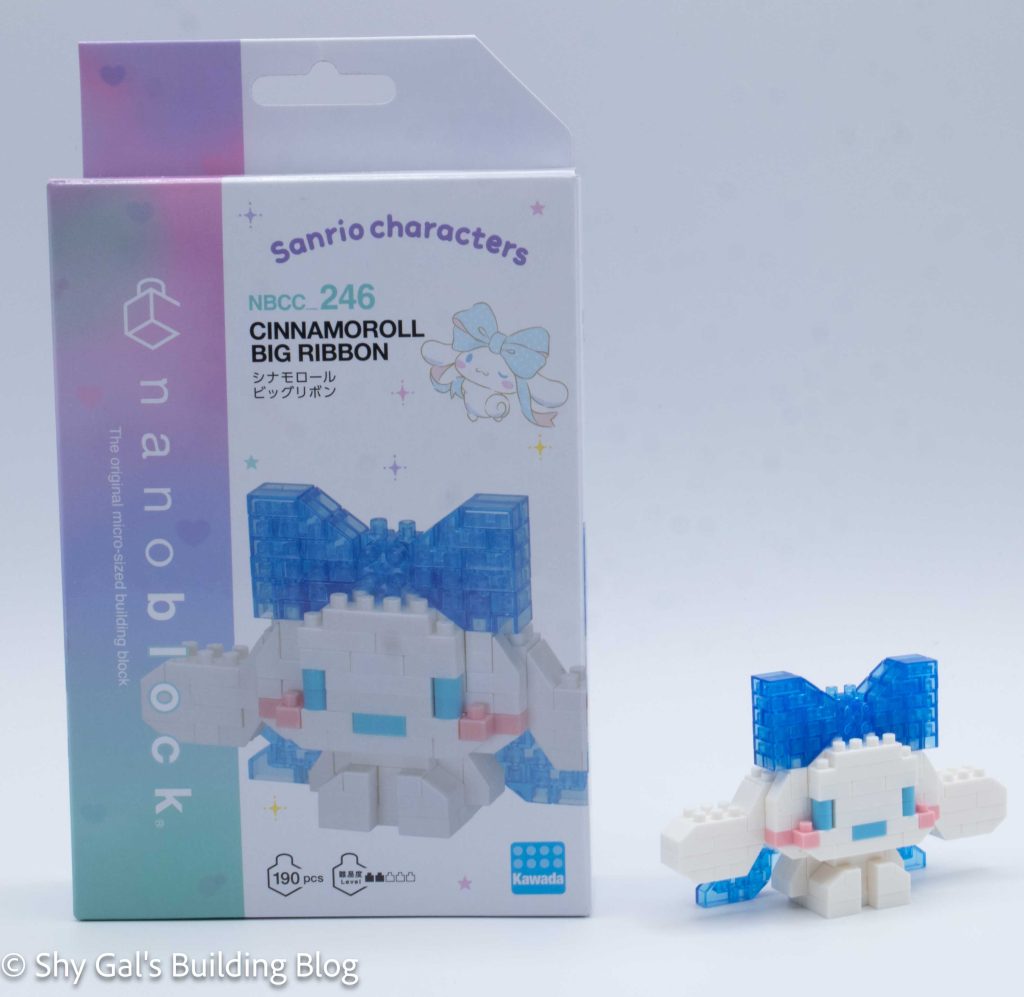
This is the smaller build. There is also a deluxe edition that was released a couple of years ago. I will be writing a review for that build once I make that build.
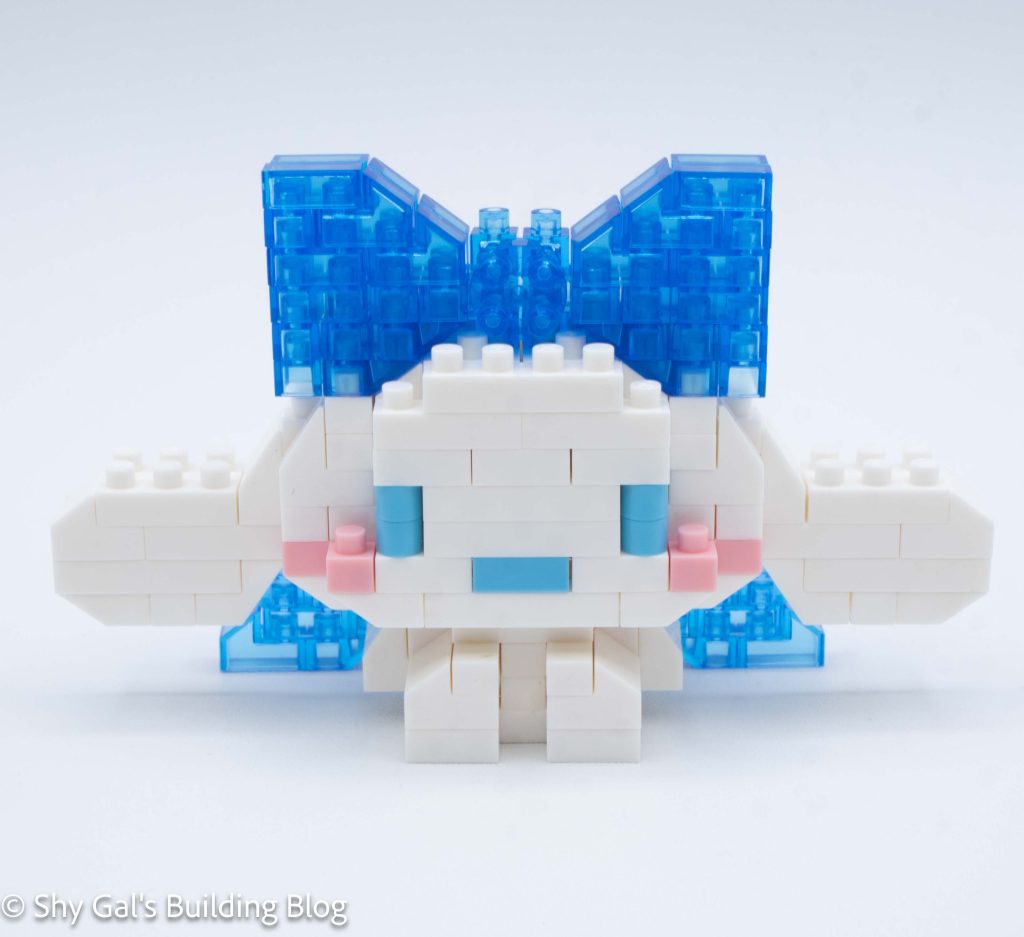
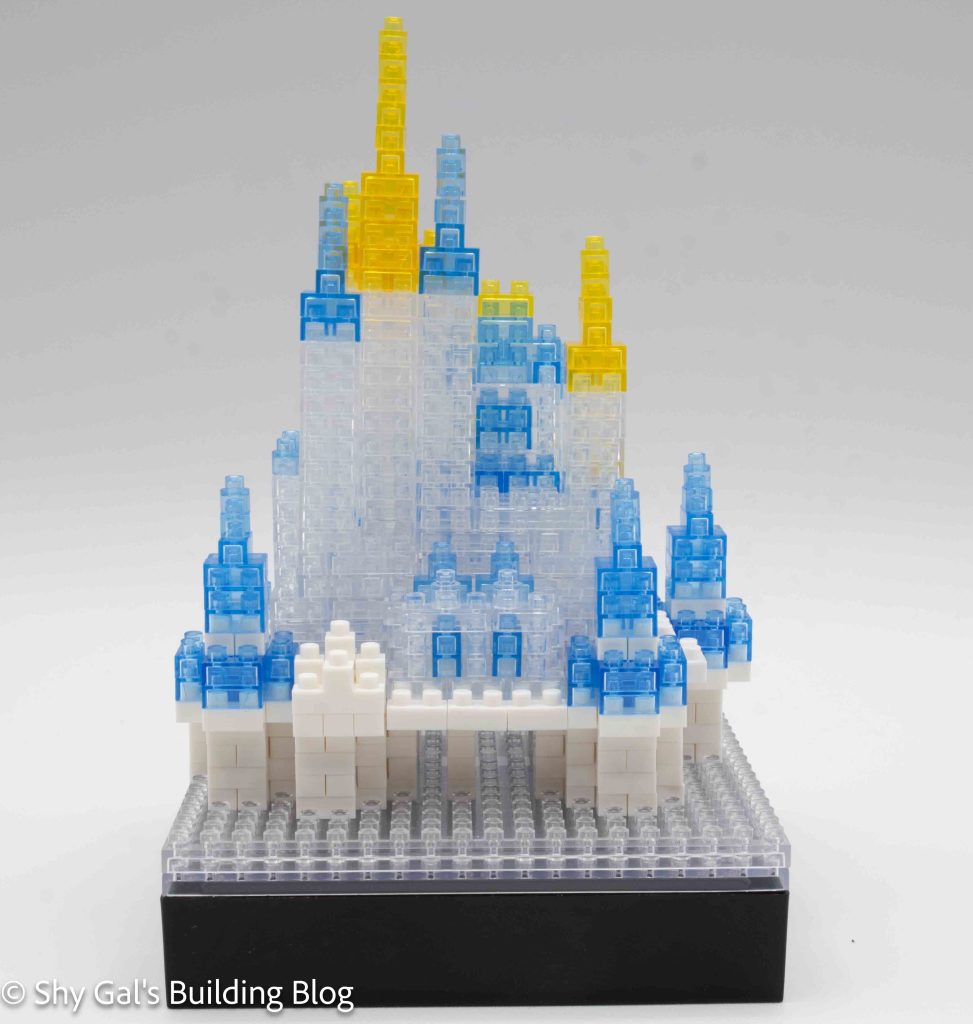
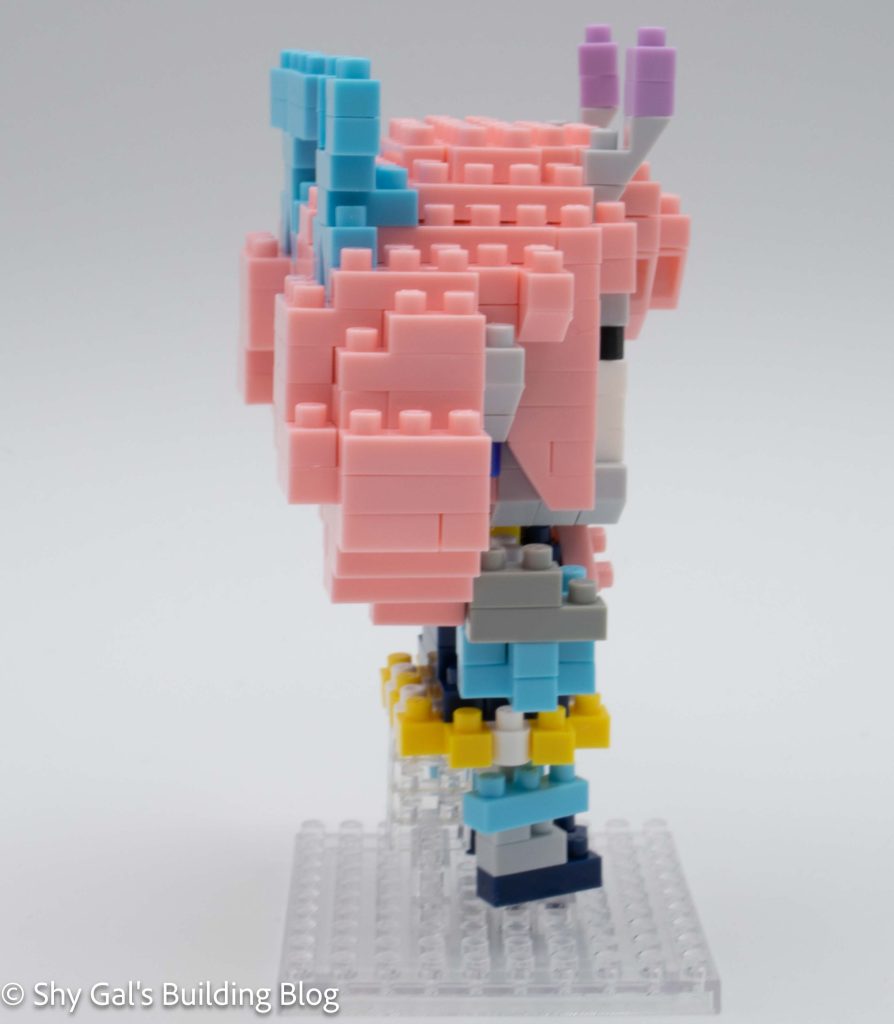
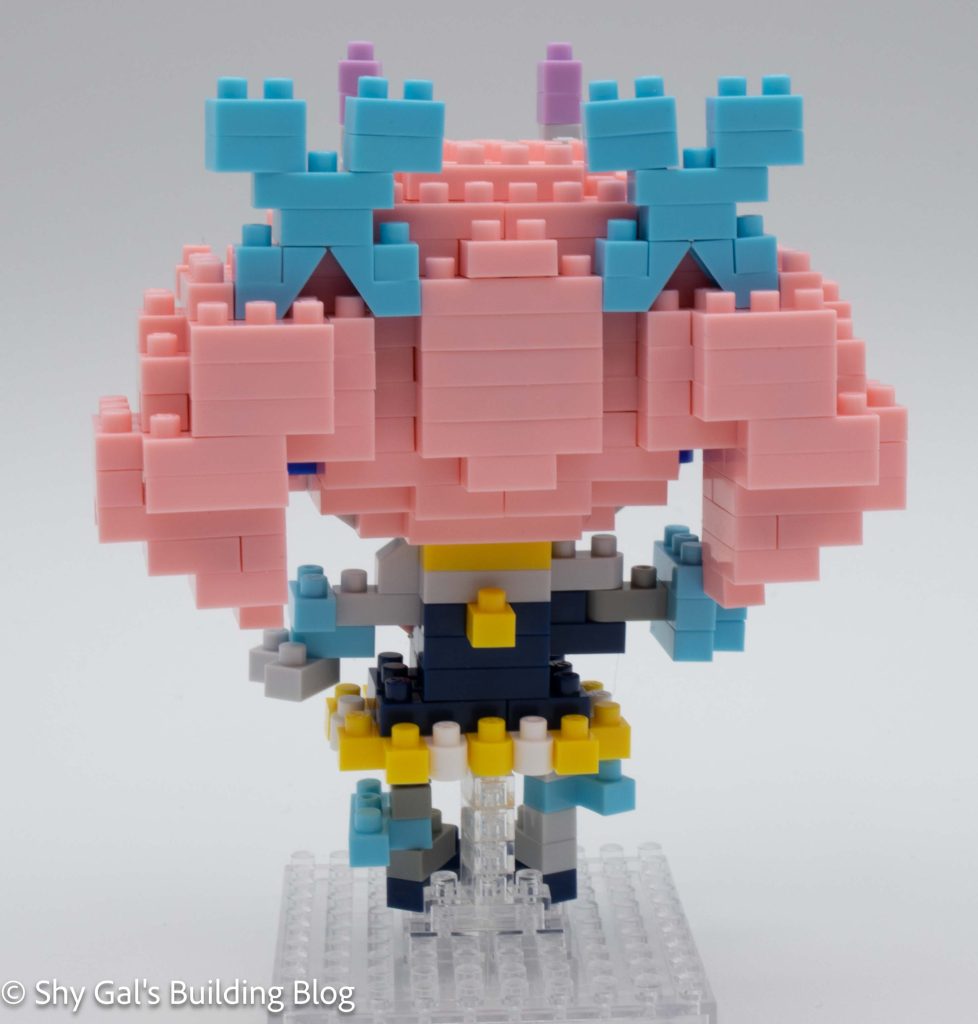
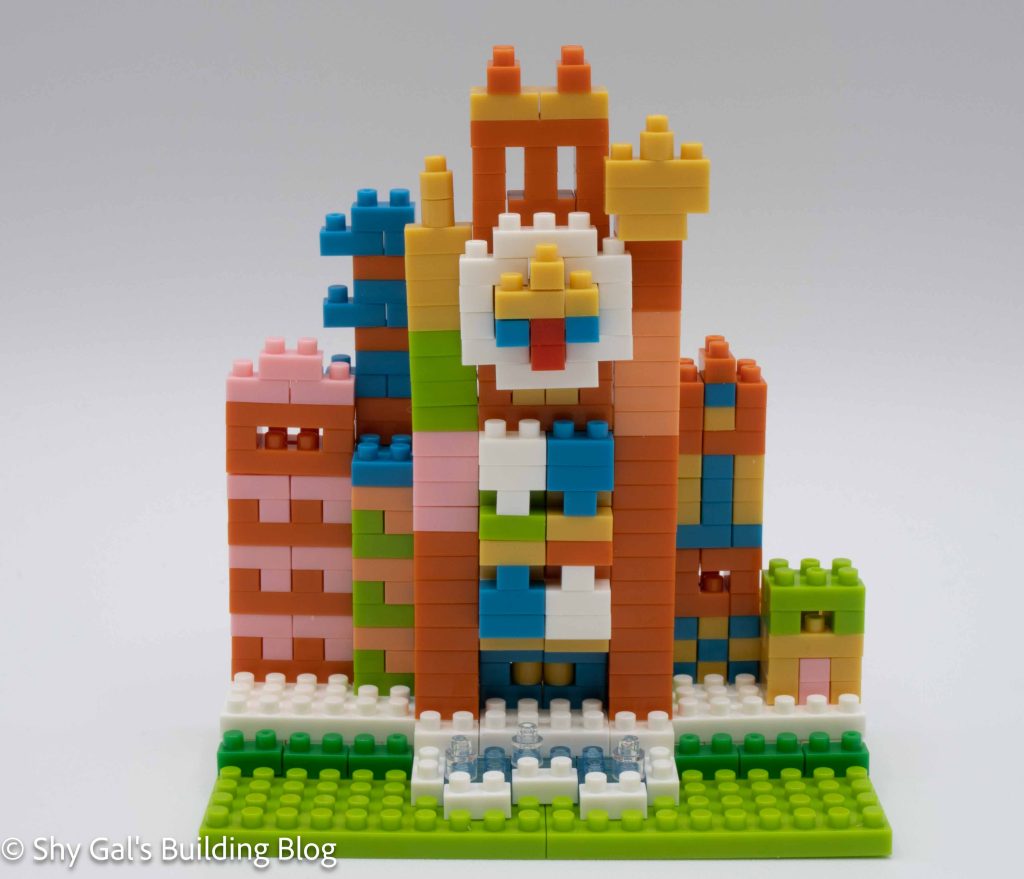
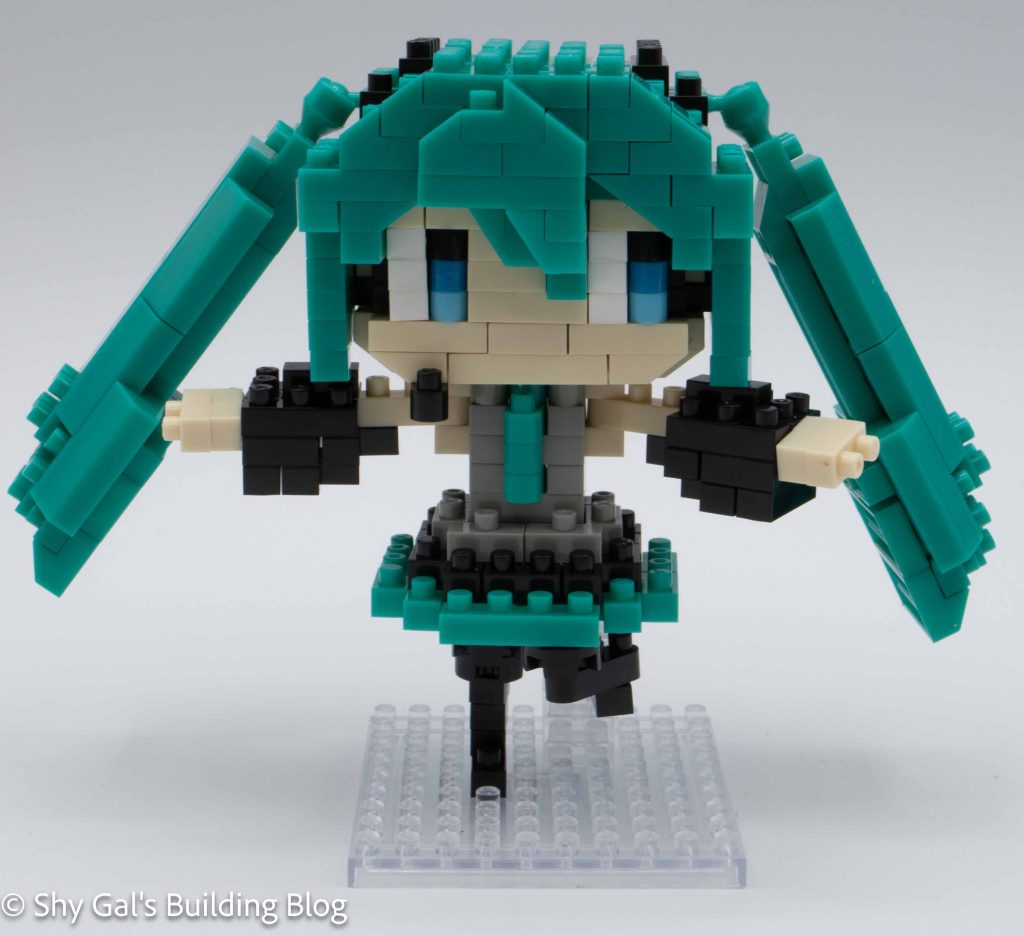
I really like how the build looks like a sailing ship from the early 1900s. I also really appreciate the amount of detail that is in the smaller build.
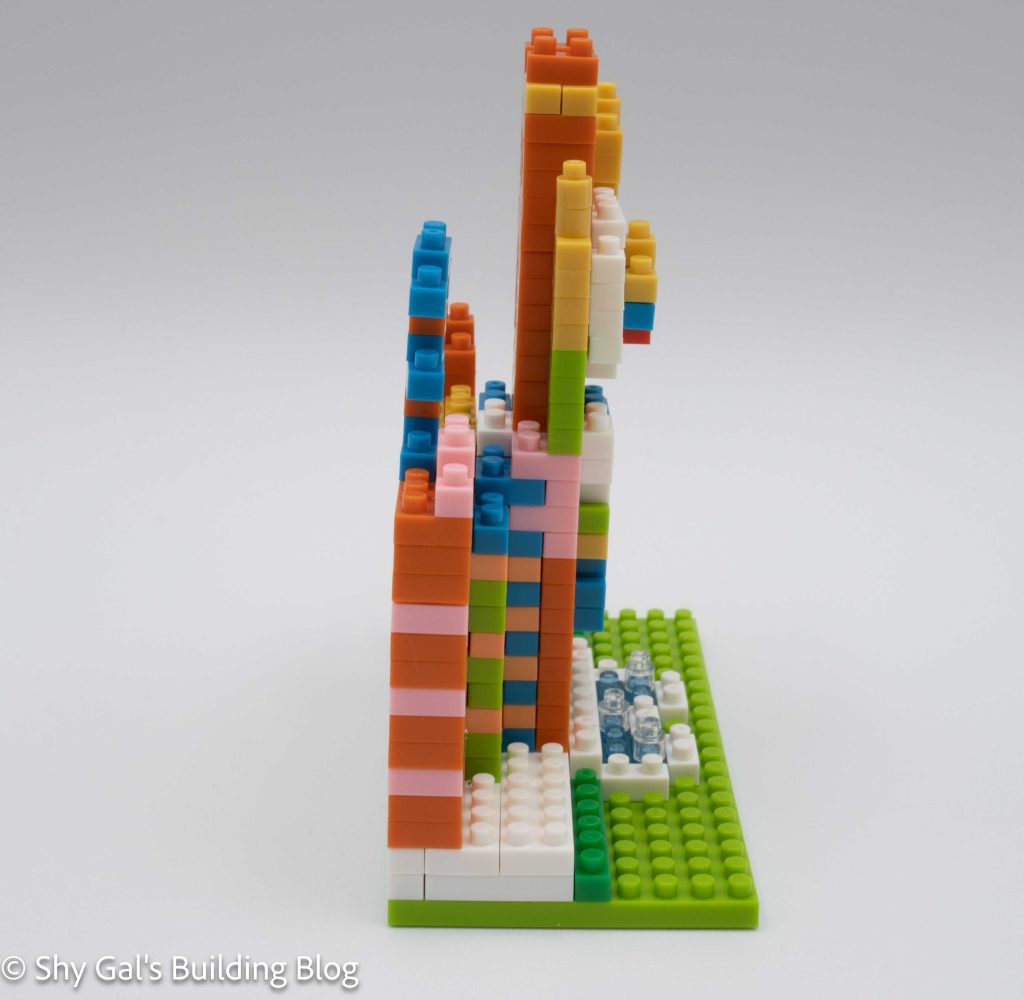
The first layer of the build lay out neatly; however, it was almost too big for my pad. As I added more layers, it became too long to use my pad, so I built in my hands instead of layers on the pad.
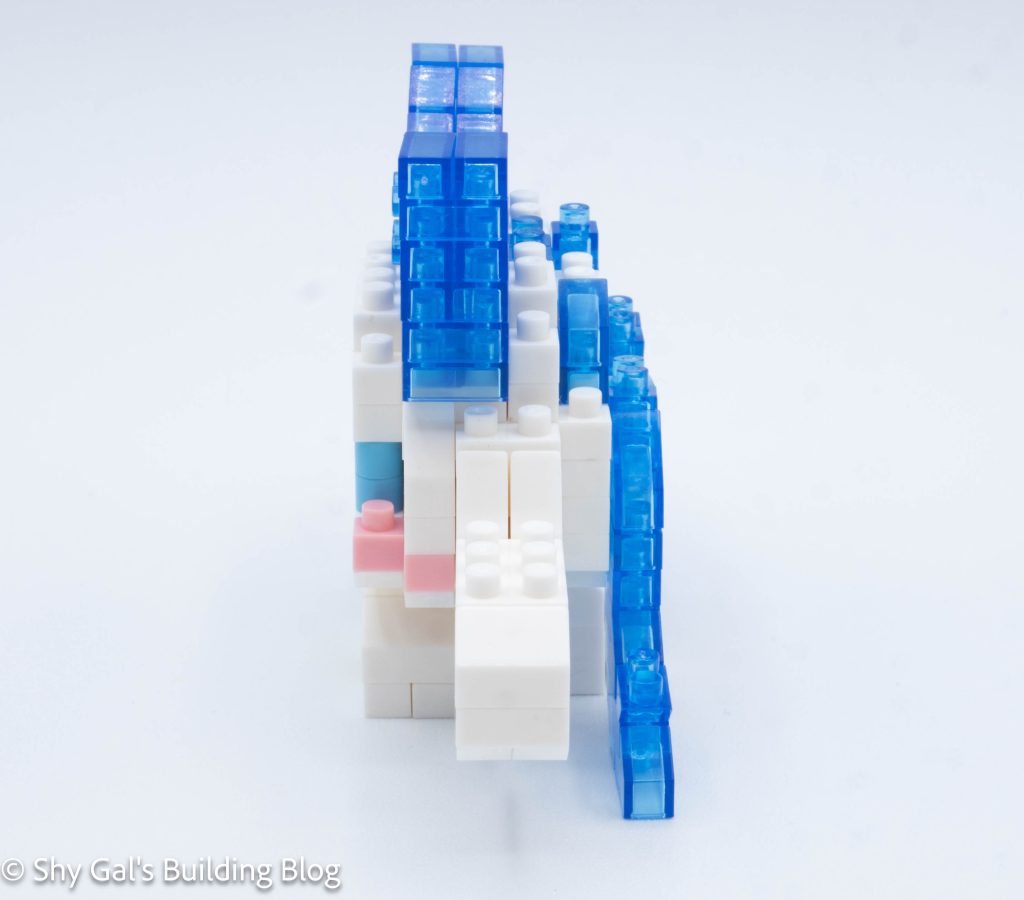
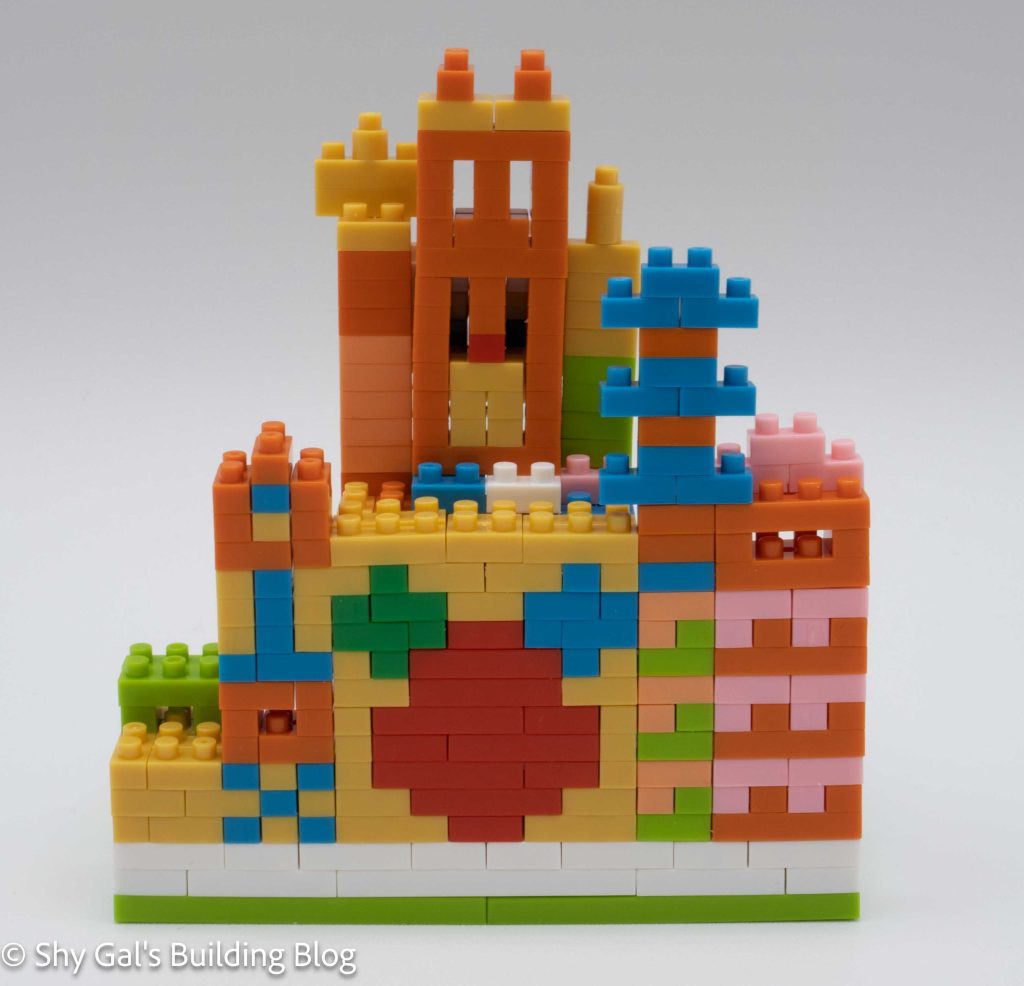
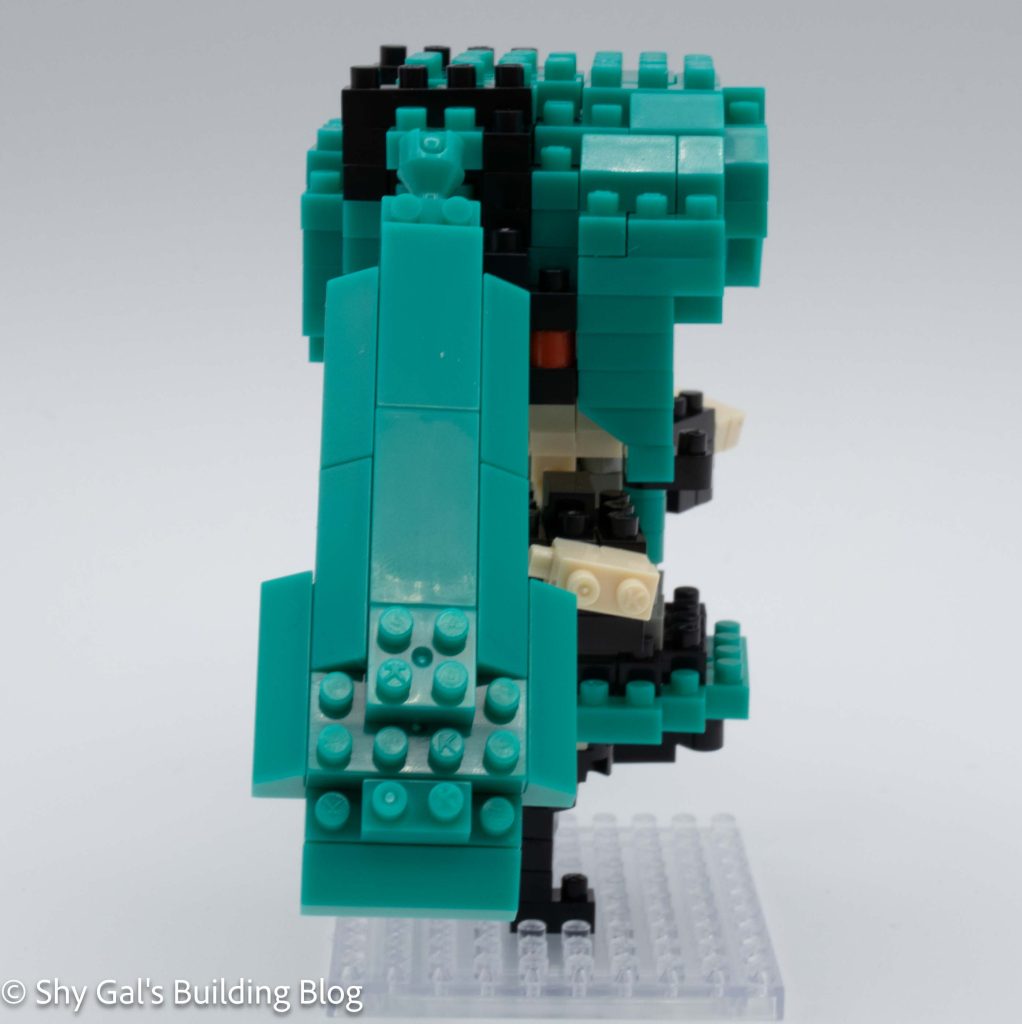
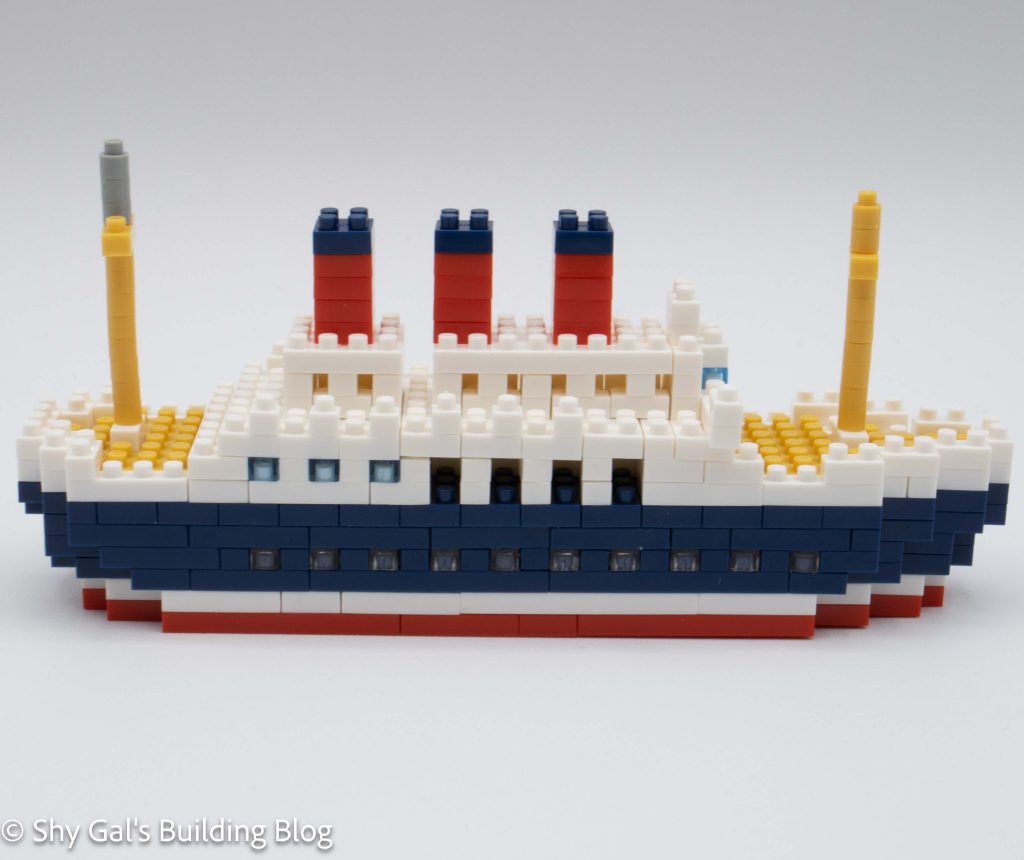
The main build is very straightforward. It goes up in basic layers that change colors to create layers and stripes. Once you add the layers and close up the top, there is a very nice tan that creates the deck.
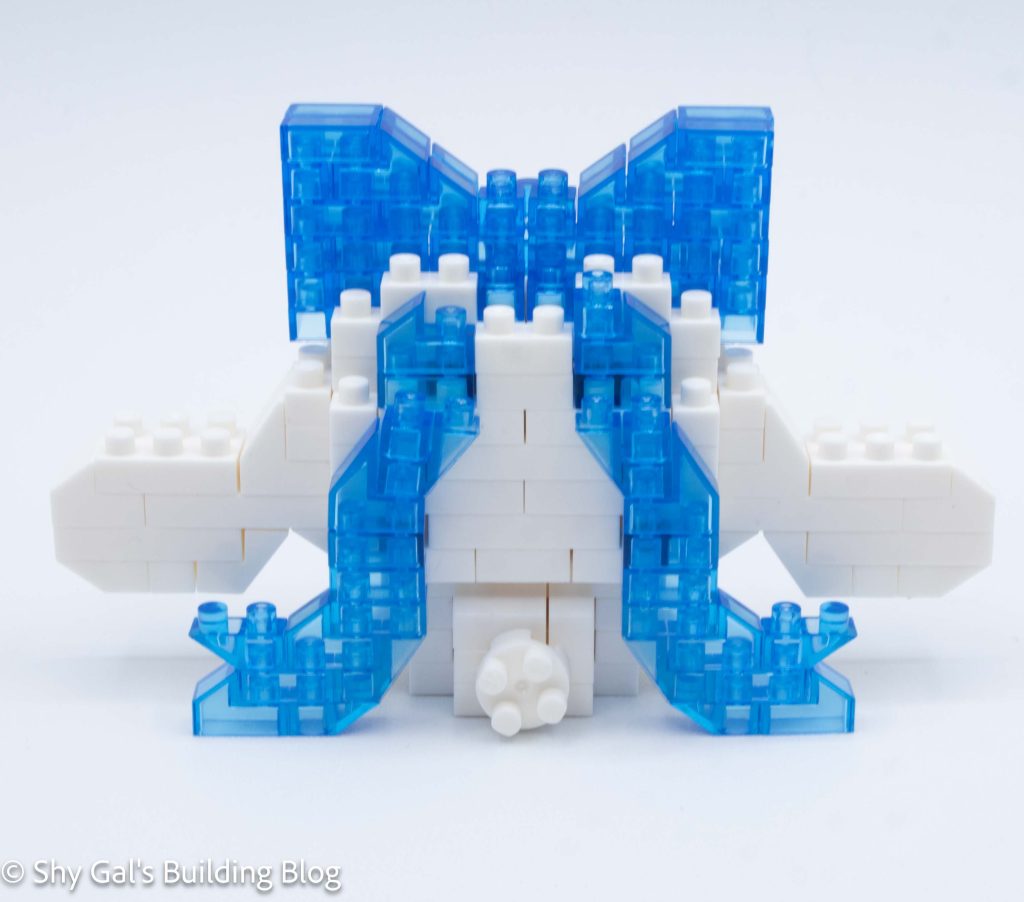
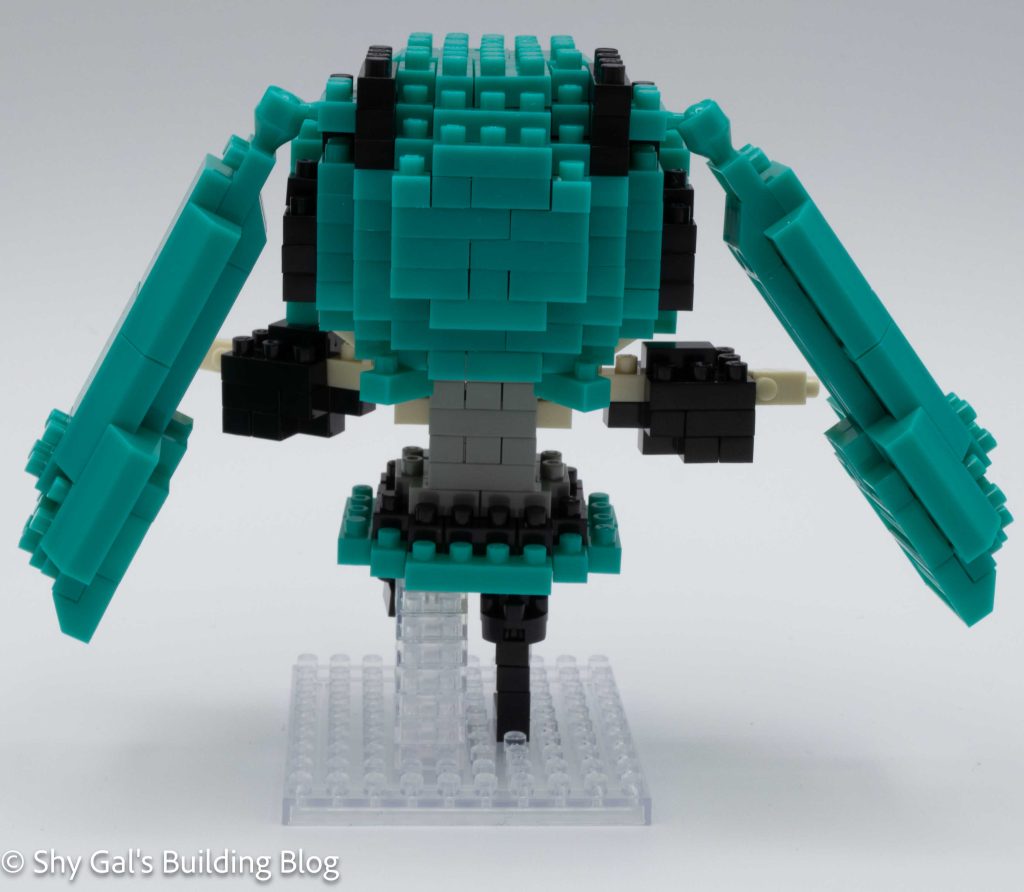
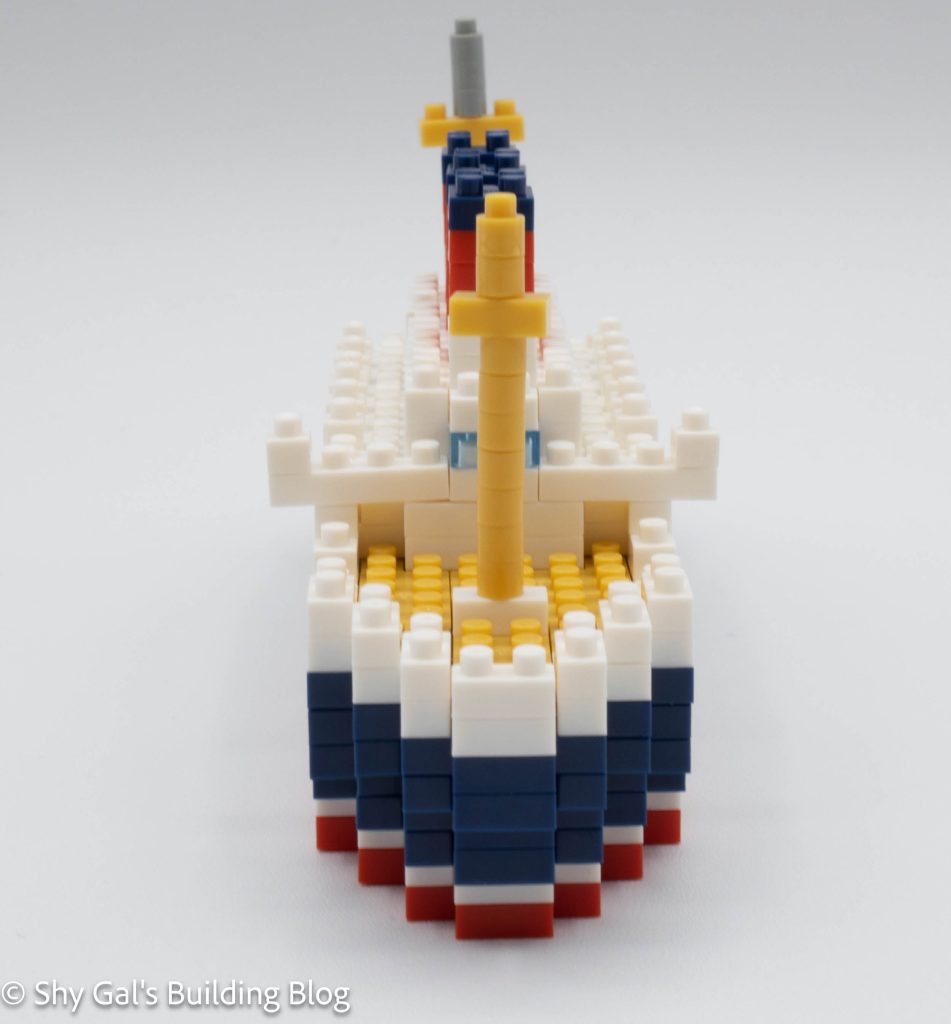
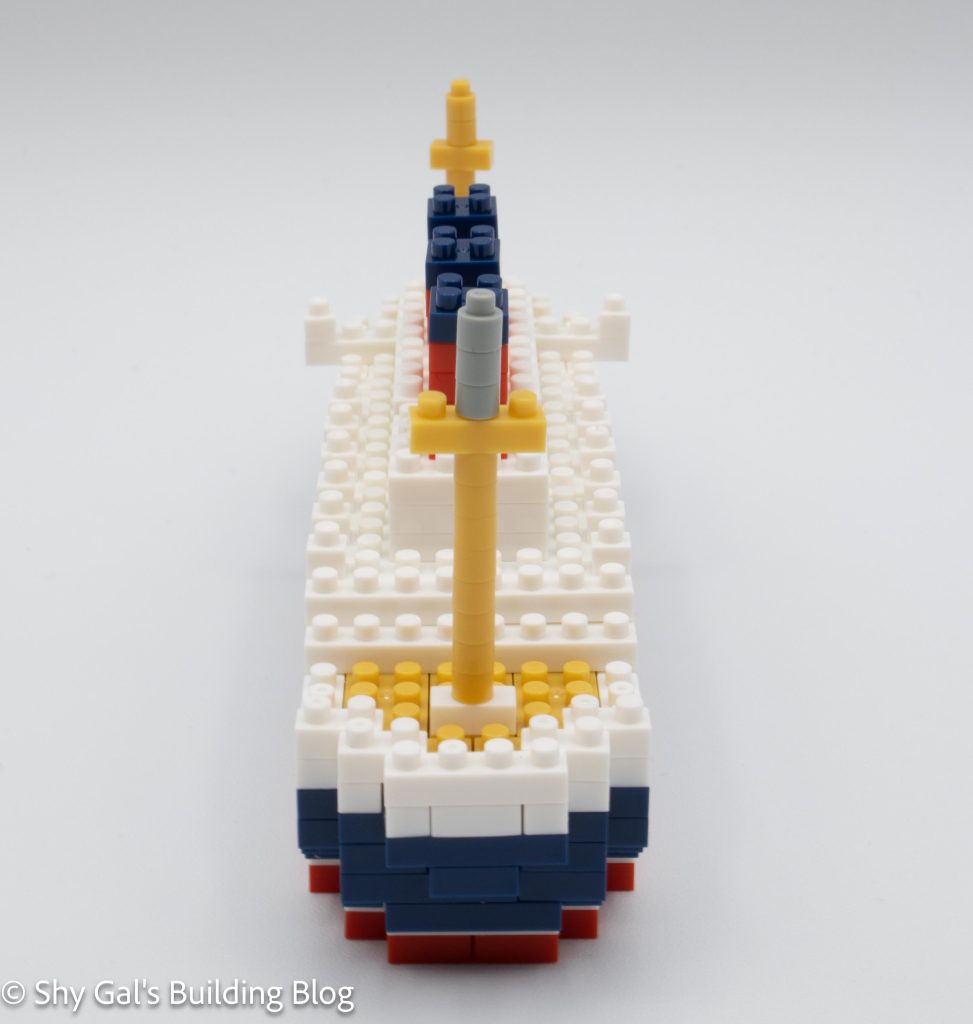
Once you add the decks, you add the upper decks. There are quite a few details in the windows. The final step is to add the masts and the steam release pillars.
Things I liked:
- The number of small details like windows and the colors for the layers
Things I didn’t like:
- Getting the masts lined up and straight was a bit tricky