This post may contain affiliate links, and I may earn a small commission at no cost to you. This commission allows me to give you more information about brick builds by enabling me to buy more sets. See my full disclosure here .
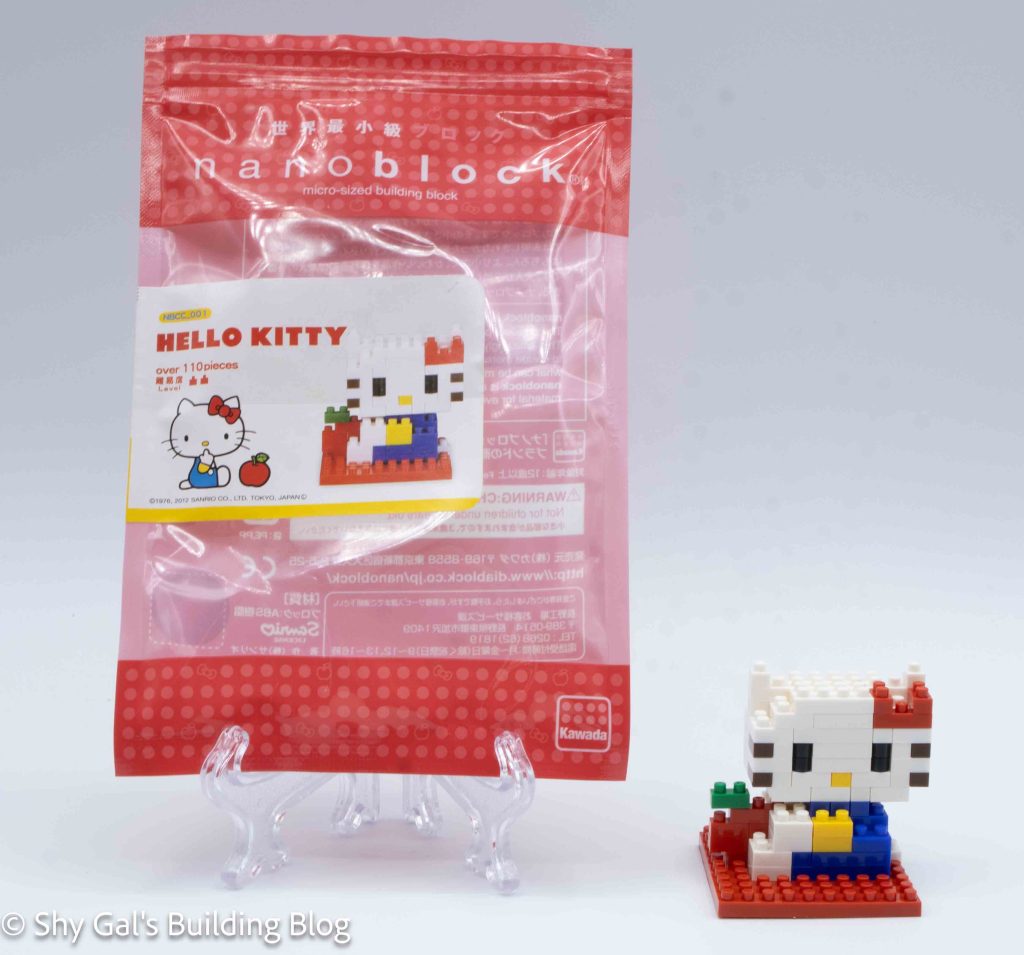
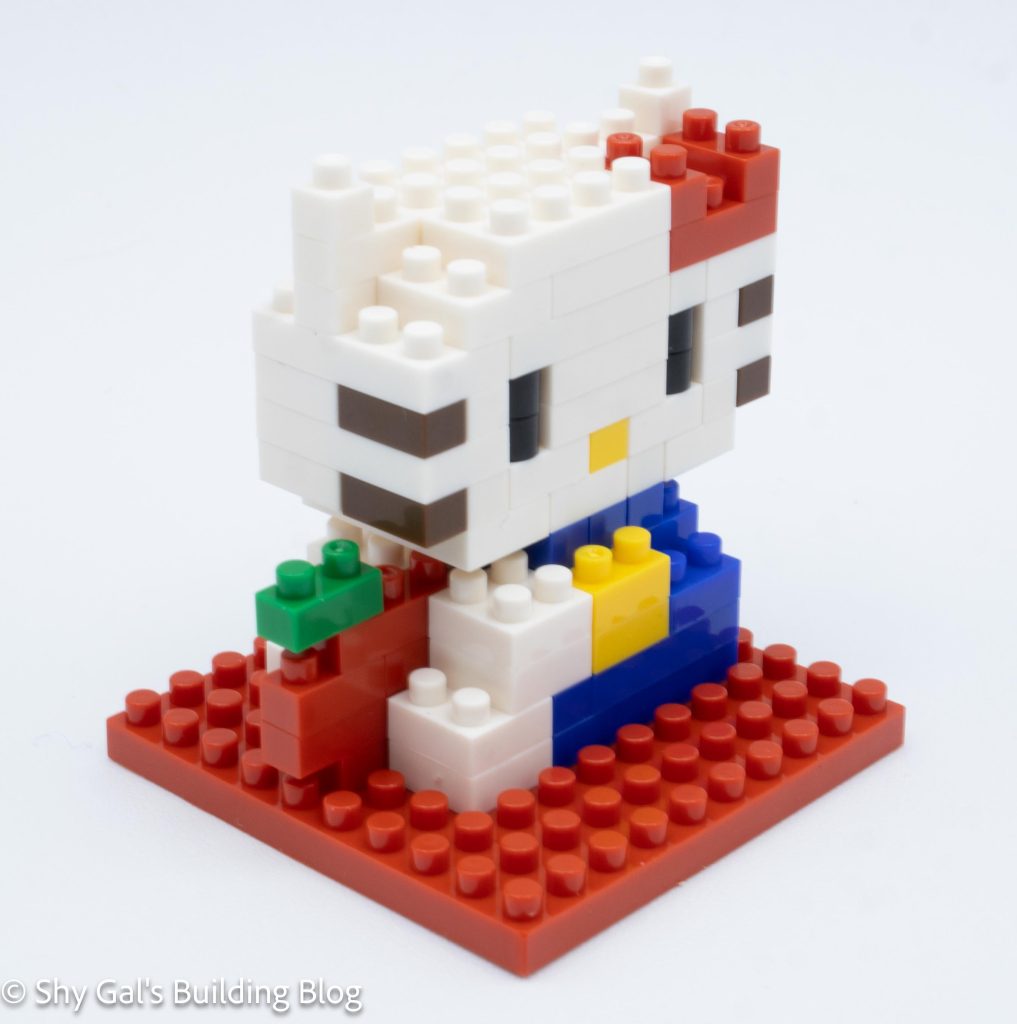
This post is a review of the nanoblock Hello Kitty build. Hello Kitty is part of the nanoblock Character collection. Wondering what else is part of the Character collection? Click here for a list.
This post may contain affiliate links, and I may earn a small commission at no cost to you. This commission allows me to give you more information about brick builds by enabling me to buy more sets. See my full disclosure here .
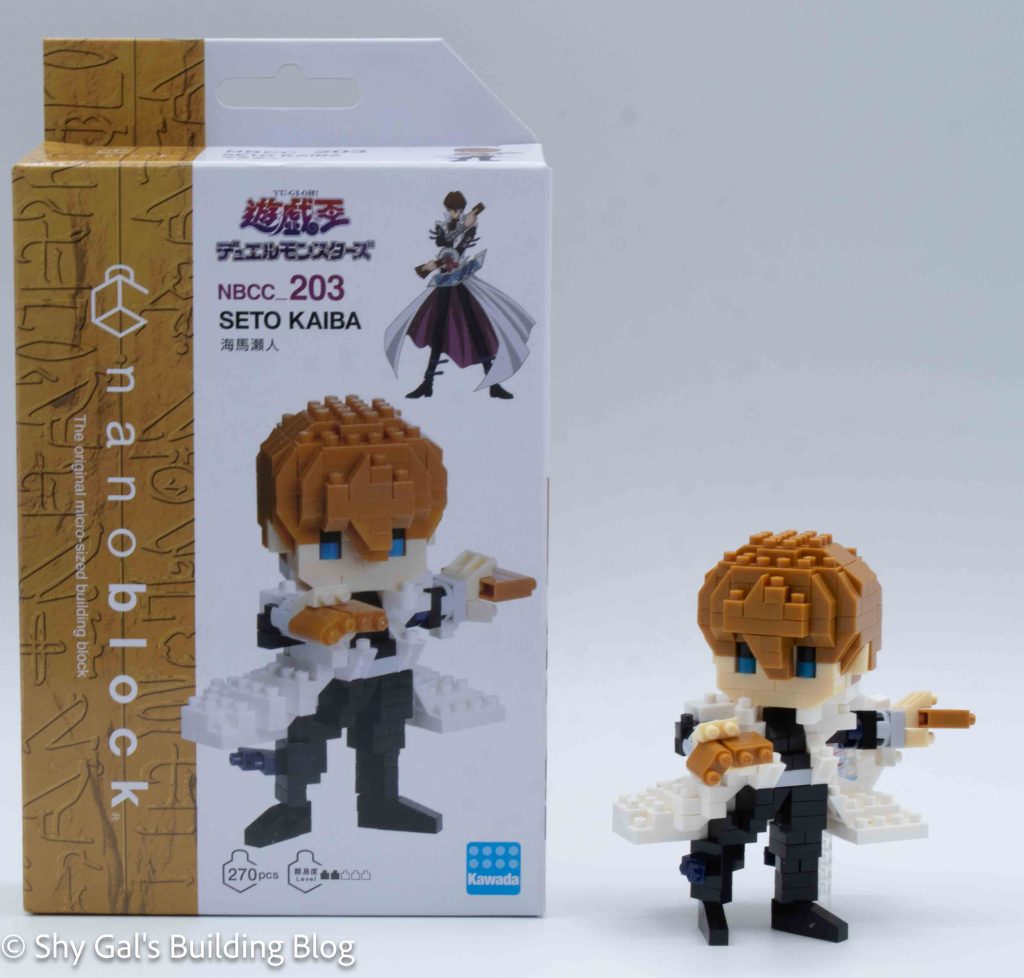
This post is a review of the nanoblock Seto Kaiba build. Seto Kaiba is part of the nanoblock Character collection. Wondering what else is part of the Character collection? Click here for a list.
Number: NBCC_203
Number of Pieces: 270
Difficulty Rating: 2/5
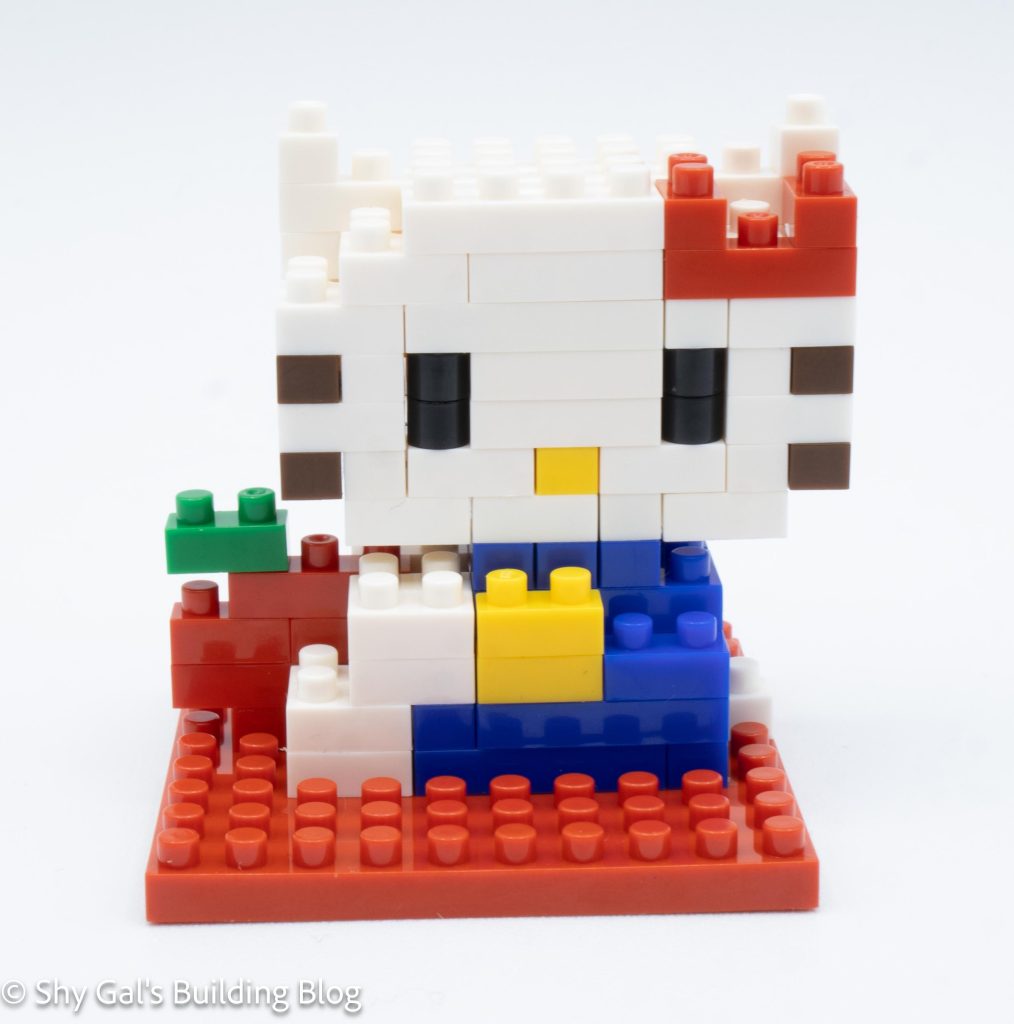
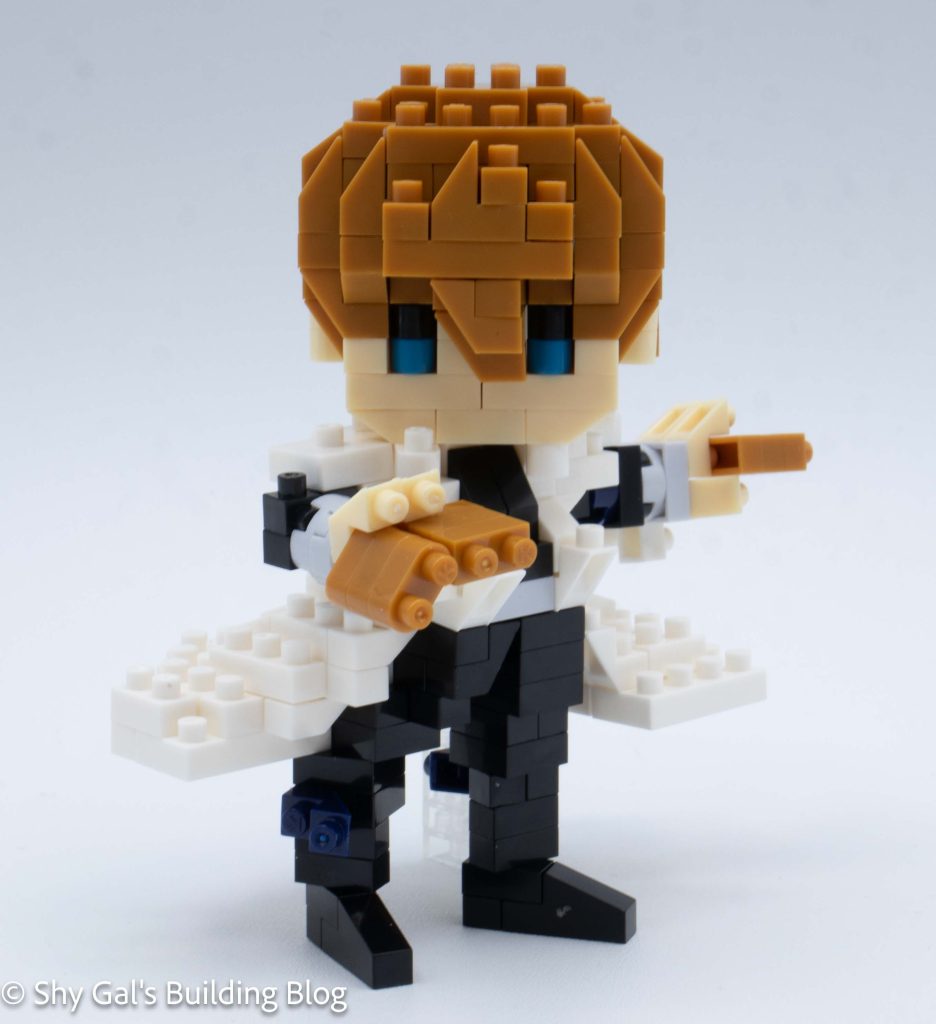
The build begins by taking 2 steps to create the base layers of the head.
From there the head goes up in layers added the eyes and ears. Eventually the focus is all on the hair. The hair continues in straightforward layers until the head is finished.
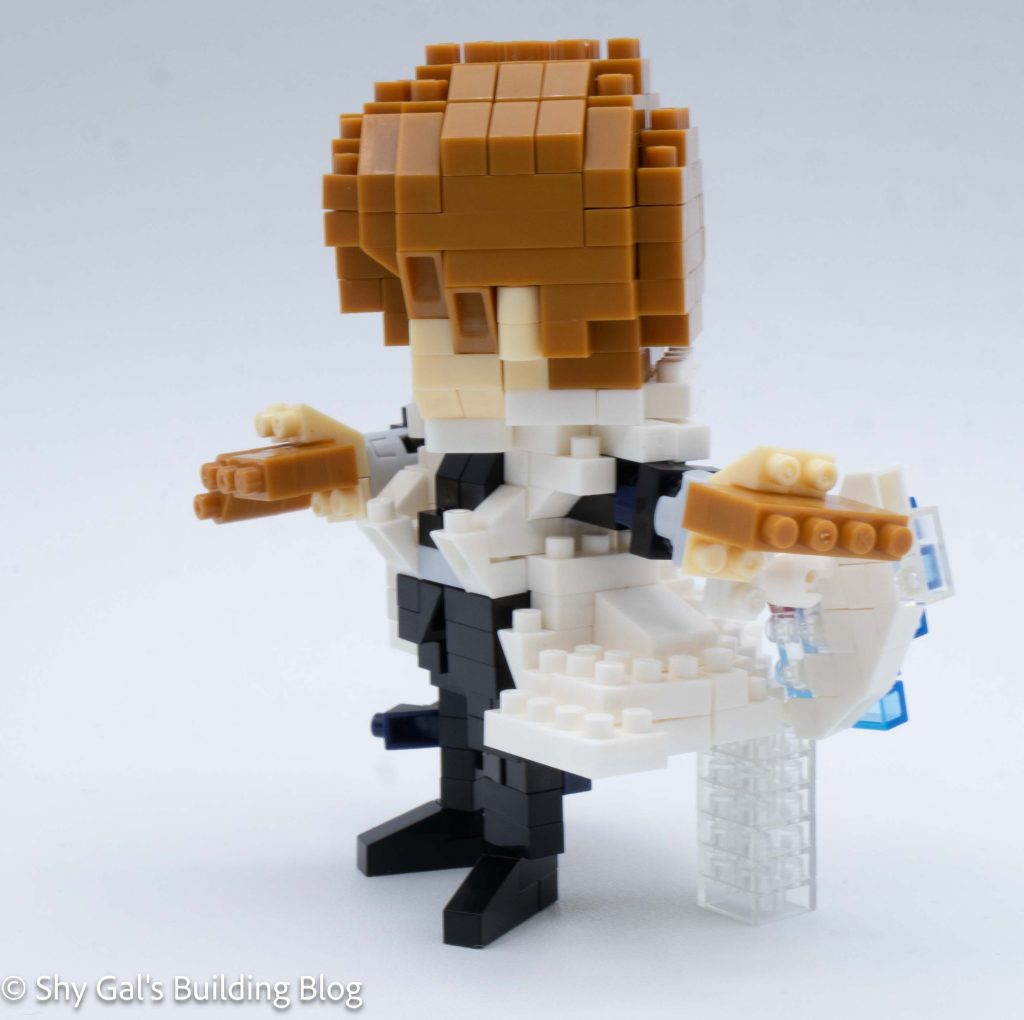
The next section is to build the coat that is billowing. I had a bit of difficulty following the cramped instructions and telling which bricks had been used. But I was able to build it on the first try.
The next step is to built the torso. The torso was very fragile and kept falling apart while I was building it and after I had put it together. I think this is because there were multiple sections that weren’t pinned down well.
Then I connected the torso to the coat base.
Then I build the hands and connected them. I’m not sure what he is supposed to be holding but I’m guessing cards.
Then I built the hips and attached them. This was another spot where I had problems with the torso.
Then I built the legs and attached them.
Next I built the stand to help the finished model stay up.
The final step is to build and attach the play board.
Things I liked:
I like that the finished build stands considering how big the cape is so the weight is spread out
Things I didn’t like:
I didn’t like how fragile the torso was and how that affected the entire build
This post may contain affiliate links, and I may earn a small commission at no cost to you. This commission allows me to give you more information about brick builds by enabling me to buy more sets. See my full disclosure here .
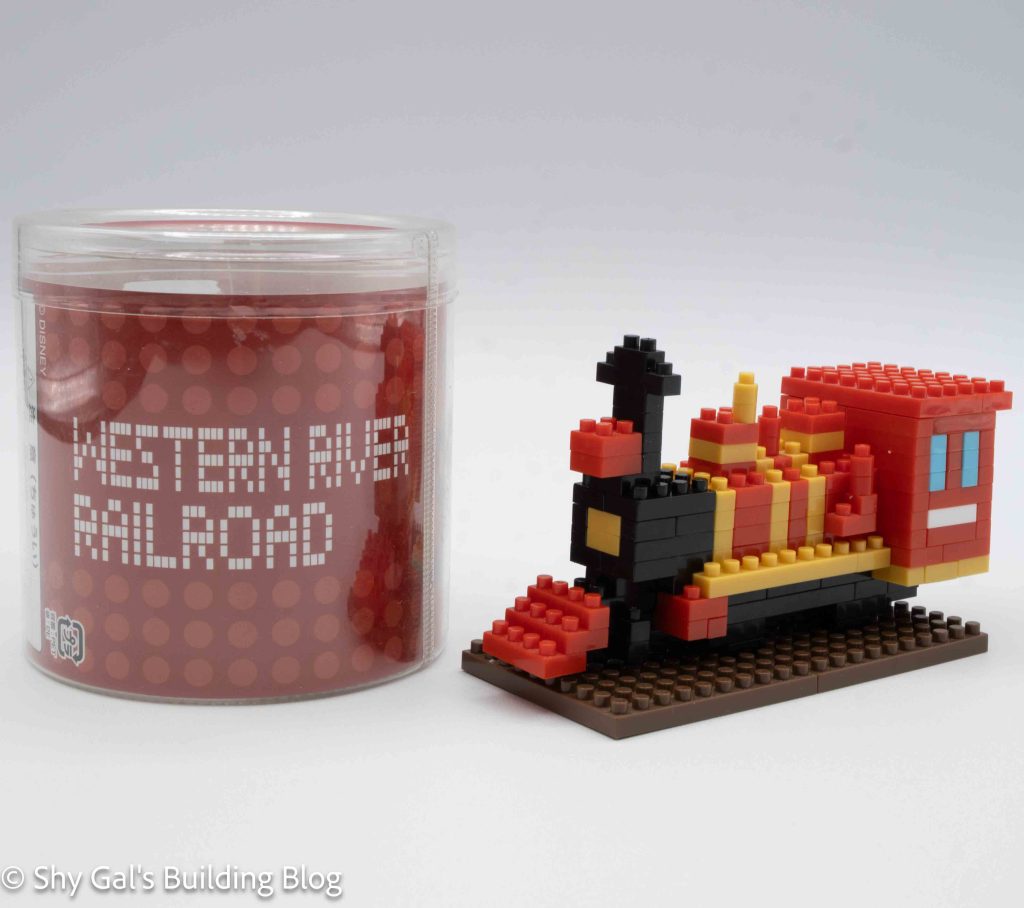
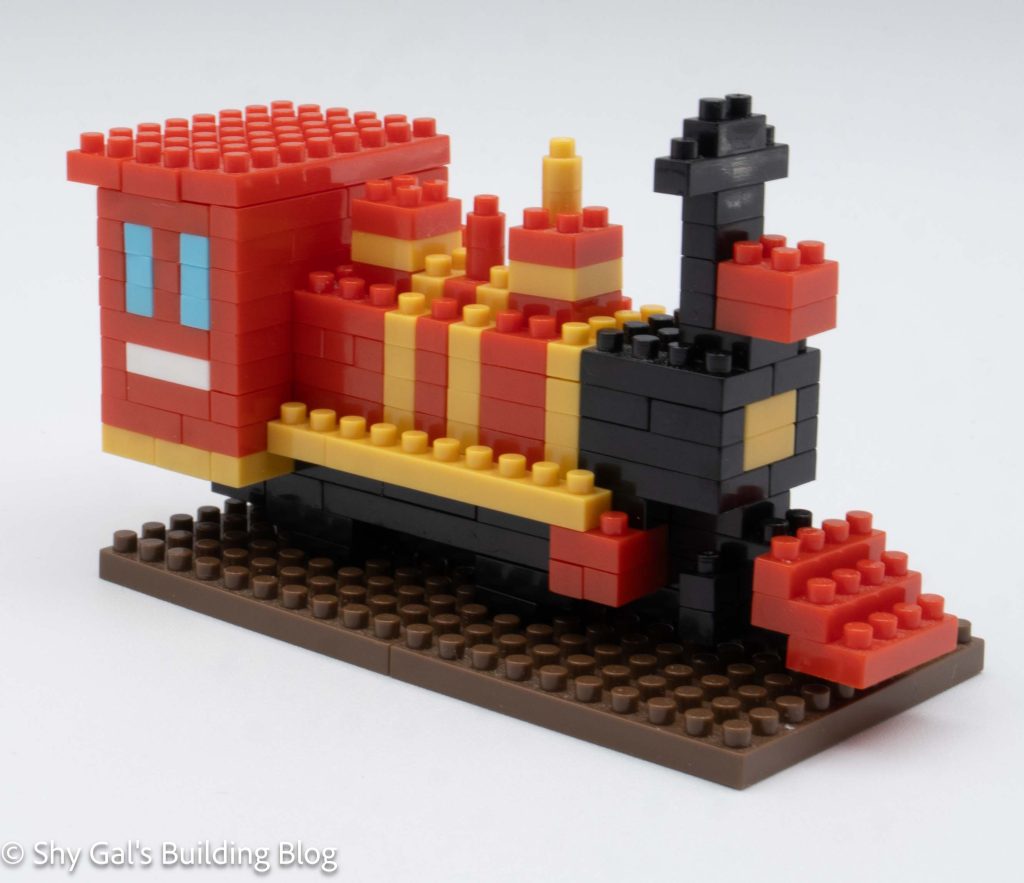
This post is a review of the nanoblock Tokyo Disney Resort Western River Railroad Canister build. This Western River Railroad is part of the nanoblock Disney Attraction collection. Wondering what else is part of the Disney Attraction collection? Click here for a list.
Western River Railroad was a canister kit that I bought totally opened; I did make sure there were bricks and instructions. Before starting the build, I pulled the kit that arrived apart and split all the bricks by size and color. I then started the build.
The instructions for this build were a bit different from most of the nanoblock builds I have done because they were black and white. You know which bricks to use because each color is labeled using mostly hiragana, so I was able to read the colors at least.
This build used 5 different colors: red, black, gold, a bit of blue, and white.
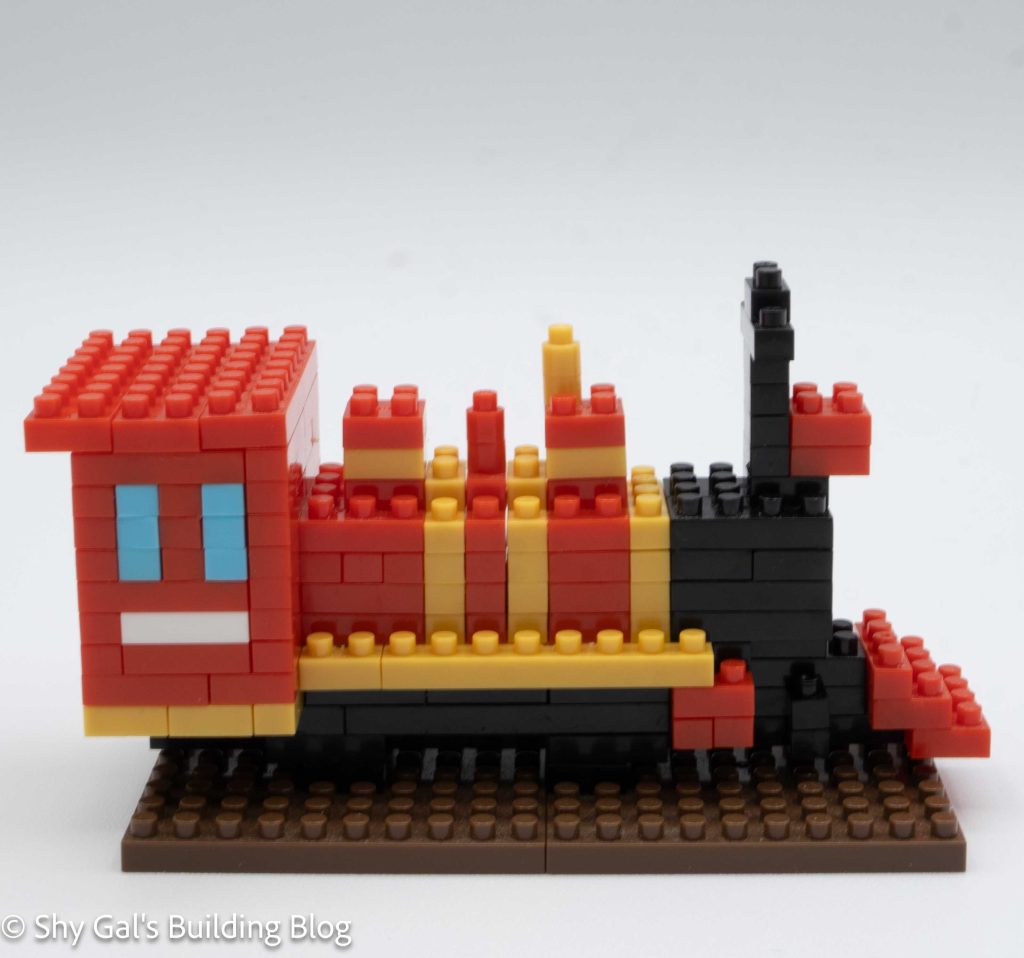
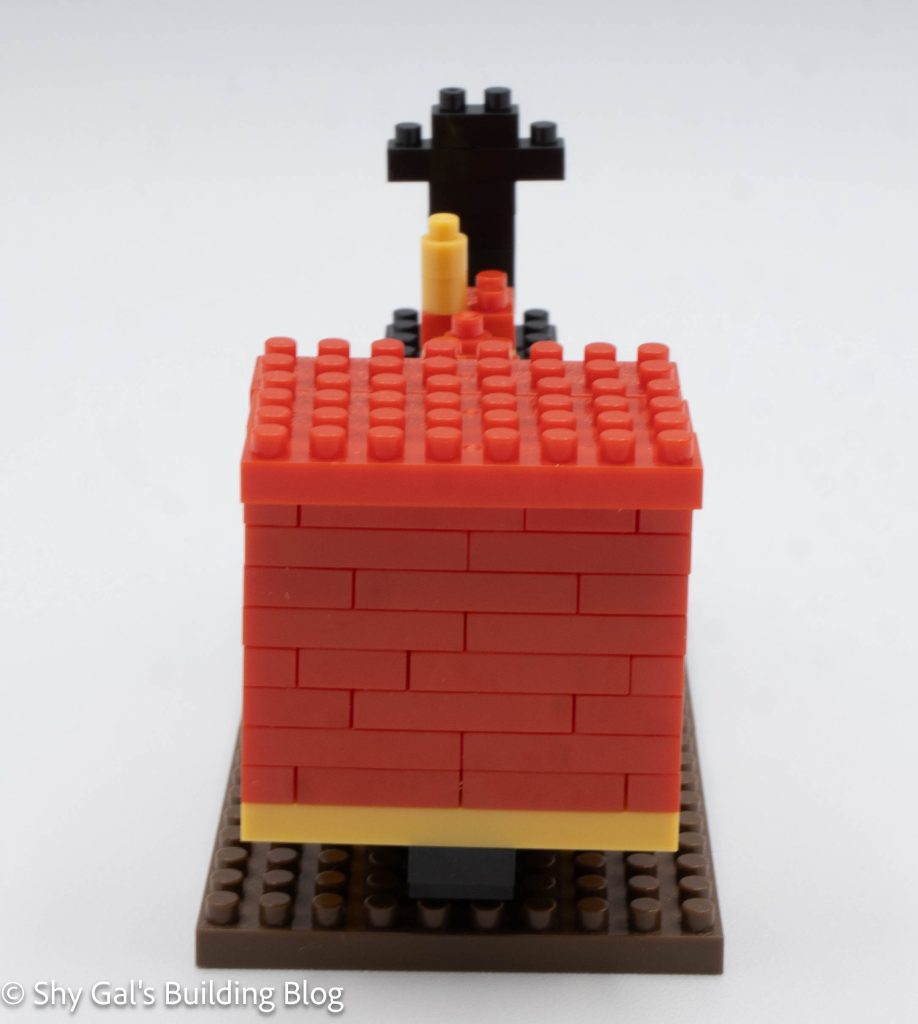
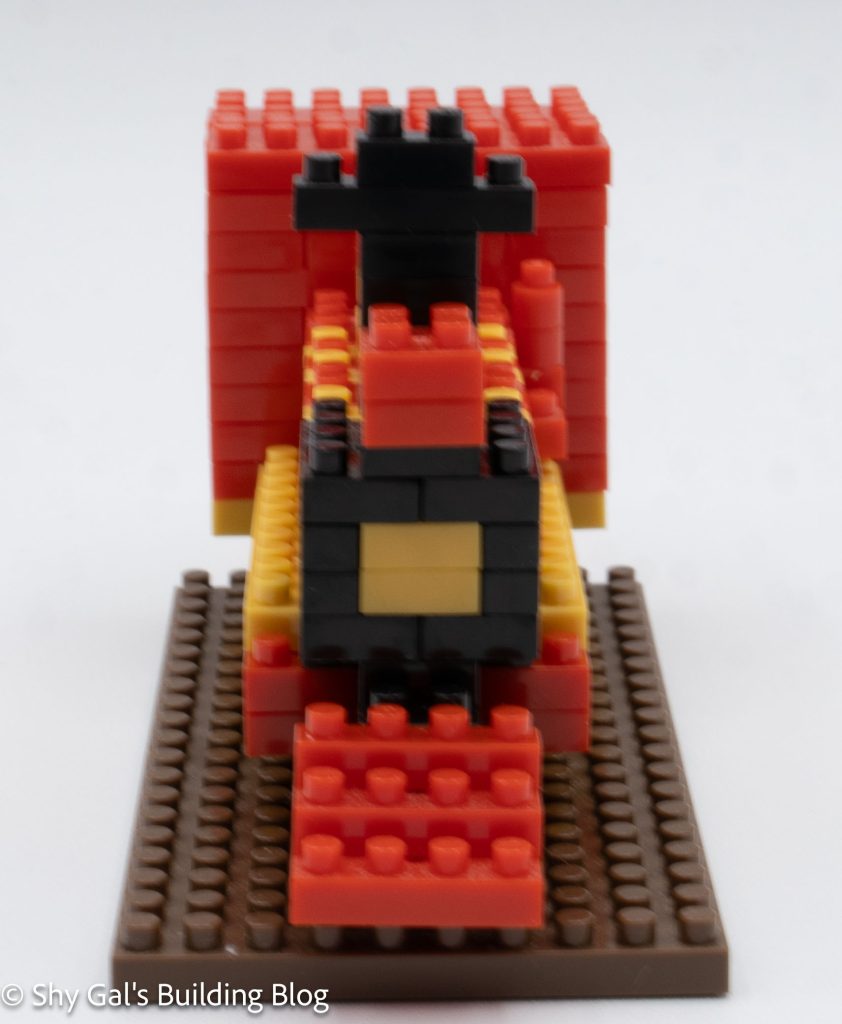
I started the build on my pad by laying out the base layer. I built up some layers, which created the width and body of the train. It was very straightforward for how and where to add each color.
After several layers, you start adding the windows. At this point, I stopped using the pad and held the build so that I could try to keep things more square.
After adding the final details of the roof of the cabin, chimney, and bell, you add wheels to connect the train to the base. It was a little hard to tell where exactly things went.
Things I liked:
Getting to practice my Japanese to read the colors
Things I didn’t like:
How it was hard to get the wheels lined up on the base
This post may contain affiliate links, and I may earn a small commission at no cost to you. This commission allows me to give you more information about brick builds by enabling me to buy more sets. See my full disclosure here .
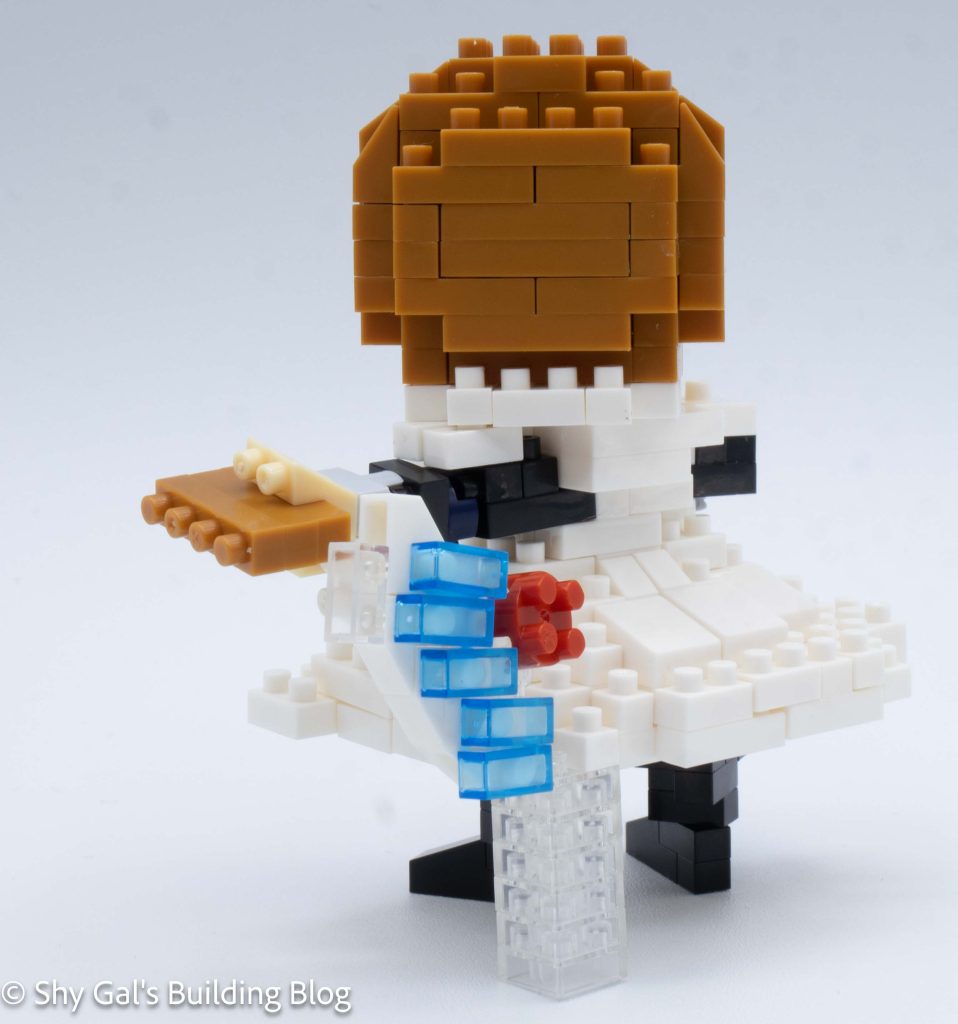
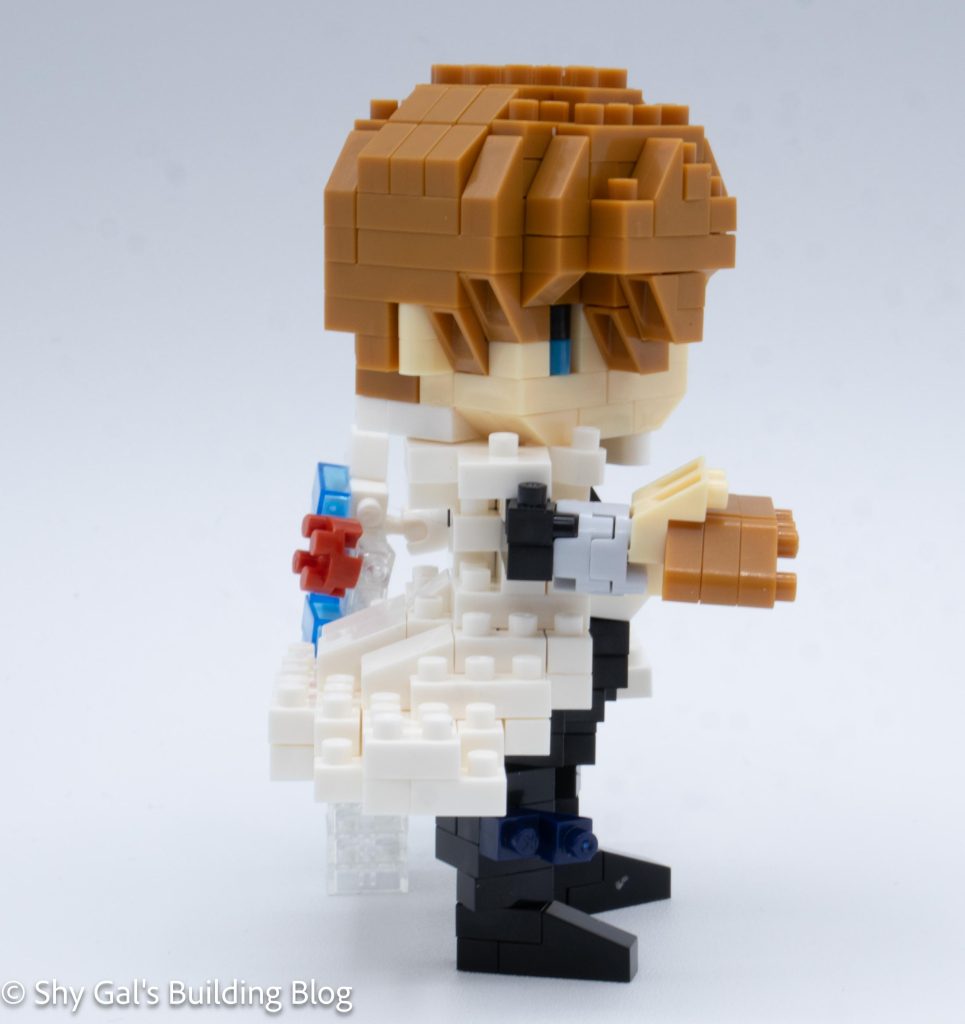
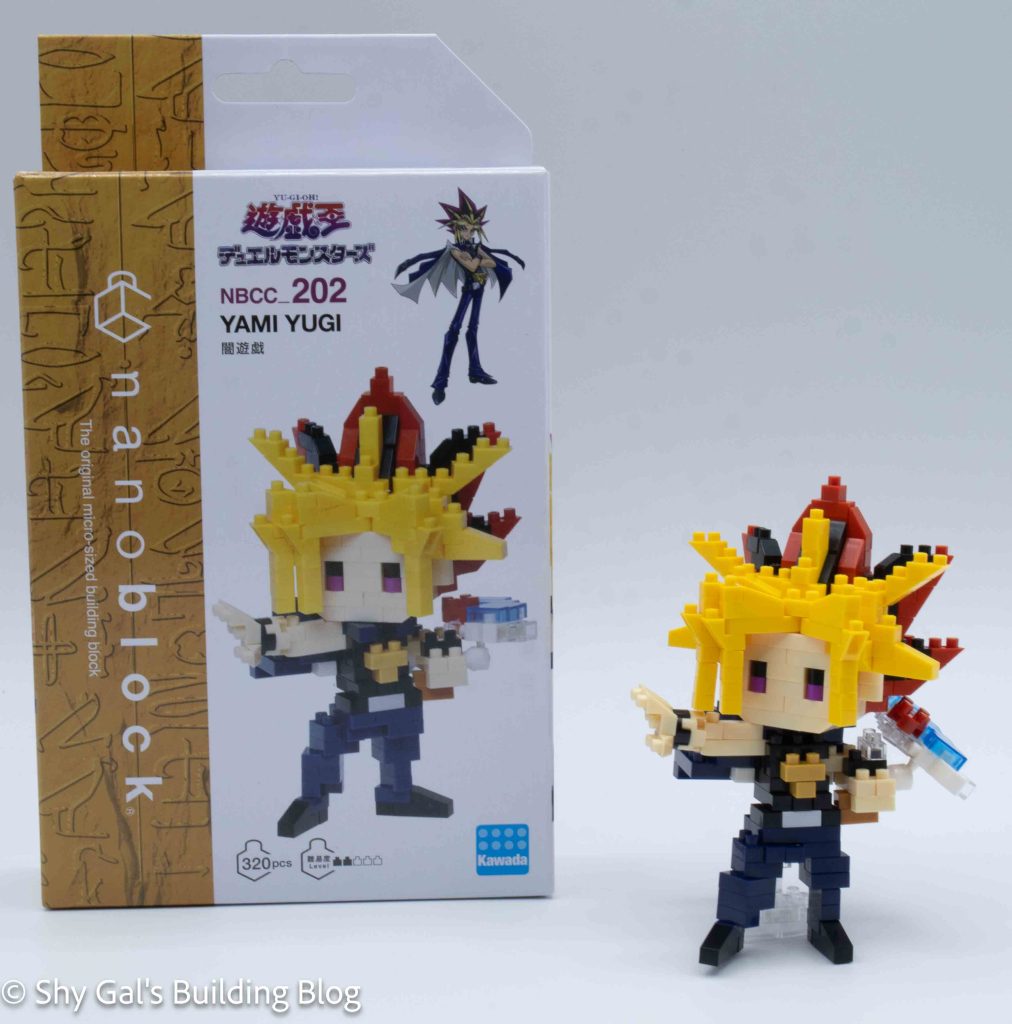
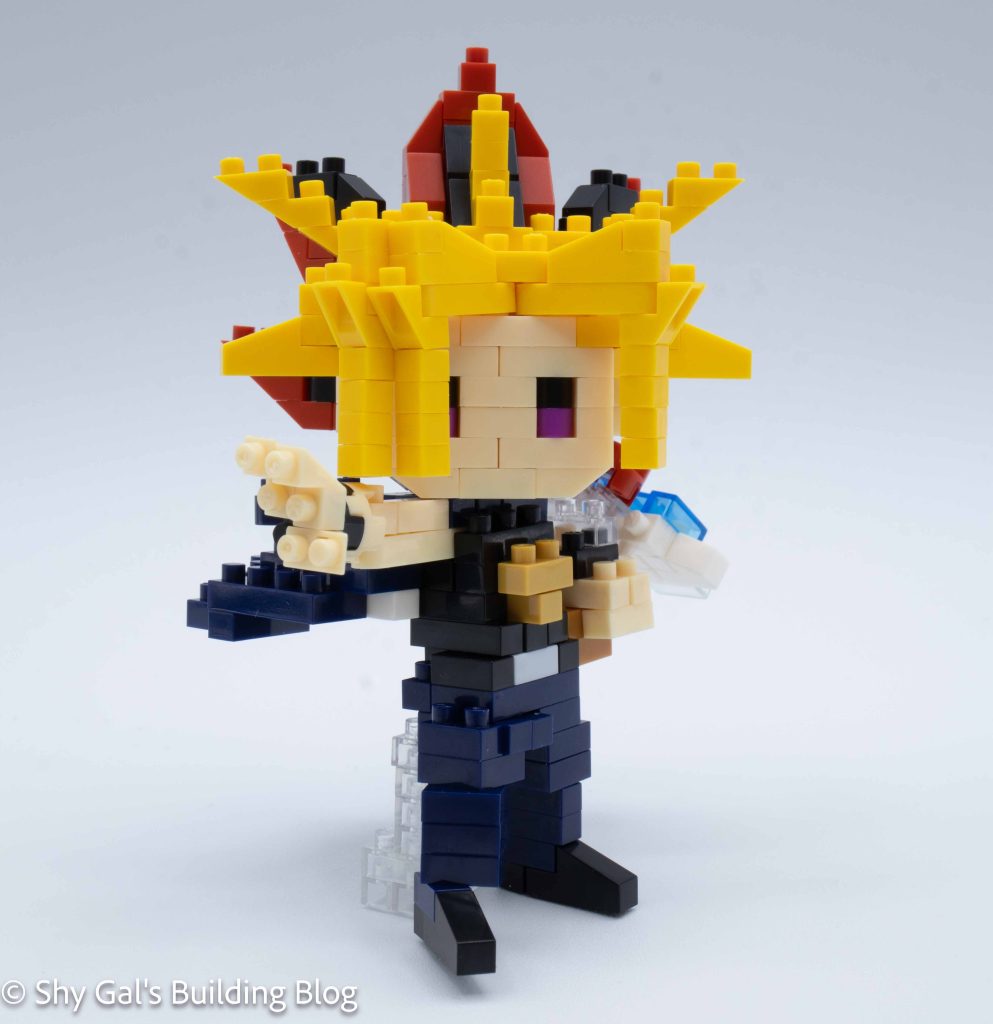
This post is a review of the nanoblock Yami Yugi build. Yami Yugi is part of the nanoblock Character collection. Wondering what else is part of the Character collection? Click here for a list.
Number: NBCC_202
Number of Pieces: 320
Difficulty Rating: 2/5
The build begins with creating a base layer of of bricks. This includes the skin tone for the face and the red for the back of the hair.
The head then went up in slow layers with each layer taking multiple steps. The layers add eyes and ears along with the foundations of the hair.
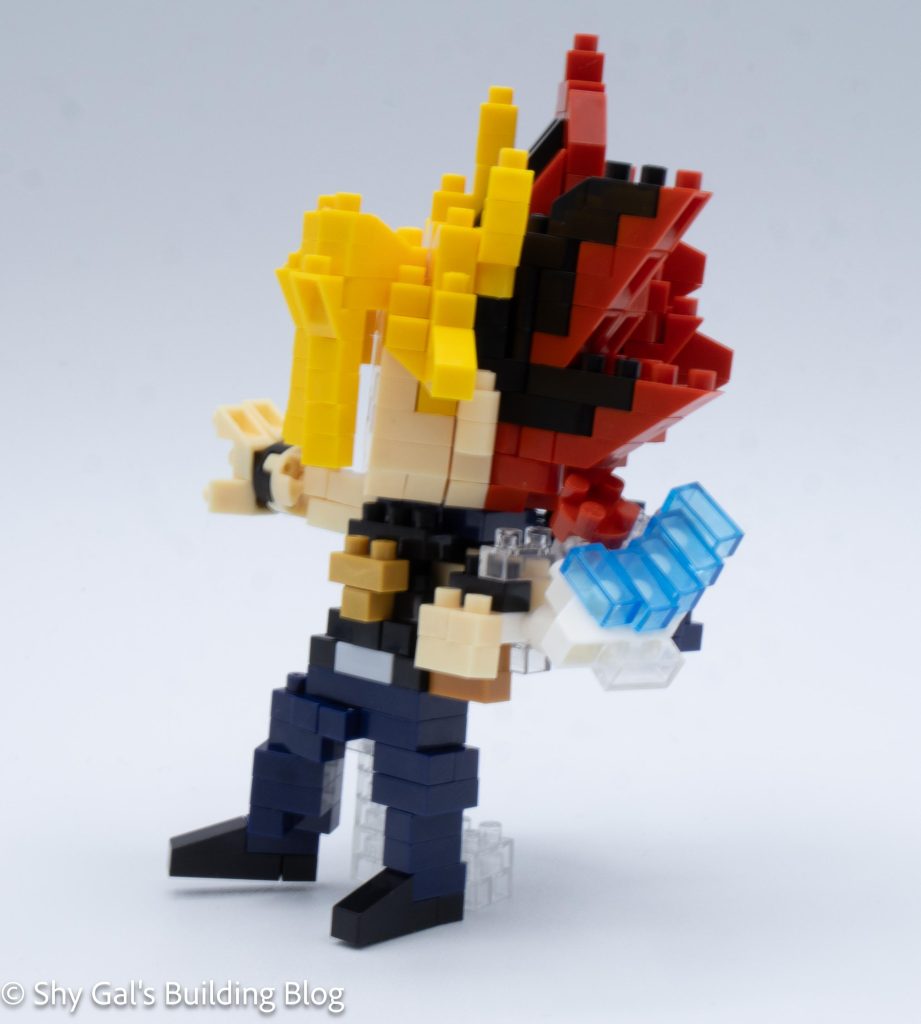
Once the face is complete, the main focus is to complete the hair. I really like how much detail is included in the hair between the angles and colors. I also like how the hair in front of his face was created.
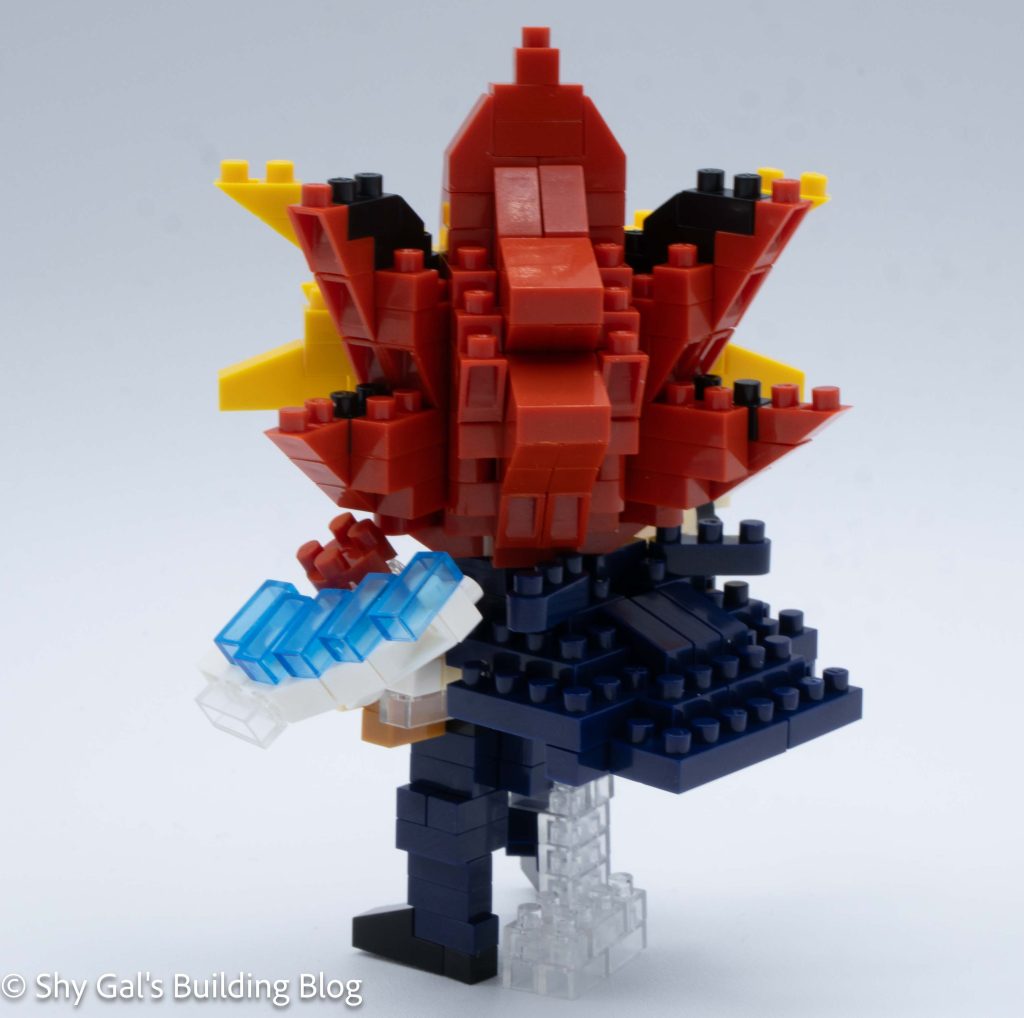
The next step is to build the body. When I was building it I wasn’t sure what was going on because there is a ton of detail in the back that I couldn’t see on the box. It turns out that his cape is floating behind him which is a cool effect.
After building out the cape, I built the main section of the body and arms.
Then I built the hands and connected them to the body. Then I built the board that he wears on his arm.
Next I attached the head to the body.
Then I built a stand to help him stand up.
Finally I built the 2 legs and attached them to the build.
When I tried to have the finished build stand, I wasn’t able to. I was super bummed that he didn’t stand after all the work I didn’t to build him.
Things I liked:
I like how much detail is included in the hair
Things I didn’t like:
I hate that I couldn’t get the final build to stand and that I couldn’t get it on a base plate. The photos without a stand are because my husband is better at lining things up just so the build can stand
This post may contain affiliate links, and I may earn a small commission at no cost to you. This commission allows me to give you more information about brick builds by enabling me to buy more sets. See my full disclosure here .
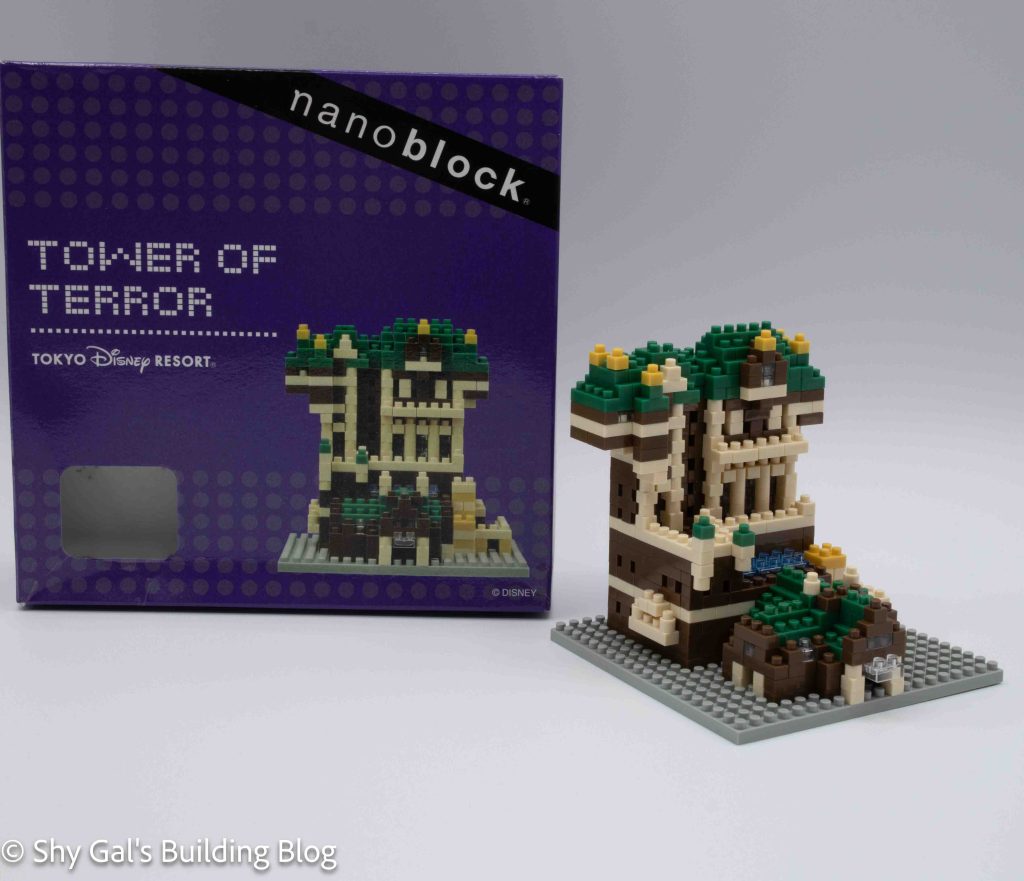
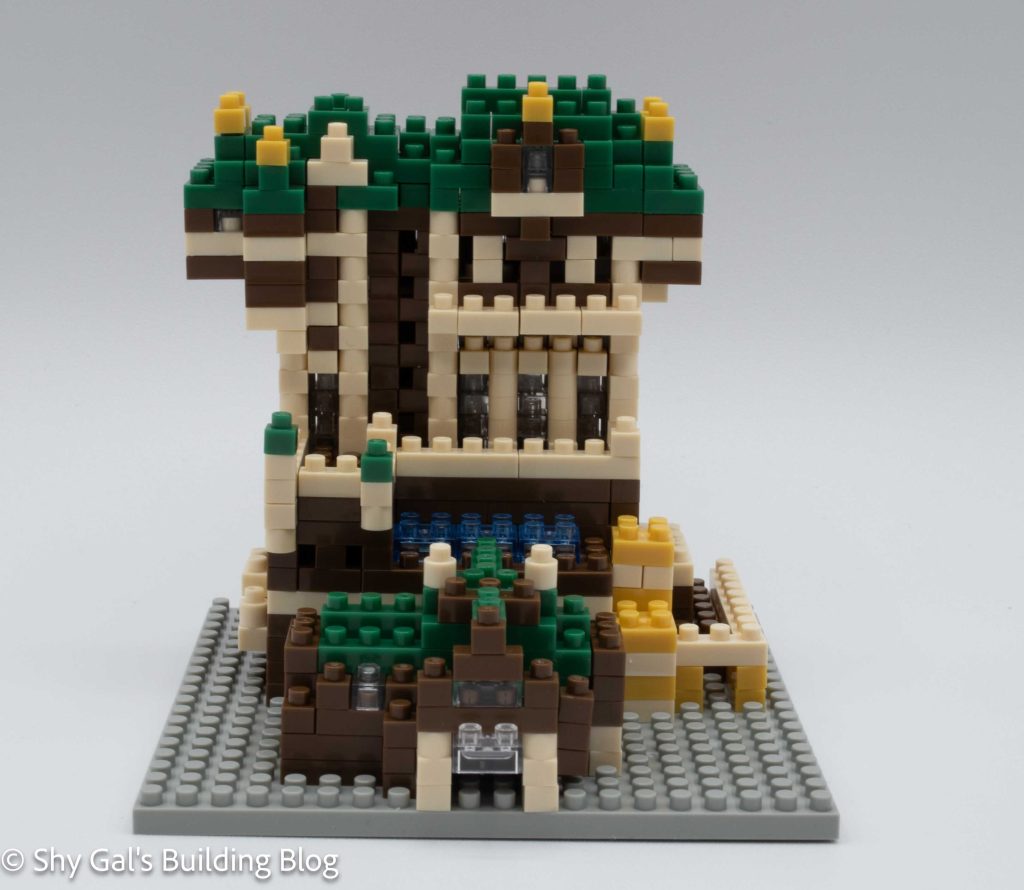
This post is a review of the nanoblock Tower of Terror build. Tower of Terror is part of the nanoblock Disney attraction collection. Wondering what else is part of the Disney attraction collection? Click here for a list.
The Tokyo DisneySea version of the Tower of Terror is a hotel from New York in 1912. The building has a lot of details that has a lot of details from the time period. You can see a picture of the outside of the building here.
The build begins by laying the outline of the building on the large baseplate. The building goes up fairly easily in layers.
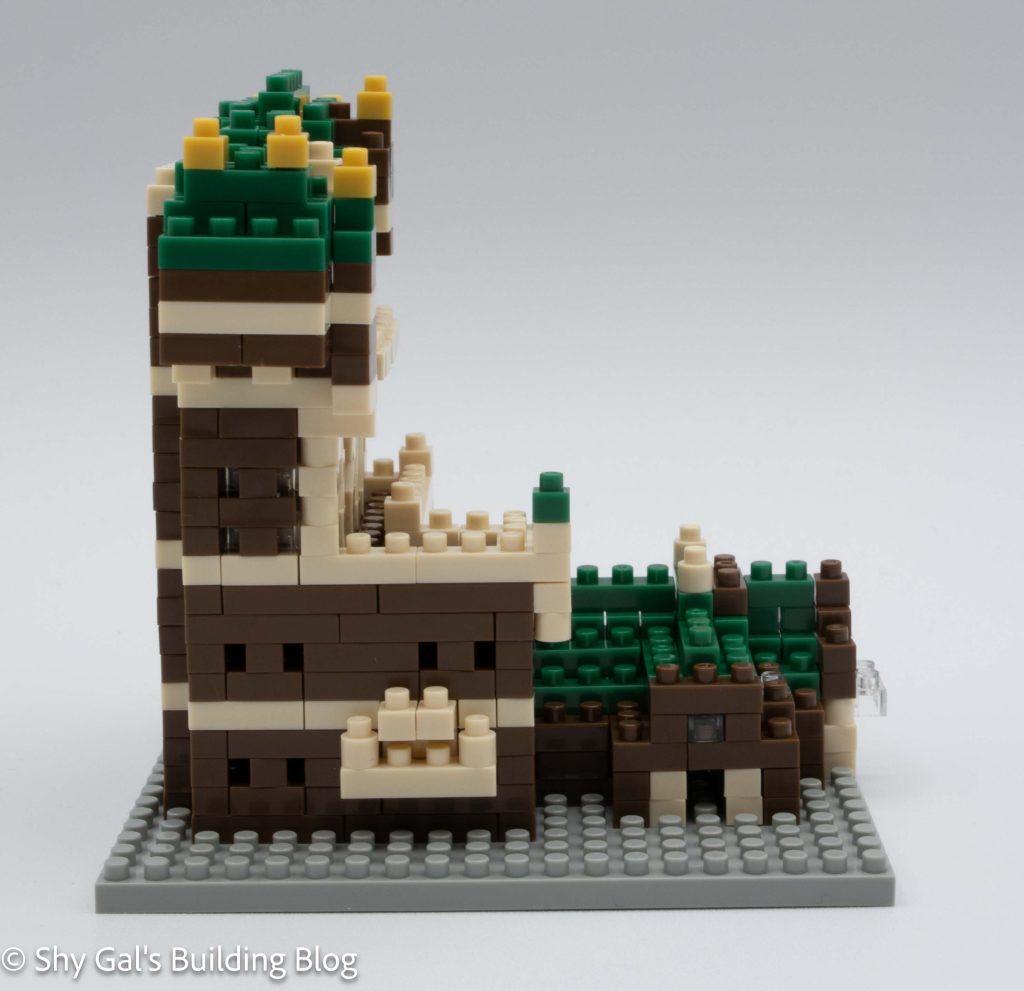
What makes this build time-consuming is all the windows. Throughout the entire build, there are a ton of bricks that have a 2-stud opening on the bottom and one stud on top. A 1×1 brick was added to the top to create windows on the sides of the brick. Keeping the sides of the building square was tricky.
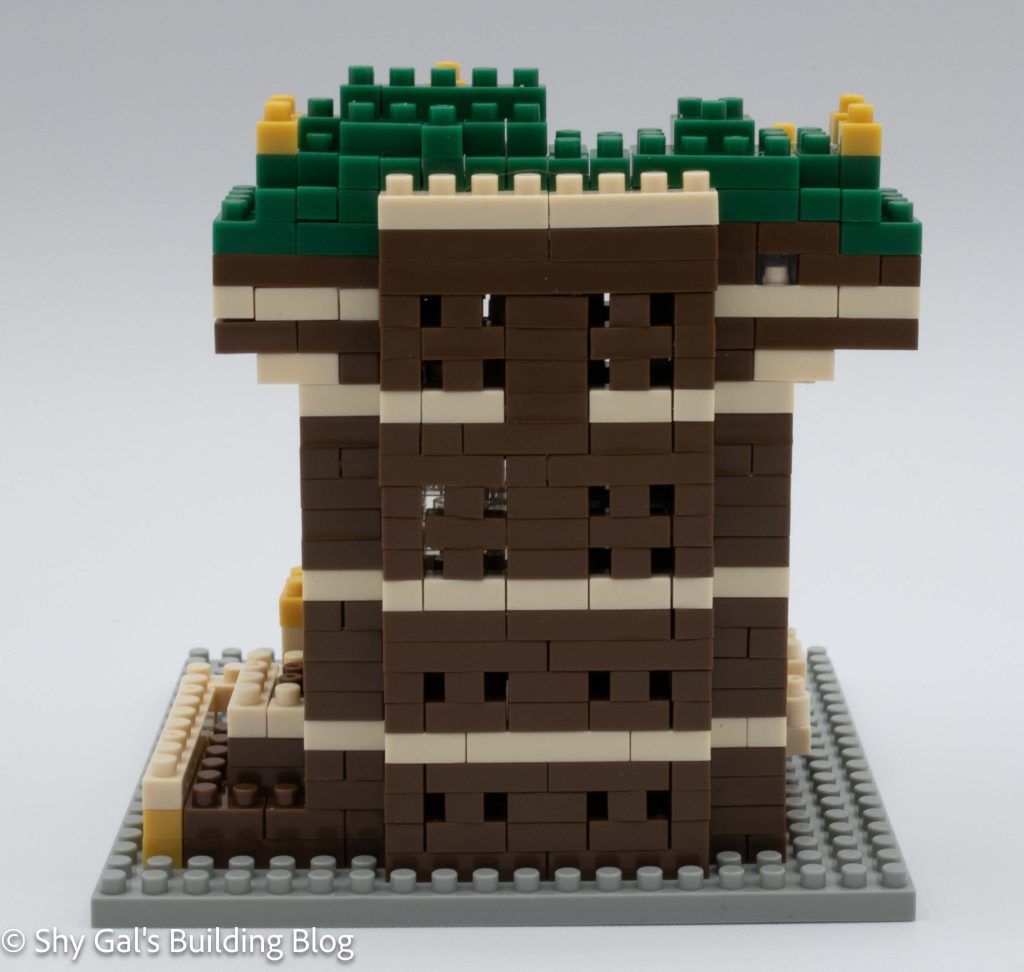
Other than fighting to get the windows squared up, the build was really enjoyable.
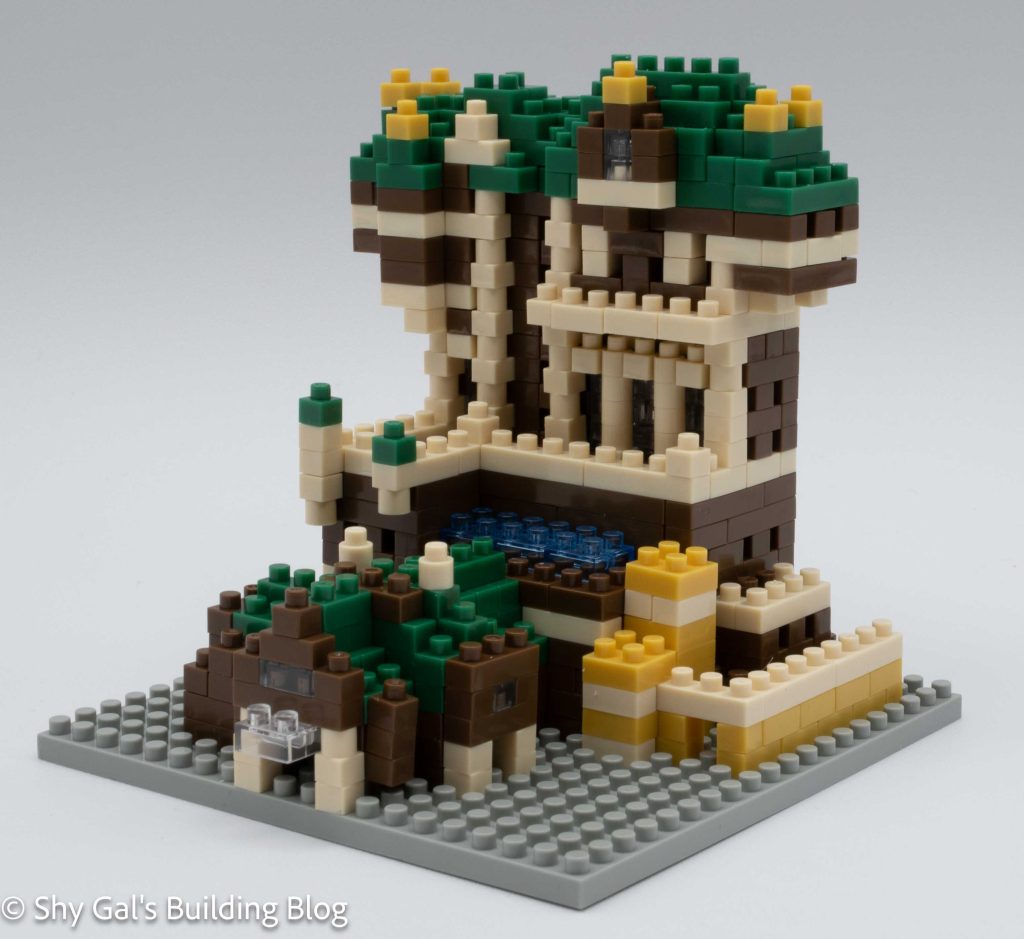
Overall, I really enjoyed the build. It took longer than most builds for me to complete since I wanted to keep anything super square. I do feel like the final product does look a lot like the Tower of Terror it is based on.
Things I liked:
The amount of detail in the build, including all the windows
Things I didn’t like:
This is the first time I’ve gotten a nanoblock kit that was missing pieces
This post may contain affiliate links, and I may earn a small commission at no cost to you. This commission allows me to give you more information about brick builds by enabling me to buy more sets. See my full disclosure here .
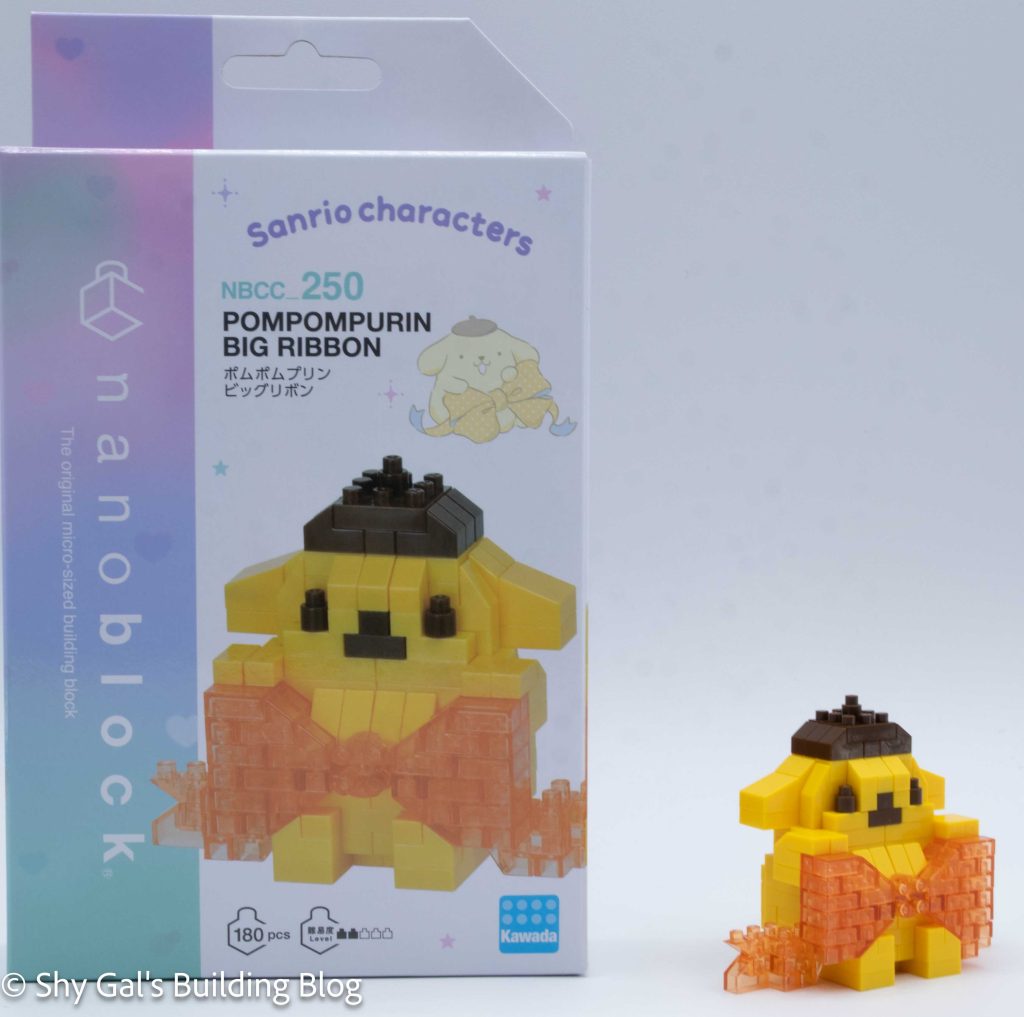
This post is a review of the nanoblock Pompompurin Big Ribbon build. Pompompurin Big Ribbon is part of the nanoblock Character collection. Wondering what else is part of the Character collection? Click here for a list.
Number: NBCC_250
Number of Pieces: 180
Difficulty Rating: 2/5
I began the build by laying the base layer of bricks out on my nanoblock pad.
I added a couple of layers of bricks and started to work on the bow.
Next, I added the very large printed brick. My printed brick was loose, so it kept falling apart as I added more layers.
Then I added more layers of yellow and clear orange bricks. These steps build up the main body and the main section of the bow.
After building the main section of the bow, it was time to make the head.
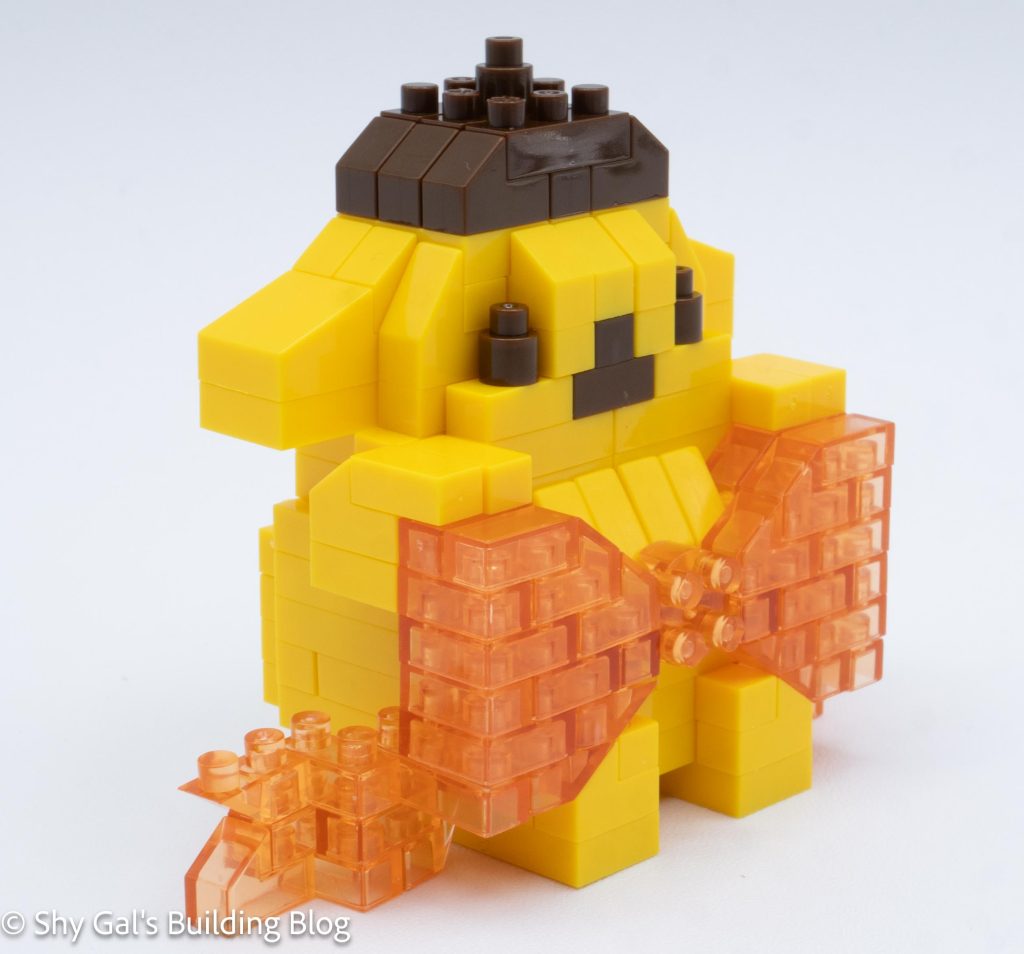
I continued to add layers to build the head. I added the mouth, nose, and eyes.
After closing up the head, I added his little hat.
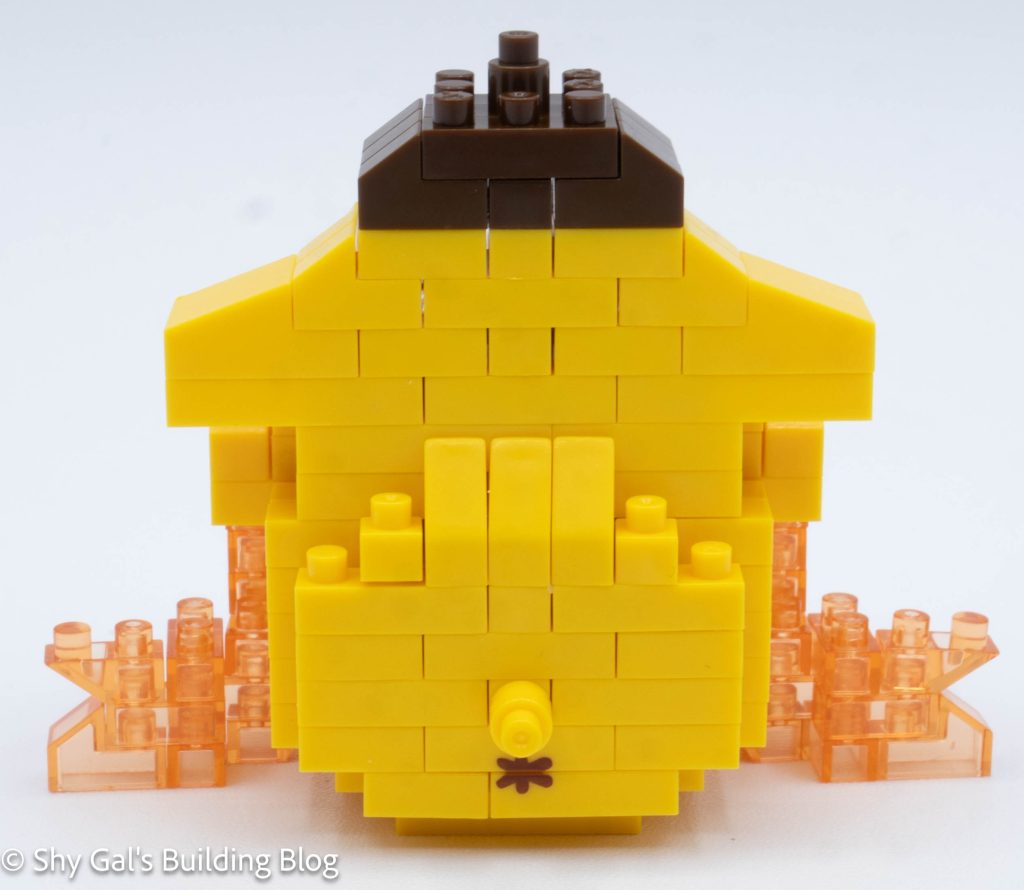
Next, I added a bow in the center of the bow and Pompompurin’s tail.
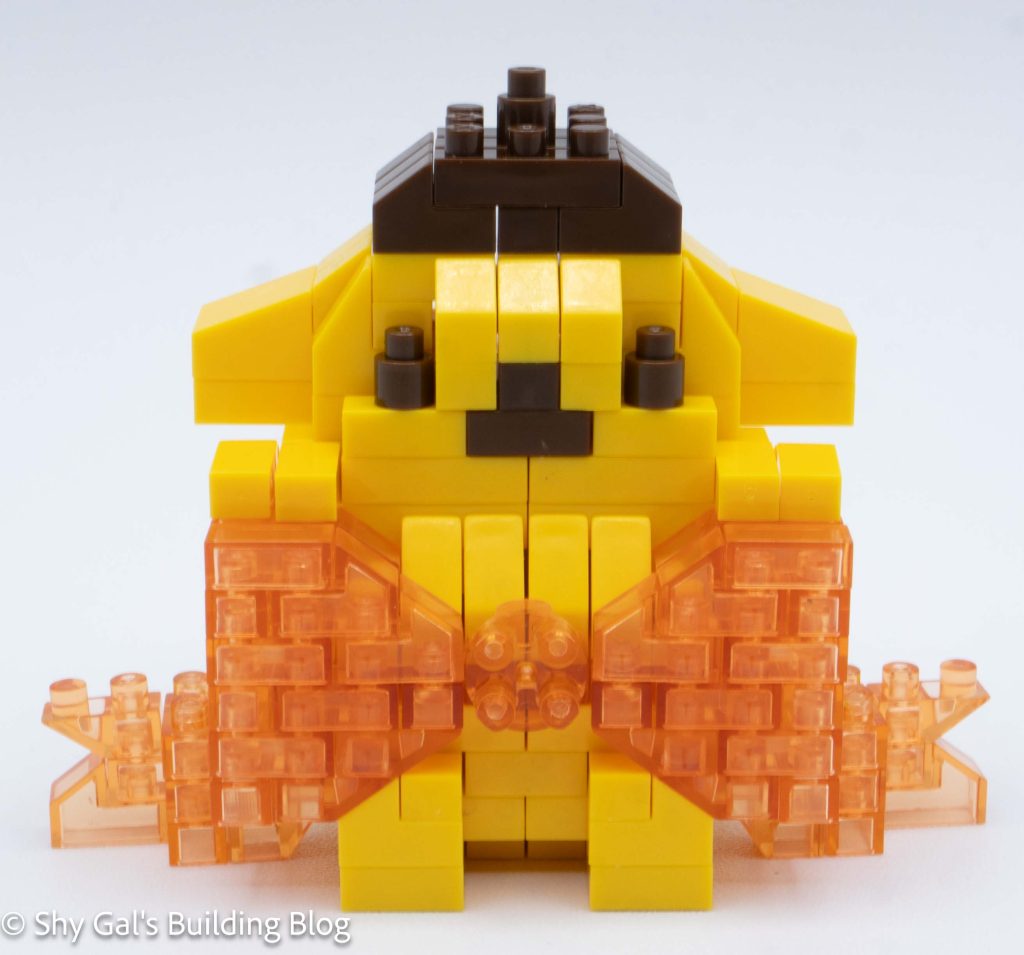
The final step was to add the ends to the ribbons. I like that the bow wraps around Pompompurin.
Things I liked:
I like the depth of the ribbon and how it wraps around Pompompurin
Things I didn’t like:
I didn’t like that the printed block was loose and kept falling apart
This post may contain affiliate links, and I may earn a small commission at no cost to you. This commission allows me to give you more information about brick builds by enabling me to buy more sets. See my full disclosure here .
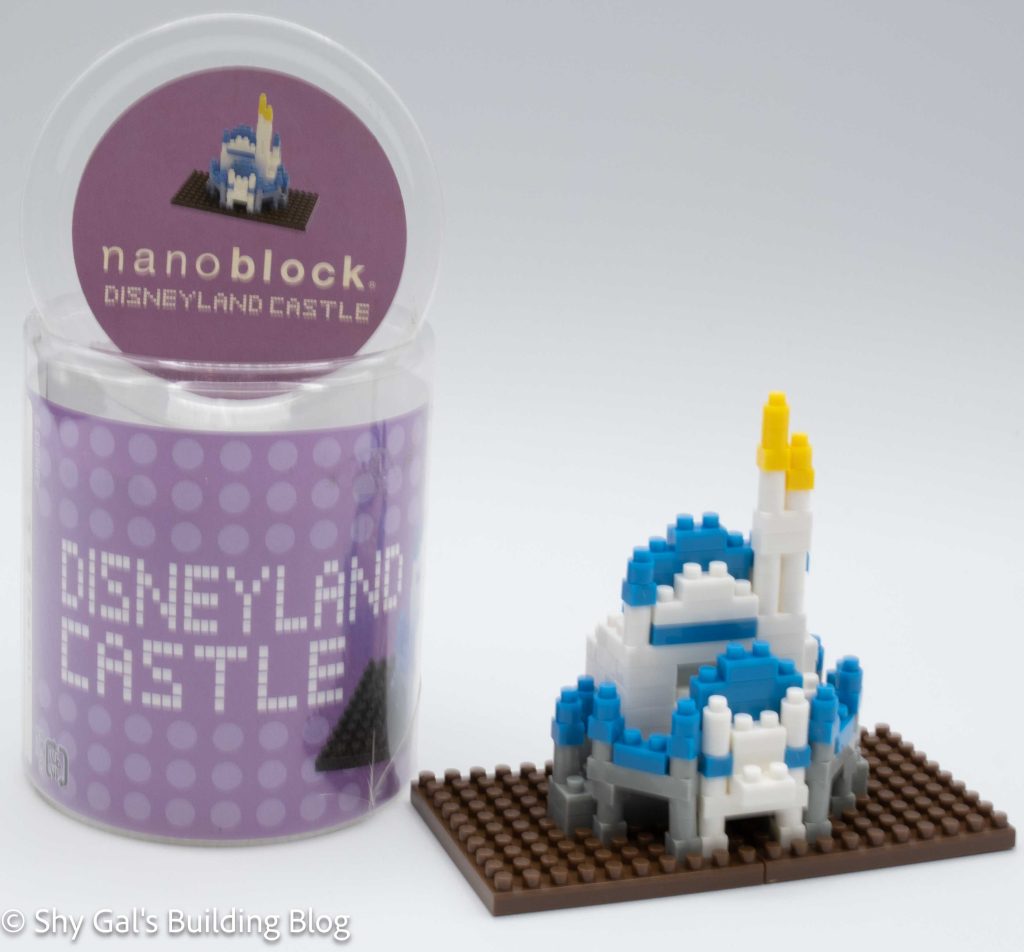
This post is a review of the nanoblock Tokyo Disney Resort Disneyland Castle Canister build. Disneyland Castle Canister is part of the nanoblock Disney Attraction collection. Wondering what else is part of the Disney Attraction collection? Click here for a list.
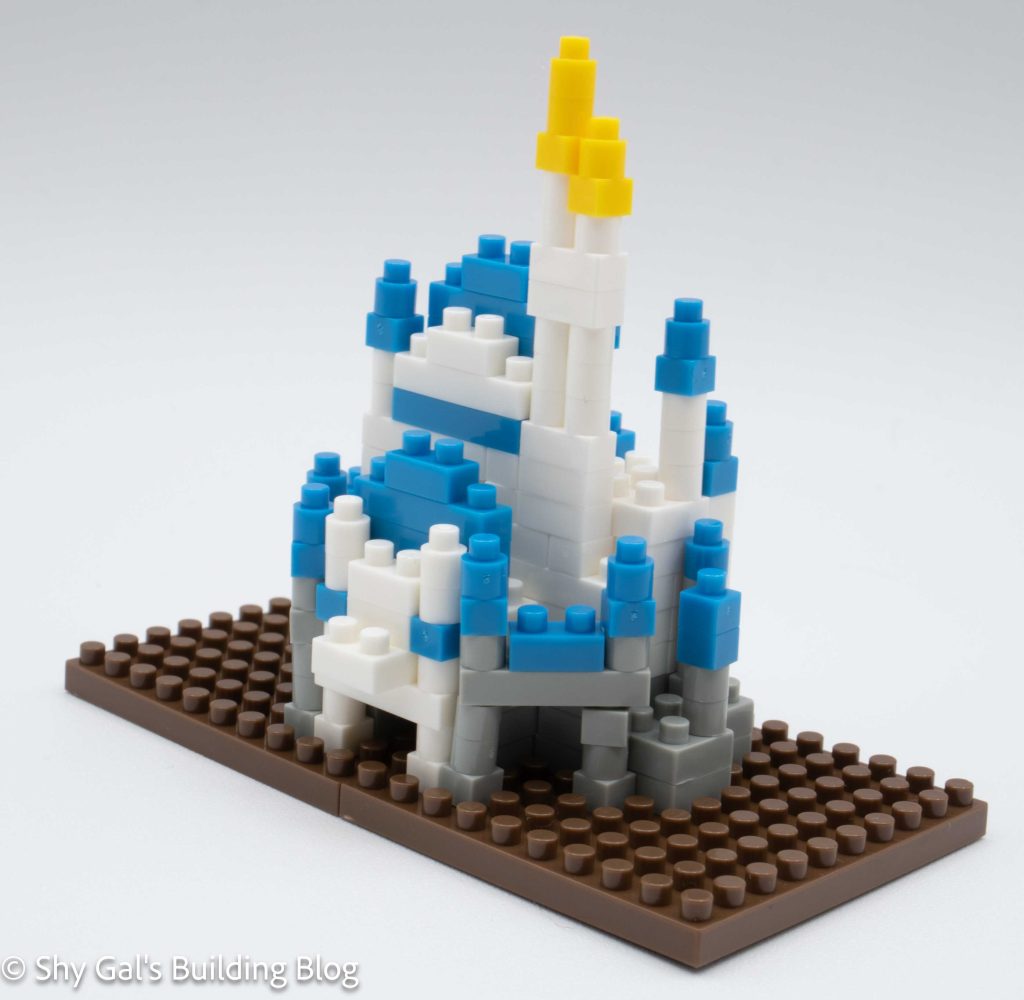
Disneyland Castle, or Cinderella Castle, is the castle in the center of Tokyo Disneyland. There have been several different builds for the castle over the years. This one is the smallest of the builds and comes in a canister instead of a box.
This nanoblock kit was one where the seal was broken. The bricks were still in their original baggies, so as long as I wasn’t missing a bag, I knew I would have all the bricks.
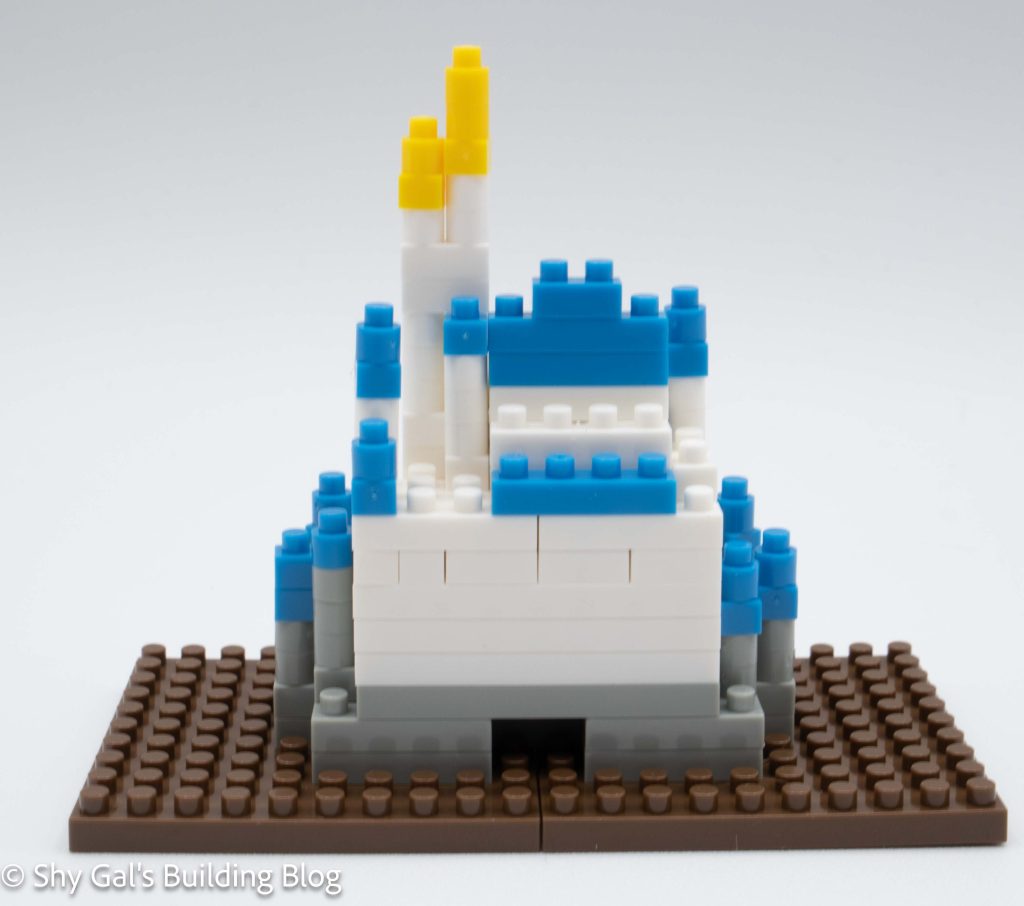
The instructions for this build were slightly different from most of the nanoblock builds I have done because they were in greyscale. You know which bricks to use because each color is labeled using mostly hiragana, so I could at least read the colors. Each step has one shade of grey for each color. This kit only has 4 colors, so each step was fairly easy to tell between shades of grey.
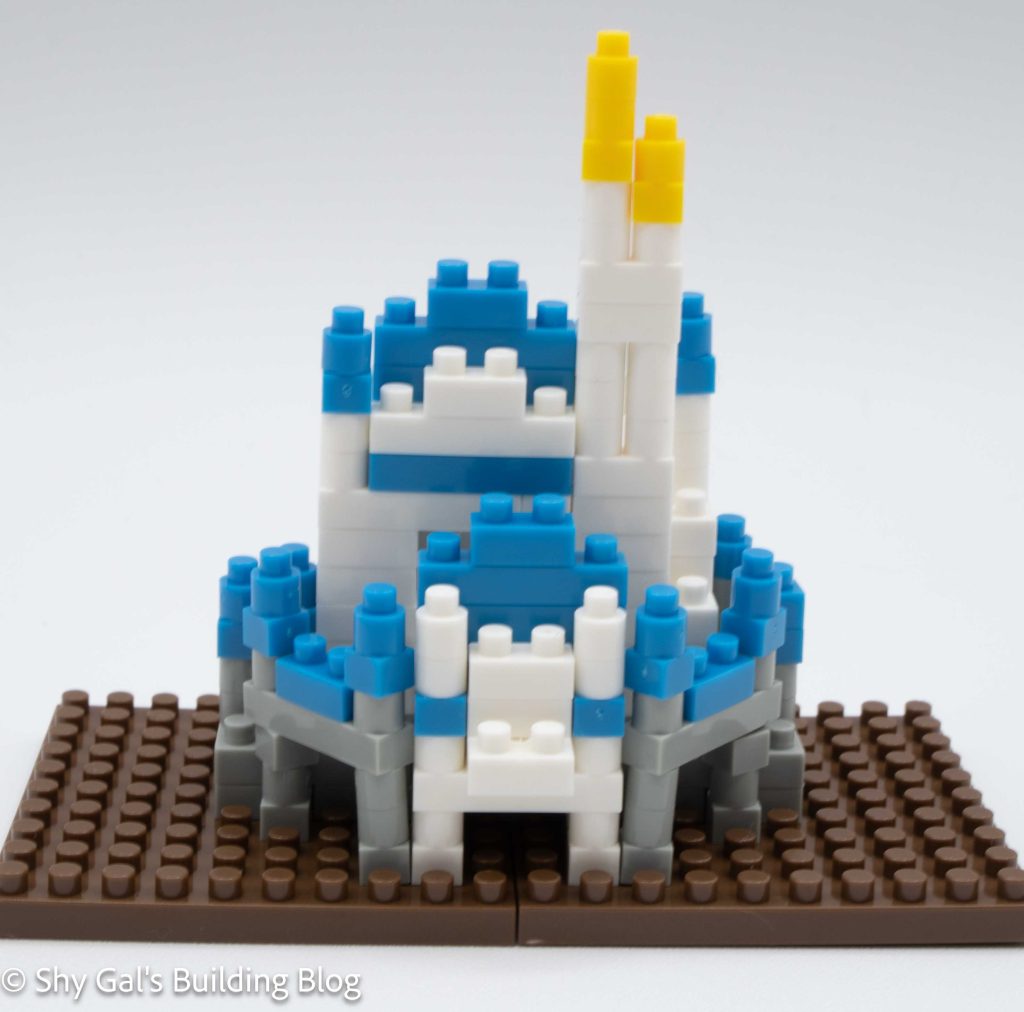
The build begins with lining up 2 brown 10×10 baseplates to create a rectangle. A layer of grey bricks is added to create the foundation of the castle. The next few layers go up in a straightforward manner, and 1×1 bricks are added to create various details.
Step 4 adds my favorite detail of the build. Bricks are added at an angle, which is unusual for a nanoblock build. These slanted bricks create the appearance of a curved wall around the castle.
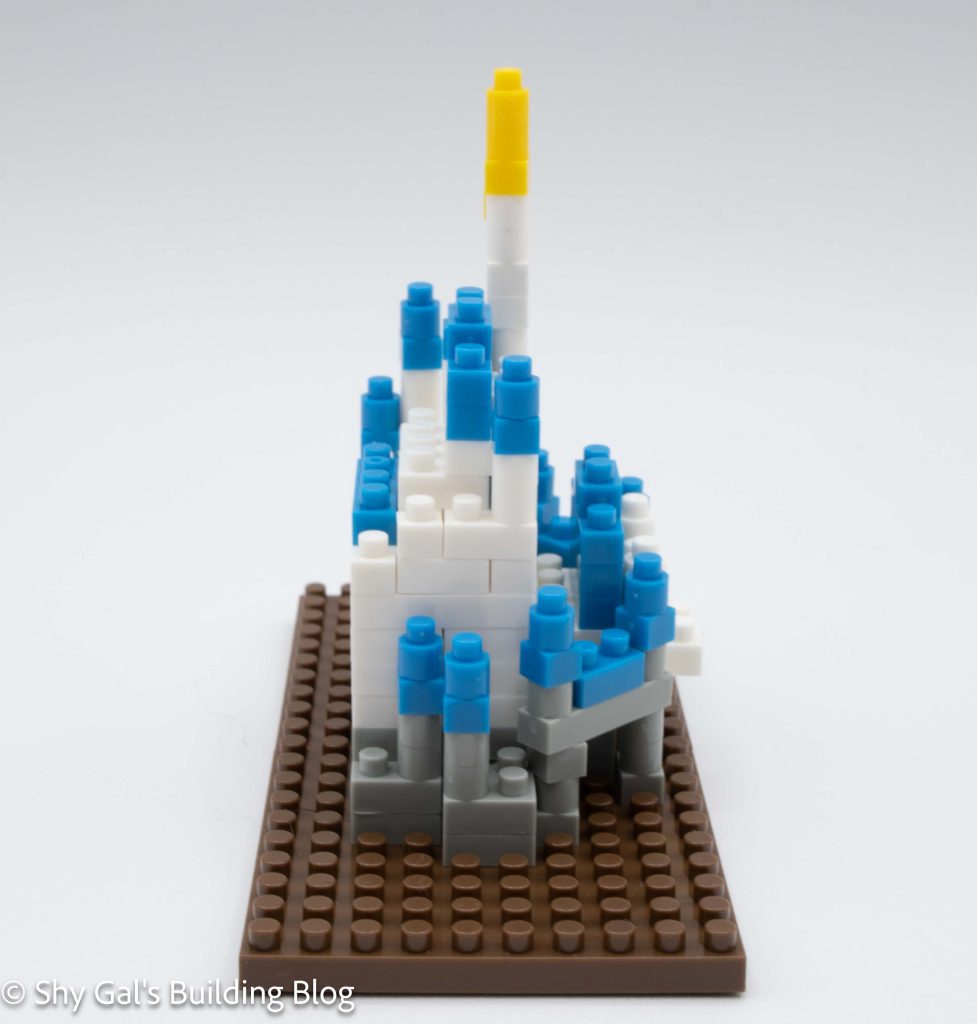
The rest of the build is fairly straightforward. I needed to pay attention to what color to use and which shape 1×1 was needed. The various 1x1s create all the details.
Things I liked:
Getting to practice my Japanese to read the colors
I like how the curve at the front of the castle is created by putting bricks at an angle
Things I didn’t like:
The base doesn’t lie flat. I think it’s because there are so few places the bases are pinned together
This post may contain affiliate links, and I may earn a small commission at no cost to you. This commission allows me to give you more information about brick builds by enabling me to buy more sets. See my full disclosure here .
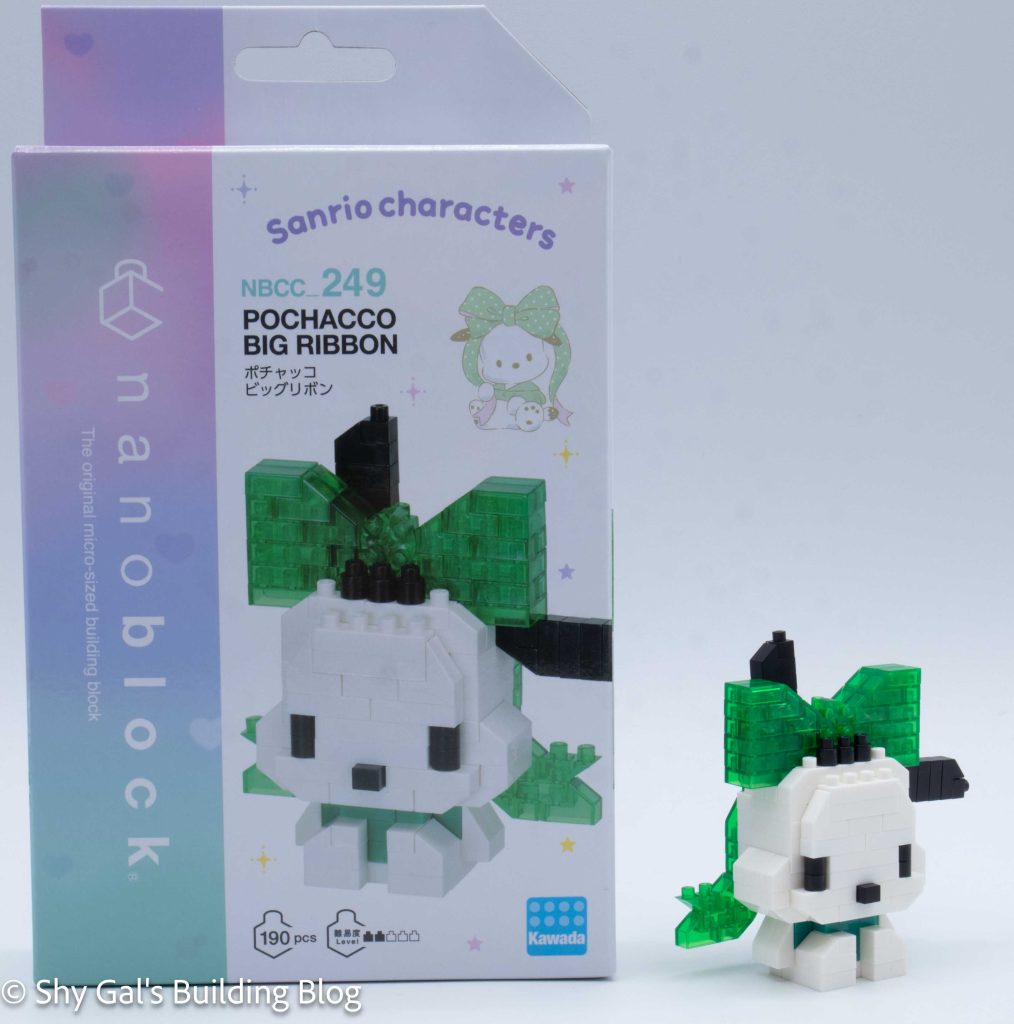
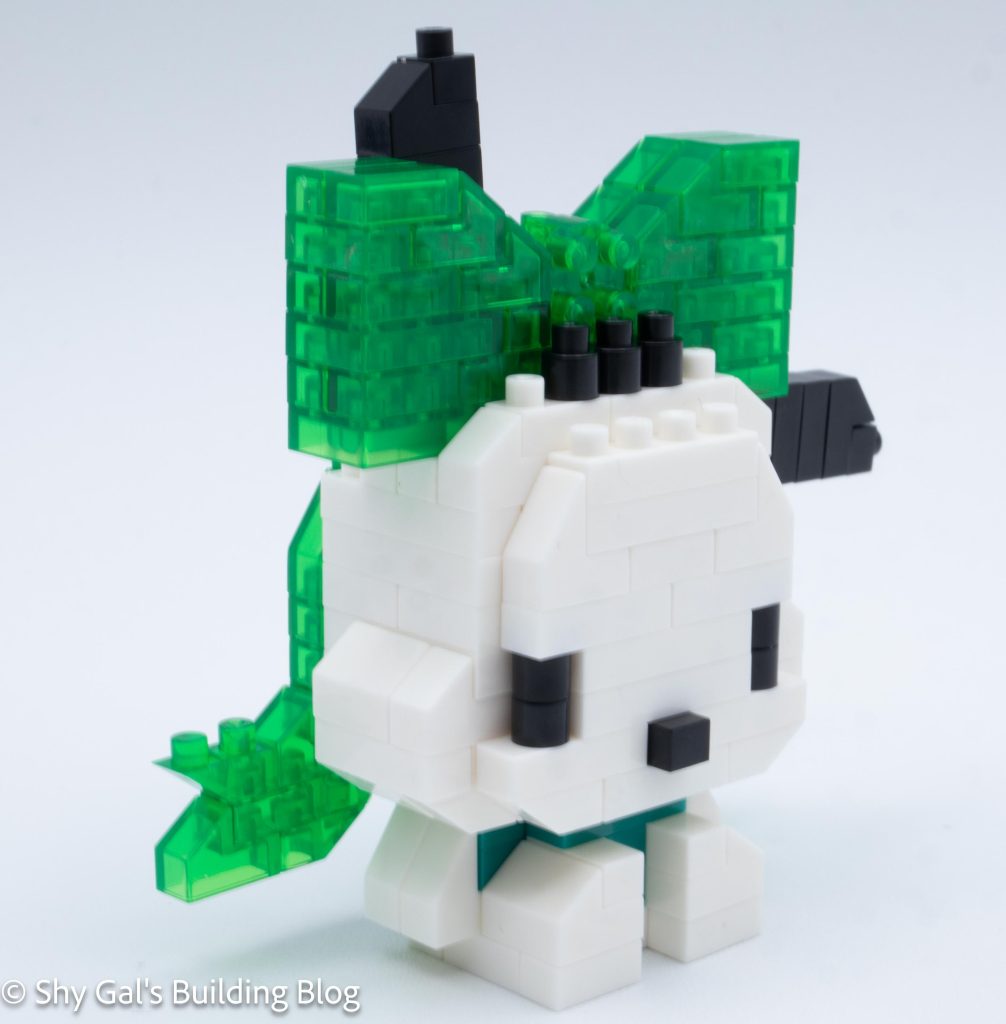
This post is a review of the nanoblock Pochacco Big Ribbon build. Pochacco Big Ribbon is part of the nanoblock Character collection. Wondering what else is part of the Character collection? Click here for a list.
Number: NBCC_249
Number of Pieces: 190
Difficulty Rating: 2/5
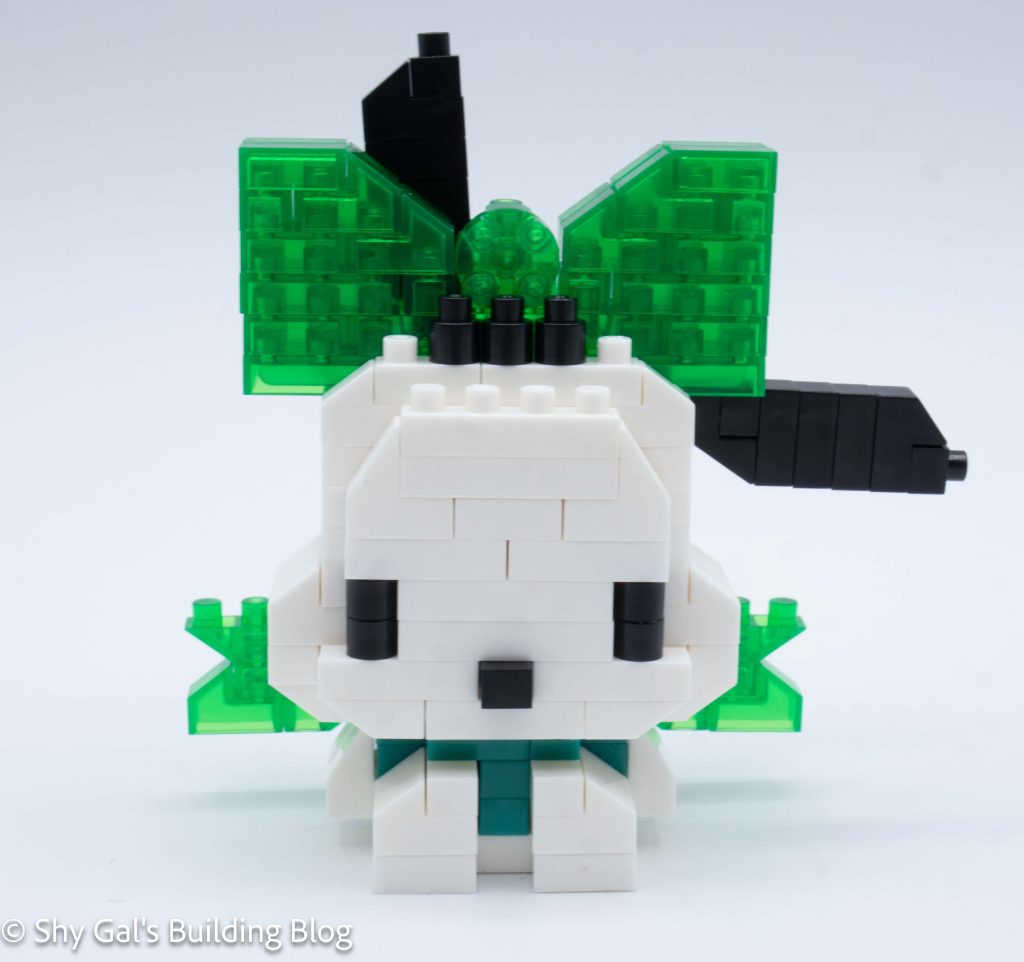
This build is created in 2 segments. There is the head and the body.
I began the head by laying the foundation out on my nanblock pad. It takes 5 steps to create the entire base of the head.
Next, I built the head up in layers. I added the eyes and pulled the bow up along the back of the head.
After several layers, I completed the head, and it was time to focus on the bow.
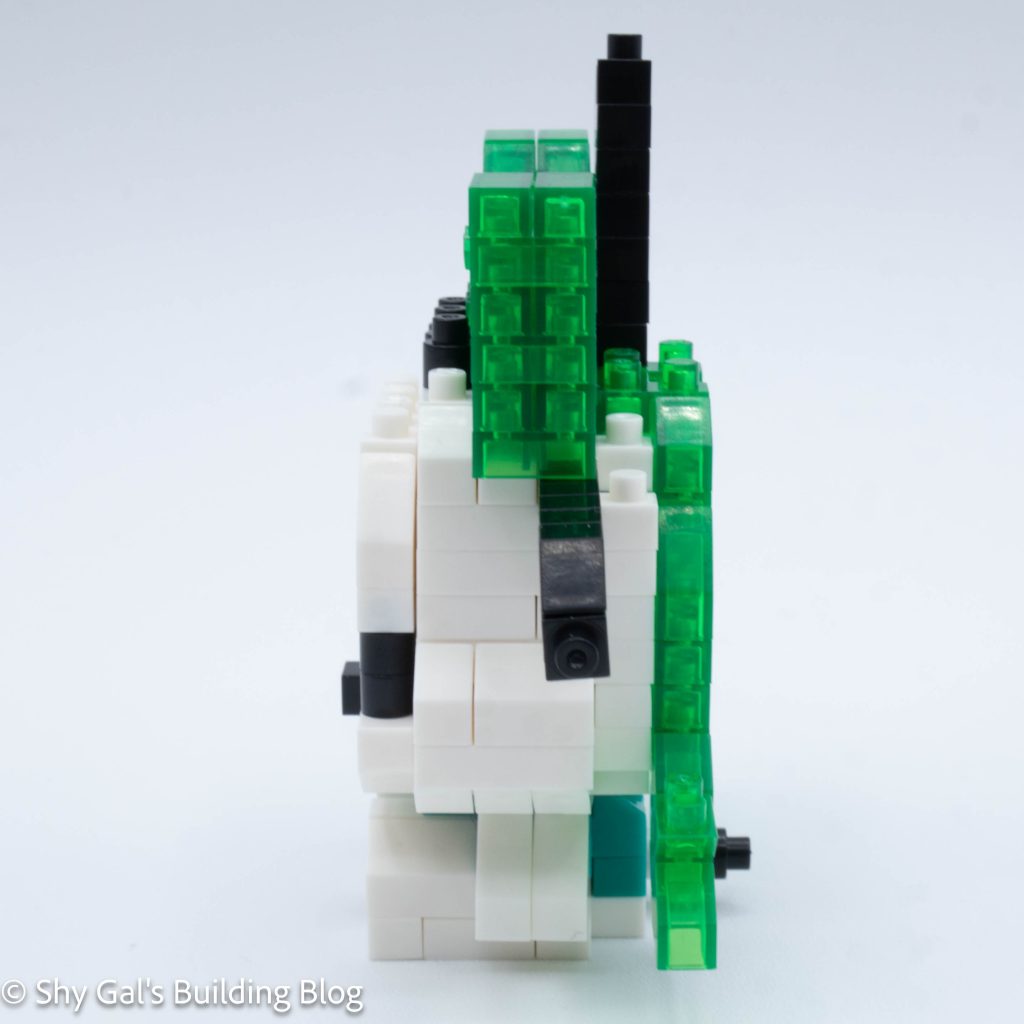
The bow was very straightforward. I began by building up the side of the bow. Then I added the center.
Next, I added the ears and the bottom of the bow. I like that the build keeps Pochacco’s wonky ears and that they don’t both stick up.
I started the body by laying the brick out on the nanoblock pad.
Then I added the bricks on the front to create the legs and added bricks for the arms.
Next, I added some layers to close up the body.
The final step is to attach the head to the body.
Things I liked:
I like how it appears the bow is wrapped around his ear
Things I didn’t like:
I wish his shirt were green, not teal. It looks greener on the box than in person
This post may contain affiliate links, and I may earn a small commission at no cost to you. This commission allows me to give you more information about brick builds by enabling me to buy more sets. See my full disclosure here .
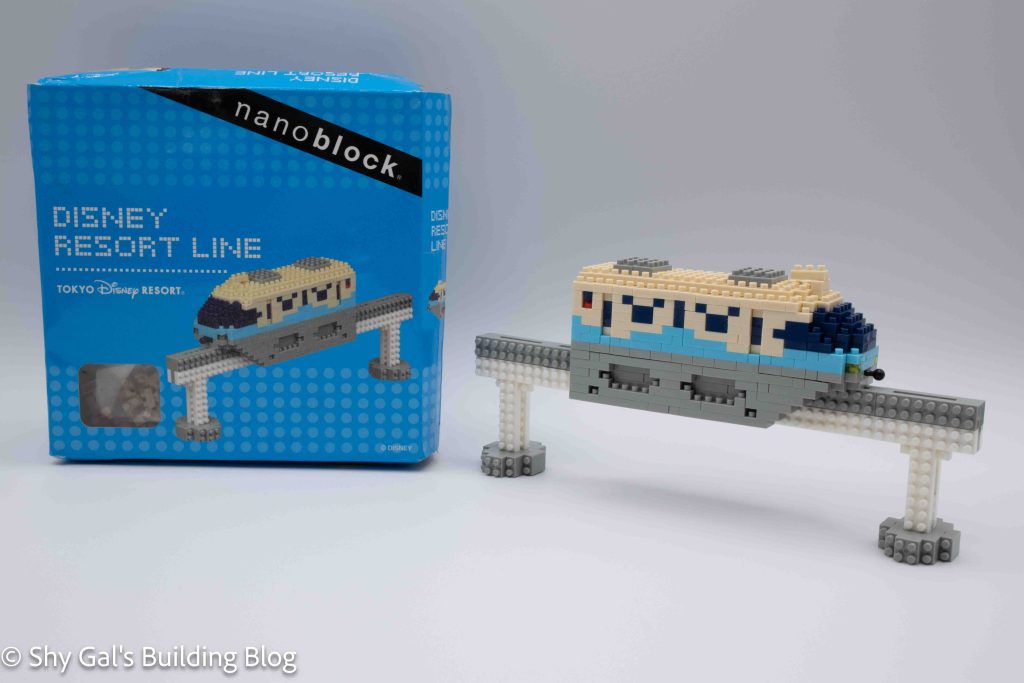
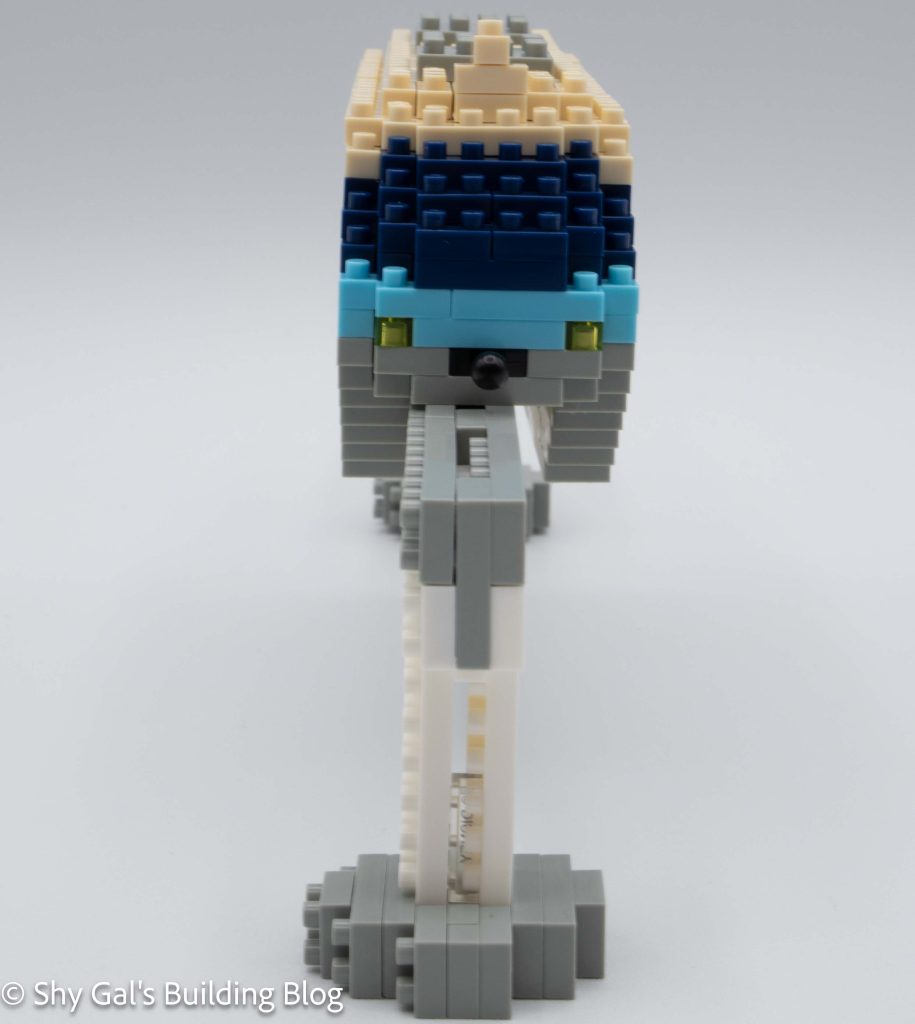
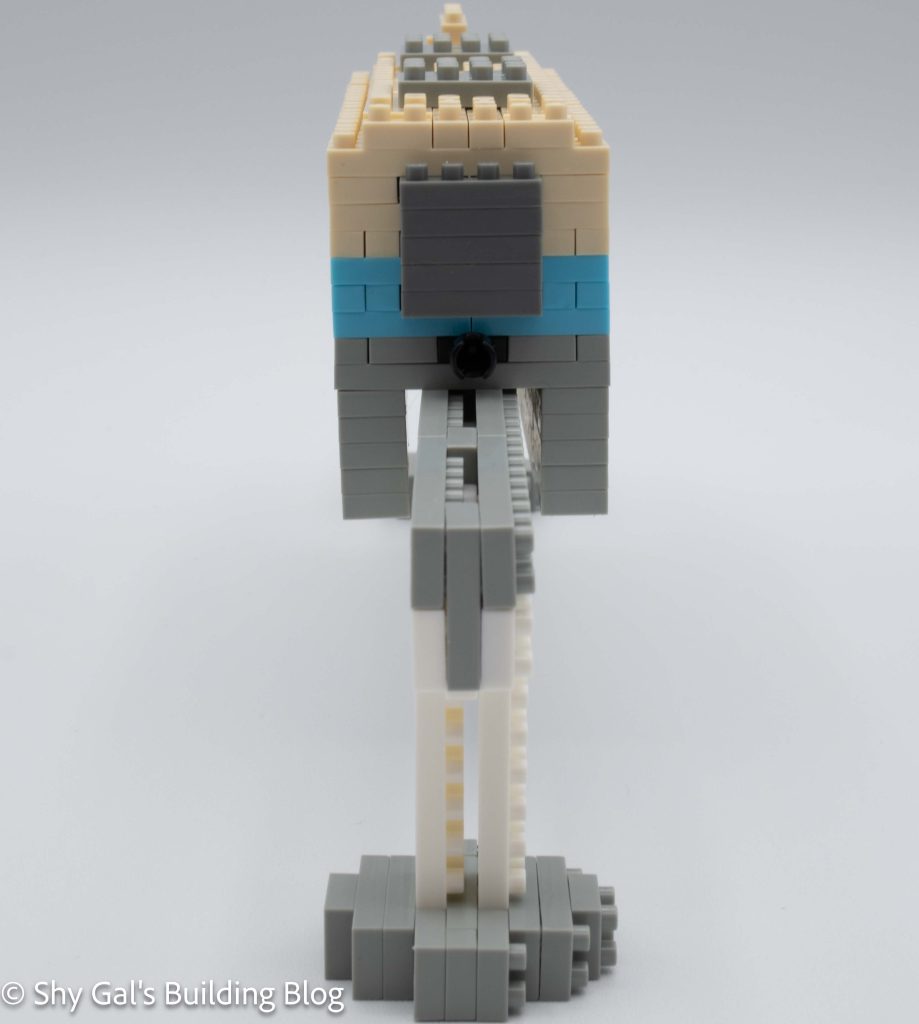
This post is a review of the nanoblock Disney Resort Line build. Disney Resort Line is part of the nanoblock Disney Attraction collection. Wondering what else is part of the Disney Attraction Collection? Click Here for a list.
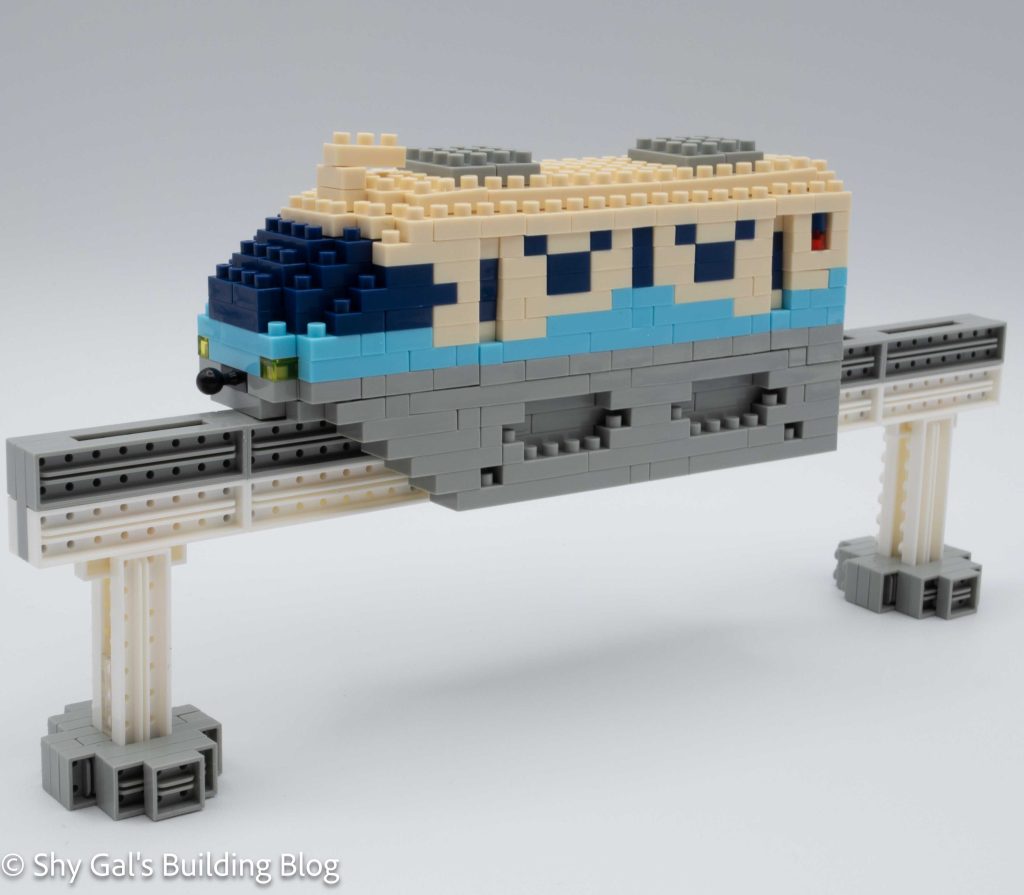
Most of the Disney resorts have a monorail that connects the resorts to the actual park. This is a build of the monorail. I really like the detail of the Mickey ears windows.
This build has 2 major components. There is the Resort Line car and the track.
The track is a unique build because it is actually on its side. Building the track is very straightforward. In one of the steps, you add the bases so that you can stand the build on its feet.
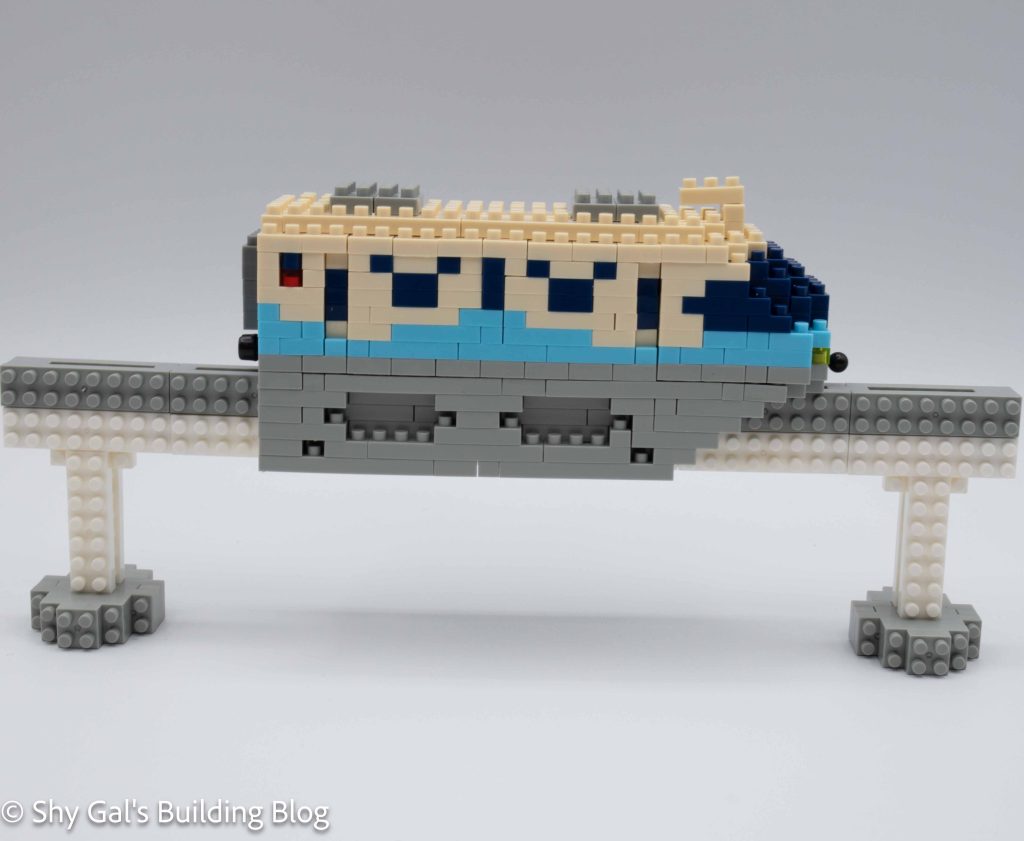
The Resort Line car is broken up into the seating area and the base wings.
The seating area starts as a large grey base with ball joints on the ends. The ball joints made it hard for me to use my nanoblock pad, so by the 3rd layer, I was building in my hands instead of building on the table. As I built the layers, it was easy to push too hard and have the build fall apart. The build is straightforward as long as you are careful to make sure you grab the right colors.
The main cabin is off-white. It is clear when you are building which color to use. However, when the build is finished and is sitting on the track, the main cabin looks dirty, depending on the lighting. Sometimes it looks like a nice build; however, sometimes, it looks dirty and dingy. Maybe more variation between the white on the track and the off-white in the cabin would make it look better in any light.
The monorail has a pair of wings that come off the bottom that hold the monorail on the track. The 2 wings are the same build but mirrored. Overall, the build is straightforward, but it can be a little hard to see where the lines are to see which bricks need to be used when.
Things I liked:
The 2-piece final build, since the monorail can move along the track
The details of the Mickey windows
Things I didn’t like:
The finished build looks dirty because of the use of cream bricks on the monorail and white on the tracks
This post may contain affiliate links, and I may earn a small commission at no cost to you. This commission allows me to give you more information about brick builds by enabling me to buy more sets. See my full disclosure here .
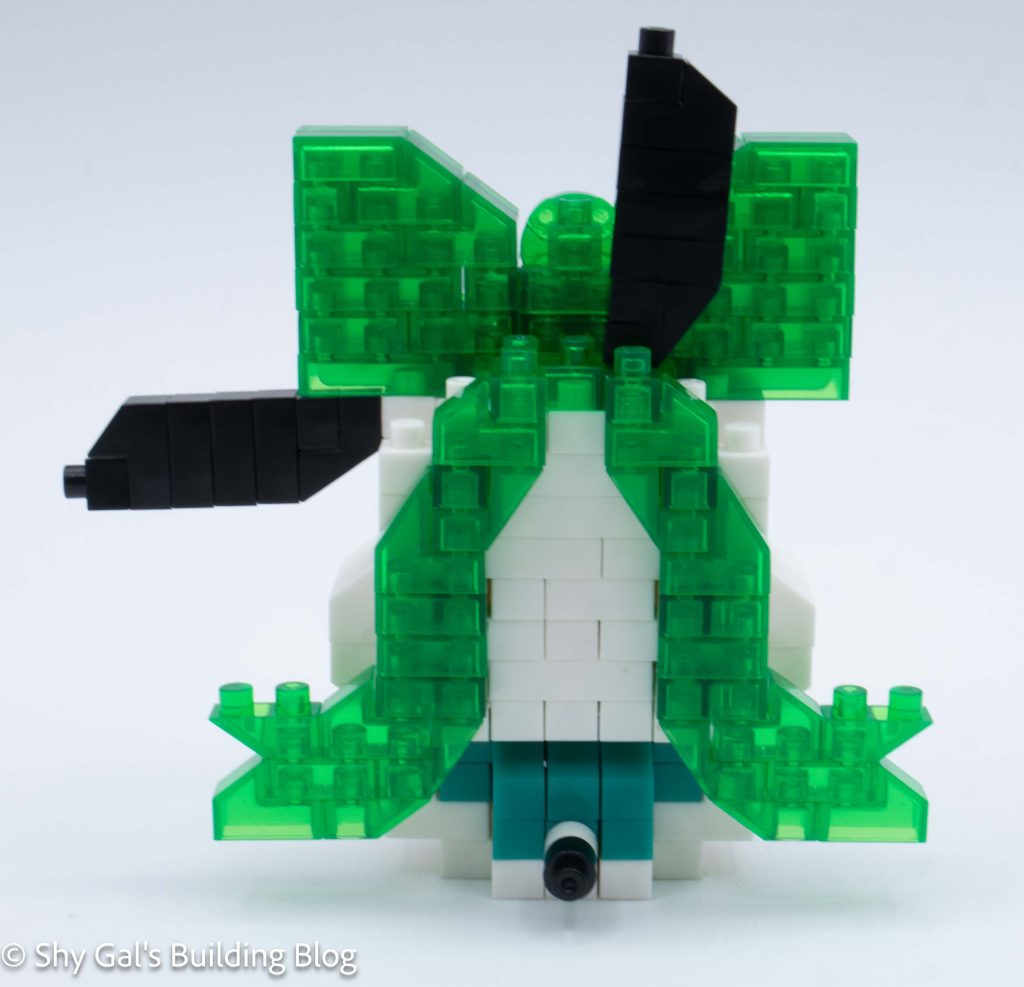
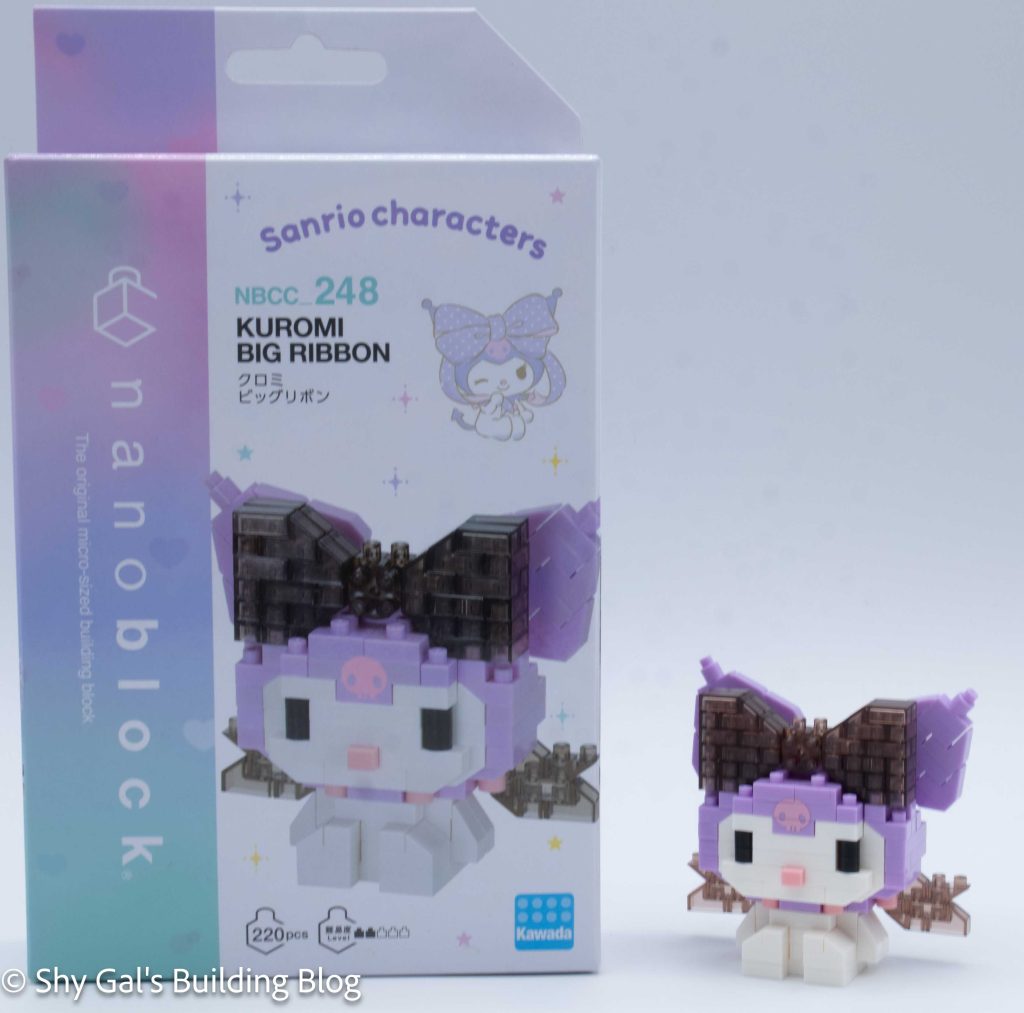
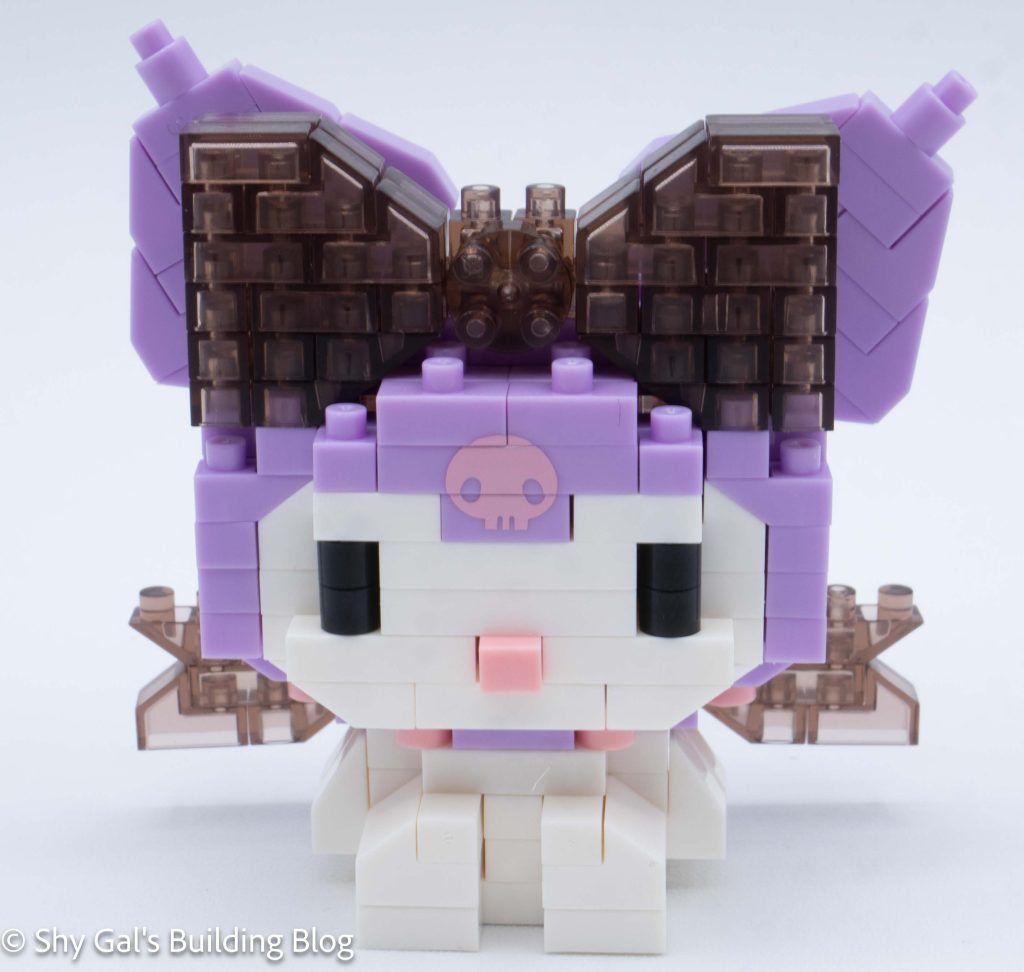
This post is a review of the nanoblock Kuromi Big Ribbon build. Kuromi Big Ribbon is part of the nanoblock Character collection. Wondering what else is part of the Character collection? Click here for a list.
Number: NBCC_248
Number of Pieces: 220
Difficulty Rating: 2/5
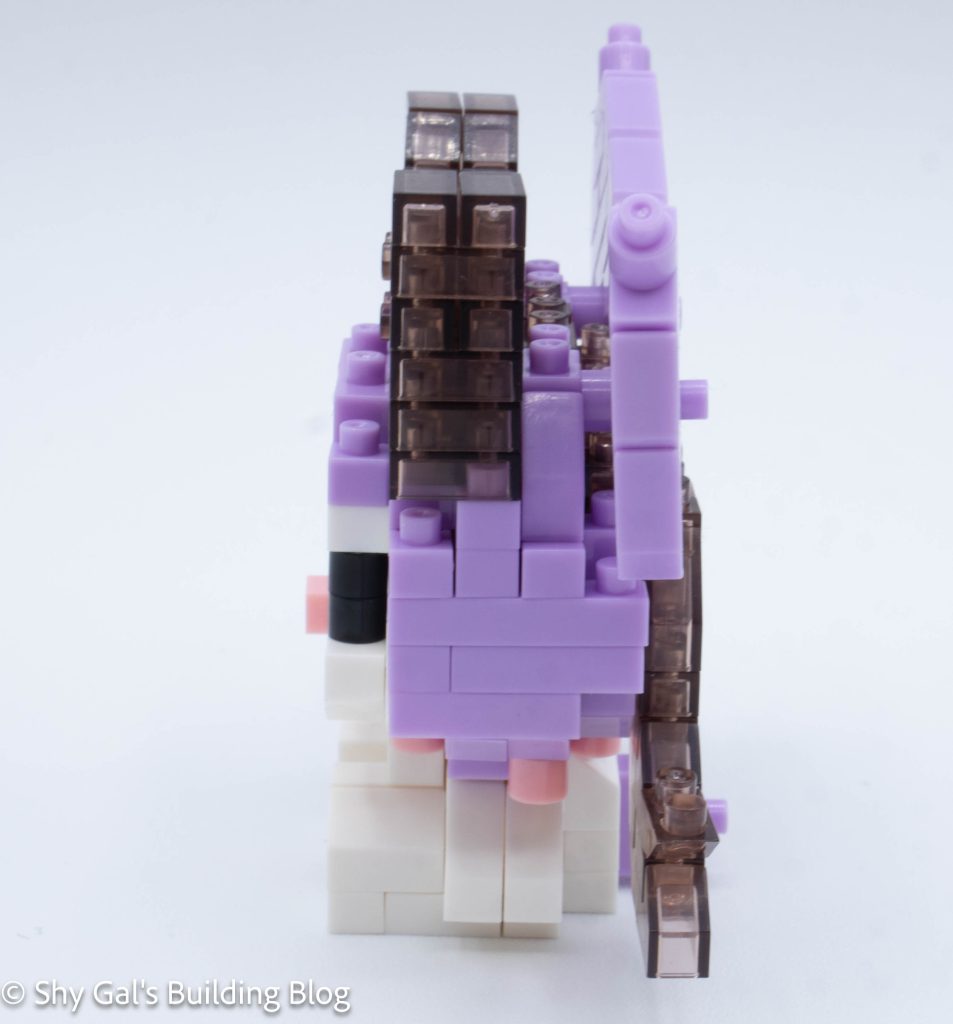
This build is created in 2 segments. There is the head and the body.
I began by laying out the base layer of the head. I wasn’t able to use my nanoblock pad because of the nose.
It takes about 4 steps to complete the foundation of the head and get it to the right size.
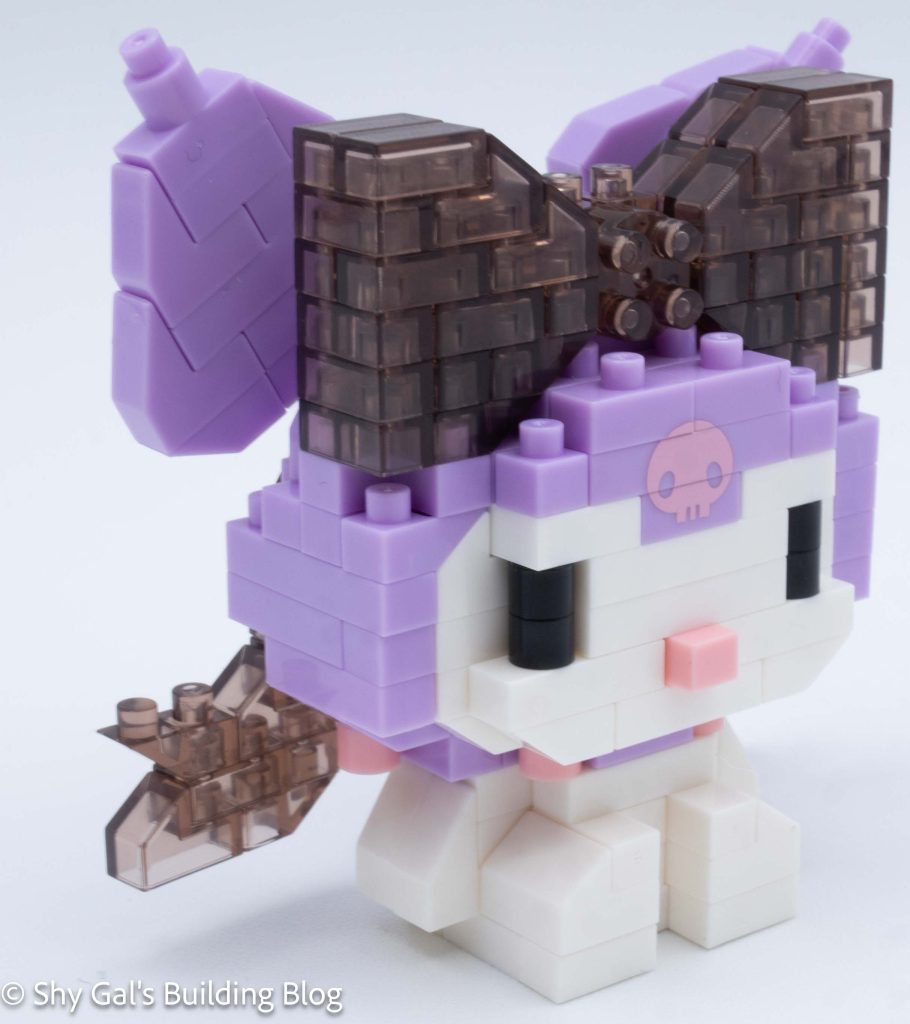
Then I built the head up in layers. These layers added the eyes and printed skull brick.
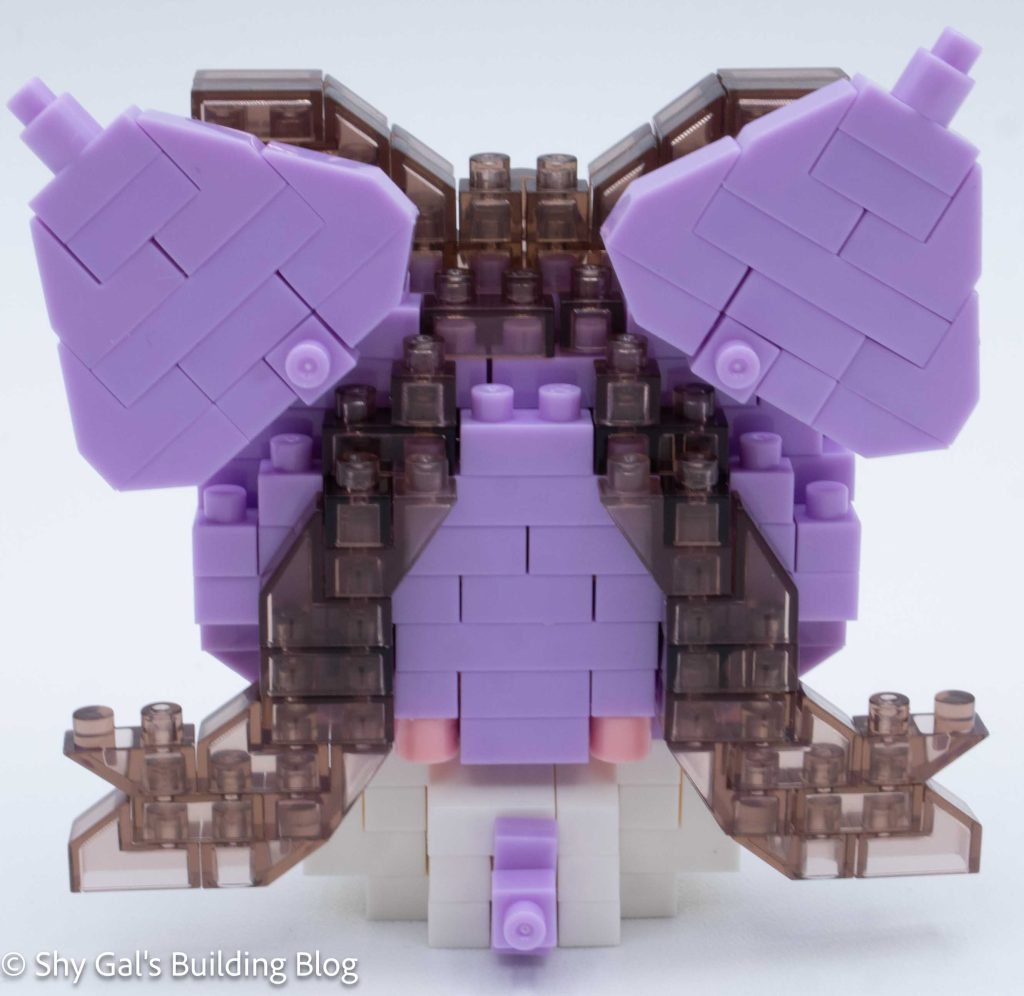
After building the head, I worked on the bow.
Then I flipped the head over and rounded out the bottom of the head. I also added the collar.
Then I added the ears and the bottom of the bow to complete the head.
I started the body by laying the brick out on the nanoblock pad.
Then I added the bricks on the front to create the legs and added bricks for the arms.
Next, I added some layers to close up the body.
The final step is to attach the head to the body.
Things I liked:
I feel that the black bow is very fitting for Kuromi
I like that we were given a printed block for the skull on her head
Things I didn’t like:
I didn’t like that the bottom of the head could easily fall off as I was building the rest of the head