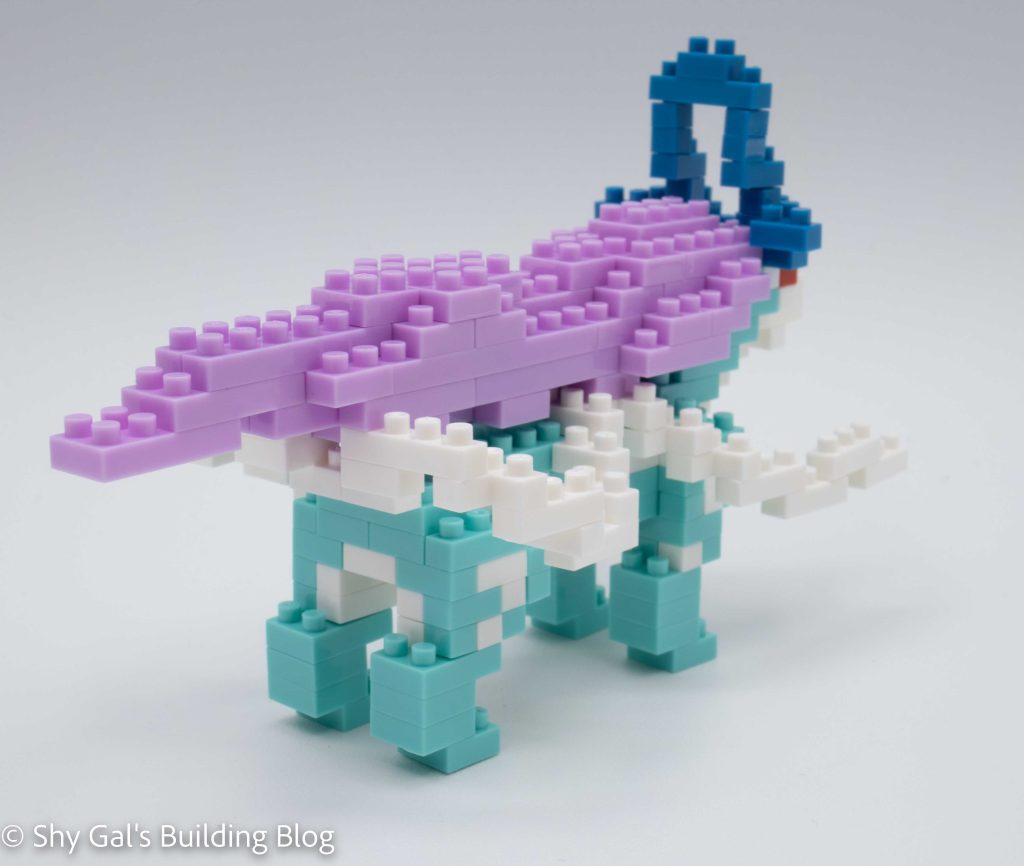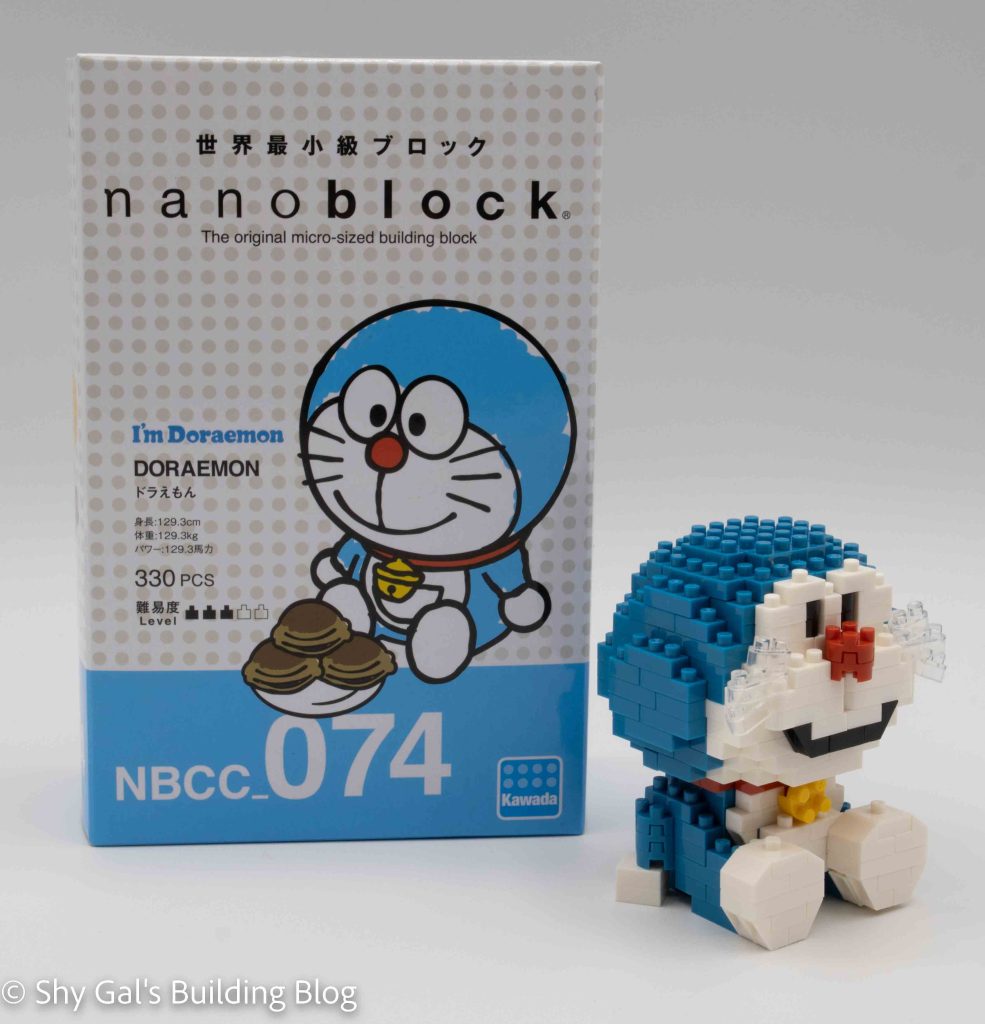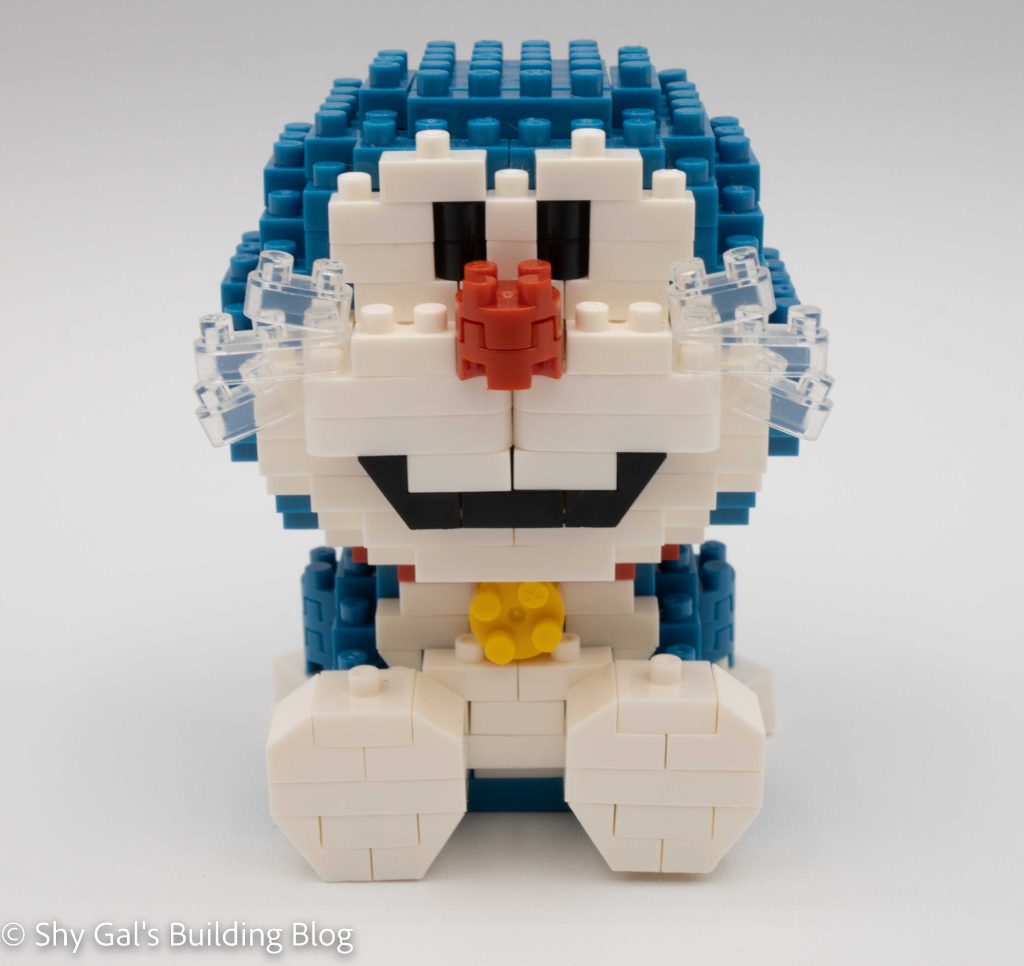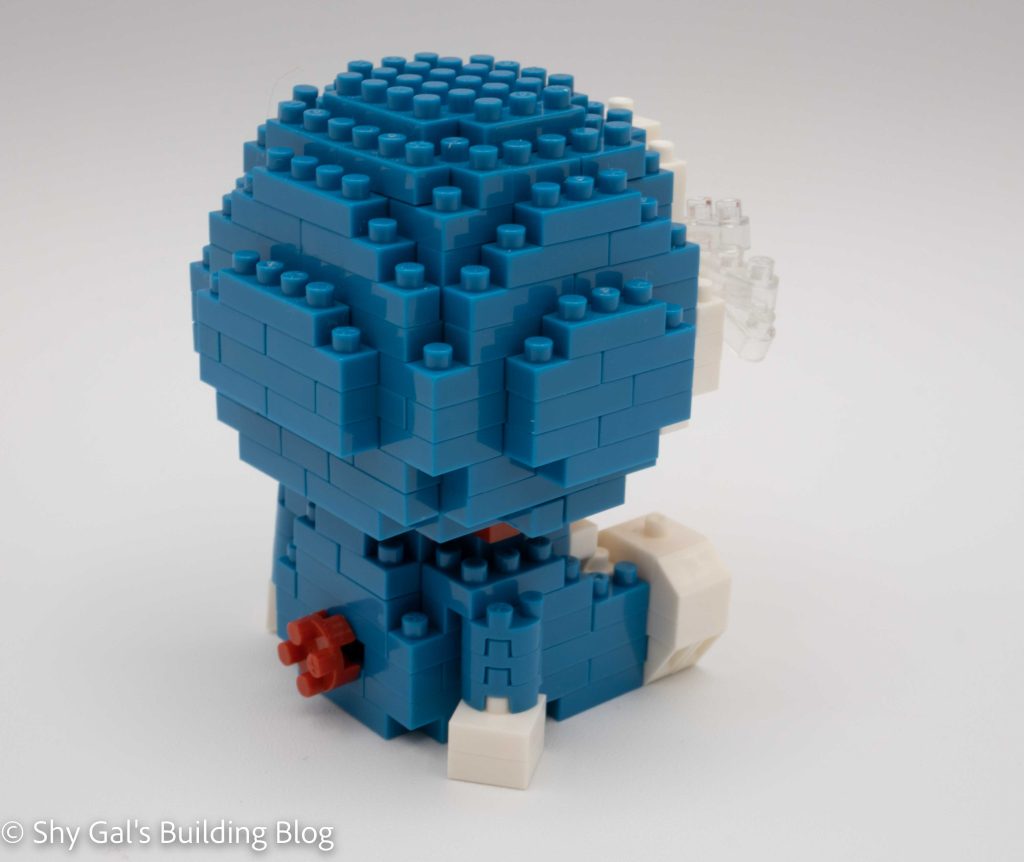
Review of nanoblock Lapras NBPM_009

This post may contain affiliate links, and I may earn a small commission at no cost to you. This commission allows me to give you more information about brick builds by enabling me to buy more sets. See my full disclosure here .
Lapras and packaging

This post is a review of the nanoblock Lapras build. Lapras is part of the nanoblock Pokemon collection. Wondering what else is part of the Pokemon Collection? Click Here for a list.

Names:

  • English: Lapras
  • Japanese: Laplace

Number: NBPM_009

Number of Pieces: 130

Difficulty Rating: 2/5

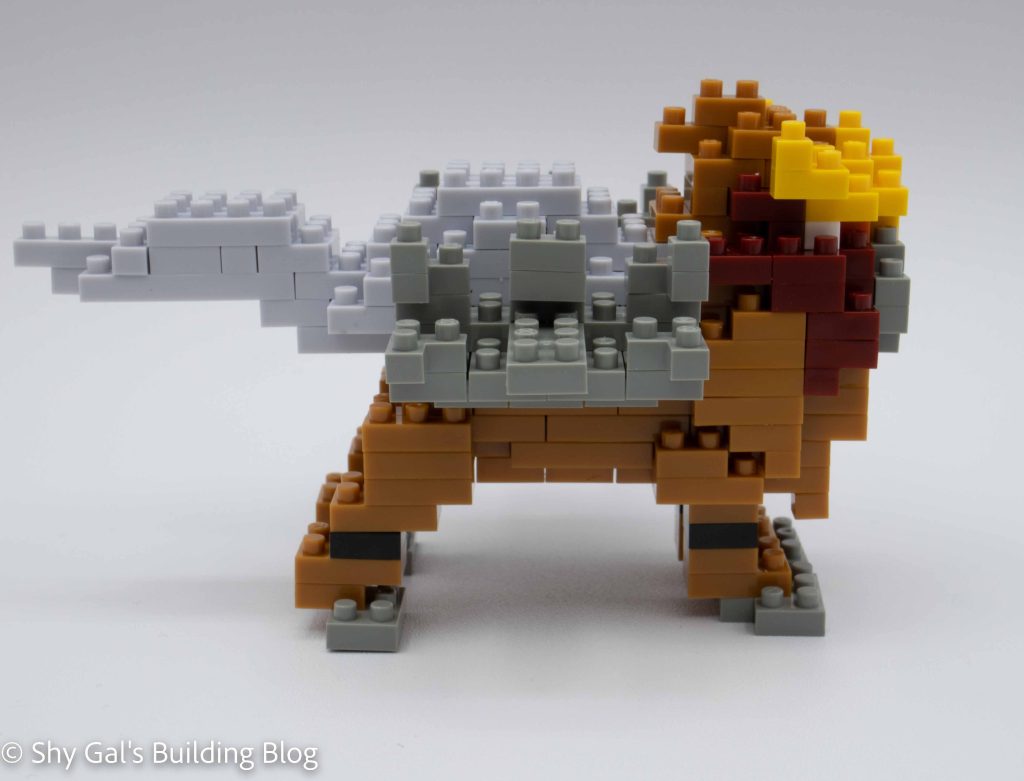
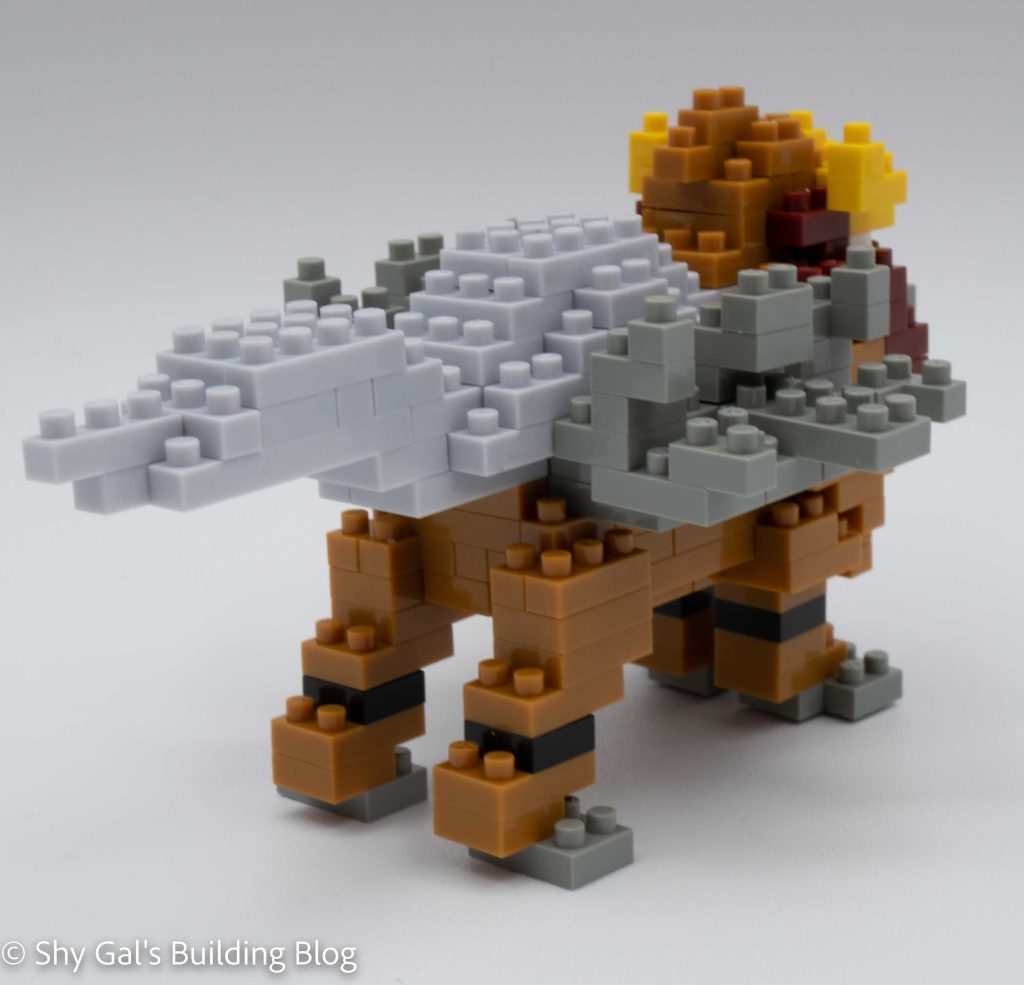
Lapras 3/4 front view

Lapras is a water-type Pokemon generation 1. People are known to ride Lapras in the Anime and you can ride it in the game if the Pokemon knows surf.

This was the first set I got that you build in 2 distinct pieces, the head and the body. The head is a fairly straightforward build, basically building up a rectangle. The body is larger where even the bottom has a gap in it. I had a more challenging time getting the shell built because of the white lines between bricks in the directions.

Overall I enjoyed the build and the end result. Having the 2 different builds allowed a completely different shape for the head from the body.

Lapras side view

Things I liked:

  • Two smaller builds that combine to one build

Things I didn’t like:

  • In the video games the shell is grey not dark

There is a second version of this build that was released as NBPM_056 known as Crystal Lapras.

Link to order: Amazon

Review of nanoblock Snorlax NBPM_012

This post may contain affiliate links, and I may earn a small commission at no cost to you. This commission allows me to give you more information about brick builds by enabling me to buy more sets. See my full disclosure here .
Snorlax build with packaging

This post is a review of the nanoblock Snorlax build. Snorlax is part of the nanoblock Pokemon collection. Wondering what else is part of the Pokemon Collection? Click Here for a list.

Number: NBPM_012

Number of Pieces: 220

Difficulty Rating: 3/5

Snorlax front shot

Snorlax is a favorite when it comes to the Pokemon world. I’m not sure why, to be honest. I just remember getting frustrated that he was blocking my path back in Pokemon Red. I’ve never really used Snorlax in any of the games, but I was excited to build him with his reasonably unique coloring for his main body.

Overall I liked the Snorlax build. It was basically a collection of rings built up to create the rotund pokemon; as with most instructions with very dark blocks, I had some difficulty reading them. For some reason, I have a harder time counting or telling the shapes when the lines between the blocks are white instead of the usual black.

I think Snorlax keeps to the essential thing that is Snorlax the roundness. I find him very recognizable. I wish they had left out the details of his fangs because they are a bit random on his flat face. I also appreciate the clear block added to his bottom that keeps him stable and able to stand up on his own without too much work to balance him.

Snorlax 3/4 from behind

Things I liked:

  • The unique color that makes up the main portion of his body

Things I didn’t like:

  • The true white bricks seem a little awakard on his face.

Link to order: Amazon

Review of nanoblock Charizard NBPM_008

This post may contain affiliate links, and I may earn a small commission at no cost to you. This commission allows me to give you more information about brick builds by enabling me to buy more sets. See my full disclosure here .
Charizard build with package

This post is a review of the nanoblock Charizard build. Charizard is part of the nanoblock Pokemon collection. Wondering what else is part of the Pokemon Collection? Click Here for a list.

Number: NBPM_008

Number of Pieces: 200

Difficulty Rating: 3/5

Charizard 3/4 photo

Charizard is the most popular final evolution of the generation 1 starter Charmander. Even when the other gen. 1 Pokemon haven’t been available in the game, this Pokemon is still there. When mega evolution was introduced in generation 6, Charizard was one of 2 pokemon to get a Pokemon X and a Pokemon Y form.

Charizard is broken down into 5 builds, the body, 2 wings, the head, and tail flame. The body is straightforward and made up of orange and tan bricks. Then there are 2 wings; they are the same but mirrored. I had the most challenging time getting the wings right for some reason. I think my husband ended up fixing the wings. The head was another straightforward, and there are excellent directions for where to attach the head. I love the way that nanoblock uses transparent blocks for the flame tails on the Charmander family.

I would describe the Charizard build as frustrating. I found the wings impossible to put together and he ended up needing a base because it was tippy.

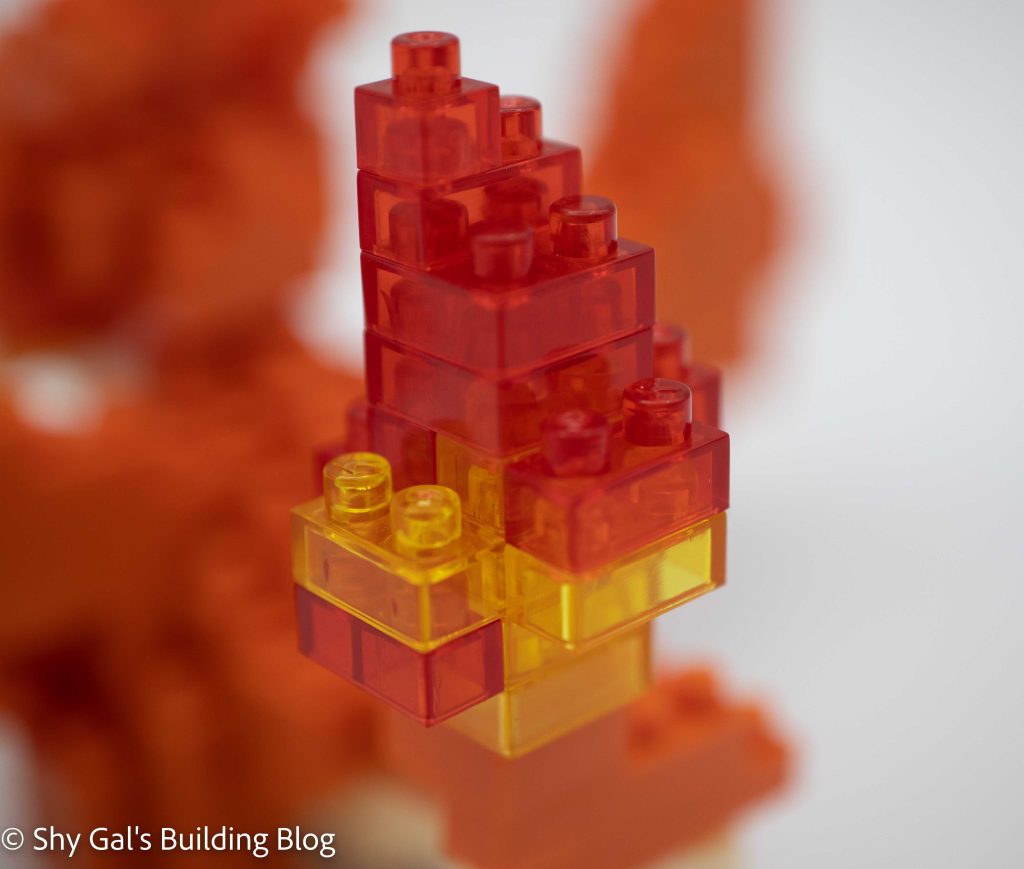
Charizard build tail detail

Things I liked:

  • The transparent bricks that make up the flame on the tail

Things I didn’t like:

  • Tippy and needed to have a base for it

Link to order: Amazon

Review of nanoblock Charmander NBPM_002

This post may contain affiliate links, and I may earn a small commission at no cost to you. This commission allows me to give you more information about brick builds by enabling me to buy more sets. See my full disclosure here .
Charmander build with package

This post is a review of the nanoblock Charmander build. Charmander is part of the nanoblock Pokemon collection. Wondering what else is part of the Pokemon Collection? Click Here for a list.

Number: NBPM_002

Number of Pieces: 120

Difficulty Rating: 2/3

Charmander 3/4 head-on shot

Charmander is by far the most popular of the generation 1 pokemon. I believe that this is because he evolves into the super-powerful Charizard. I personally think he is cute.

Overall, this build has a fairly usual build for the pokemon sets where you start with a base and build your way up through the rest of the build. He is a bit unusual because of the jut out for his tail. The most unique thing about Charmander is that they use transparent blocks for the flame on this tail.

Things I liked:

  • The transparent blocks in the tail

Link to order: Amazon

Review of nanoblock Groudon NBPM_062

This post may contain affiliate links, and I may earn a small commission at no cost to you. This commission allows me to give you more information about brick builds by enabling me to buy more sets. See my full disclosure here .
Groudon build with package

This post is a review of the nanoblock Groudon build. Groudon is part of the nanoblock Pokemon collection. Wondering what else is part of the Pokemon Collection? Click Here for a list.

Number: NBPM_062

Number of Pieces: 290

Difficulty Rating: 3/5

Groudon build 3/4 front

Groudon is one of the 3 legendary Pokemon from generation 3. The 3 legendary pokemon from generation 3 are extremely popular and have appeared in most games since gen 3. The three legendary Pokemon, Kyogre, Groudon, and Rayquaza all remind me a little bit of the traditional art of the Native Americans of the Pacific Northwest with how their lines are drawn and the use of rings.

Groudon is the type of build that I like. It has a reasonable number of steps for the size of what you get and a lot of details. There are several cutouts to show you how to get the detail. Overall the steps are clear and straightforward, which is excellent for the amount of detail. Groudon sits on wide feet, so he is very stable when sitting on a table.

Groudon build side shot

Things I liked:

  • The amount of detail over all

Link to order: Amazon

Review of nanoblock Kyogre NBPM_063

This post may contain affiliate links, and I may earn a small commission at no cost to you. This commission allows me to give you more information about brick builds by enabling me to buy more sets. See my full disclosure here .
Kyogre build with package

This post is a review of the nanoblock Kyogre build. Kyogre is part of the nanoblock Pokemon collection. Wondering what else is part of the Pokemon Collection? Click Here for a list.

Number: NBPM_063

Number of Pieces: 260

Difficulty Rating: 3/5

Kyogre build from front

Kyogre is one of the 3 legendary Pokemon from generation 3. The 3 legendary pokemon from generation 3 are extremely popular and have appeared in most games since gen 3. The three legendary Pokemon, Kyogre, Groudon, and Rayquaza all remind me a little bit of the traditional art of the Native Americans of the Pacific Northwest with how their lines are drawn and the use of rings.

Kyogre is symmetrical like a lot of the pokemon builds. However, unlike most builds, the instructions are on both sides of the page. The build goes from building a solid base to creating the body and tail of the whale. The second page has the directions for the fins and adds a layer to the bottom of the whale. I find the upside-down instructions hard to read because I always feel like I’m guessing between a 2×3 and 2×4.

Overall, I enjoyed the build, and it created a Kyogre that looks a lot like the Pokemon. However, Kyogre is on a stand that isn’t big enough, so it is tippy and not very stable.

Kyogre from back 3/4

Things I liked:

  • Highly reconizable

Things I didn’t like:

  • Isn’t stable on the stand

Link to order: Amazon

Review of nanoblock Yamper NBPM_069

This post may contain affiliate links, and I may earn a small commission at no cost to you. This commission allows me to give you more information about brick builds by enabling me to buy more sets. See my full disclosure here .
Yamper build with package

This post is a review of the nanoblock Yamper build. Yamper is part of the nanoblock Pokemon collection. Wondering what else is part of the Pokemon Collection? Click Here for a list.

Name:

  • English: Yamper
  • Japansese: Wanpachi

Number: NBPM-069

Number of Pieces: 120

Difficulty Rating: 2/5

Yamper front on

Yamper is one of my favorite pokemon from Gen 7, so I was super excited to order him. In fact, I ordered 3, so I could try customizing him. While I haven’t gotten around to a custom build, I have built Yamper following the directions. Overall, I think he came out cute.

Yamper starts with the typical pattern of laying out a collection of bricks as a solid base(white to make the stomach. Overall it wasn’t too complicated to build since it is basically a rectangle body with a square head on top.

There are a couple things I don’t like about him. Most pokemon have black eyes, so it is clear where they are, but Yamper has green and light grey, so it’s hard to see in the shadows. The other detail I don’t care for is his tail isn’t centered on his back. Because his tail is one brick wide and his body is an even number of studs in width, it’s not possible to get a centered tail.

Yamper 3/4 from back

Things I liked:

  • Simple build (no tipping over mid-build)
  • A cute result that you can tell what you are looking at

Things I didn’t like:

  • Eyes are hard to see
  • The tail isn’t centered like a real dog’s would be

Link to order: Amazon

Welcome

Hello and Welcome to my Blog!

A lot of this information is on my about me page, but I want to take the time to introduce myself. I am currently a full-time graduate student in Computer Science.

A few years ago, I was going through a rough patch where my anxiety was out of control. I started looking for things to help. One of the few things I have found that help is building brick kits. I keep a collection of bricks to have on hand if my stress gets out of hand. The kits I save off tend to be more significant, like the LEGO modular buildings that don’t have stickers.

Nowadays, I spend a lot of my free time building LEGO and nanoblock kits. I collect the Pokemon nanoblock, and in terms of LEGO, I collect the modular buildings, BrickHeadz, seasonal sets, such as the bunnies around Easter.

I want to share what I like and what I don’t like about specific builds. This is because I want people to find suitable kits for them. I have gone through trial and error to figure out what makes for a “good” kit, in my opinion. In order to get a lot of nanoblocks, you have to go to eBay or import through a third-party vendor, so there is a higher cost involved in just getting started. A large LEGO set can begin at $100 and quickly go up from there. I want people to have another opinion as to whether or not a kit is worth the investment before purchasing.

I also plan to share some of my work in progress (WIP) so that you can see what things look like mid-build. I’m only planning on sharing the WIP for the larger builds that I build over a few days.

I have posted a link to make a purchase I will do my best to keep the links updated if for example the items are no longer listed on the site.

Again welcome to my new blog. I hope you enjoy my posts, and please let me know if there is more information you want to know!