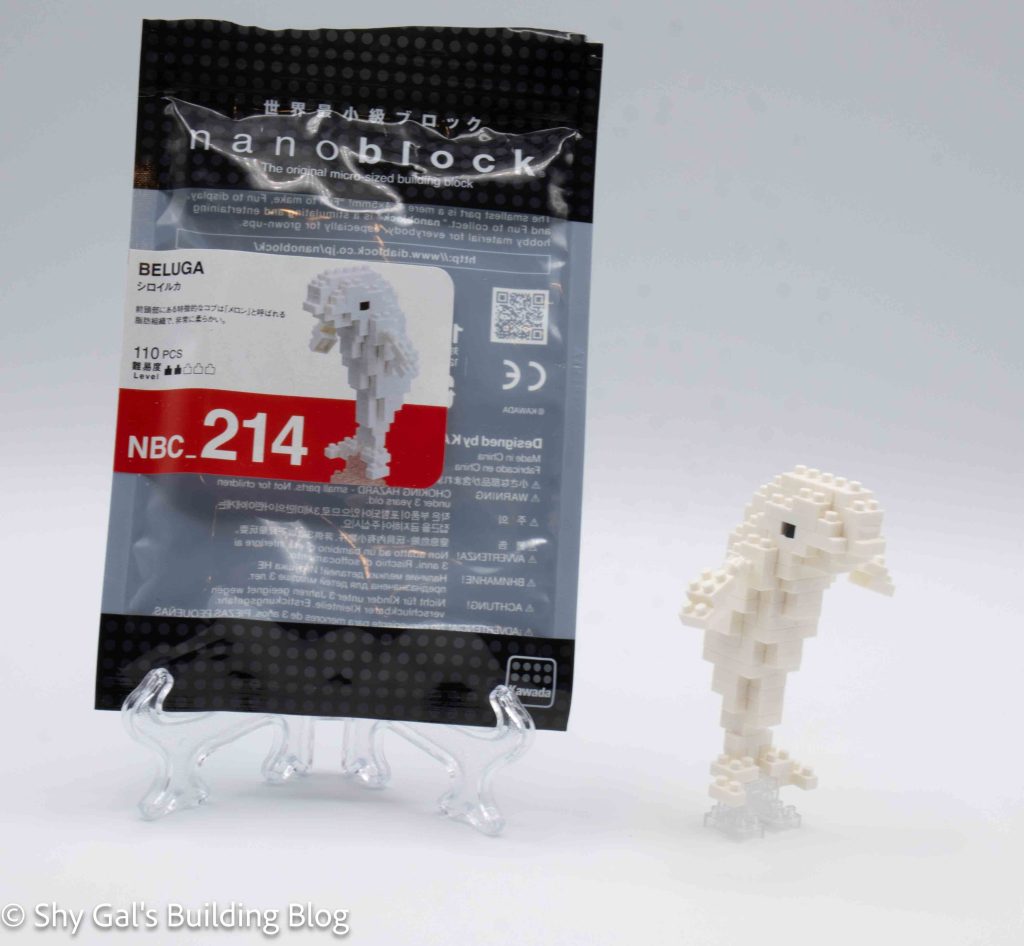
This post is a review of the nanoblock Statue of Liberty build. The Statue of Liberty is part of the nanoblock Advanced Hobby collection. Wondering what else is part of the Advanced Hobby Collection? Click Here for a list.
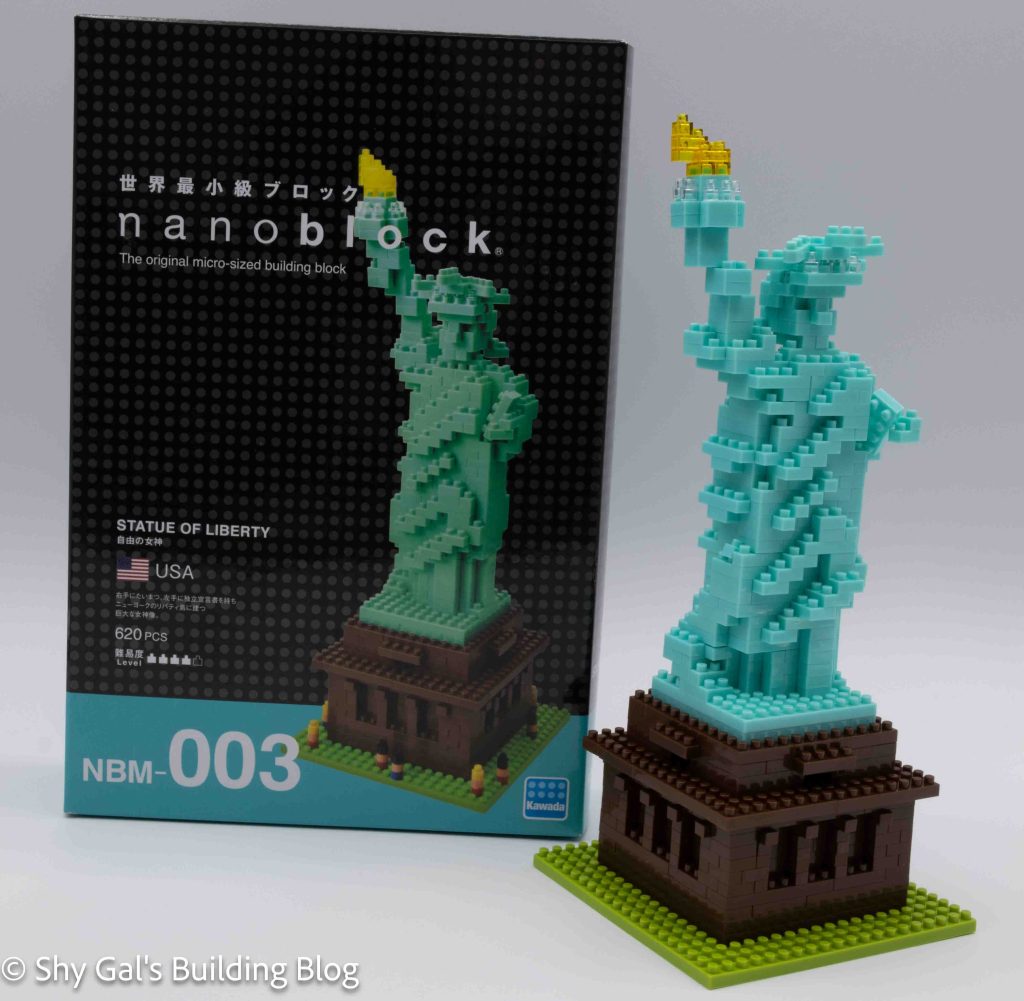
Number: NBM-003
Country: USA
Number of Pieces: 620
Difficulty Rating: 4/5
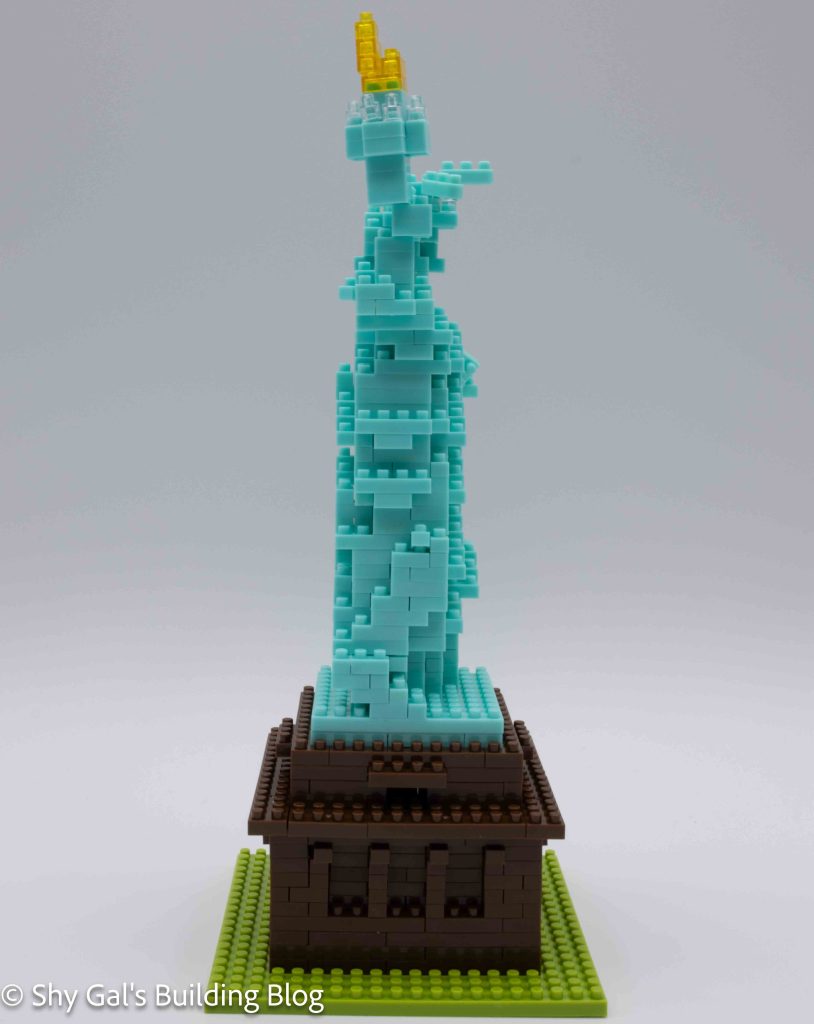
This build is made up of 2 major parts. There is the base and the actual statue.
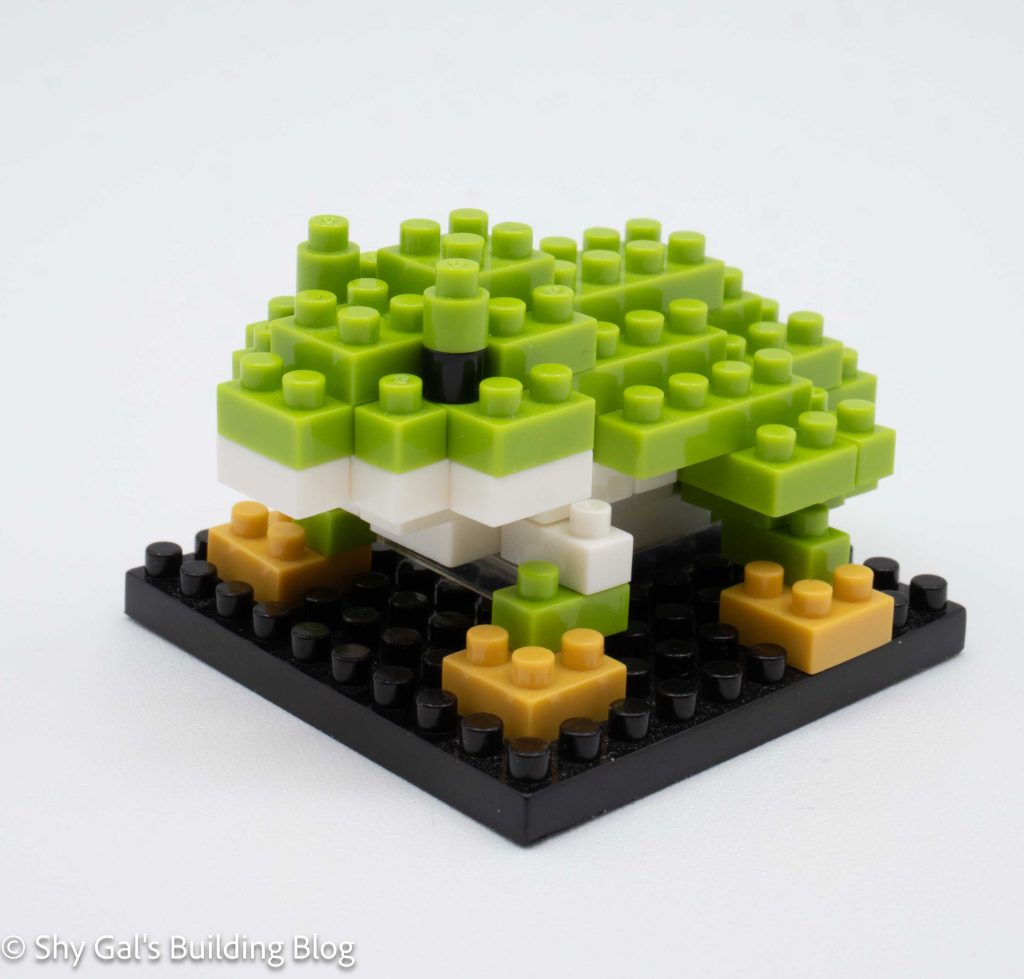
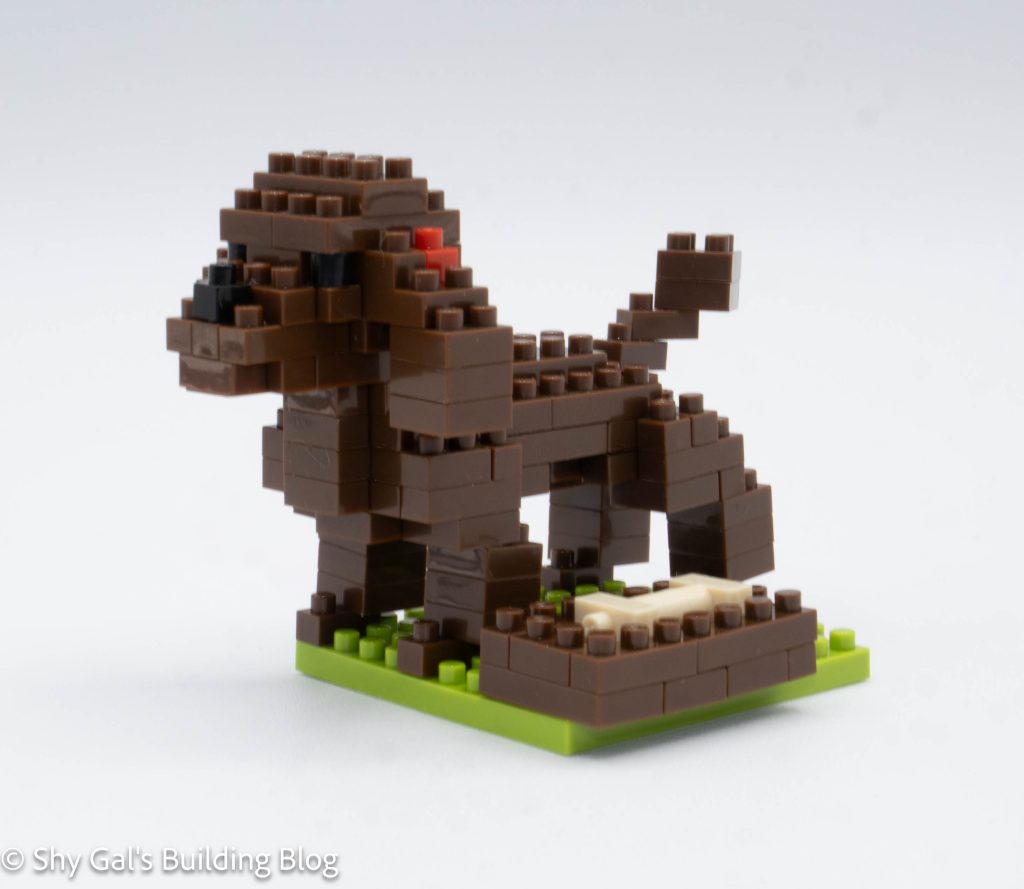
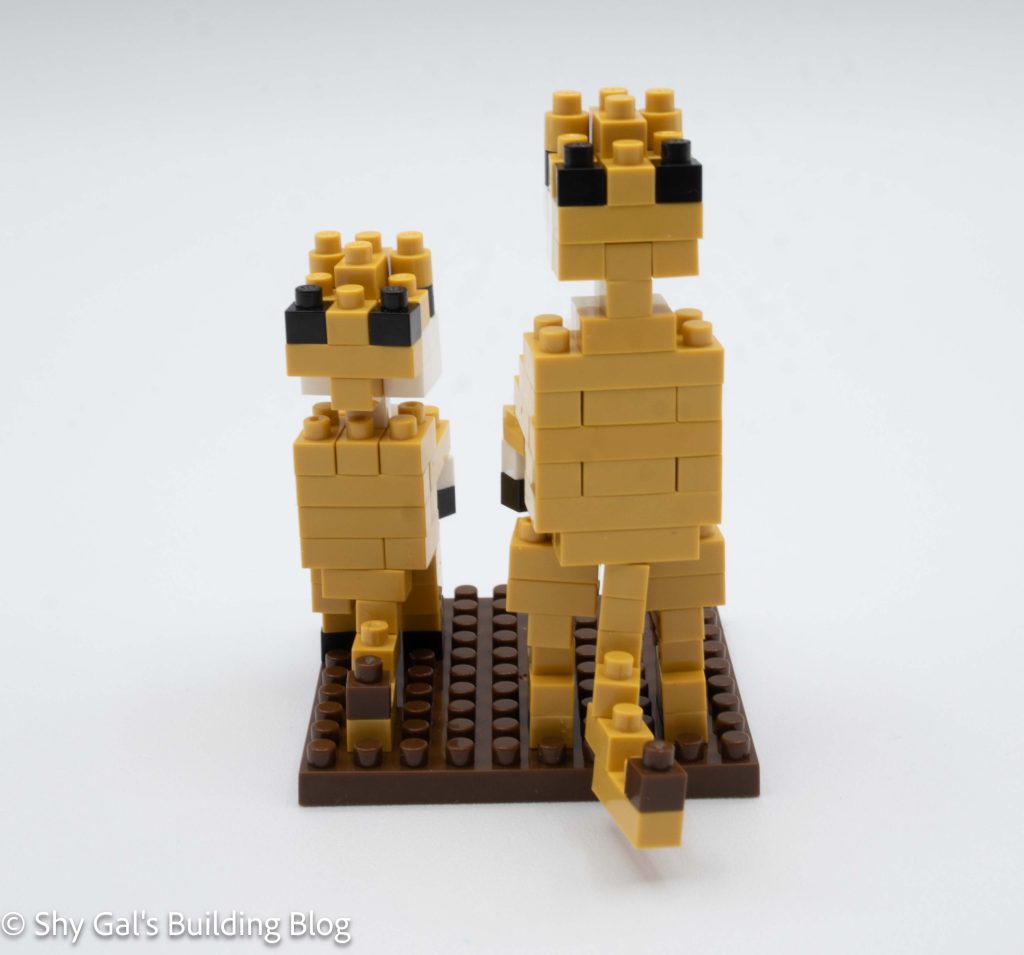
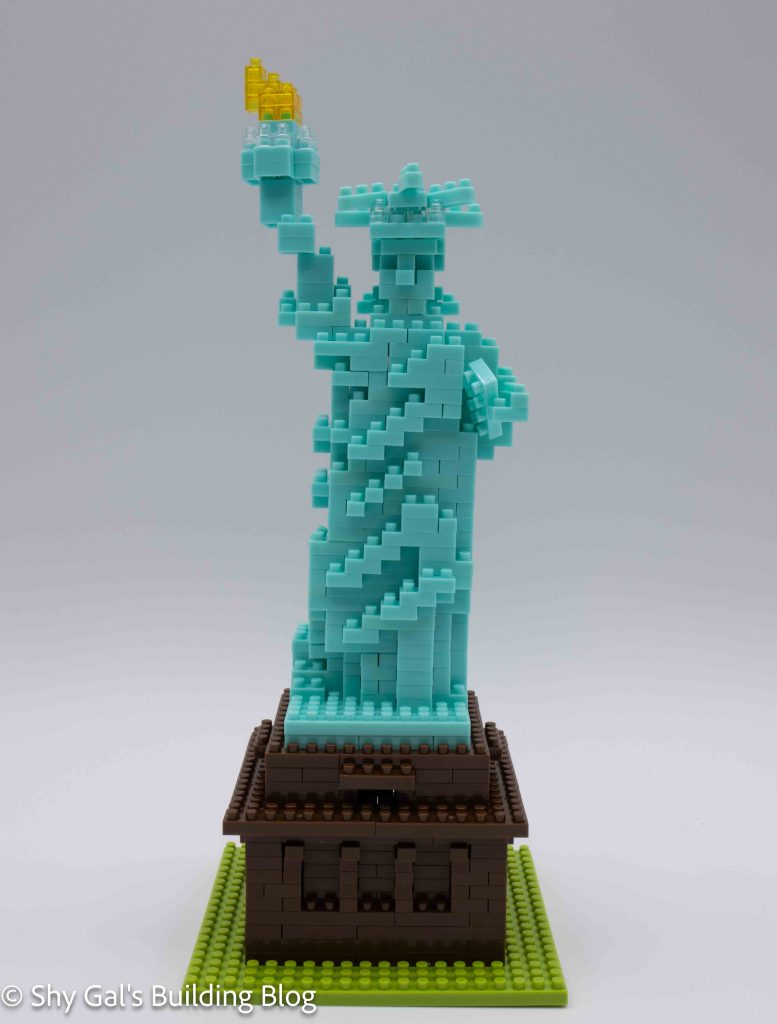
The base is extremely straightforward. There are several layers of brown. I like the details of the indents that are on the base.
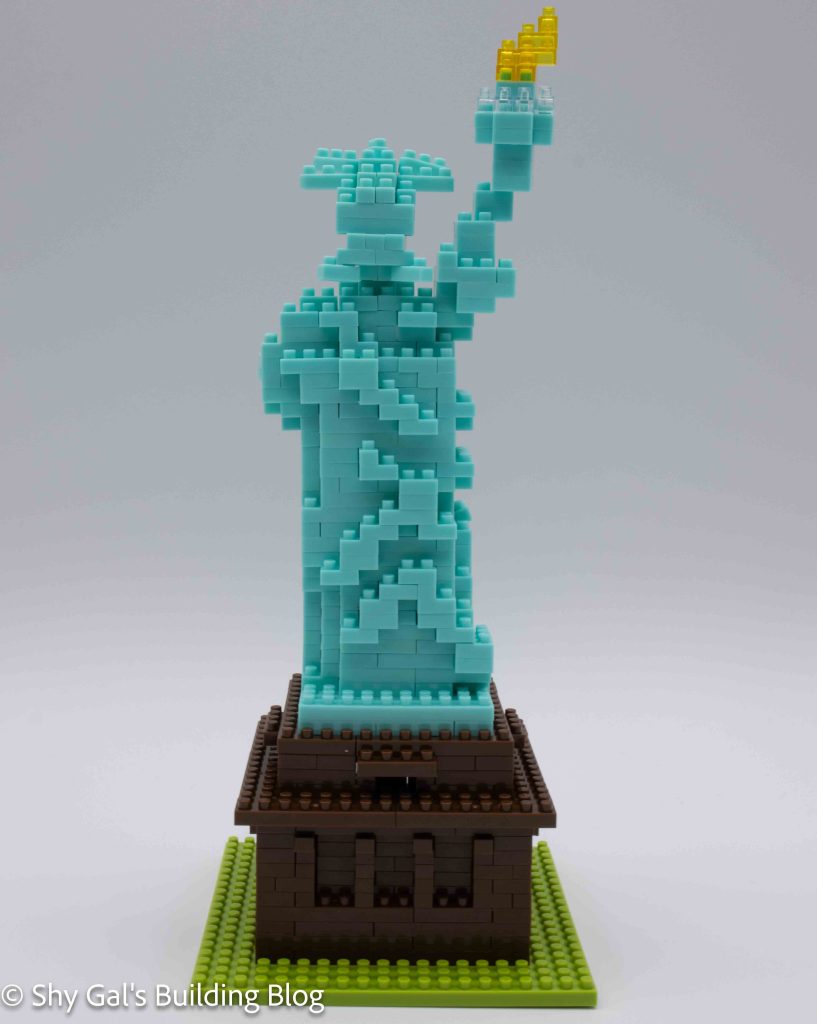
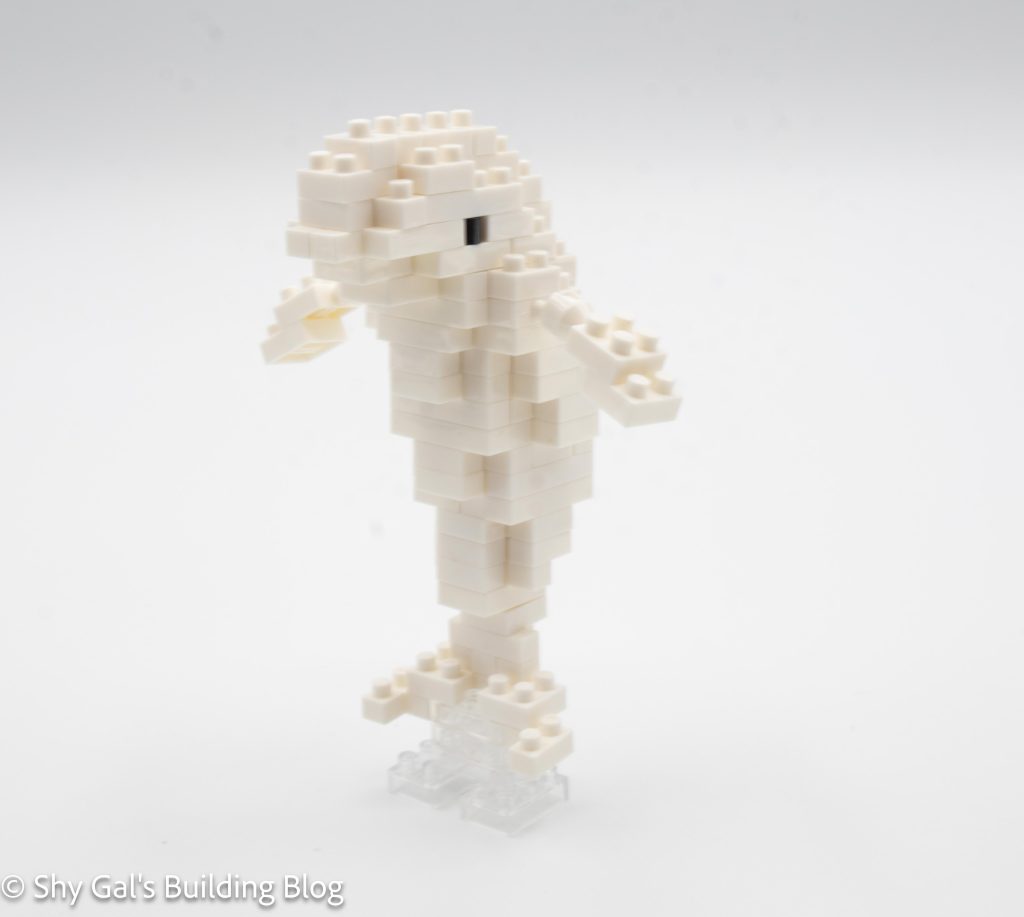
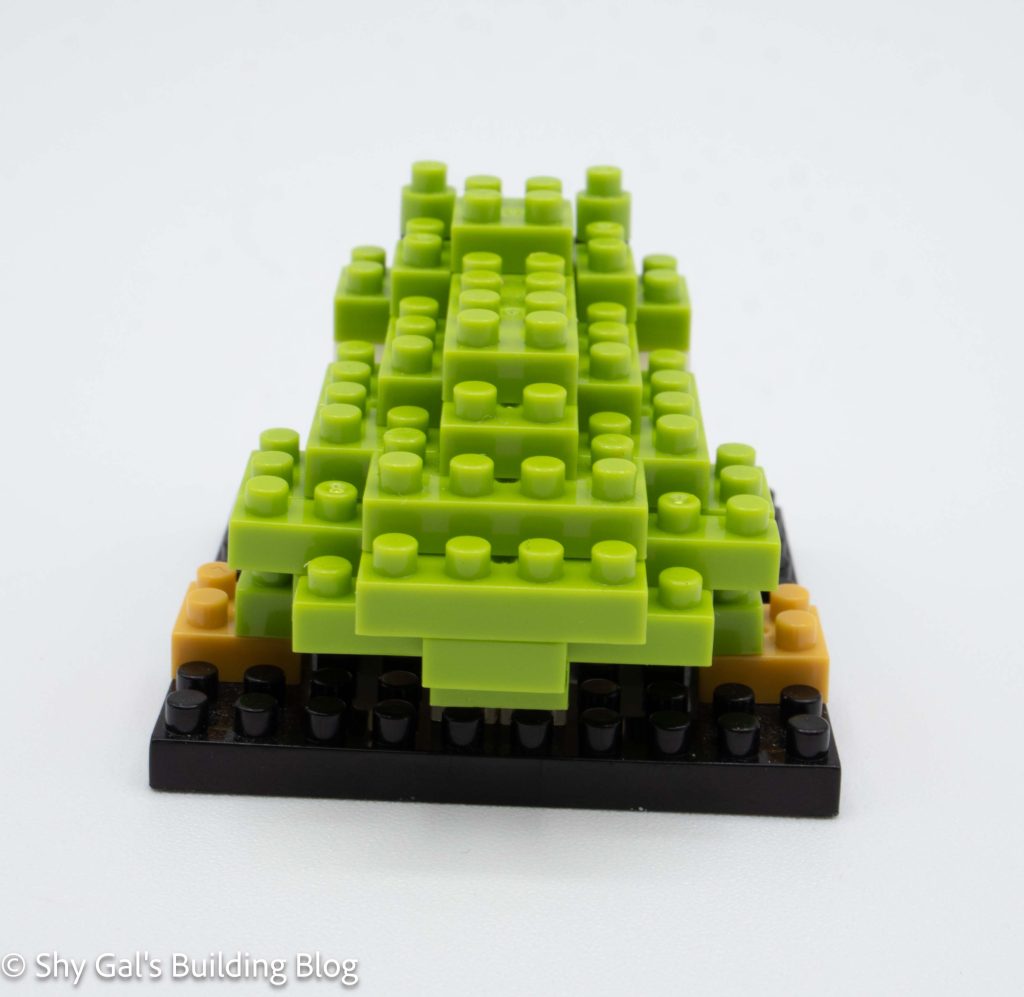
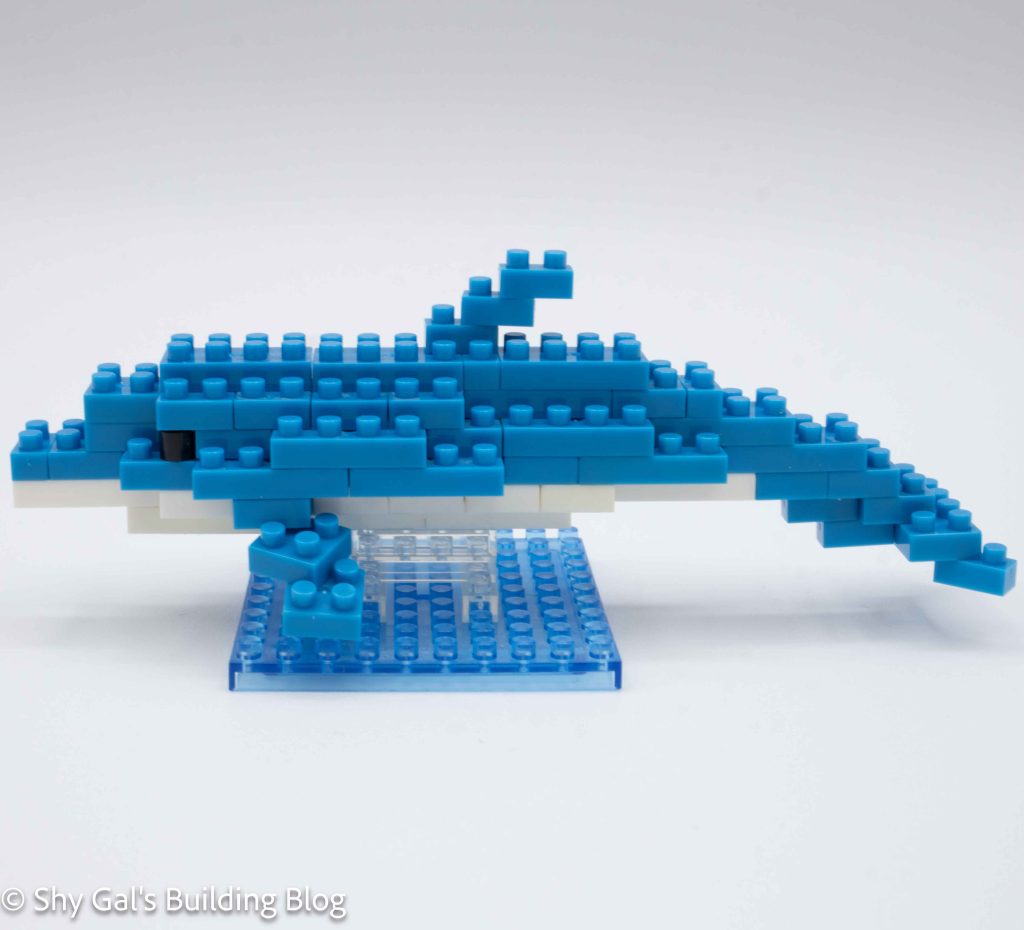
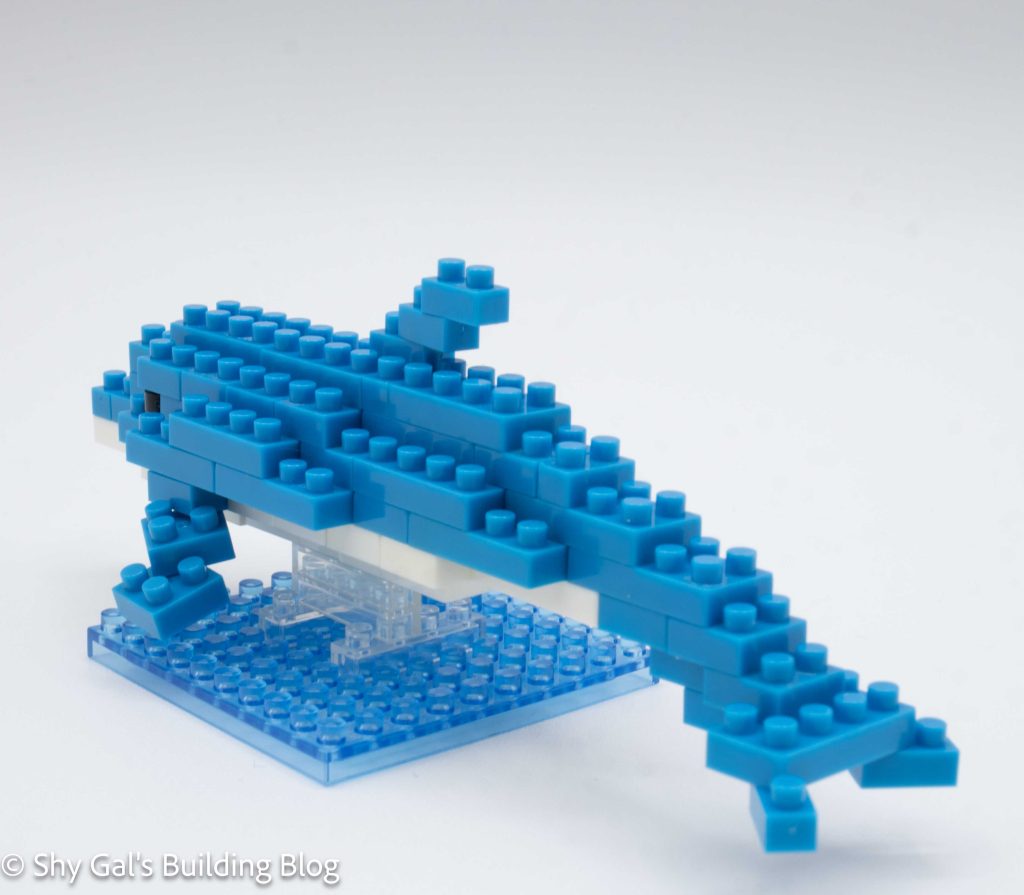
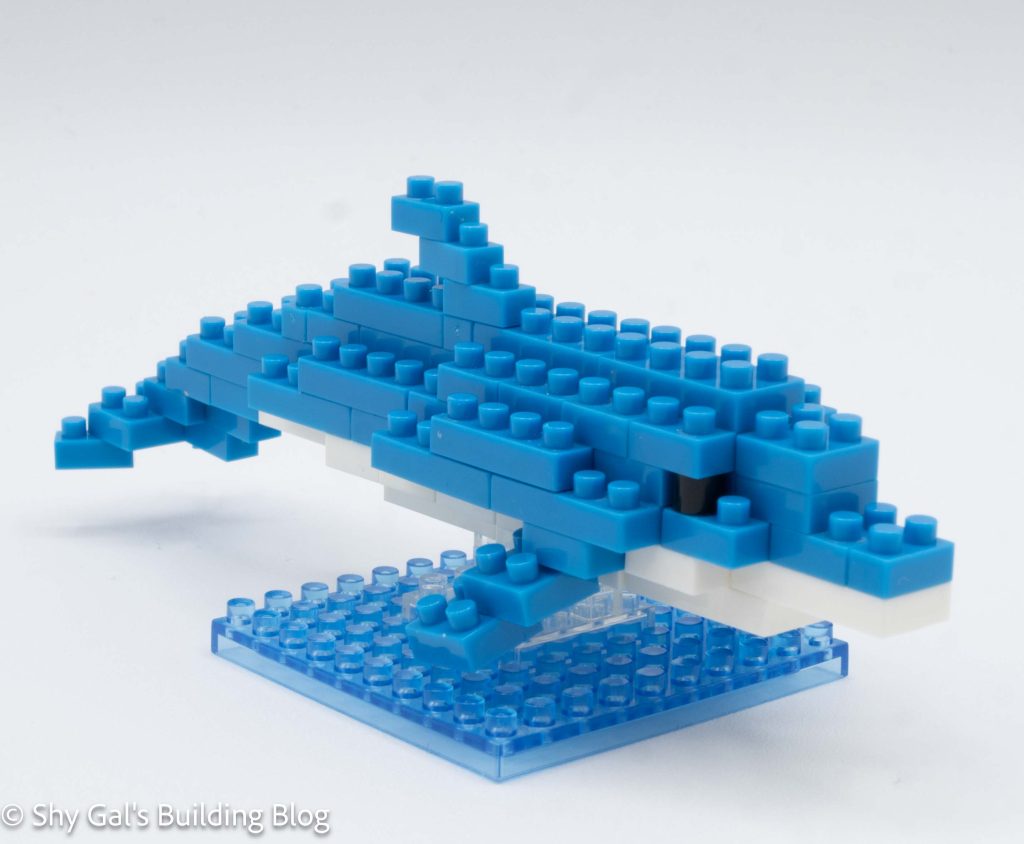
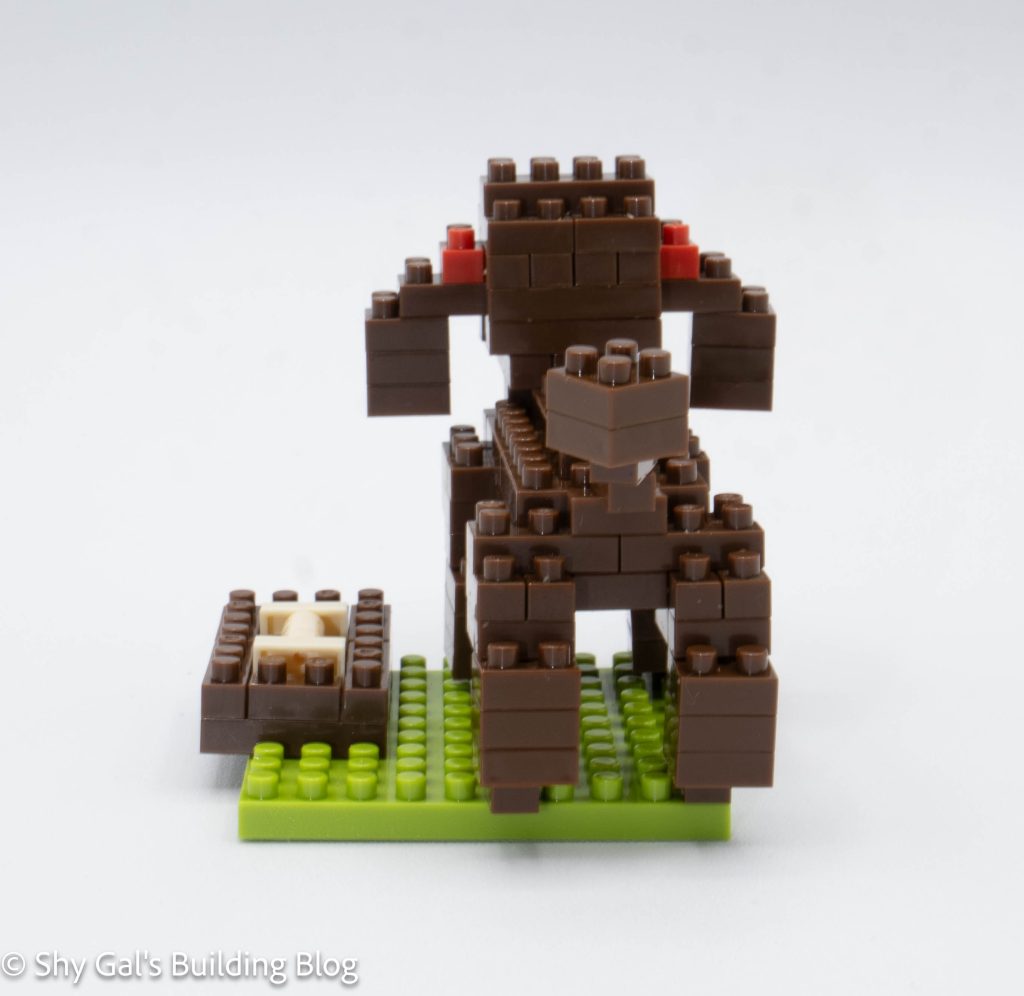
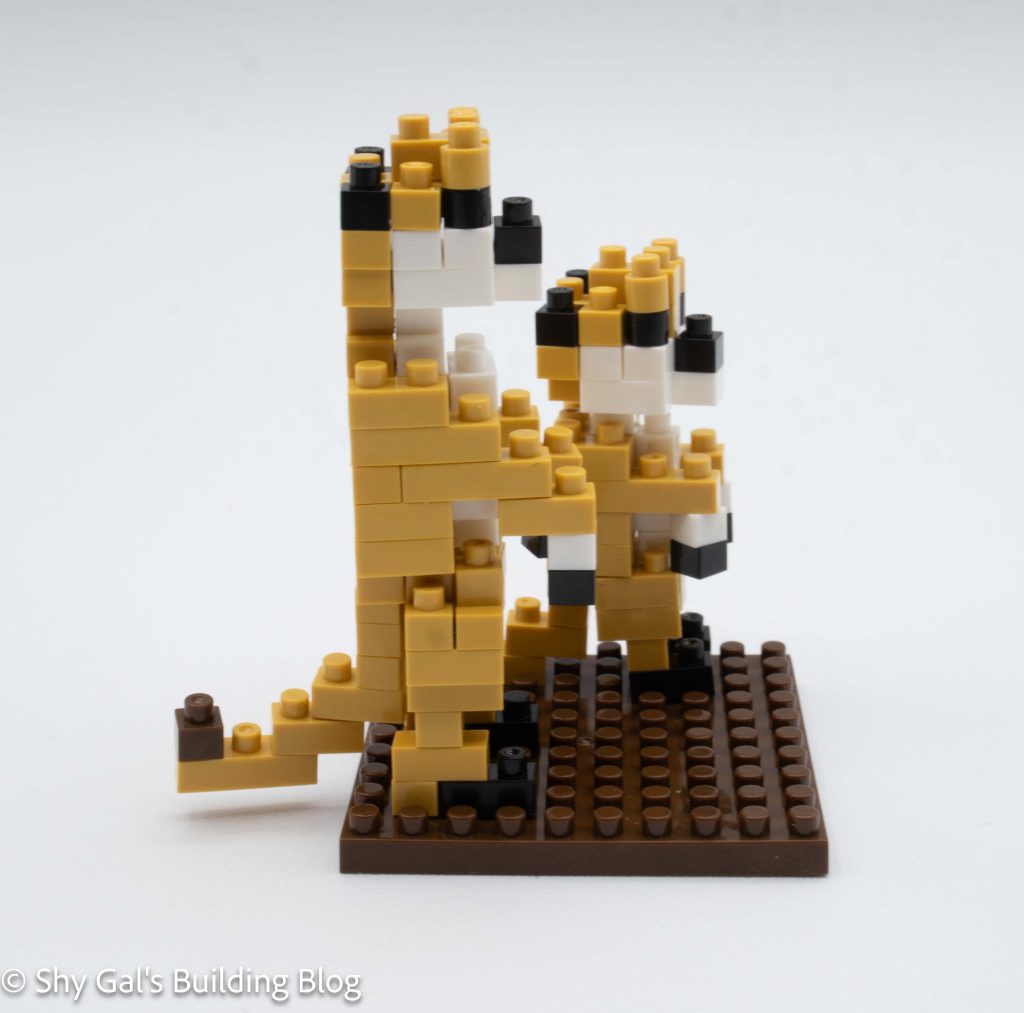
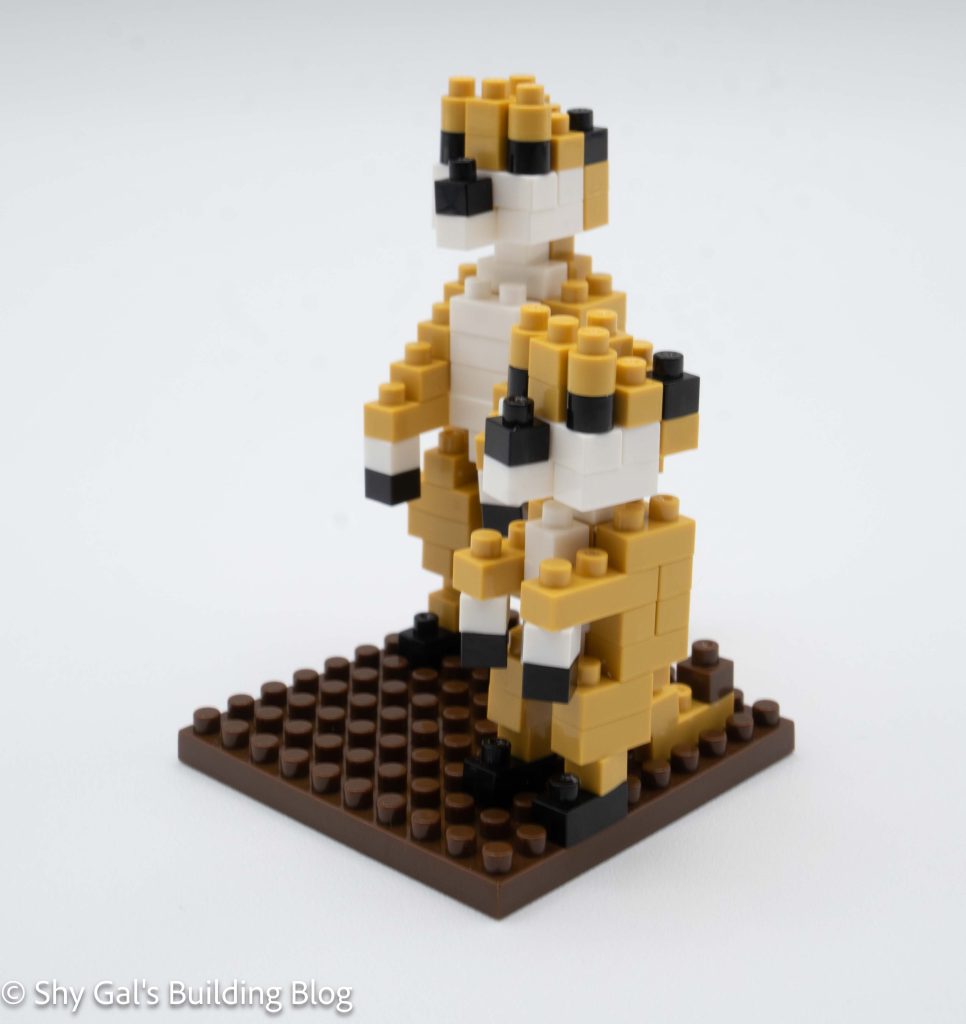
Building the actual statue is a bit more tricky. Each layer builds the outside rings creating a hollow column. There are bricks hanging out to create the flowing robes. I think that the details on the front and back look really nice.
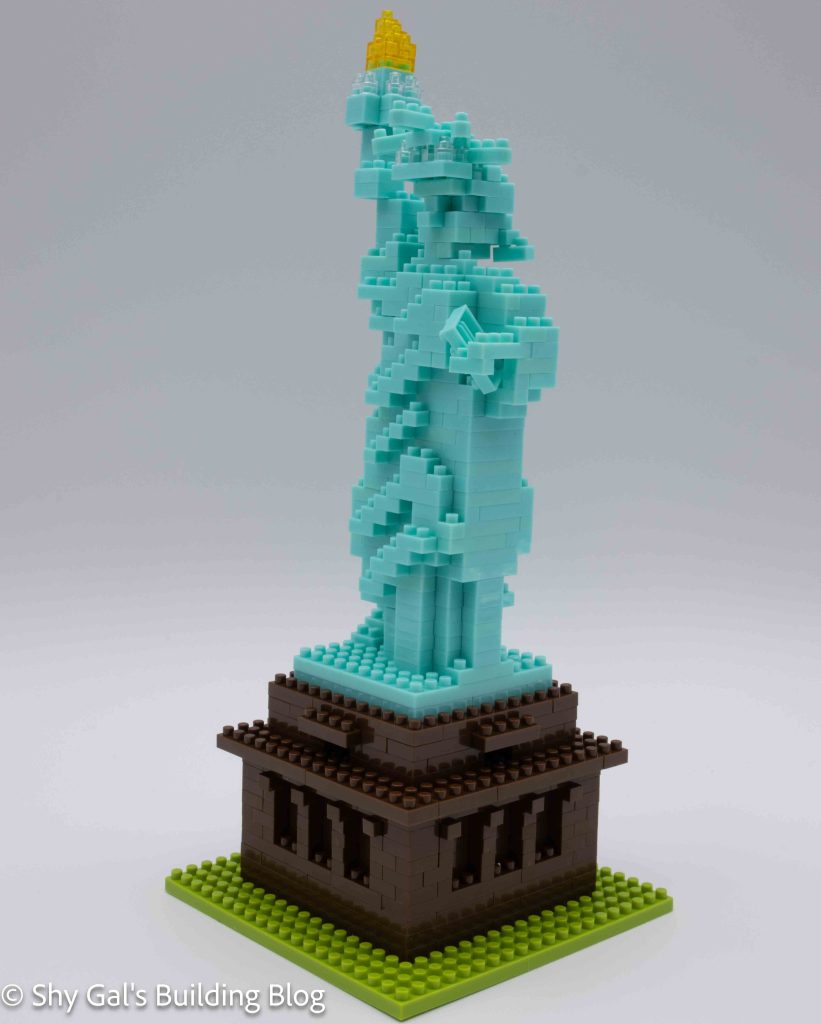
Then you connect the body of the state to the base. The final steps are to connect the arm and the head. The head looks ok but getting the arm lined up properly due to the directions.
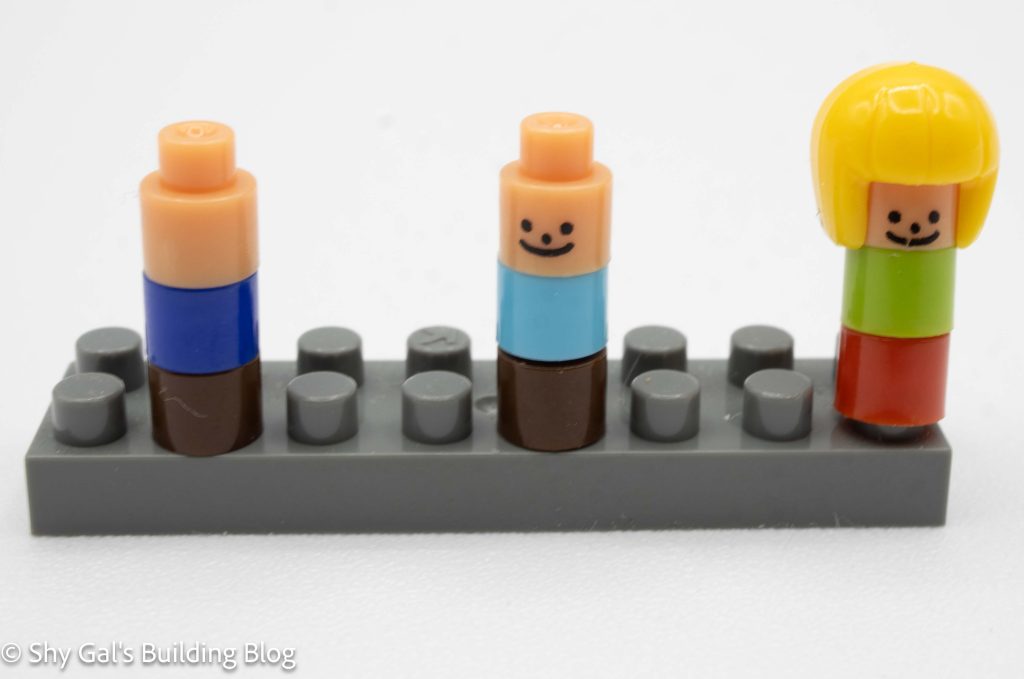
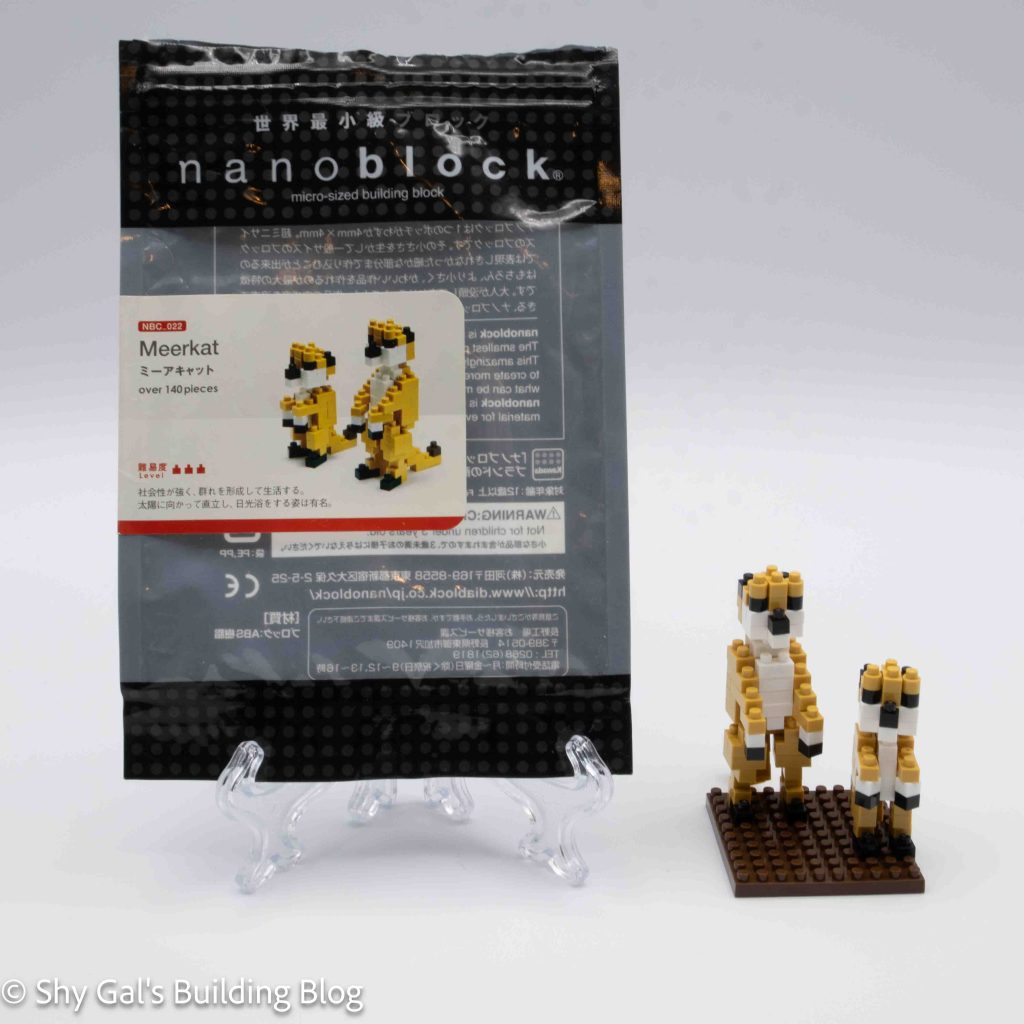
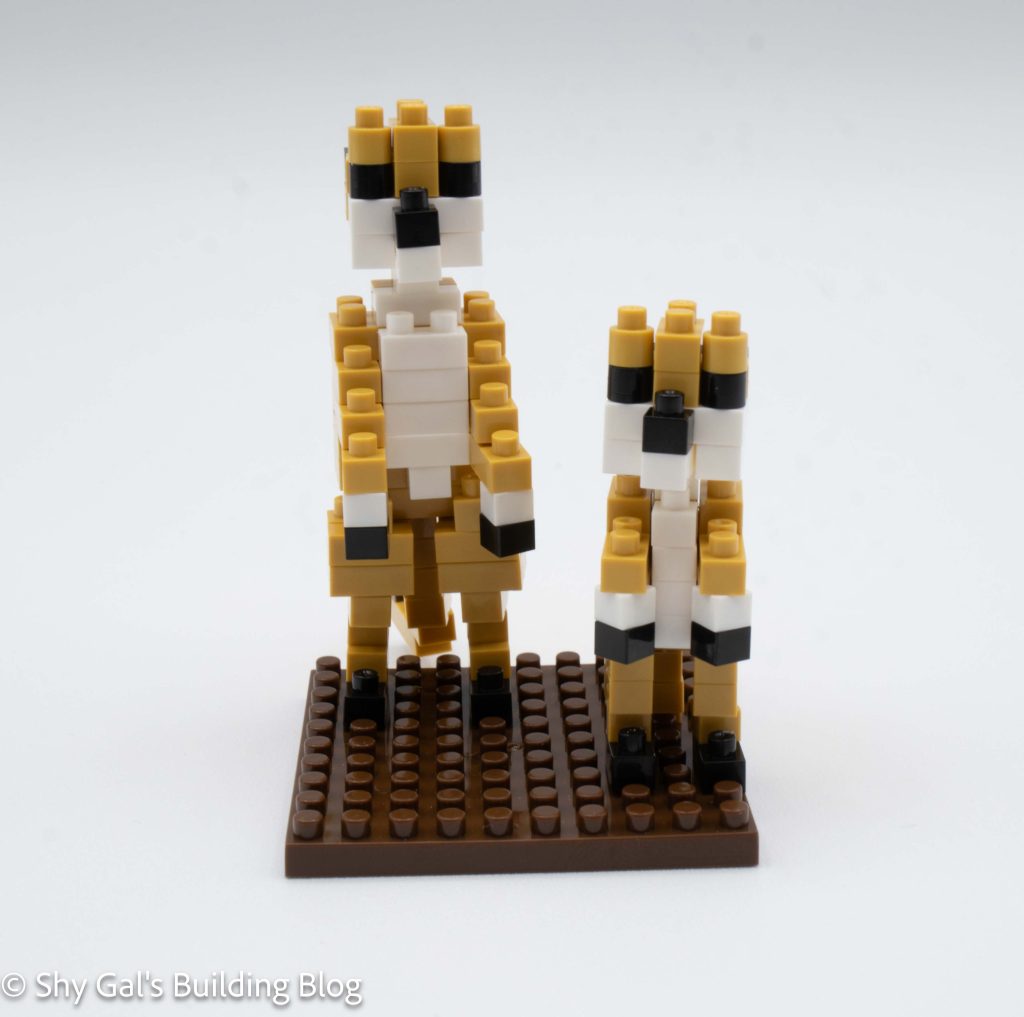
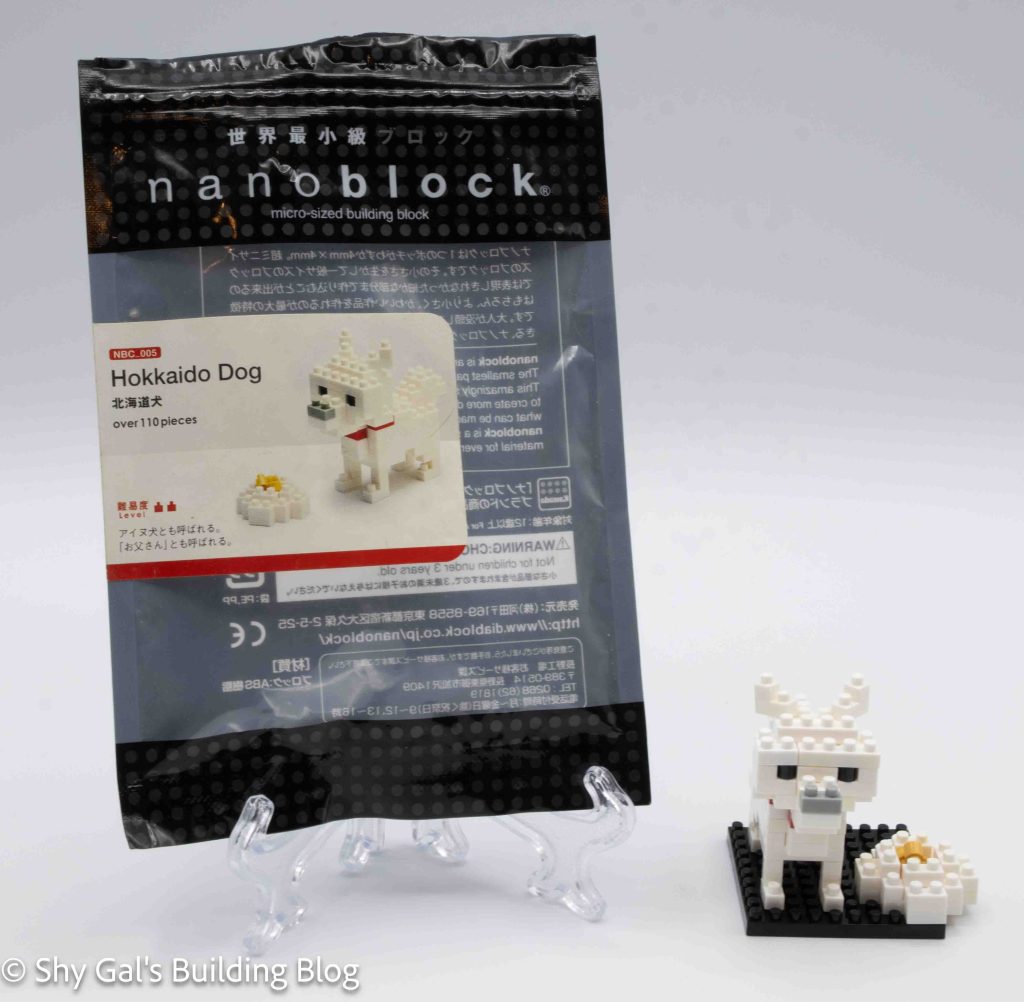
The build also comes with several nanoids. I didn’t include them in my build because I don’t feel like they match the scale.
Things I liked:
- I like the green that they used for the statue
Things I didn’t like:
- That the tablet the statue is holding is just a loose brick