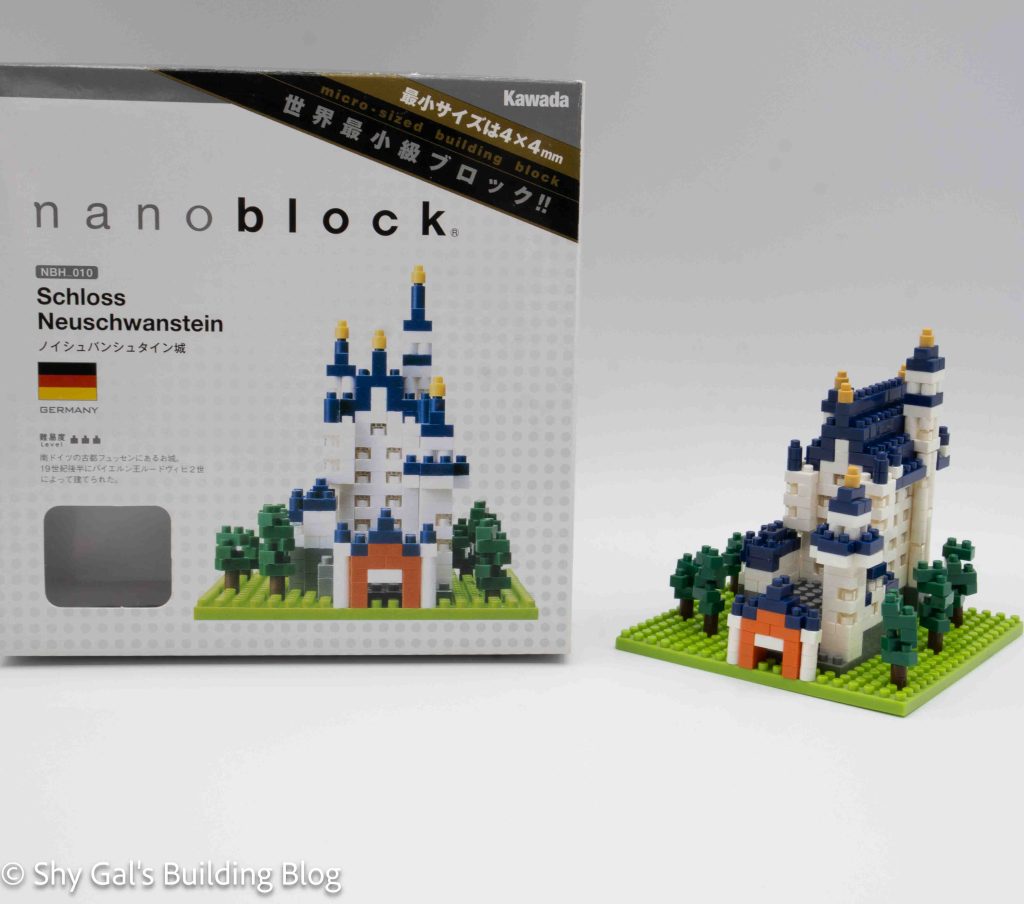
This post is a review of the nanoblock Schloss Neuschwanstein build. Schloss Neuschwanstein is part of the nanoblock Sights to See collection. Wondering what else is part of the Sights to See collection? Click here for a list.
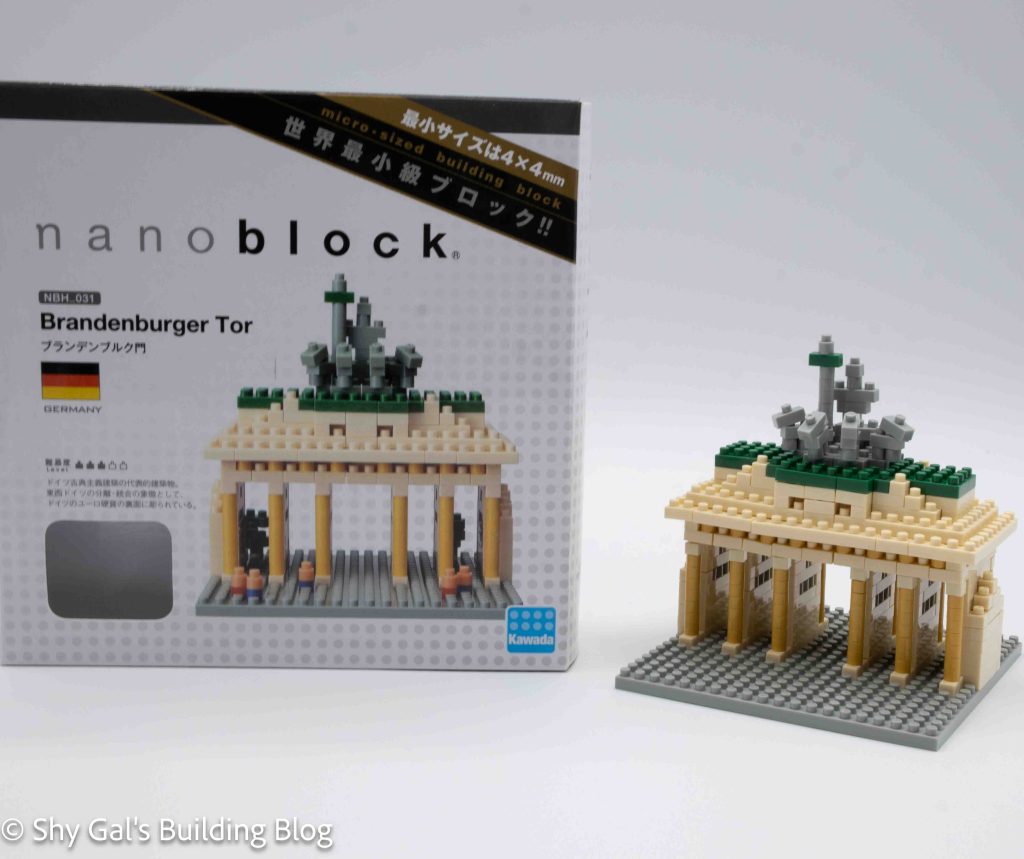
Number: NBH_010
Country: Germany
Difficulty Rating: 3
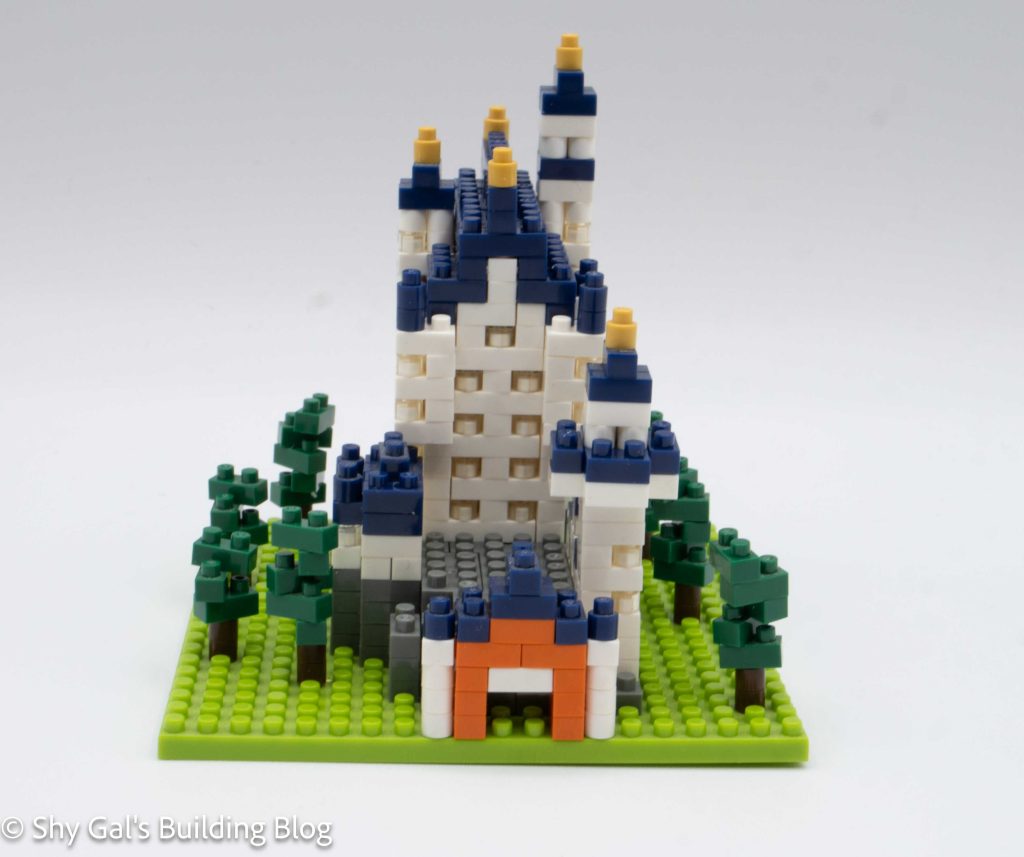
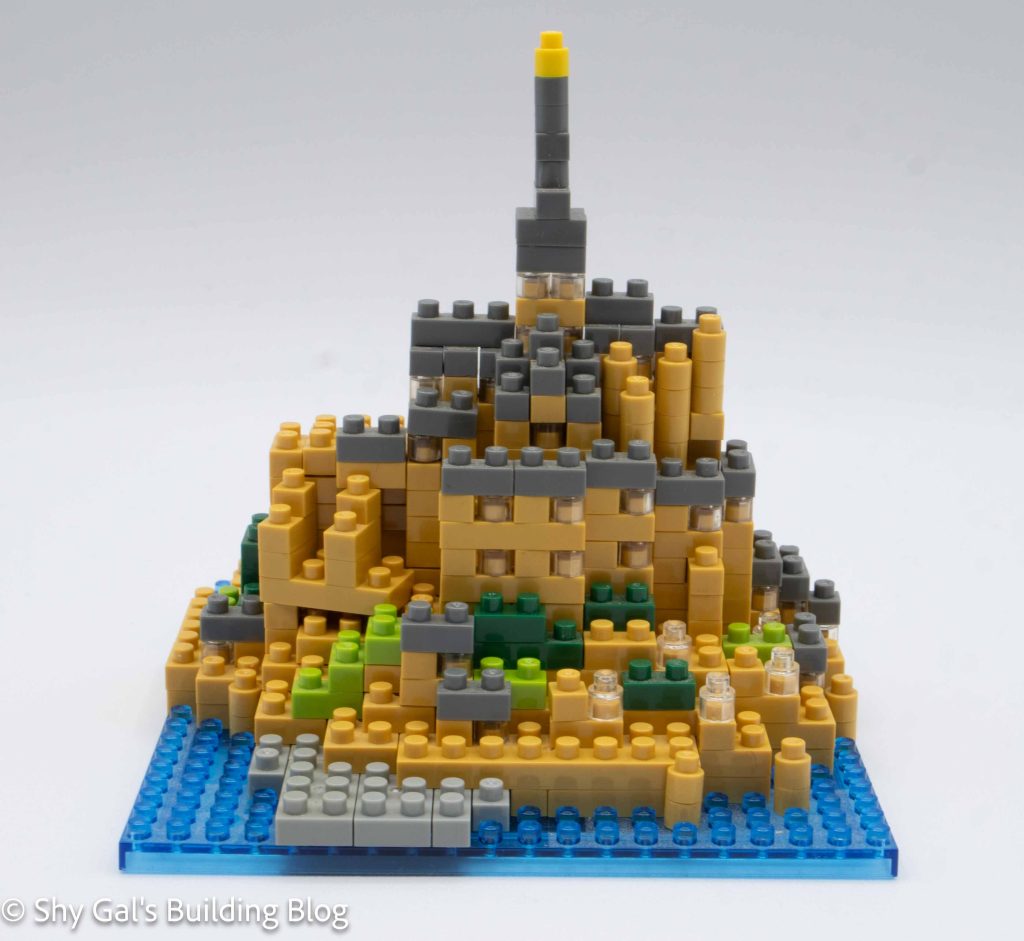
Schloss Neuschwanstein is a castle in southern Germany. It served as an inspiration for the Disney castles.
The build begins by laying dark grey bricks on the green 20×20 base. Since everything is connected, it was fairly easy to lay out the initial layer.
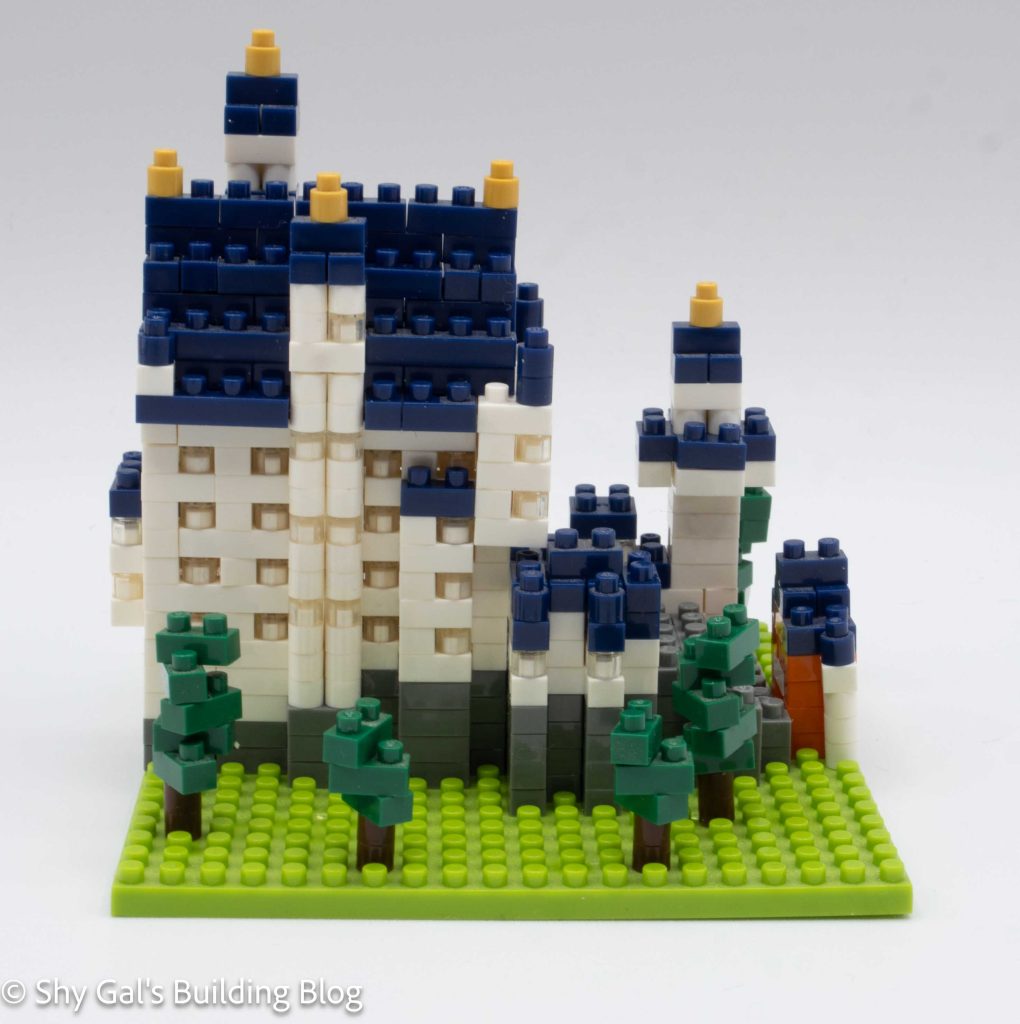
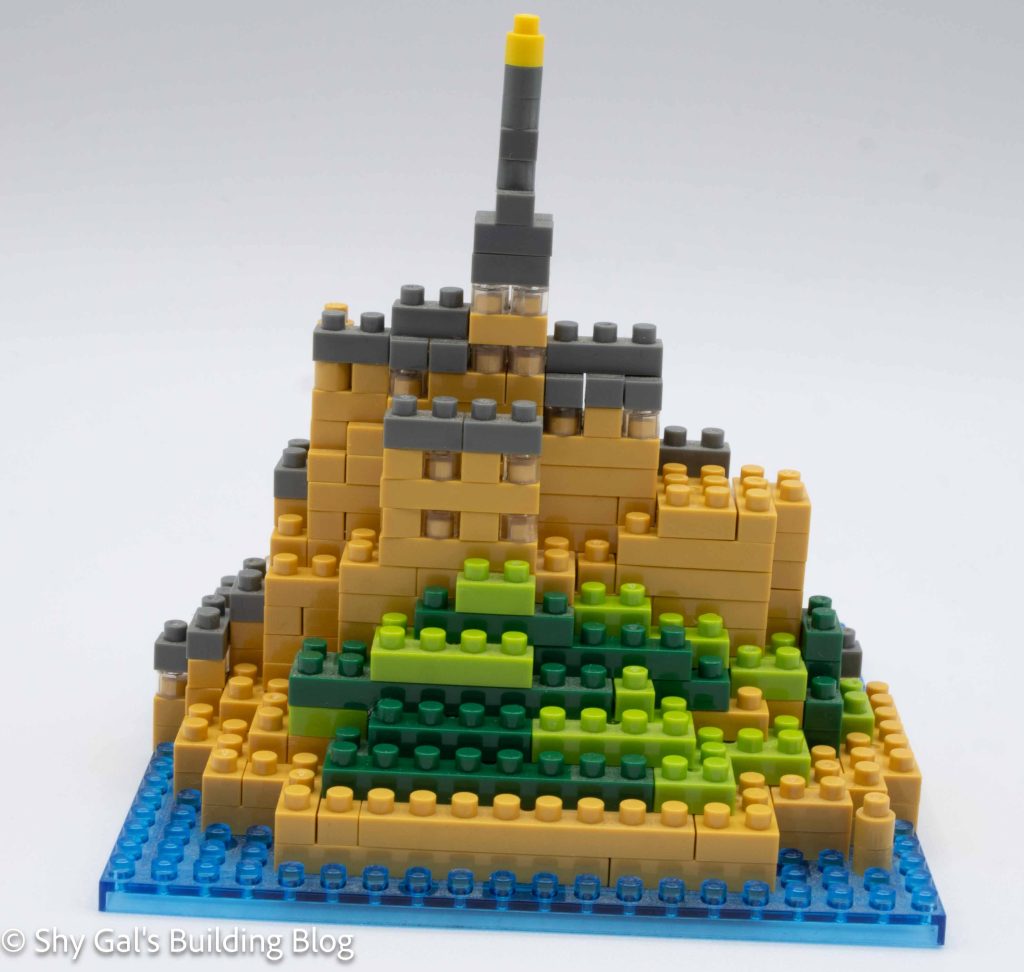
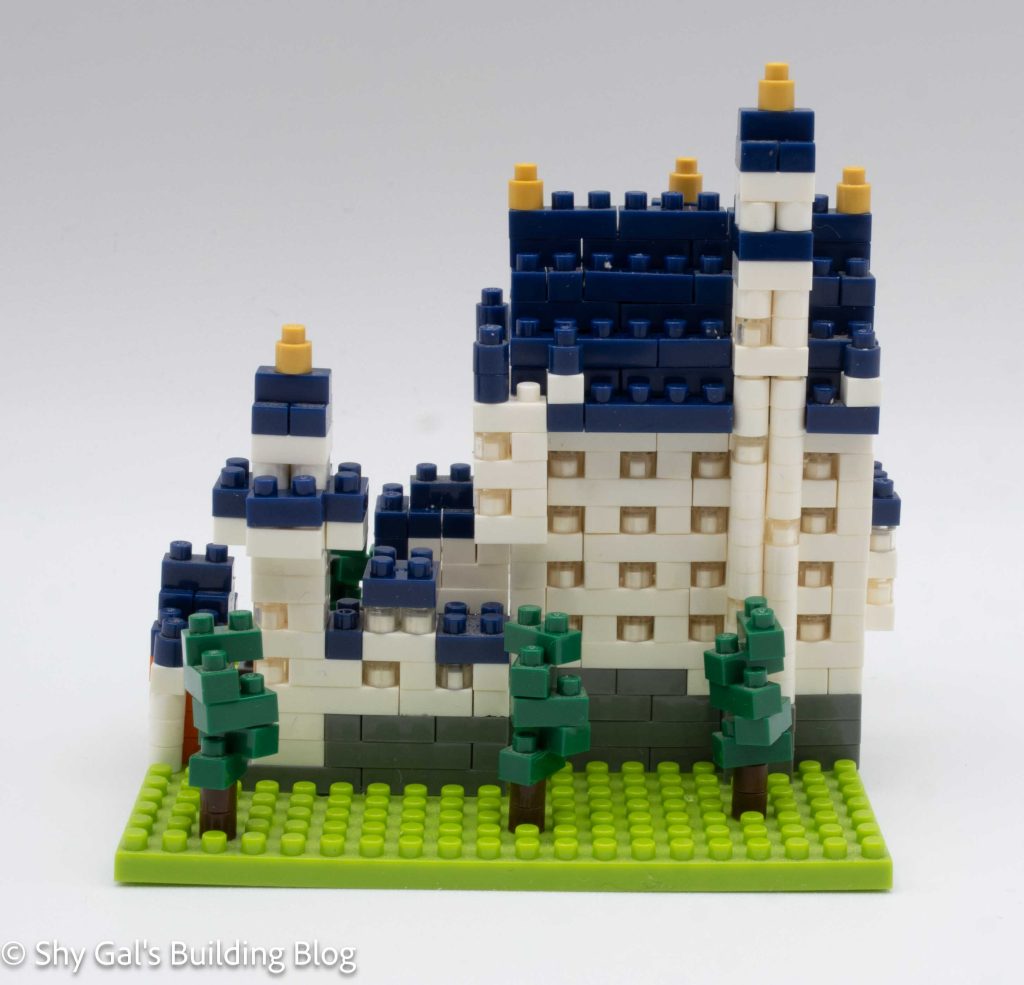
There are several layers of dark grey bricks. These bricks create the foundation and the entryway of the castle.
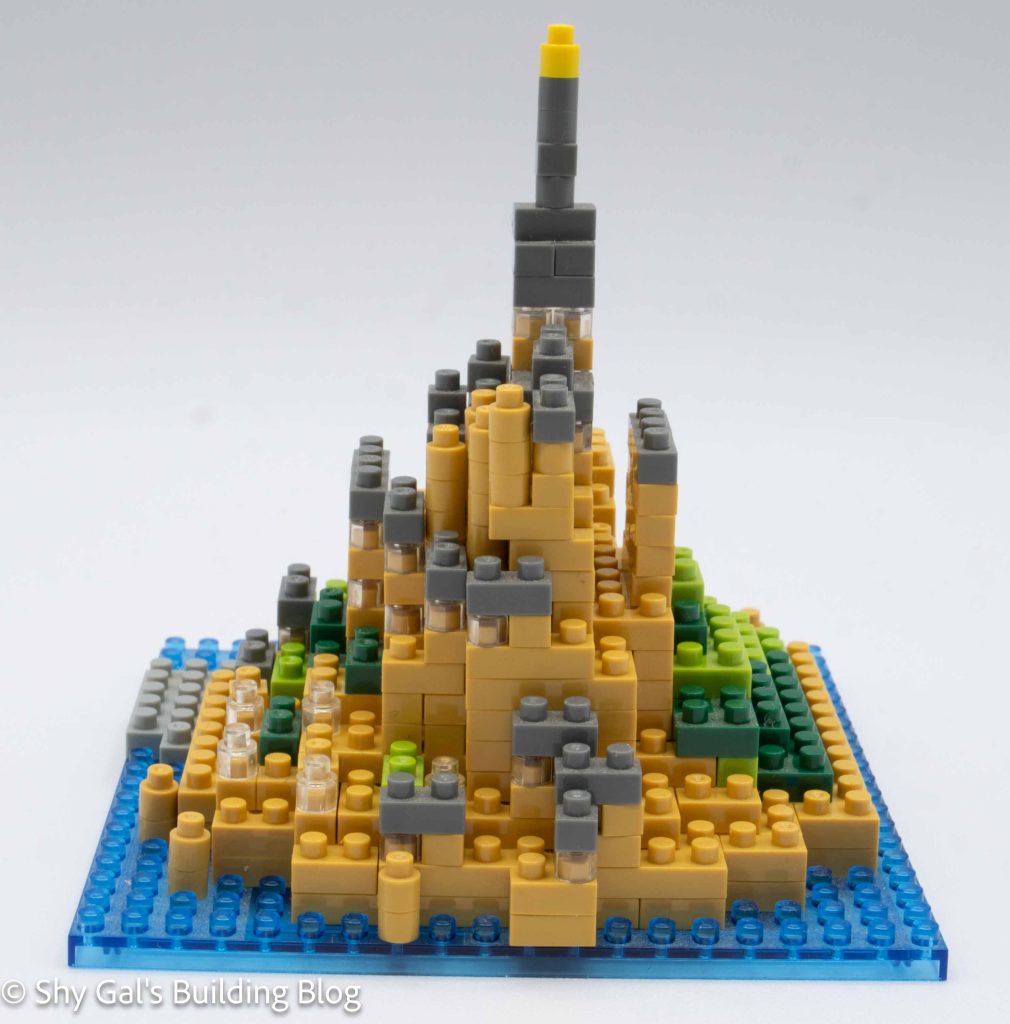
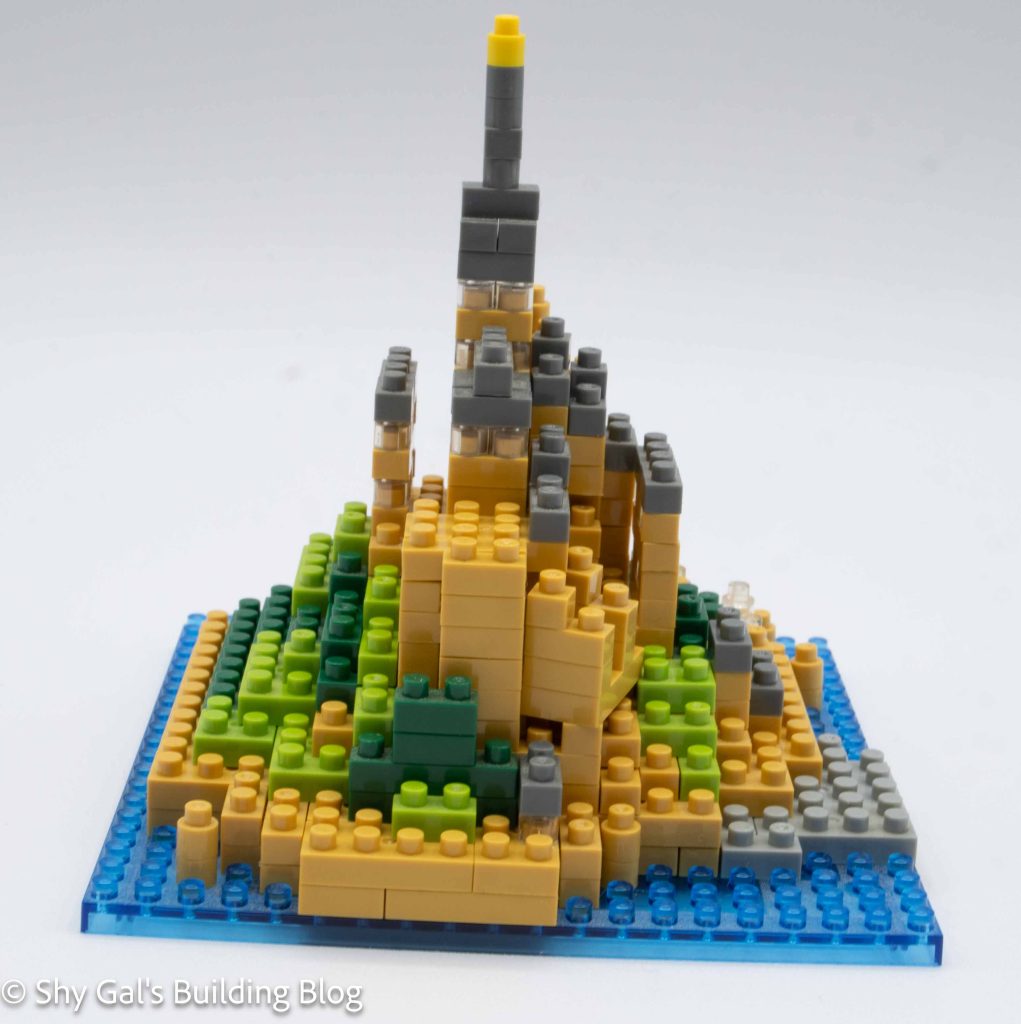
Then, I started to build the main body of the castle. The layers alternate between plain white and white with clear windows. There are several layers of white. In addition to the main section of the castle, there are towers of bricks that grow along the side of the castle. These towers are tricky because they can easily pop off.
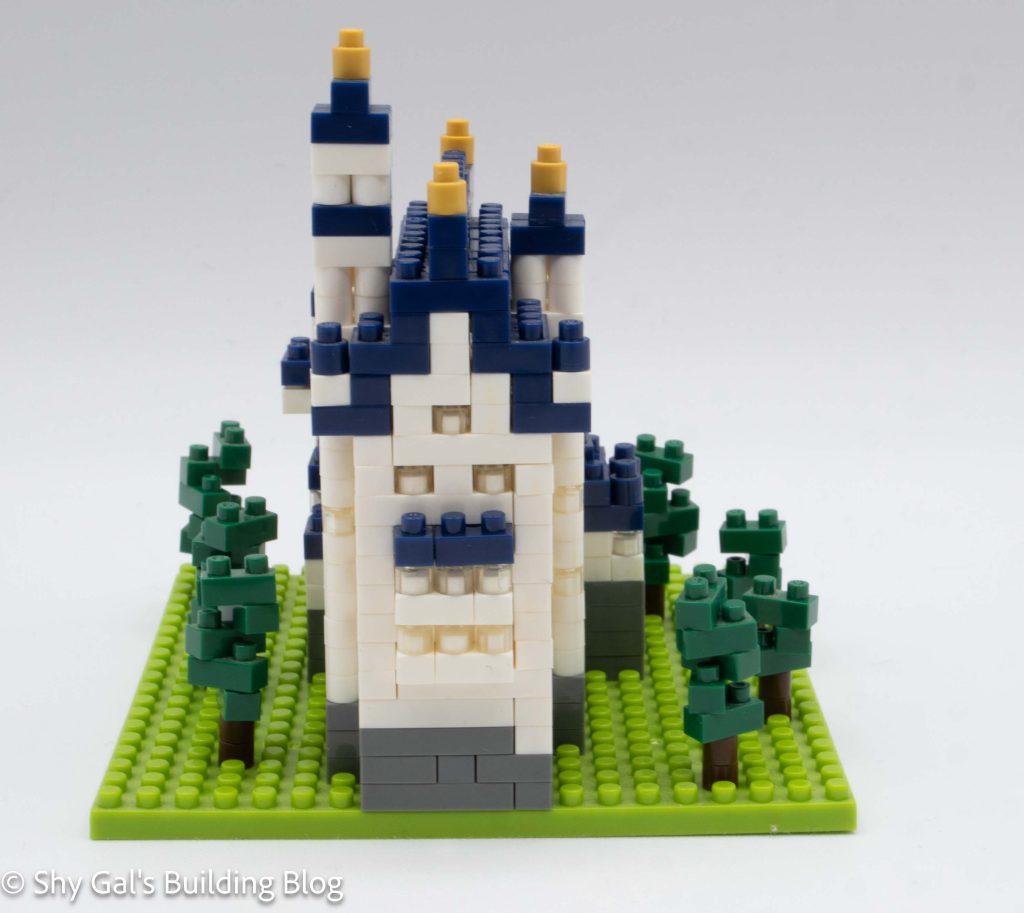
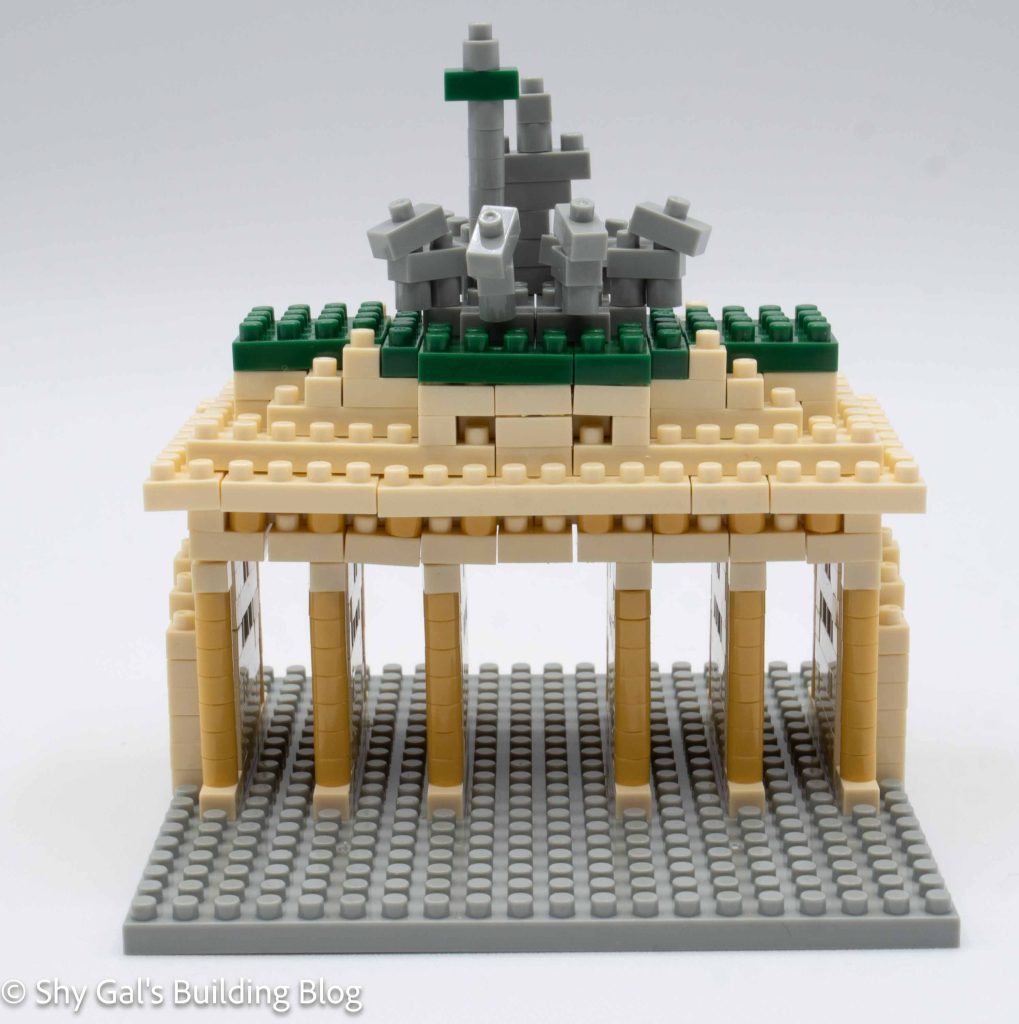
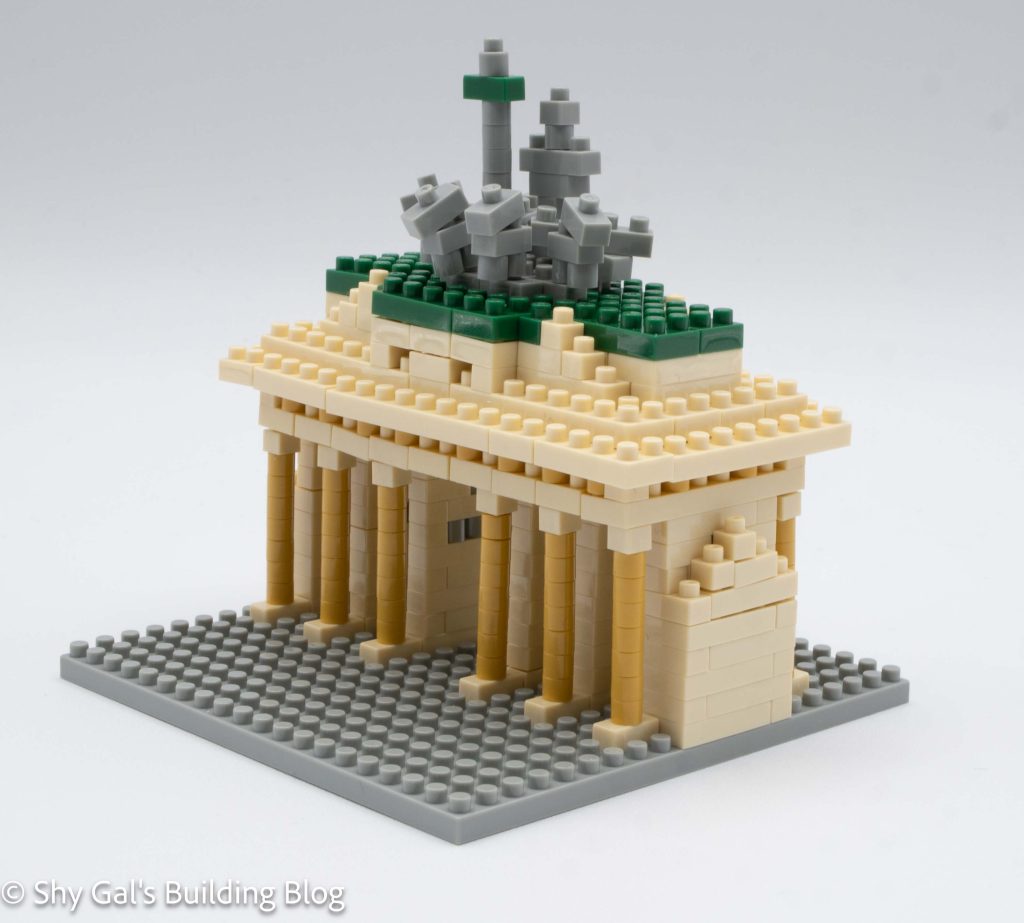
The next step is to add the navy blue roof. Over 5 steps, the entire roof goes from being open to being closed. The roof is mostly flat.
The final step is to add the details. There are 3 towers of differing heights. Each tower has different instructions so they all look slightly different. There is also a center peak added to the roof. There are also a bunch of trees to add around the base of the castle.
Things I liked:
- I feel that the building does look quite a bit like the actual castle
Things I didn’t like:
- I don’t really like the trees and how they look