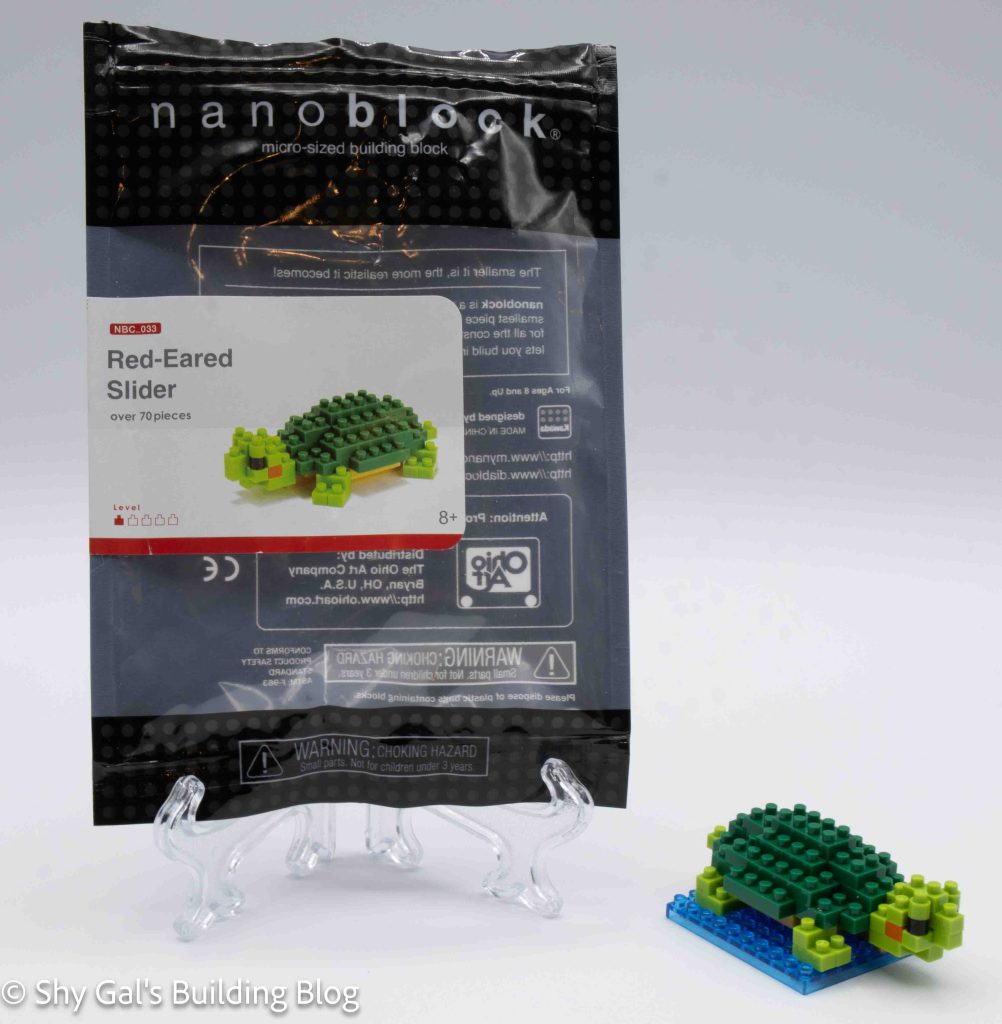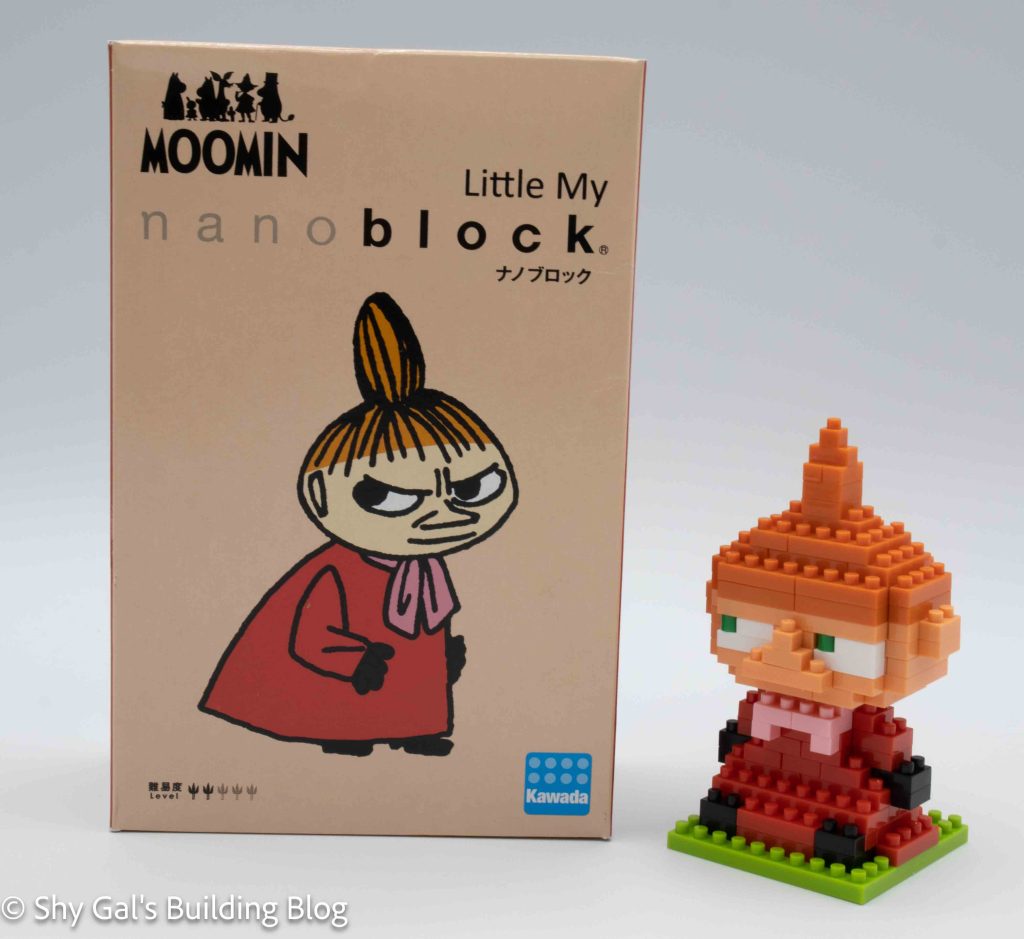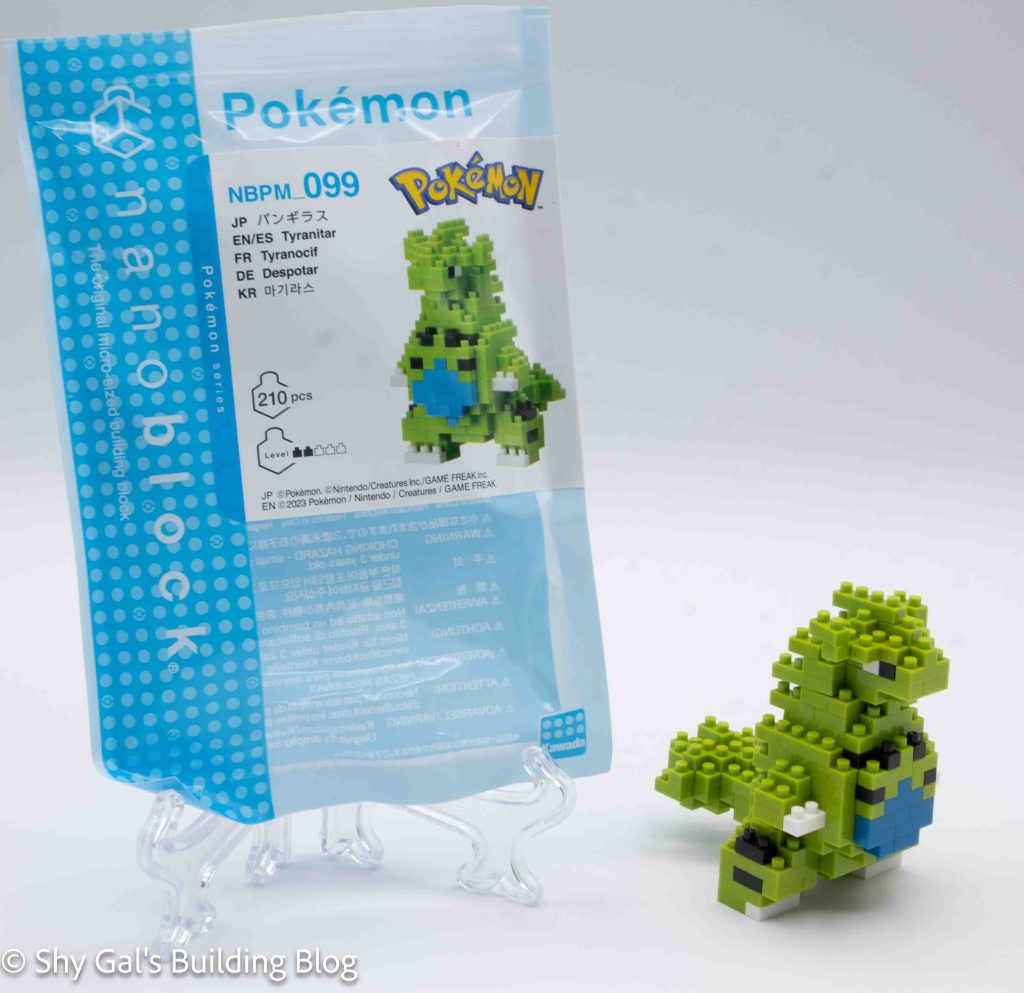
This post is a review of the nanoblock Tyranitar build. Tyranitar is part of the nanoblock Pokemon collection. Wondering what else is part of the Pokemon collection? Click here for a list.
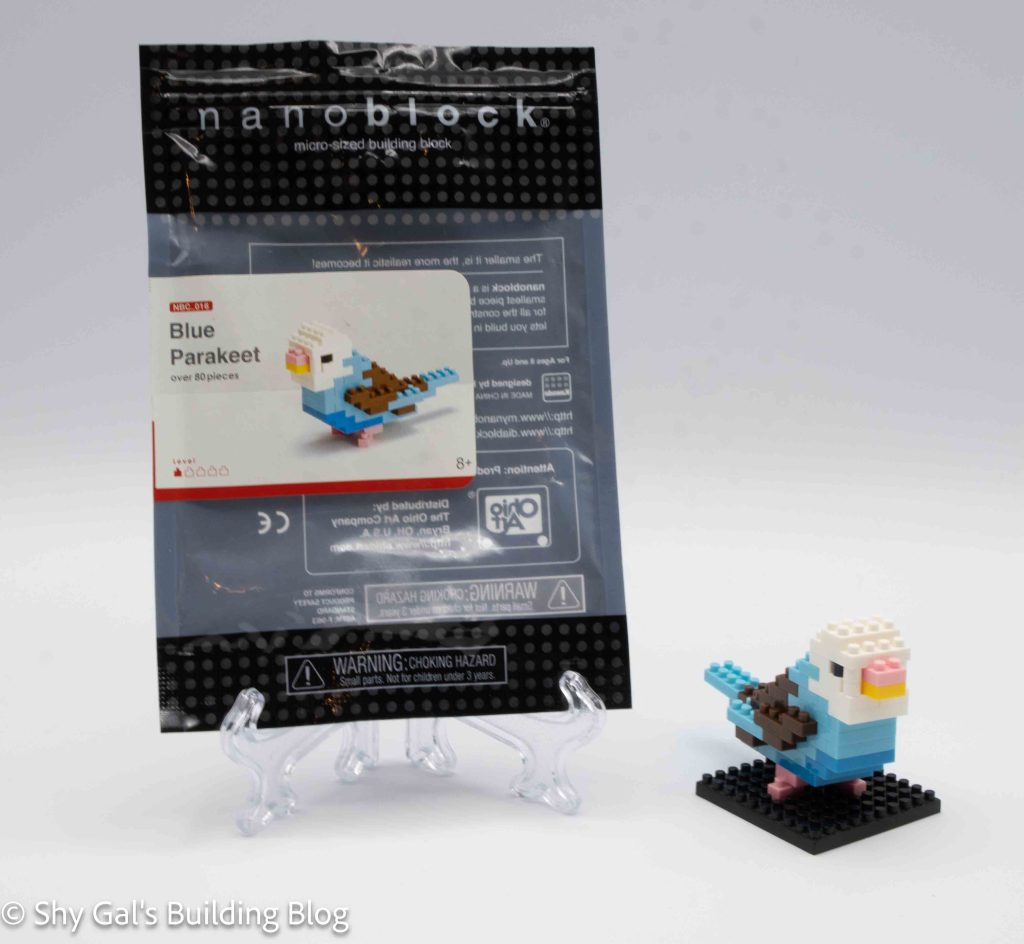
Number: NBPM_099
Number of Pieces: 210
Difficulty Rating: 2/5
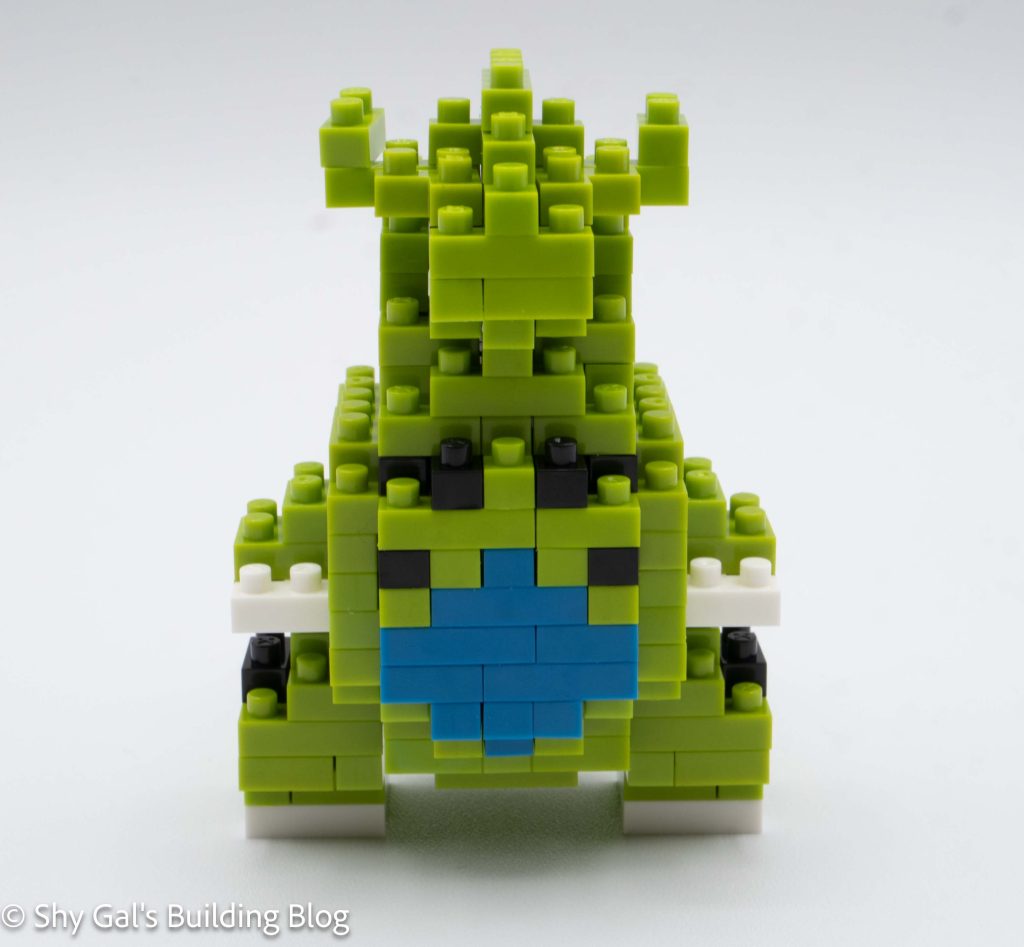
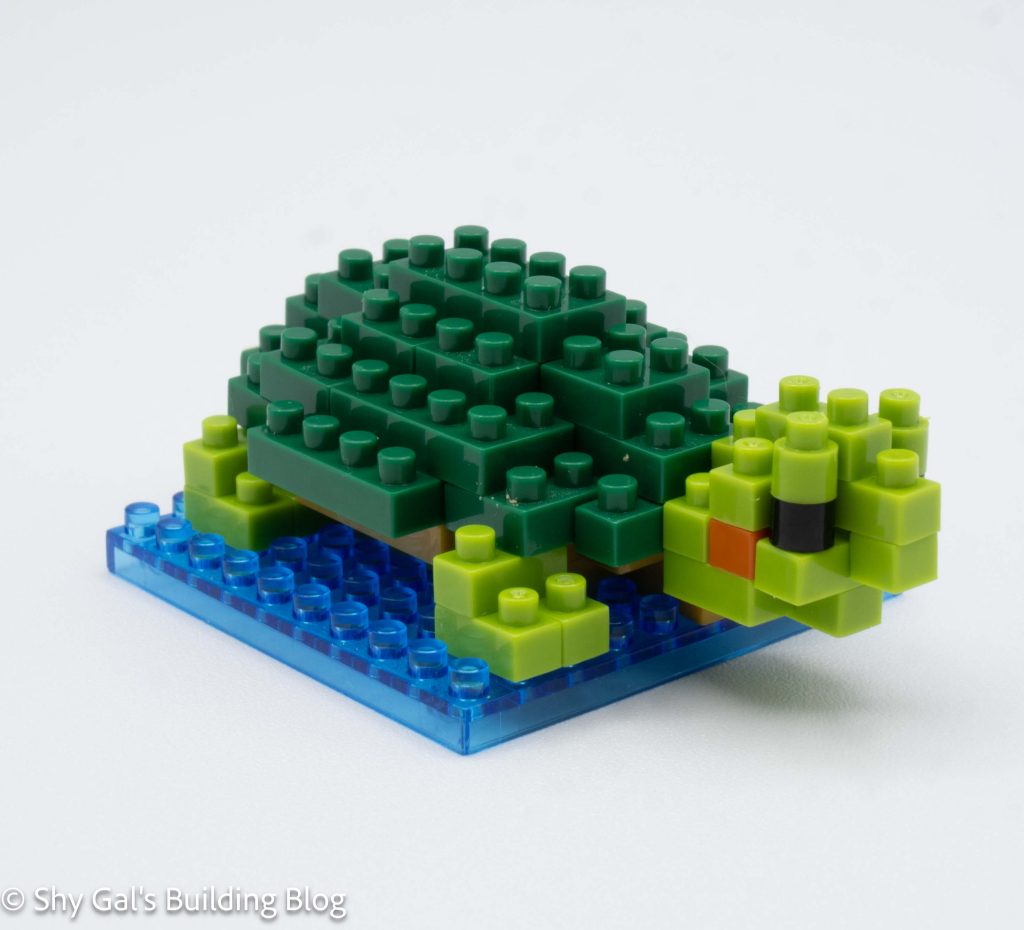
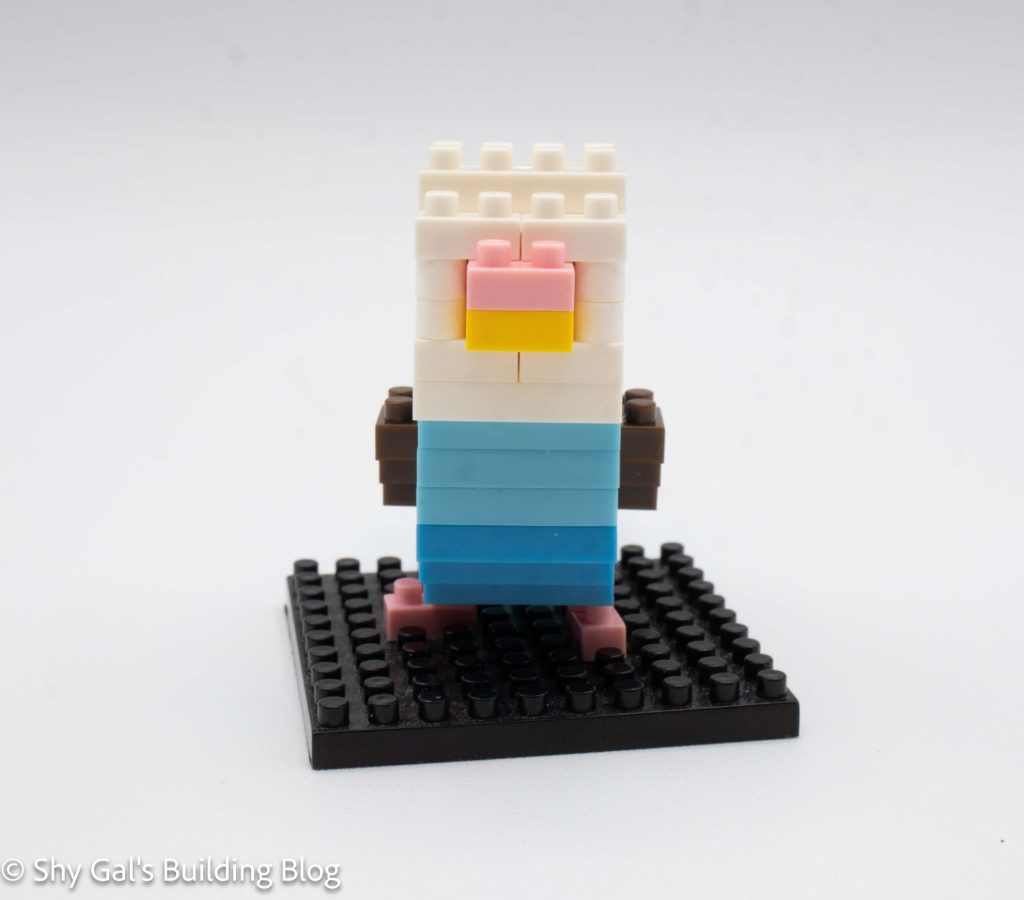
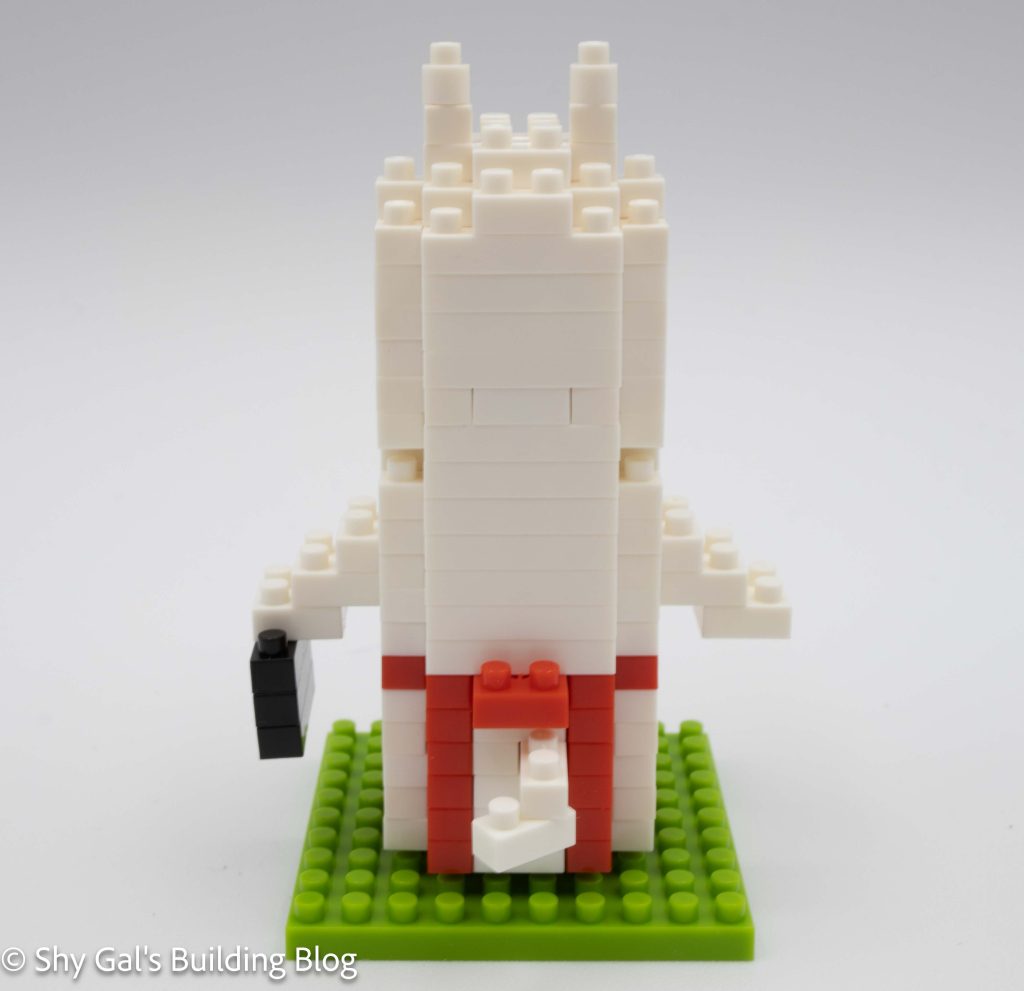
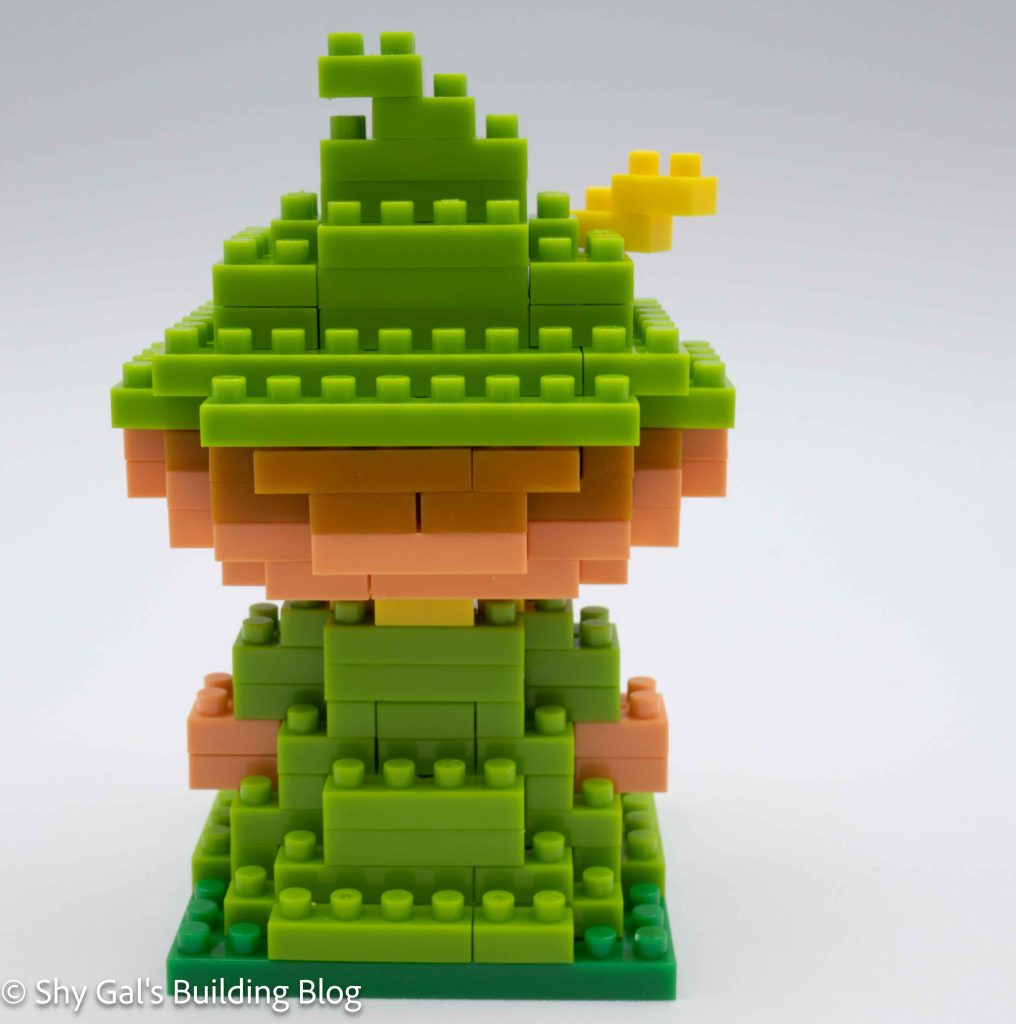
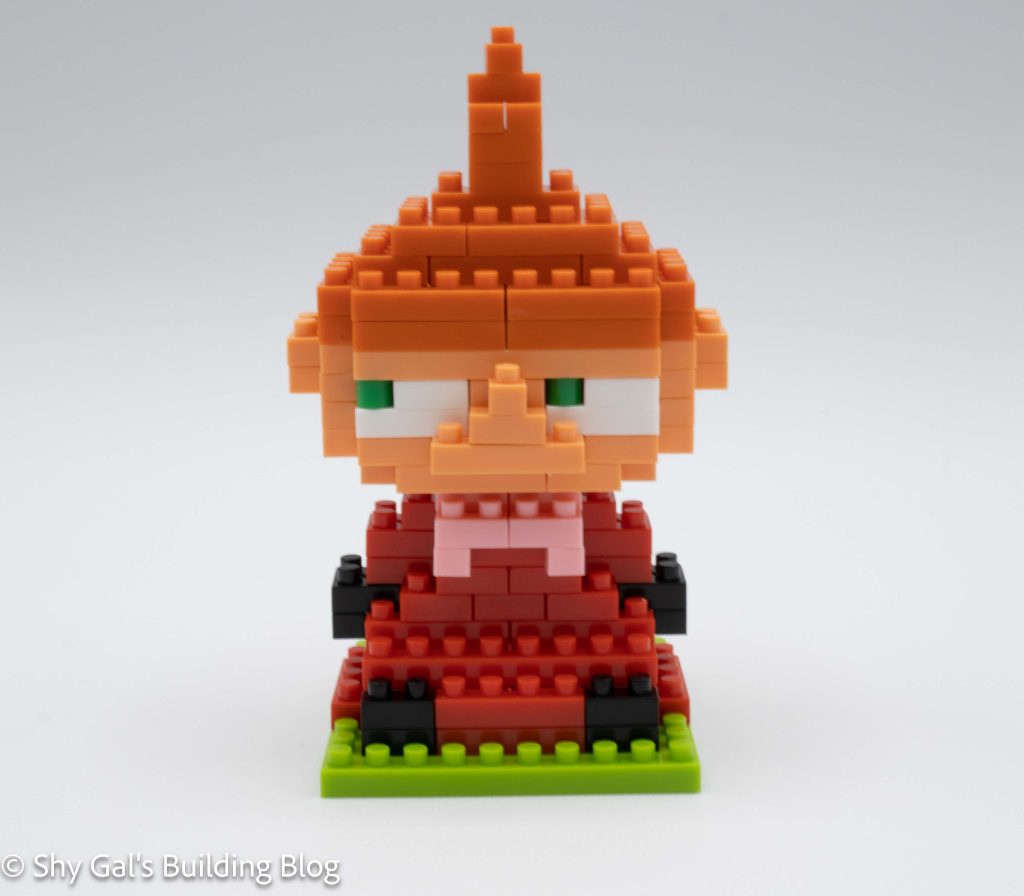
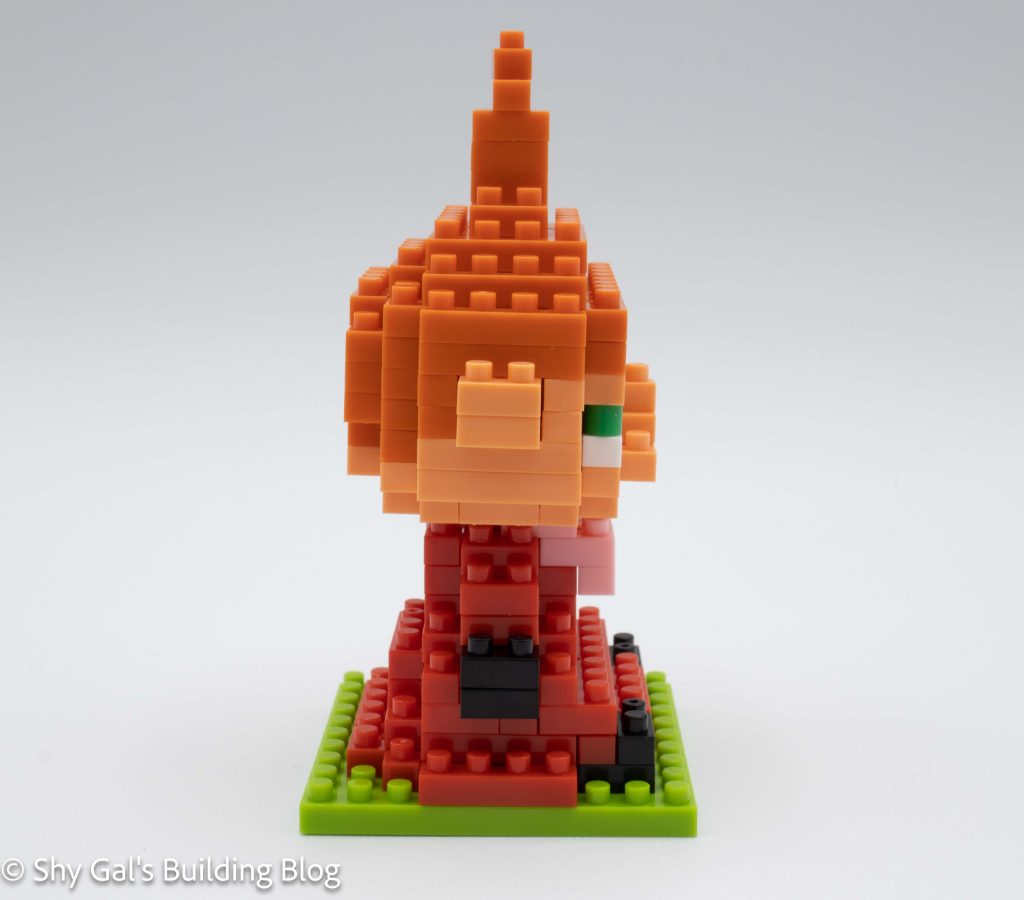
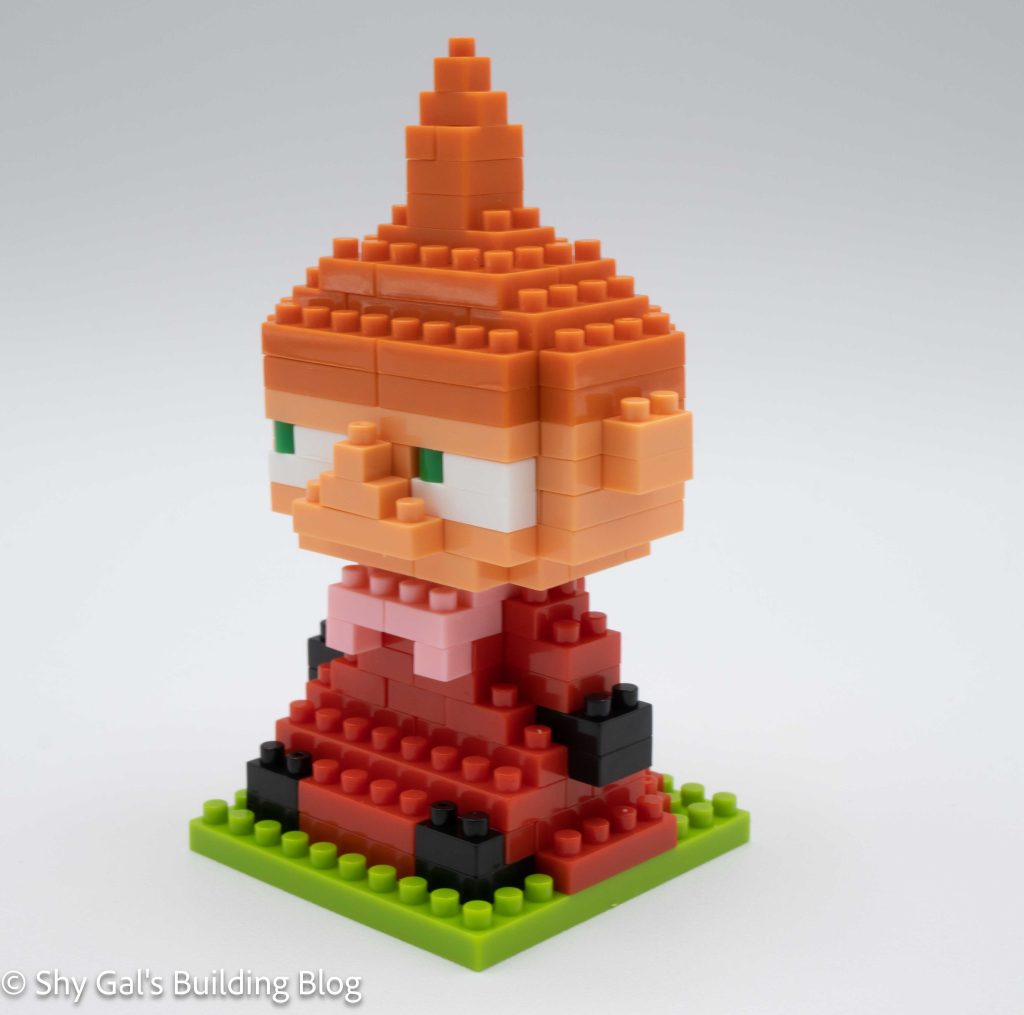
Tyranitar is a Rock/Dragon type Pokemon introduced in generation 2. It’s the final evolution of Larvitar. I feel that the final build is highly recognizable. My only complaint is the color of the stomach plate. I think the plate should be a grey instead of the bright blue.
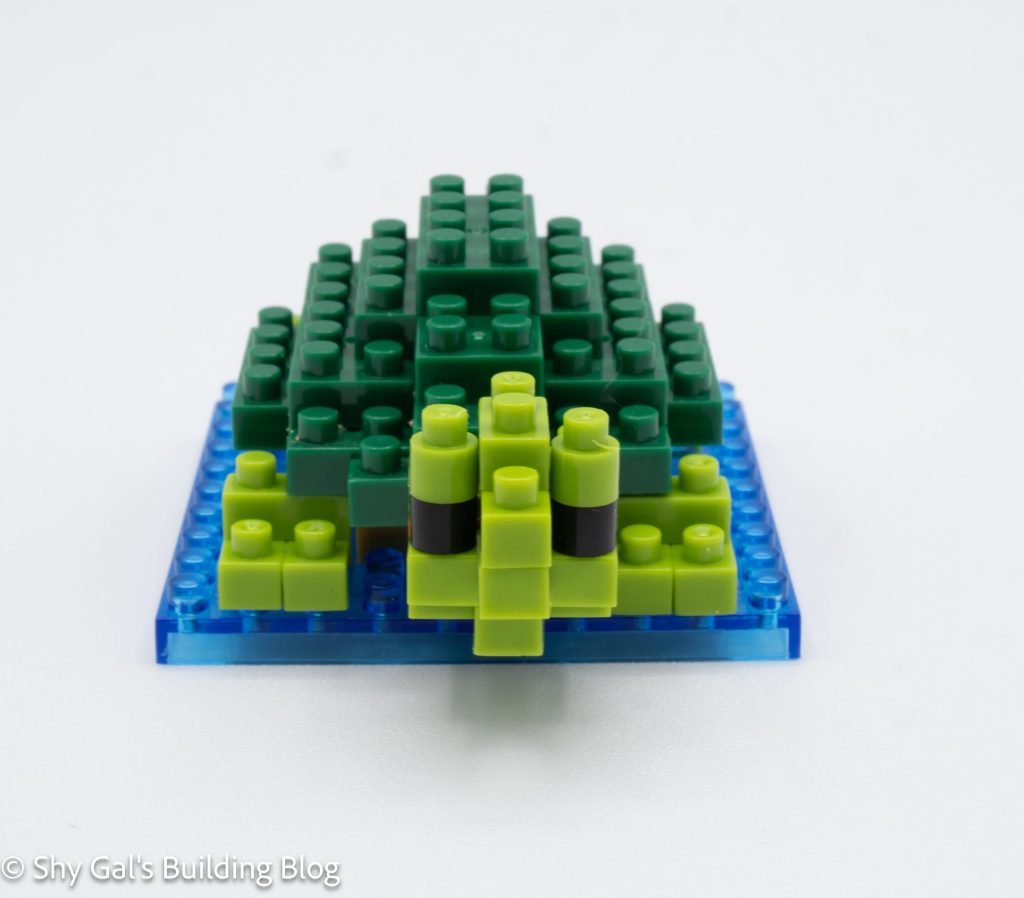
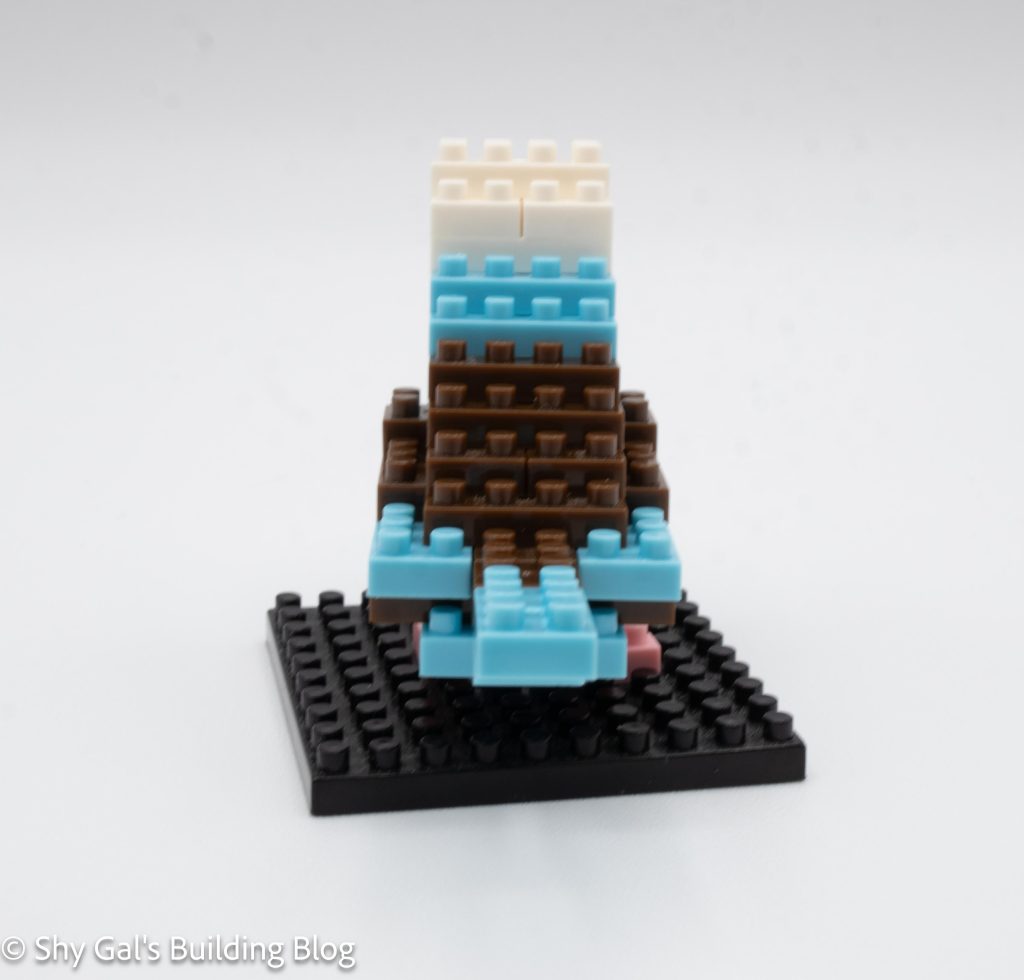
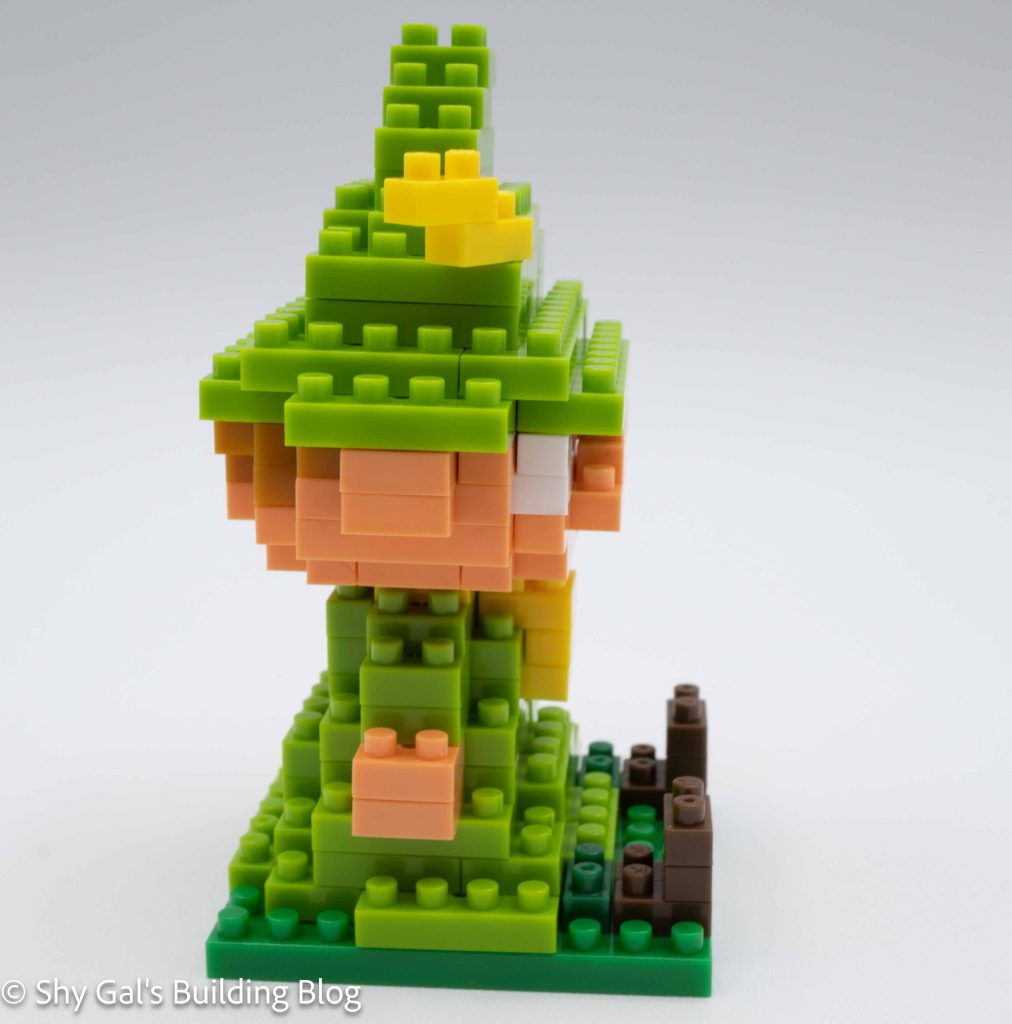
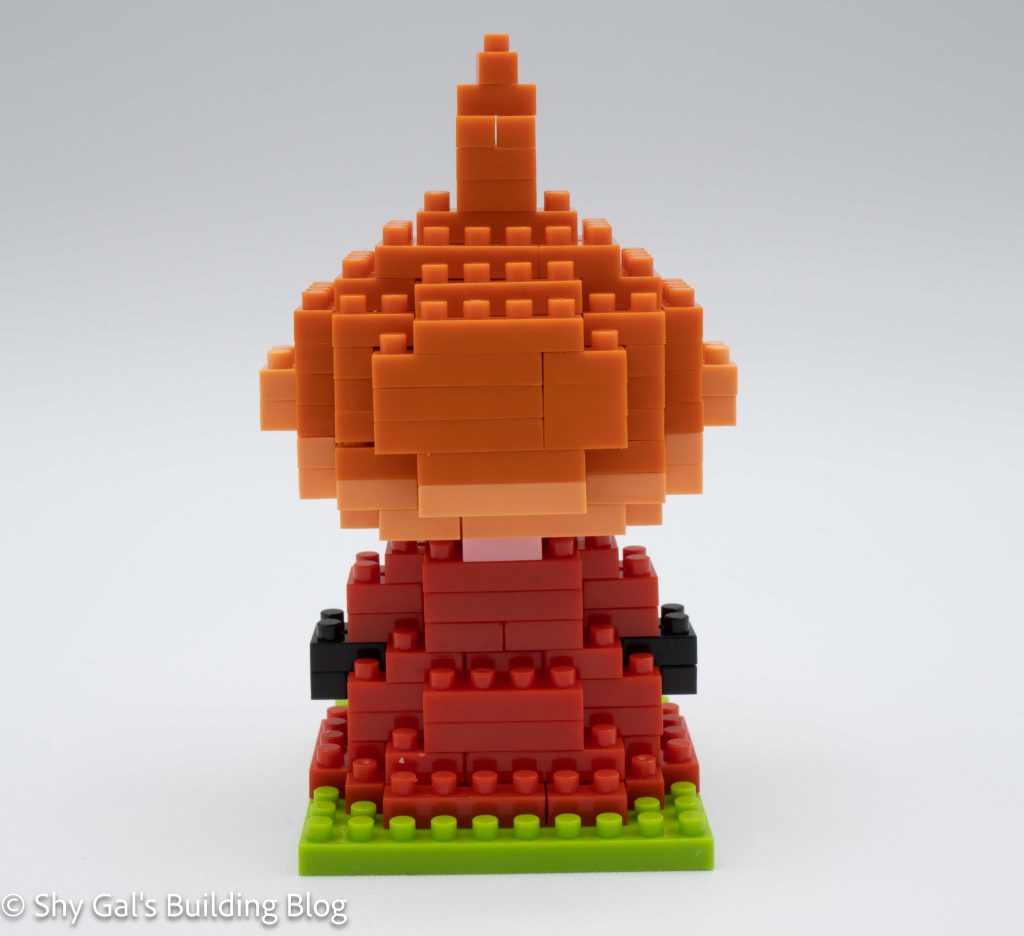
The build begins with creating the base of the Tyranitar. It takes 2 steps to create the entire base. From there, the bottom spreads out to create the widest point of the base.
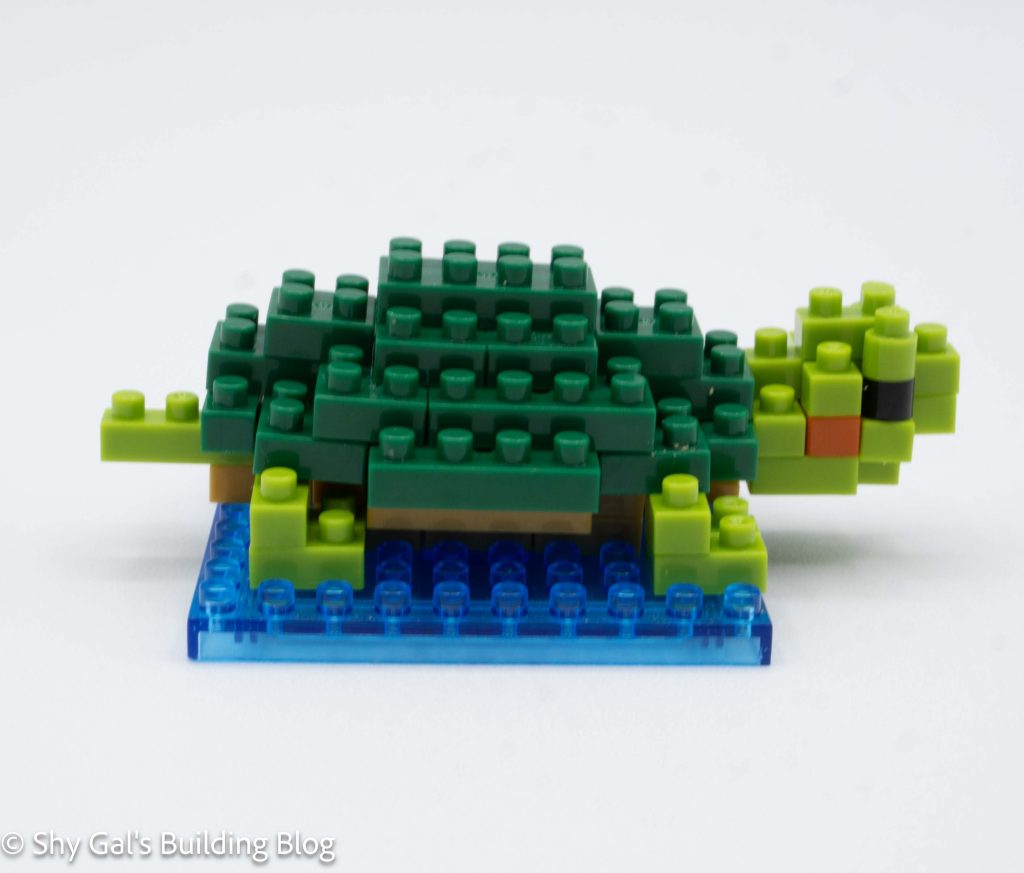
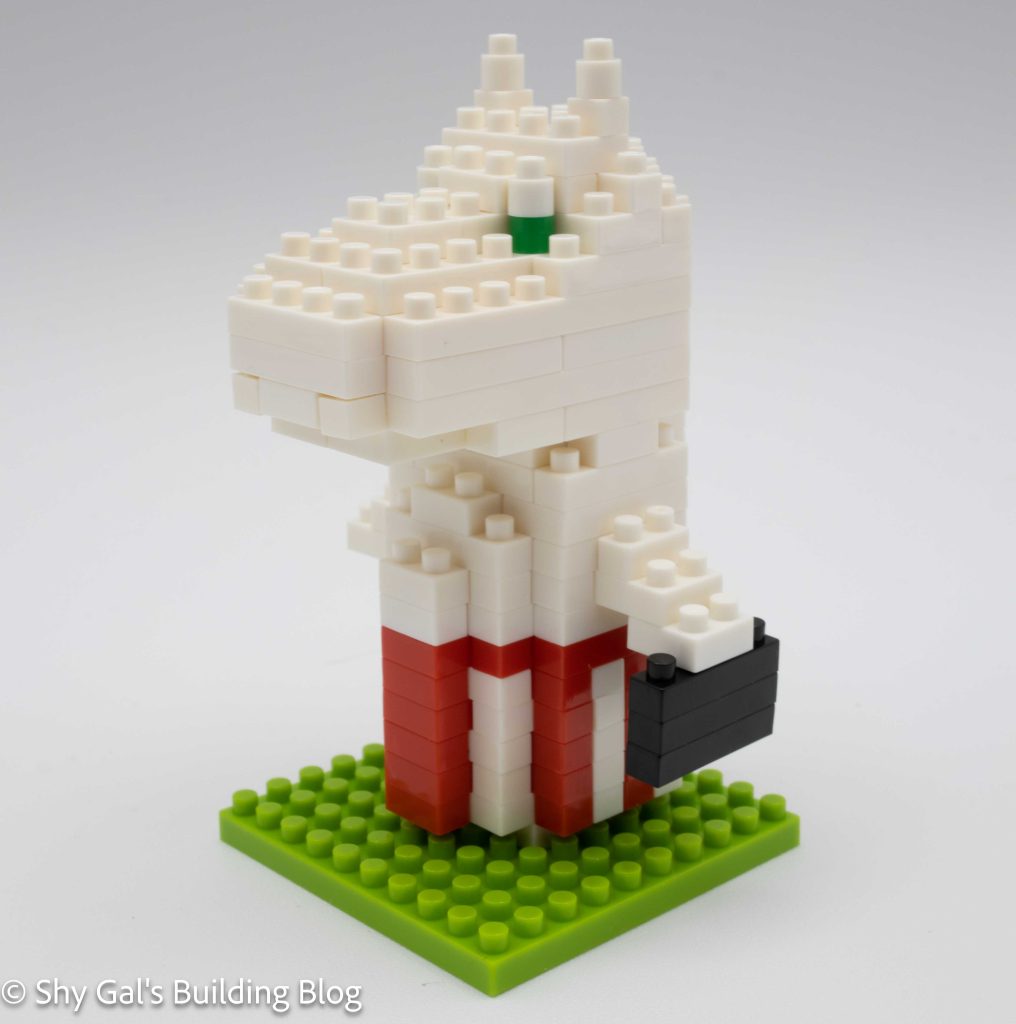
The body goes up in a very straightforward fashion. In general, each layer takes 2 steps in the instructions. The fact that each step takes so much space means that it is very clear which bricks to add.
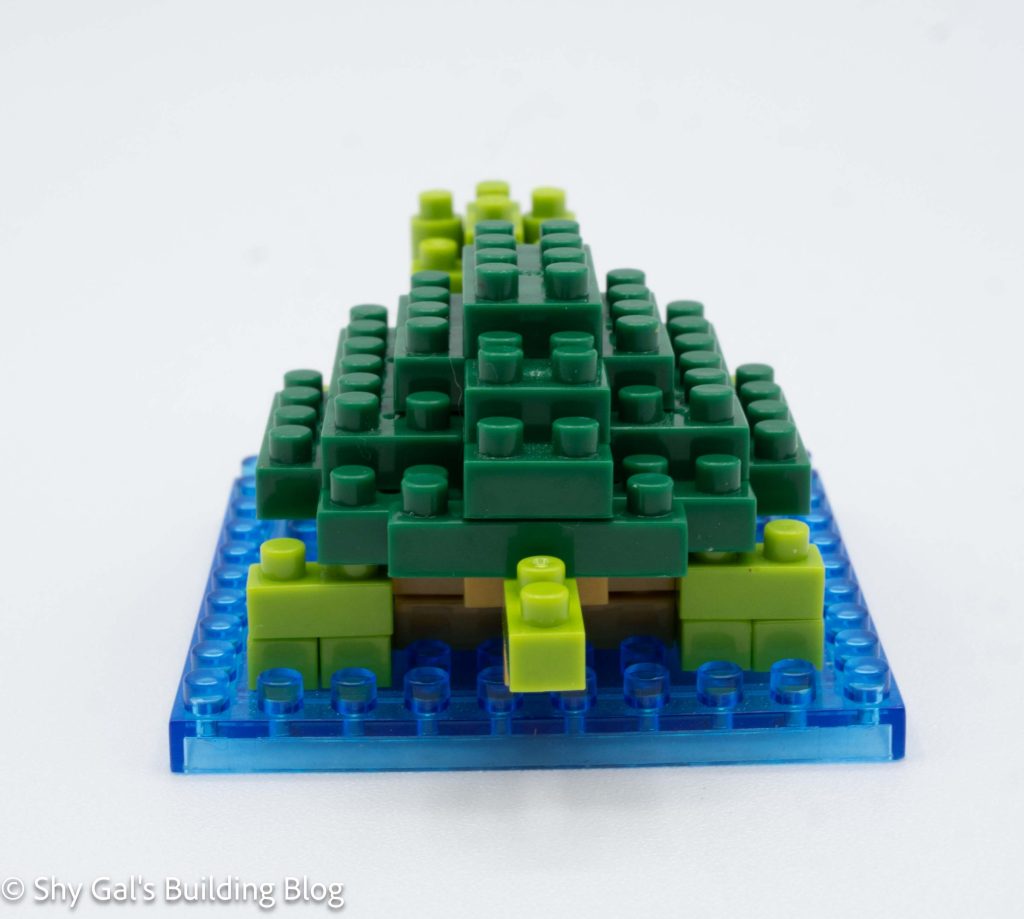
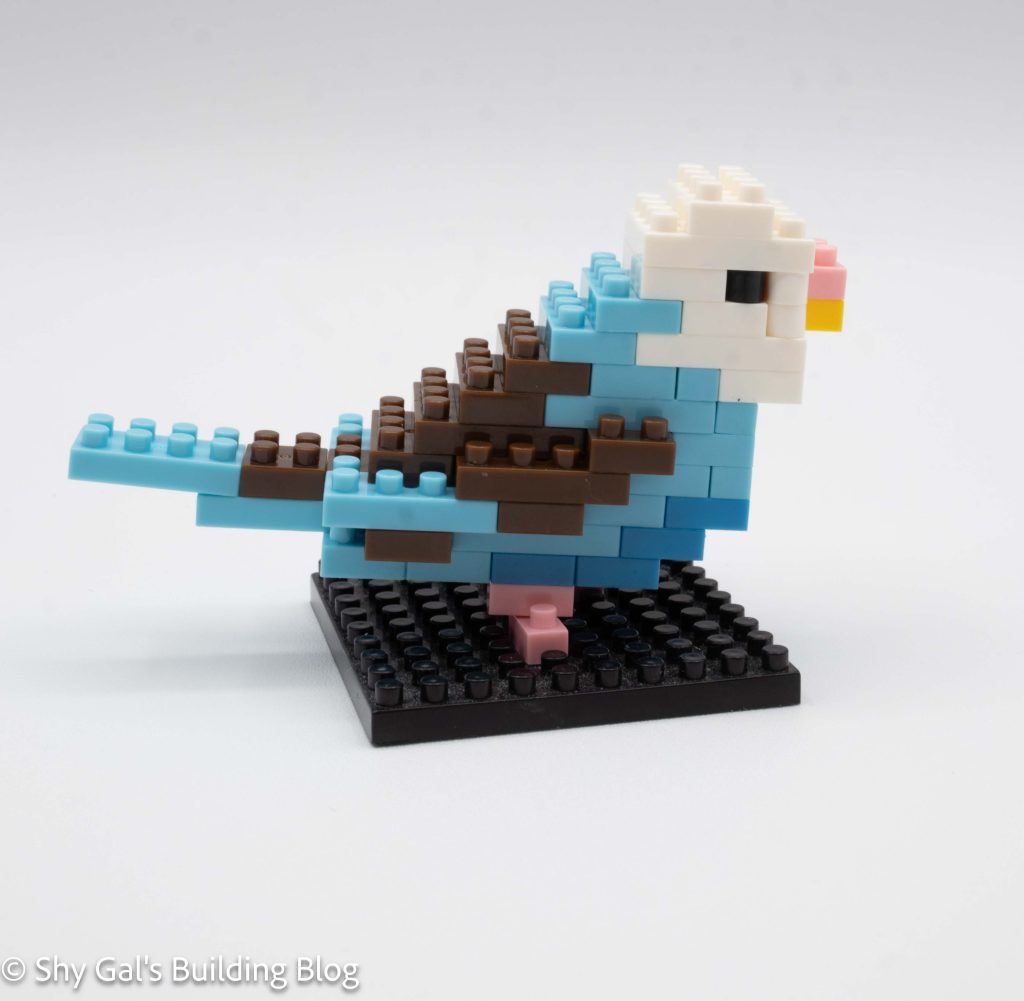
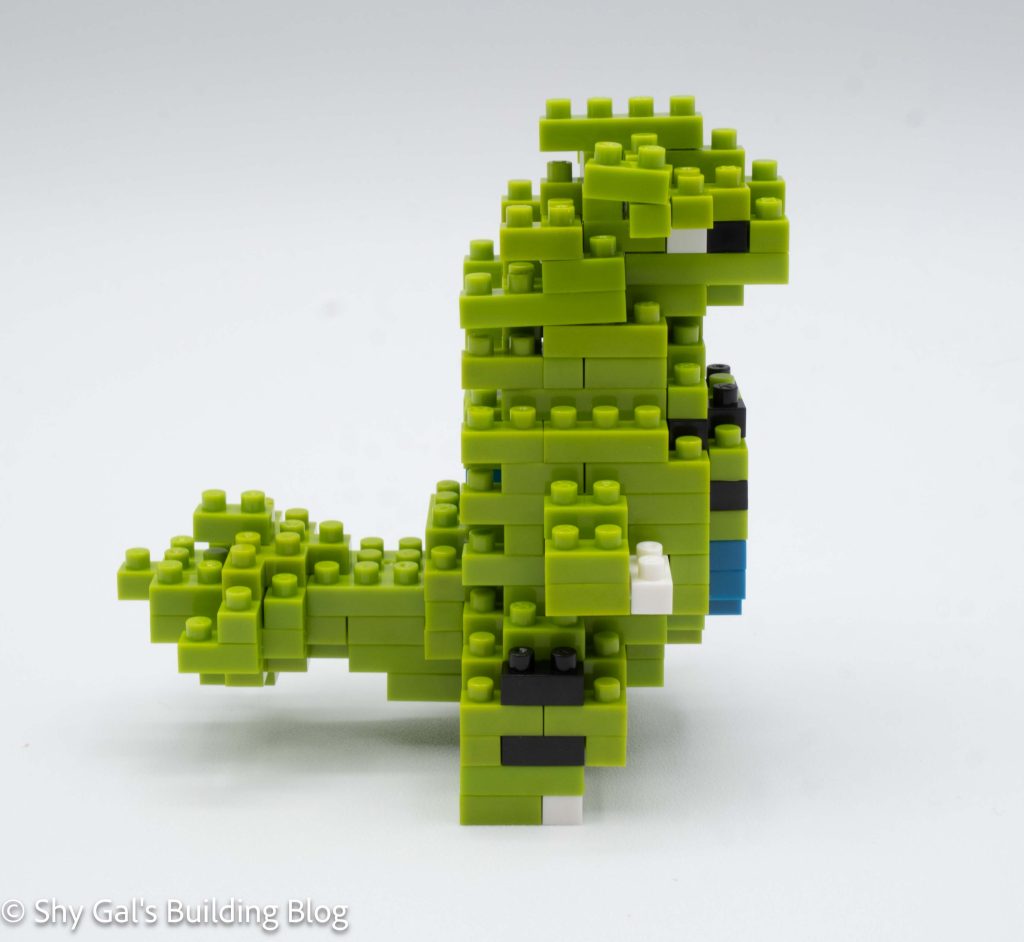
The build goes from the widest point and goes up in layers. Each layer is mostly green, but sometimes additional colors are added to create the claws, stomach plate, and details.

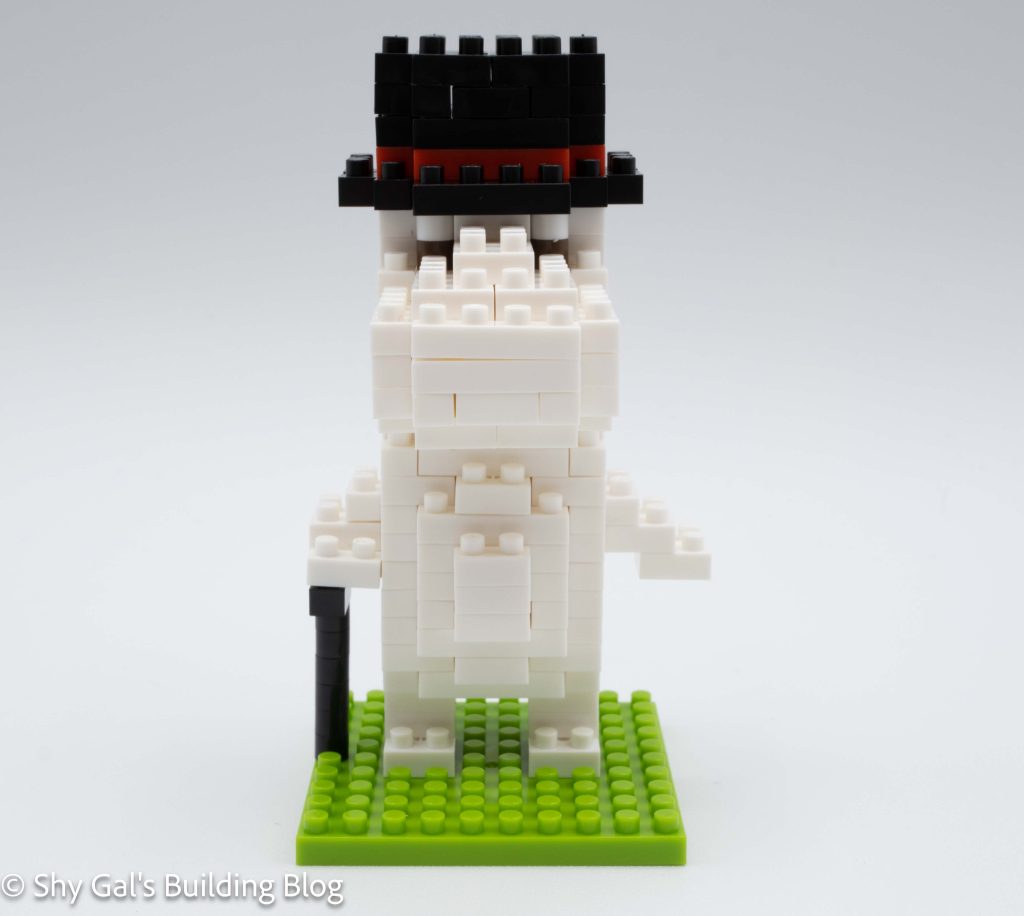
Tyranitar is a solid collection of layers of bricks. This includes the head. The only things not built into the main build are the legs. The legs are built separately and added to the bottom of the build.

Things I liked:
- I loved how clear the instructions were and how much space each step has
Things I didn’t like:
- I wish the stomach plate was grey, not bright blue, to be closer to the actual Pokemon