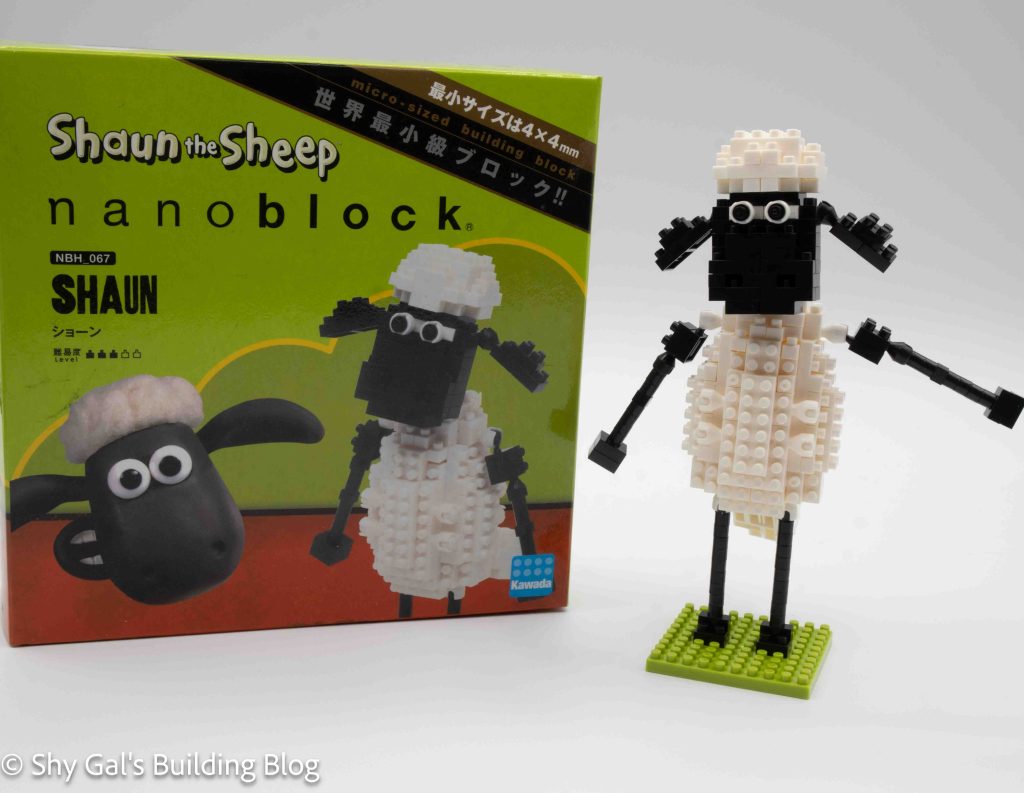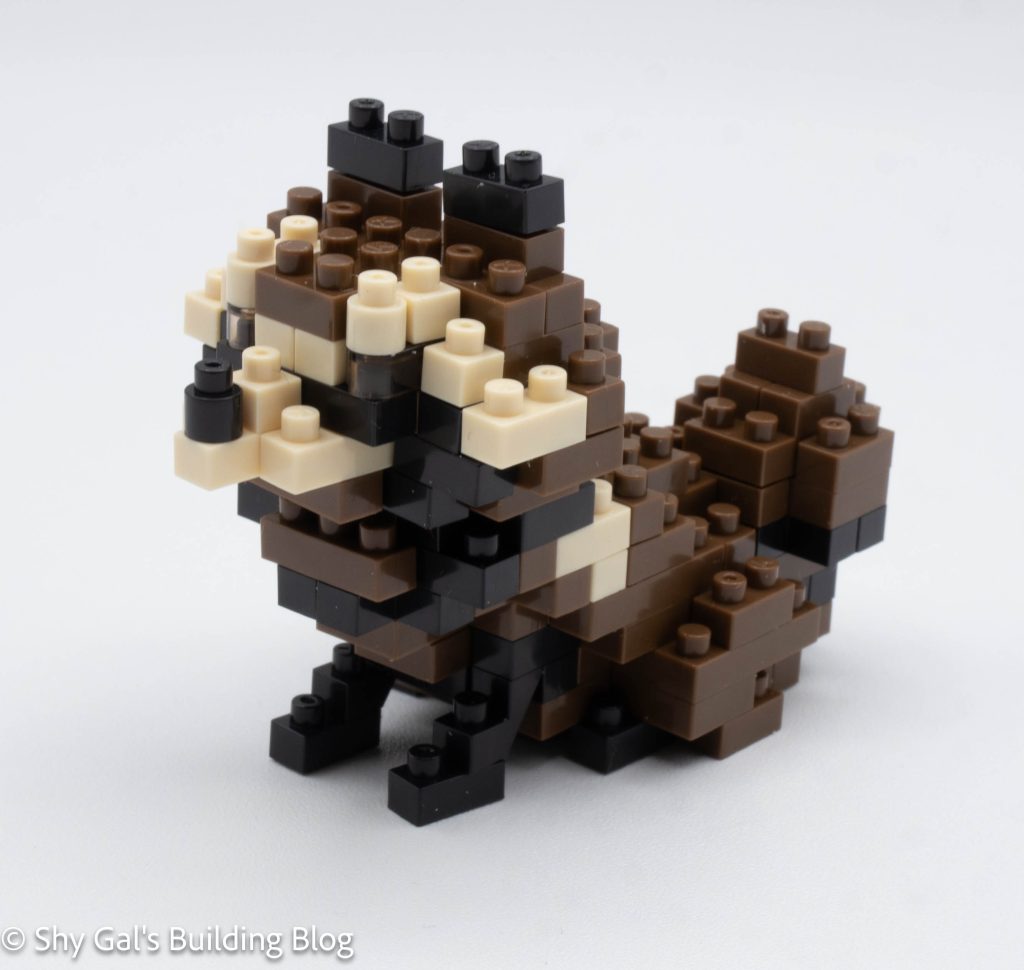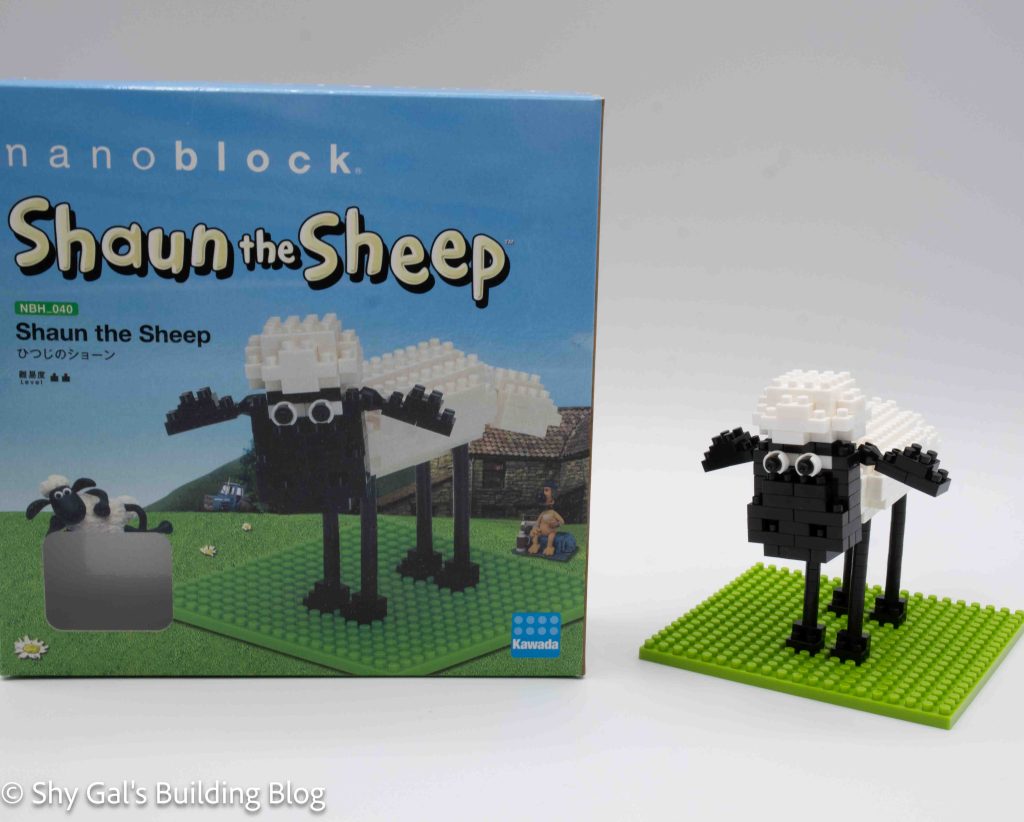
This post is a review of the nanoblock Shaun the Sheep build. Shaun the Sheep is part of the nanoblock Sights to See collection. Wondering what else is part of the Sights to See collection? Click here for a list.
Number: NBH_040
Country: UK
Difficulty Rating: 2
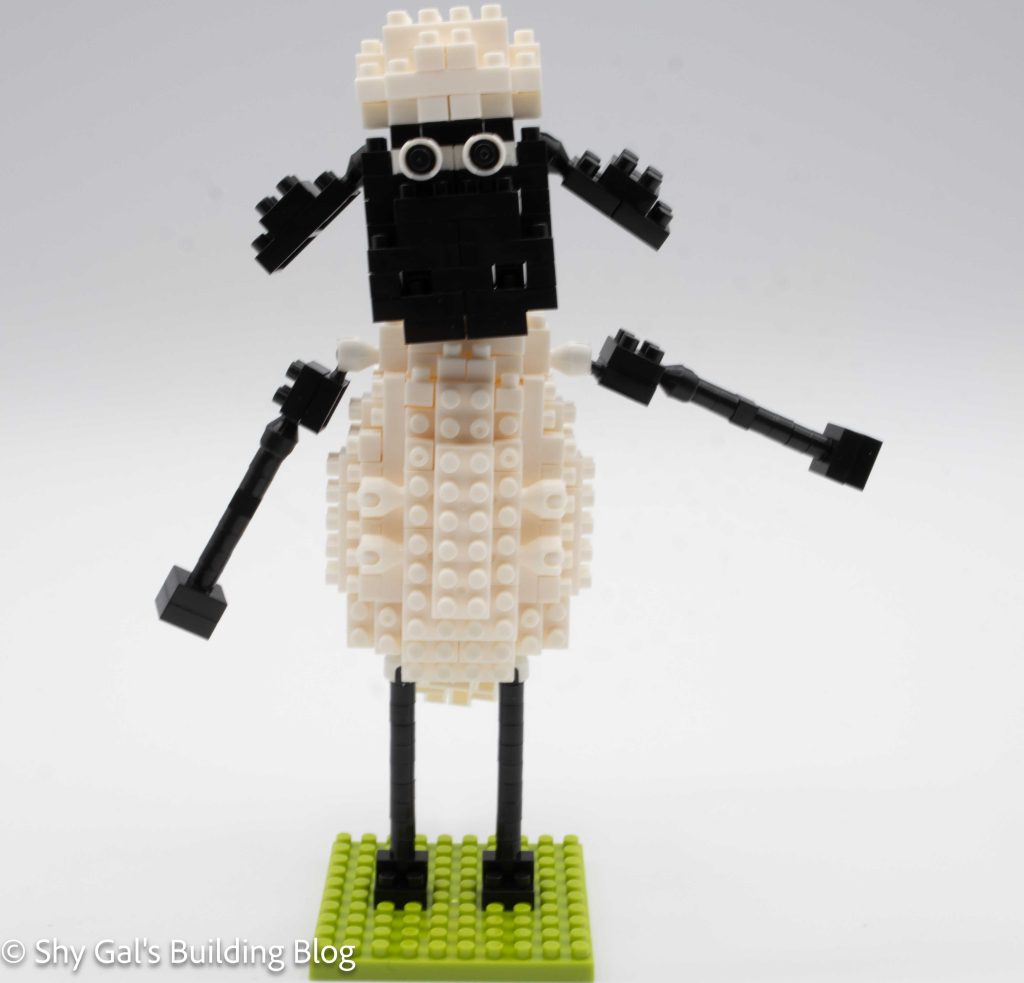
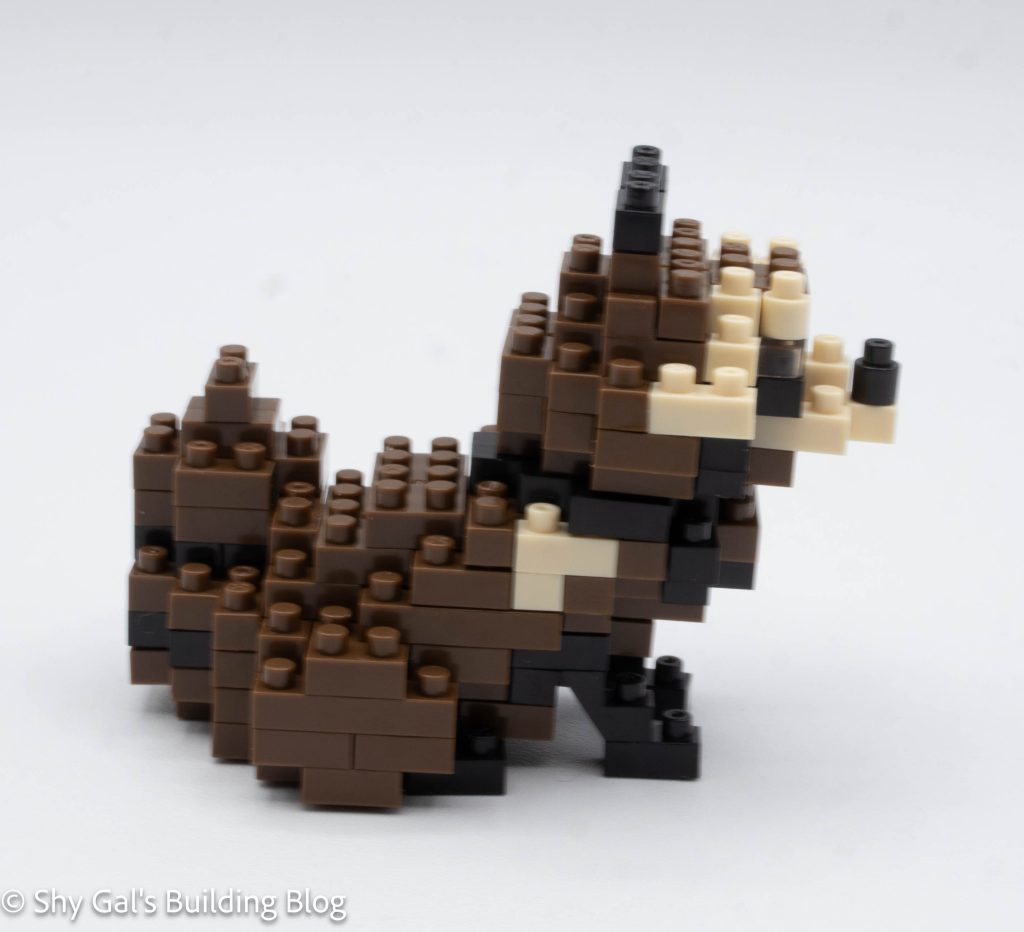
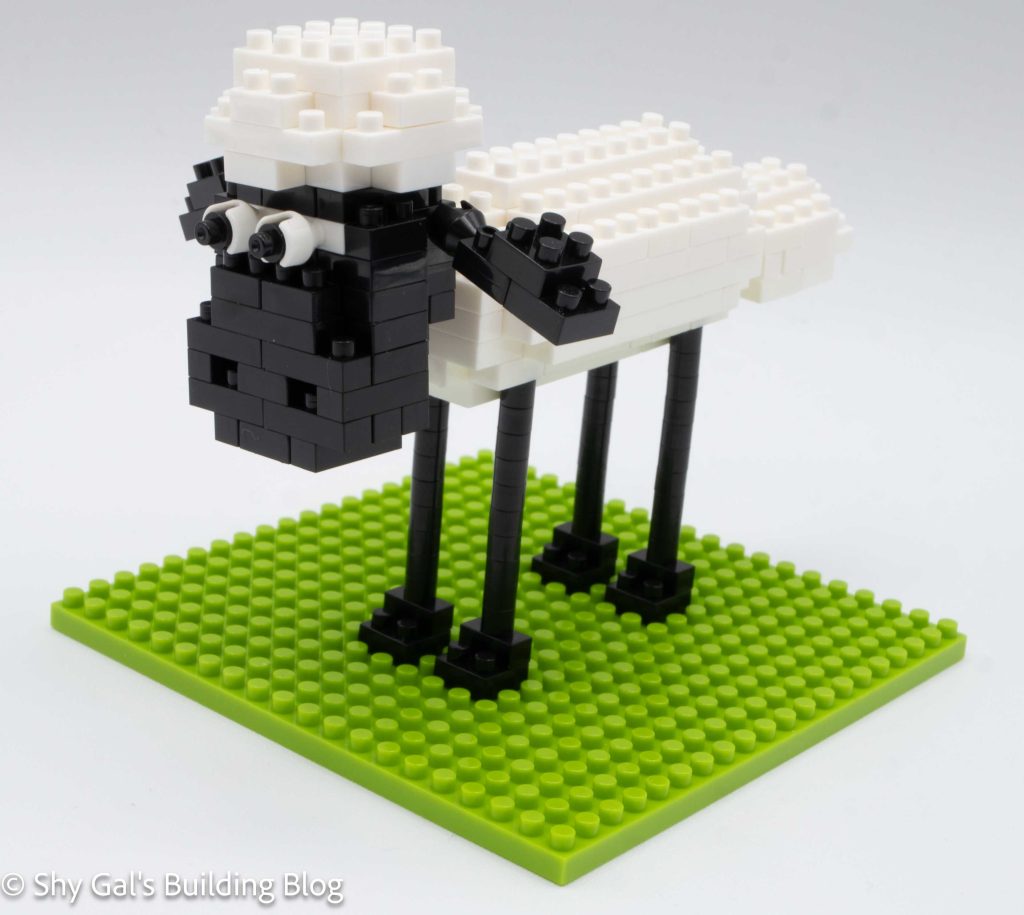
This build is divided into four sections: the head, the body, the tail, and the base.
The tail is a very straightforward 4 layers of white bricks.
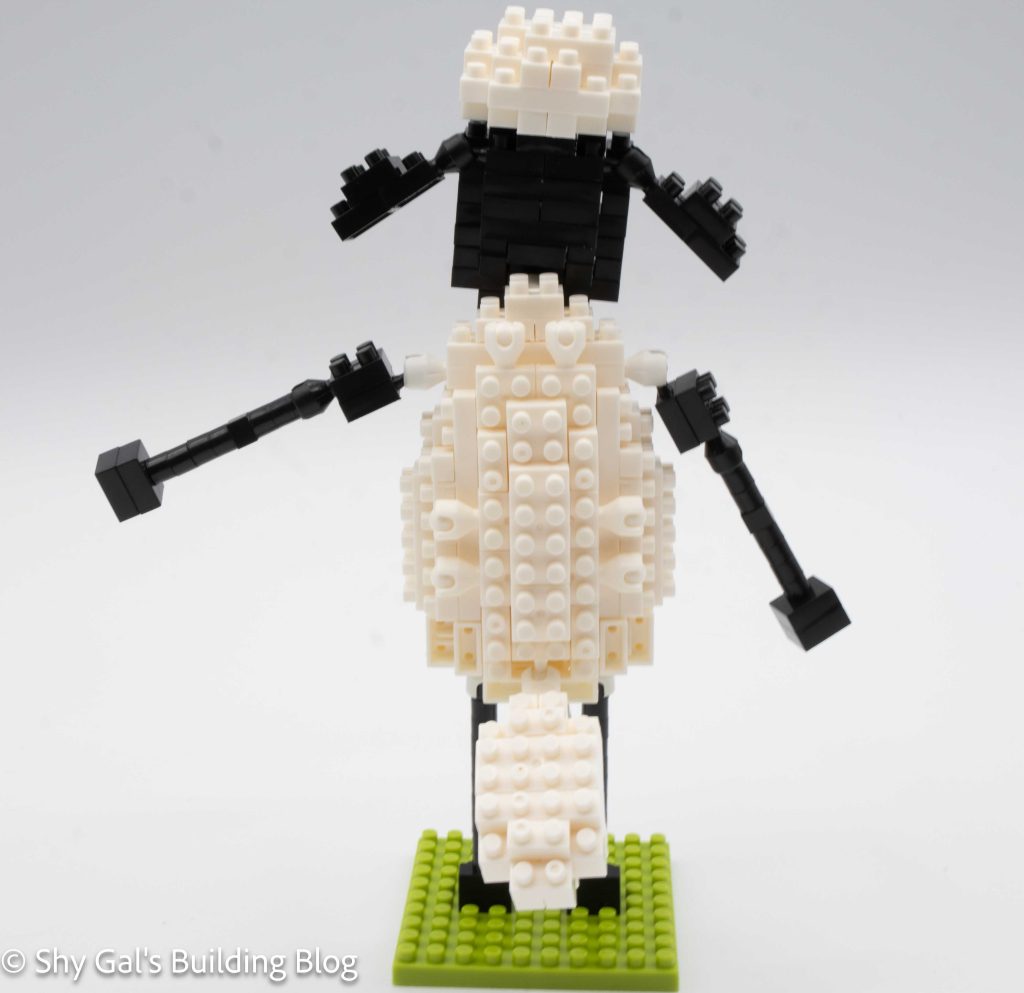
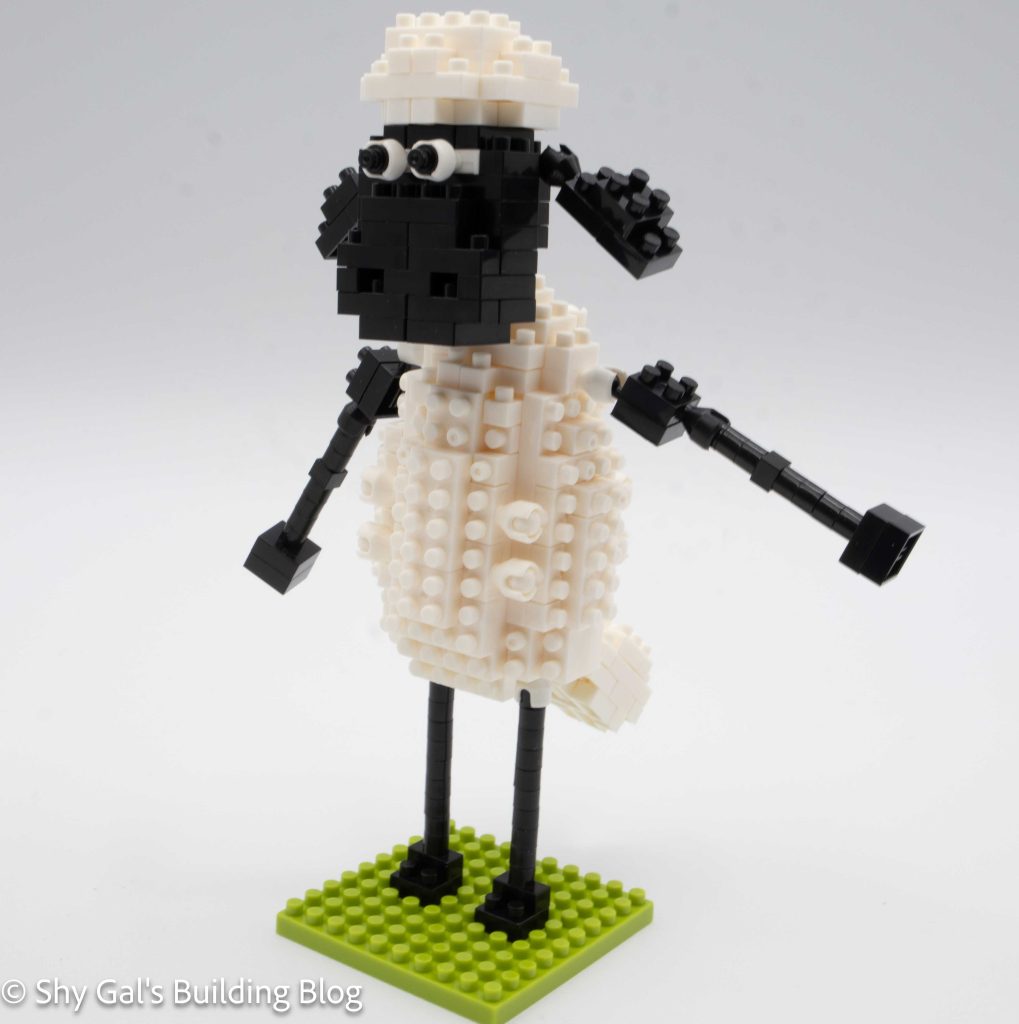
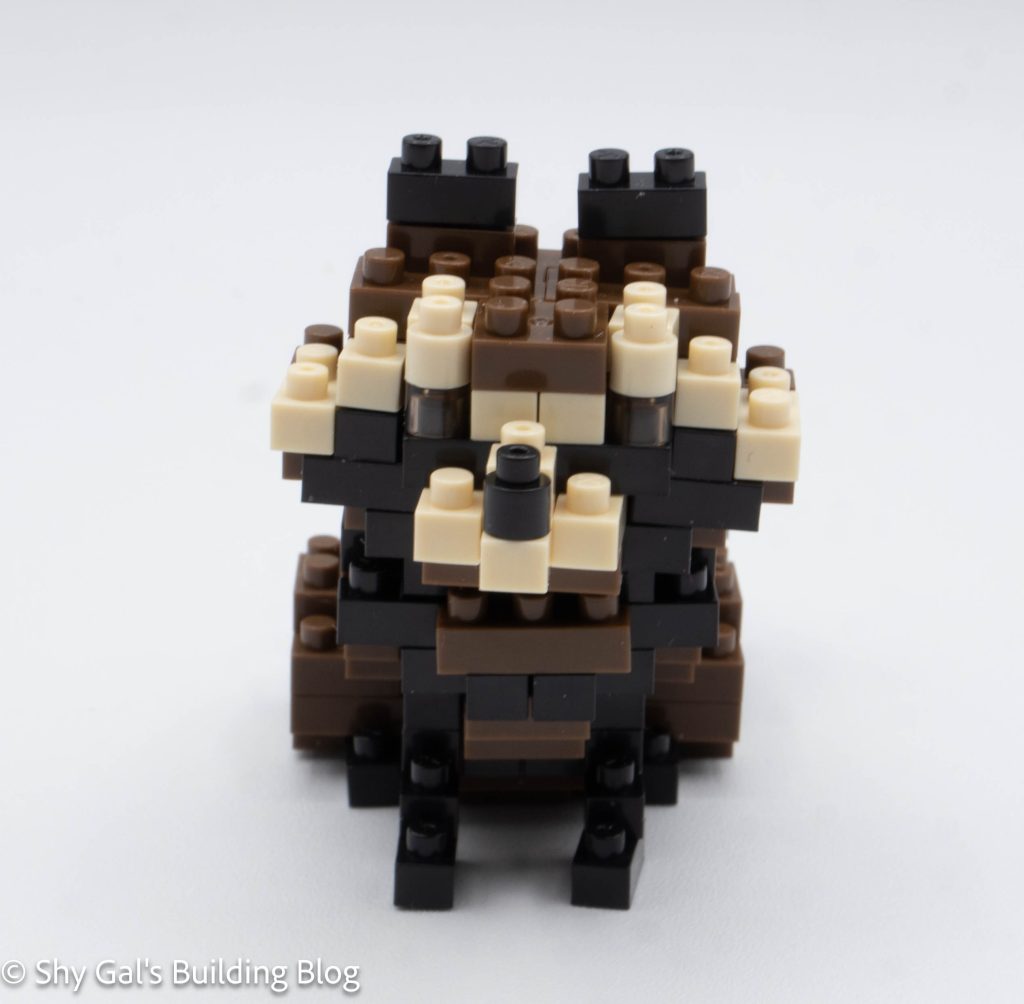
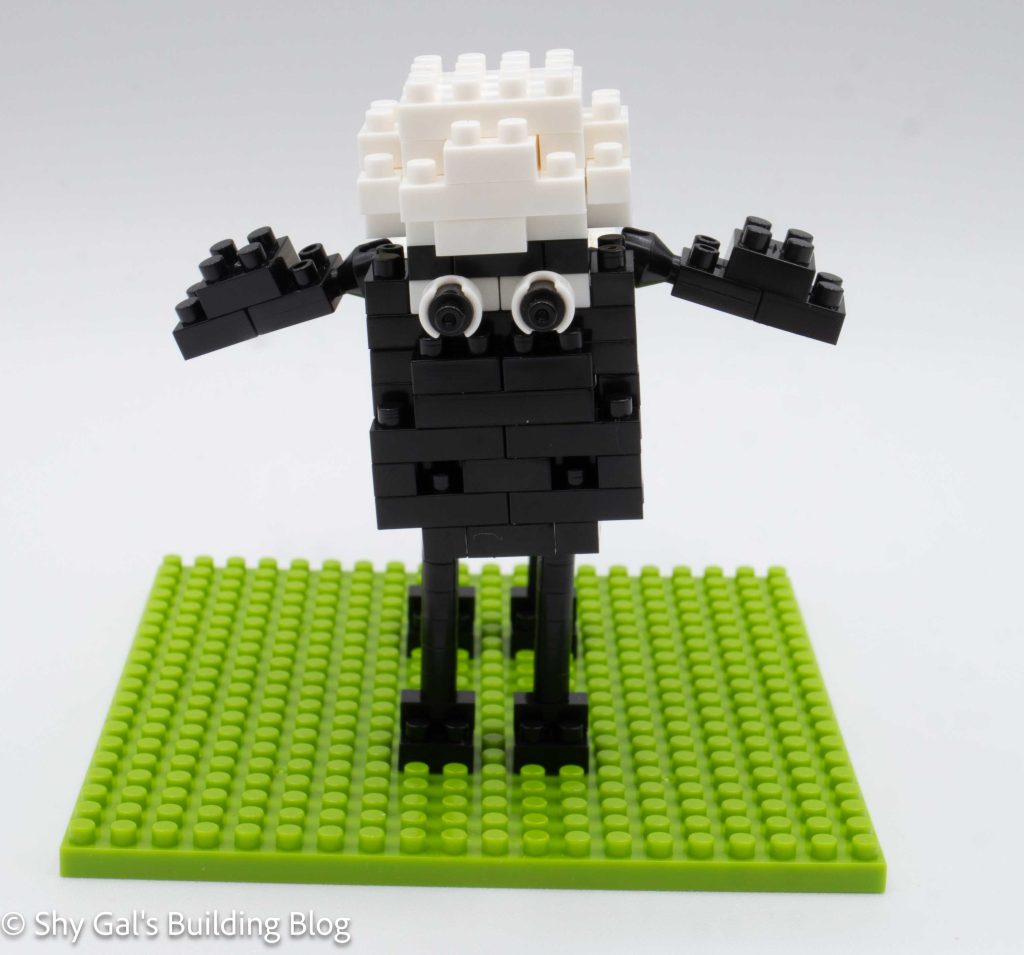
The head begins with a layer of black bricks. The head goes up in layers, leaving gaps that create the nose. To create the eyes, you take a socket and put a round 1×1 into the socket. I’m not a fan of this technique, but it does get the job done by creating the eyes. After adding the eyes, you add the white to the top of Shaun’s head. The last part of the head is adding the ears.
I started the body on my pad but after a couple layers, I did most of the building in my hands. The body section is straightforward and creates a hollow tube for the body.

At this point, I connected the head, body, and tail together to create one complete unit.
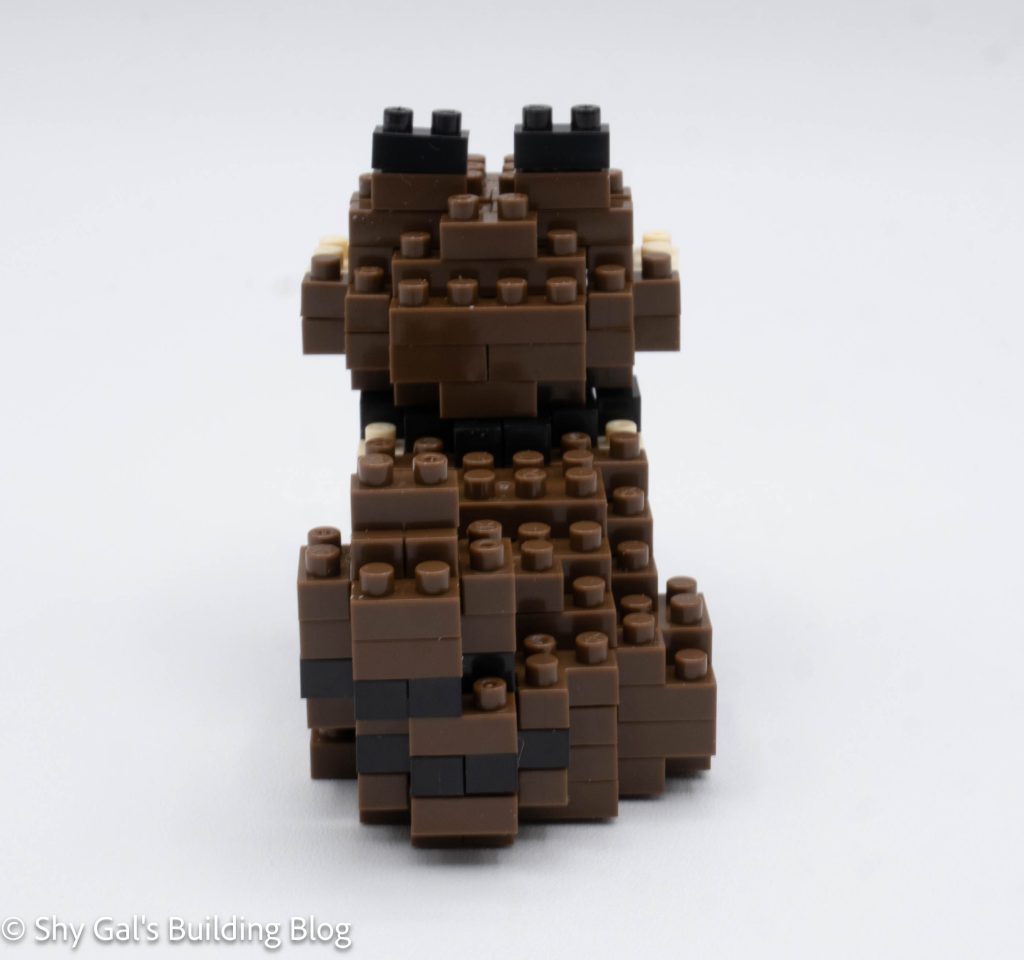
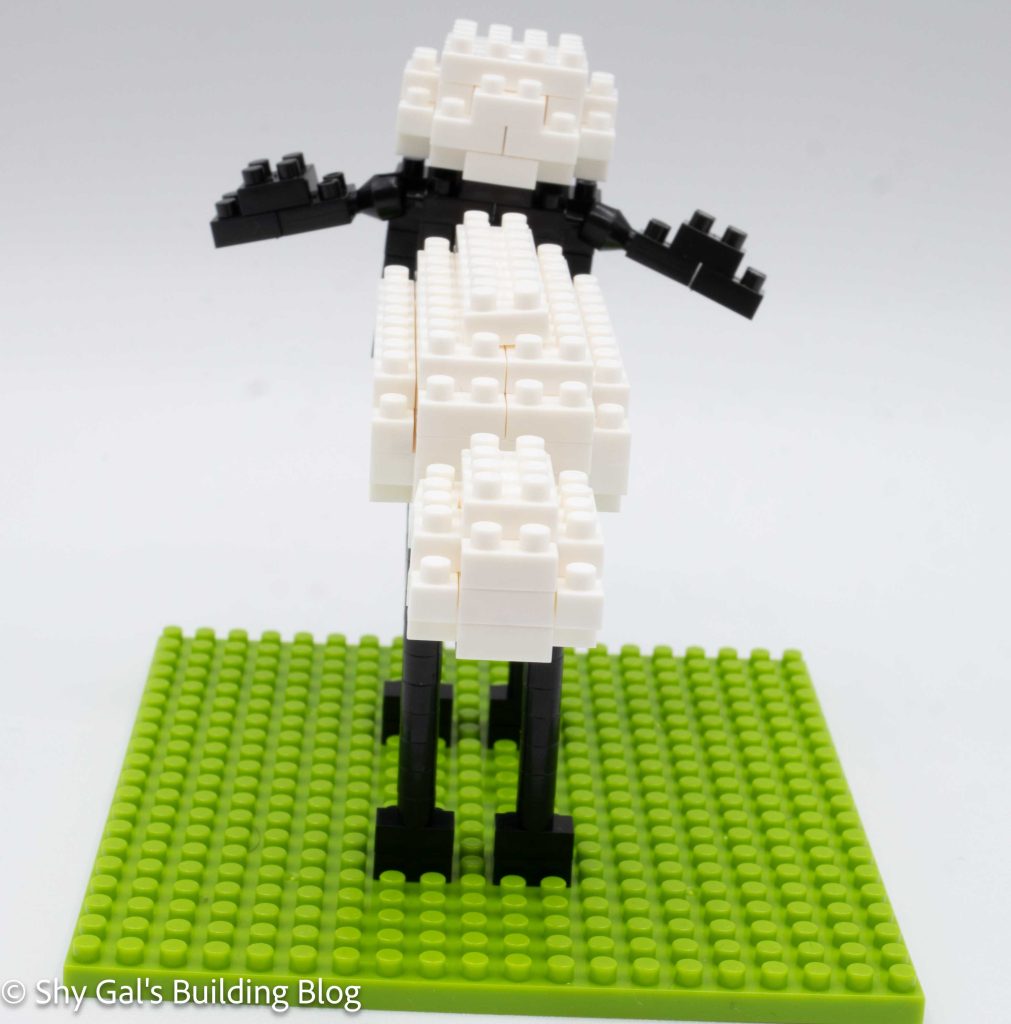
The last section is adding the legs to the base. Creating each leg was very straightforward since all I needed to do was count 10 1x1s. The hardest part was making sure that I counted where exactly to put the build so that it was properly centered.
The last step was to add the body unit to the legs. I was surprised by how easy it was to get the body attached to the legs.
Things I liked:
- How easy it was to connect the body to the legs
Things I didn’t like:
- I don’t like the technique for creating the eyes