Review of nanoblock Lugia NBPM_032

Lugia build and box

This post is a review of the nanoblock Lugia build. Lugia is part of the nanoblock Pokemon collection. Wondering what else is part of the Pokemon Collection? Click Here for a list.

Number: NBPM_32

Number of Pieces: 210

Difficulty Rating: 3/5

Lugia front view

Lugia is one of the 2 legendary Pokemon from generation 2. Lugia is the mascot Pokemon for Pokemon Silver.

The Lugia build is the first build where the directions went onto the backside of the pages for a total of 46 total steps. Unlike a lot of builds, it isn’t broken down into smaller steps.

Lugia front 3/4 view

Some of the steps are hard to tell precisely where the bricks go on a layer. I found Lugia’s arms much easier to build than Charizard’s wings.

Overall I liked Lugia. I think its arms are a bit clumpy compared to the fluid arms you see in the anime.

Lugia back 3/4 view

Things I liked:

  • The coloring is fairly accurate

Things I didn’t like:

  • Arms are super clumpy

Link to order: Amazon

Review of nanoblock 2022 Snowman NBC_368

2022 Snowman pacakage and build

This post is a review of the nanoblock Snowman build. Snowman is part of the nanoblock Mini Collection. Wondering what else is part of the Mini Collection? Click here for a list.

Number: NBC_368 

Number of Pieces: 160

Difficulty Rating: 2/5

2022 Snowman front view

There are been several snowman builds that have been released over the years. The snowman released in 2022 is different because the snowman is made up of clear white bricks and glitter bricks. These are newer and uncommon bricks used in a few nanoblock kits. The clear white bricks create a translucent effect on the snowman, which is nice.

The build begins by laying out a base layer of clear white bricks. I started the build on my nanoblock pad. The body goes up in layers. In general, each step works on two layers at once. The final step of the beginning of the body is a ring outlining the top of the body.

2022 Snowman front 3/4 view

The next section of the body is adding the scarf and creating curves to close up the body. Several slanted pieces are clearly marked as to which ones to use. However, I had difficulty telling where to add a 1×1 brick to get the layer lined up. I was able to figure it out after moving bricks around.

The final step of the body is to add the mittens.

2022 Snowman back 3/4 view

The head begins with a base layer that I once again laid out on my nanoblock pad. The head goes up in layers. Again there are slanted bricks that I needed to make sure I used the right slope to build the head correctly. The head adds details such as eyes, nose, and hat.

The last step is to connect the head to the body.

2022 Snowman front 3/4 view

Things I liked:

  • The use of translucent and glitter blocks in the build because they are uncommon types of bricks

Things I didn’t like:

  • I’m not sure I like the solid white bricks edging on the hat. Since the rest of the build is clear the solids stand out

Review of nanoblock Inosuke Hashibira NBCC_091

Inosuke Hashibira build and box

This post is a review of the nanoblock Inosuke Hashibira build. Inosuke Hashibira is part of the nanoblock Character collection. Wondering what else is part of the Character Collection? Click Here for a list.

Number: NBCC_091

Number of Pieces: 180

Difficulty Rating: 2/5

Inosuke Hashibira font view

Inosuke Hashibira is a member of the Demon Slayer Corps in the Demon Slayer Anime. For more information about him, check out the fandom wiki page. For more information about the nanoblock builds, check out my collections page for links to other reviews.

This nanoblock build is split into 3 parts. There is the head, hips, and torso.

This head is built in various chucks that are connected together to create the head. You begin by building the front of the head with the eyes. Next, you build some of the hair. As a warning, it is a bit tricky to tell what shade of blue to use depending on the lighting on the directions. You then build more hair. Once you have the 3 chunks, connect the pieces together and close up the head.

Inosuke Hashibira back 3/4 view

The next step is to build the hips, a simple 3 layers of nanoblock.

The final major portion of the build is to create the torso. You begin by building layers of blocks. Next, you build and attach the arms onto the body. Once you have attached the arms, it’s time to connect the major pieces.

The final steps of the build are to build and attach the legs and the swords.

Inosuke Hashibira front 3/4 view

Things I liked:

  • I really like how they added variation to the hair to mirror the character

Review of nanoblock Celebi NBPM_054

Celebi build and package

This post is a review of the nanoblock Celebi build. Celebi is part of the nanoblock Pokemon collection. Wondering what else is part of the Pokemon Collection? Click Here for a list.

Number: NBPM_054

Number of Pieces: 130

Difficulty Rating: 2/5

Celebi front view

Celebi is the mythical Pokemon that was released in generation 2. It was the second mythical Pokemon, with the first being Mew. Celebi is known to have the power to control time. This set is one of 3 that were/are only available at Pokemon Centers in Singapore; the other 2 are the Crystal Gyarados and the Crystal Lapras.

Celebi, unlike most builds, begins with the middle of the head. There is a base layer in the head, and from there, you build up until you have completed the top of the head. Then you turn it over and finish the bottom of the head, be careful not to knock the antenna off. Next, you build the little body by creating layers of nanoblocks. I like the detail of the clear blocks to making little wings. Once you connect the head to the body, it’s time to add on the little feet and attach the base.

Celebi front 3/4 view

As a heads up, Celebi is a slightly top-heavy build that is likely to fall if you bump the table it’s sitting on. Overall I’m glad I went through the extra work required to get this set because it comes out so cute. It also uses colors you don’t see very often in Pokemon builds.

Celebi back 3/4 view

Things I liked:

  • The detail of the wings

Things I didn’t like:

  • Easy to knock over on accident

Review of nanoblock Zenitsu Agatsuma NBCC_090

Zenitsu Agatsuma build and box

This post is a review of the nanoblock Zenitsu Agatsuma build. Zenitsu Agatsuma is part of the nanoblock Character collection. Wondering what else is part of the Character Collection? Click Here for a list.

Number: NBCC_090

Number of Pieces: 200

Difficulty Rating: 2/5

Zenitsu Agatsuma front view

Zenitsu Agatsuma is a member of the Demon Slayer Corps in the Demon Slayer Anime. For more information about him check out the fandom wiki page. For more information about the nanoblock builds check out my collections page for links to other reviews.

This nanoblock build is split into 2 parts. There is the head and the body.

Unlike some heads, this head is lined up straight so it is an easy base. Then you build the head in layers like a normal nanoblock build. As you build the head, you will add the details of the eyes and the hair color variations.

Zenitsu Agatsuma back 3/4 view

Next, you build the body. First, you build the edges of the top which is basically a bar of colors. You build the bar up until you add the arms and the rest of the body. Then you add the hips and the legs. There is a clear brick to keep the build from tipping over.

The final steps of the build are to attach the head to the body and to build and attach the sword.

Zenitsu Agatsuma front 3/4 view

Things I liked:

  • I really like how they added variation to the hair to mirror the character

Review of nanoblock Cyndaquil NBPM_029

Cyndaquil build and pacakge

This post is a review of the nanoblock Cyndaquil build. Cyndaquil is part of the nanoblock Pokemon collection. Wondering what else is part of the Pokemon Collection? Click Here for a list.

Names:

  • English: Cyndaquil
  • Japanese: Hinoarashi

Number: NBPM_029

Number of Pieces: 150

Difficulty Rating: 2/5

Cyndaquil front view

Cyndaquil is the fire-type starter from generation 2. It is a starter along with Totodile and Chikorita. It is also one of the starters in the new Pokemon Legends: Arceus game. Cyndaquil is generally shown as a very shy Pokemon.

The build begins with a base of bricks. In the second layer, you start to add the dark on the back. You continue to build layers of bricks, and eventually, you begin the flame on the back. The next step is to start building the head. You build the head up from a base in layers circling and creating rings for the head.

Cyndaquil side view
Once you have the started head, attach it to the body you built earlier. Next, you close up the head and make the flame on the back. Once you have completed closing up the head, you add more details to the flame. The final step is to add the details of the feet and the clear bricks that keep the build from tipping.

Cyndaquil fire detail

Overall I think this is a super cute build. Cyndaquil has always been one of my favorites, so I was worried about how the figure would turn out. I like the amount of detail in the flame between the orange and clear red bricks. I wish they had used a lighter color for the light part of his body. It seems really dark compared to the photo.

Cyndaquil back 3/4 view

Things I liked:

  • The amount of detail in the flame

Things I didn’t like:

  • The light section of the body is too dark

Review of nanoblock 2022 Christmas Tree NBC_369

2022 Christmas Tree package and build

This post is a review of the nanoblock Christmas Tree build. Christmas Tree is part of the nanoblock Pokemon Mini Collection. Wondering what else is part of the Mini Collection? Click here for a list.

Number: NBC_369

Number of Pieces: 200

Difficulty Rating: 2/5

2022 Christmas Tree build front view

This kit was much trickier to put together than I expected. This was because so many bricks were hanging from a single brick. There are also a lot of places where things are at angles which is unusual for nanoblock.

The first step is to build the tree stand. The stand is a simple 3 layers in brown and tan.

The tree builds up in a pattern. First, some branches shoot out of the tree. The branches can take 1 or more steps in the directions. Then there are a few layers of bricks that create a trunk.

Adding the branches was a bit tricky. There are 2 reasons for this. First, the branch is added to a single stud and hangs off. This can be tricky because the instructions don’t want any of the branches to be square. Second, a lot of branches also have the white ribbon that goes around the tree. The ribbon is tricky because you need to ensure it is on the correct side so it can flow properly.
The tree repeats the pattern repeats 4 times, with the branches getting smaller with each repeat.

The opening at the top of the tree is closed up. The tree is topped with a clear yellow glitter star. The star is super straightforward.

Wreath detail

In addition to the Christmas tree, there is also a little wreath. When I built the wreath, I curled it backward, so I had to flip all the green bricks so it was properly round. The final step is to add decorative details to the wreath.

2022 Christmas Tree build

Things I liked:

  • It was a nice challenge to build and get things to flow properly

Things I didn’t like:

  • The wreath. I don’t feel like it added much to the build, and I feel the directions for how to make it aren’t super clear

Review of nanoblock Nezuko Kamado NBCC_089

Nezuko Kamado build and box

This post is a review of the nanoblock Nezuko Kamado build. Nezuko Kamado is part of the nanoblock Character collection. Wondering what else is part of the Character Collection? Click Here for a list.

Number: NBCC_089

Number of Pieces: 190

Difficulty Rating: 2/5

Nezuko Kamado front view

Nezuko Kamado is the younger sister of the main protagonist Tanjiro Kamado in the Demon Slayer Anime. For more information about her, check out the fandom wiki page. For more information about the nanoblock builds, check out my collections page for links to other reviews.

This nanoblock build is split into 2 parts. There is the head and the body.

This head is lined up straight, so it is an easy base. Then you build the head in layers like a normal nanoblock build. As you build the head, you will add the details of the eyes and her hair decoration. Once you have finished the head, flip it over and add a couple more layers. To finish up the head by adding the mouthpiece and the strands of differently colored hair.

Nezuko Kamado back 3/4 view

Next, you build the body. You begin the body by creating a base layer of bricks. You then build the body from the base layer up to create Nezuko’s brown and pink kimono. Once you build from the base up, flip the body over and add a couple more layers, creating the back of the kimono. The last step is to build and attach her legs.

The final step of the build is to attach the head to the body.

Nezuko Kamado front 3/4 view

Things I liked:

  • The detail of adding the strands of differently colored hair that hang down. It’s nice because it gives the illusion of longer hair.

Things I didn’t like:

  • I’m not a fan of builds that require building upside down, and this build has quite a bit of upside-down building.
Review of nanoblock Totodile NBPM_031

Totodile build and package

This post is a review of the nanoblock Totodile build. Totodile is part of the nanoblock Pokemon collection. Wondering what else is part of the Pokemon Collection? Click Here for a list.

Names:

  • English: Totodile
  • Japanese: Waninoko

Number: NBPM_031

Number of Pieces: 150

Difficulty Rating: 2/5

Totodile front view

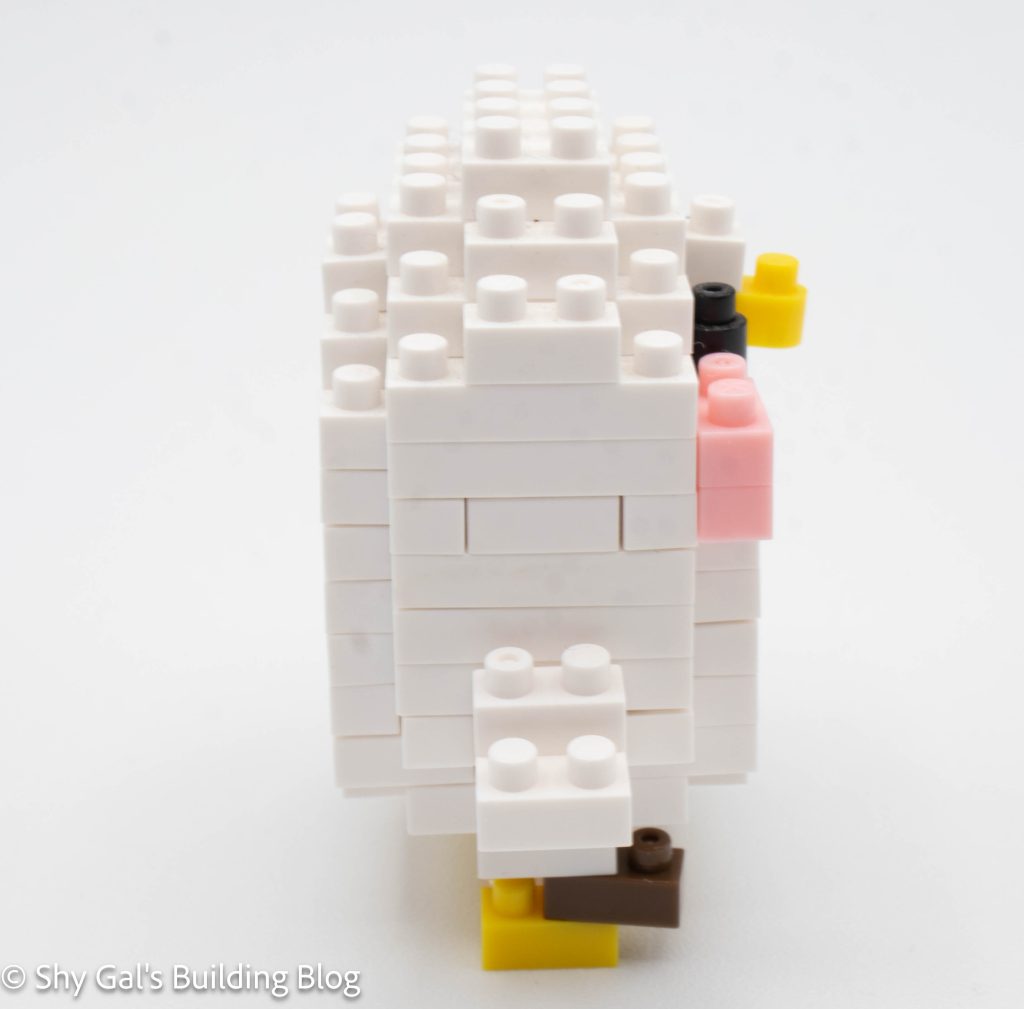
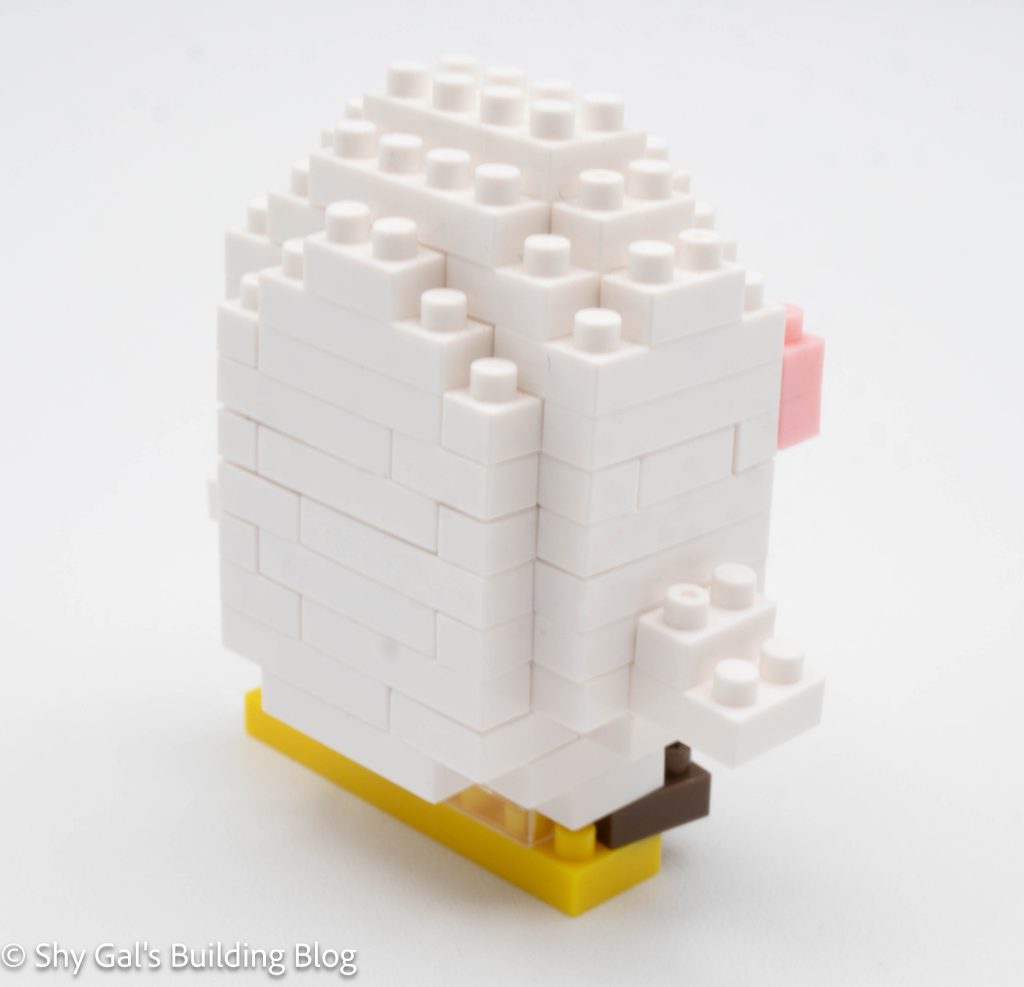
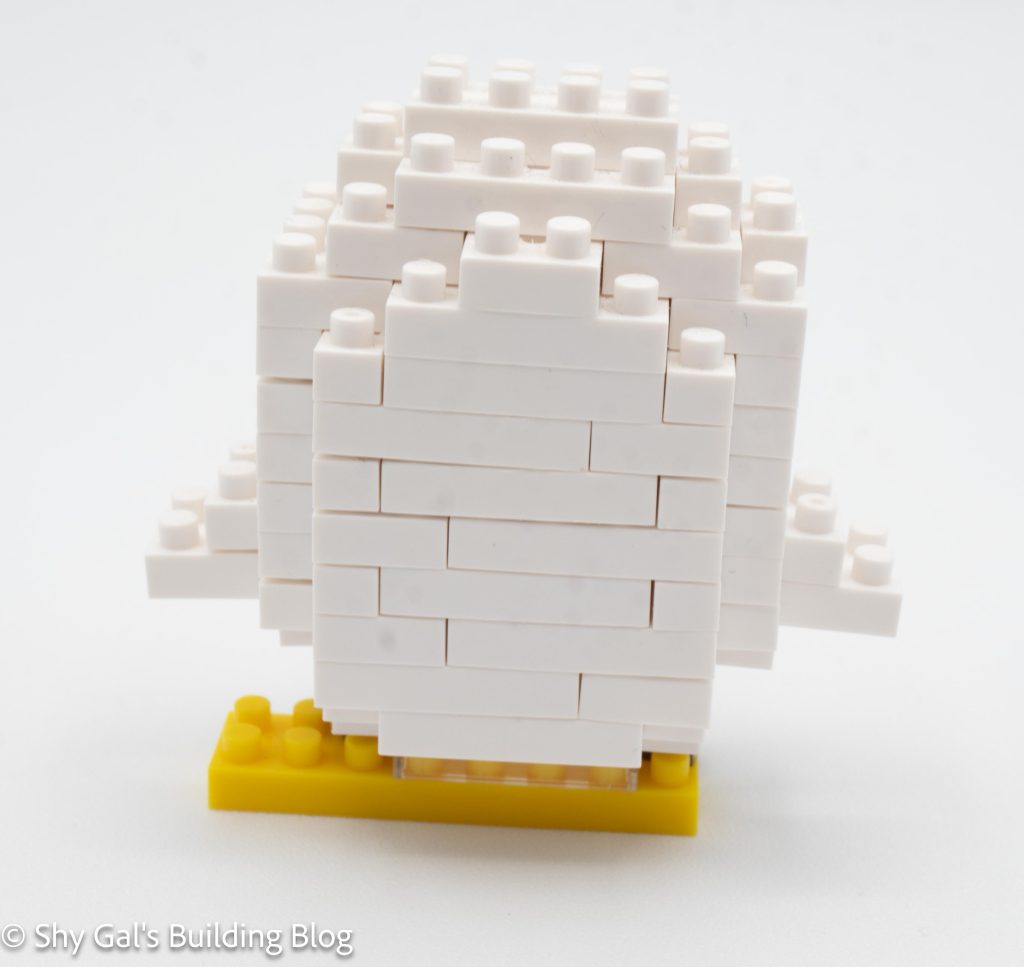
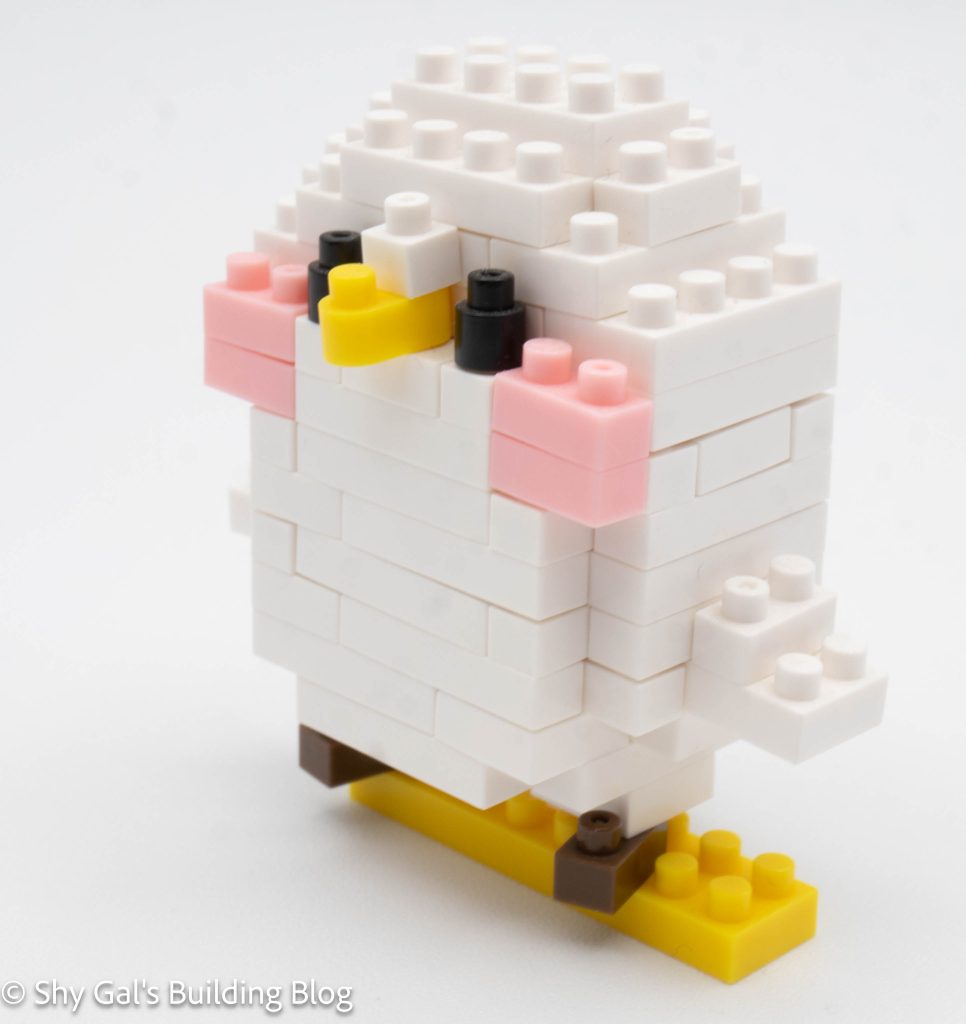
Totodile is the water starter from generation 2. It is light blue with orange spikes going down his back.

Overall the build is an average build from a solid base. There are a lot of areas with different colors, such as dark red for the eyes and dark grey to make his nostrils. The most challenging part I had was getting the fangs to correctly line up because it is just a 1×1 brick hanging off a 2×3 brick.

Totodile front 3/4 view

Totodile is very recognizable as the little water dragon he is. He does have an excellent line of red going down his back which helps to make it clear which Pokemon you are looking at. I notice his eyes seem to be huge compared to the rest of the Pokemon.

Totodile back 3/4 view

Things I liked:

  • How the spikes ended up looking

Things I didn’t like:

  • Eyes seem super large compared to the rest of the nanoblock pokemon

Link to order: Amazon

Review of nanoblock Tanjiro Kamado NBCC_088

Tanjiro Kamado build with box

This post is a review of the nanoblock Tanjiro Kamado build. Tanjiro Kamado is part of the nanoblock Character collection. Wondering what else is part of the Character Collection? Click Here for a list.

Number: NBCC_088

Number of Pieces: 190

Difficulty Rating: 2/5

Tanjiro Kamado front view

Tanjiro Kamado is the protagonist in the Demon Slayer Anime. For more information about him, check out the fandom wiki page. For more information about the nanoblock builds, check out my collections page for links to other reviews.

This nanoblock build is split into 2 parts. There is the head and the body.

Unlike some heads, this head is lined up straight, so it has a simple base that can be built on the pad. Then you build the head in layers like a normal nanoblock build. As you build the head, you will add the eyes and scar details. When you get to the details in the hair, I had a couple bricks that didn’t want to stay in place. Once you have finished up the head, you add the details of the head fringe and the earrings.

Tanjiro Kamado back 3/4 view

Next, you build the body. First, you build the edges of the top, which is basically a bar of colors. You build the bar up until you add the arms and the rest of the body. Then you add the hips and the legs. There is a clear brick to keep the build from tipping over.

The final steps of the build are to attach the head to the body and to build and attach the sword.

Tanjiro Kamado front 3/4 view

Things I liked:

  • The detail of the scar added to the head

Things I didn’t like:

  • For some reason, the hair bricks didn’t seem to fit as tight as normal