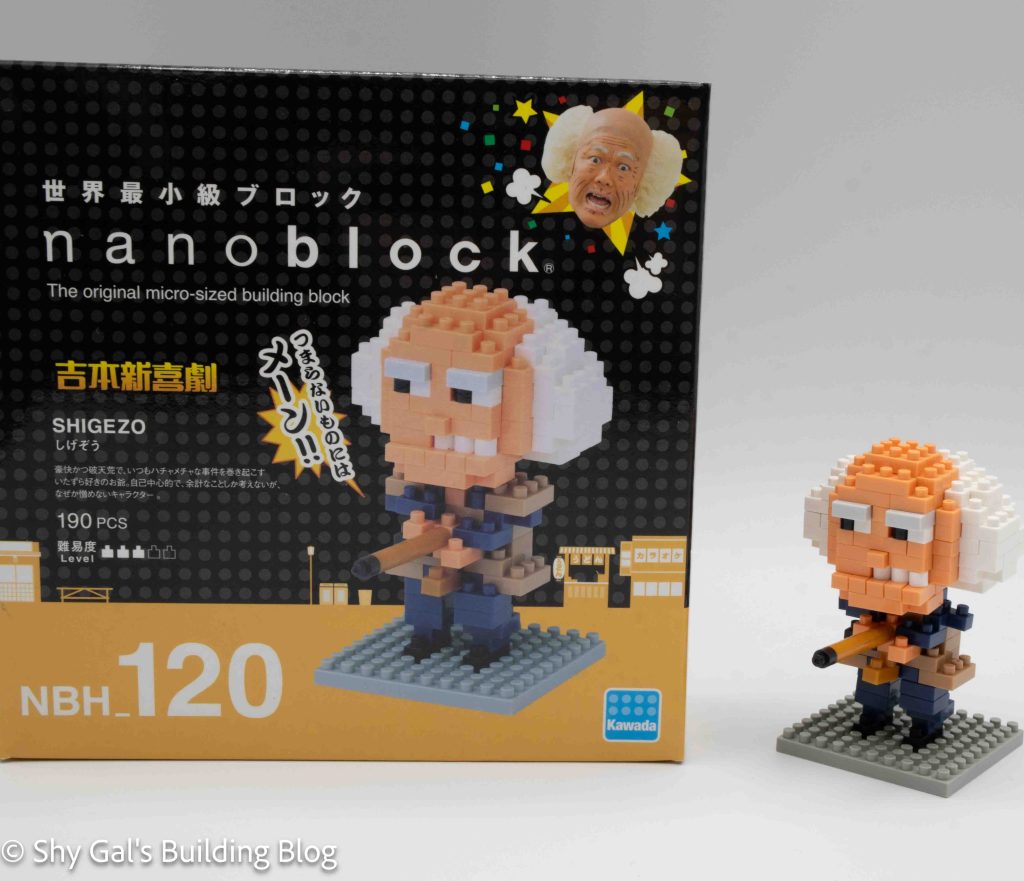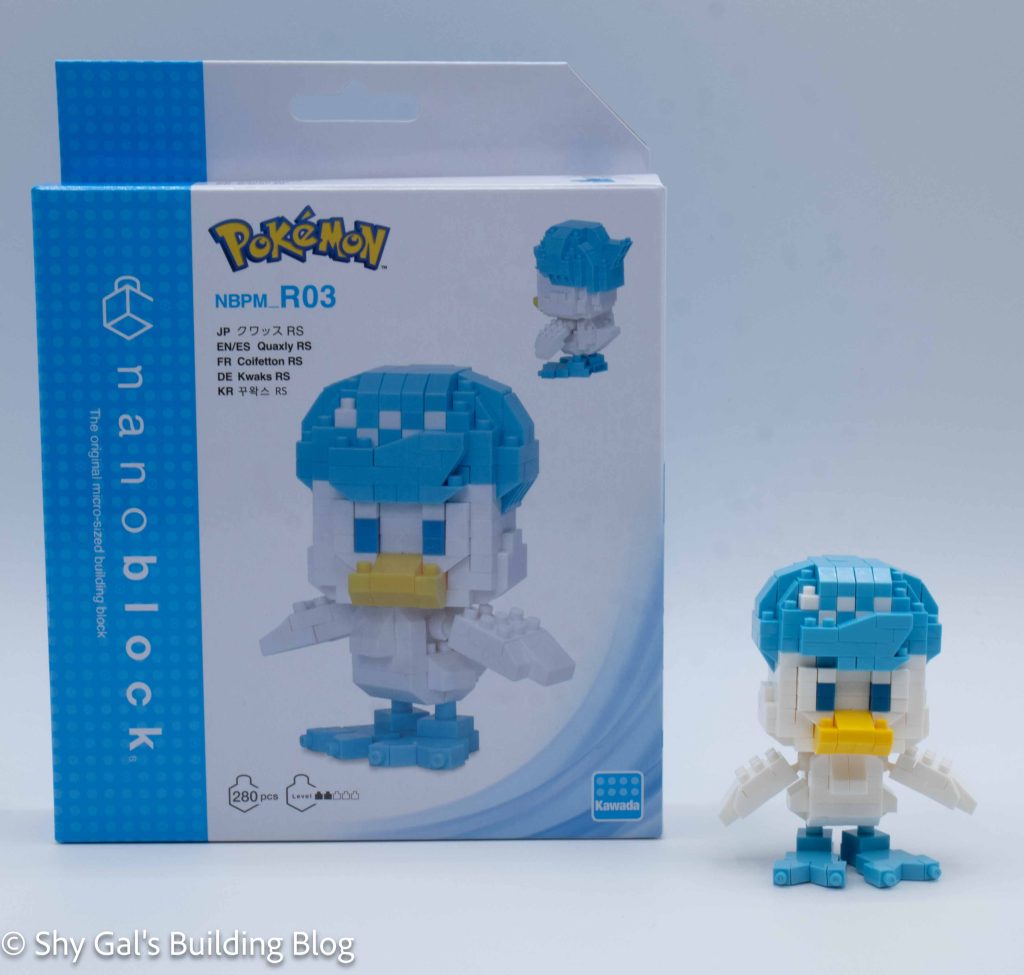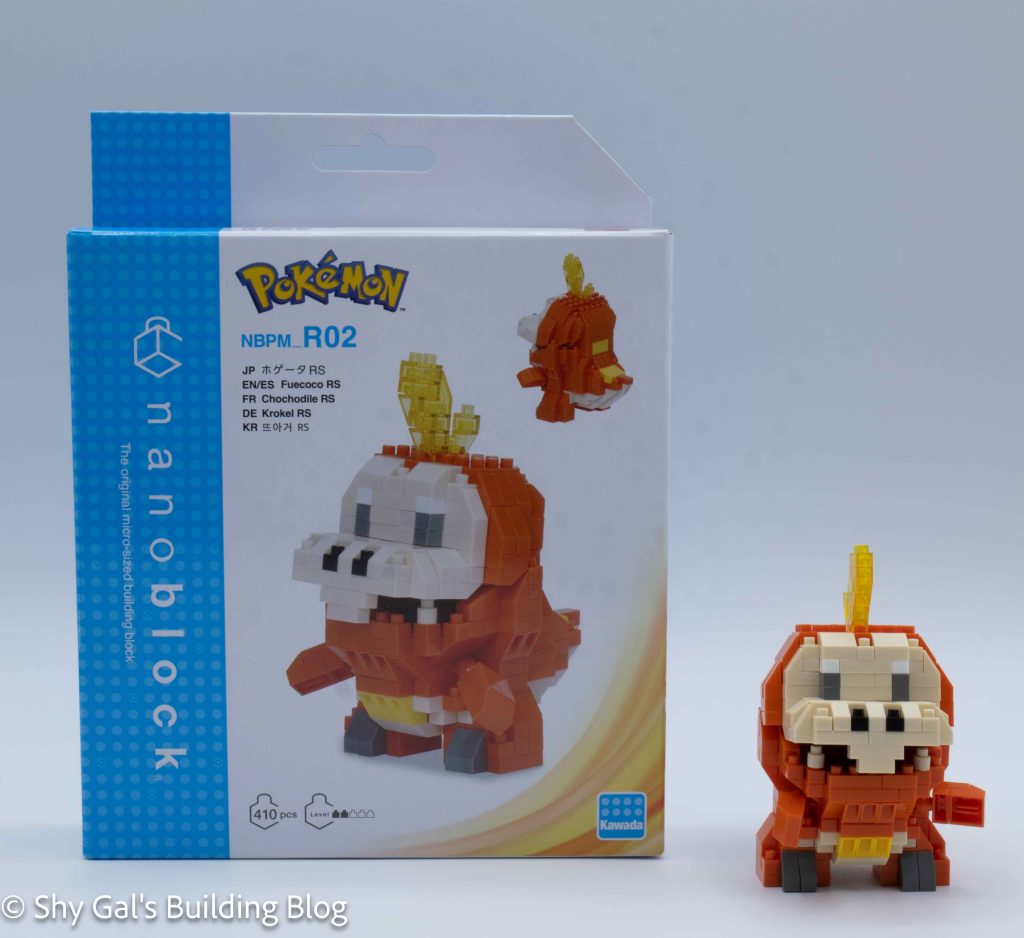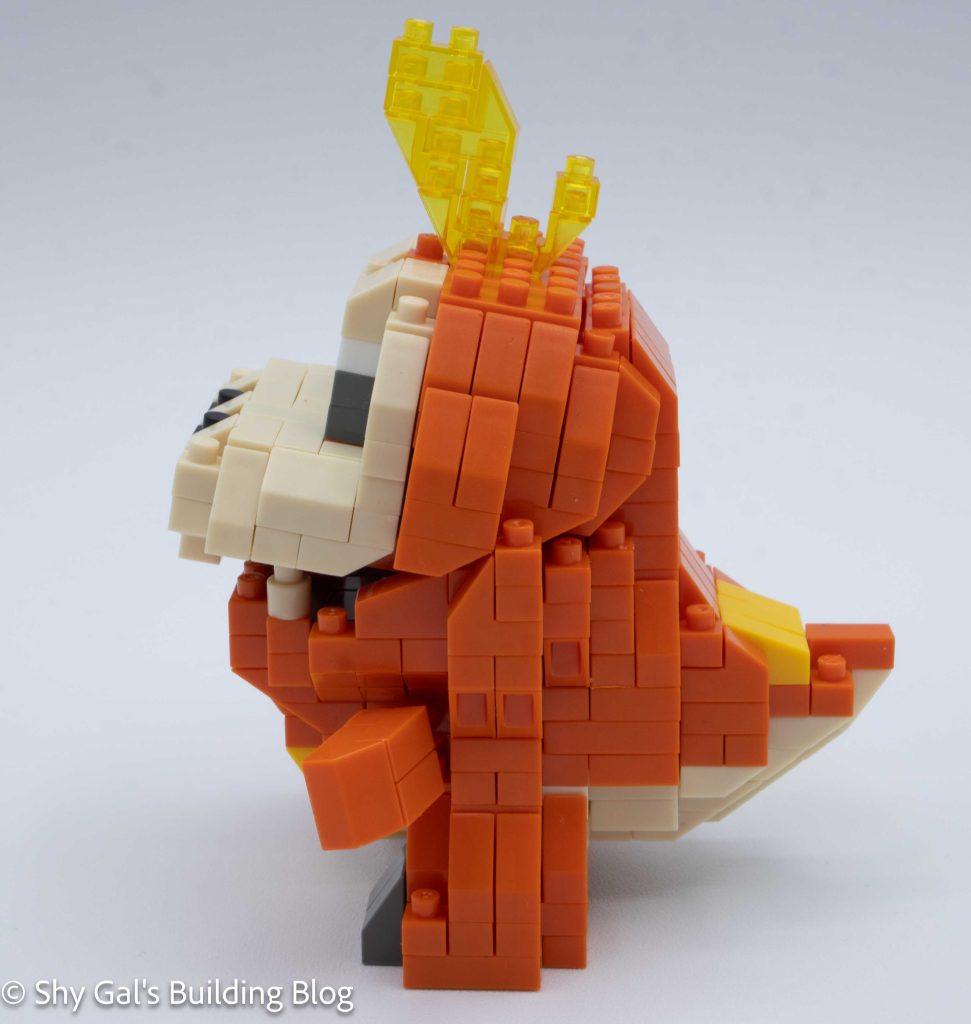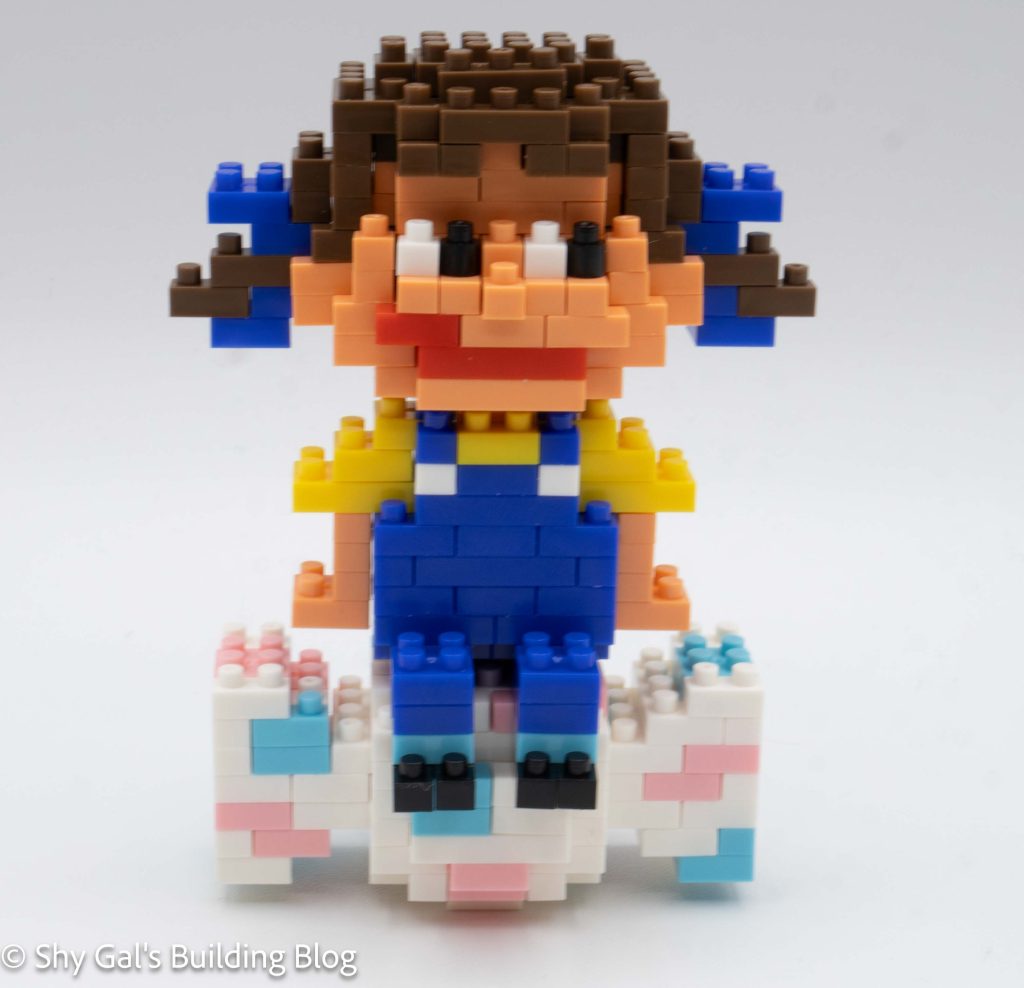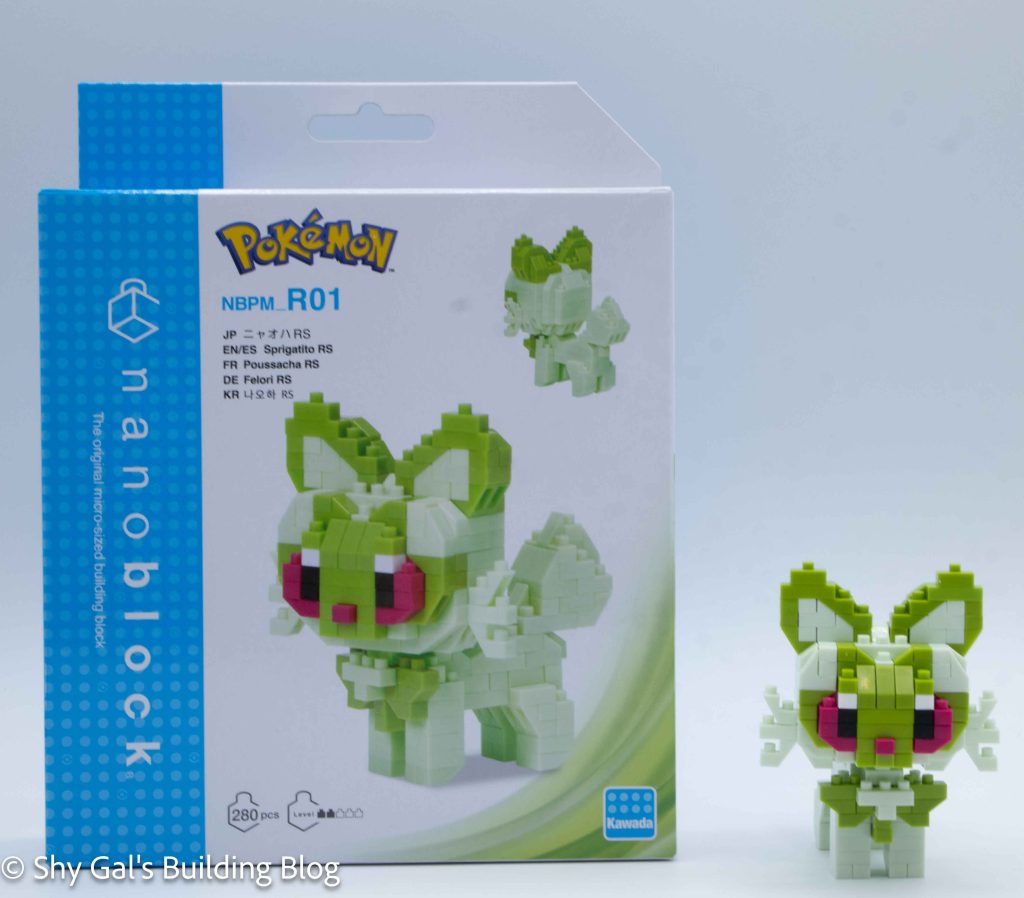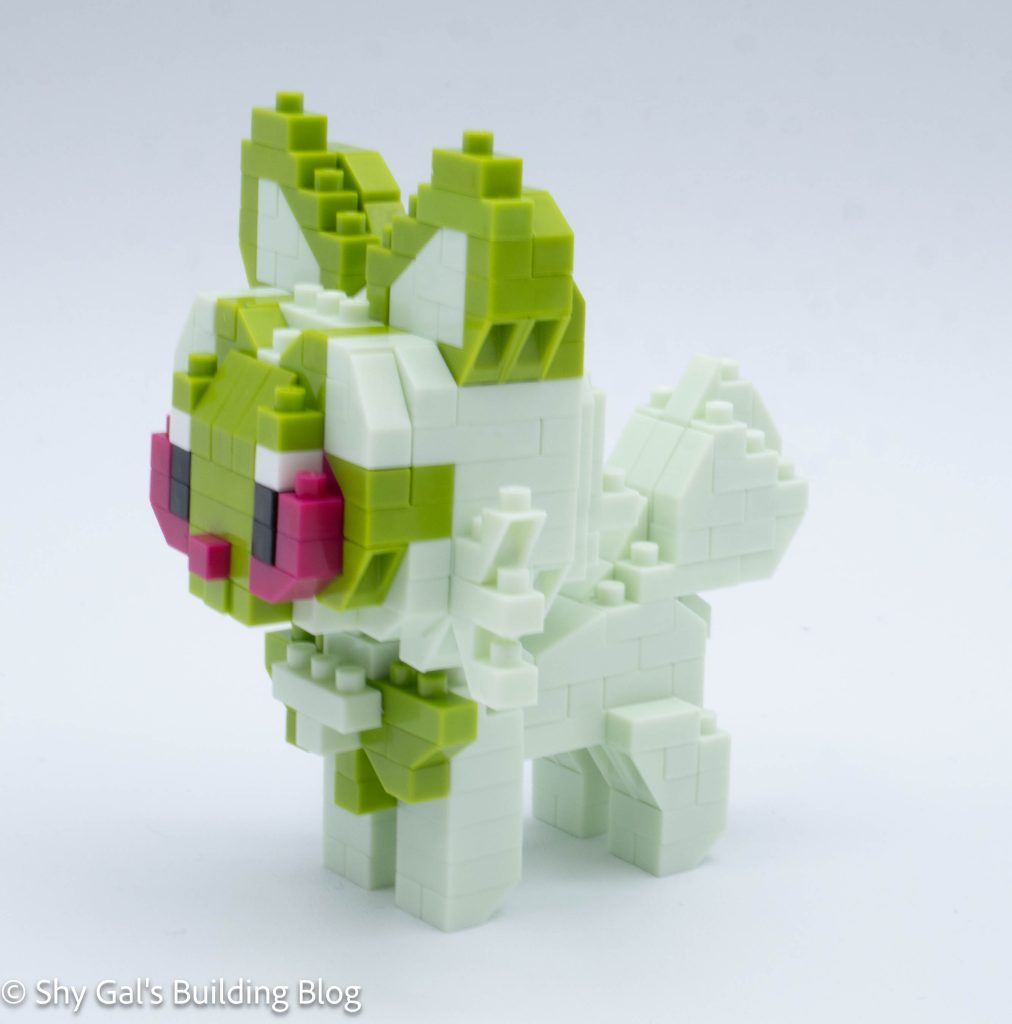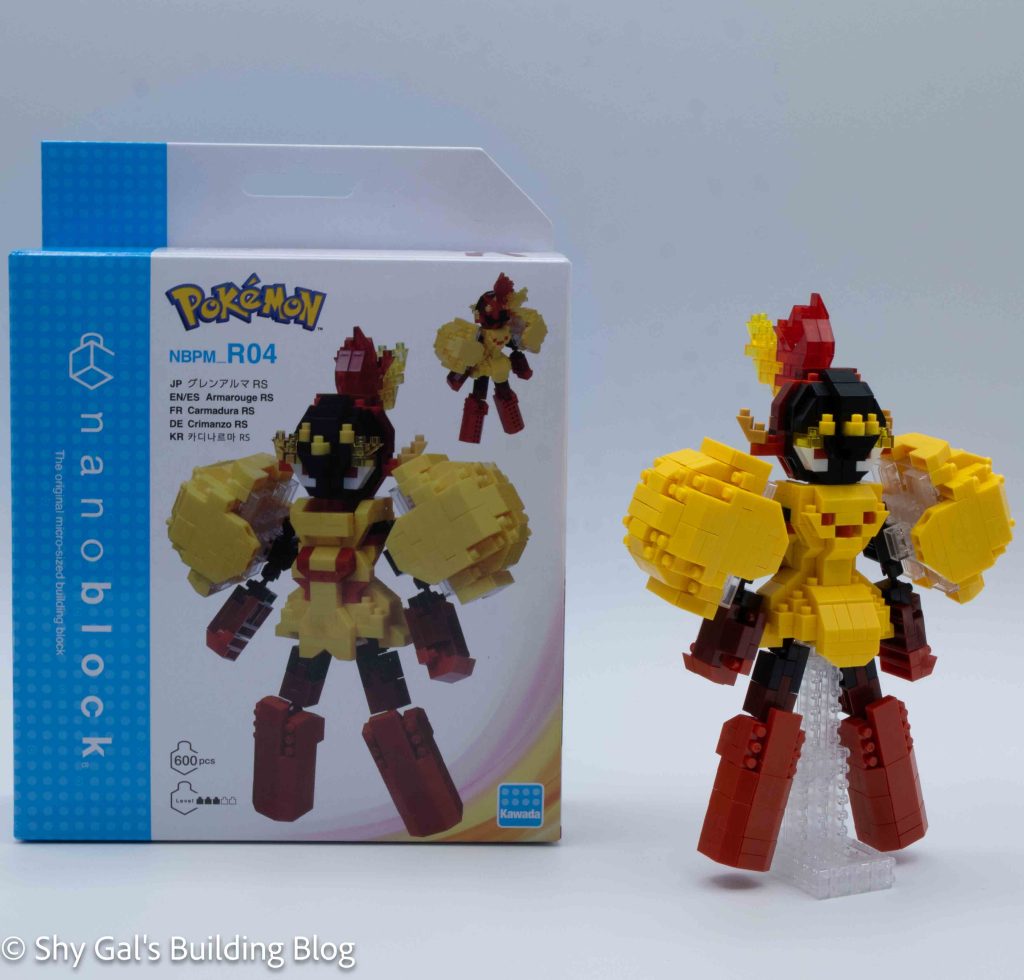
This post is a review of the nanoblock Armarouge RS build. Armarouge RS is part of the nanoblock Pokemon collection. Wondering what else is part of the Pokemon collection? Click here for a list.
Number: NBPM_R04
Number of Pieces: 600
Difficulty Rating: 3/5
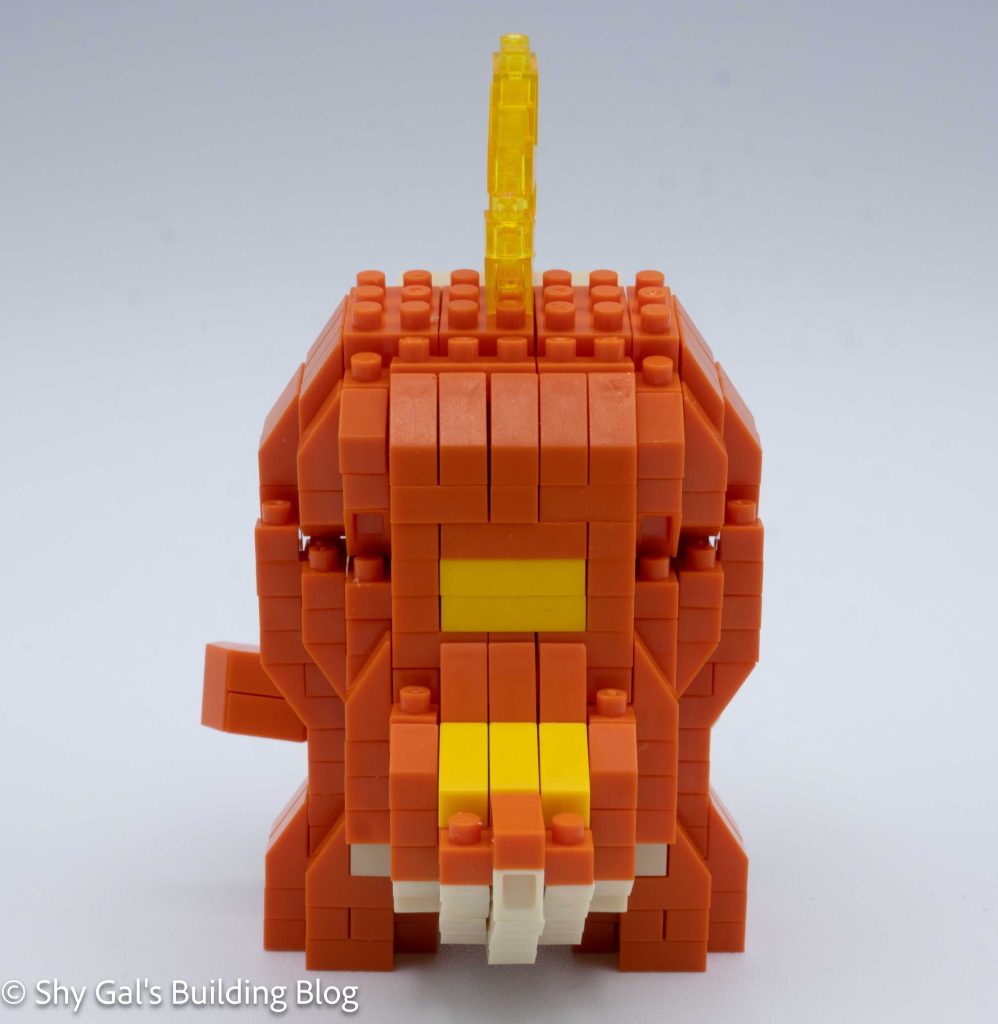
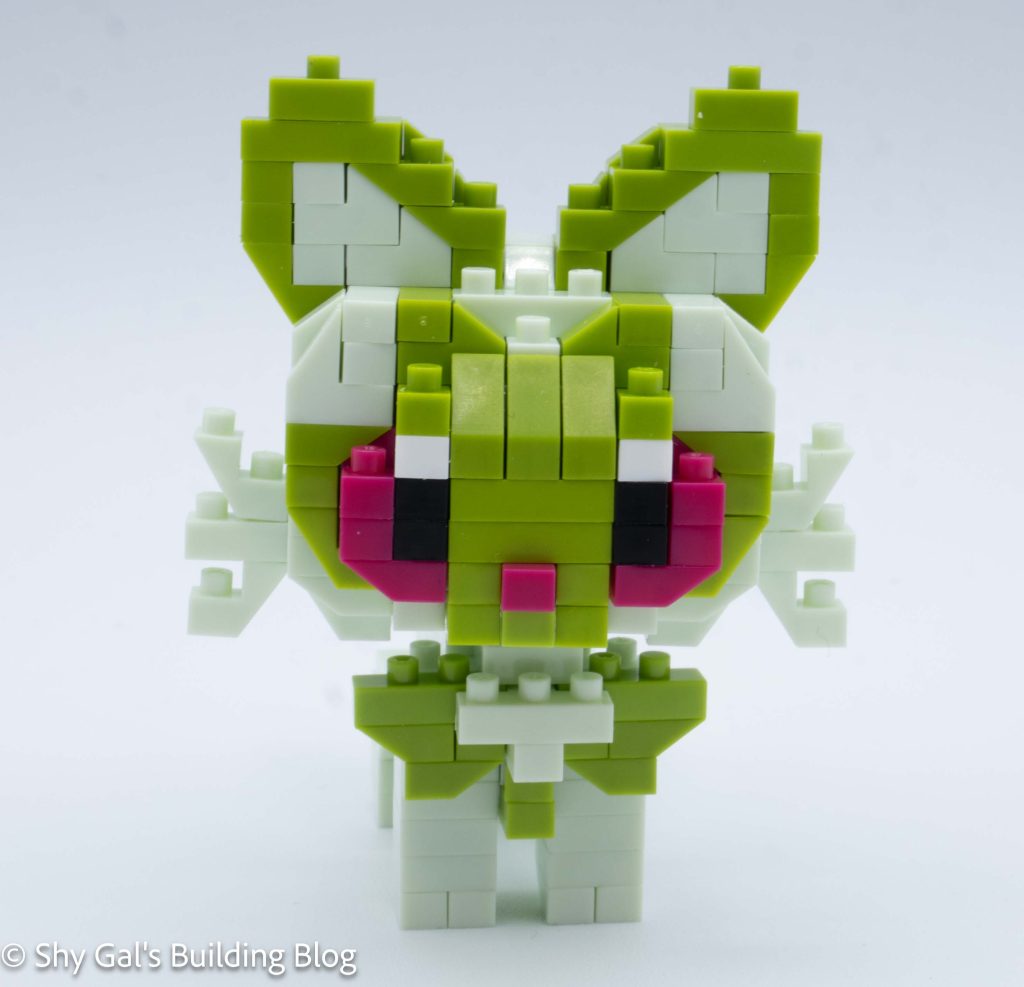
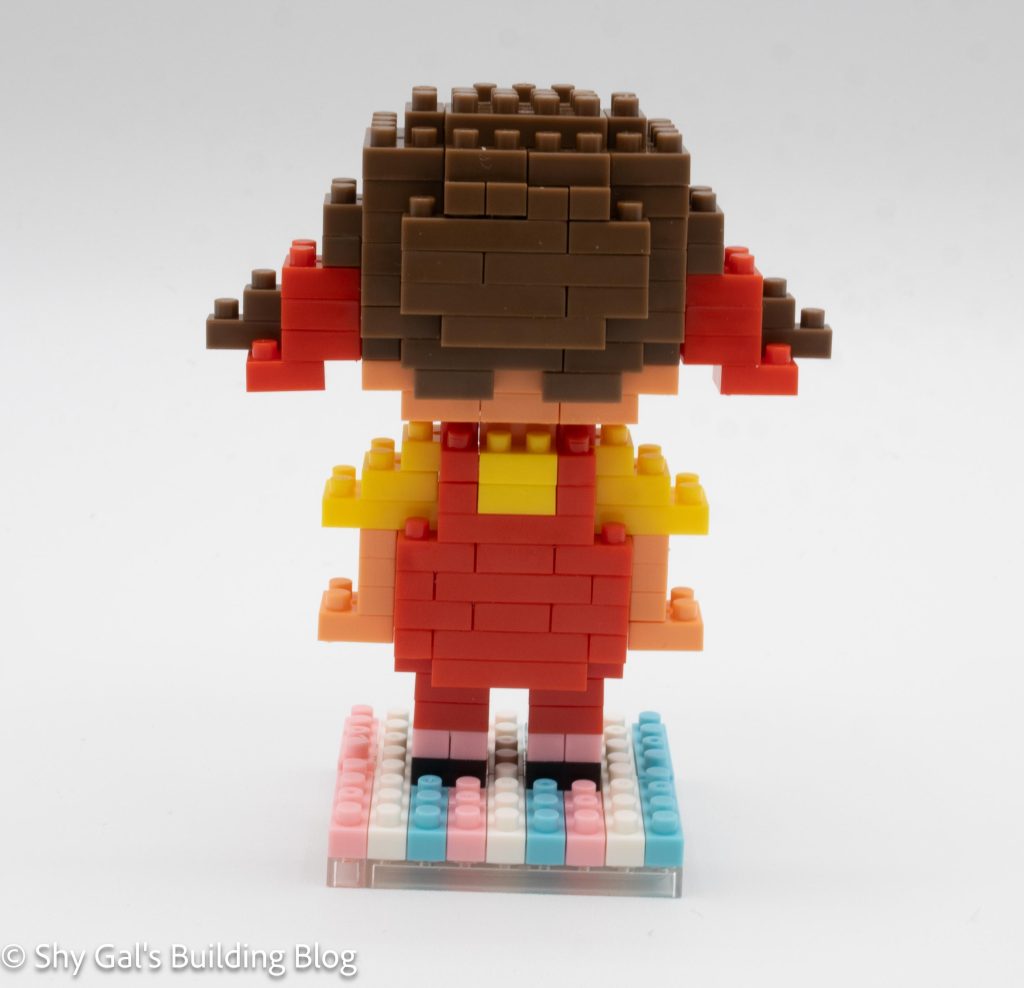
The first step is to build the center body. I built it on my nanoblock pad. It began by laying the base out on my nanoblock pad. It went up very straightforwardly in layers.
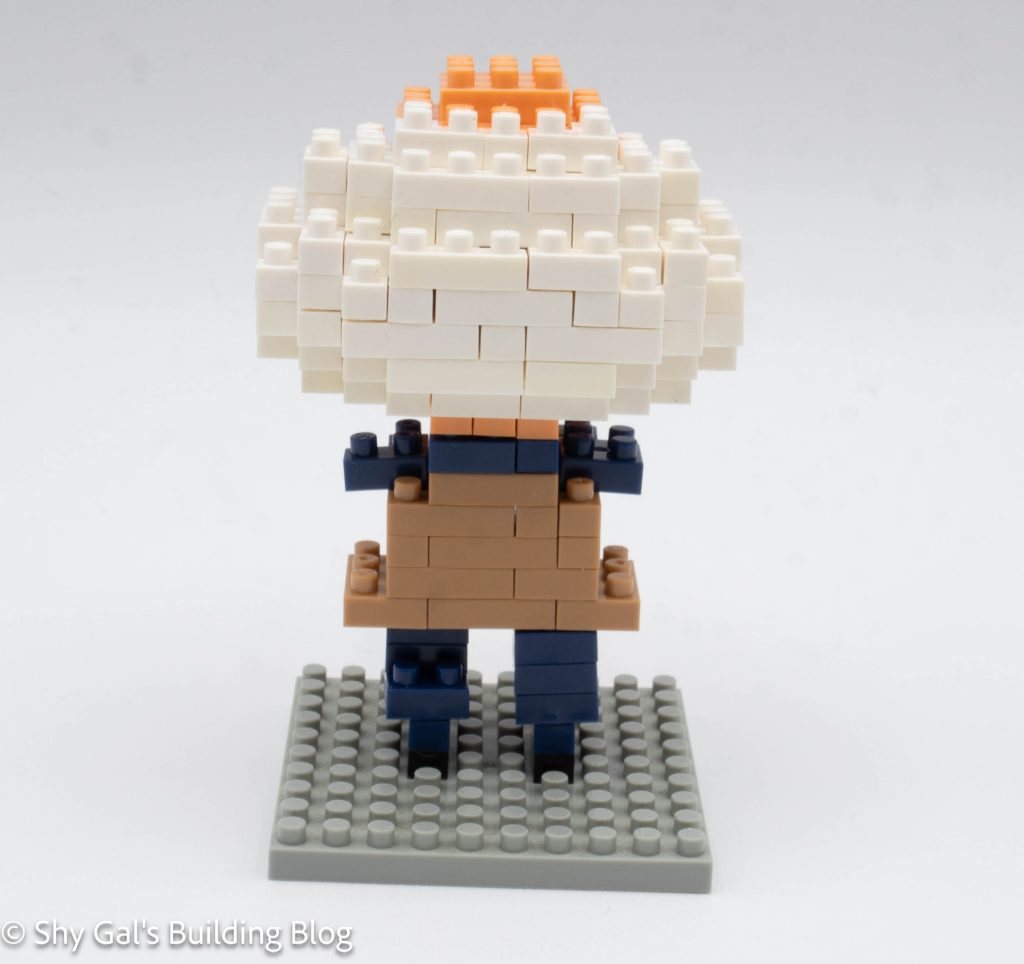
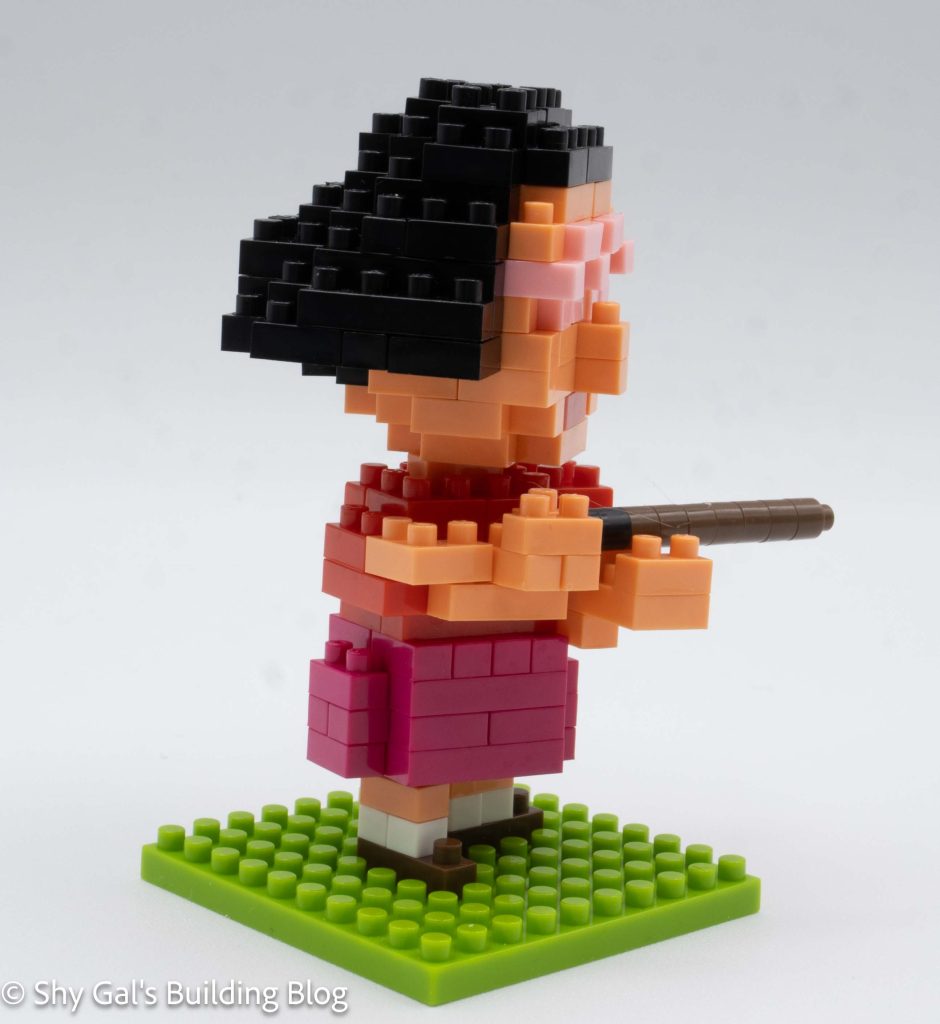
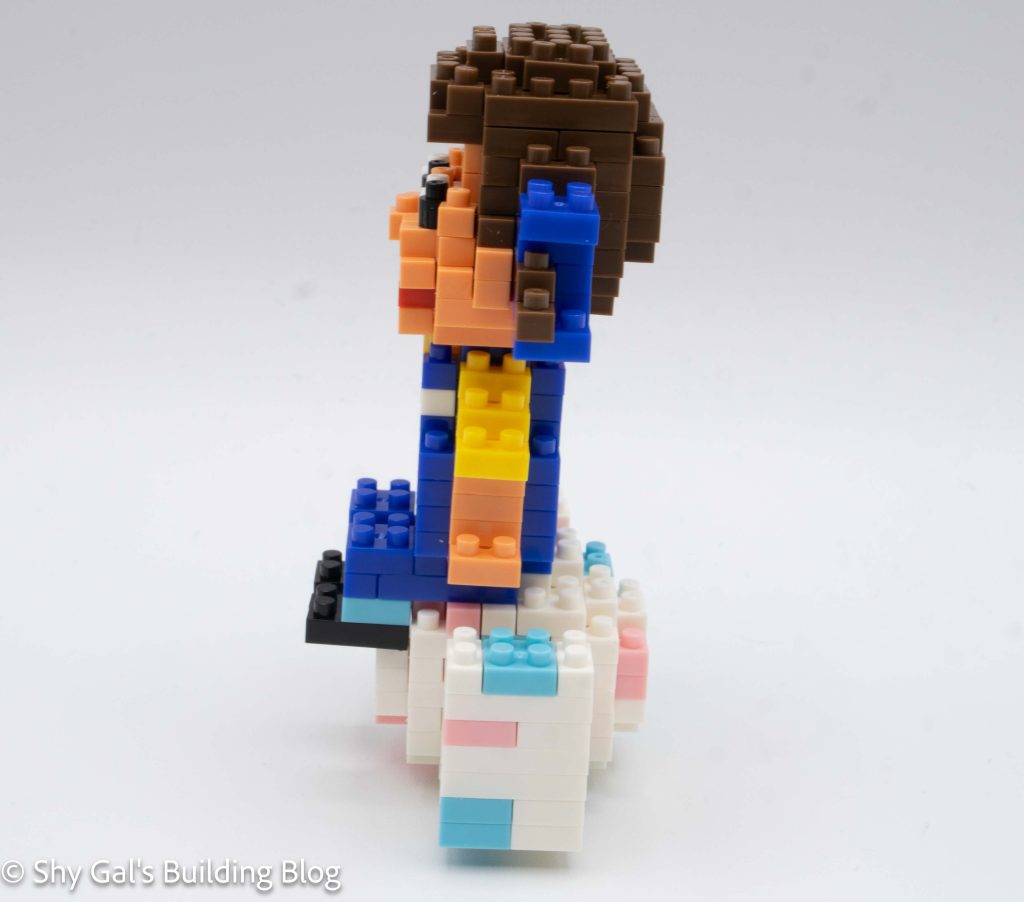
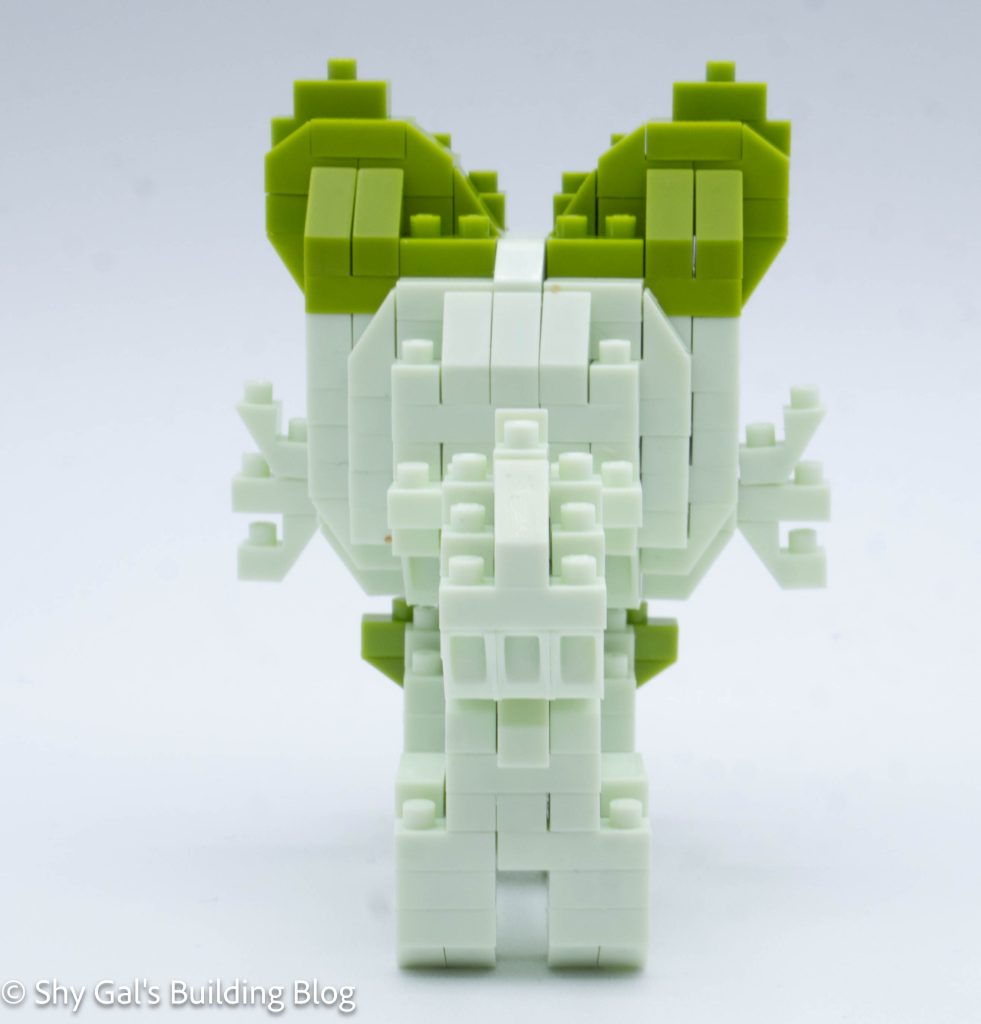
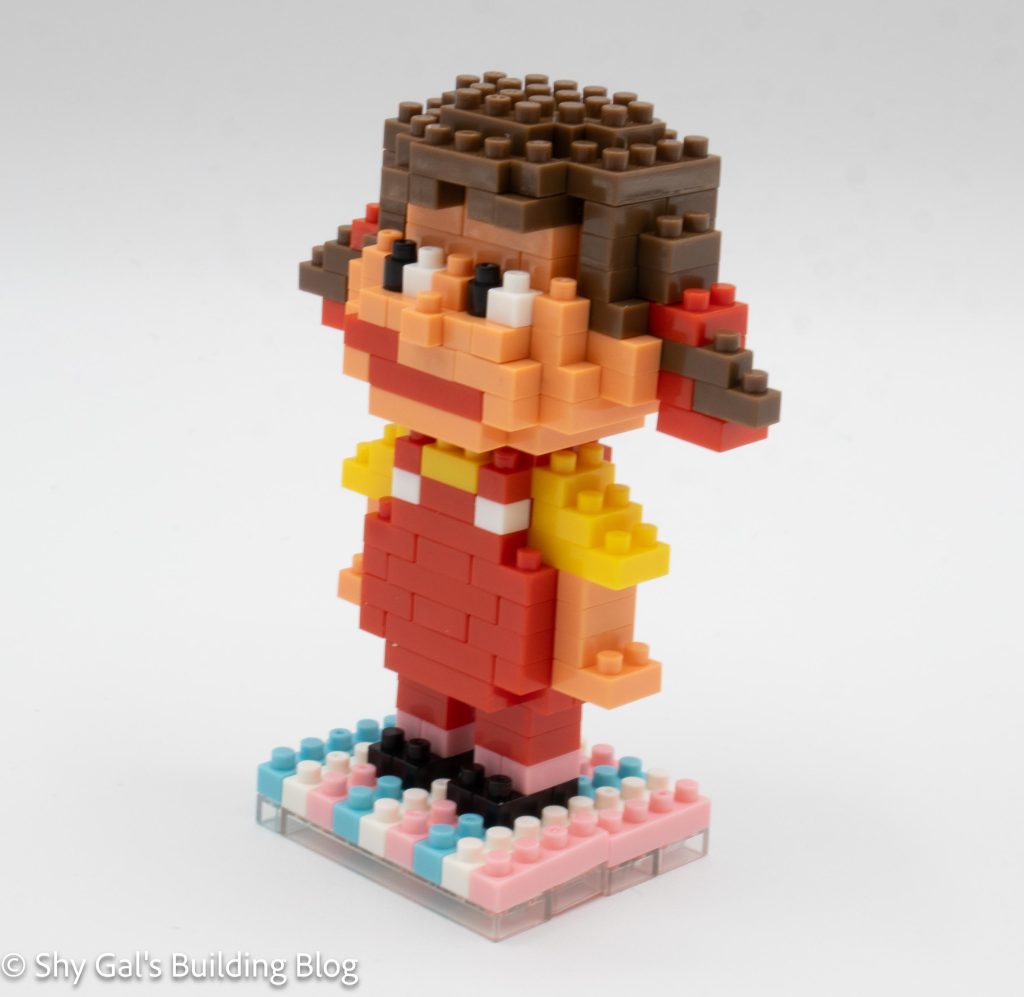
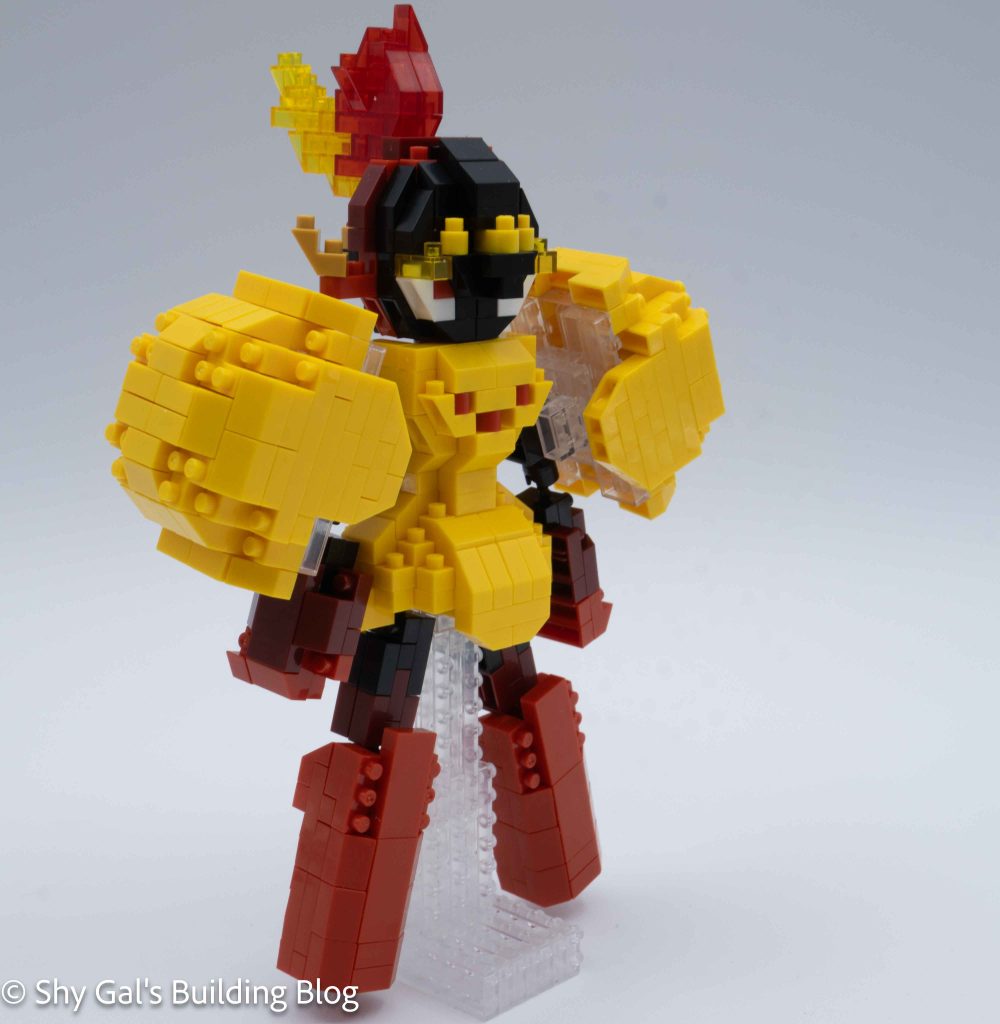
The next step is to build the legs. There is an independent direction for each leg. I built each on my nanoblock pad. The directions for each leg are slightly different to get the correct piece to show in the upper leg section.
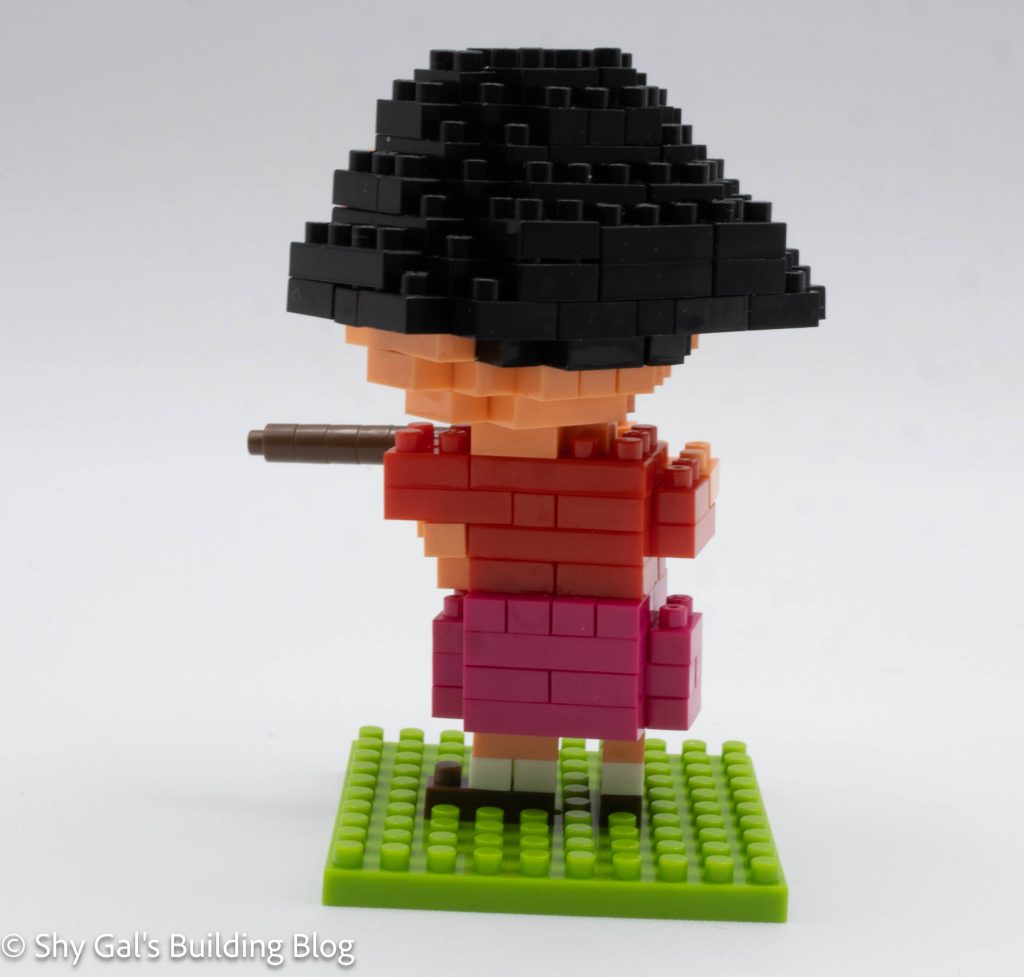
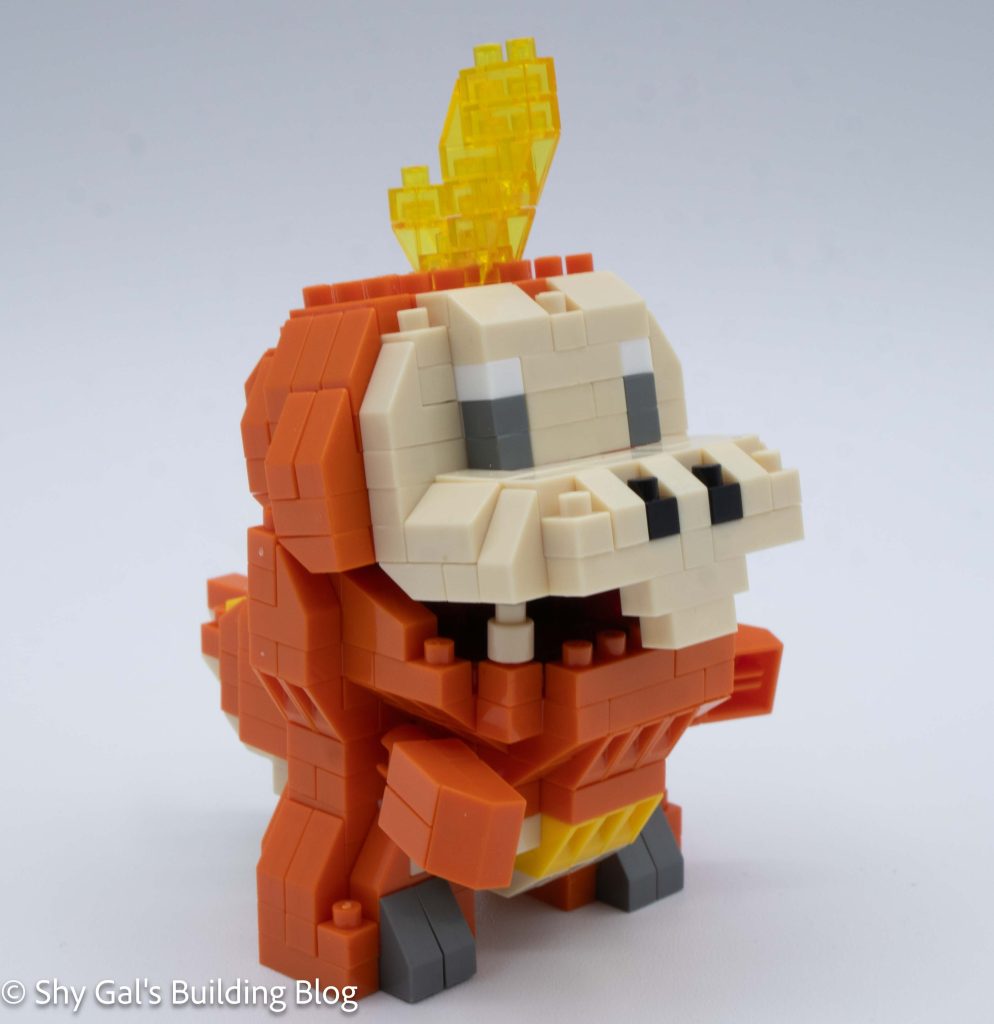
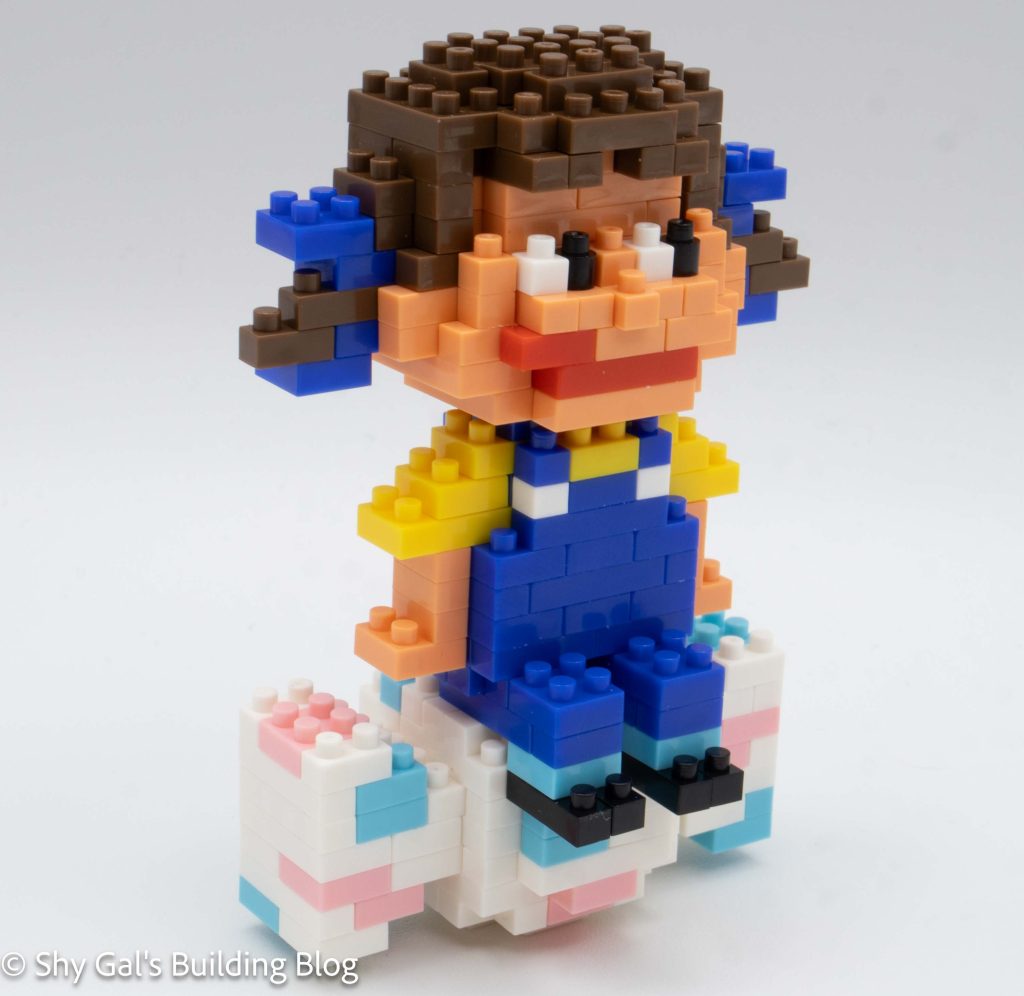
The next step is to build the hands and arms. There are 2 sets of directions, one for each arm. They are mirrored so that the hands appear correctly.
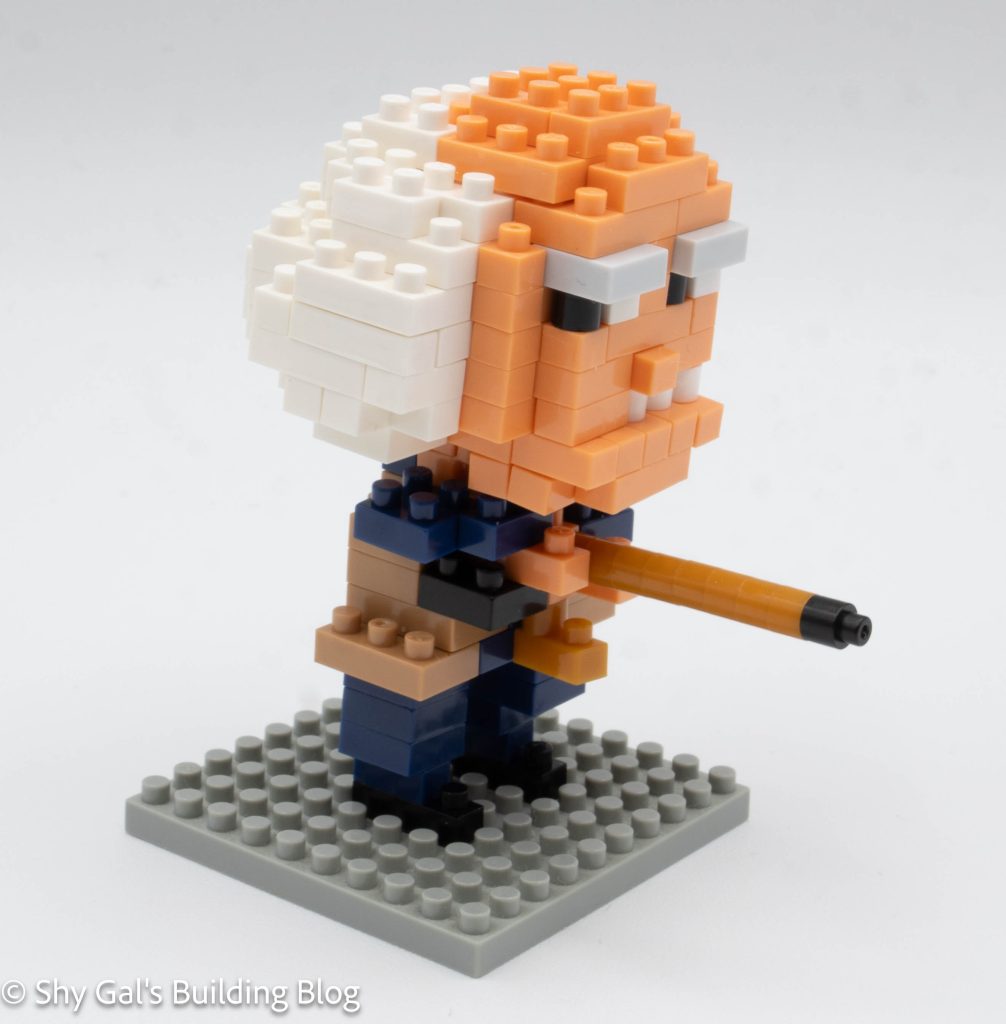
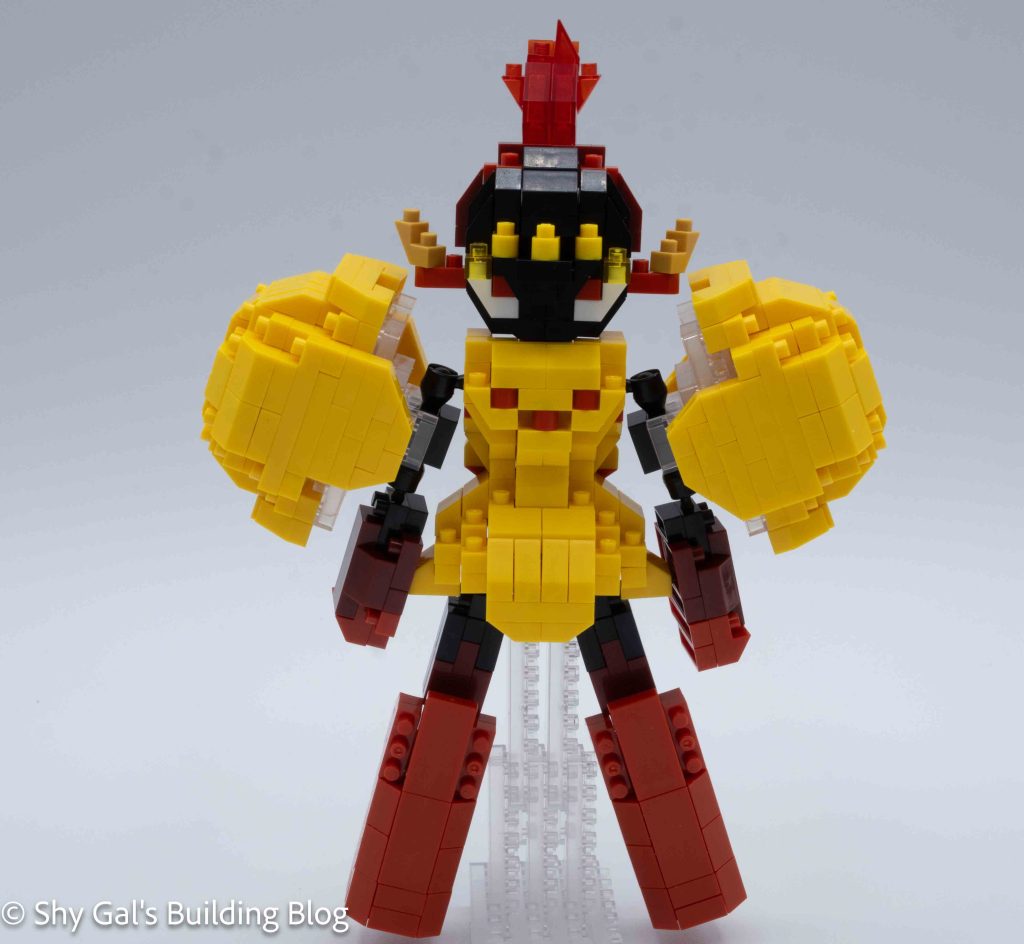
The next step is to build the shoulder guards. These are straightforward. I like how the arms are poseable even though such large guards are on the shoulders.
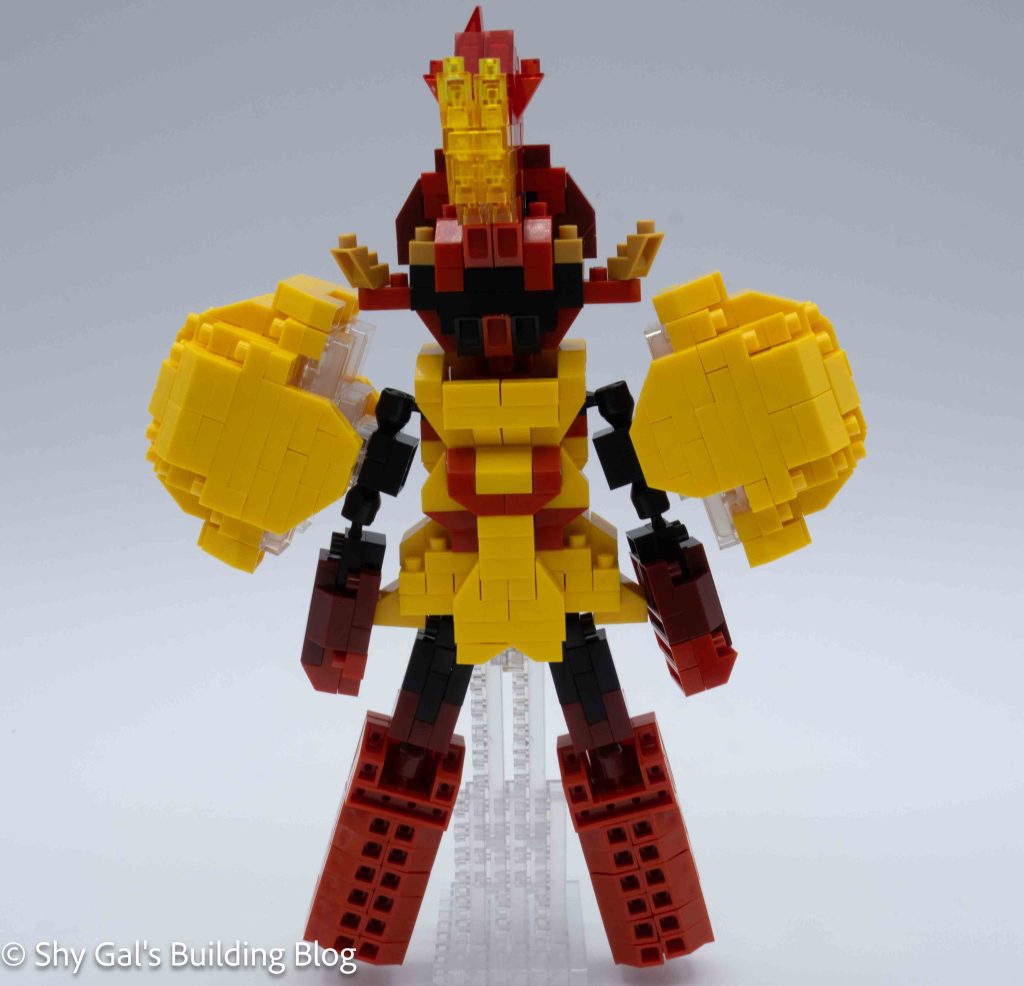
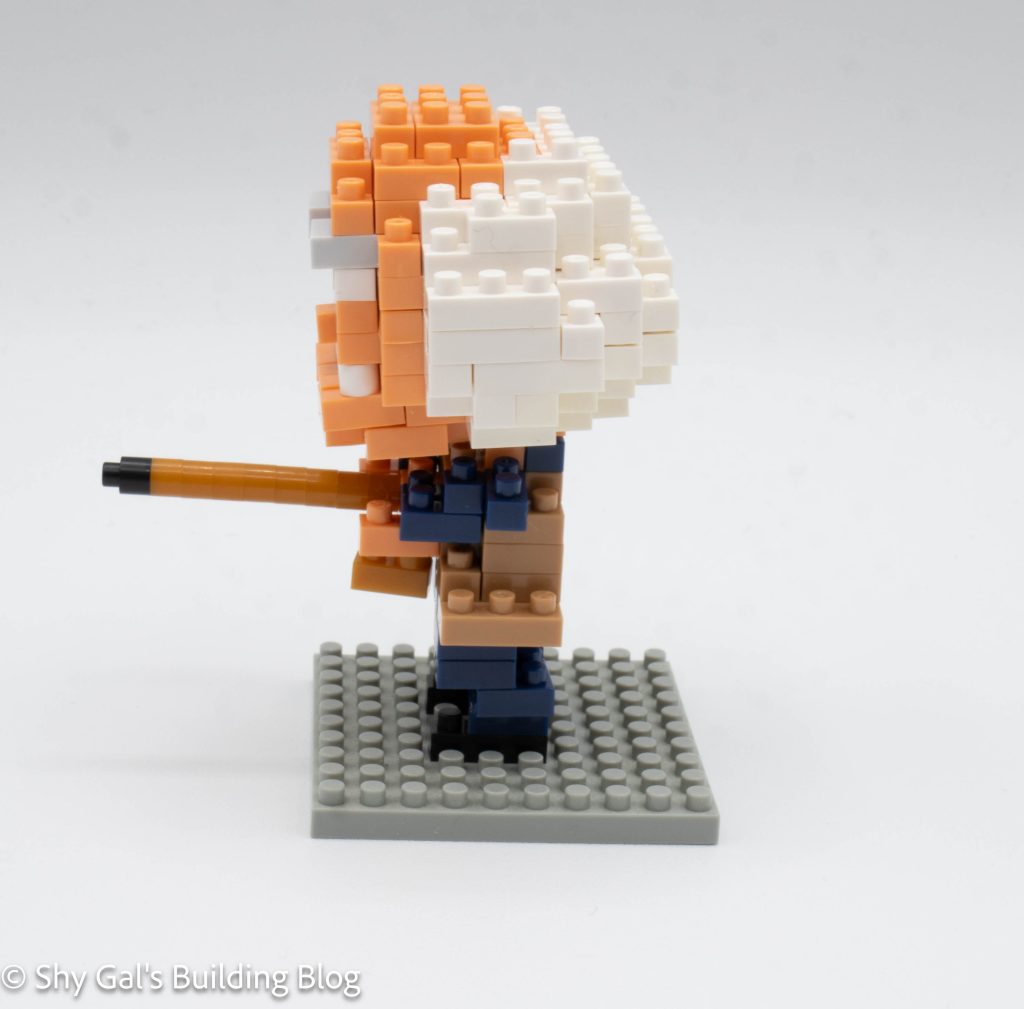
I was super excited to see that there was a stand for this kit. Based on how the legs are built, it would be super hard to get the build to stand on its own. The stand was very straightforward to build and attach.
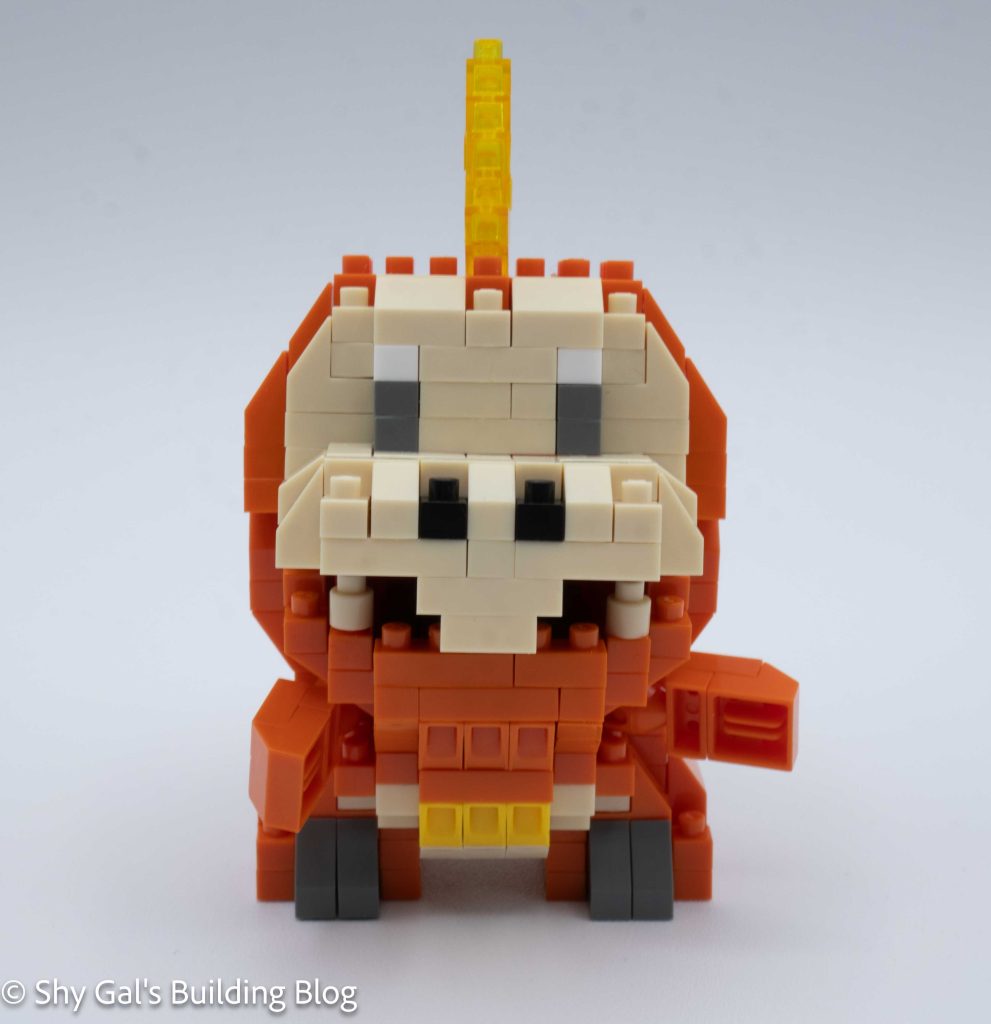
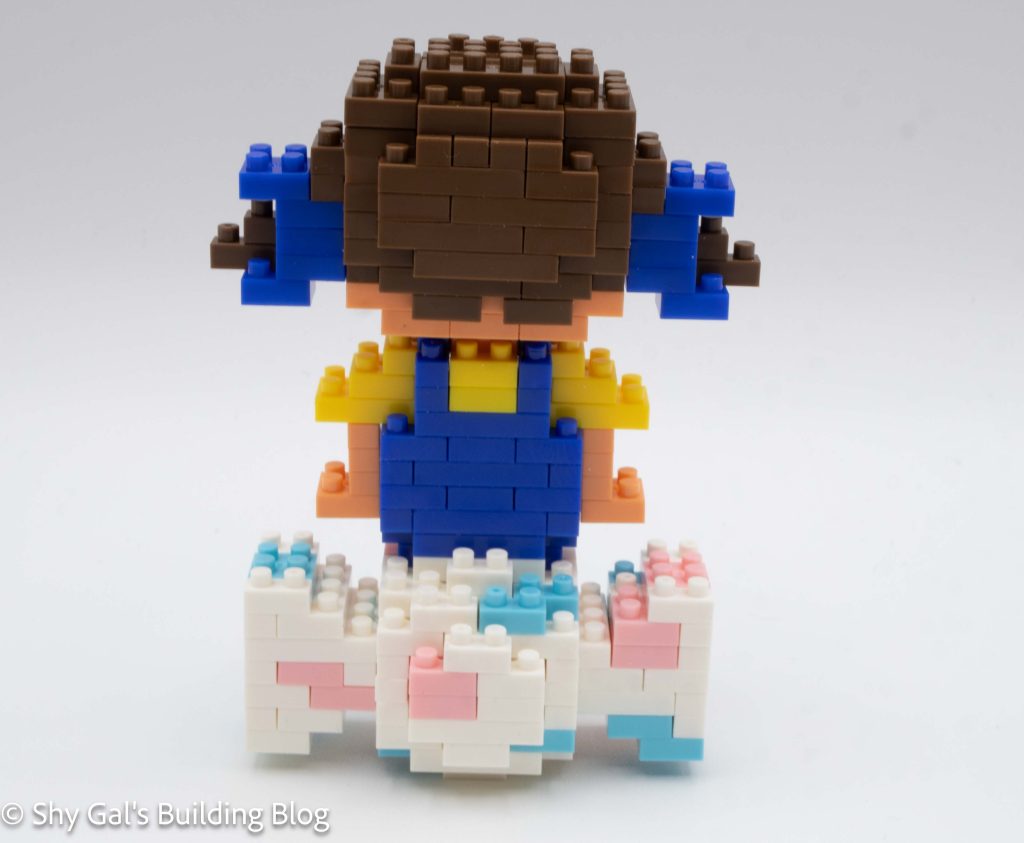
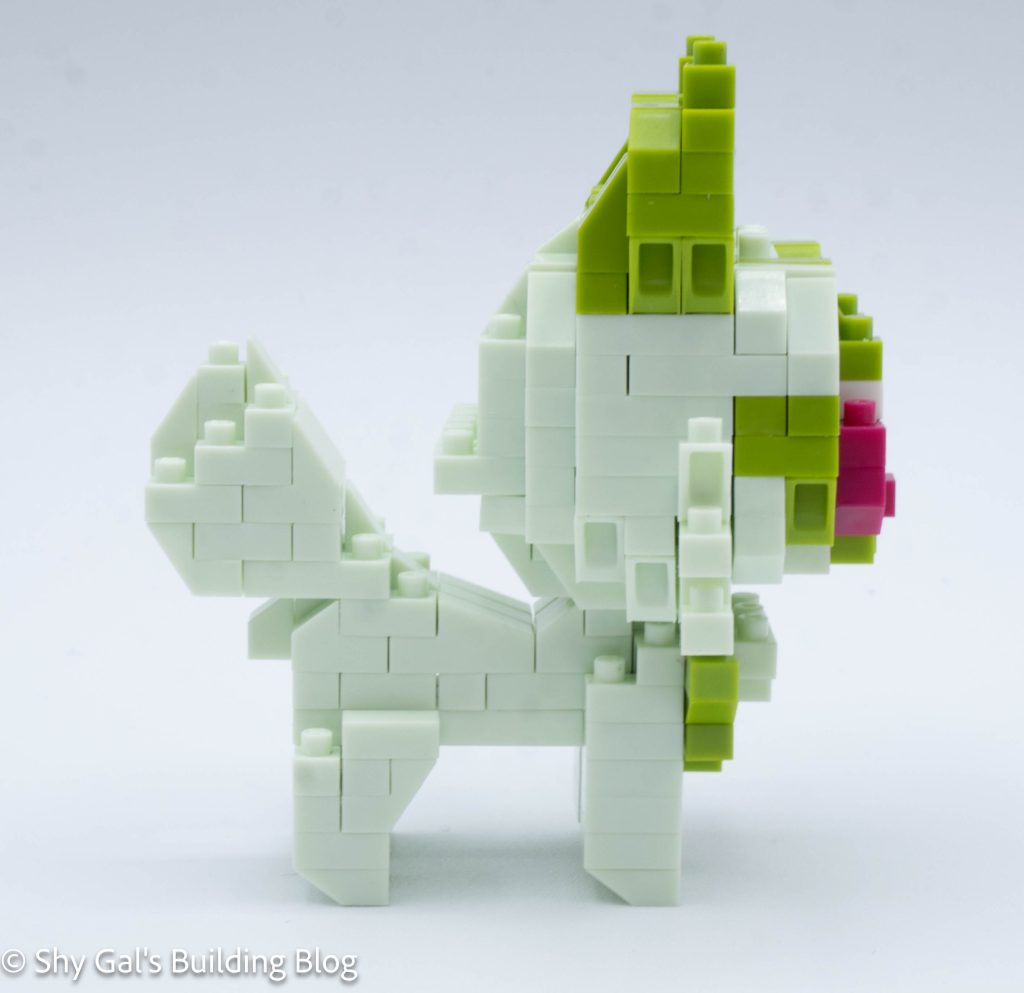
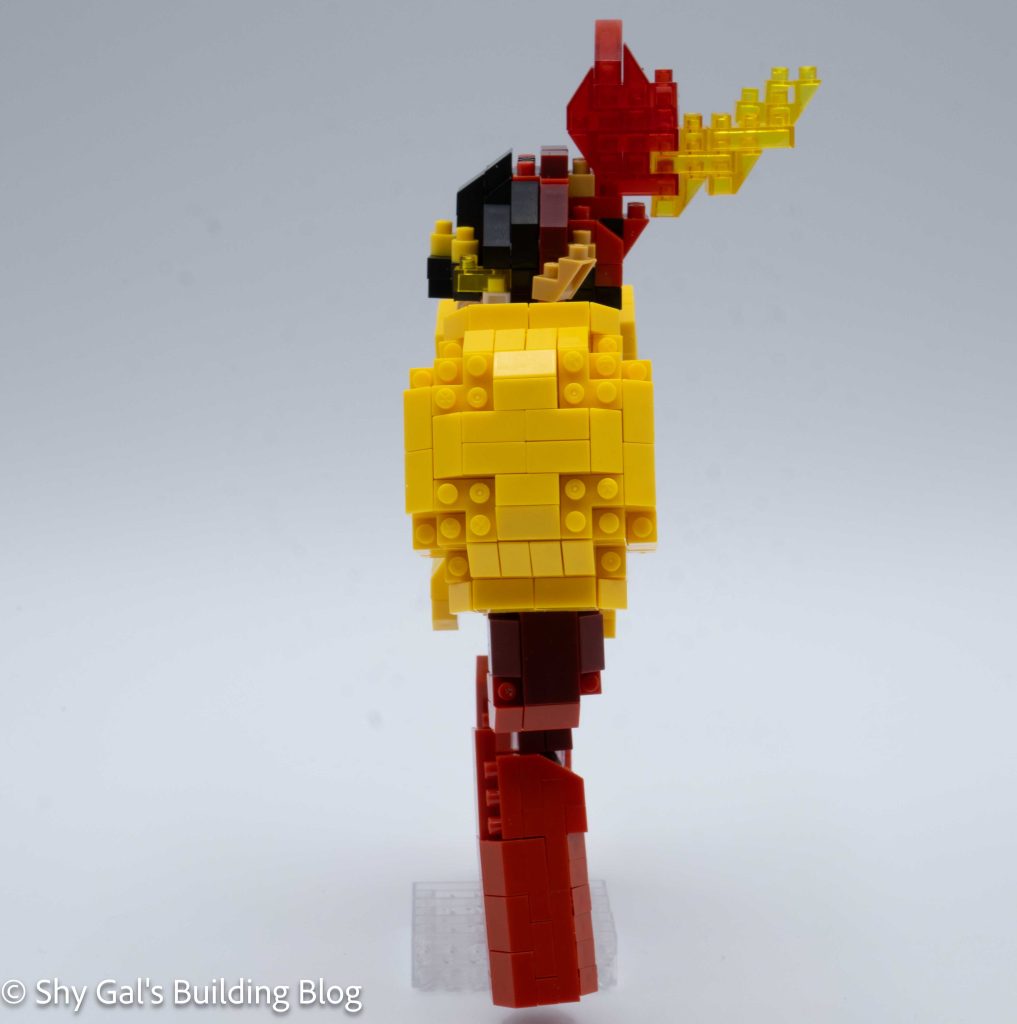
The hardest part of this build was putting the head together. After building the base of the head, it goes up in layers. As I was placing bricks, the placement seemed kinda random, so I had to trust the process. After building the front of the head, I built the flame coming off the back of the head.
Things I liked:
- I really like that the build comes with a stand because it was clear that the build wouldn’t stand on its own
Things I didn’t like:
- Surprisingly, I had difficulty making the head, so I had to remove and redo several layers. I’m still not sure that the head is 100% right