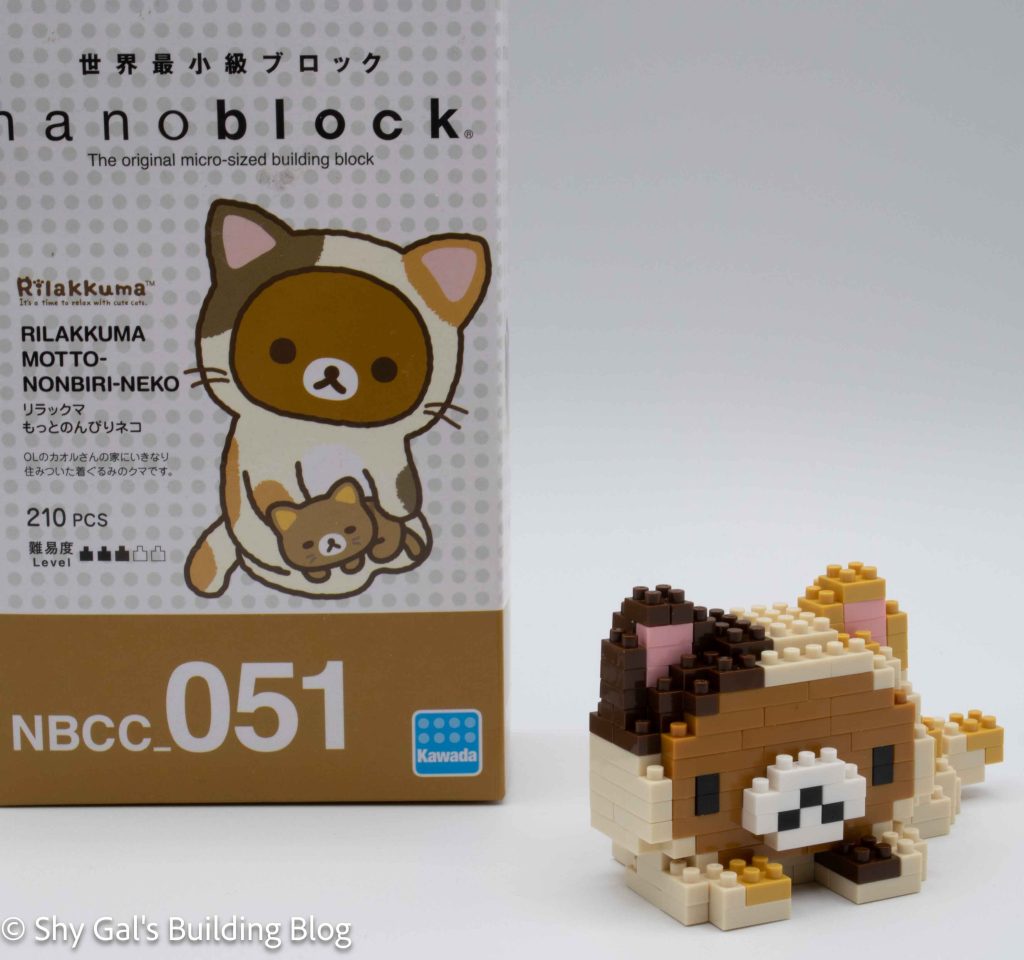
This post is a review of the nanoblock Rilakkuma Motto-Nonbiri-Neko build. Rilakkuma Motto-Nonbiri-Neko is part of the nanoblock Character collection. Wondering what else is part of the Character Collection? Click Here for a list.
Number: NBCC_051
Number of Pieces: 210
Difficulty Rating: 3/5
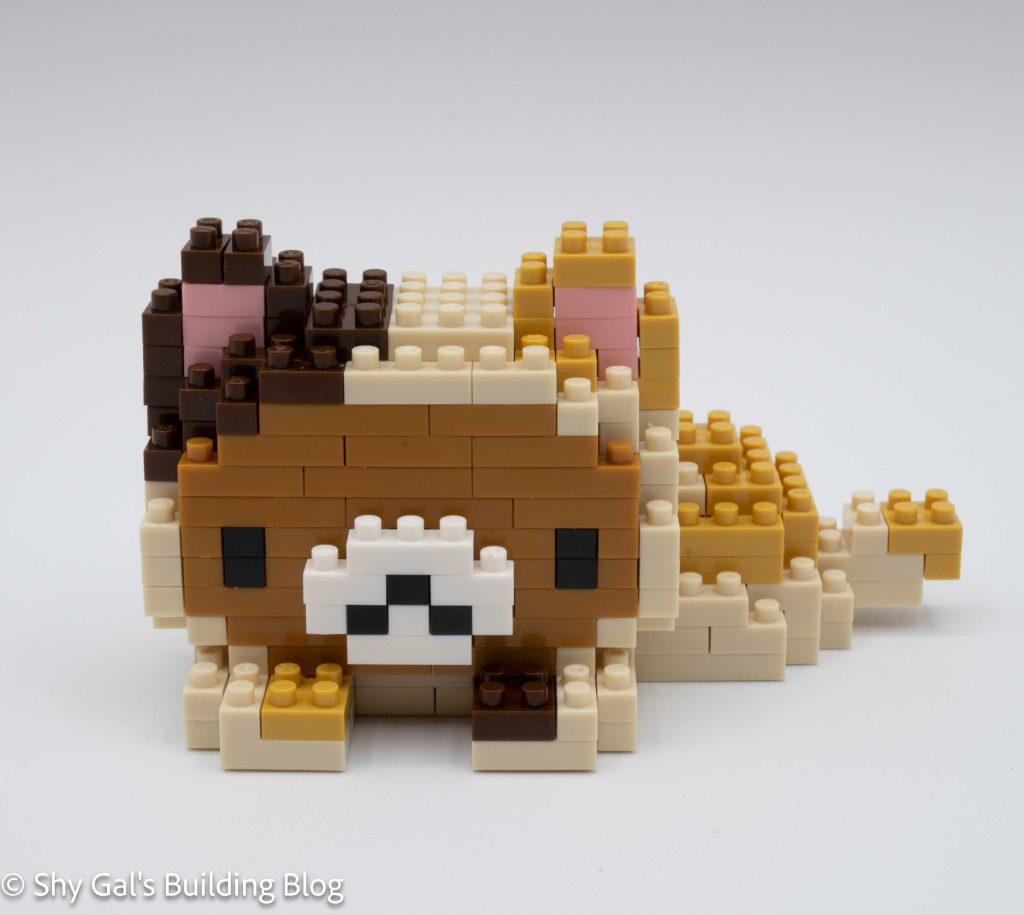
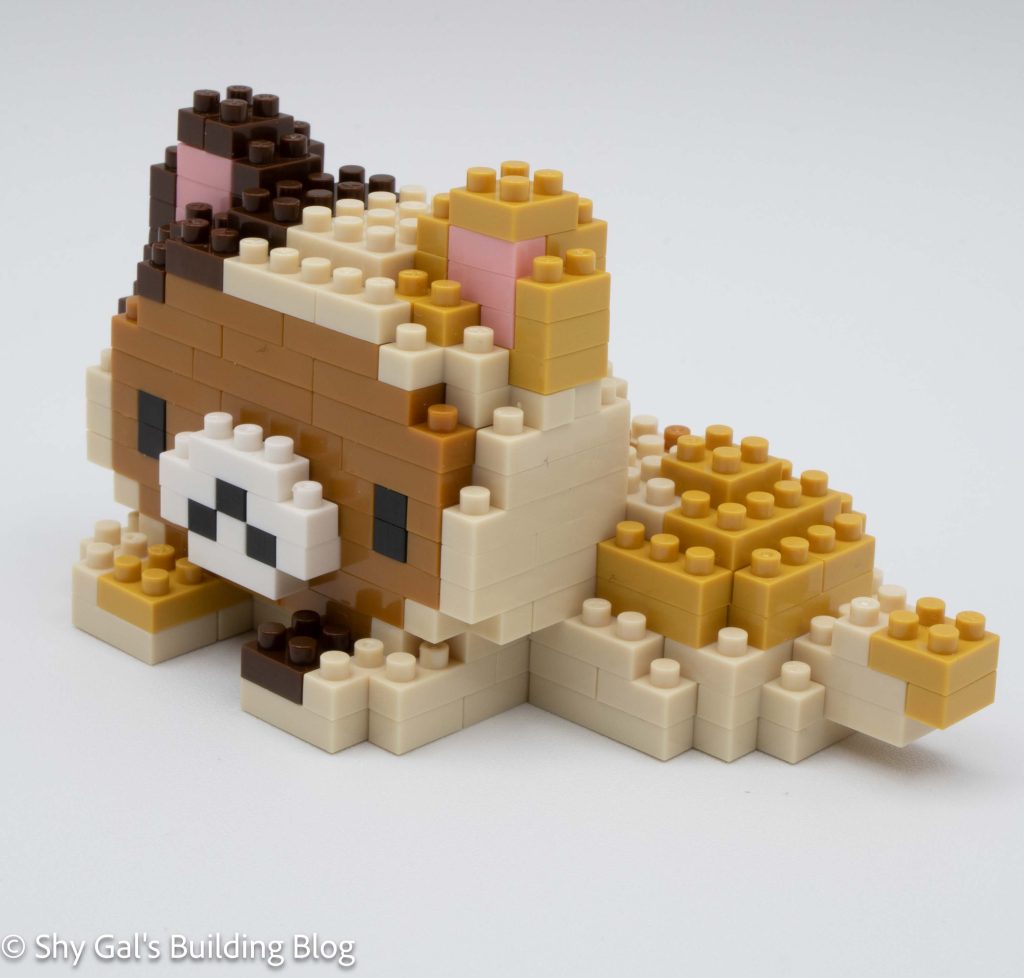
This version of Rilakkuma is dressed up in a cream and brown spotted cat costume. He is lying on his stomach with his paws out like a cat.
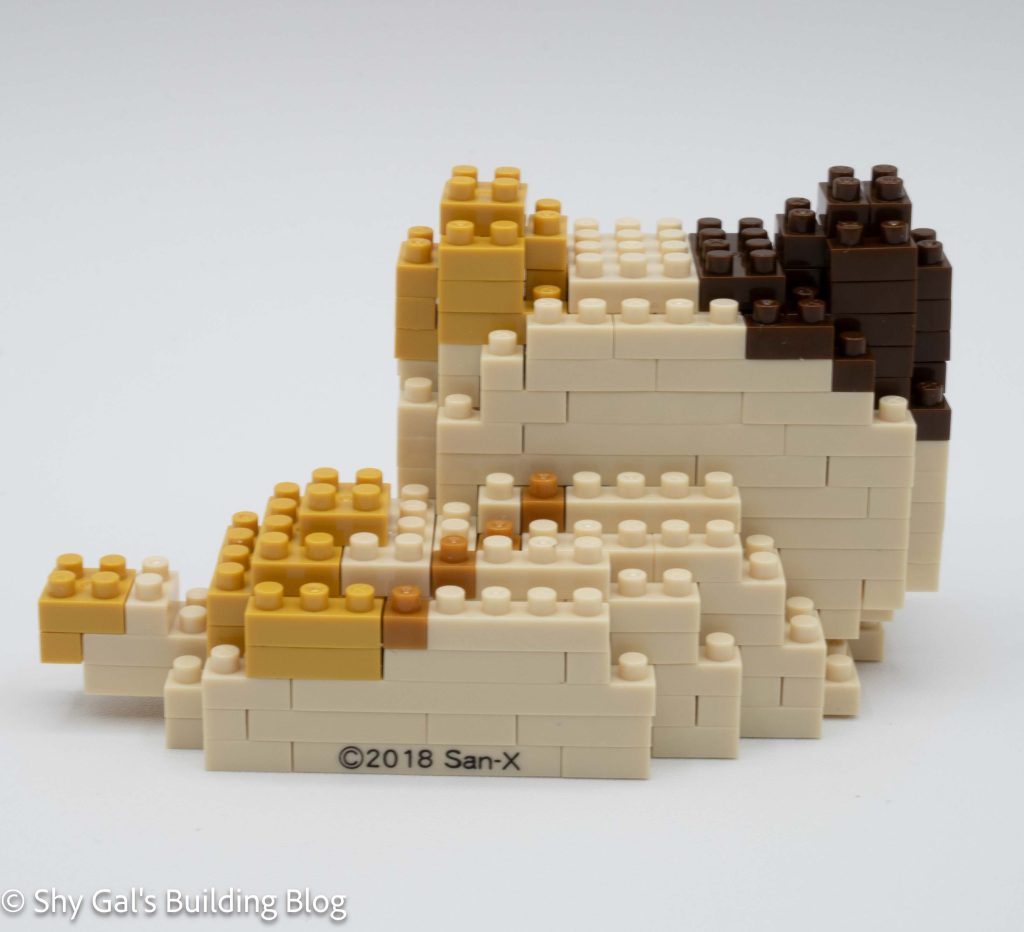
This build started with a large complete base of cream bricks. A custom-printed brick says 2018 San-X to identify the copyright on the build.
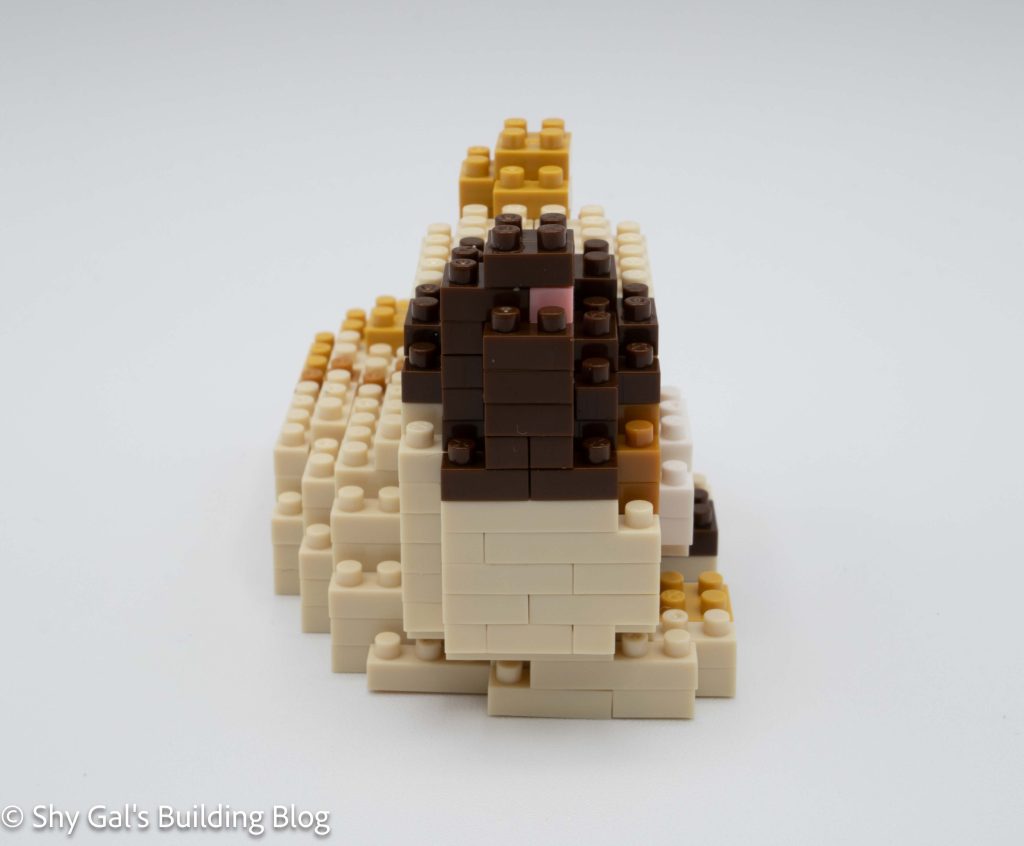
The rest of the build is built in layers. The first four or five layers focus on the head and the body. After step six, the main focus is continuing to build the head. As you add the various layers, you primarily focus on adding cream bricks and the variously colored spots. The details of the face are created with black and white bricks.
Overall I really like this build. I think that it is a really cute costume for Rilakkuma.
Things I liked:
I think the catsuit is really cute
Things I didn’t like:
There are some places around the head where the costume doesn’t look complete, and like there may be blocks missing
This post is a review of the nanoblock Space Invaders Invaders build. Space Invaders Invaders is part of the nanoblock Character collection. Wondering what else is part of the Character collection? Click here for a list.
Number: NBCC_108
Number of Pieces: 200
Difficulty Rating: 1/5
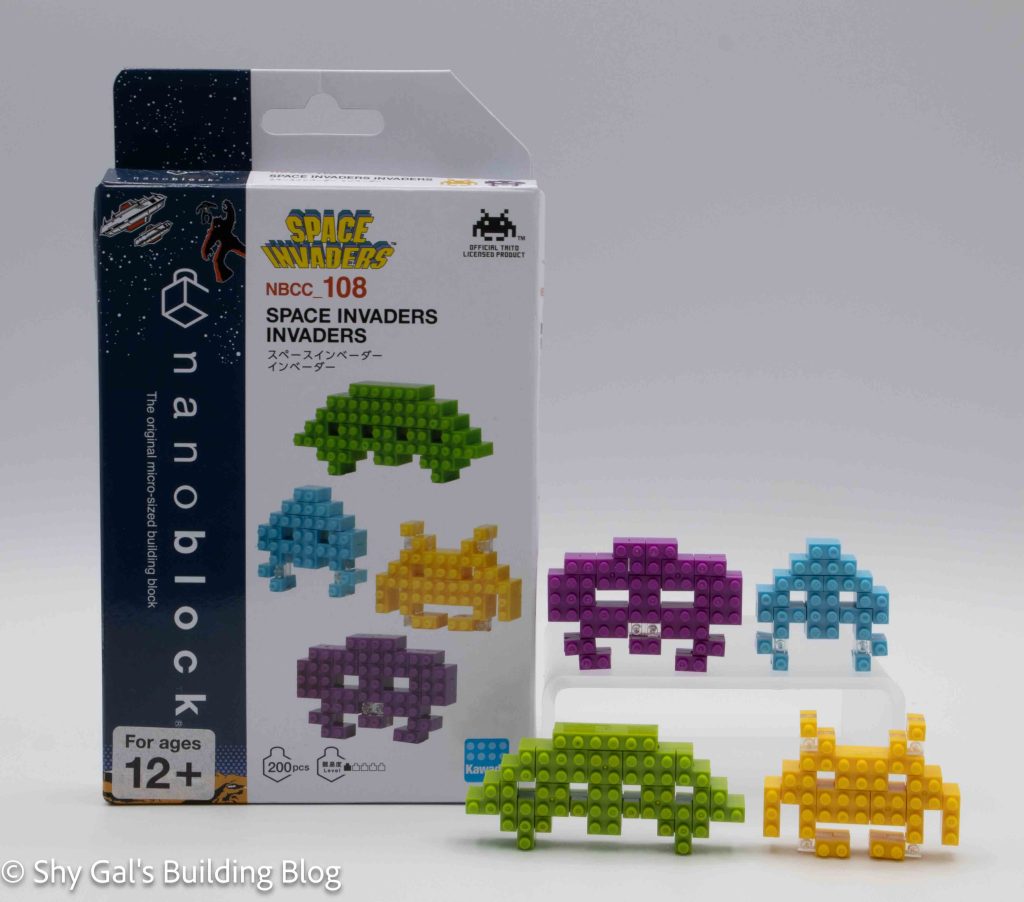
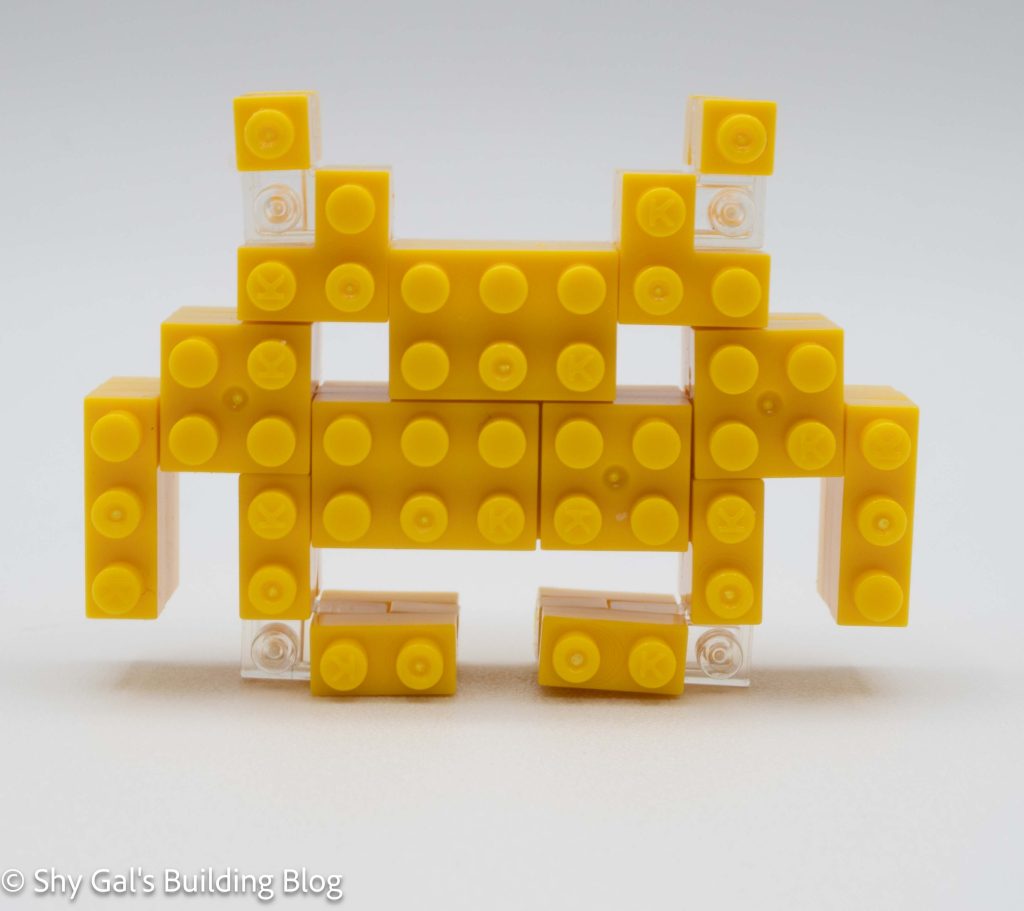
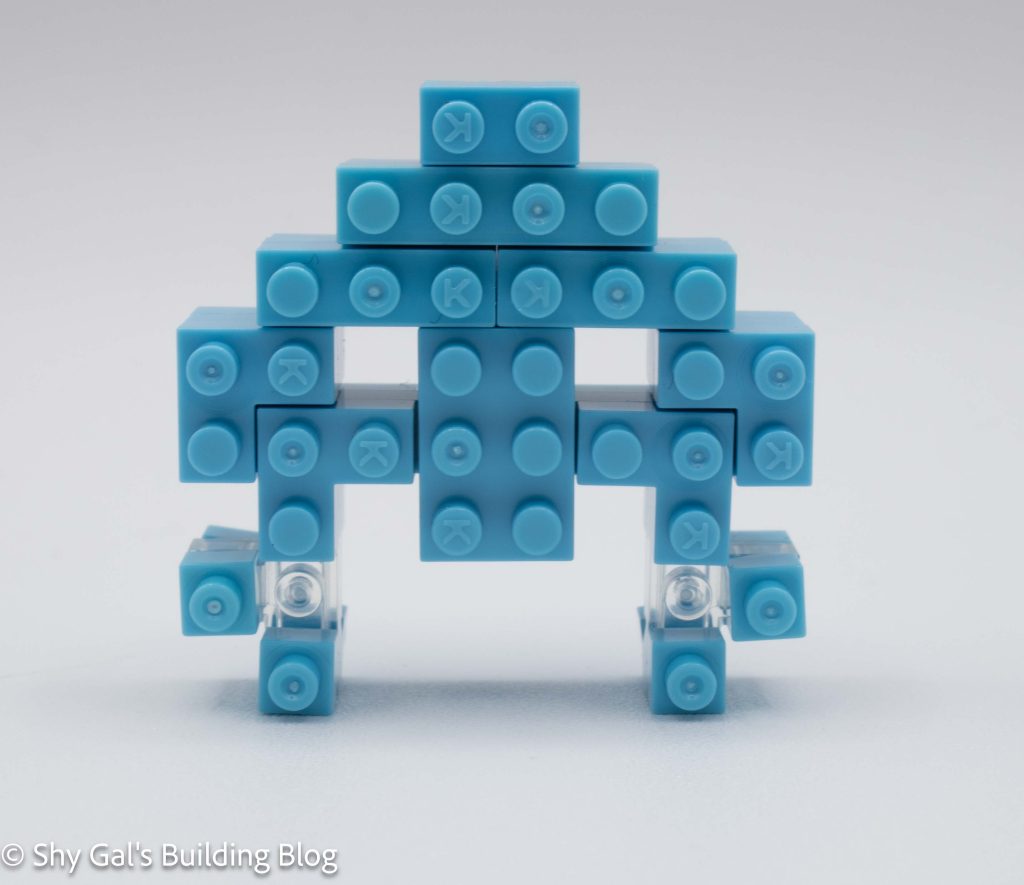
The Invaders are the monsters that you kill in the classic Space Invaders arcade game. During the game, the Invaders move down the screen as the player attempts to shoot all the Invaders before they reach the bottom of the screen.
This kit comes with 4 Invaders. Each is a different color and is 3 bricks deep.
Space Invaders is a video game where each character is made up of pixels. In the case of this nanoblock build, each stud on the top layer of the figure represents a pixel.
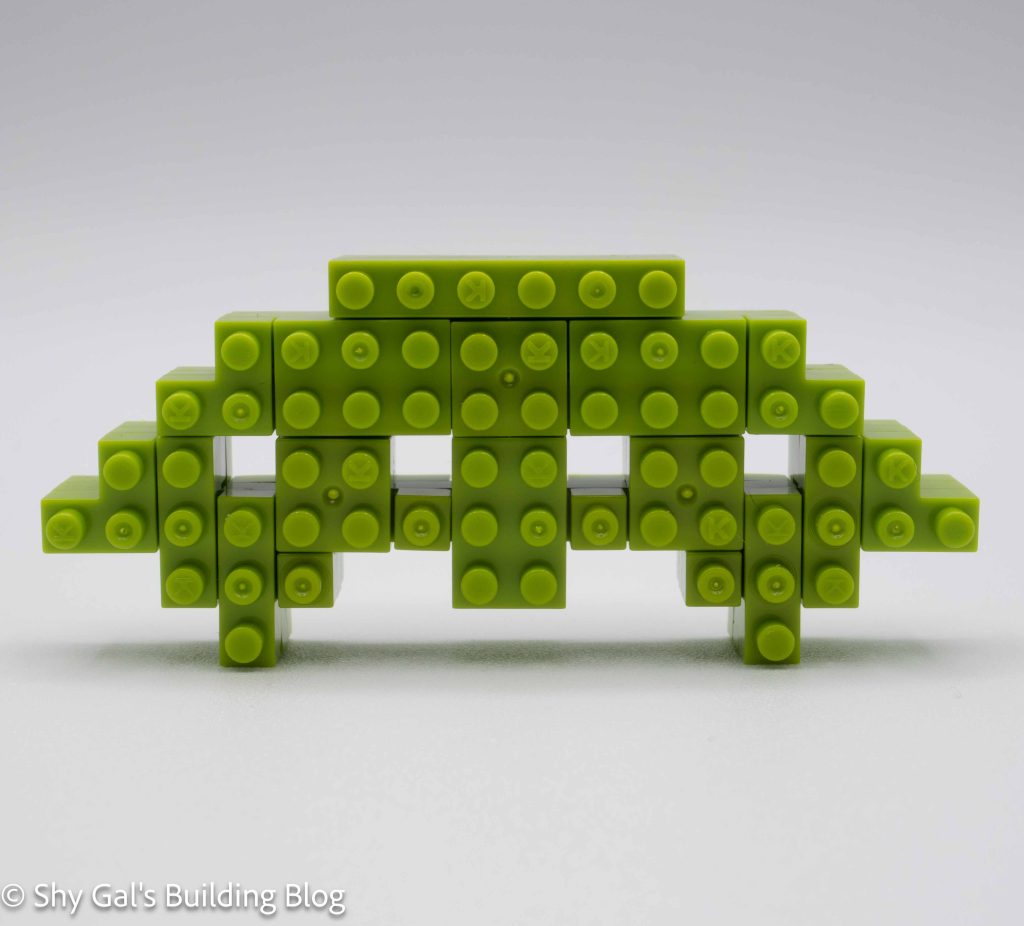
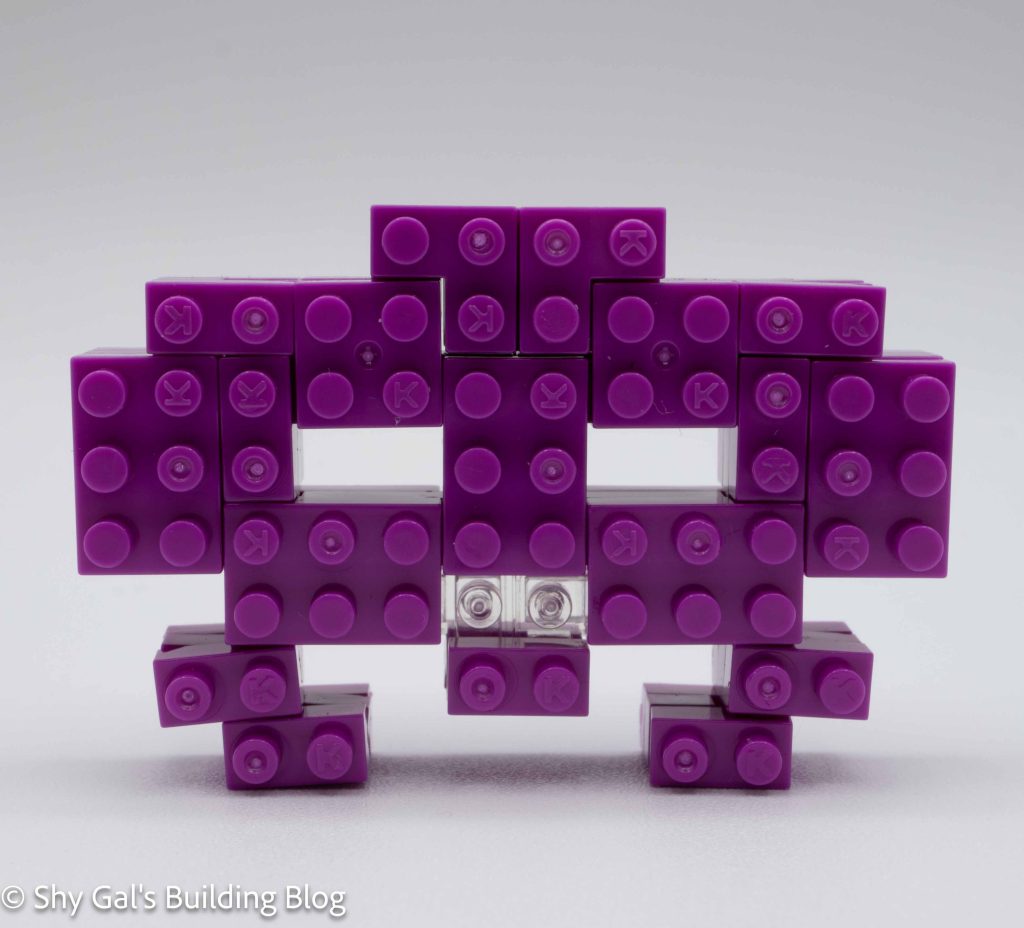
The basic process for building each character is basically the same, so I’ll describe the process for building the Invader once, but the process is similar for each character.
The build begins by laying a base layer of bricks in the invader’s color. I did this on my nanoblock pad because the base layer was so large.
After building the first layer, I added the second layer. This was mostly adding bricks, so the first layer was connected. In some cases, this included adding clear bricks where there are gaps or when the bricks are connected at the corner of the pixel.
Things I liked:
I liked the colors they picked for the Invaders. The original game was in black and white, so any colors could have been used
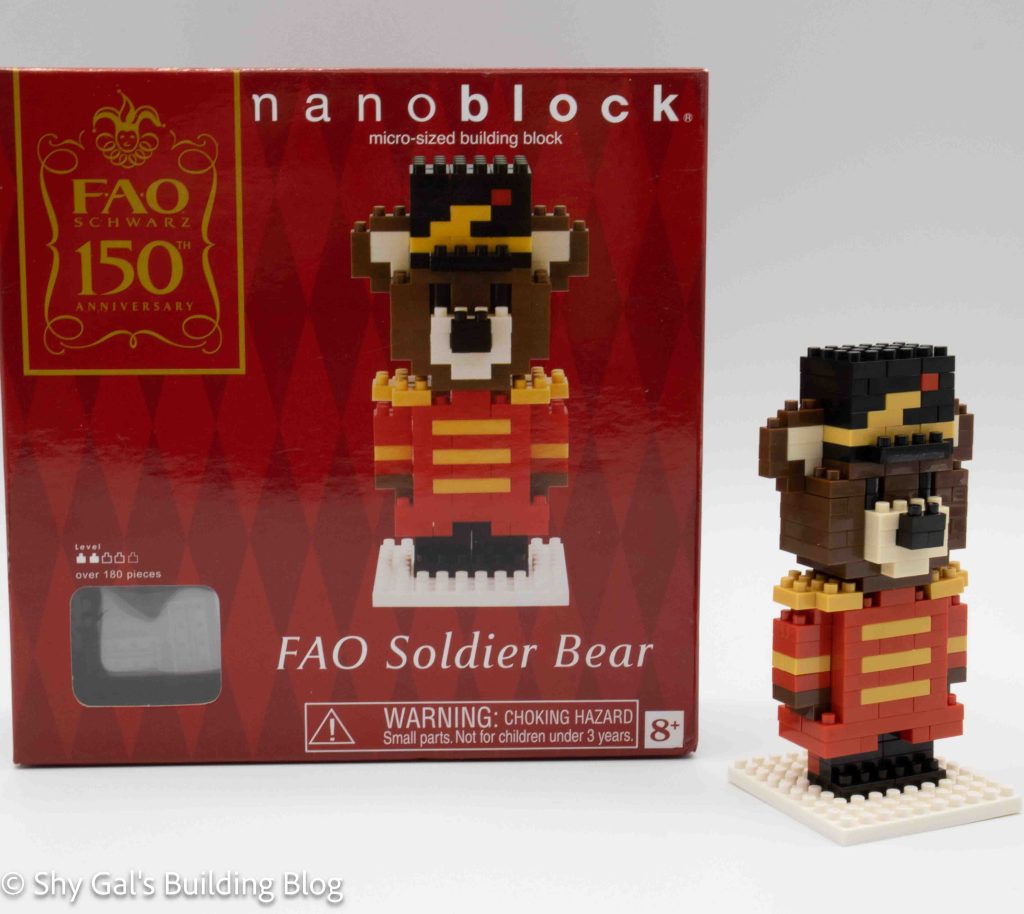
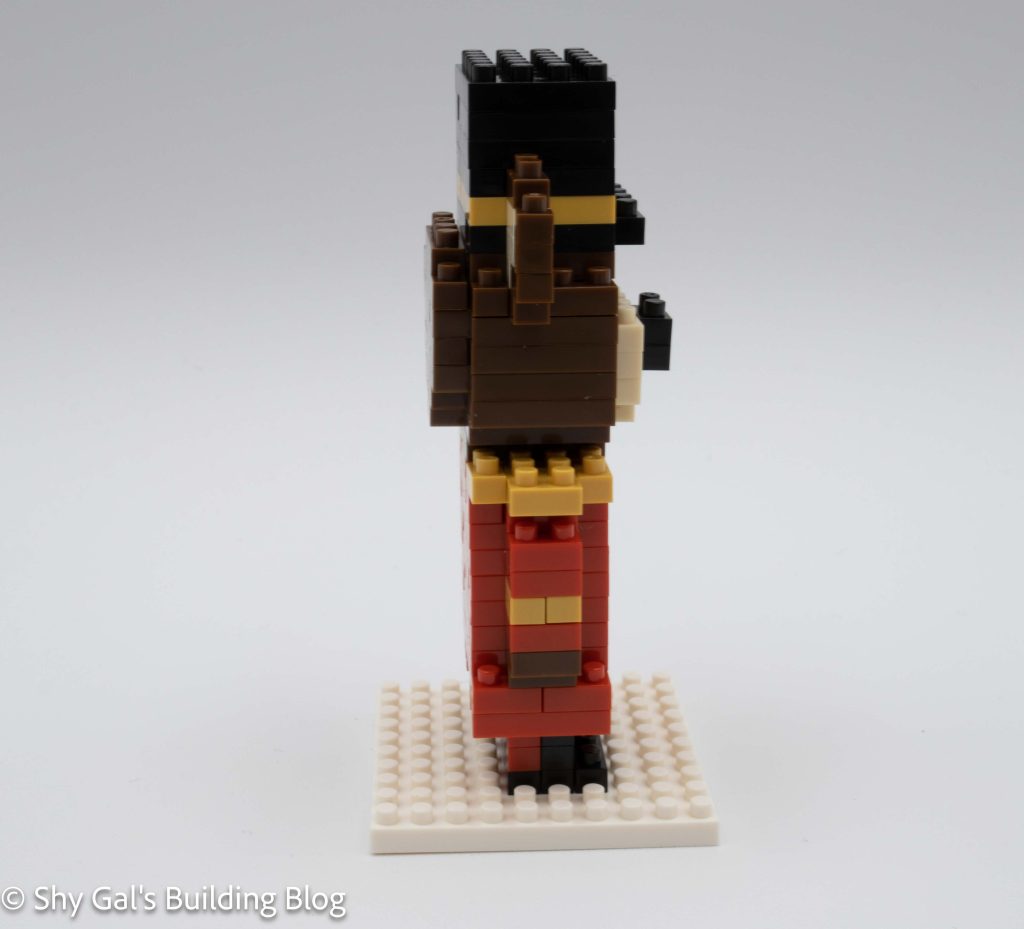
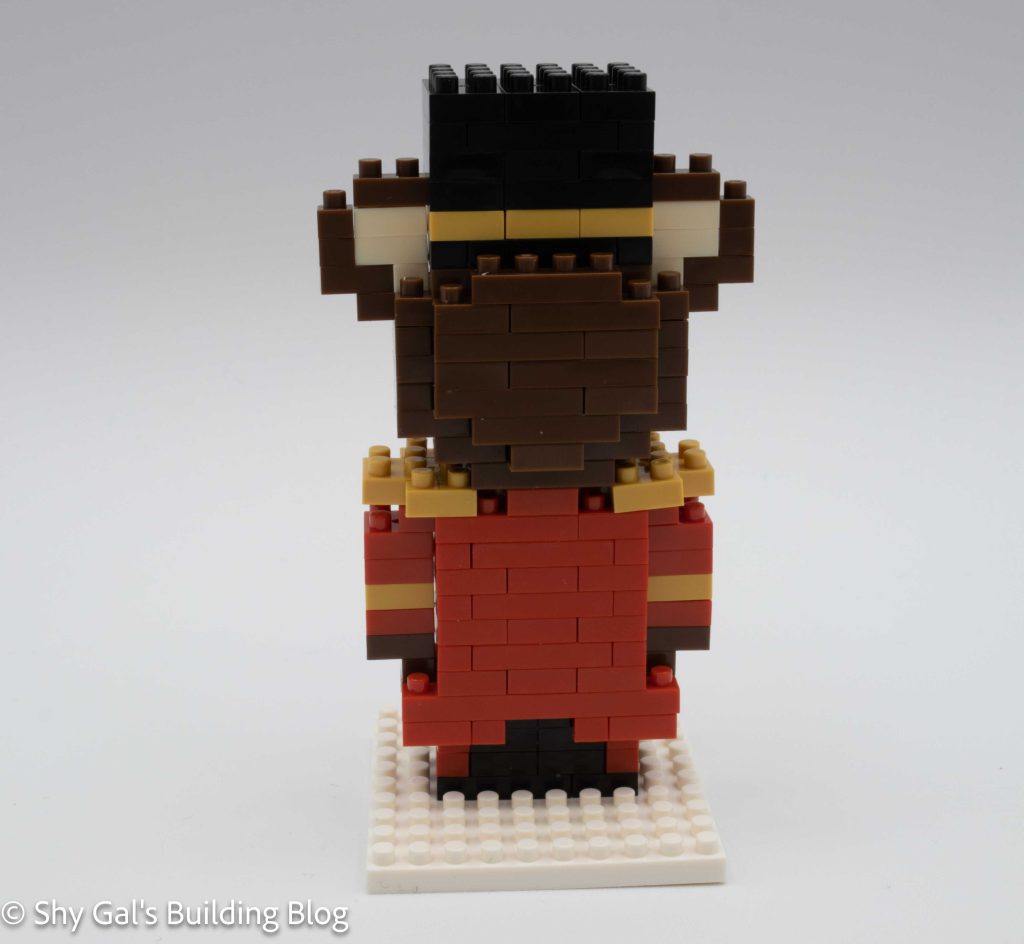
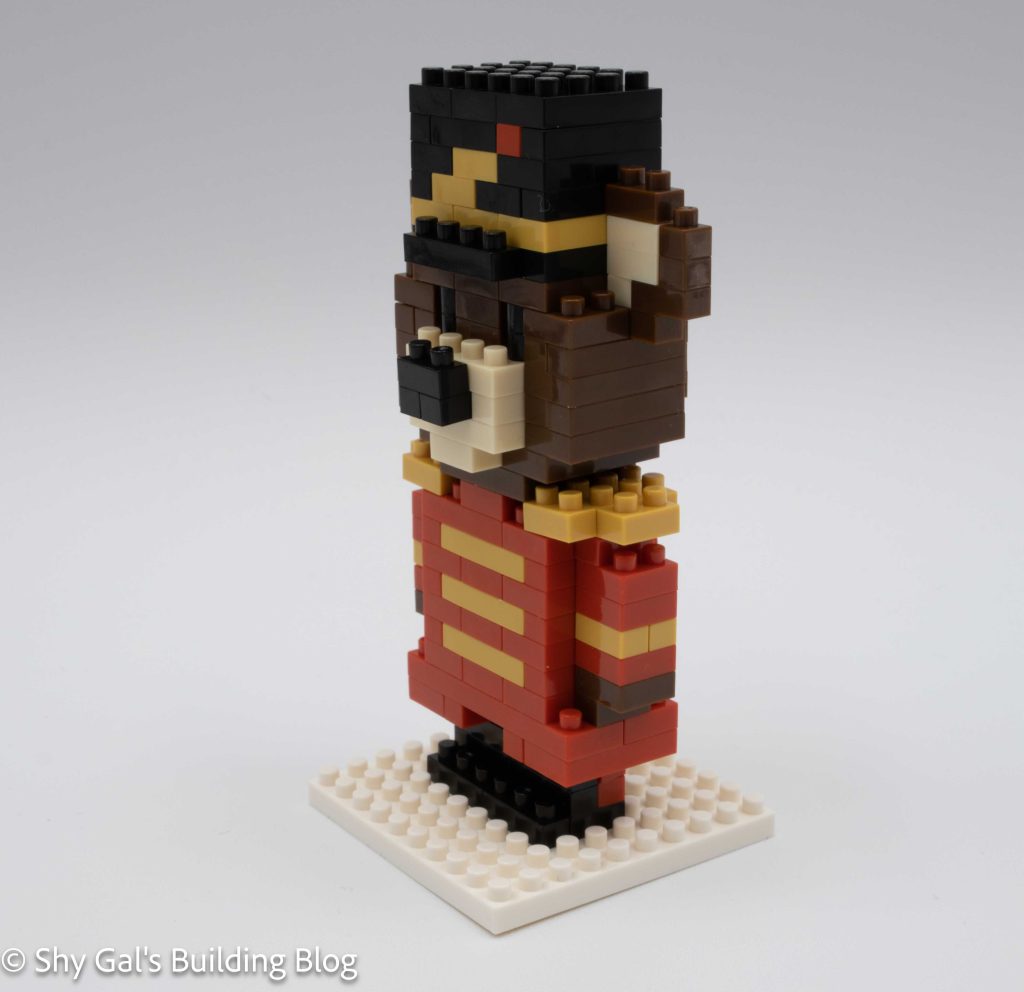
This post is a review of the nanoblock FAO Soldier Bear build. The FAO Soldier Bear is not part of any collection.
Number of Pieces: 180 pieces
Difficulty Rating: 2/5
The FAO Soldier Bear was released to celebrate the 150th anniversary of the FAO Schwarz. I didn’t know that FAO was outside the United States, so I was surprised nanoblock made a set for the anniversary.
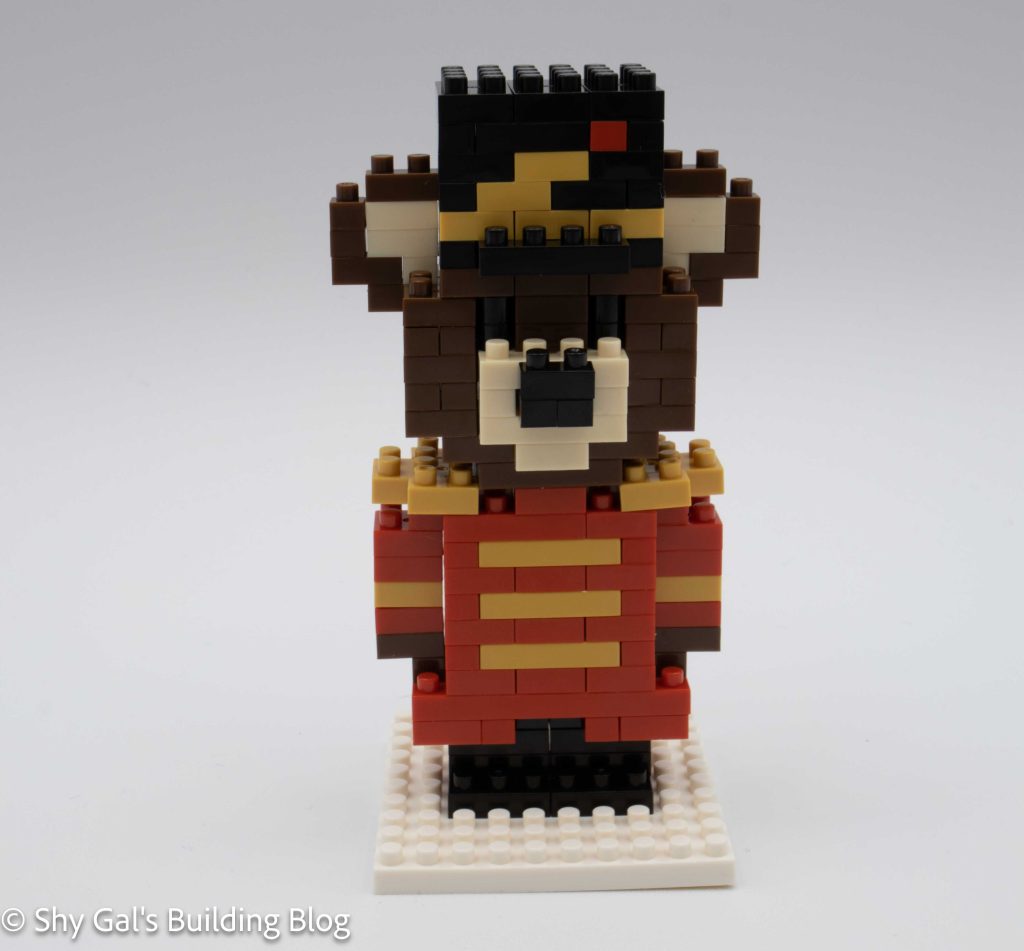
This build is super straightforward. It begins with a white 10×10 base. From there, the entire build simply goes up in layers.
While adding the layers, you add a lot of detail. The uniform has strips and epaulet. There is also a lot of detail in the hat.
Things I liked:
I love the amount of detail in the bear and his uniform.
Things I didn’t like:
There is a layer of bricks where the feet meet the legs where it kept breaking, which was frustrating.
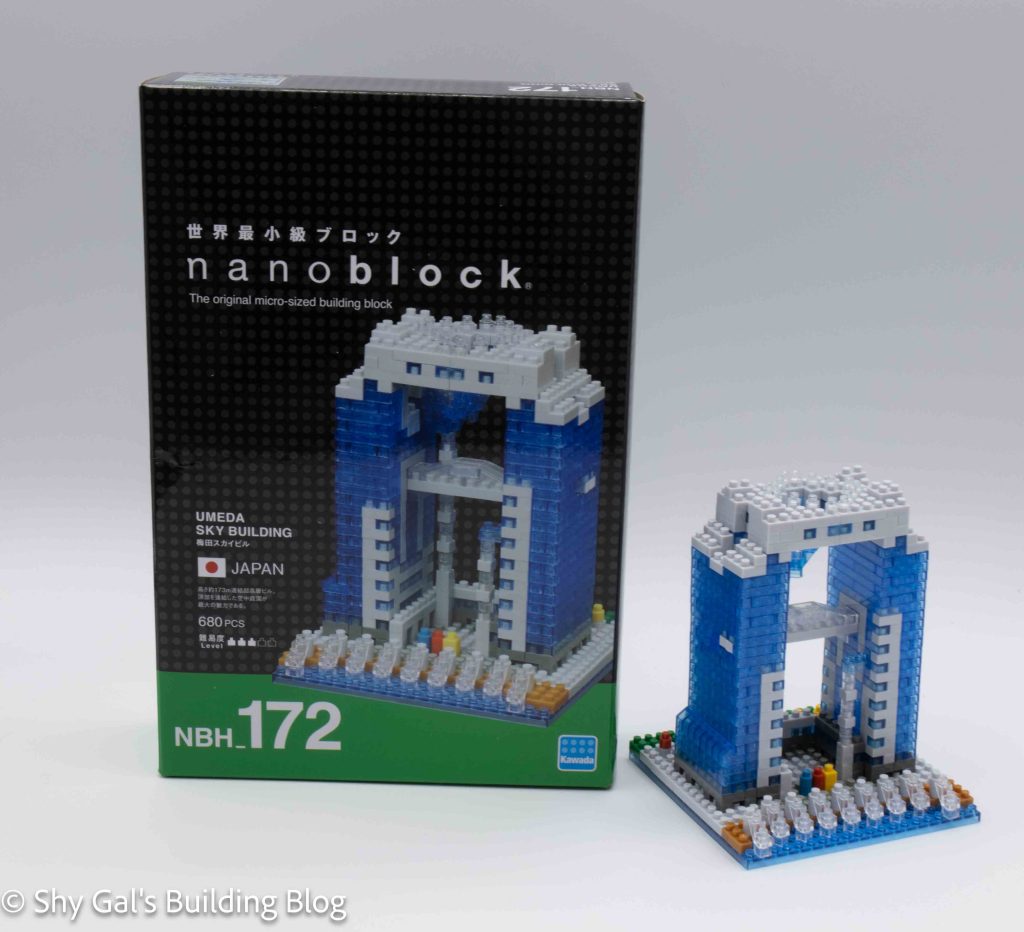
This post is a review of the nanoblock Umeda Sky Building build. Umeda Sky Building is part of the nanoblock Sights to See collection. Wondering what else is part of the Sights to See collection? Click here for a list.
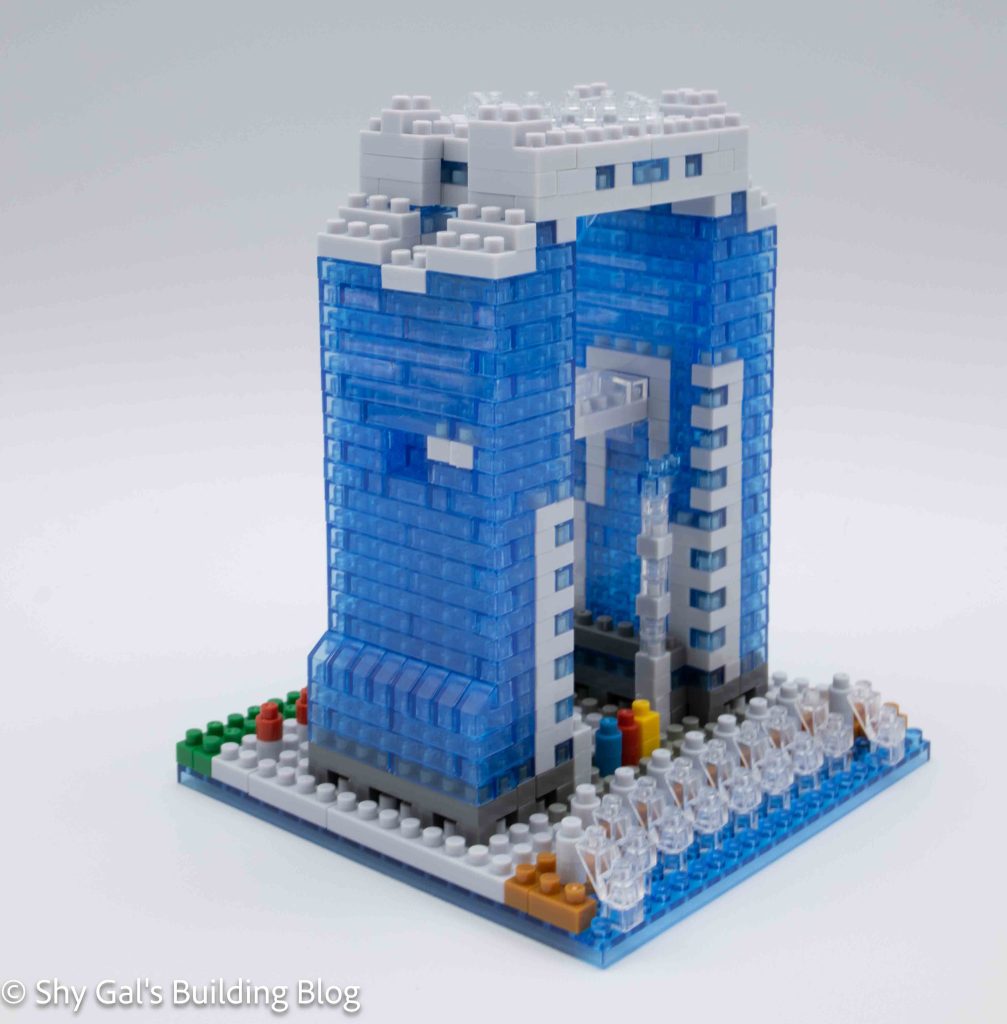
Umeda Sky Building is one of the tallest buildings in Osaka Prefecture. It is 2 towers that are connected by bridges and escalators. For more information, check out the wiki page.
Number: NBH_172
Country: Japan
Number of Pieces: 680
Difficulty Rating: 3/5
Umeda Sky Building was a kit I bought open; I ensured there were bricks and instructions. Before starting the build, I pulled the kit that arrived apart and split all the bricks into reasonable piles. I then started the build.
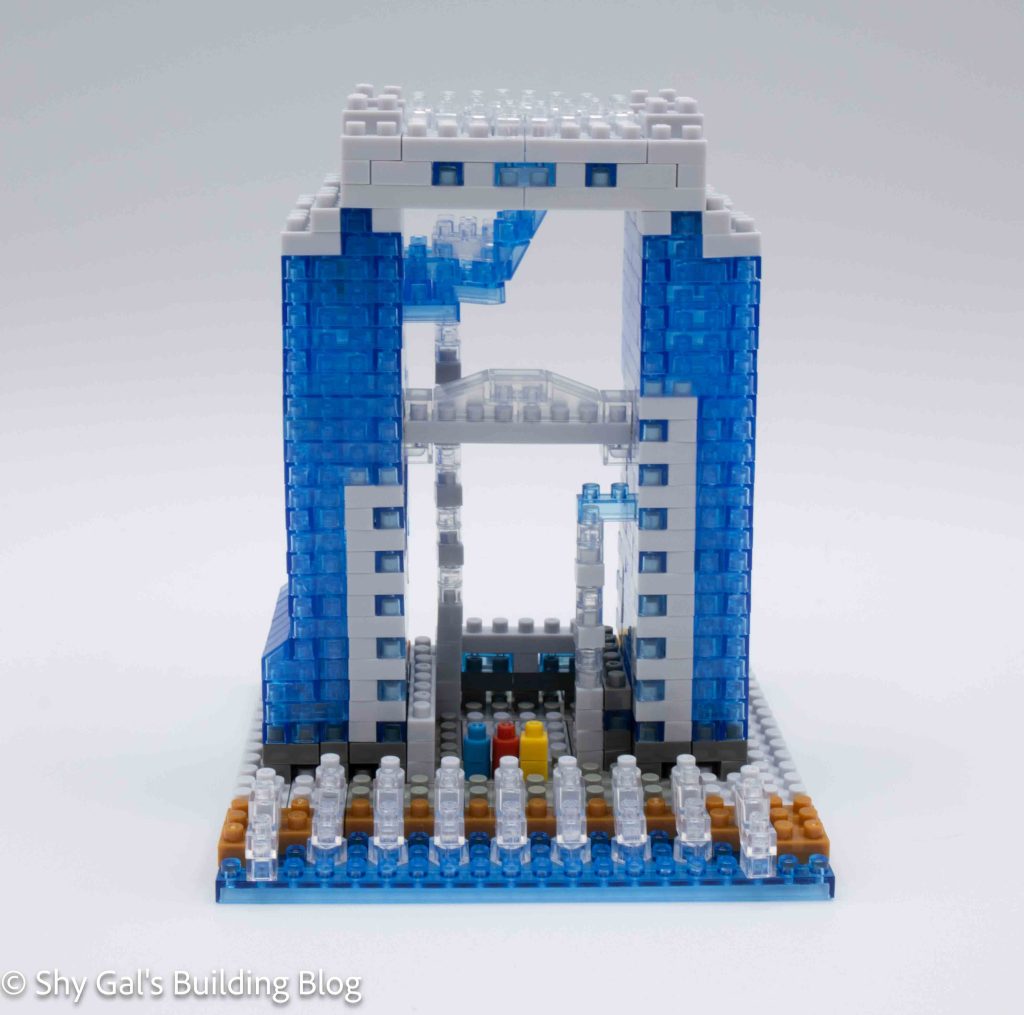
This build has 2 major sections there is the building and the roof.
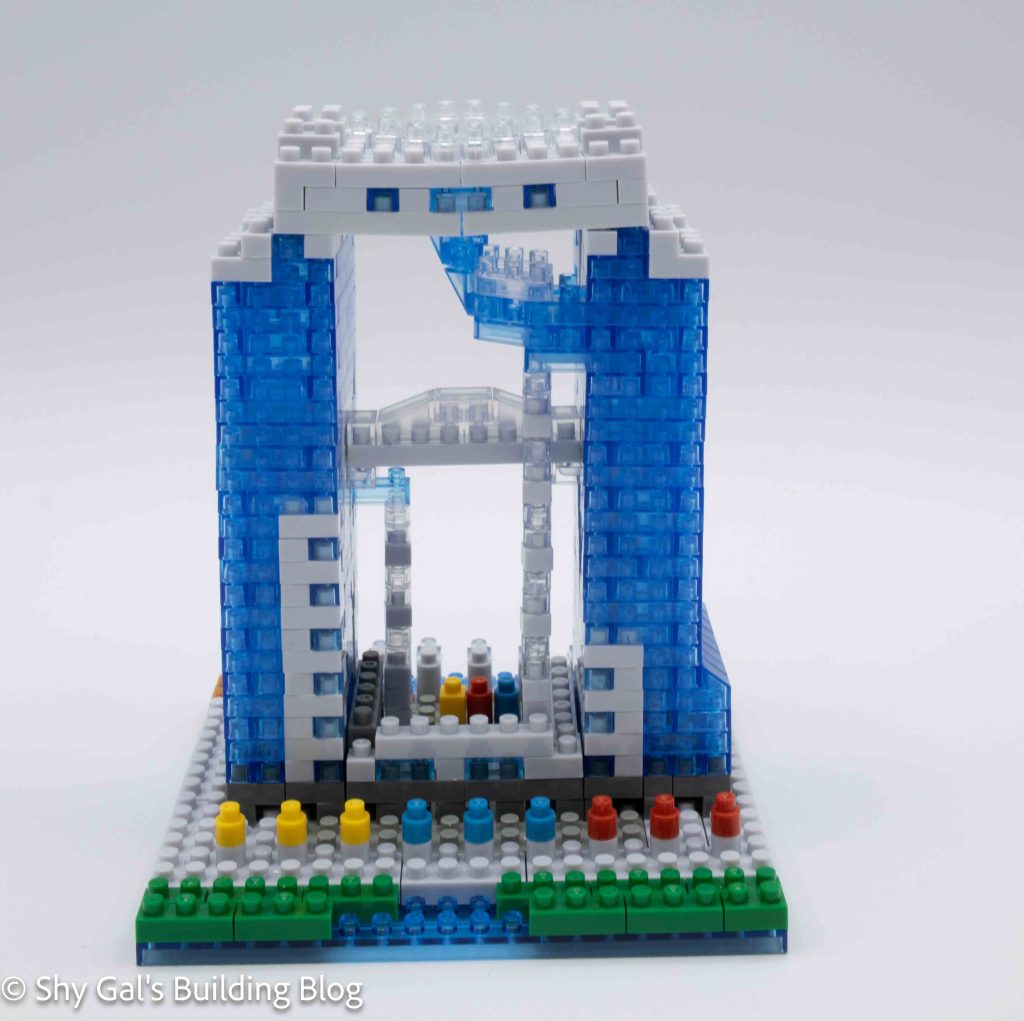
The first thing I noticed about the build was that starting from the base layer wasn’t symmetrical. This made me excited to see how the final build would look.
The first step is to create a base layer on the 20×20 base. There are a variety of colors in the base to create the various textures around the building.
The next step is to create the base of the building. Starting in step 4, the actual windows on the outside of the building are outlined and begin creating the walls of the buildings. The building goes up in layers over the next 20 steps. Each layer is different from the previous one and needs to be carefully tracked.
The trickiest part of building the main section of the building is creating the elevators. This is because it is a chain of 1×1 bricks that can easily snap as you are adding bricks. It is also easy to miss adding a brick to any given layer since the new brick just hangs out separately from the large chunks in the directions.
After building most of the building and locking the elevators in place, it’s time to add the escalators that go across the open area between the towers. I really like that this detail is included and how the escalators are created.
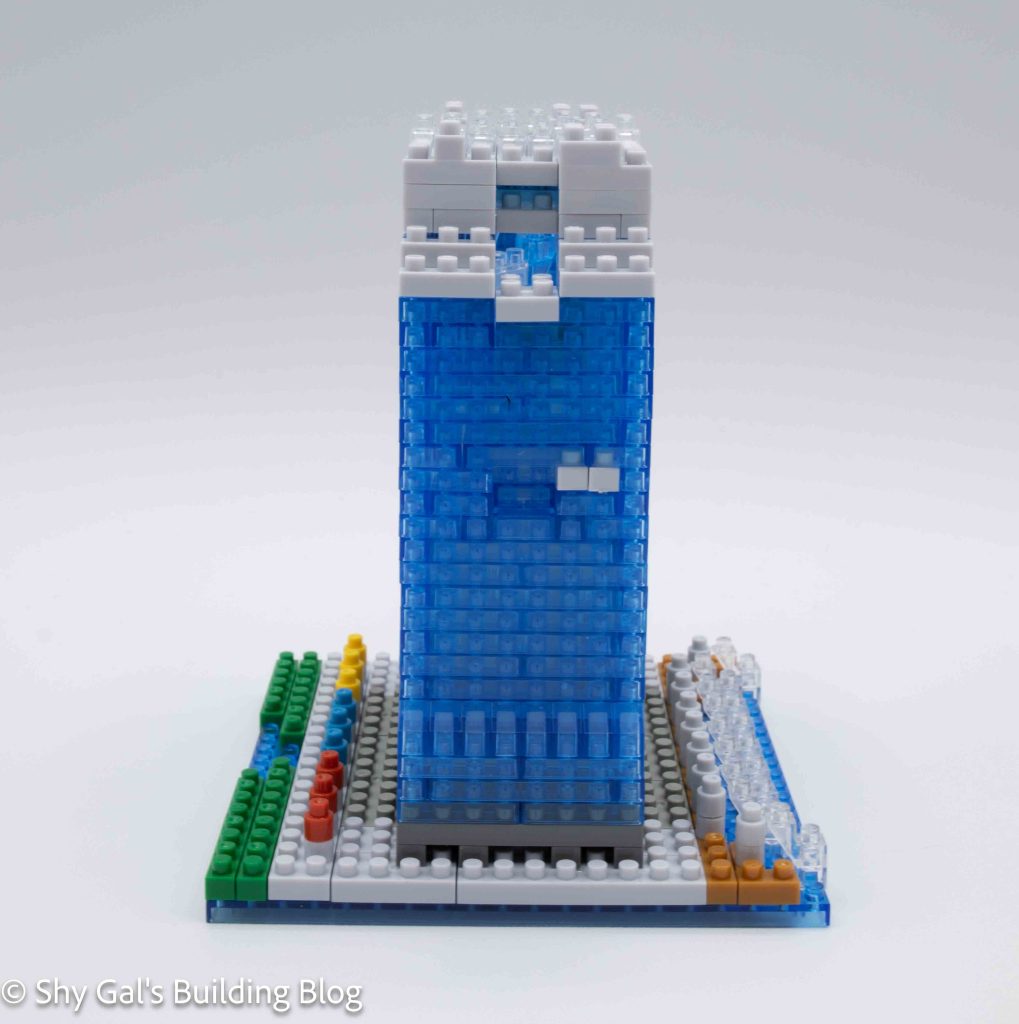
The main building is completed with a few more layers of bricks that create the top of the building
The roof was very straightforward. I could lay the roof out on my pad to create the roof. Finding enough round clears took a while because they were hard to see and like moving.
After building the roof, the final step is to attach the roof to the building.
Things I liked:
That the build isn’t symmetrical
The escalators in the center of the build
Things I didn’t like:
I’m not sure what all the details at the bottom of the building are supposed to be
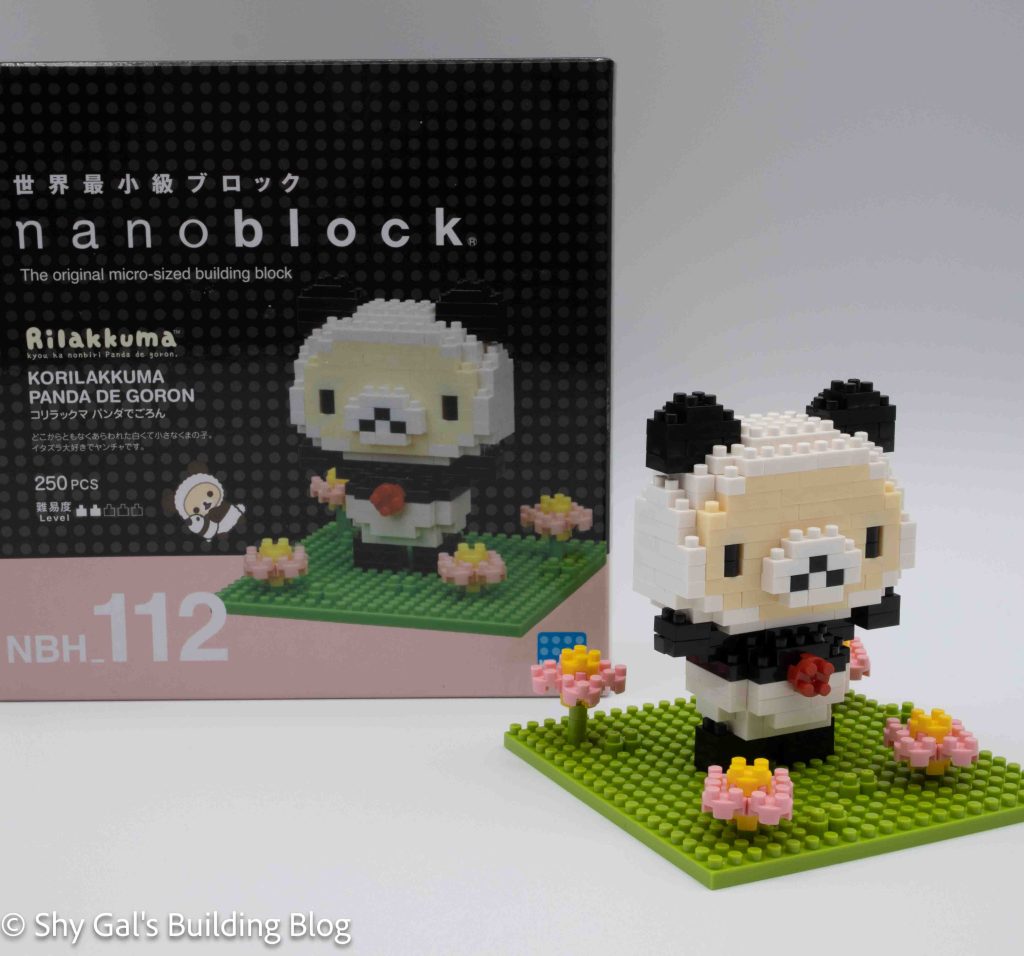
This post is a review of the nanoblock Korilakkuma Panda de Goron build. Korilakkuma Panda de Goron is part of the nanoblock Sights to See collection. Wondering what else is part of the Sights to See collection? Click here for a list.
Number: NBH_112
Number of Pieces: 250
Difficulty Rating: 2/5
This is a build of Korilakkuma from the Rilakkuma line dressed up as a panda bear.
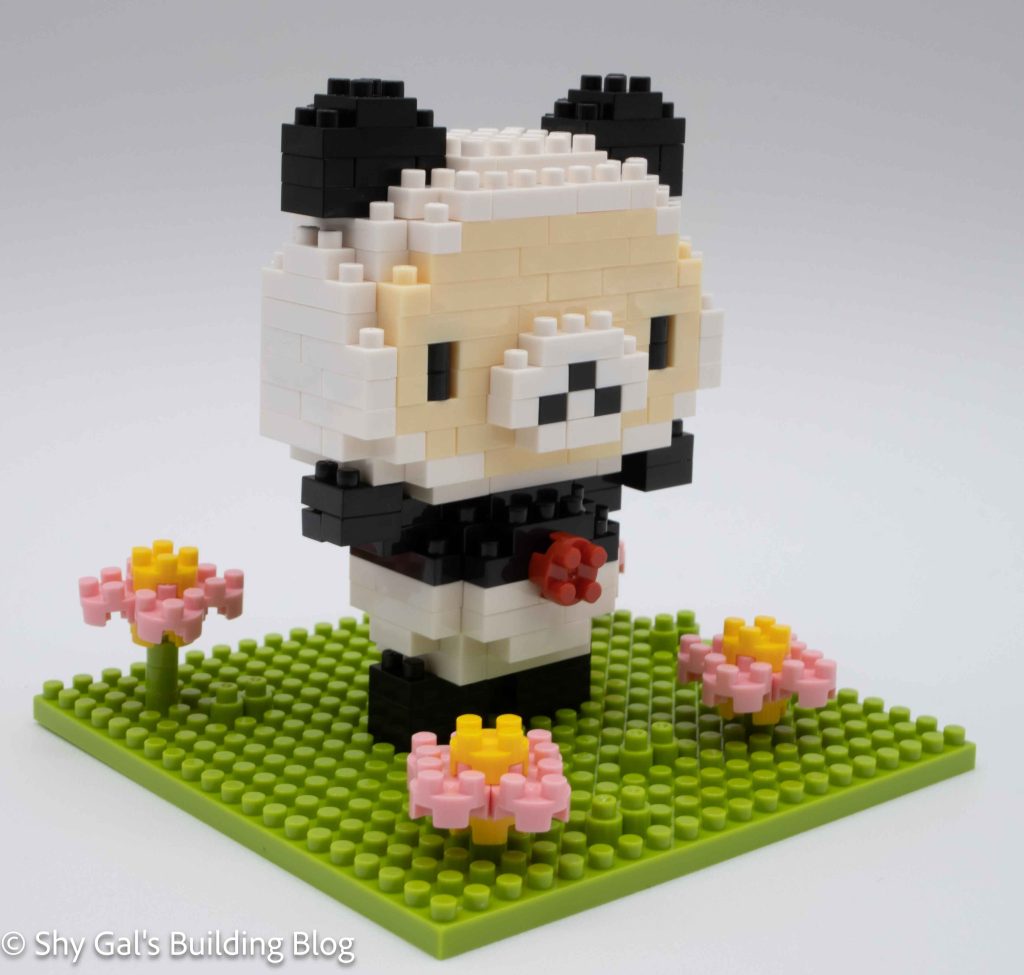
The build is made up of 2 sections. There is the base with the body and Korilakkuma’s head.
The first couple of steps of the base requires the most work to get the bricks in the right place. This is because you are putting bricks on the 20×20 base to act as bases for the bear and the flowers.
After getting the base set up, you build the body of the panda costume. I really like that nanoblock kept the detail of Korilakkuma’s red bell in the build. Building the flowers was very straightforward but unique because of the use of round bricks.
The head is pretty straightforward. It begins with a base layer and builds up in layers. As I got to the end, I was worried because there was a gap in the head. It ended up being ok because the holes were covered by the ears. It was tricky to figure out exactly where the head was attached to the body, but I was able to figure it out.
Things I liked:
I think the flowers that are in the build. I think they are cute.
Things I didn’t like:
It was a bit confusing how the head actually attaches.
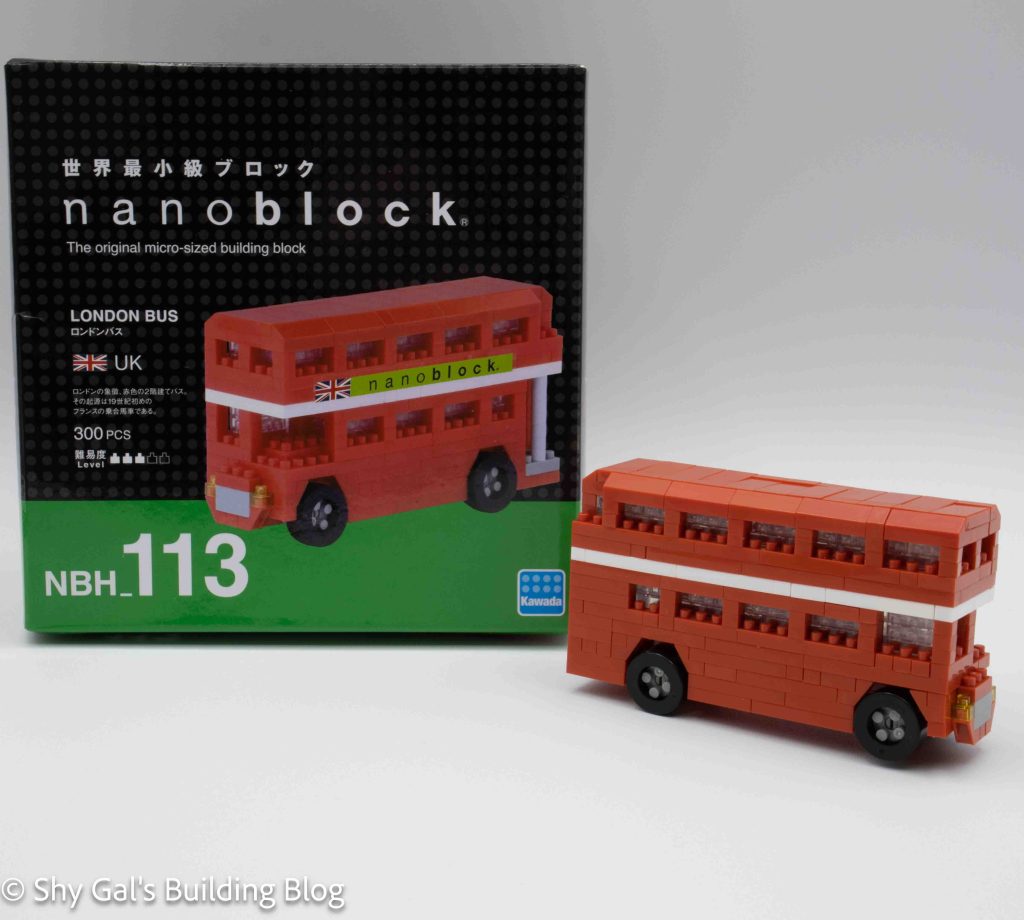
This post is a review of the nanoblock London Bus build. The London Bus is part of the nanoblock Sights to See collection. Wondering what else is part of the Sights to See collection? Click here for a list.
Number: NBH_113
Country: UK
Number of Pieces: 300
Difficulty Rating: 3/5
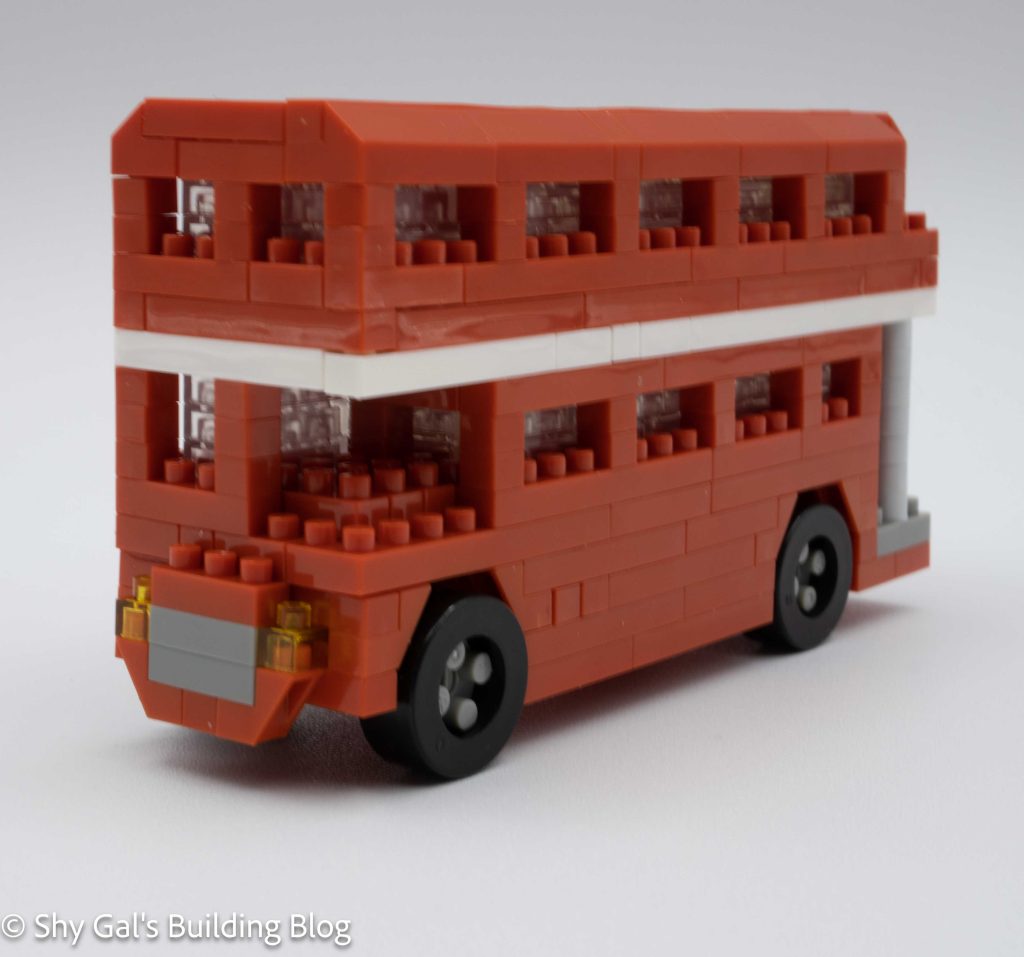
The double-decker bus used to be a common sight in London. After a series of bombings, they were mostly removed. I believe they have come back to some extent in recent years.
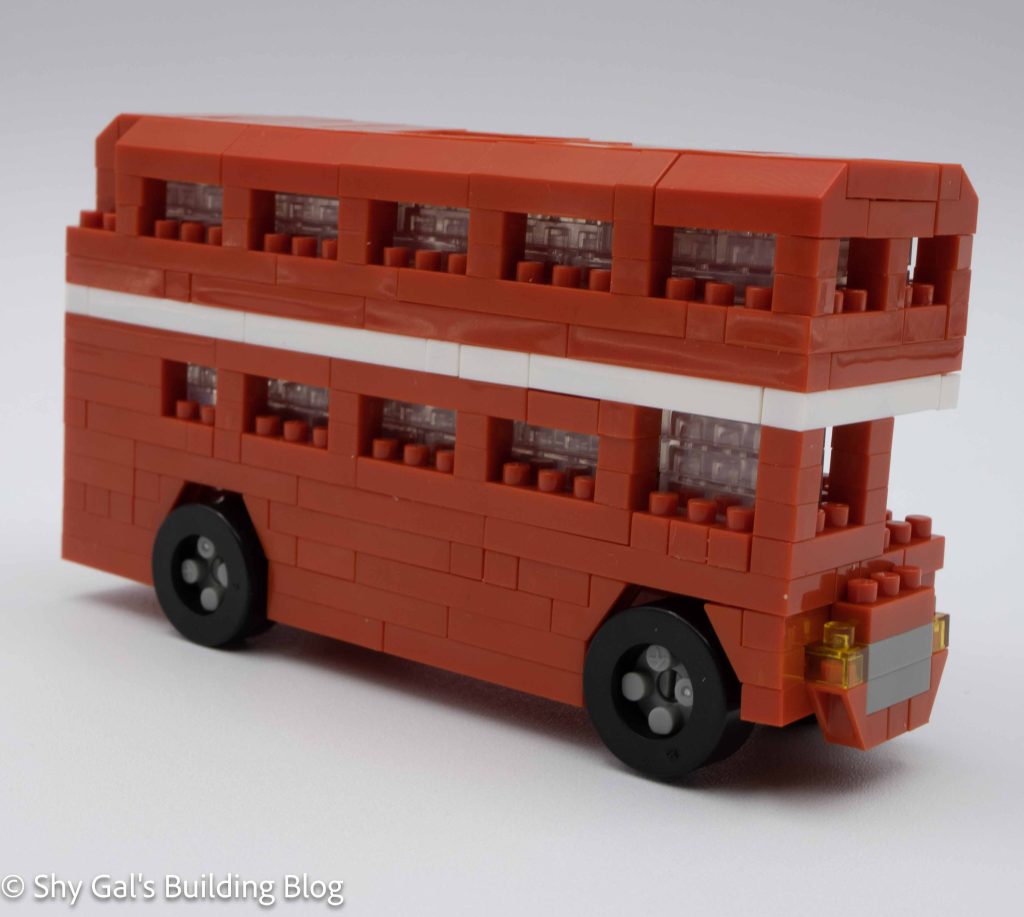
When I opened the box, I had a pleasant surprise that there were wheels which I knew meant the finished model would be able to move when pushed. It was a nice surprise because the tour bus didn’t have moveable wheels.
The first step was by far the most confusing. This is because each layer is not drawn out. You can’t tell for sure how many studs you need in some layers.
After managing to get through the first step, the next few create the rest of the base of the bus.
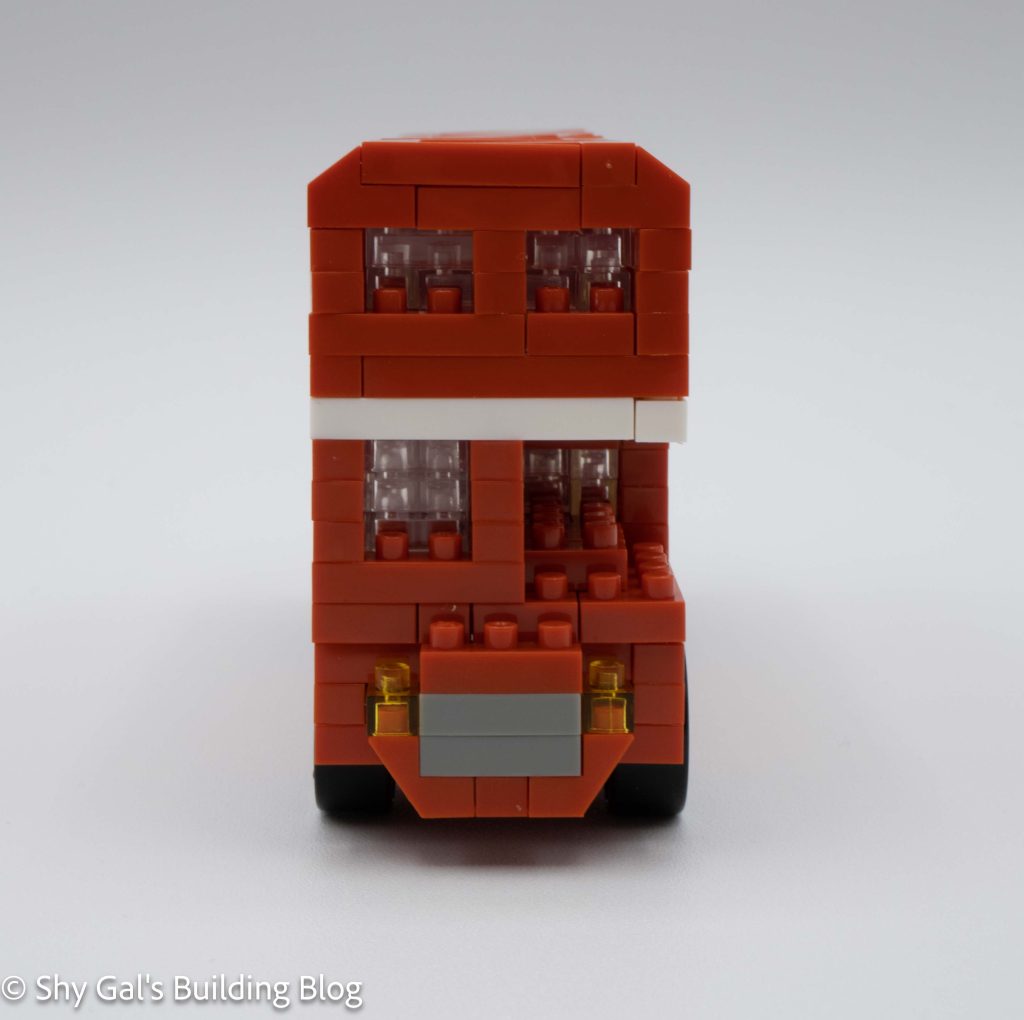
The next several steps build up the sides of the bus. Sometimes you add one layer in a step, and sometimes you add 2 layers in a step. The steps by themselves are very straightforward. When you reach the top, the back corners cut in and look incredibly odd.
The final step is to attach the wheels to the bus.
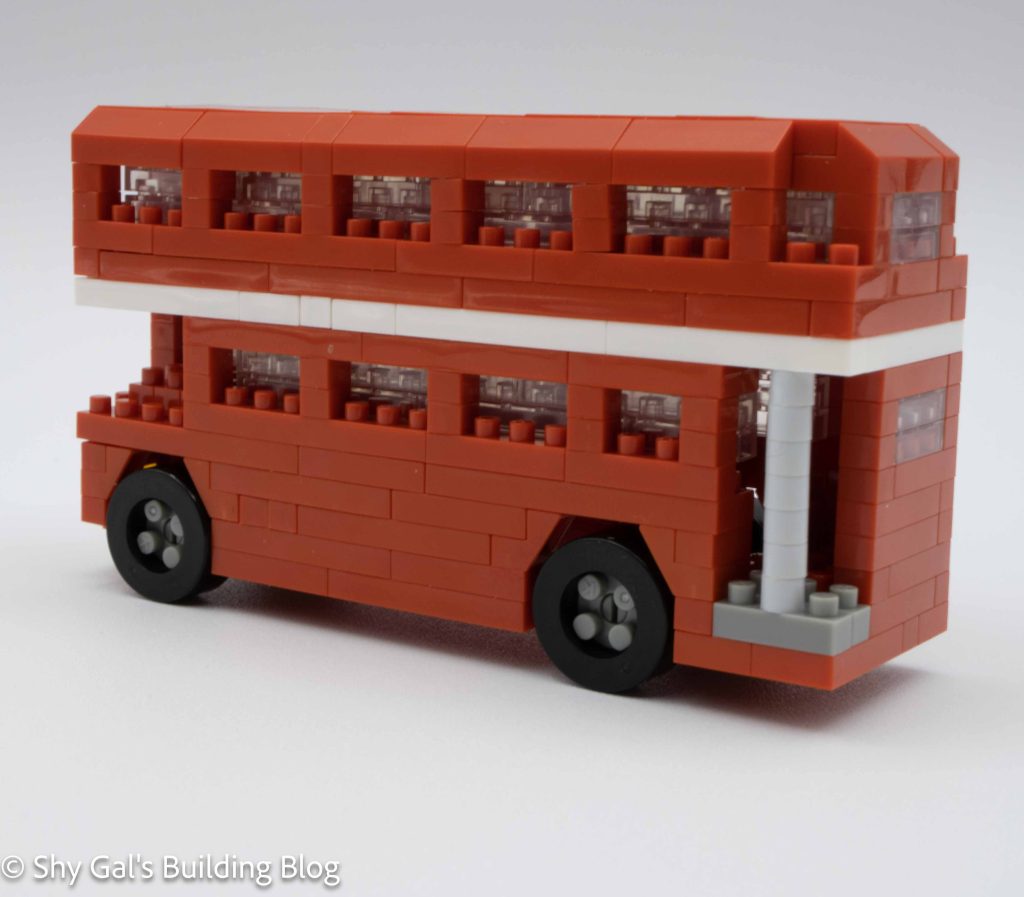
There is a sticker to create the banner on the side of the bus. I didn’t add the sticker because I don’t feel like it adds anything to the build. In general, I don’t add random stickers to builds. You can read about it here.
Things I liked:
I like that the wheels on the build move
Things I didn’t like:
The indents on the back windows look funny and not how I remember the busses
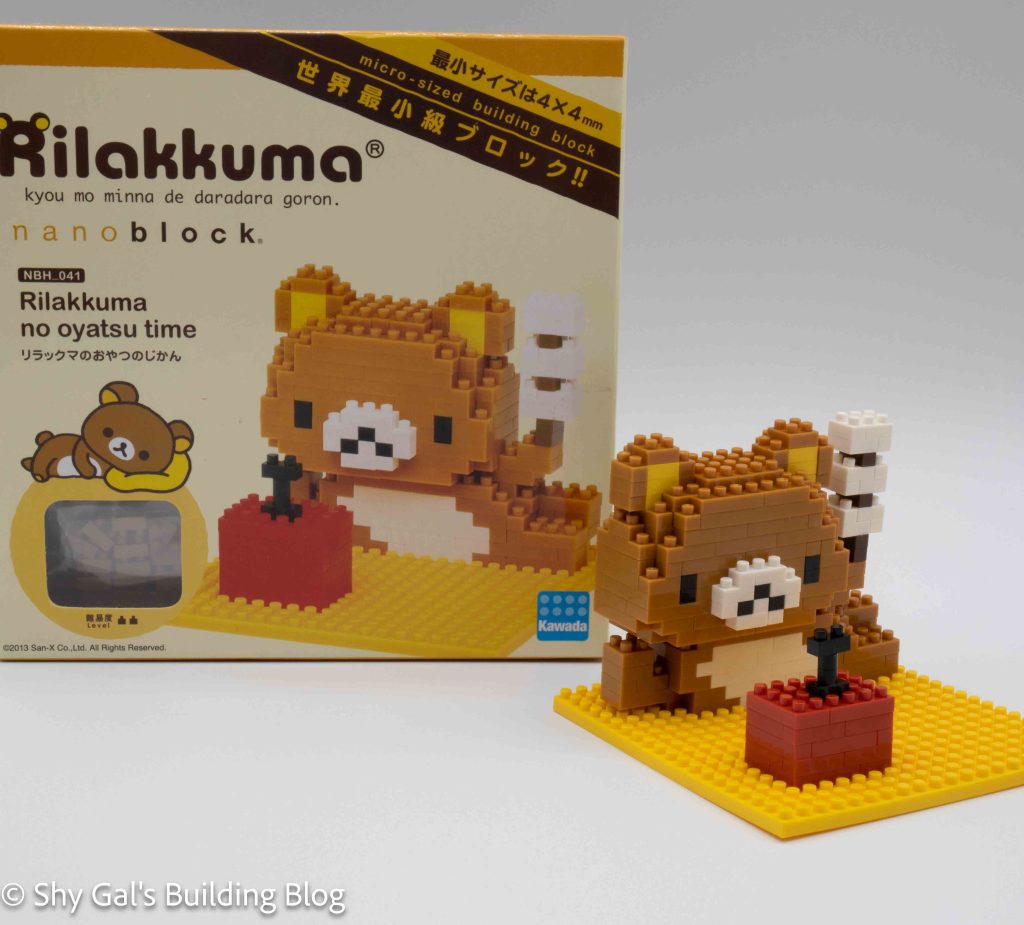
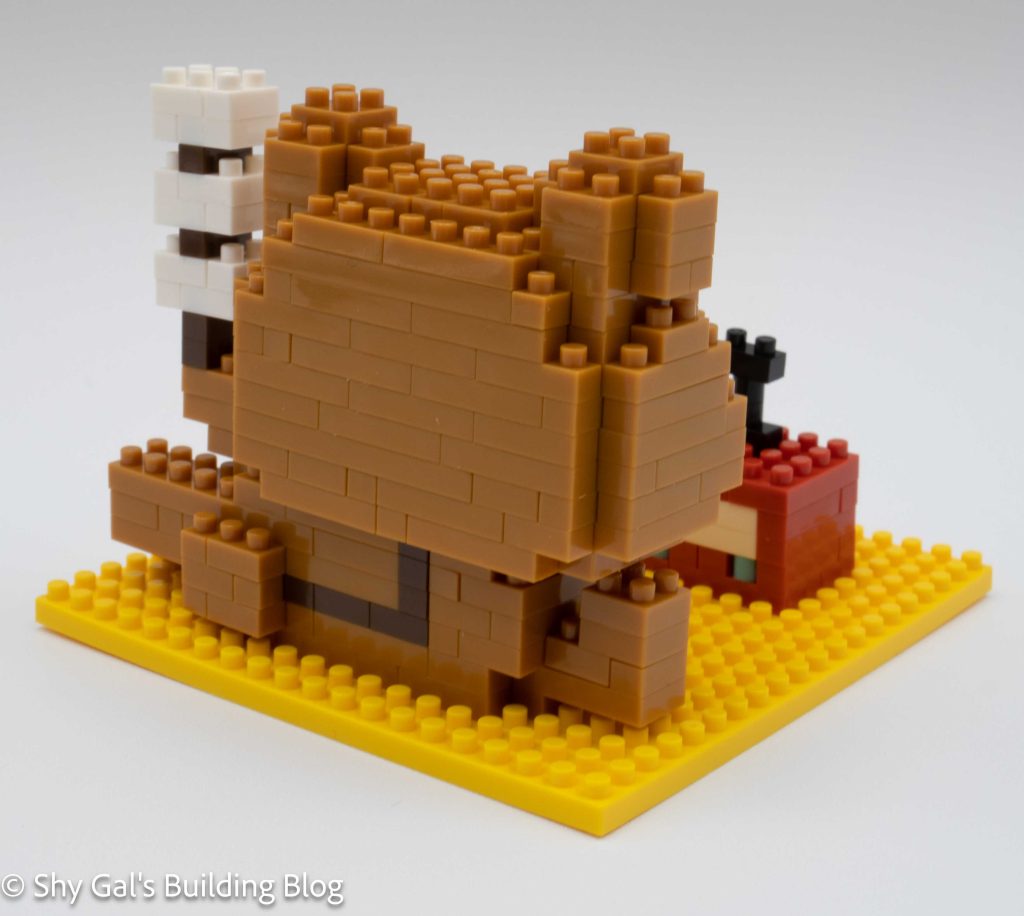
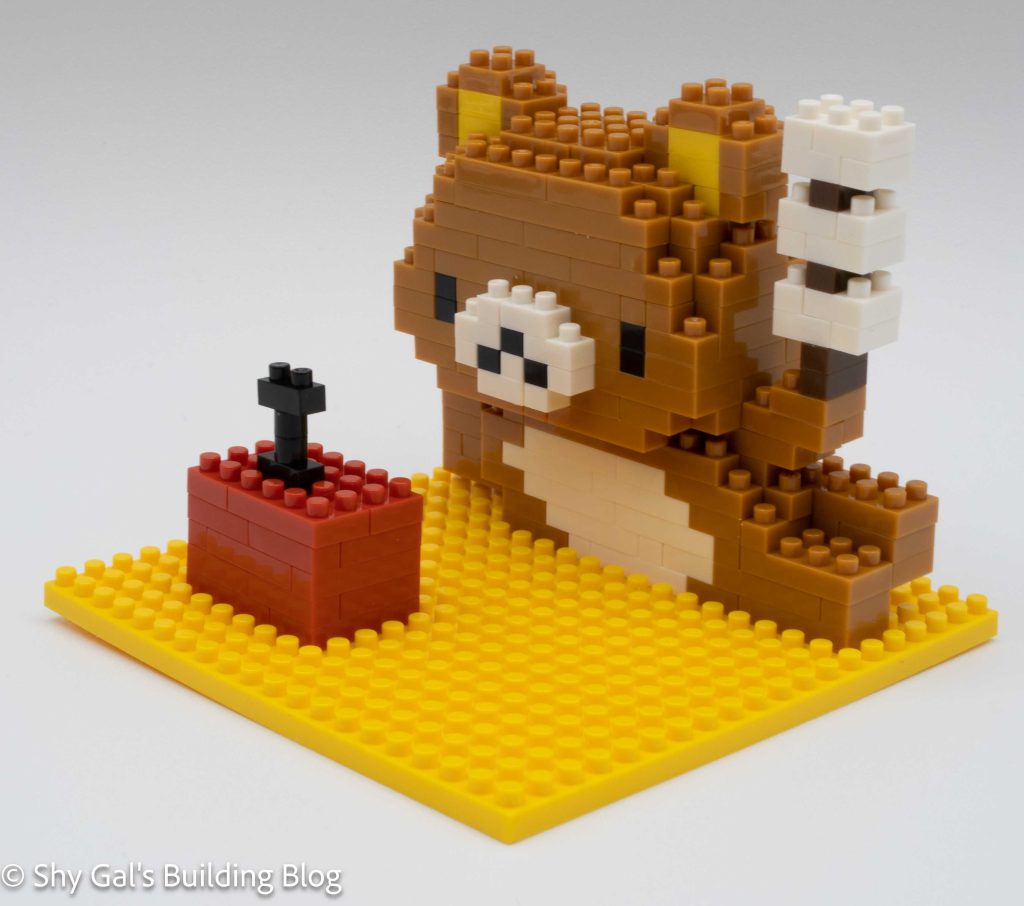
This post is a review of the nanoblock Rilakkuma no oyatsu build. Rilakkuma no oyatsu is part of the nanoblock Sights to See collection. Wondering what else is part of the Sights to See Collection? Click here for a list.
Number: NBH_041
Difficulty Rating: 2
This is a build of Rilakkuma relaxing eating and afternoon snack. According to Google, oyatsu “refers to an afternoon snack that was originally eaten at yatsudoki (approximately 2 p.m.) according to the old Japanese way of counting time.”
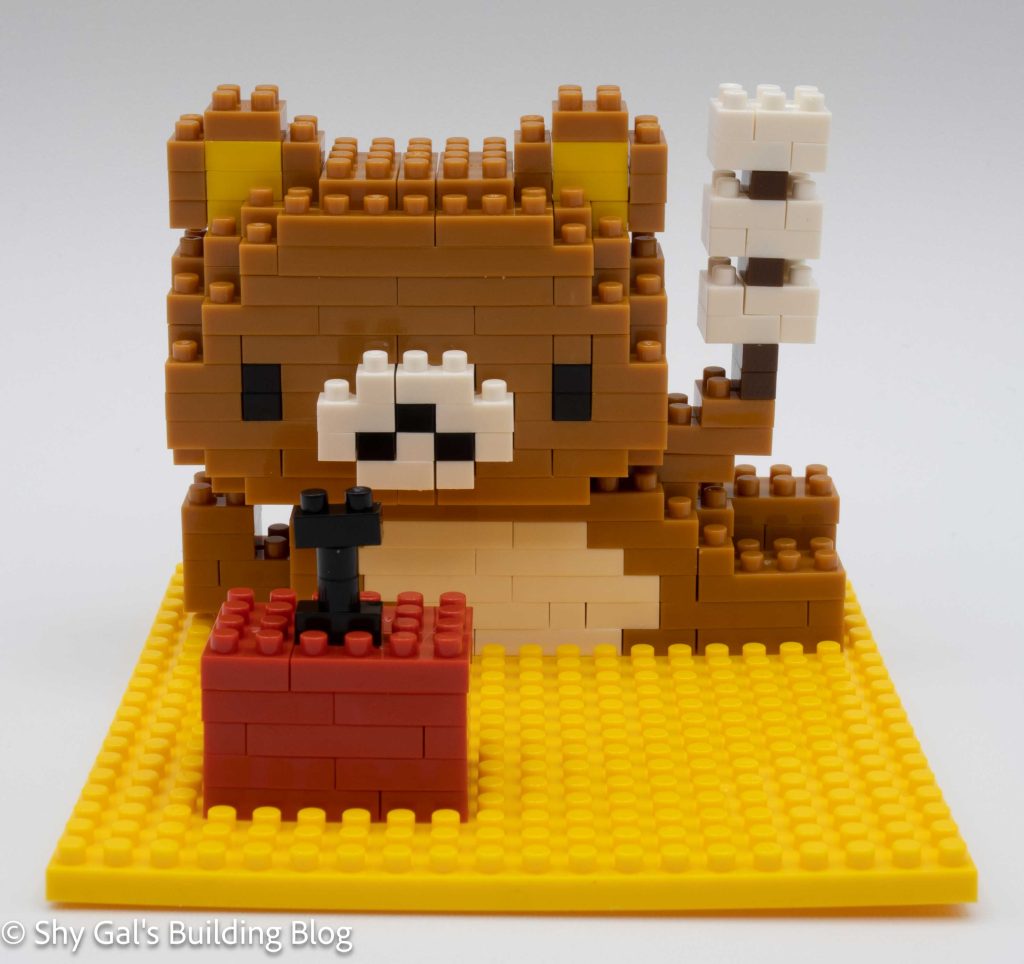
The build shows Rilakkuma lying on his side, eating a snack, and watching tv.
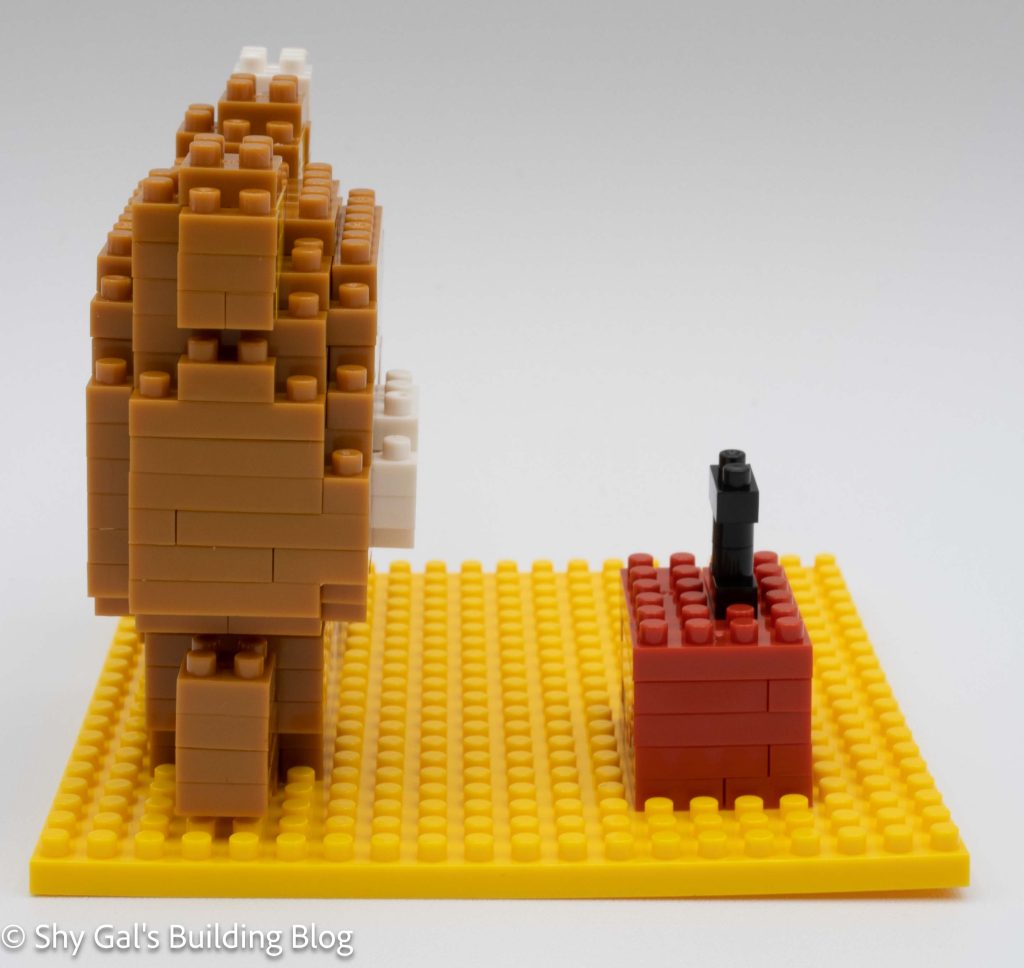
This build is made of 2 parts. There is the base with the tv and the body. There is also the head.
The first section is building the body and tv. Both sections are built-in layers. The tv is super straightforward. I had a bit of difficulty keeping track of exactly which step I was on while I was building the body. It was easy to get back on track.
The other major section was the head. It goes straight up in layers. It was a bit of a challenge to tell exactly which bricks to use when due to the coloring. I think backlines between the bricks would have been easier to see the differences.
The last step is to put everything together and add the final details. It was a bit hard to tell exactly where exactly the head went, but I was able to get something that looks close to right. There are also very straightforward details of the antenna and snack.
Things I liked:
I think it is a cute build, but I’m not sure why it’s part of the Sights to See collection
Things I didn’t like:
I thought the red thing was an apple, not a tv. But it must be a tv based on the details on the box
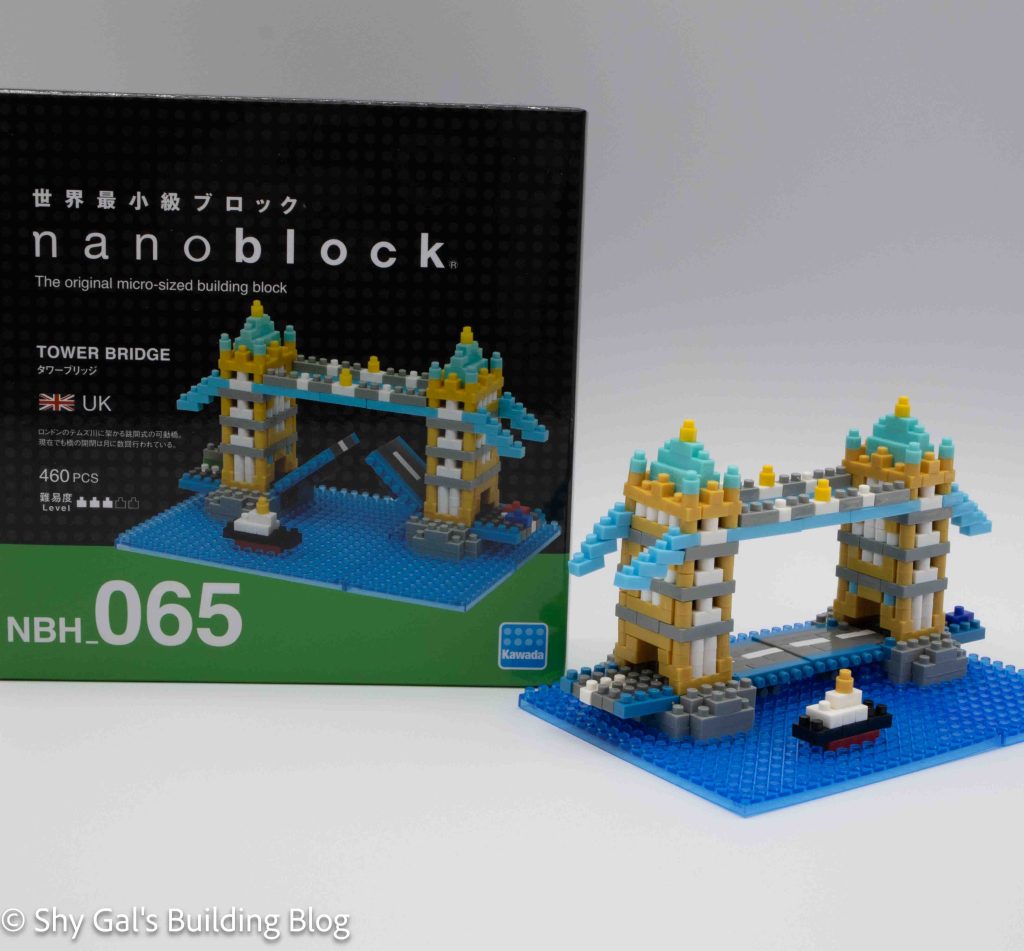
This post is a review of the nanoblock Tower Bridge build. Tower Bridge is part of the nanoblock Sights to See collection. Wondering what else is part of the Sights to See collection? Click here for a list.
Number: NBH_065
Country: UK
Number of Pieces: 460
Difficulty Rating: 3/5
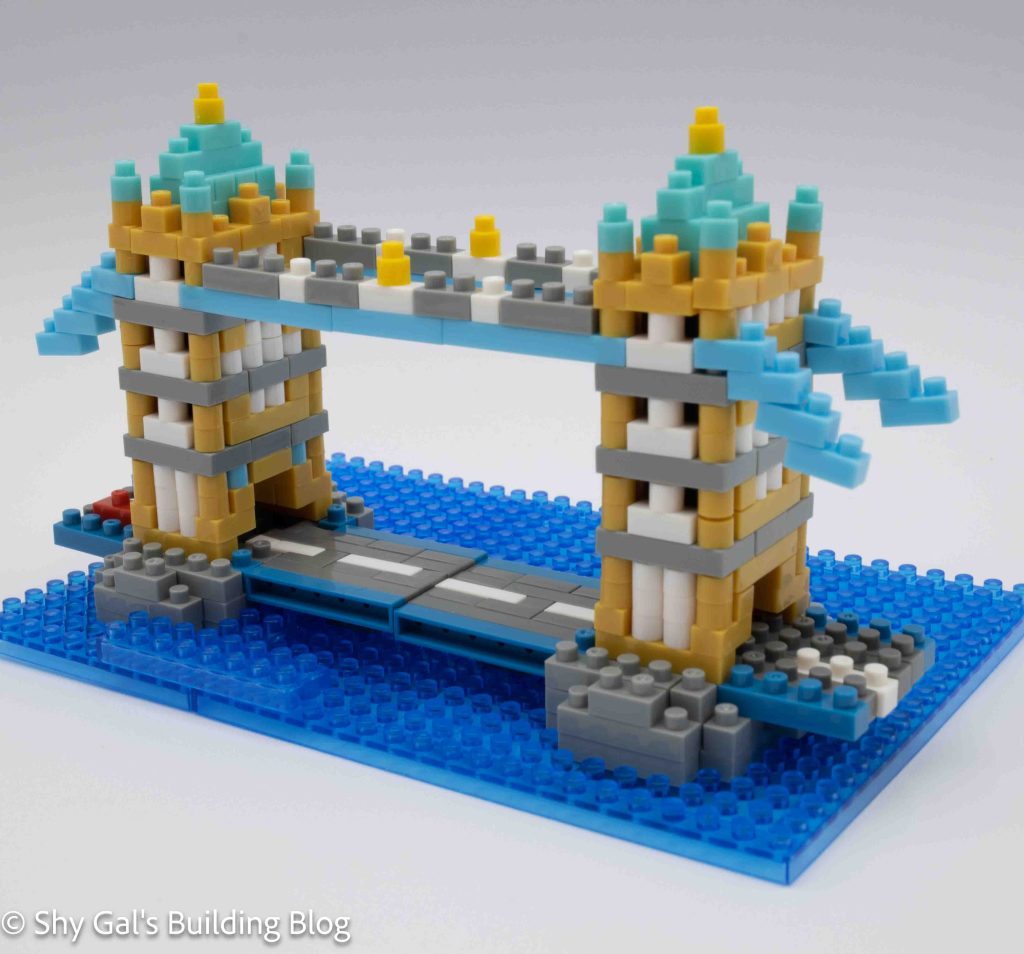
Tower Bridge is one of the most recognizable sights in London. You can see it from the Tower of London.
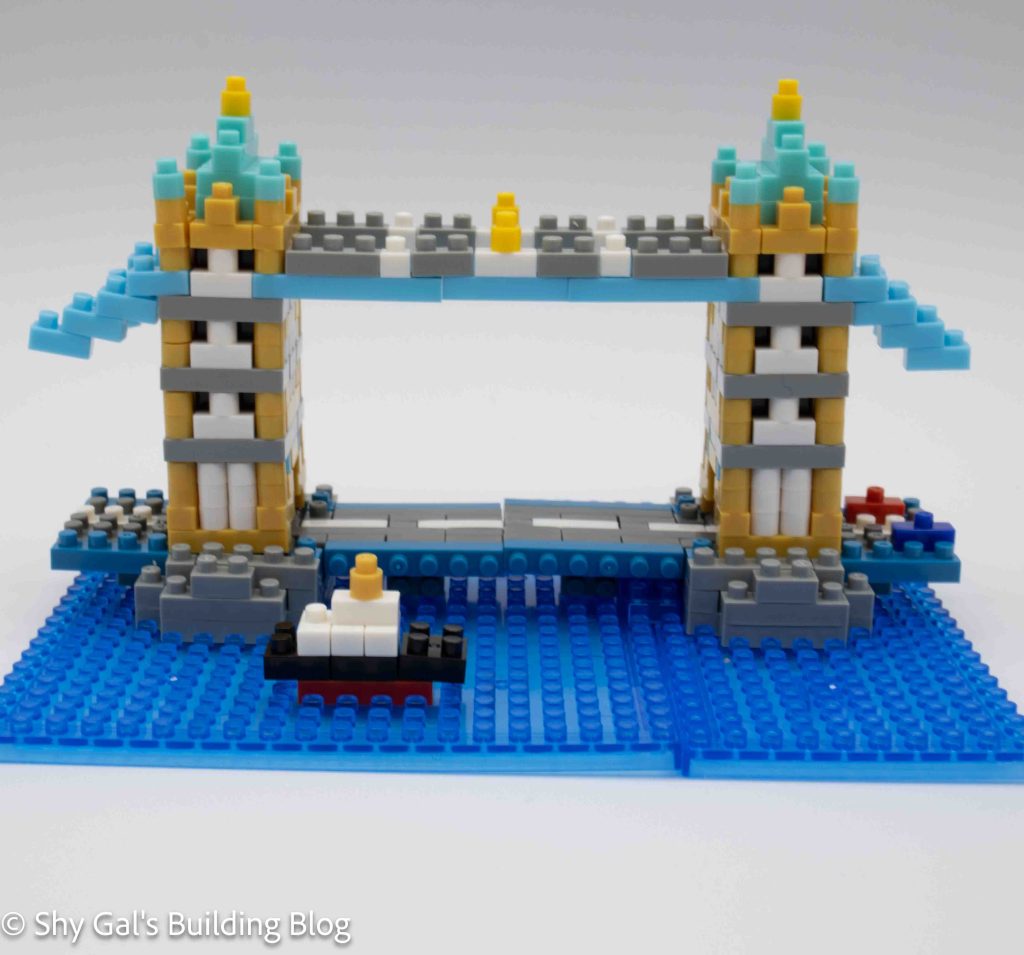
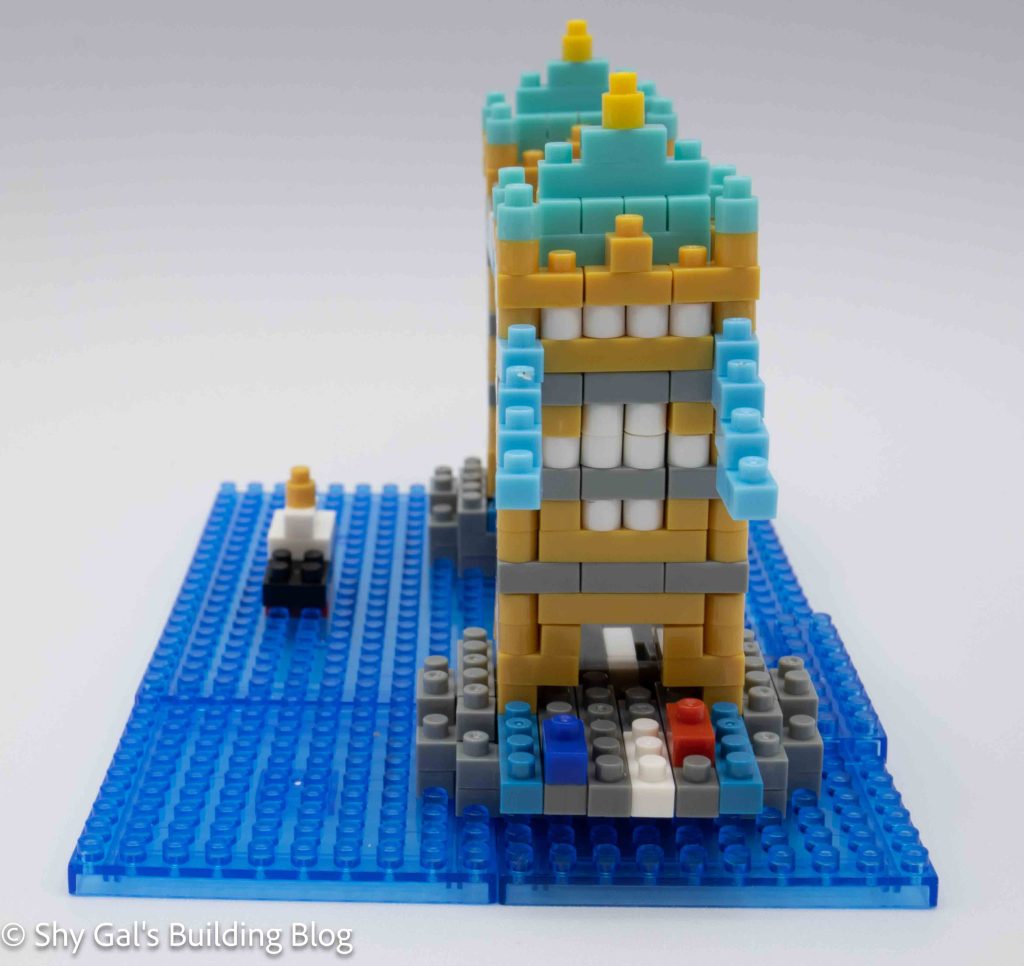
Tower Bridge is built by combining 1 large and 2 small base plates to create the total baseplate. The first few steps are very straightforward and create where the bridge meets the water.
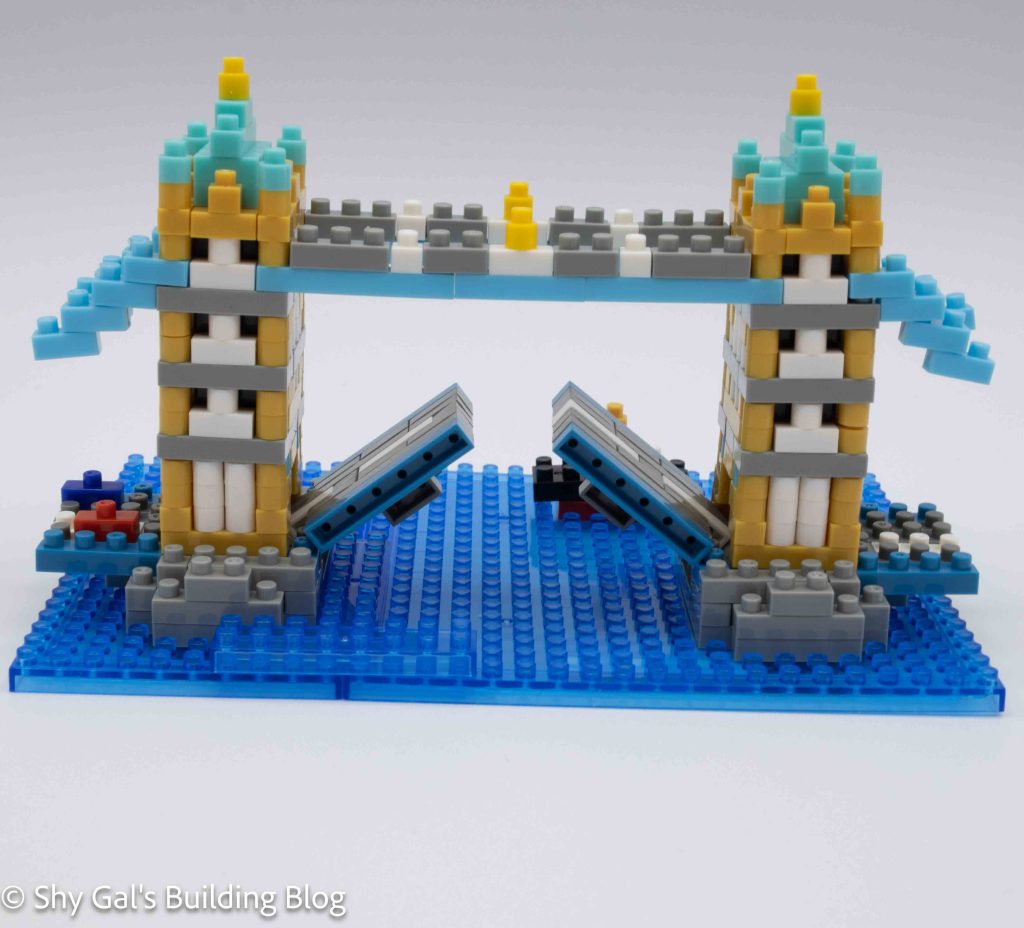
Next, you build the road that makes up the actual draw bridge. Building the segments of the road is straightforward. I really like how you set the bridge parts on the side to create the ability to move the draw bridge.
Next, you build the towers on each side of the draw bridge. This took a while because there are so many 1×1 pieces, but it was clear where to put everything.
The build is finished off by connecting the 2 towers. This was a bit tricky to keep them straight because of how the banners are chained.
Things I liked:
Overall it is highly recognizable, and I like the amount of detail and coloring in the build
Things I didn’t like:
The banner connecting the 2 towers was difficult to get in place straight
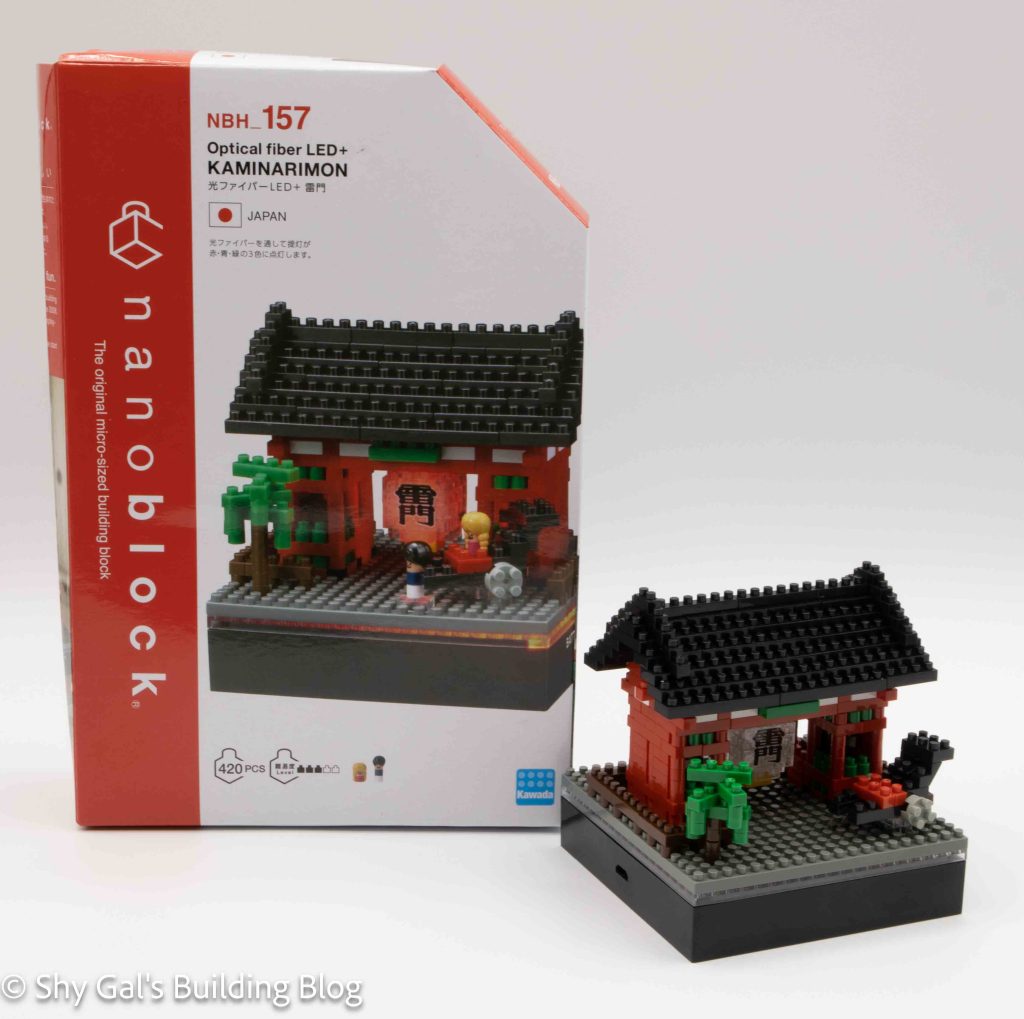
This post is a review of the nanoblock Optical Fiber LED+ Kaminarimon build. The Optical Fiber LED+ Kaminarimon is part of the nanoblock Sights to See series. Wondering what else is part of the Sights to See series? Click here for a list.
Number: NBH_157
Number of Pieces: 420
Difficulty Rating: 3/5
I picked up this version of Kaminarimon because it came with an LED plate. The plate is NB-026, and I will write a separate review for the plate. I liked that the lantern in the model would light up, and I wanted to see exactly how that would work in a build.
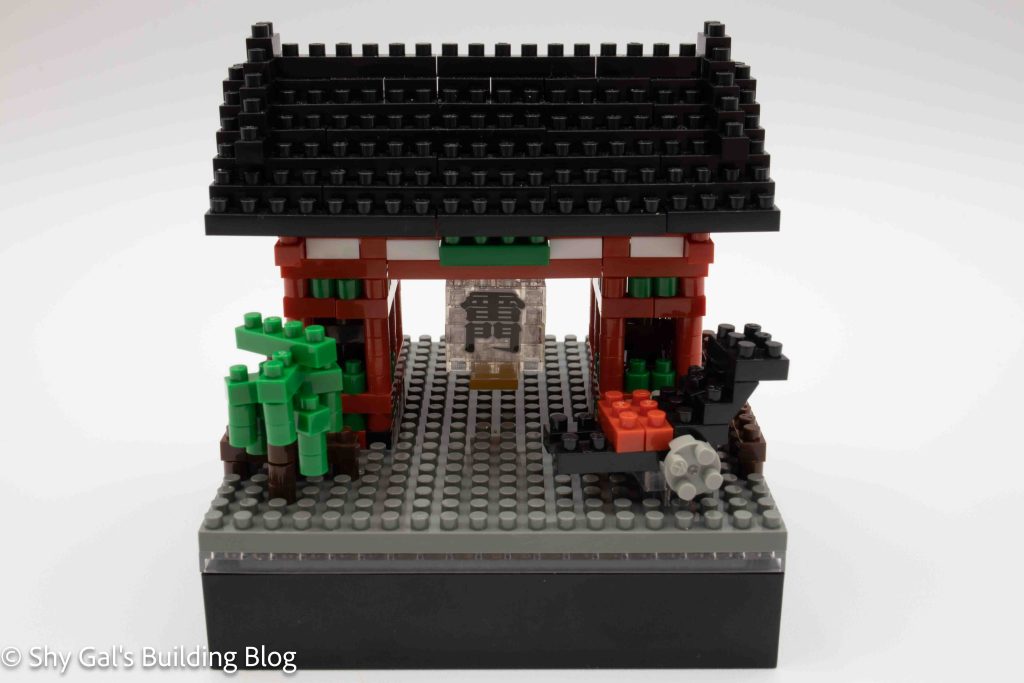
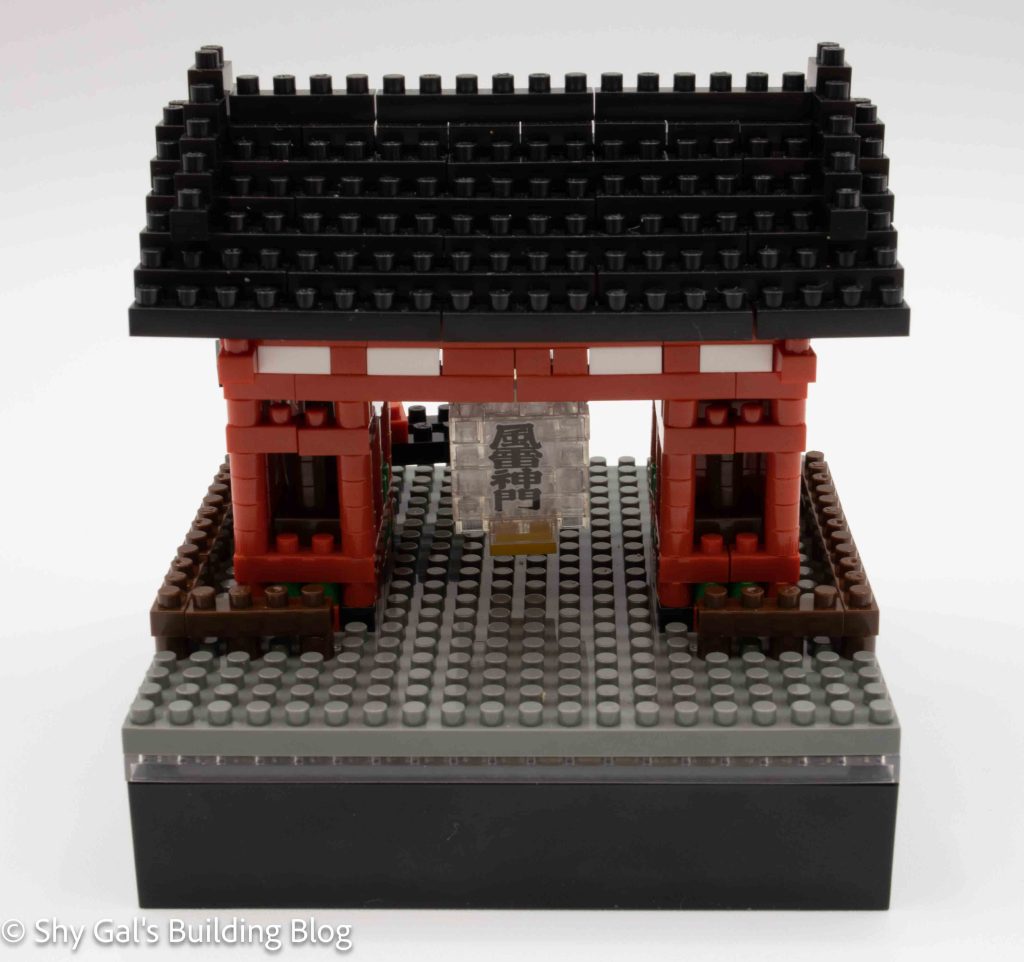
The build began a bit different than the build I had done before because the first thing you need to do is line the hole in the base plate up with the indent in the LED plate. After that, you build a usual build by adding to the build to create the outline of the building. After a few steps, you begin the tricky balancing act of building around the pole. The pole is inserted into the hole in the base and goes up through one side of the gate. You create the rest of the structure around the pole from that point on.
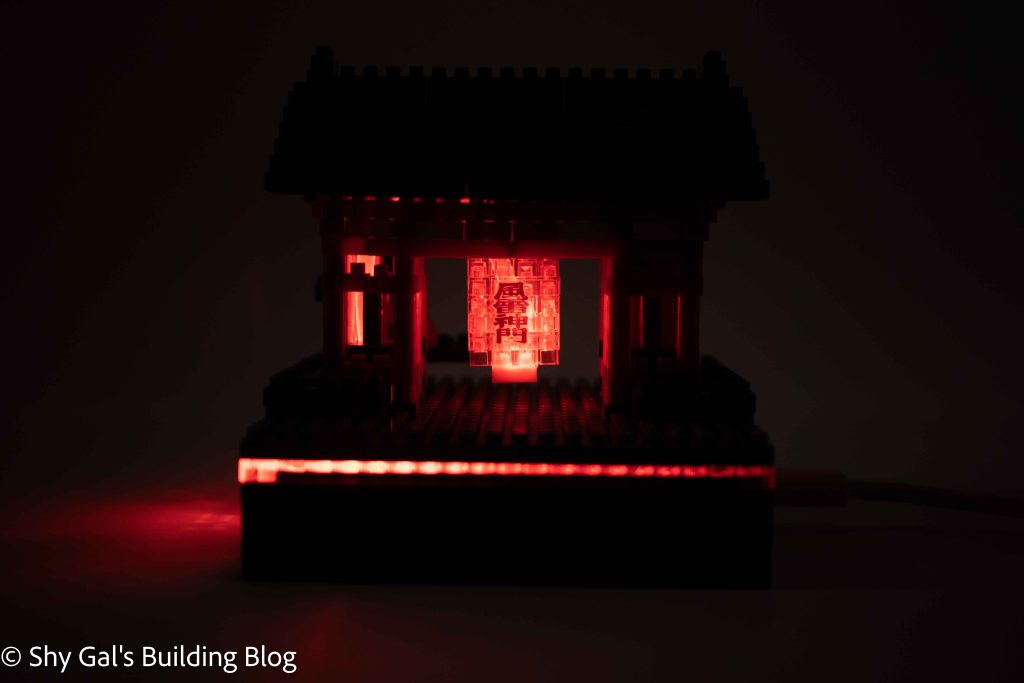
Then you build the lantern in the middle of the gate; the build for the lantern is straightforward. In a rare fashion for me, I put the stickers on the lanturn. (Click here to read why I don’t normally use the nanoblock stickers). I used the stickers here because I knew that I would be able to move the lantern in one piece if I did need to take the build apart to move. Getting the lantern to hold on was tricky because it was only held on by 1 stud. Once you have the center Lantern hanging, you take the pole and insert it into the lantern. For me, This was the most challenging part because the pole kept breaking loose or popping off the bricks meant to hold it in place. At this point, you can turn on the LED plate and see how the lantern lights up. I thought this was really cool.
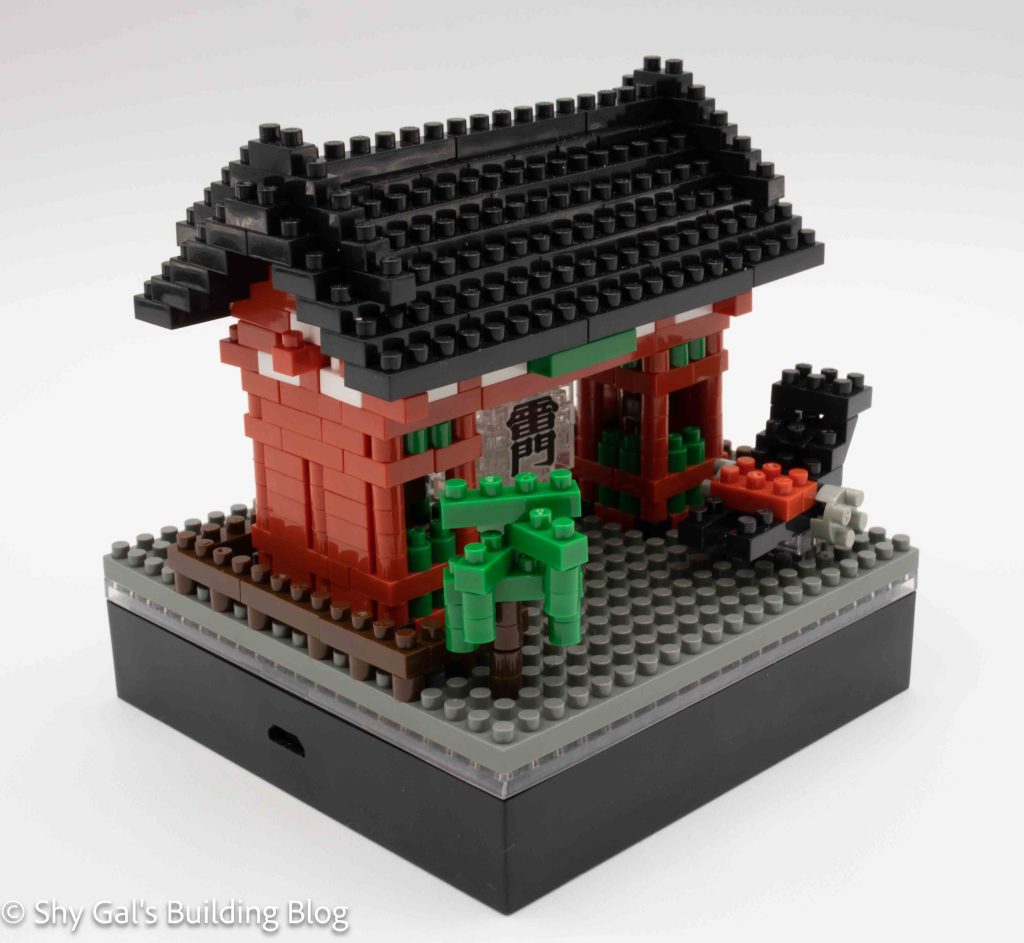
The last significant step of the build is to put the roof together. After fighting with the pole and the lantern, the roof was simple. It was tricky to attach the roof since it was all in one piece, but I managed to get it on without anything breaking. After that, I put the tree and carriage together. I did not add the little people that came with the build. I personally don’t think that the people really go with the rest of the build in terms of size and detail.
Overall I was delighted with how Kaminarimon turned out. I really like what the lighting adds to the build, especially when the light is set to red.
Things I liked:
The additional detail adds the light to the lantern
Things I didn’t like:
Fighting with the pole. Maybe things would have gone better if I had let it rest overnight with a weight on it to bend it.
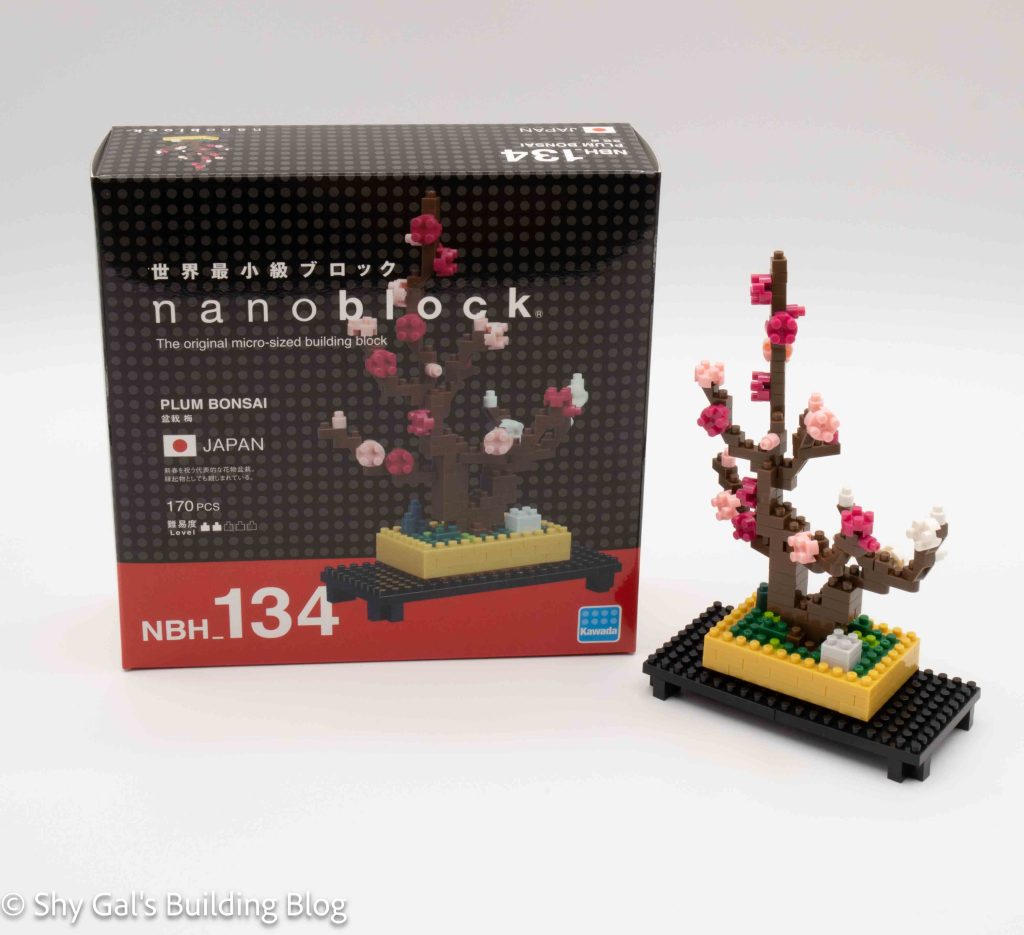
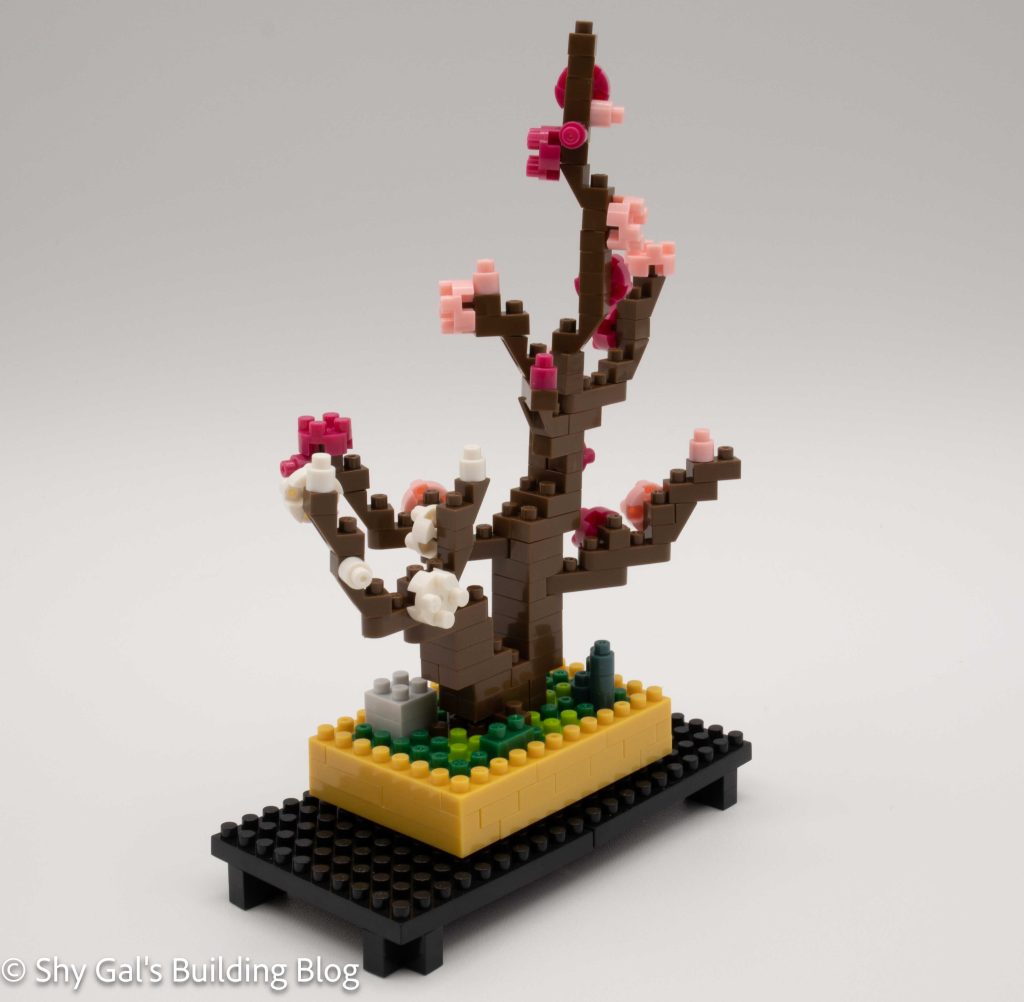
This post is a review of the nanoblock Plum Bonsai build. The Plum Bonsai is part of the nanoblock Sights to See series. Wondering what else is part of the Sights to See series? Click here for a list.
Number: NBH_134
Number of Pieces: 170
Difficulty Rating: 2/5
The Plum Bonsai is one of several smaller Bosai builds nanoblock has made. I really like the shades of pink and white used to create the flowers on the tree. I have seen flowering plums bloom before they have leaves, so there is no green in this build.
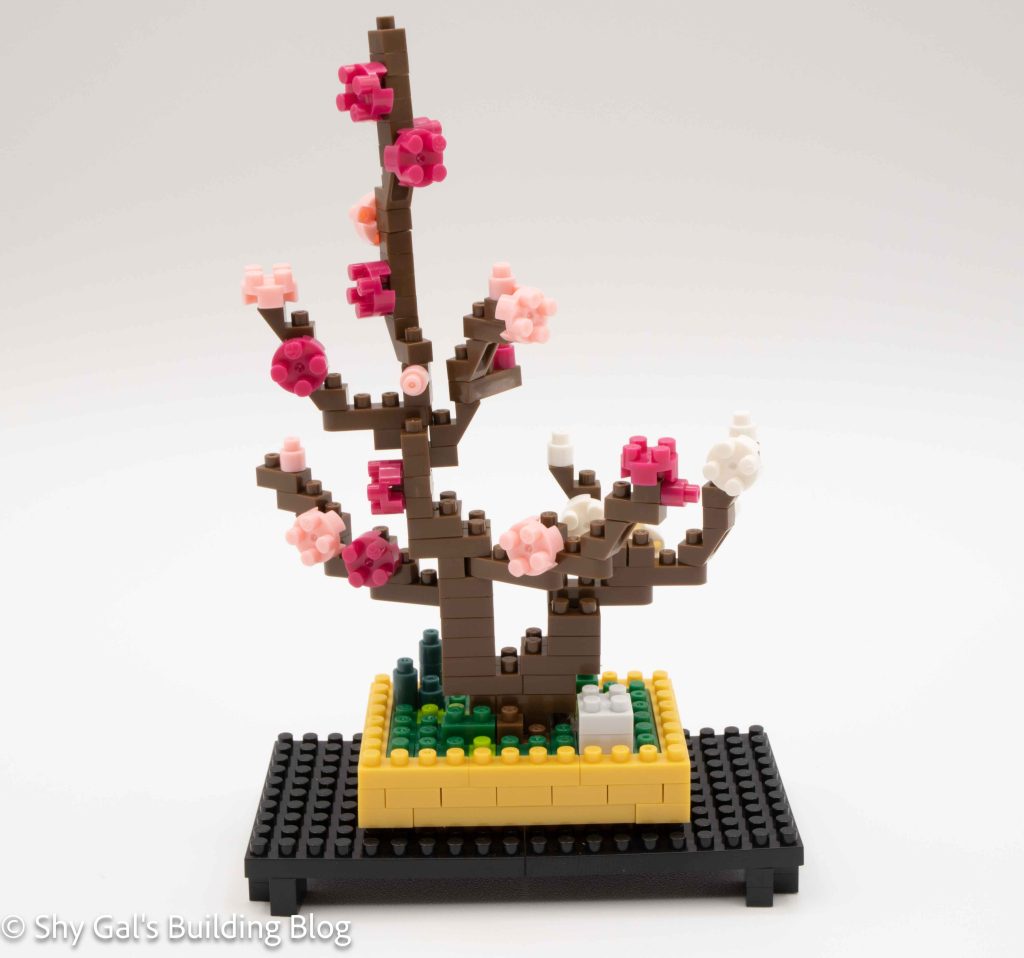
I’m not sure I agree with this build only being a 2/5. Getting the branches lined up can be quite challenging, so I’m unsure why it is only a 2. You begin by creating the table base and creating the planter for the build. Both of these steps are really straightforward and clear. Once you build the base, I recommend skipping to step 10 and adding the feet to the table, so you don’t need to flip the build over once the fragile tree is built.
The central part of this build is creating the tree. In general, the directions are very clear about where exactly to put each brick in the build. However, to keep the branches delicate, you are generally chaining a 1×1 or a 1×2 onto another 1×1. This means in very few places can you push down really hard without popping off what you were building.
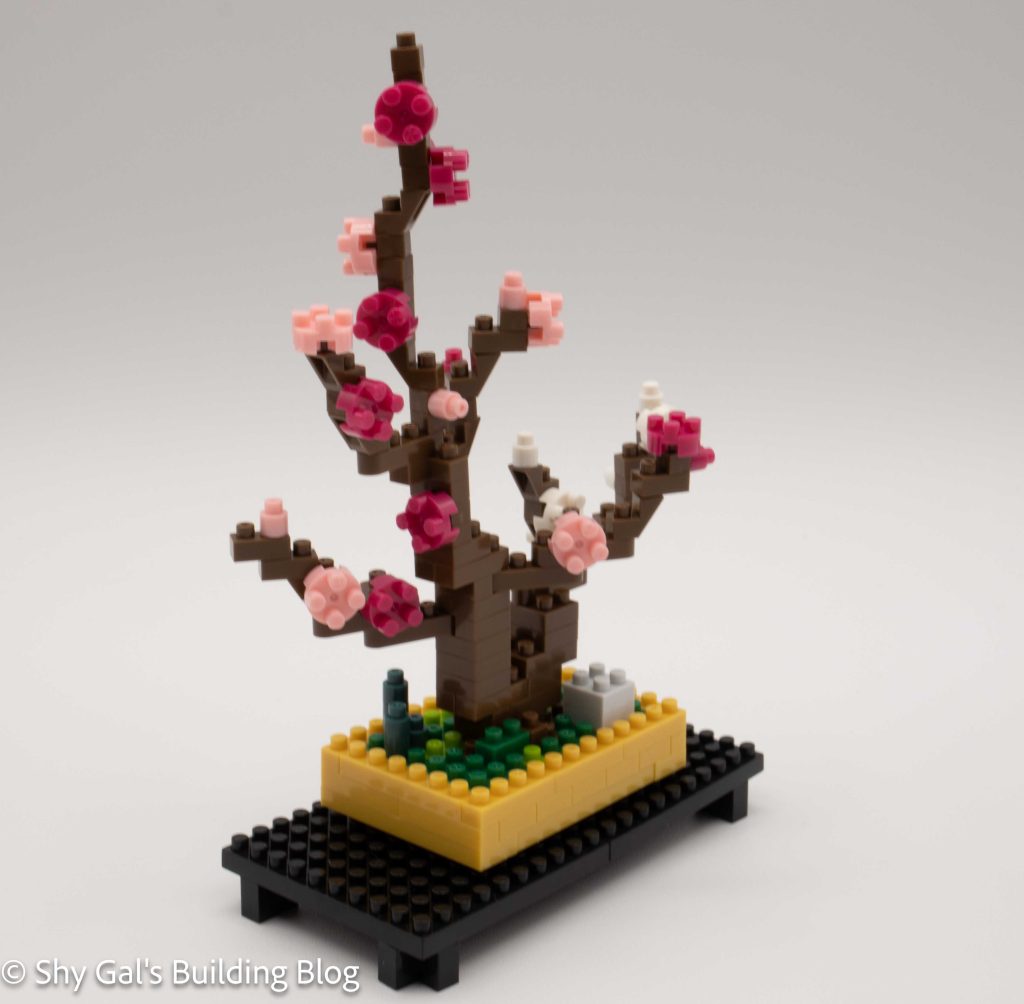
Overall I found this build very challenging for a level 2. I think it should have a level 3, at least. I really like how the different shades of pink give the variation that real flowers would have.
Things I liked:
How delicate the branches look when completed
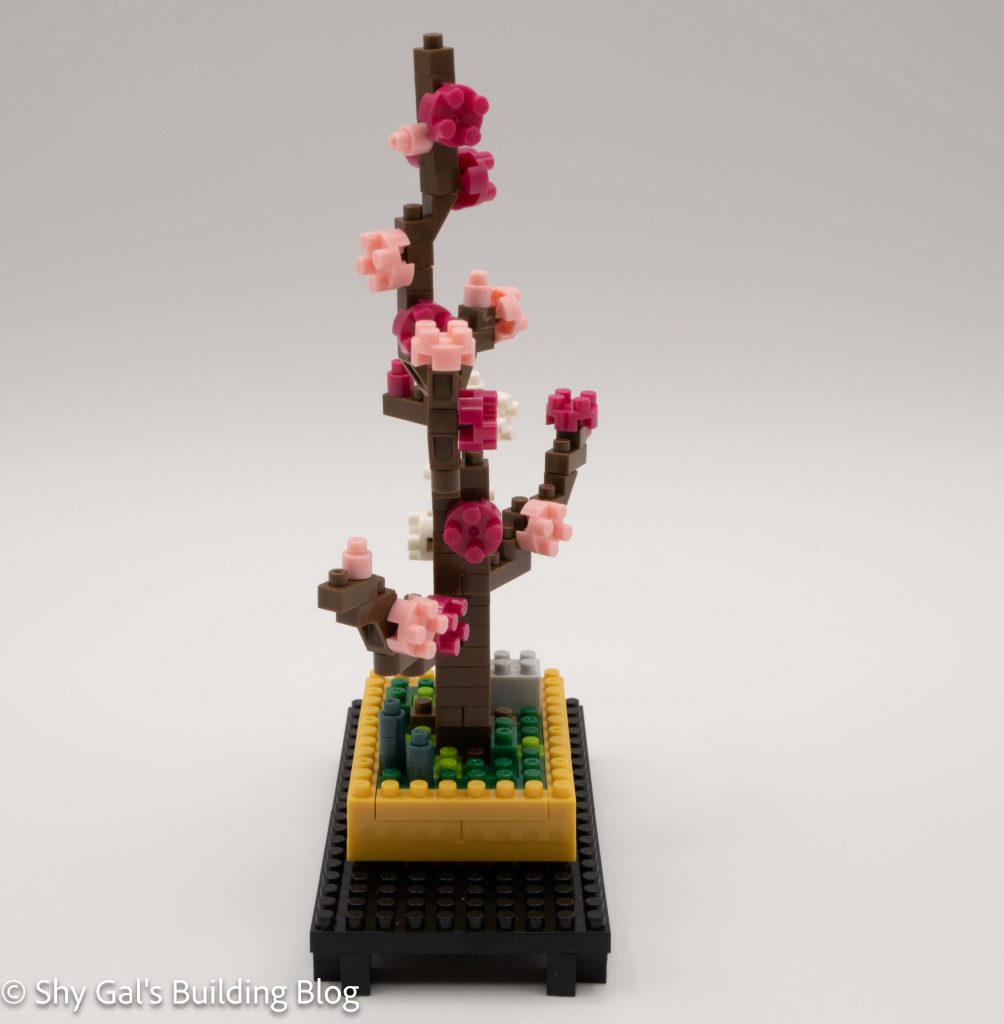
Things I didn’t like:
I had some problems when attaching branch sections