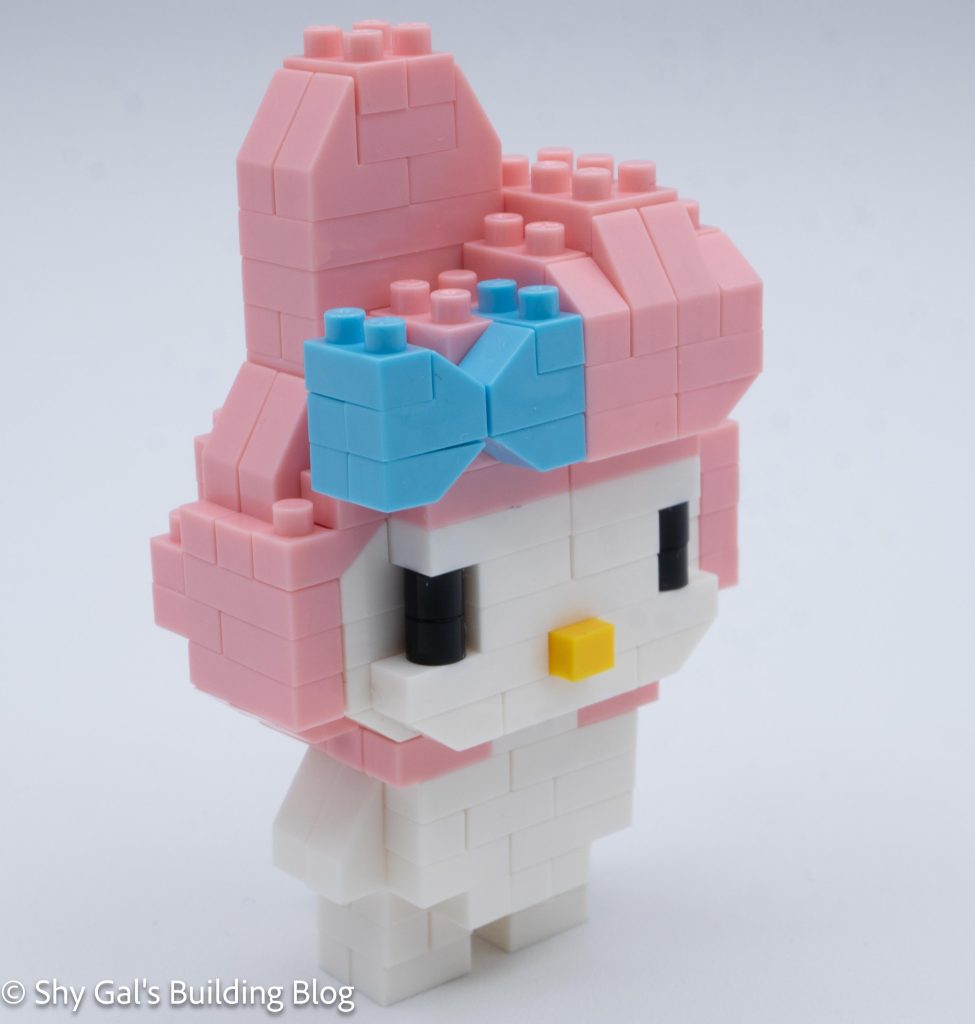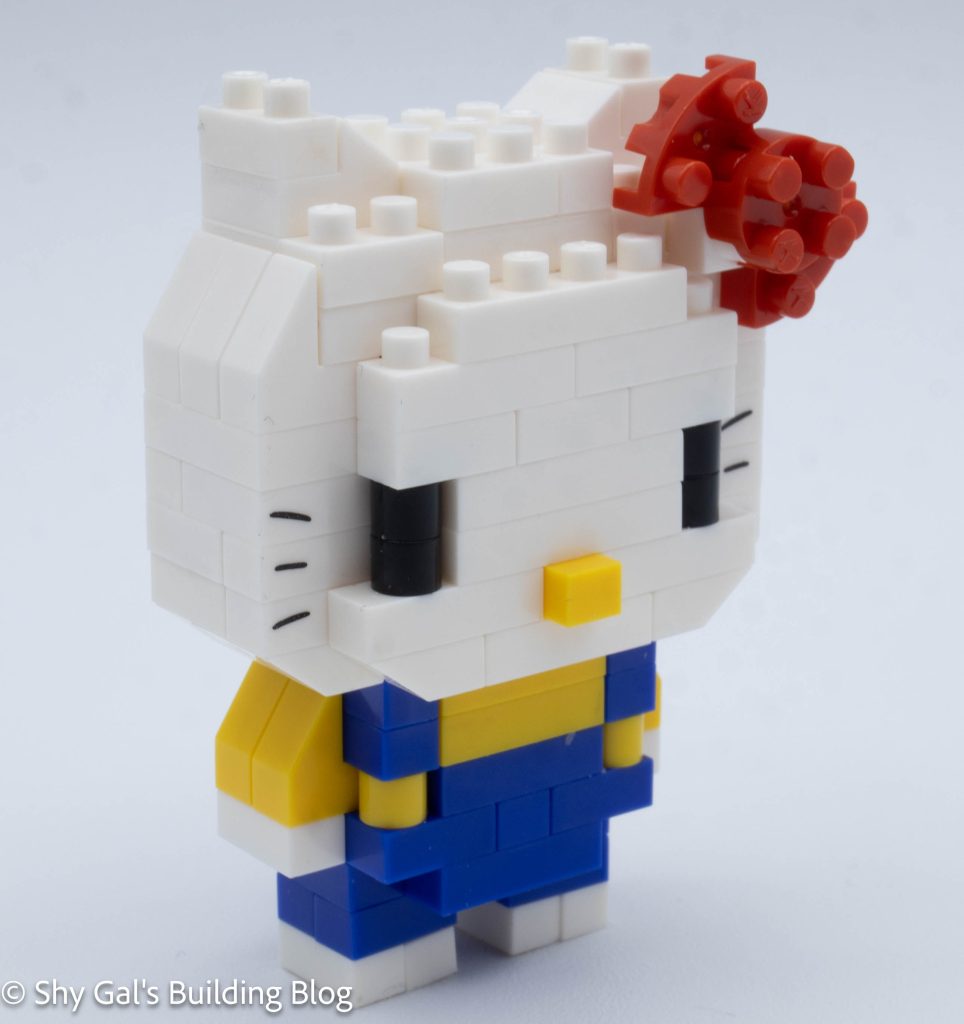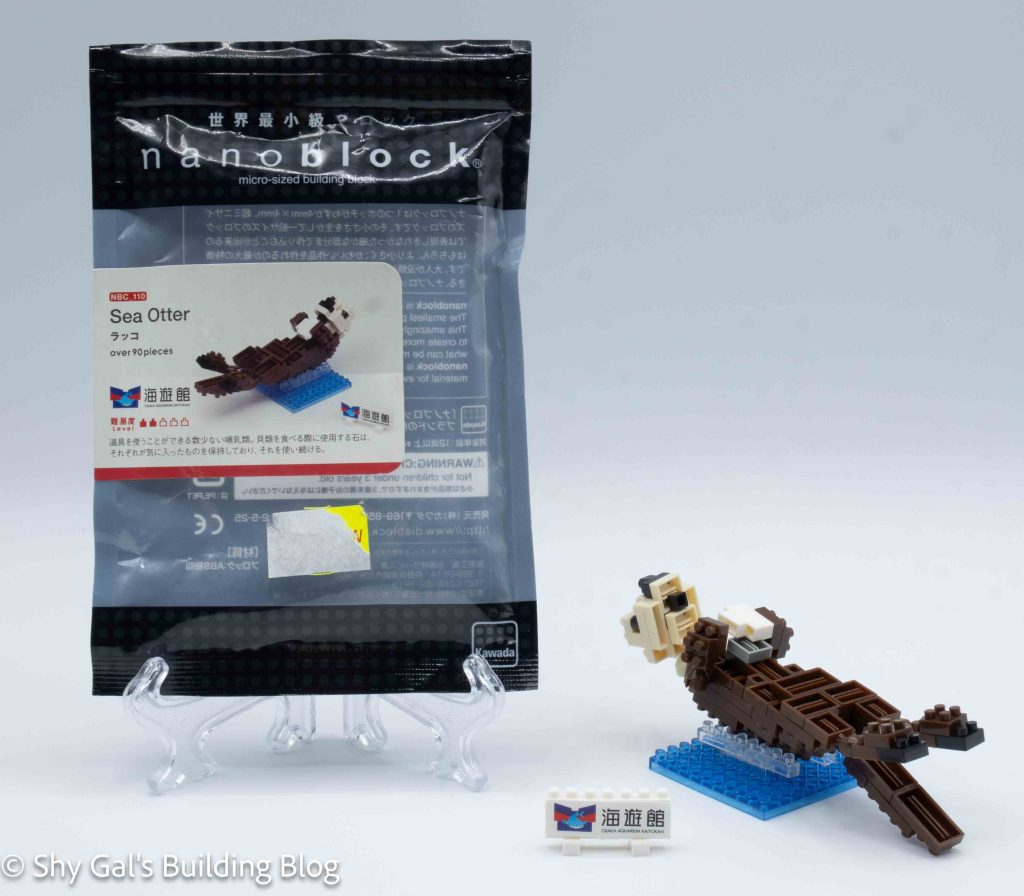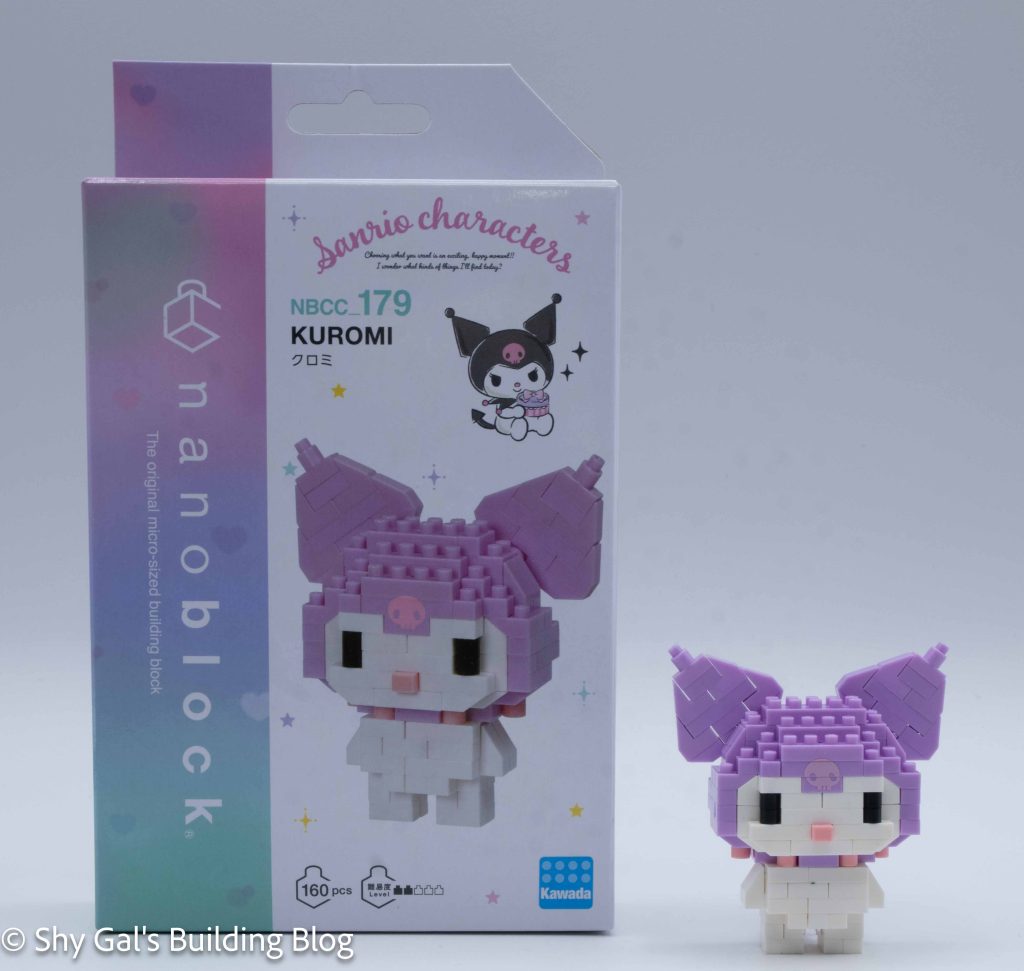
This post is a review of the nanoblock Kuromi build. Kuromi is part of the nanoblock Character collection. Wondering what else is part of the Character collection? Click here for a list.
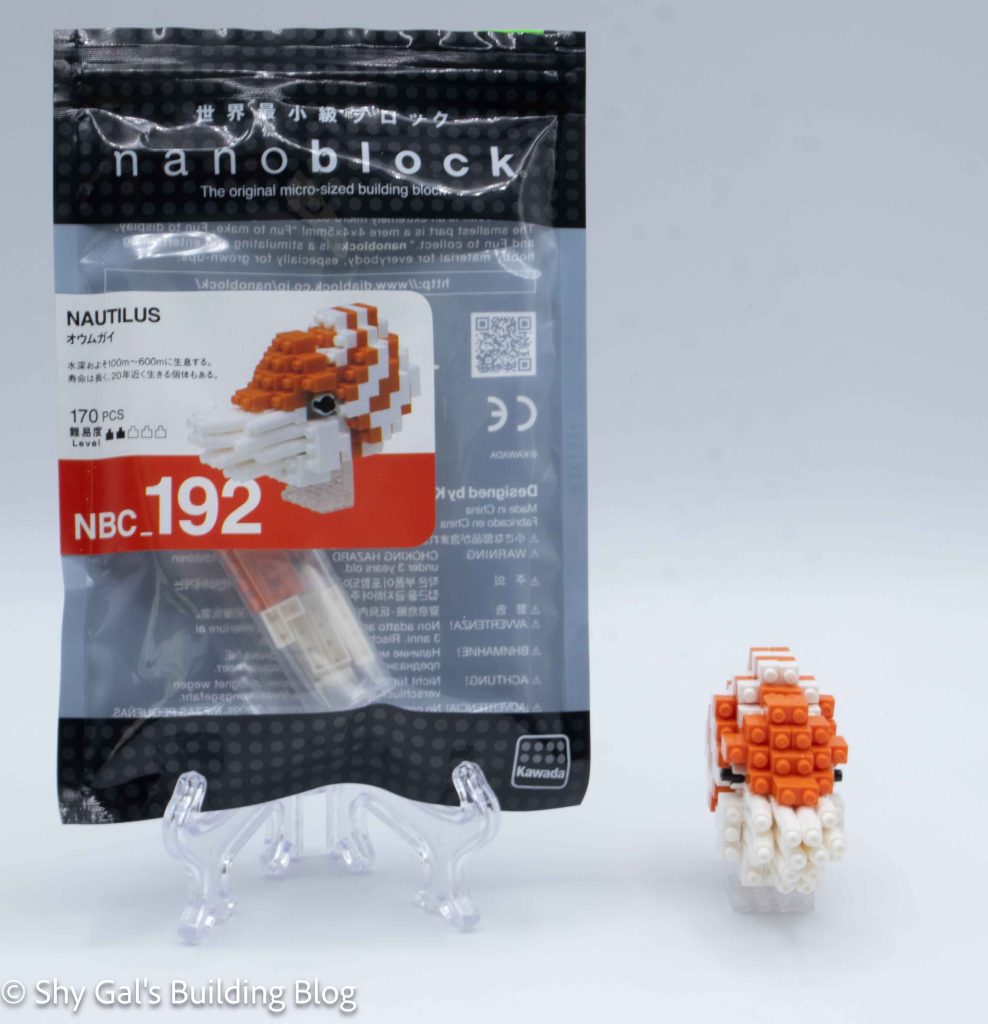
Number: NBCC_179
Number of Pieces: 160
Difficulty Rating: 2/5
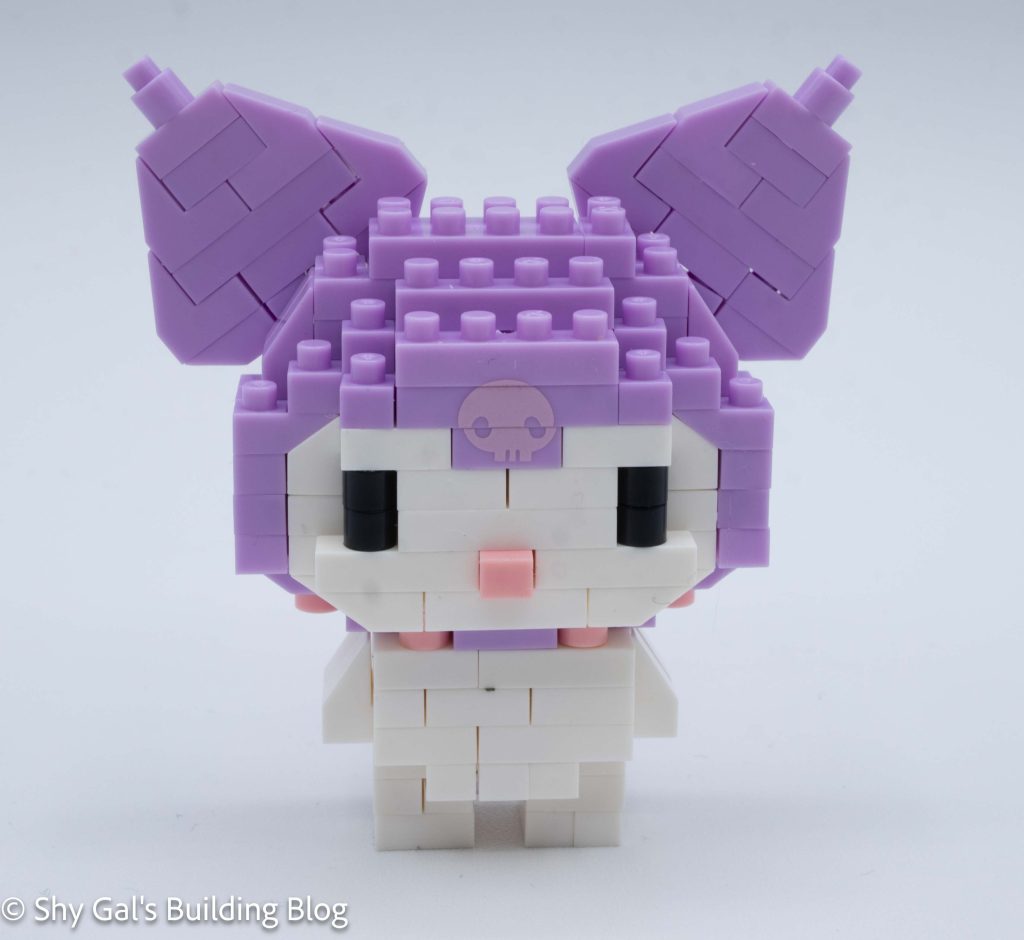
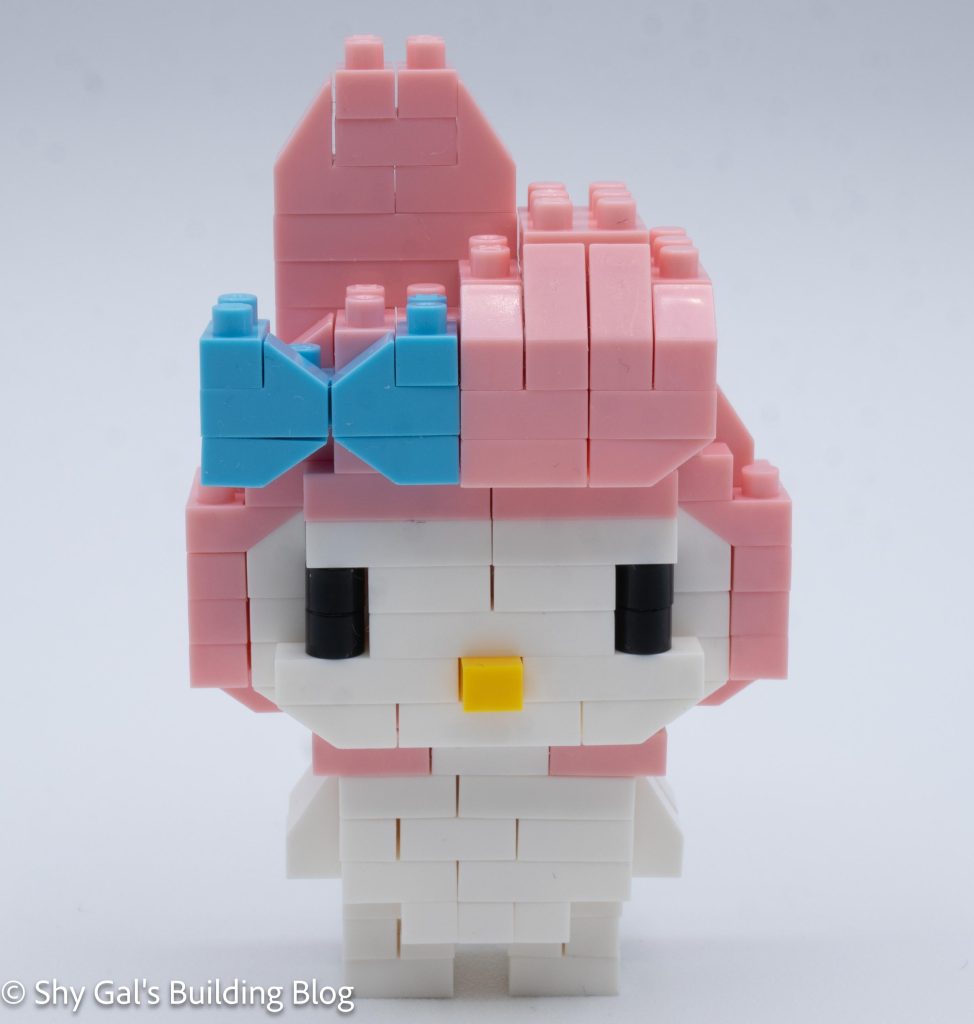
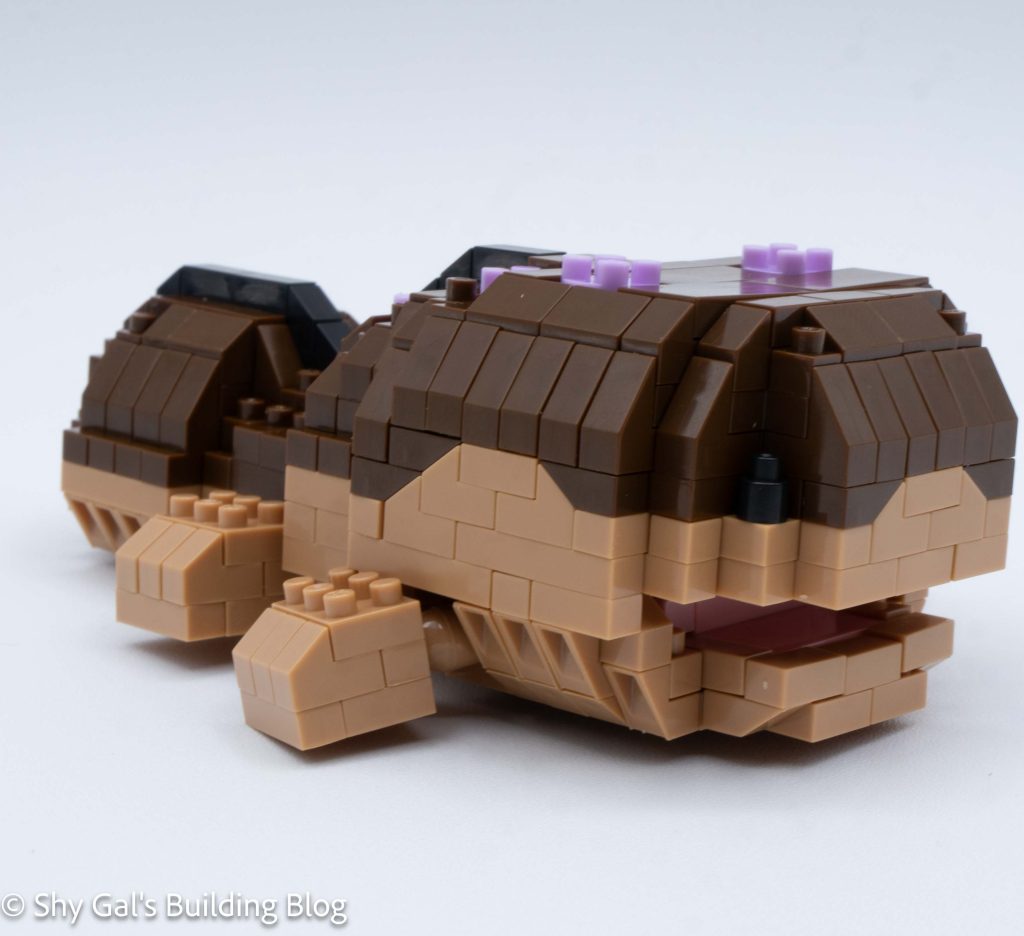
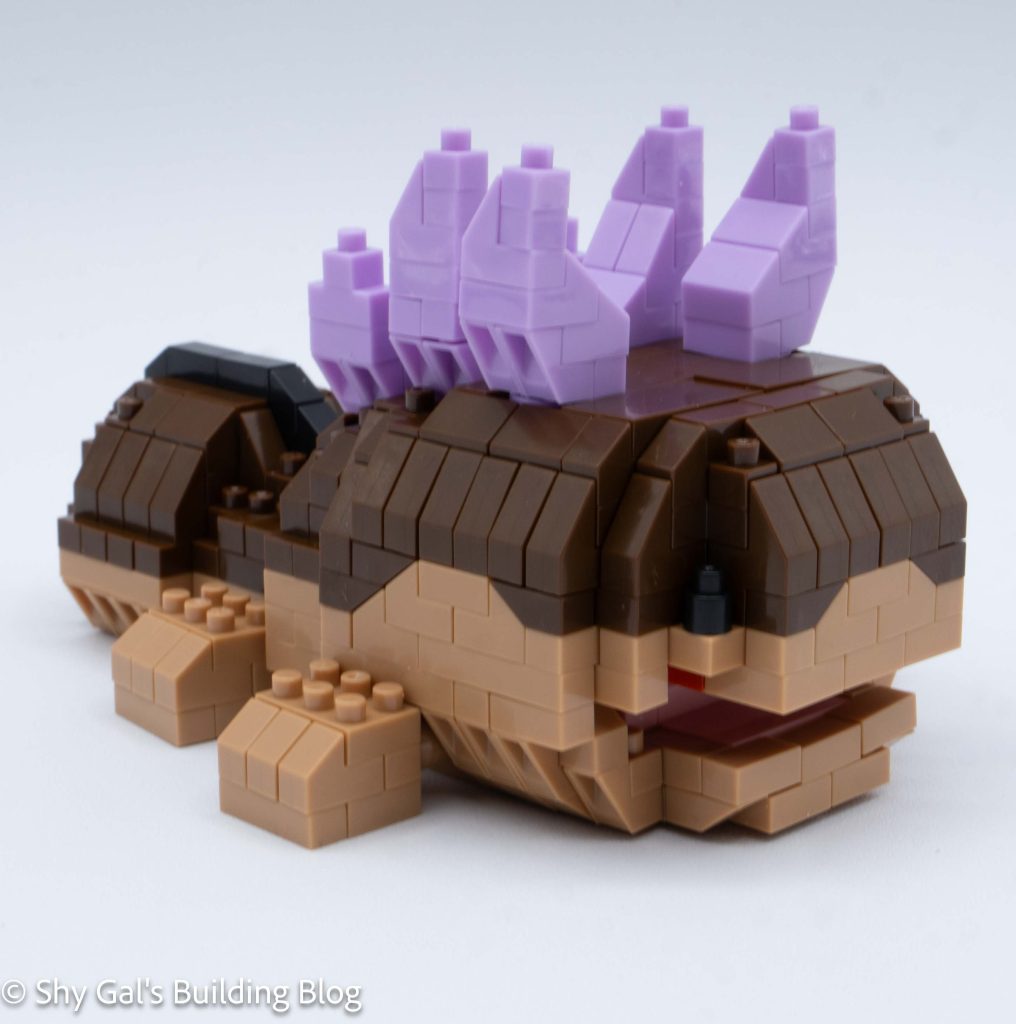
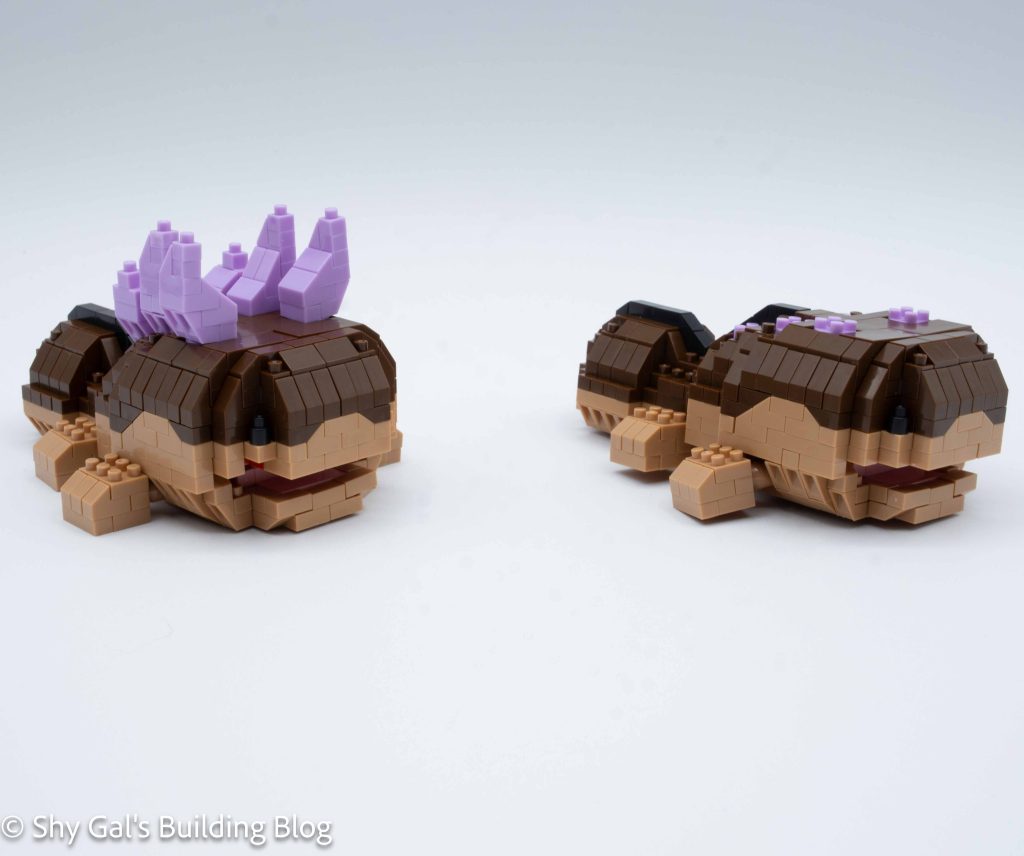
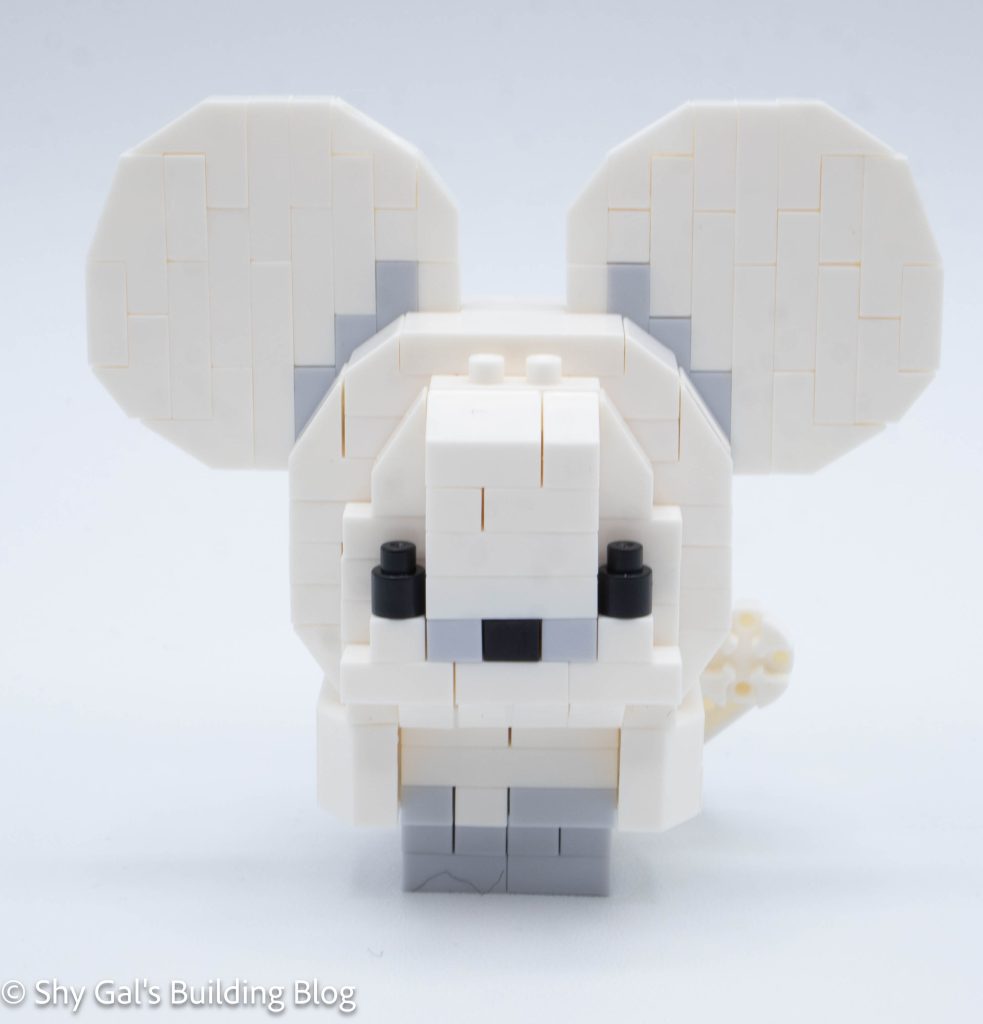
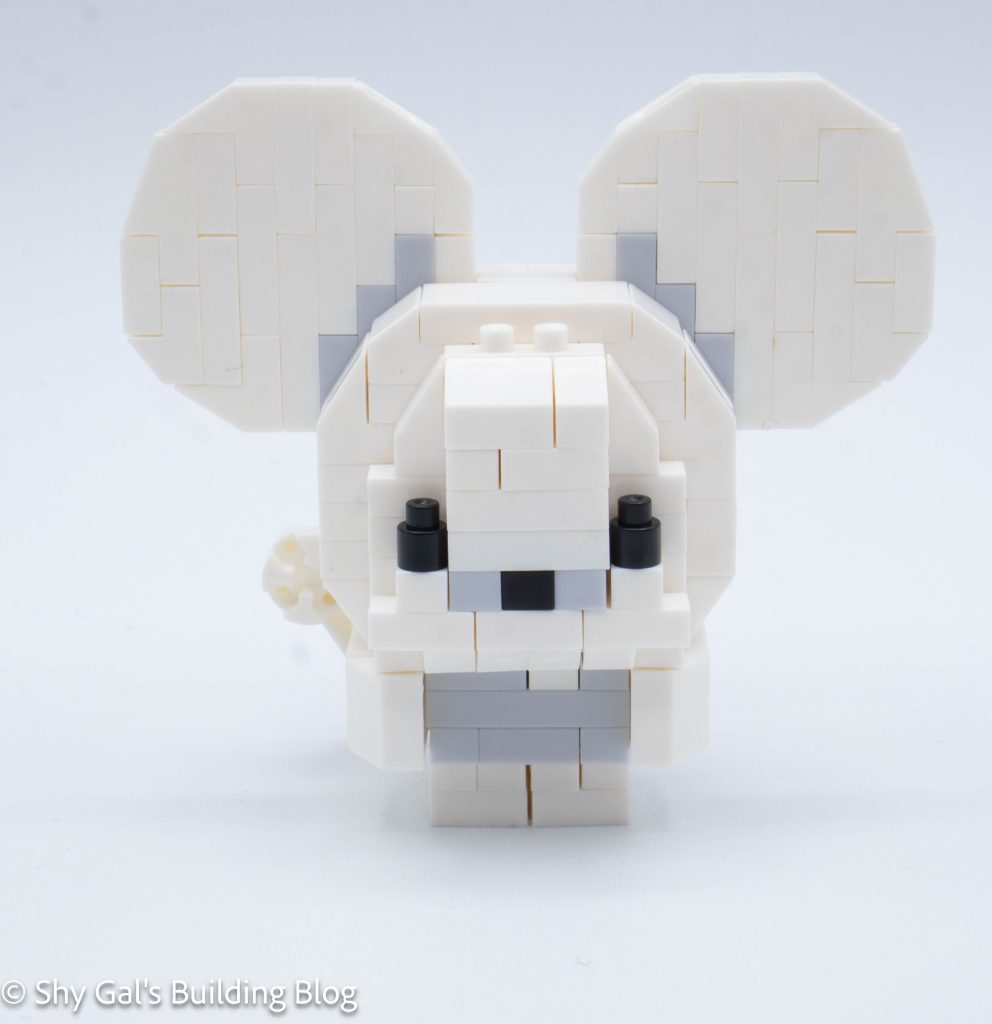
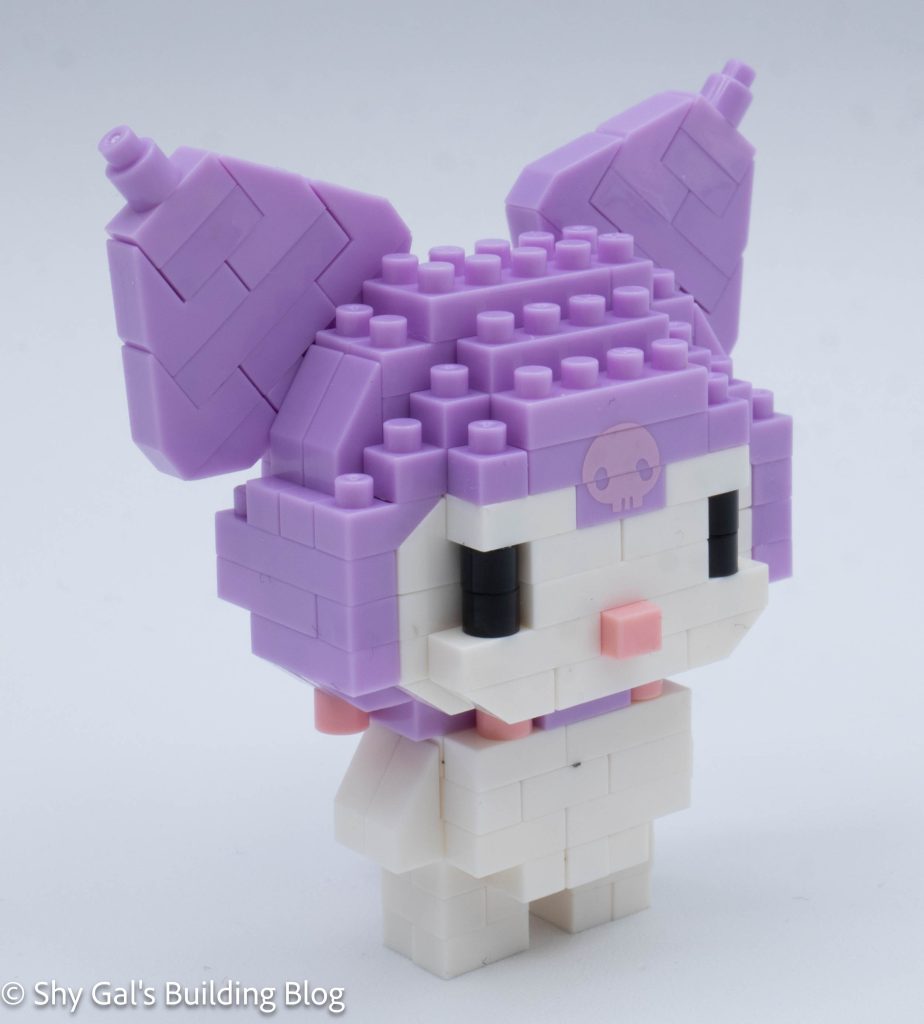
All of the details for Kuromi are in the head.
Kuromi begins with building the head. The first step creates the base of the head, and the next step locks everything into place. The rest of the top of the head goes up in straightforward layers.
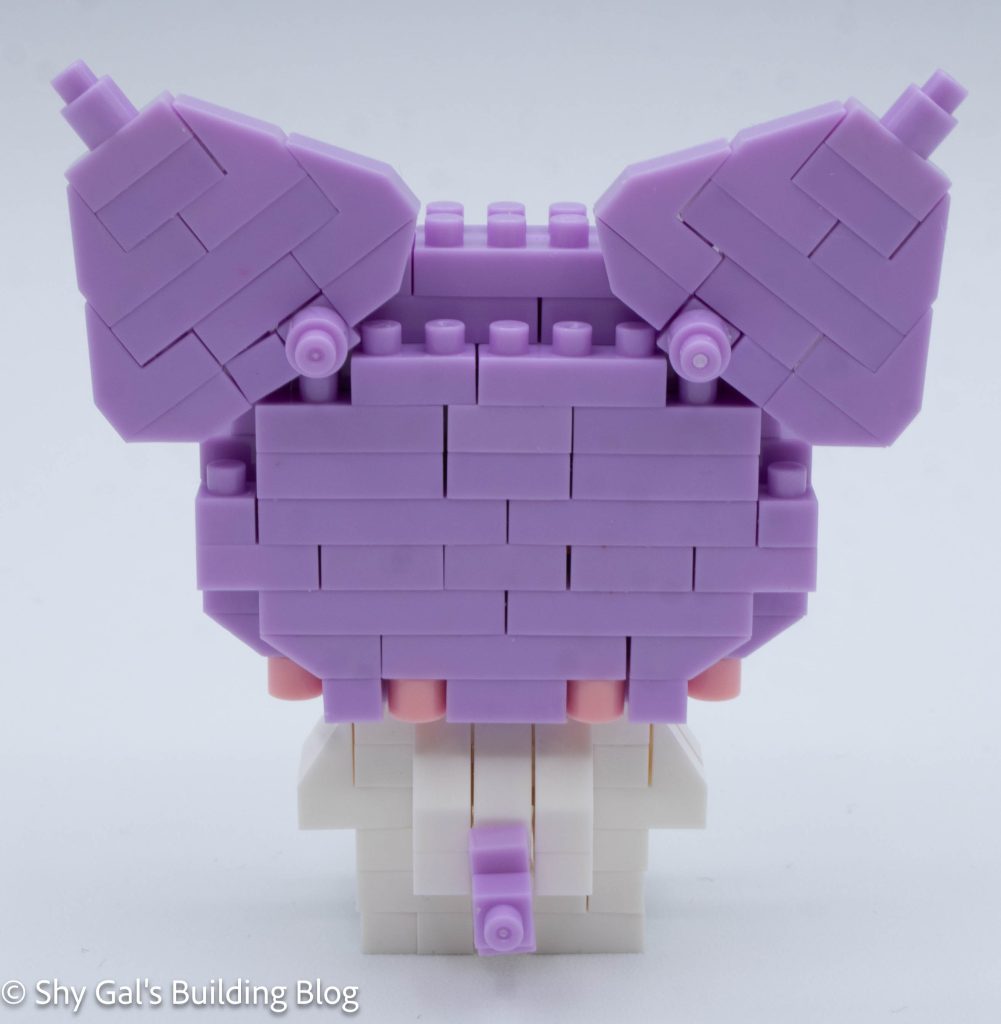
Then, the head is flipped over, and a ton of detail is added. First, the nose is added. Then, the head is rounded out. Then, the details of Kuromi’s hood’s collar are added.
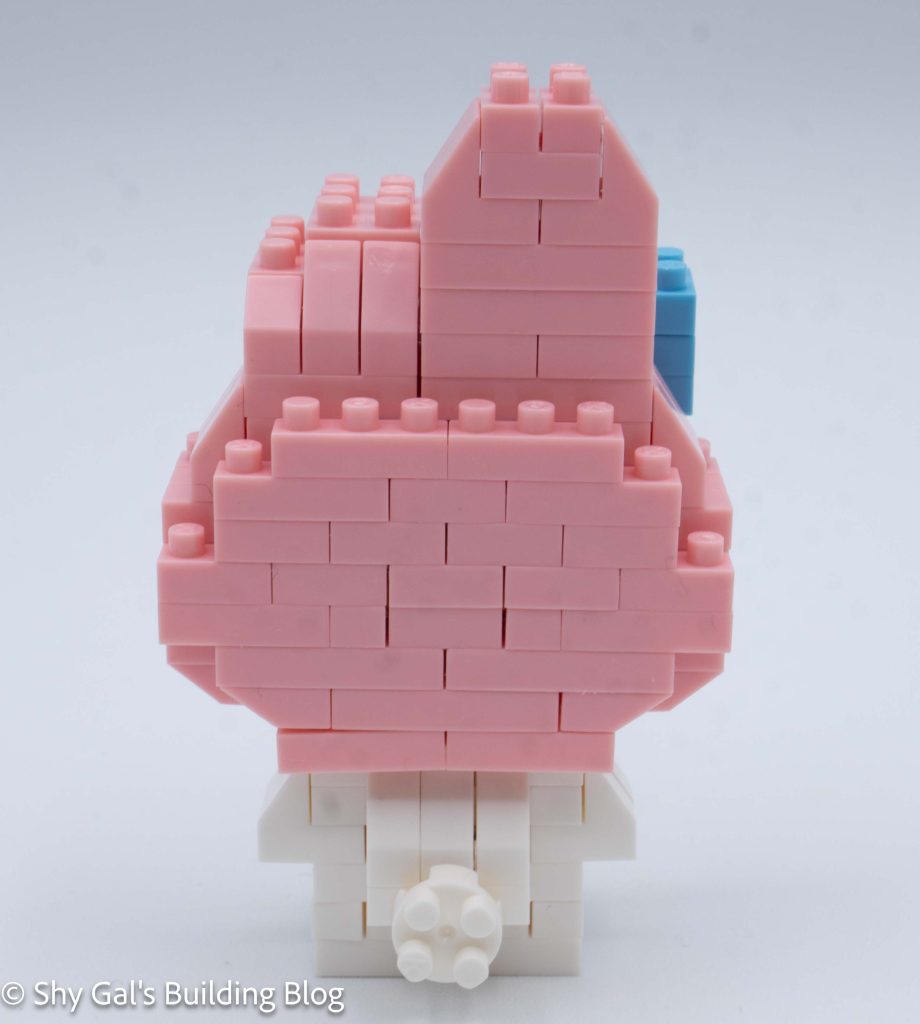
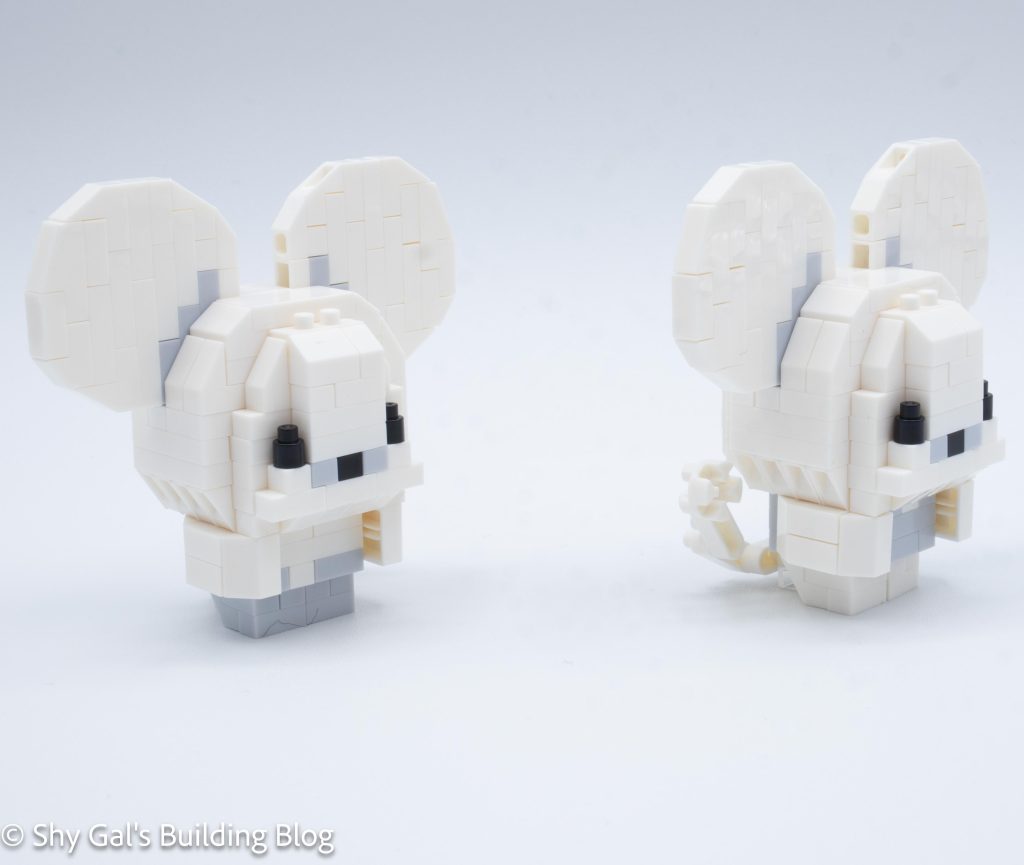
The next step is to build the body. Since there isn’t any detail, the steps are very straightforward.
Then, the head is attached to the body.
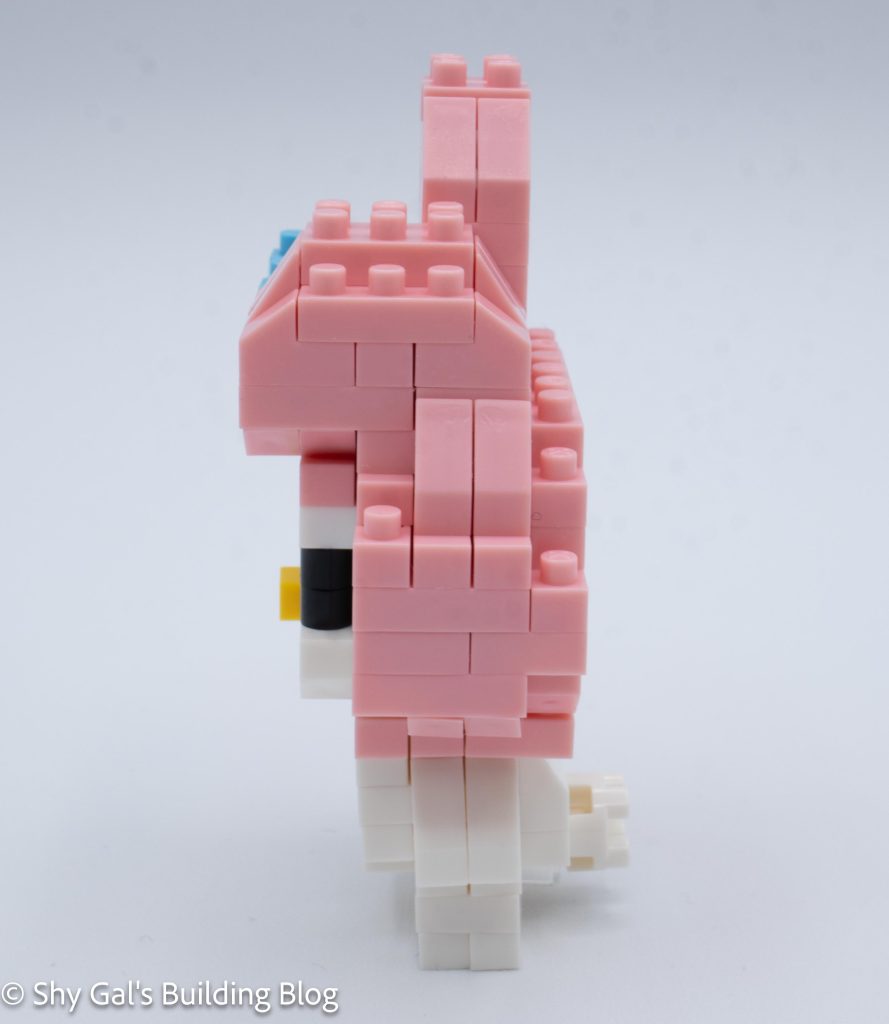
Next, the tail is added.
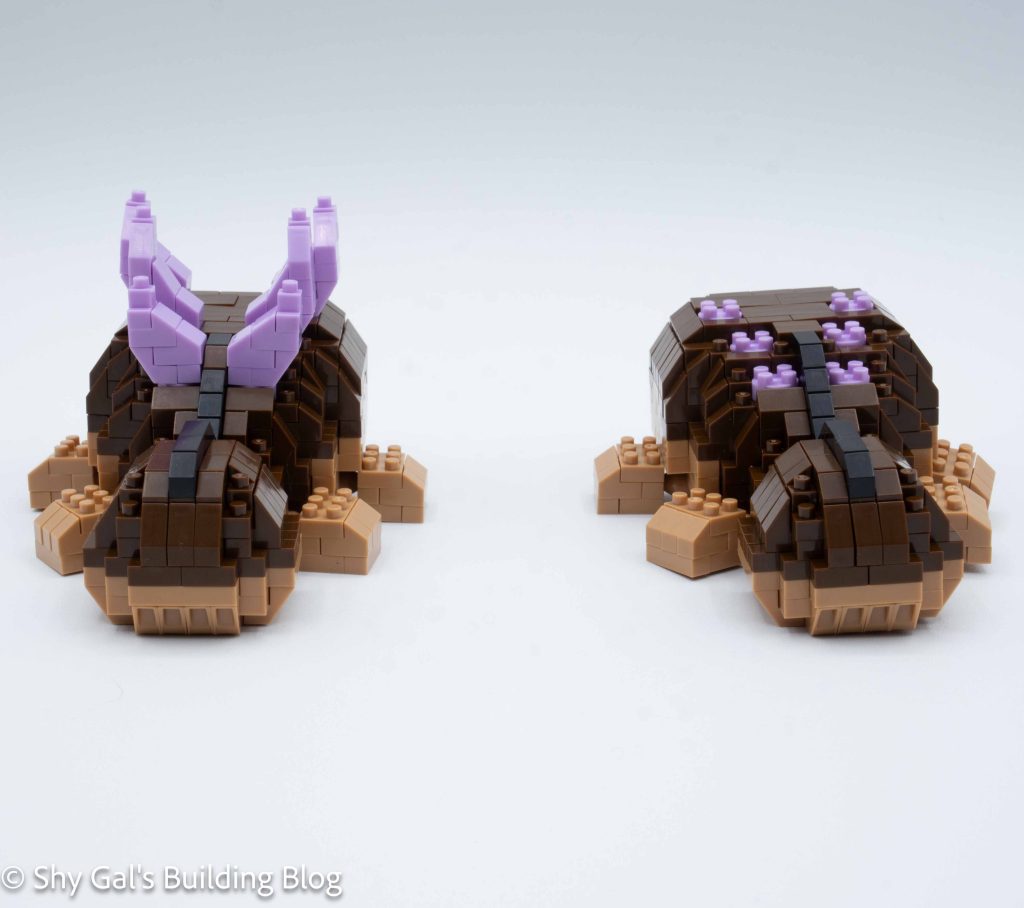
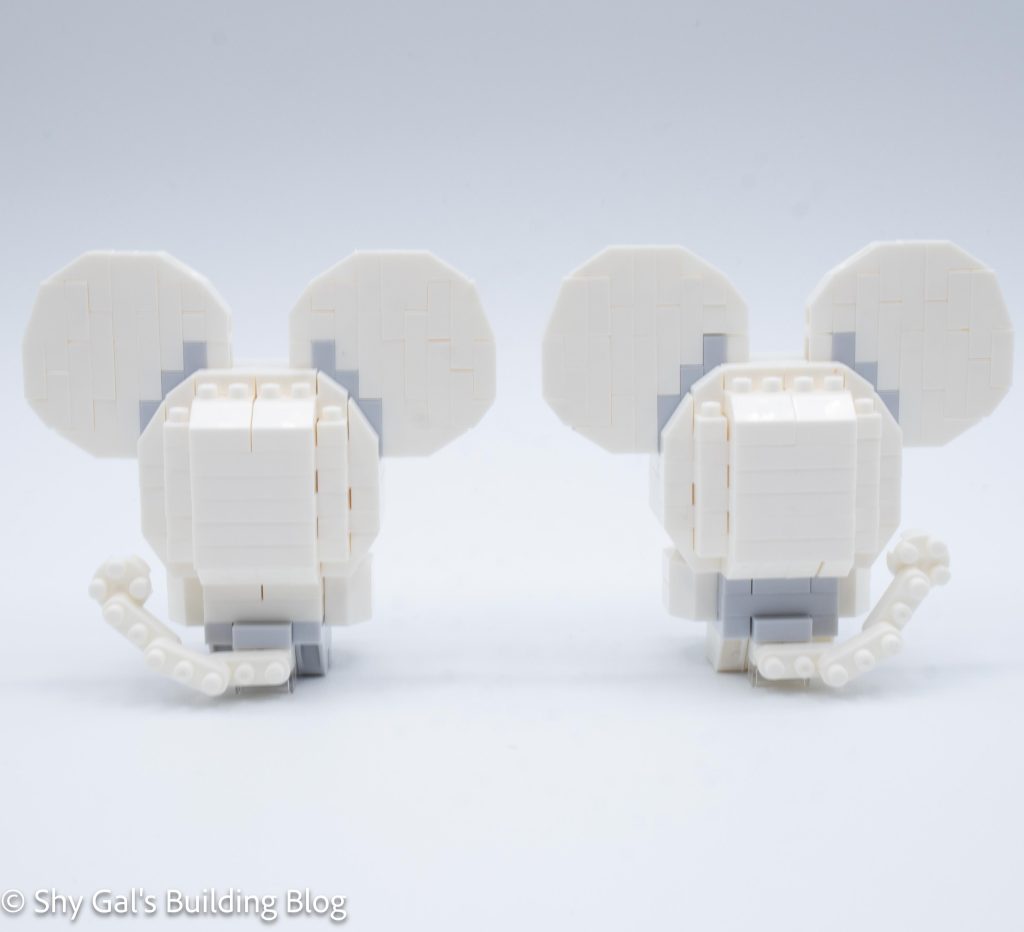
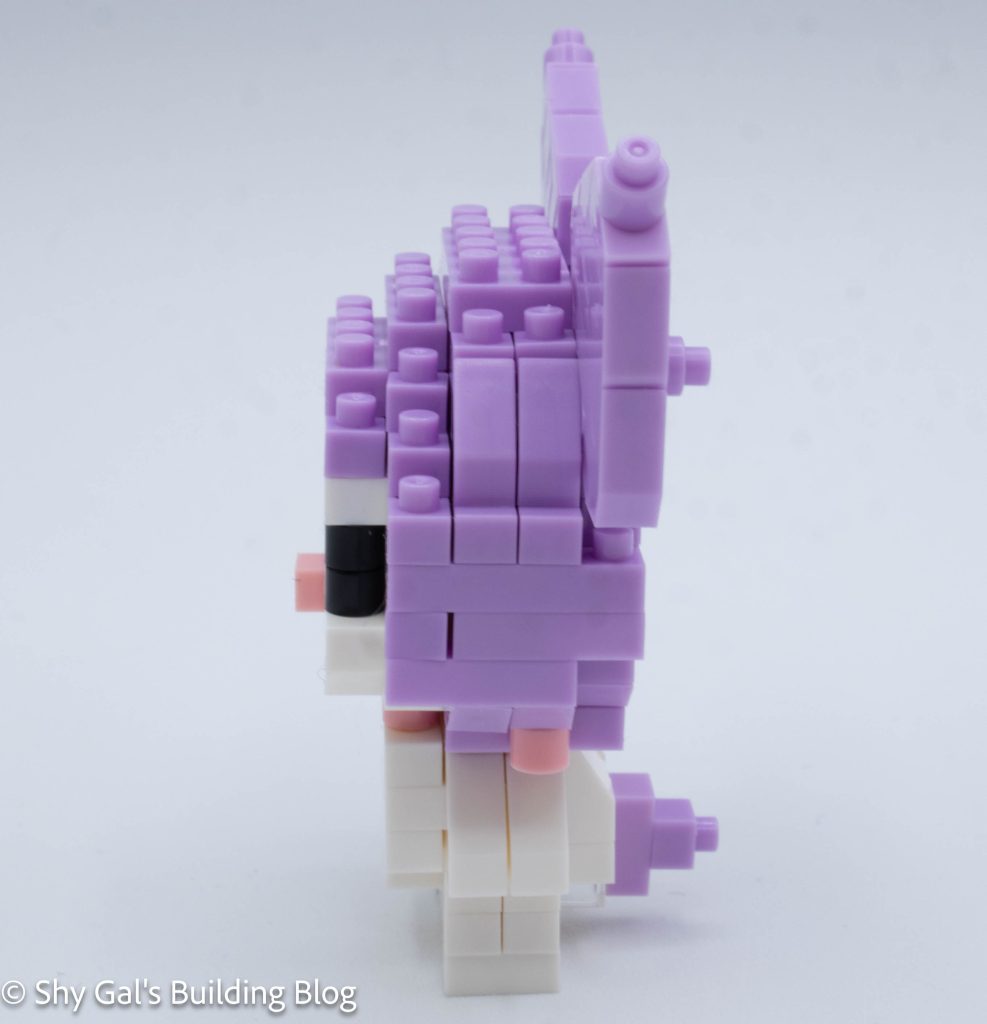
The final step is to build and attach the ears. I really like how the ears are at an angle.
Things I liked:
- I like how the ears are at an angle
Things I didn’t like:
- I wish they had used black bricks instead of light purple for Kuromi’s hood