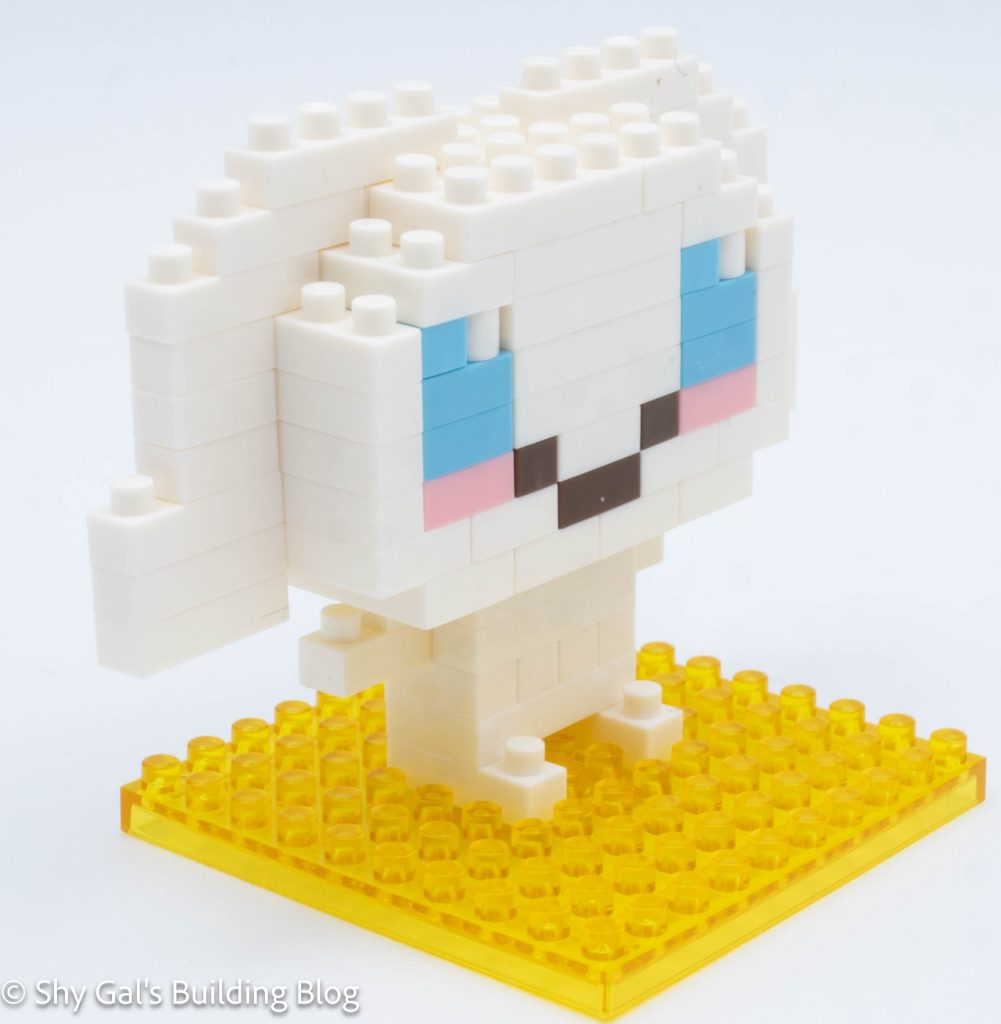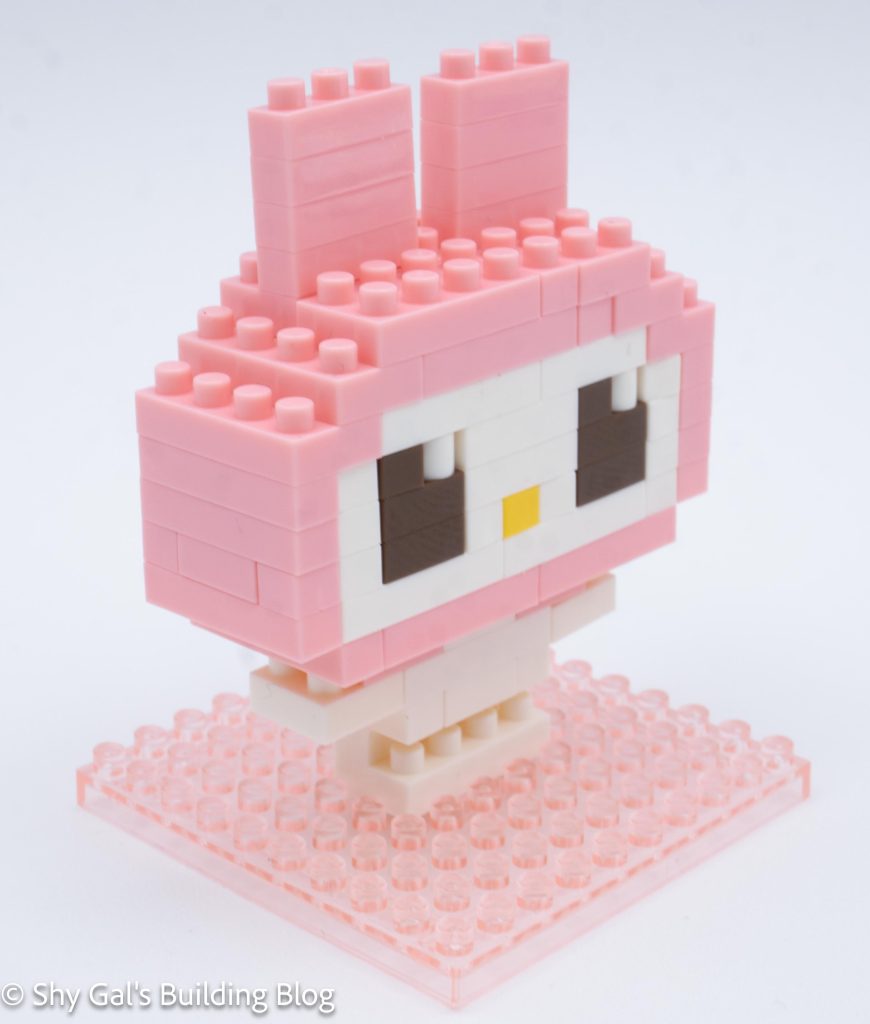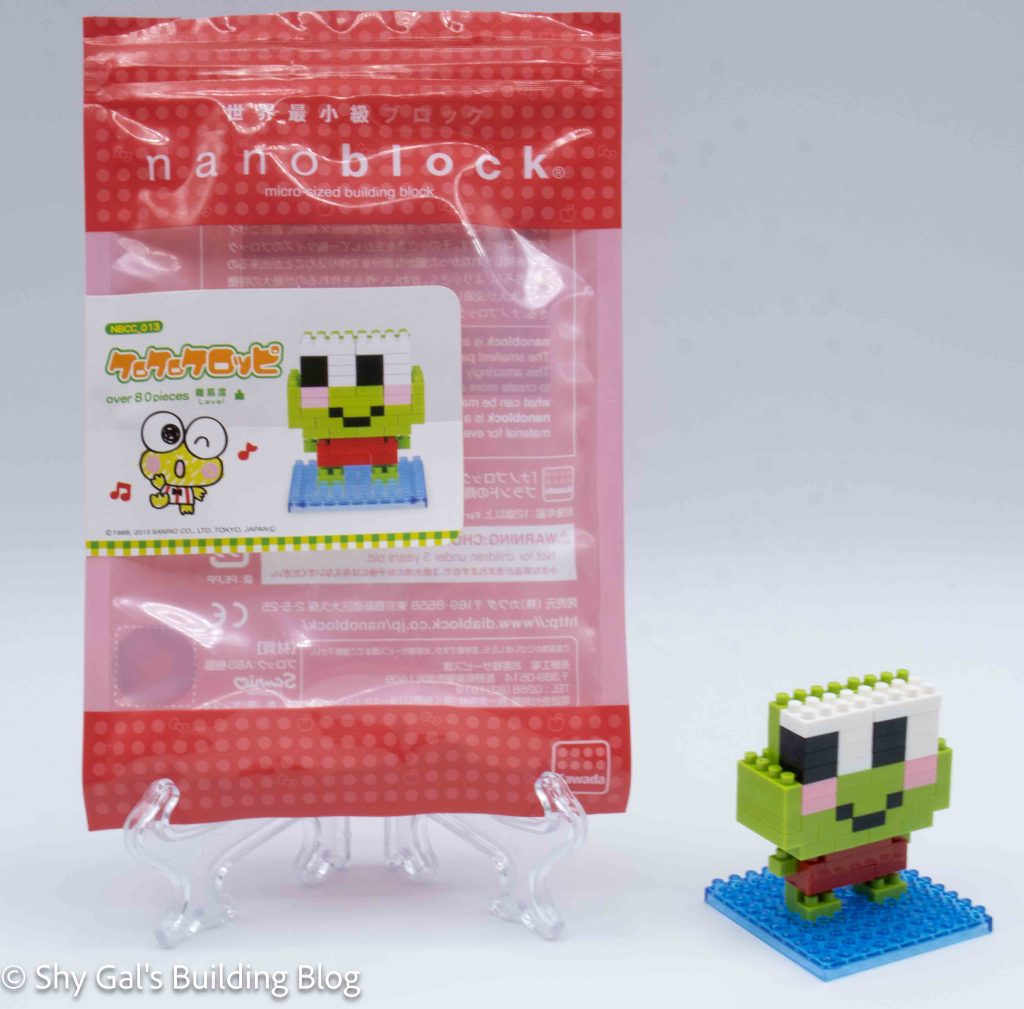
This post is a review of the nanoblock Kerokerokeroppi build. Kerokerokeroppi is part of the nanoblock Character collection. Wondering what else is part of the Character collection? Click here for a list.
Number: NBCC_013
Number of Pieces: 80
Difficulty Rating: 1
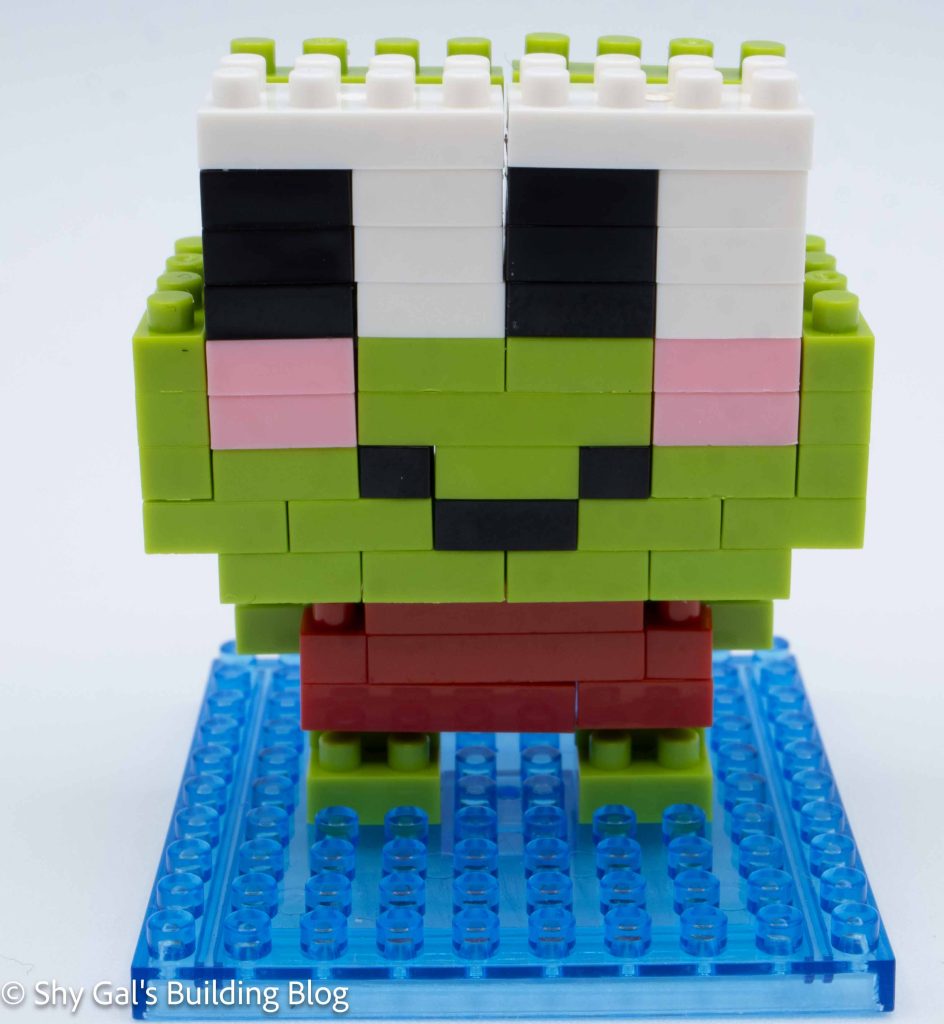
This build has 2 major sections. There is the head and the body.
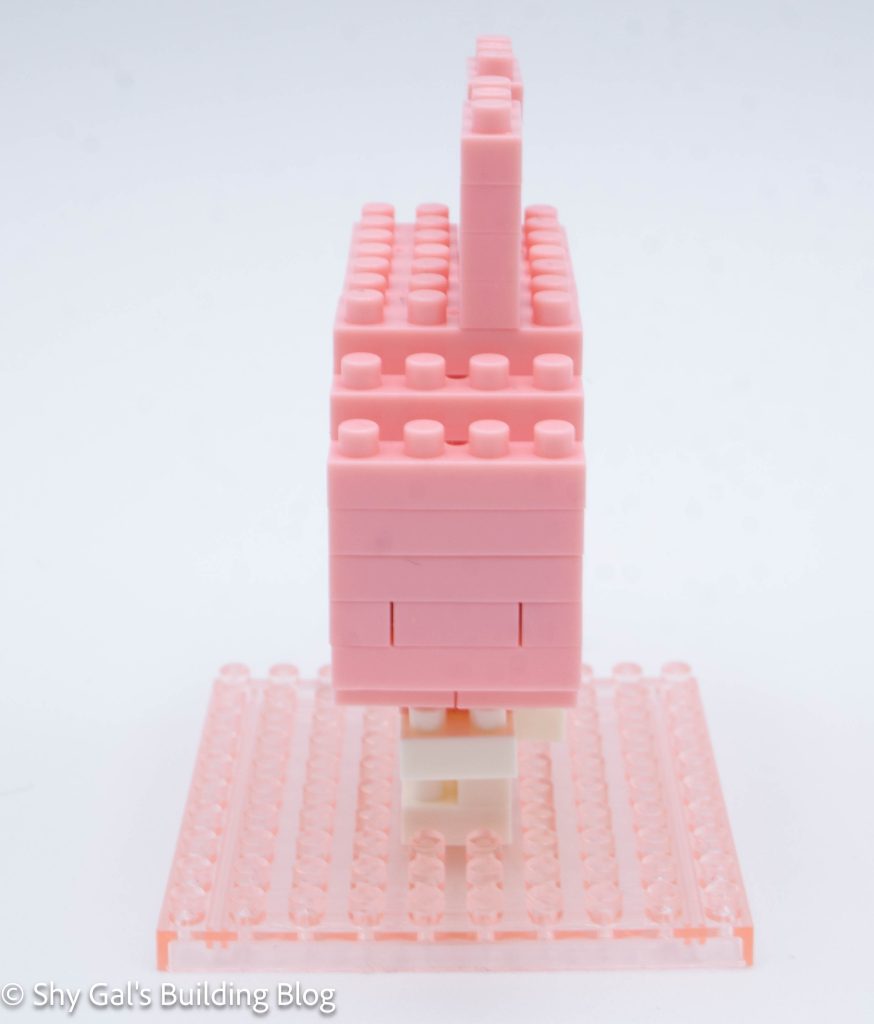
I began the head by laying the base layer of bricks out on my nanoblock pad.
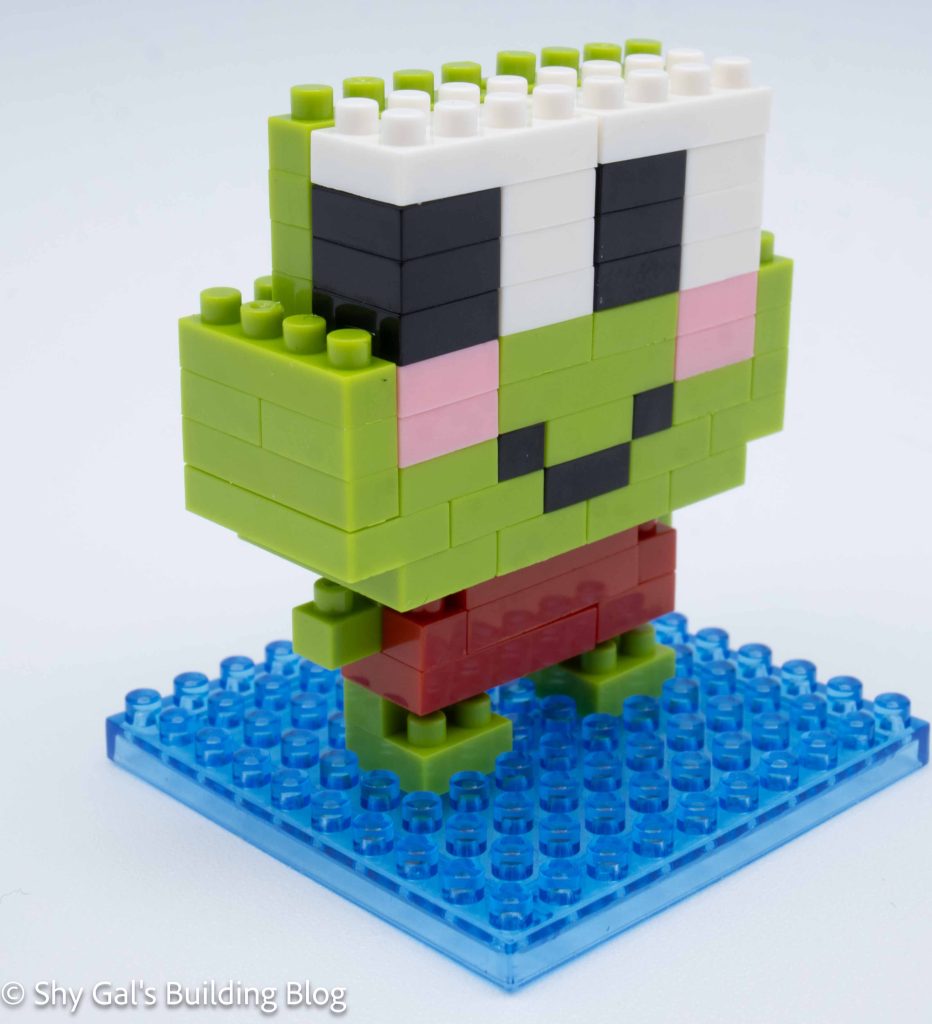
I added several layers of green, black, and pink. The black was for the mouth and pink for his cheeks.
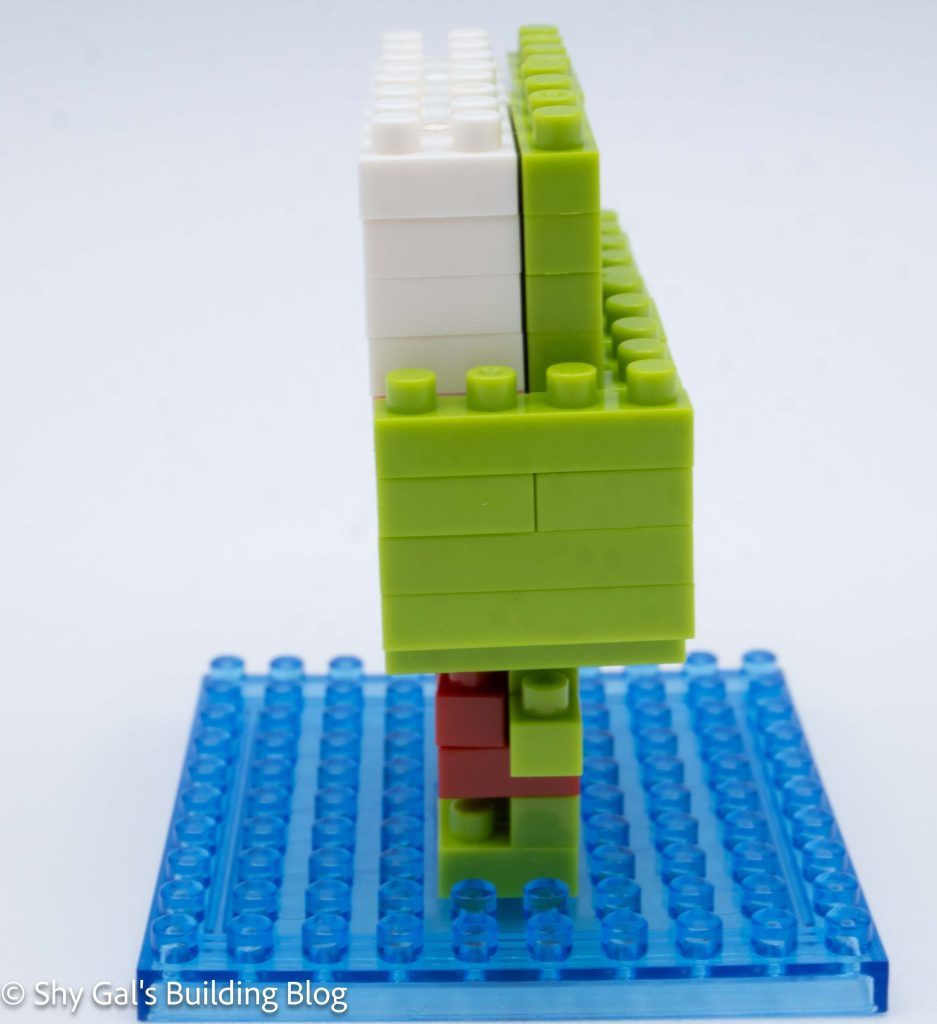
Next, I added the green to act as the back of the eyes. Then I added the front of the eyes by adding stacks of black and white bricks.
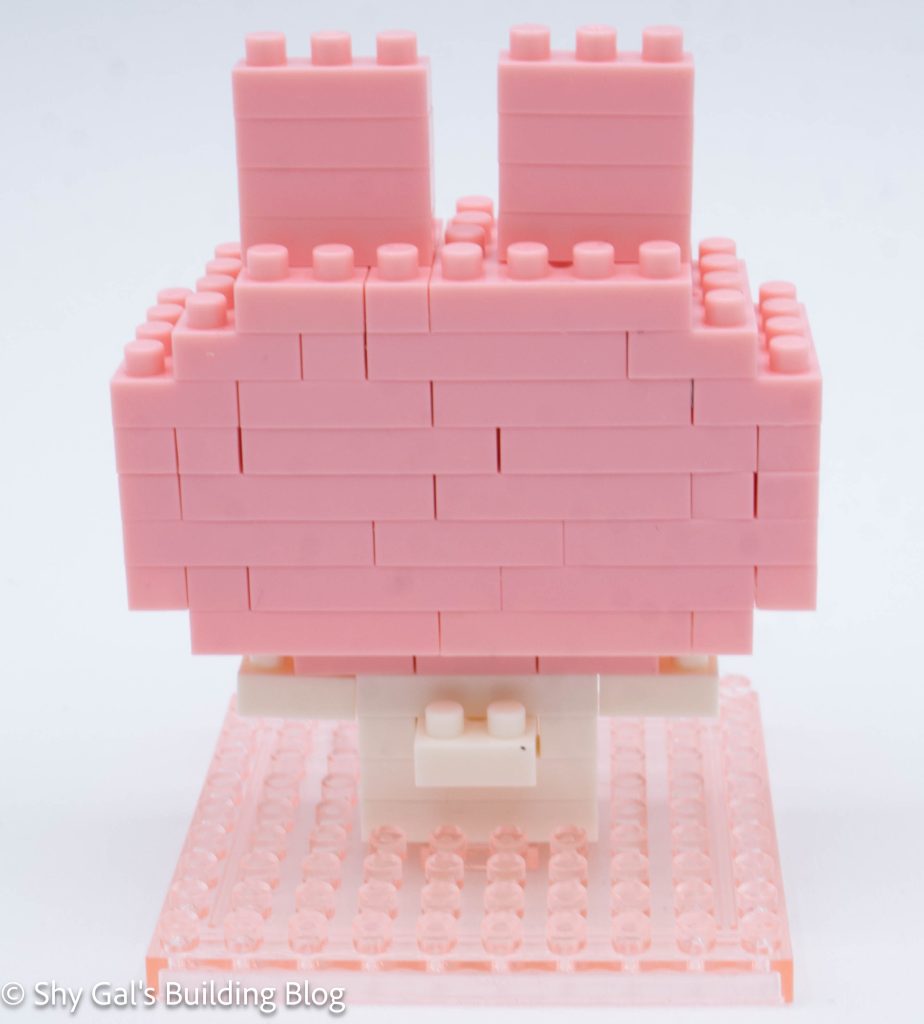
Next, I started work on the body. I laid the feet out on the baseplate.
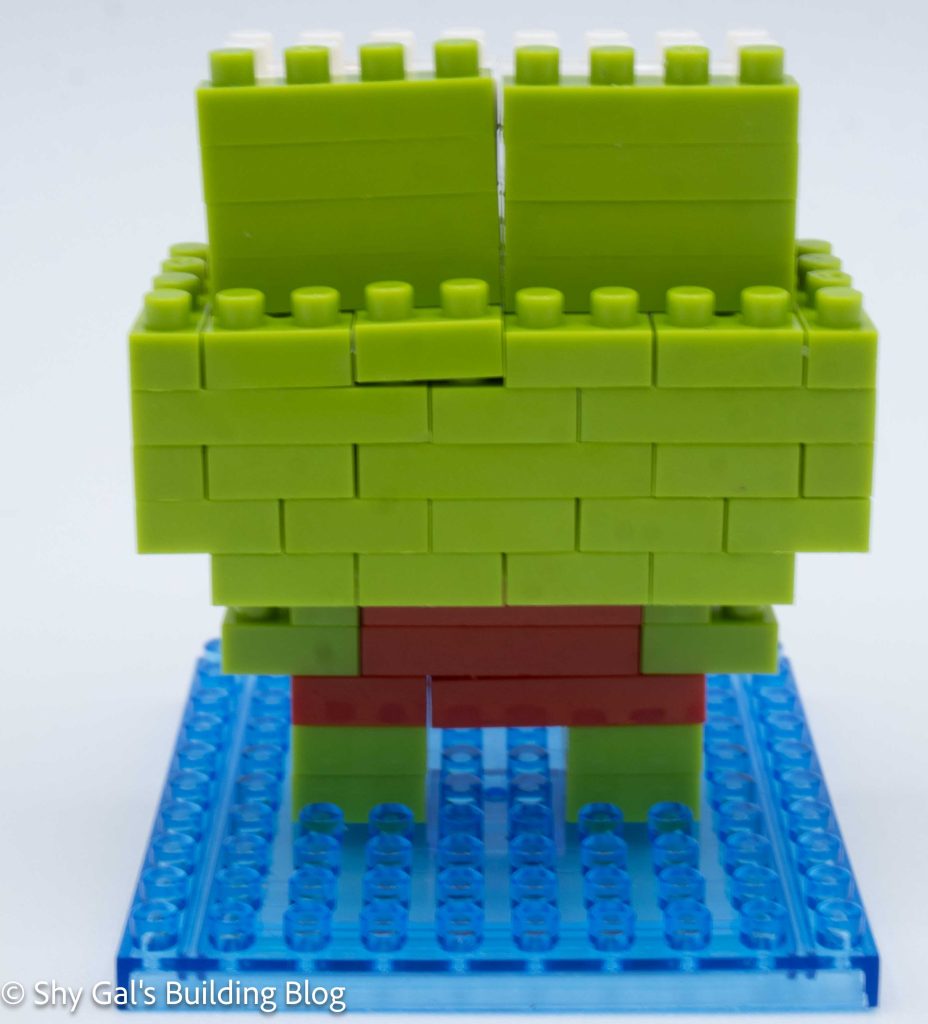
I added several more layers to create the body. The legs are only 1 stud deep, while the main body is 2 studs deep. This meant every time I added a layer, the body pushed off due to the angle.
The last step was to attach the head to the body.
Things I liked:
- I like how big Kerokerokeroppi’s are. They match the character well
Things I didn’t like:
- I wish that the legs were 2 studs deep because it would have made building the body much easier