Review of nanoblock Geoffrey NBC_165

Geoffrey build and package

This post is a review of the nanoblock Geoffrey build. Geoffrey is part of the nanoblock Mini Collection. Wondering what else is part of the Mini Collection? Click here for a list.

Geoffrey is a very famous Giraffe. He is the mascot for Toys R Us.

Number: NBC_165 

Number of Pieces: 160

Difficulty Rating: 2/5

Geoffrey build front view

Geoffrey was a kit that I bought totally opened; I did make sure there were bricks and instructions. Before starting the build, I pulled the kit that arrived apart and split all the bricks by size and color. I then started the build.

The nanoblock set has several different sections. There is the head, neck, arms, legs, and body.

Geoffrey build side view

A common technique in this build is to put round 1×1 into the non-ball section of the ball joint. I generally don’t care for this technique because it makes the builds much harder to put away later.

The head I was able to start building on my nanoblock pad. It went up in simple straightforward layers. The hardest part was getting the ears lined up because there was only one stud on top. After building the top of the head, it’s flipped over, and the bottom jaw and mouth are attached.

The neck is a very straightforward 2 layer chain of bricks.

The legs are very straightforward. Attention to detail is required to make sure that the legs line up straight.

Geoffrey build back view

The body I once again built on my pad. I enjoyed all the ways that the layers were arranged differently to create gaps in the yellow for the orange spots. After building to the top of the body, you flip the body over and add the hips and tail.

The arms are straightforward. It creates elbows in the layers of bricks.

The last step is to connect all the sections at the ball joints.

I was surprised that the final build was able to stand on its own. I’ve had a hard time posing Geoffrey to make him look like the photo on the package.

Geoffrey build 3/4 view

Things I liked:

  • That the final build is able to stand

Things I didn’t like:

  • I think his arms look really funny and are hard to pose well.

Review of nanoblock Moominmamma MOM-101

Moominmamma build and box

This post is a review of the nanoblock Moominmamma build. Moominmamma is part of the nanoblock Moomin collection.

Number: MOM-101 

Difficulty Rating: 2/5

Moominmamma build front view

Moominmamma is one of the Moomins that live in Moominvalley. She is Moomintroll’s mother. In images, she is recognizable by the striped apron that she wears.

The build is broken up into 3 parts. There are the feet, the body, and the head.

The feet section is straightforward and is completed by adding the feet to the 10×10 base.

Moominmamma build side view

The next segment is the body. That portion of the body is building the striped apron. This is done using a lot of 1×1 bricks so it is important to keep the bricks straight. I really like that Moominmamma has the details of her tail and the ties for the apron. Other than making sure that the bricks are straight, the body goes up in straightforward layers.

Moominmamma build back view

The last segment is the head. Like the body, the directions are very straightforward. Keeping the depth of the head is a bit tricky from the directions.

The final step is to put all the segments together. I really liked the side view diagram that is in the directions. It made it very clear where to line up the body and head.

Moominmamma build fonr 3/4 view

Things I liked:

  • The side view diagram for finishing the build
  • All the little details like the tail, apron ties, and handbag

Things I didn’t like:

  • I think the front of her stomach looks a little odd with how it sticks out

Review of nanoblock Moominpappa MOM-100

Moominpappa build and box

This post is a review of the nanoblock Moominpappa build. Moominpappa is part of the nanoblock Moomin collection.

Number: MOM-100 

Difficulty Rating: 2/5

Moominpappa build front view

Moominpappa is by far my favorite Moomin. I’ve always thought he looks very dapper with his top hat. There is at least one book following his adventures.

This build has 2 sections. There is the head and the body. Both sections are very straightforward, with good directions.

Moominpappa build side view

I was able to easily build the head using my pad. The major parts of the head are his nose and hat. The nose is very similar to Moominmamma or Moomintroll. The top hat begins with the brim of the hat coming out over Moominpappa’s eyes. The rest of the hat goes up in simple layers.

Moominpappa build back view

The body builds up on a 10×10 base. It begins with Moominpappa’s feet and cane being laid out on the base. Moominpappa goes up in layers, adding the legs, tummy, and arms. His hand holding the cane is a bit odd. This is because the end of his hand is a simple 2×1 hanging off the top of the cane. I would have expected the 2 bricks at the top to be reversed based on how nanoblock normally organizes bricks.

The last step is to combine the head and the body. There is an excellent side view shot that is helpful in getting the head placed correctly.

Moominpappa build front 3/4 view

Things I liked:

  • I love his top hat and the cane details in the build

Things I didn’t like:

  • The hand holding the cane has a tippy brick, which is unusual in nanoblock builds

Review of nanoblock Snufkin MOM-099

Snufkin build and box

This post is a review of the nanoblock Snufkin build. Snufkin is part of the nanoblock Moomin collection.

Number: MOM-099

Difficulty Rating: 2/5

Snufkin build front 3/4 view

Snufkin is a traveler who makes frequent visits to Moominvalley. He is very good friends with Moomintroll, and the two of them go on adventures when he is in Moominvalley.

This build has 2 sections. There is the head and the body. Both sections are very straightforward, with good directions.

Snufkin build front view

I was able to easily build the head using my pad. The head begins with a base layer of flesh. As the head goes up in layers, you add the hair, nose, and eyes. The head is topped off with Snufkin’s hat. The hat is cone-shaped, so each layer gets more narrow until the hat is closed up.

Snufkin build side view

The body builds up on a 10×10 base. It begins with an outline of the body and builds up in layers. The base layer creates Snufkin’s legs and the bottom of his shirt. The rest of the body section creates Snufkin’s shirt. There is a nice detail of a yellow scarf around his neck.

The last step is to combine the head and the body. There is an excellent side view shot that is helpful in getting the head placed correctly.

Snufkin build back view

Things I liked:

  • The various shades of green used throughout the build to create various body parts

Things I didn’t like:

  • When I was putting the hat together, there were a few places where I got gaps because the bricks fell into the hat or body

Review of nanoblock Little My MOM-044

Little My build and box

This post is a review of the nanoblock Little My build. Little My is part of the nanoblock Moomin collection.

Number: MOM-044 

Difficulty Rating: 2/5

Little My build front view

Little My lives in the Moominhouse along with Moominmama, Moominpapa, and Moomintroll. She is small and fearless and likes to go on adventures.

This build has 2 sections. There is the head and the body. Both sections are very straightforward with good directions.

Little My build side view

When I opened this kit, I knew there was going to be a challenge to get the build done correctly because of the colors. I built this Little My on my sofa, so I didn’t have my good light. The orange bricks looked very similar to the red and skin tone. The skin tone also looked very similar to the light pink for the bow around the neck. I combated this by ensuring I kept the piles from the bags separate to pull the right color without looking too hard.

I was able to easily build the head using my pad. The head goes up in layers, adding the details of the nose, eyes, and ears. Little My has very distinctive hair that goes up and comes to a point. I like that the hair does come up to that point.

Little My build back view

The body builds up on a 10×10 base. It begins with an outline of the body and builds up in layers. As the layers go up, the body starts to get smaller, creating Little My’s outfit that goes from wider at the bottom to more narrow at the top. The last step is to add the bow that covers her neck and connects the body and the head.

The last step is to combine the head and the body. There is an excellent side view shot that is helpful in getting the head placed correctly.

Little My front  3/4 view

Things I liked:

  • I like how much the build looks like, Little My. I really like how she looks like she is up for mischief

Things I didn’t like:

  • How similar the colors were, which made the build hard

Reference

Moomin.com

Review of nanoblock Moomintroll MOM-043

Moomintroll build and box

This post is a review of the nanoblock Moomintroll build. Moomintroll is part of the nanoblock Moomin collection.

Number: MOM-043 

Difficulty Rating: 2/5

Moomintroll build front view

Moomintroll is the main protagonist in the Moomin books and comics. The Moomintroll build is sitting, unlike Moominmama and Moominpapa.

This build has 2 sections. There is the head and the body. Both sections are very straightforward, with good directions.

Moomintroll build side view

I was able to easily build the head using my pad. Most of the build is creating Moomintroll’s nose. The nose is built up in several layers. Then, the eyes and ears to the head. Since the eyes are blue on a white build, they really stand out.

Moomintroll build back view

The body builds up on a 10×10 base. It begins with laying out the base layer of white bricks. The second layer adds the tail. the rest of the body goes up in layers. As the layers go up Moomintroll’s tummy gets smaller and heads to his neck. The body is closed up, and you are ready to attach the head.

Moomintroll build font 3/4 view

The last step is to combine the head and the body. There is an excellent side view shot that is helpful in getting the head placed correctly.

Things I liked:

  • I like that he is sitting, which makes it unique among the Moomins.

Things I didn’t like:

  • In a couple places on the head, the lines between the bricks are a bit hard to see

Review of nanoblock Moominhouse MOM-042/NBH_062

This post is a review of the nanoblock Moominhouse build. Moominhouse is part of the nanoblock Moomin collection.

Number: MOM-042 or NBH_062

Difficulty Rating: 2/5

The Moominhouse is the home of Moominmama, Moominpapa, and Moomintroll. It is a multi-story blue cylindrical building with a red cone-shaped roof.

When I opened the kit, I was surprised that there were 2 bags of 1×2 blue pieces. I guessed after seeing that the build would be just building the outline of the house.

The build begins by laying the outline of the building. This outline includes the porch, which comes off the front of the building.

The building goes up in simple layers. The first few layers include the main body of the house and, the building on the porch, and other details of the house. After adding the details to the base layers of the house, all that is left is to finish building the main section of the house.

For the main house, it is all blue other than the windows. Because the sides are built stacking 1×2 that rotate each, it is hard to keep the build perfectly squared. This made adding the roof a bit tricky.

After adding 3 floors to the house, it’s time to add the roof.

The roof is very straightforward. Each layer makes the roof a bit smaller and creates a cone. Adding the roof is where you can see the cumulative effect of the main tower not being perfectly square. I was able to add on my roof, so I didn’t need to go back and square the main section.

Things I liked:

  • How many little details there are in the house between the porch and the chimney on the roof

Things I didn’t like:

  • How hard it was to keep the main tower of squared between floors

nanoblock Moomin Collection

The Moomins are characters in the books and comics by Tove Jansson. There were originally published in Finland. The books have been translated into several languages including English (which is how I read them as a kid). In Japan, there have been several different Anime and movies over the years.

Most of the books follow the adventures of Moomintroll. However, some of the books feature other characters. Moomin.com has a lot of really great information about the world of the Moomins.

I stumbled upon the nanoblock Moomin collection on Amazon.jp and knew I needed to collect them all.

Set NumberSet Name
MOM-042Moominhouse
MOM-043Moomintroll
MOM-044Little My
MOM-099Snufkin
MOM-100Moominpappa
MOM-101Moominmamma

Review of nanoblock Rilakkuma Motto-Nonbiri-Neko NBCC_051

Rilakkuma Motto-Nonbiri-Neko build and box

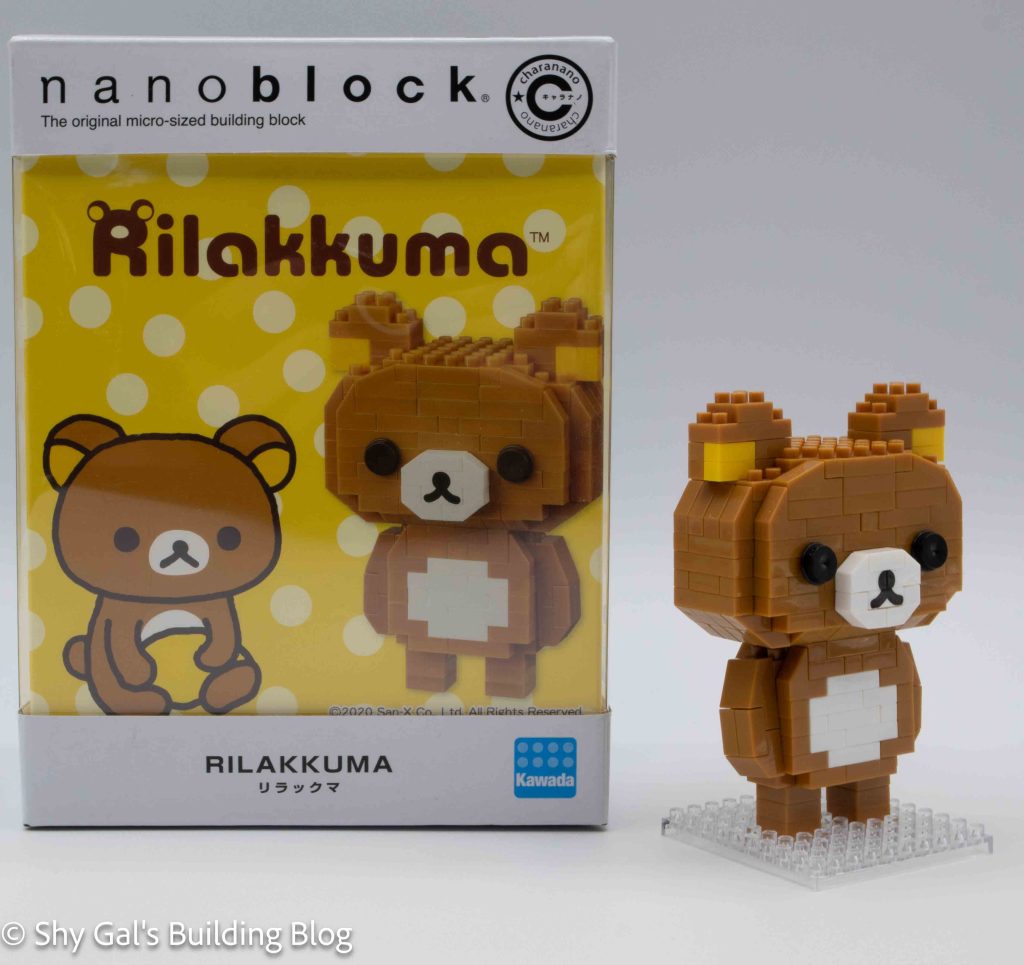
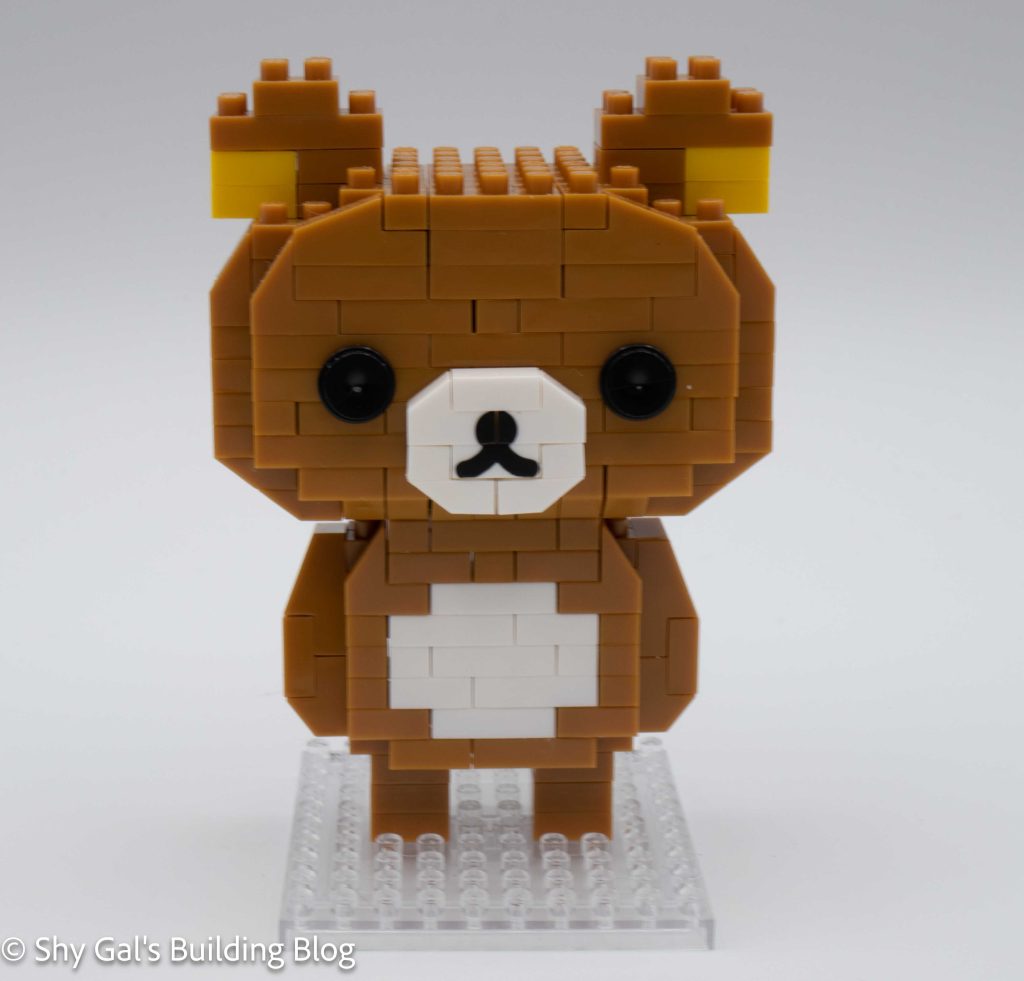
This post is a review of the nanoblock Rilakkuma Motto-Nonbiri-Neko build. Rilakkuma Motto-Nonbiri-Neko is part of the nanoblock Character collection. Wondering what else is part of the Character Collection? Click Here for a list.

Rilakkuma Motto-Nonbiri-Neko build front view

Number: NBCC_051

Number of Pieces: 210

Difficulty Rating: 3/5

Rilakkuma Motto-Nonbiri-Neko build back view

This version of Rilakkuma is dressed up in a cream and brown spotted cat costume. He is lying on his stomach with his paws out like a cat.
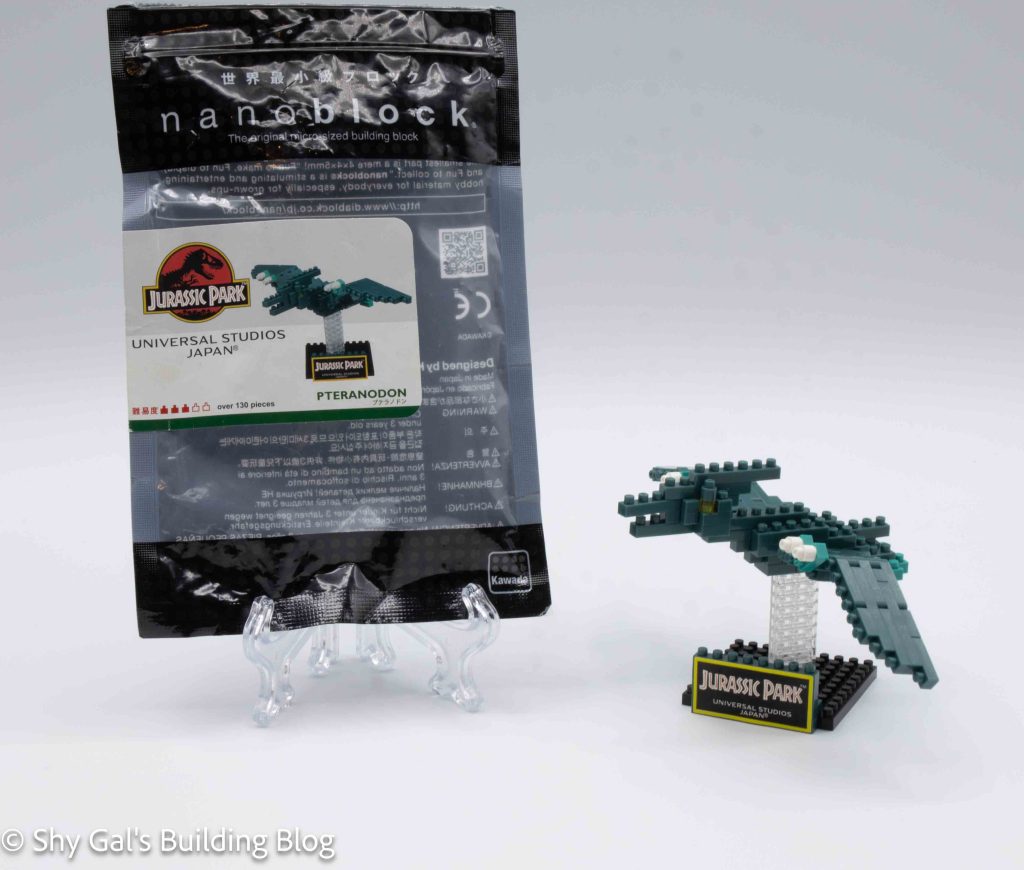
This build started with a large complete base of cream bricks. A custom-printed brick says 2018 San-X to identify the copyright on the build.
Rilakkuma Motto-Nonbiri-Neko build side view

The rest of the build is built in layers. The first four or five layers focus on the head and the body. After step six, the main focus is continuing to build the head. As you add the various layers, you primarily focus on adding cream bricks and the variously colored spots. The details of the face are created with black and white bricks.

Overall I really like this build. I think that it is a really cute costume for Rilakkuma.

Rilakkuma Motto-Nonbiri-Neko build 3/4 view

Things I liked:

  • I think the catsuit is really cute

Things I didn’t like:

  • There are some places around the head where the costume doesn’t look complete, and like there may be blocks missing

Review of nanoblock Space Invaders Invaders NBCC_108

Invaders box and builds

This post is a review of the nanoblock Space Invaders Invaders build. Space Invaders Invaders is part of the nanoblock Character collection. Wondering what else is part of the Character collection? Click here for a list.

Number: NBCC_108 

Number of Pieces: 200

Difficulty Rating: 1/5

Invaders build 1

The Invaders are the monsters that you kill in the classic Space Invaders arcade game. During the game, the Invaders move down the screen as the player attempts to shoot all the Invaders before they reach the bottom of the screen.

This kit comes with 4 Invaders. Each is a different color and is 3 bricks deep.

Invaders build 2

Space Invaders is a video game where each character is made up of pixels. In the case of this nanoblock build, each stud on the top layer of the figure represents a pixel.

The basic process for building each character is basically the same, so I’ll describe the process for building the Invader once, but the process is similar for each character.

Invaders build 3

The build begins by laying a base layer of bricks in the invader’s color. I did this on my nanoblock pad because the base layer was so large.

After building the first layer, I added the second layer. This was mostly adding bricks, so the first layer was connected. In some cases, this included adding clear bricks where there are gaps or when the bricks are connected at the corner of the pixel.

Invaders build 4

Things I liked:

  • I liked the colors they picked for the Invaders. The original game was in black and white, so any colors could have been used