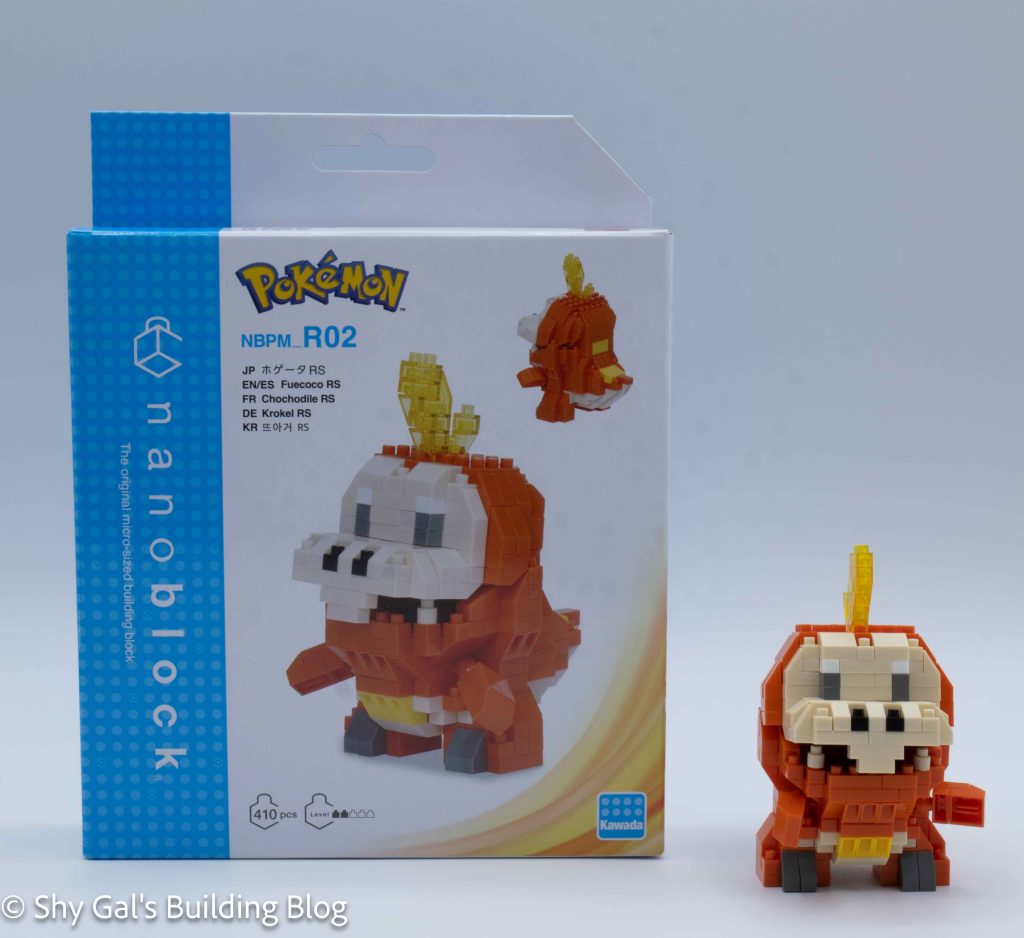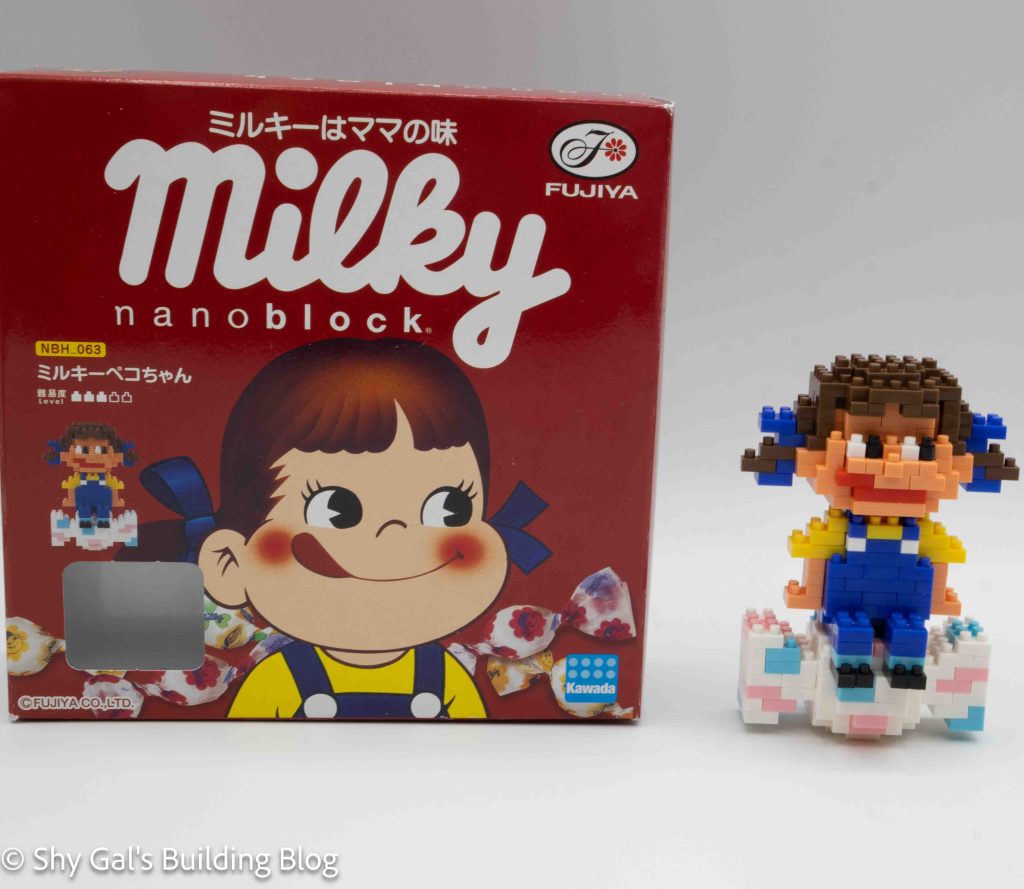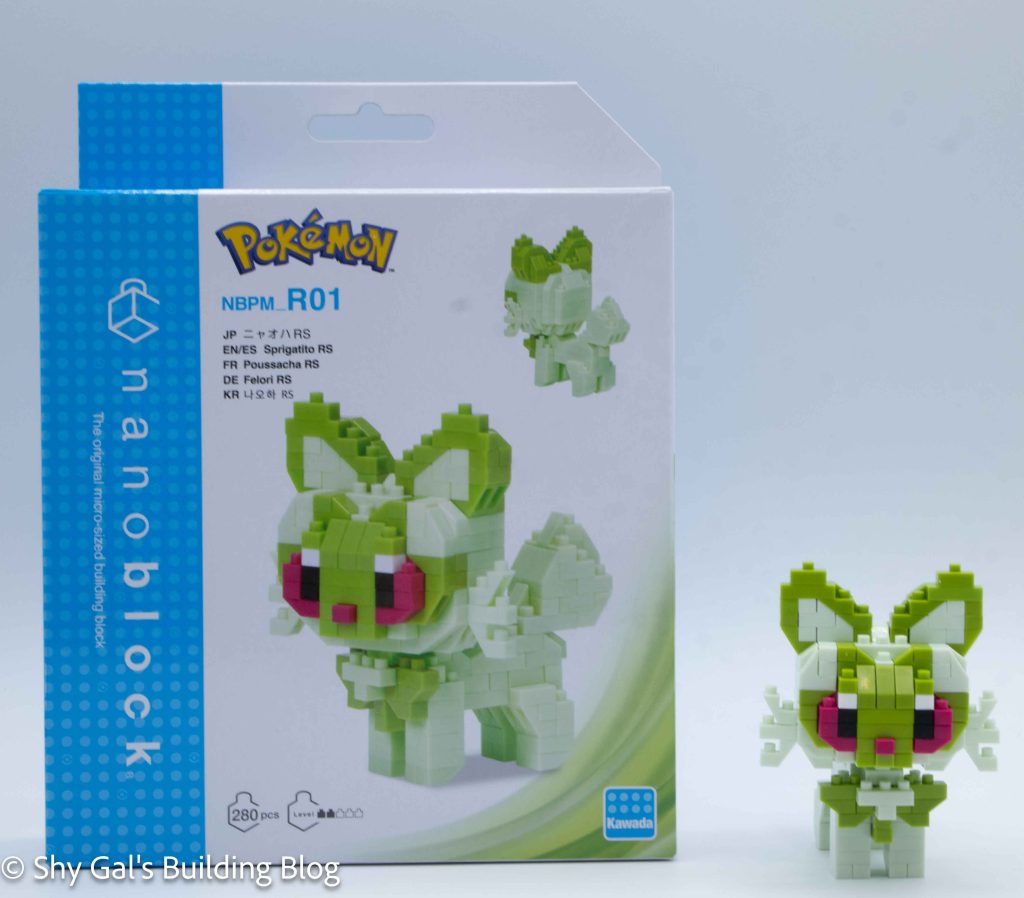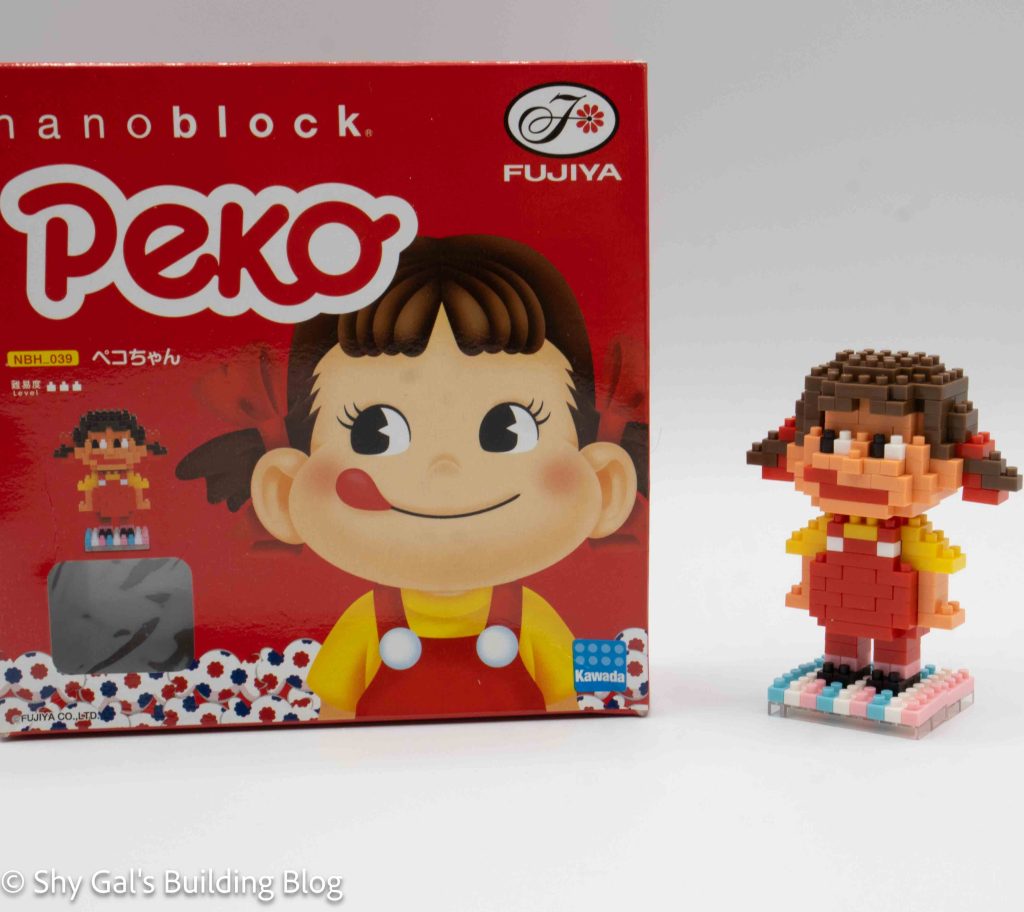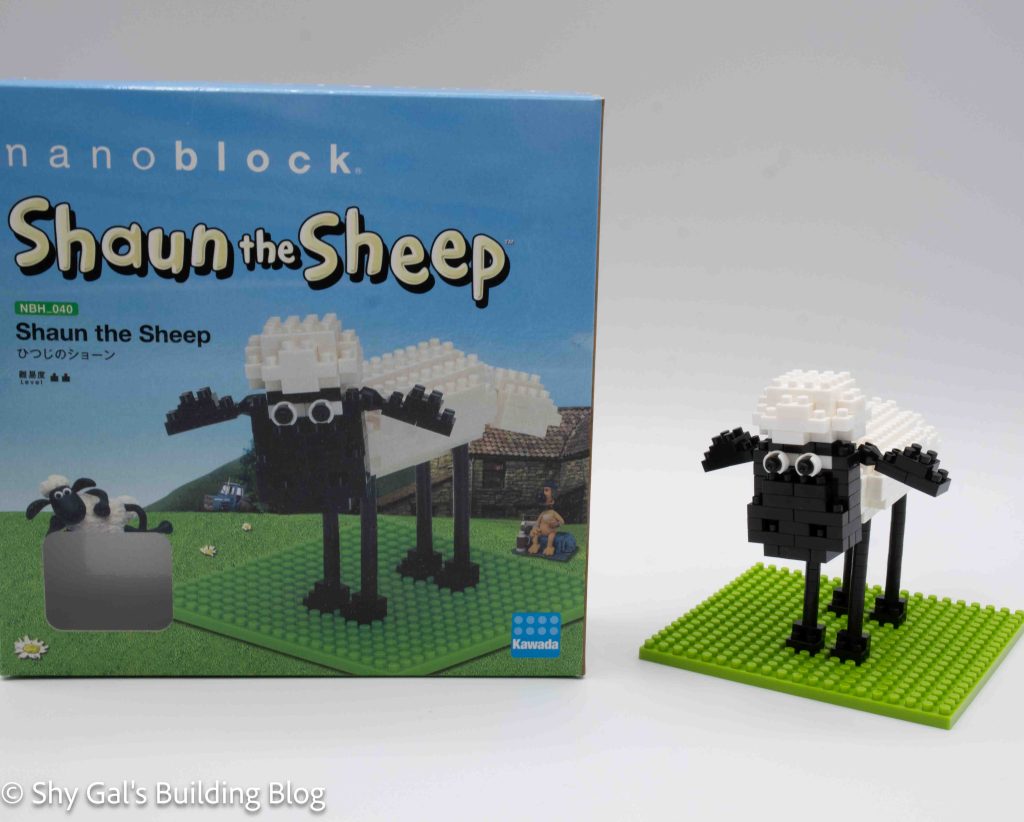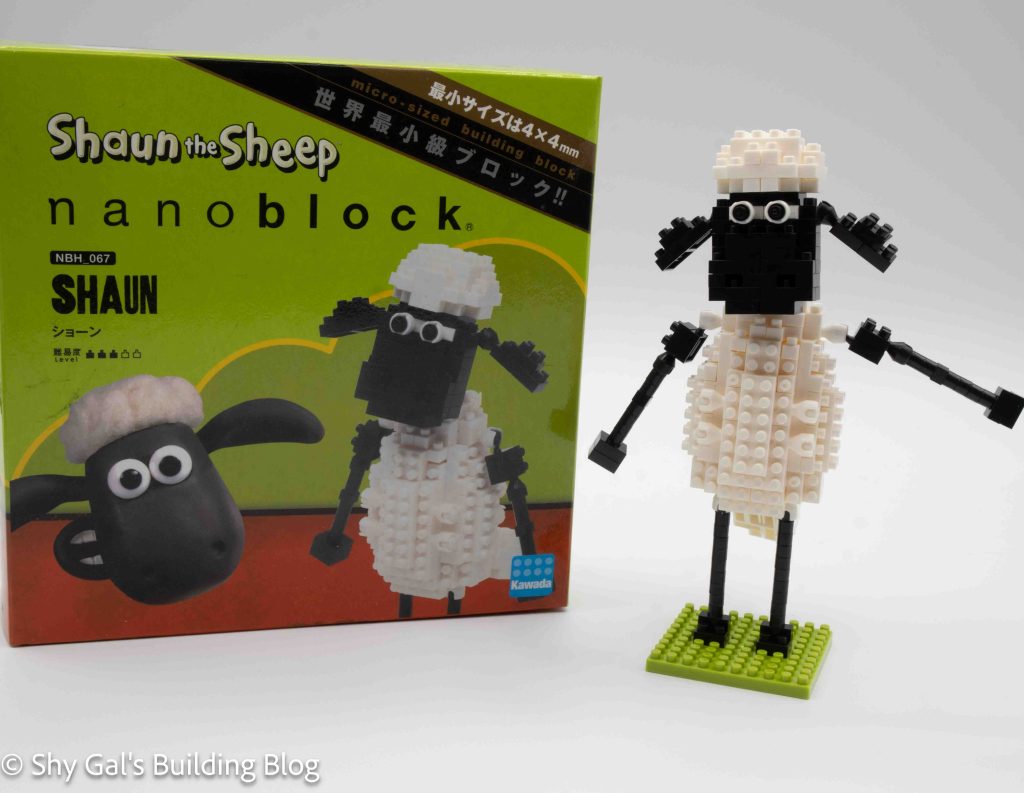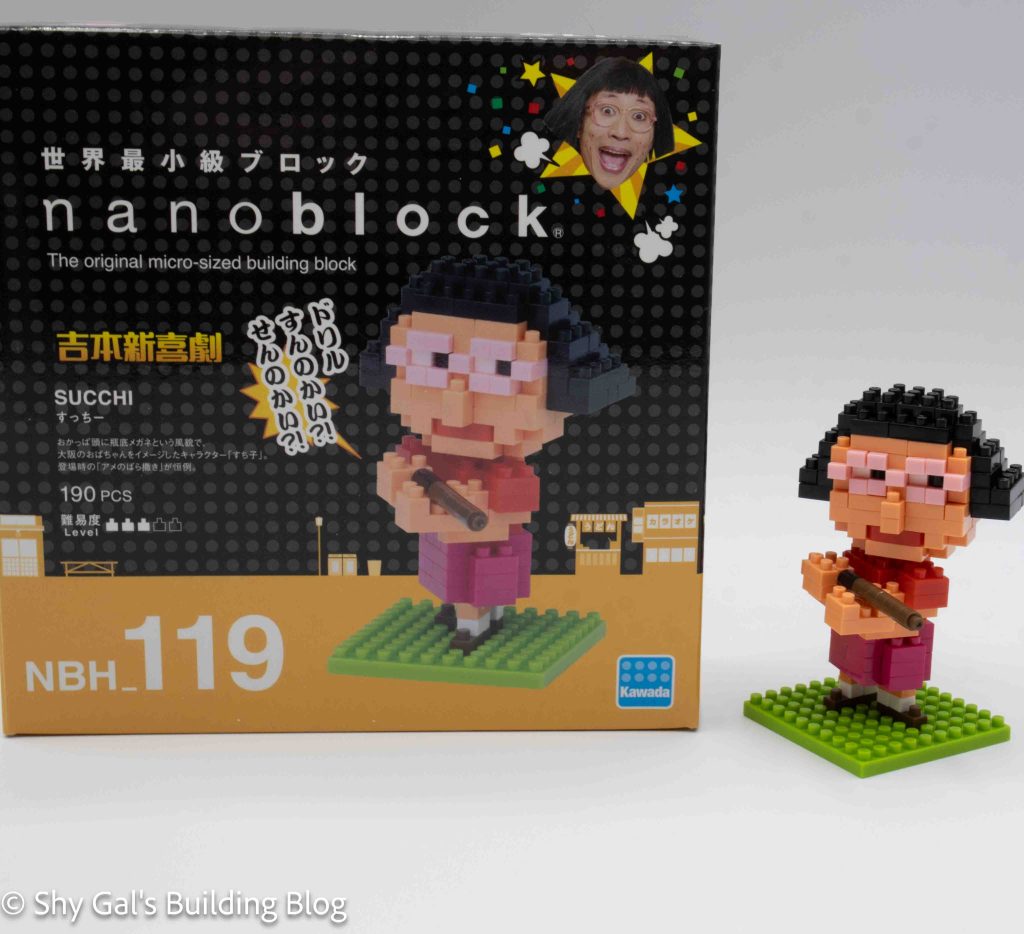
This post is a review of the nanoblock Succhi build. Succhi is part of the nanoblock Sights to See collection. Wondering what else is part of the Sights to See collection? Click here for a list.
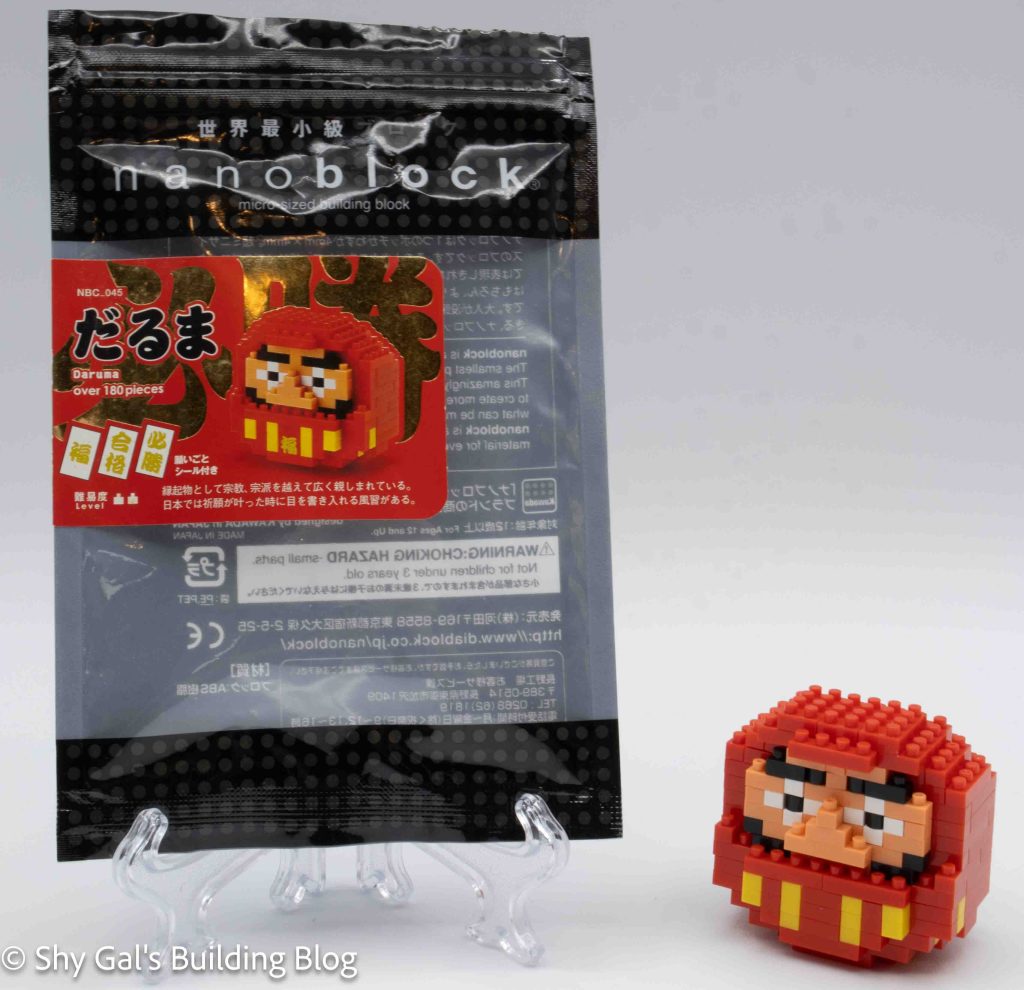
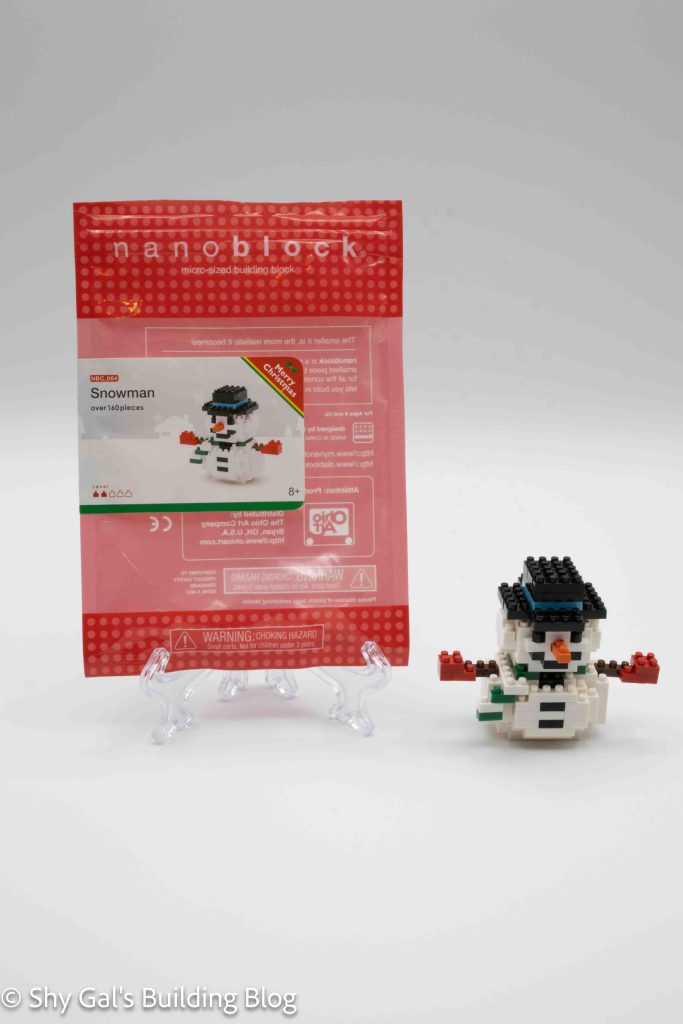
Number: NBH_119
Number of Pieces: 190
Difficulty Rating: 3/5
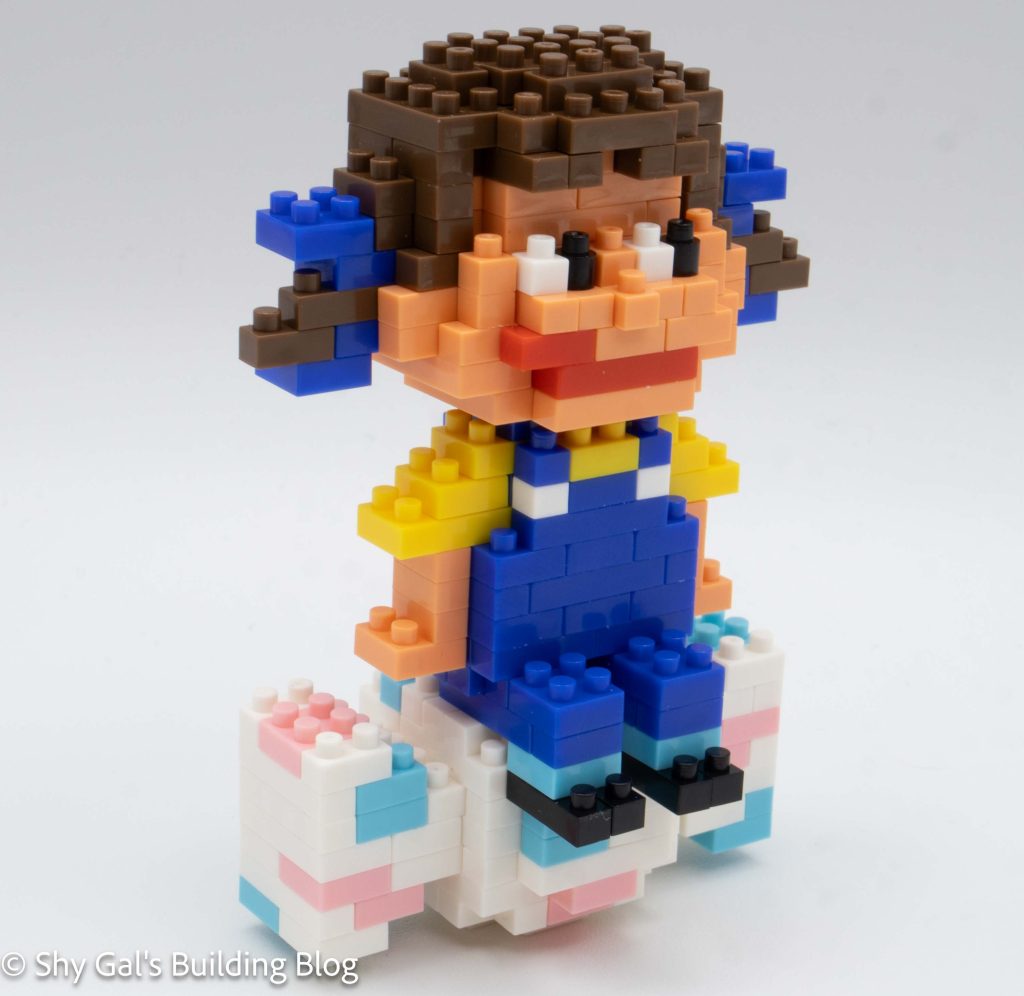
I believe from research there is a typo in the translation of the Romanji. Other people refer to the build as Sutchi. They were popular entertainer who is/was active in Yoshimoto Shinkigeki. Yoshimoto Shinkigeki is a variety show in Osaka.
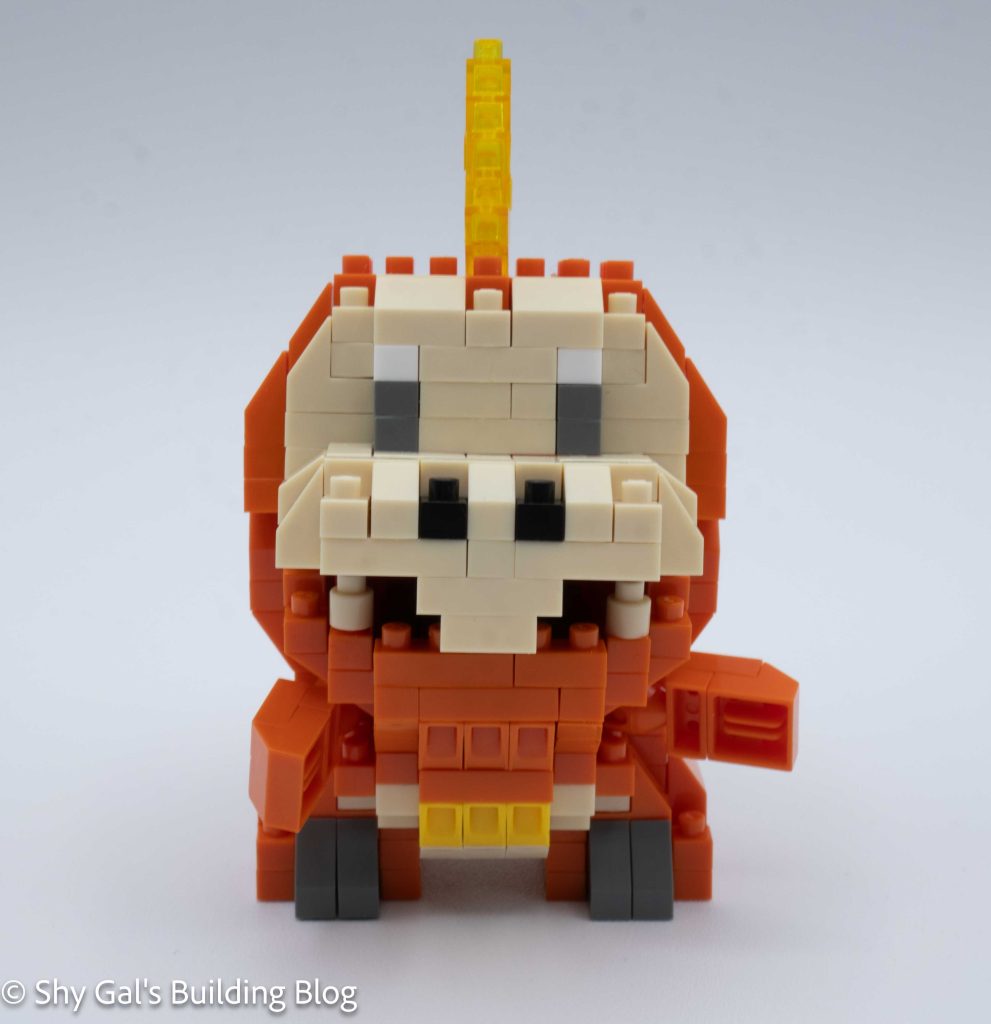
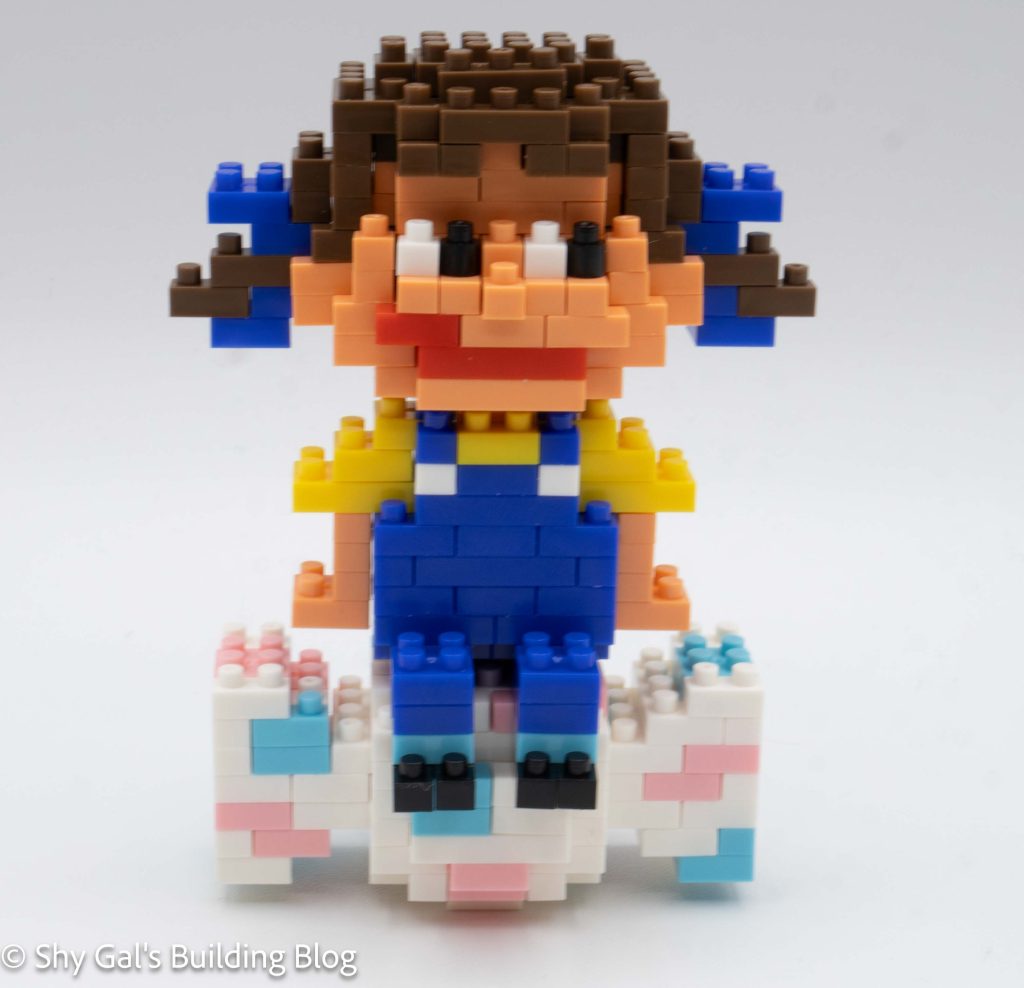
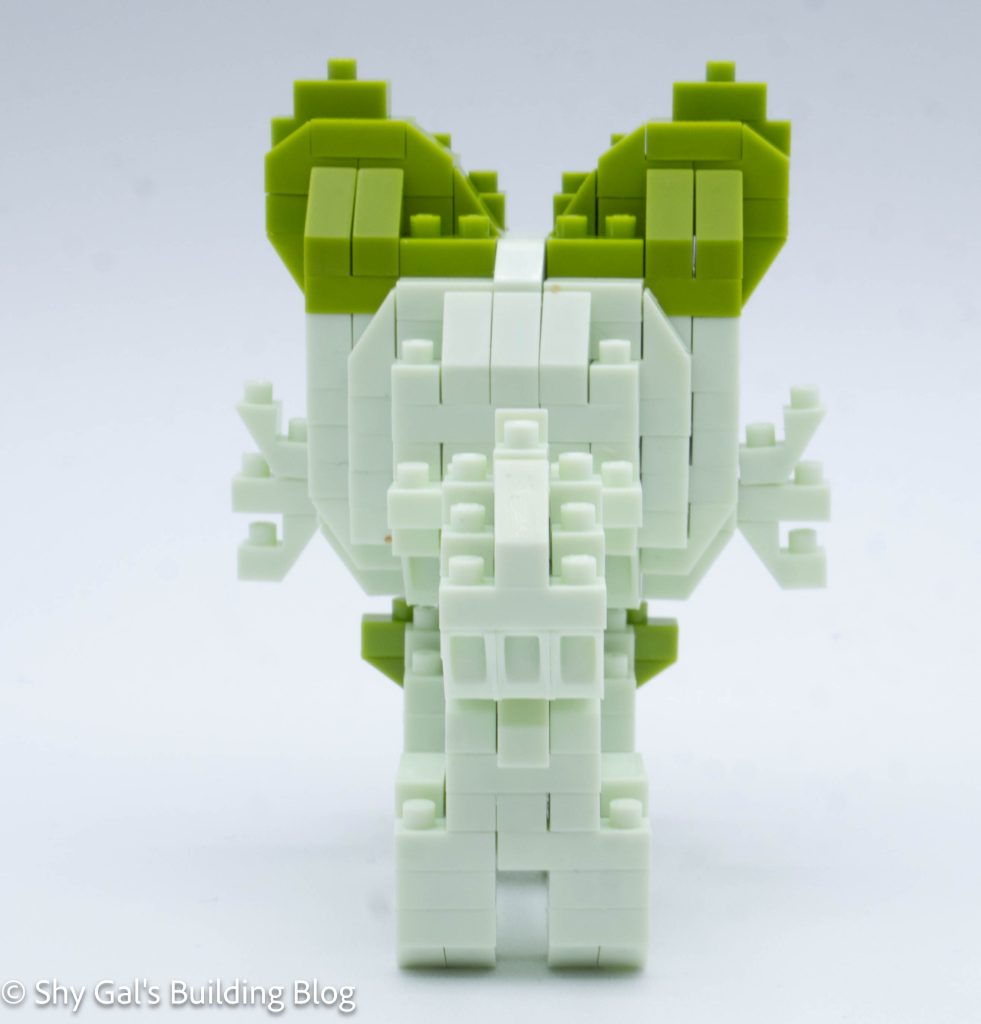
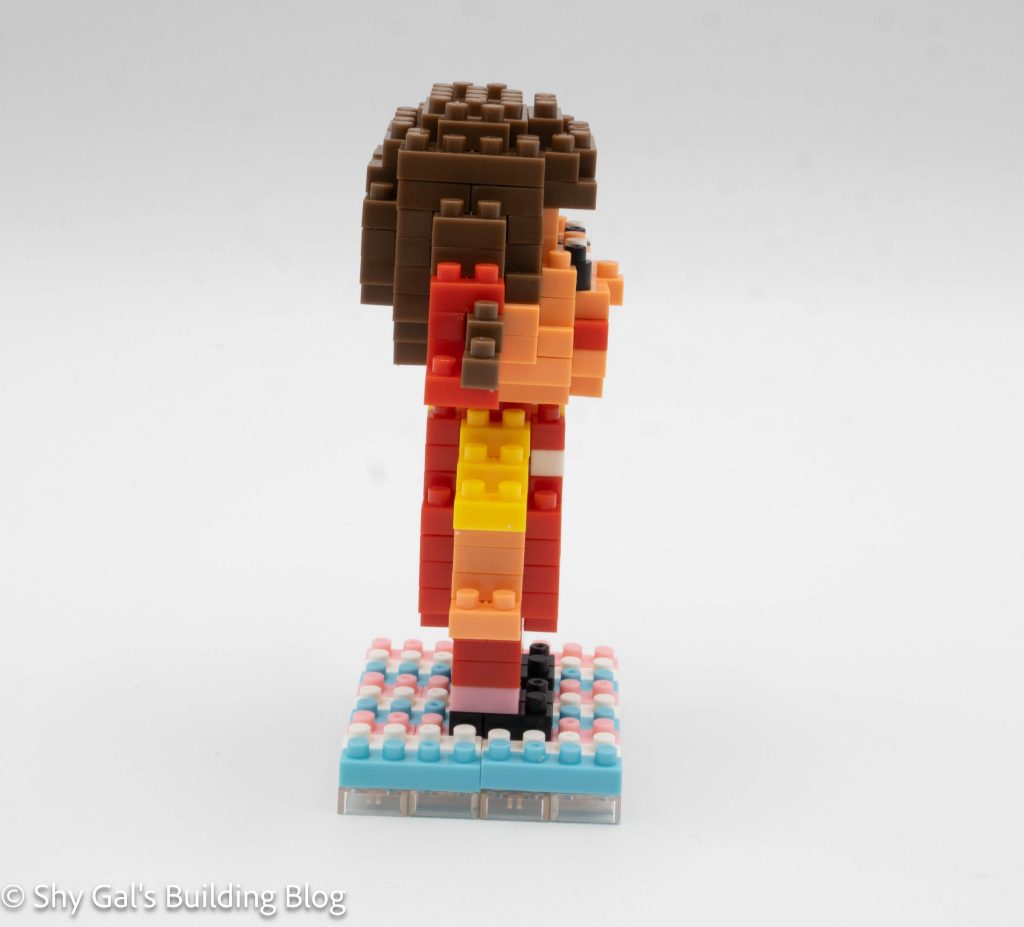
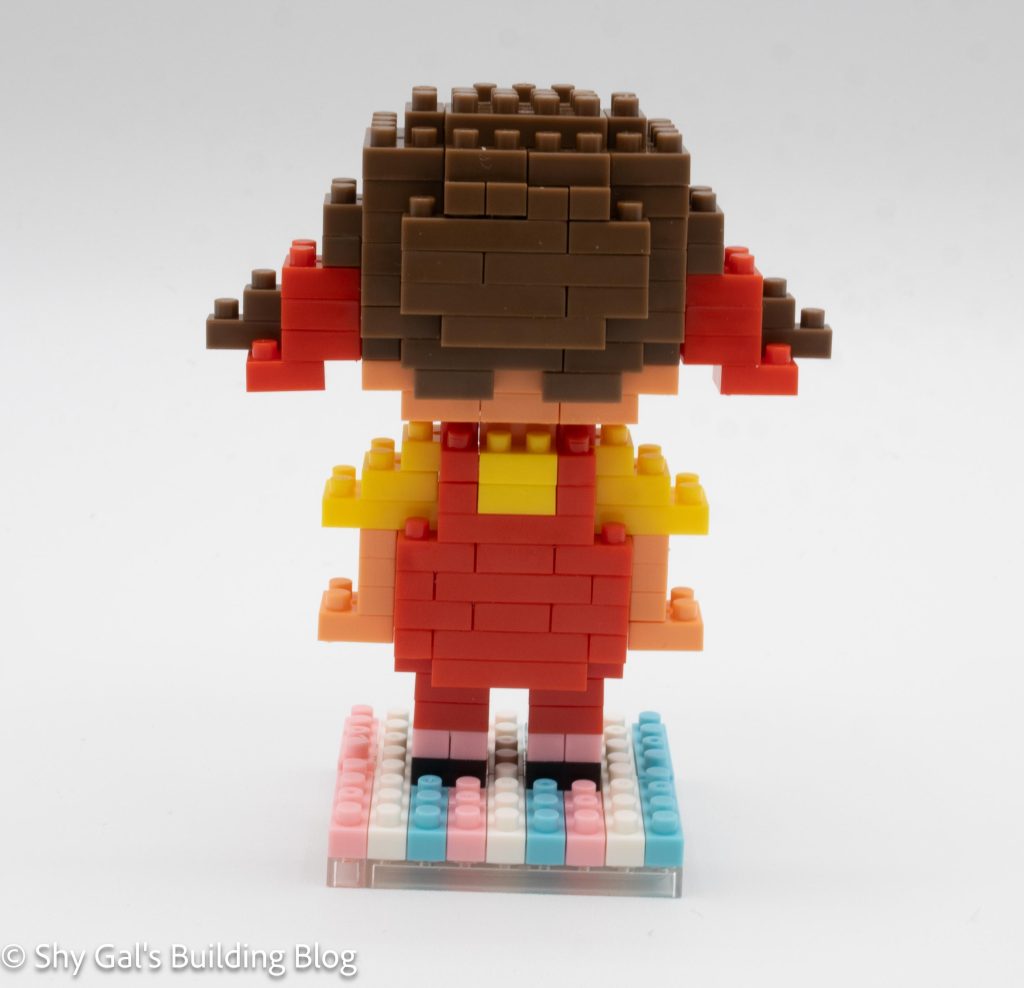
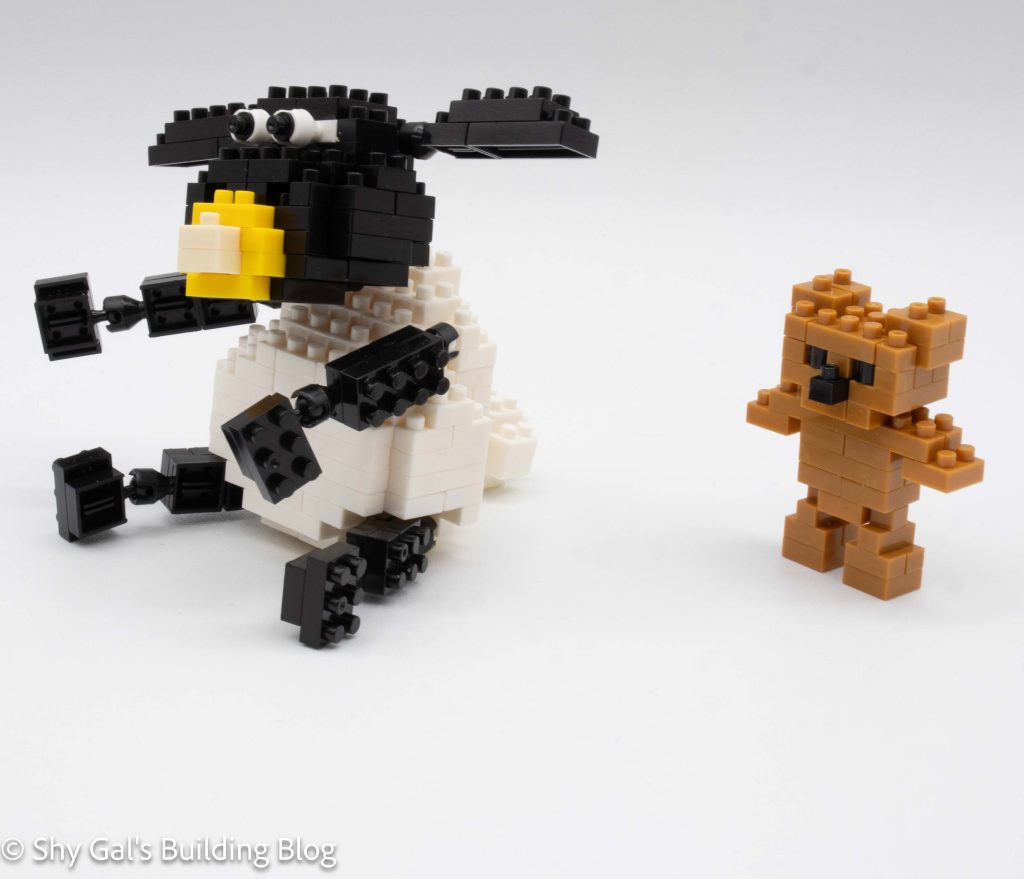
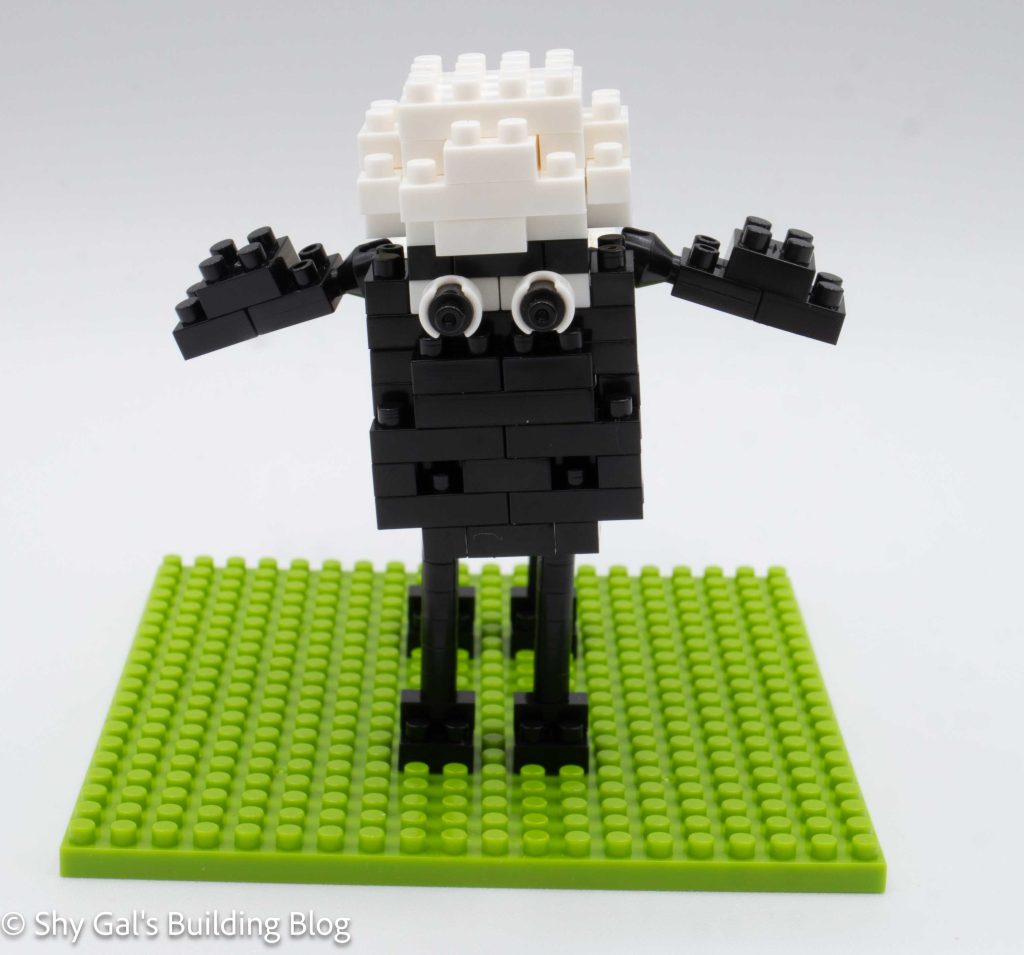
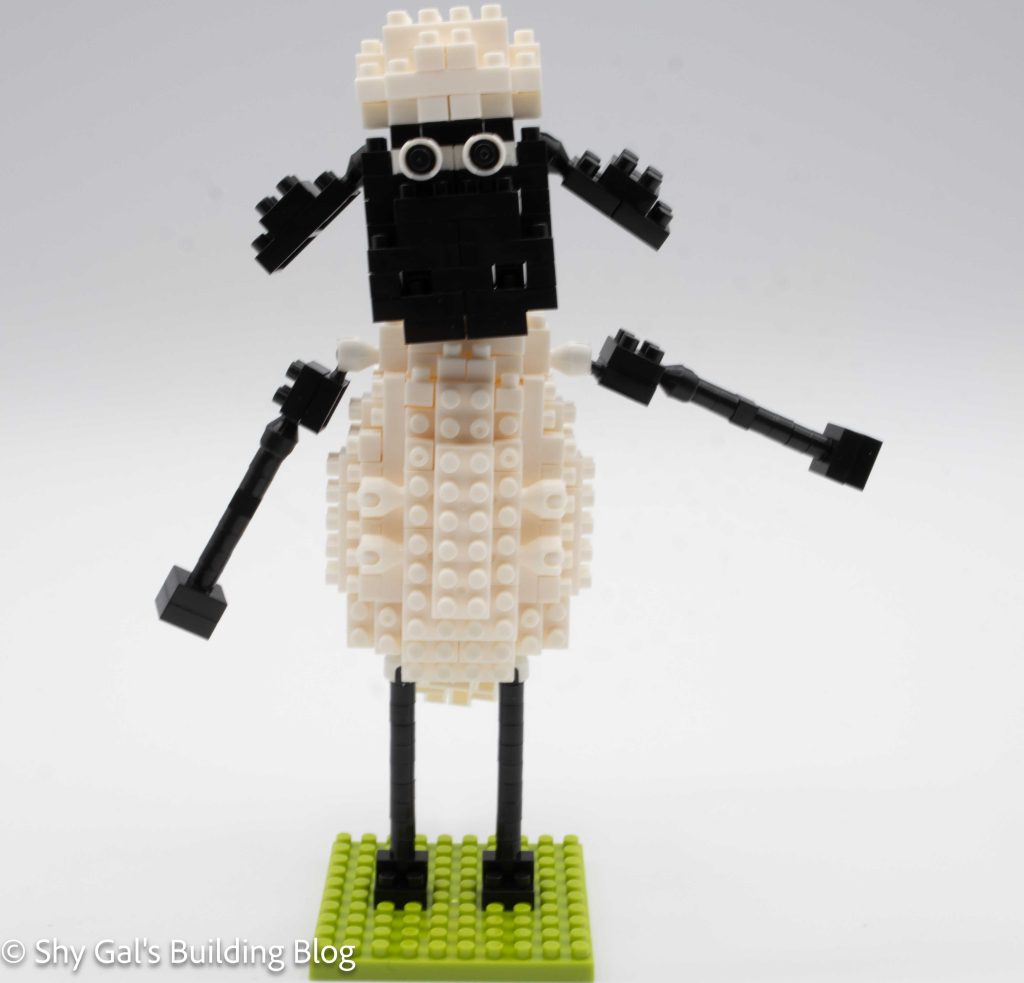
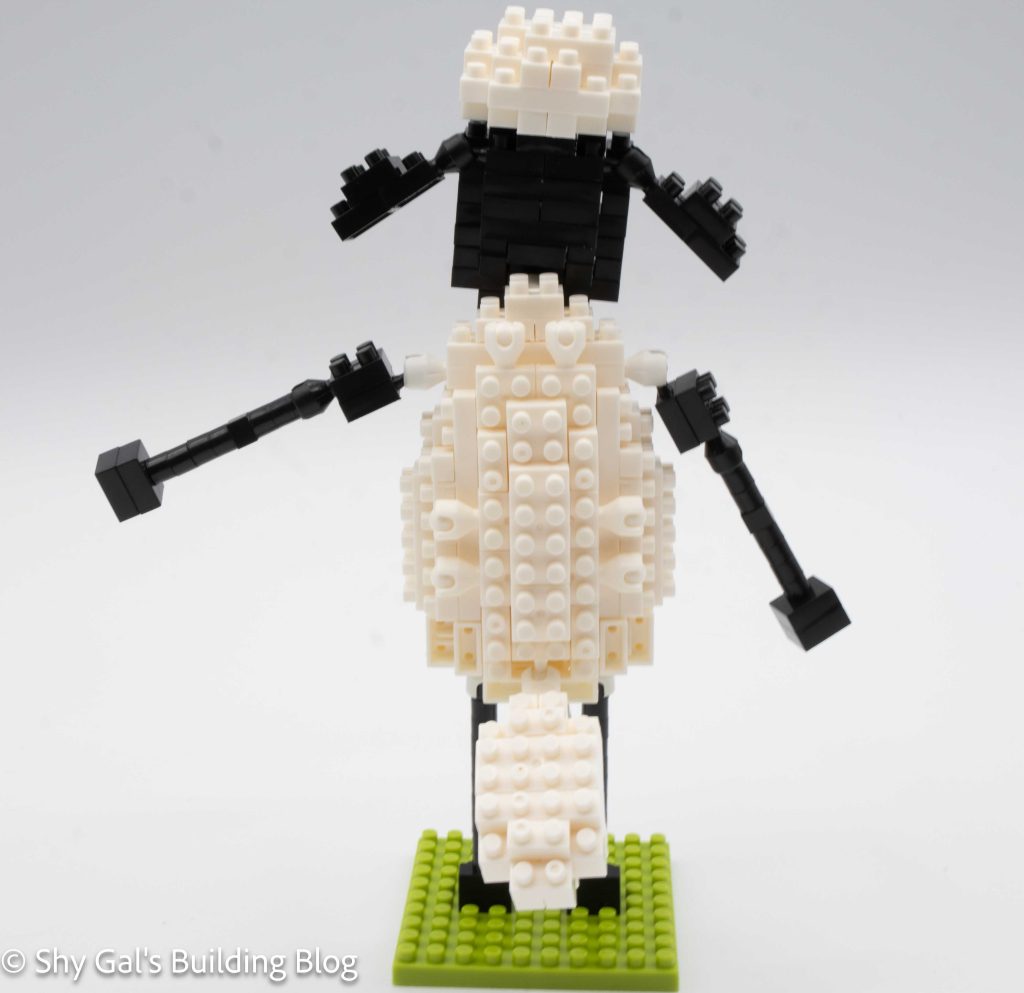
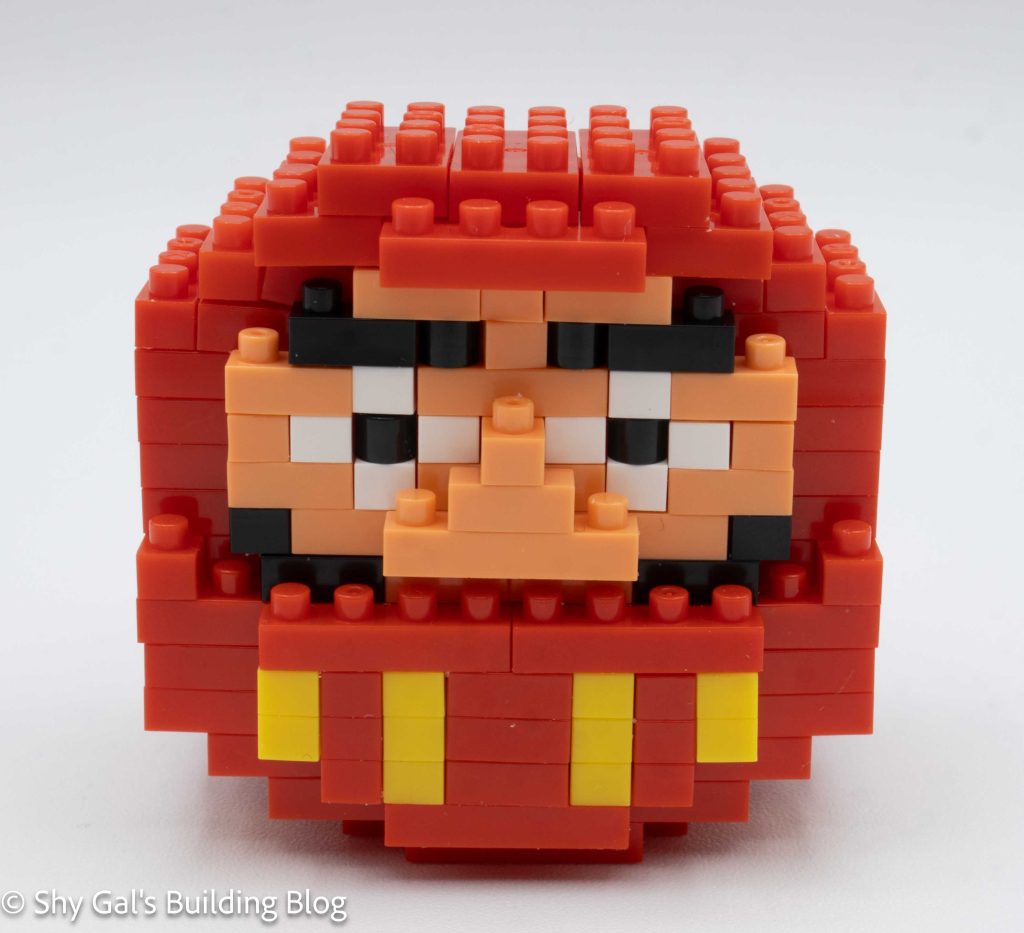
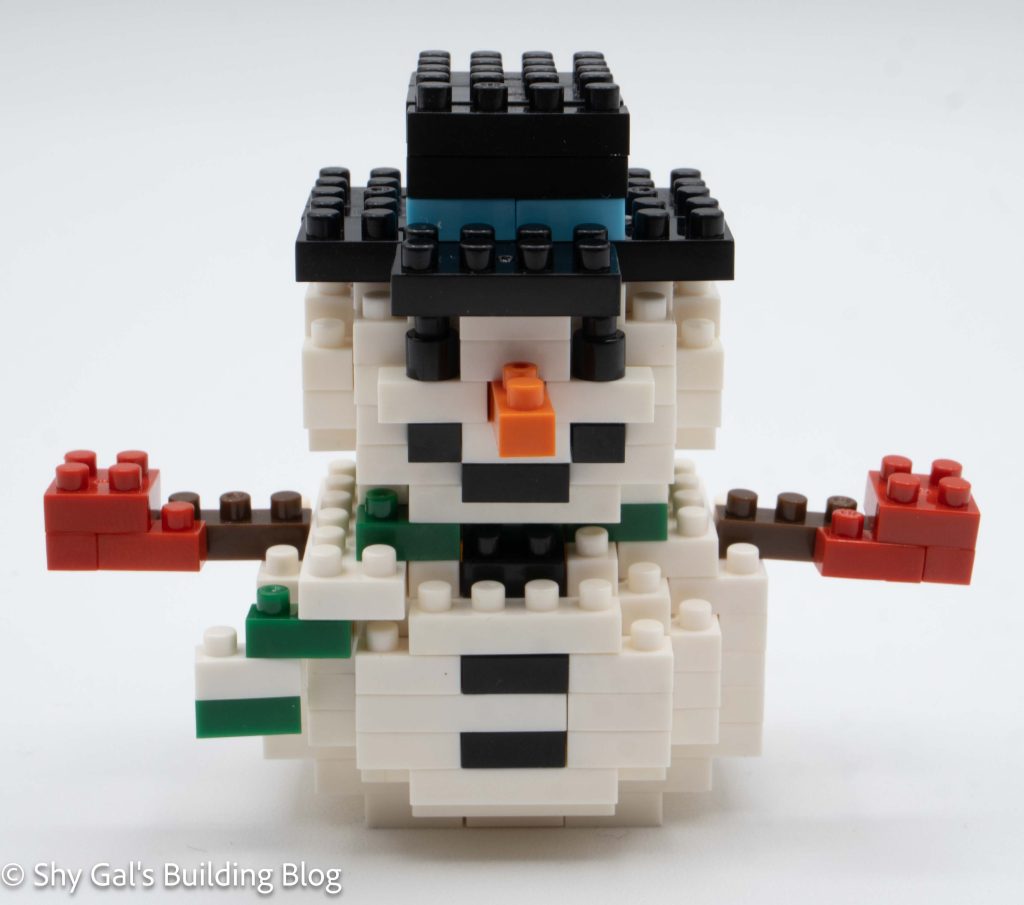
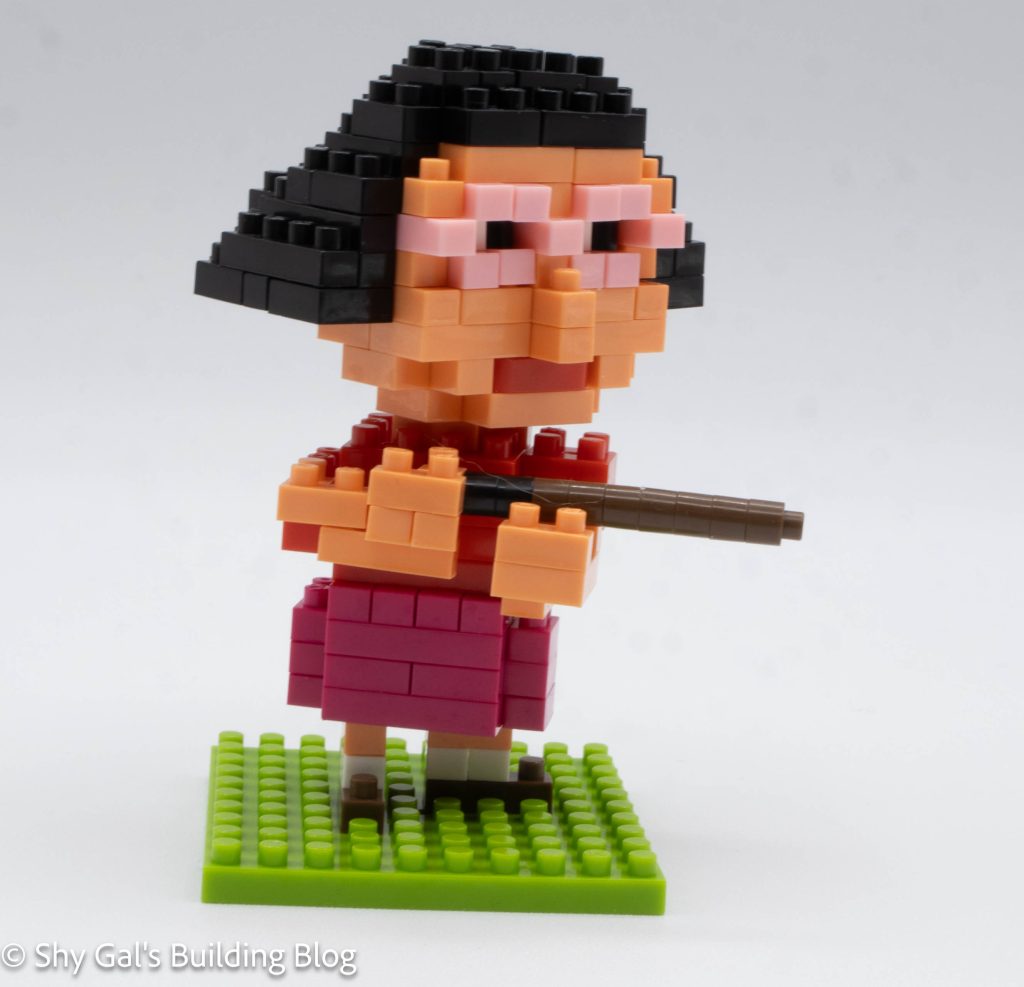
The build is made up of 3 sections. There is the base, body, and head.
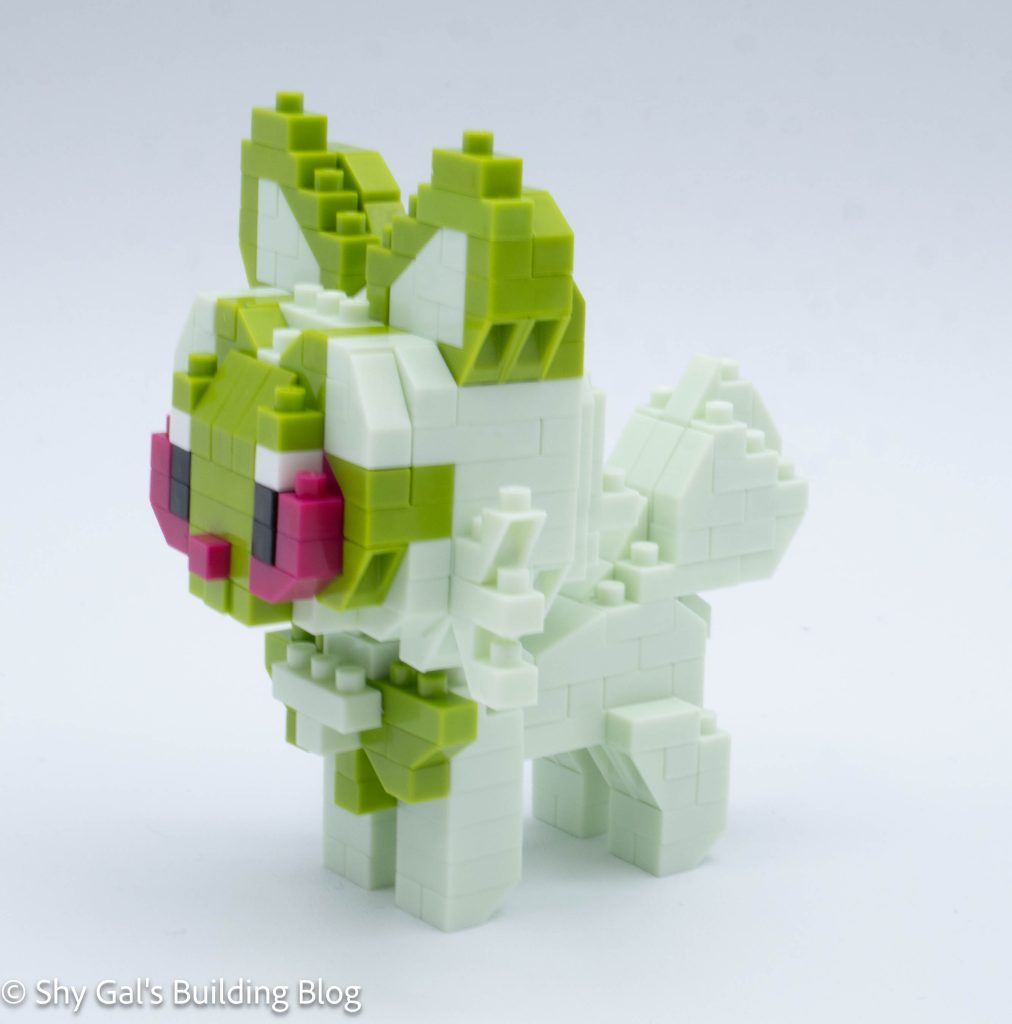
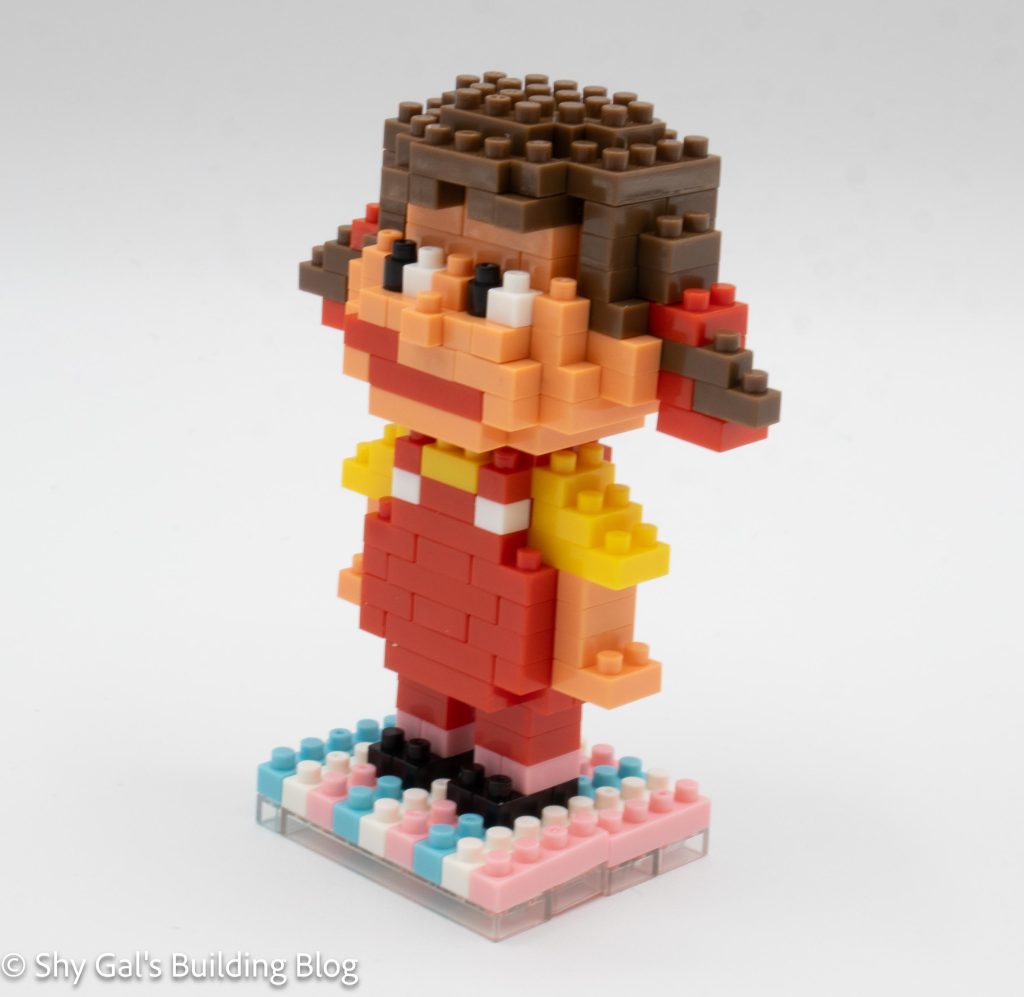
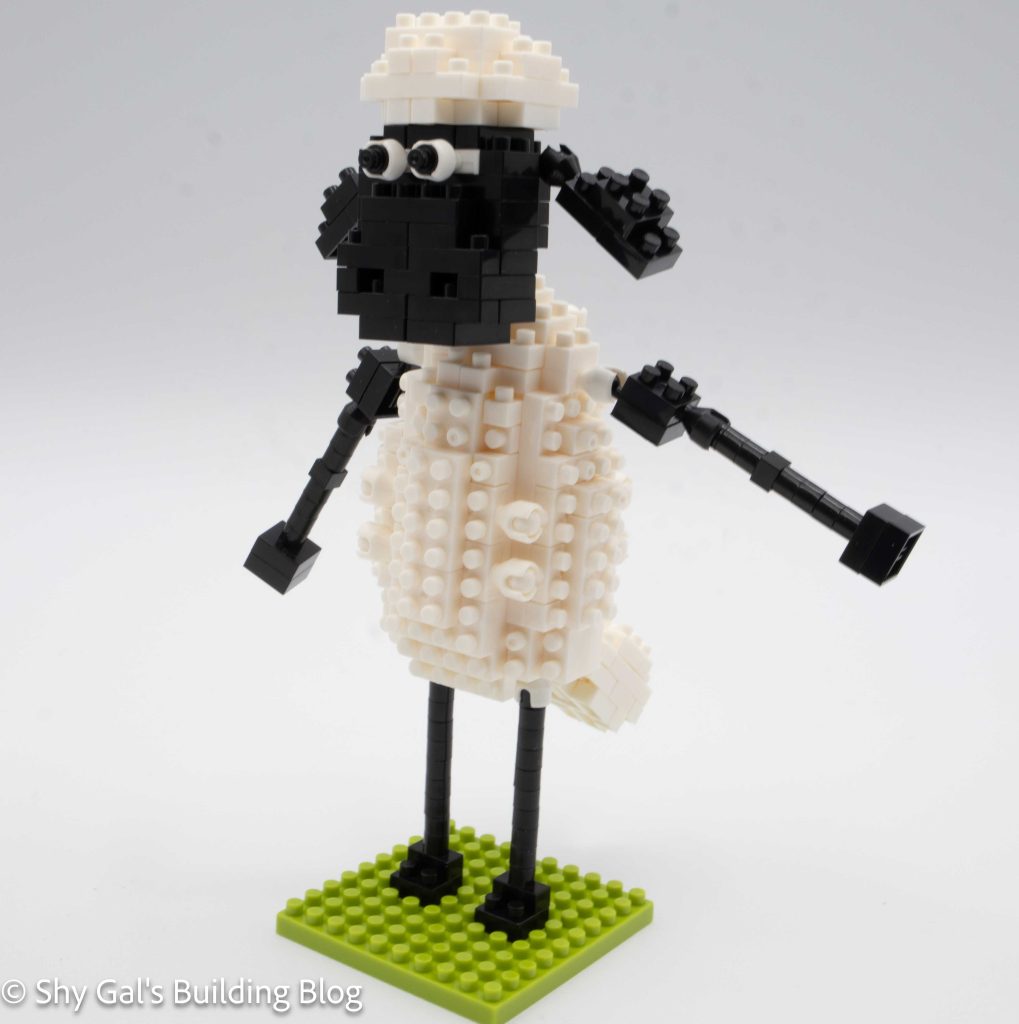
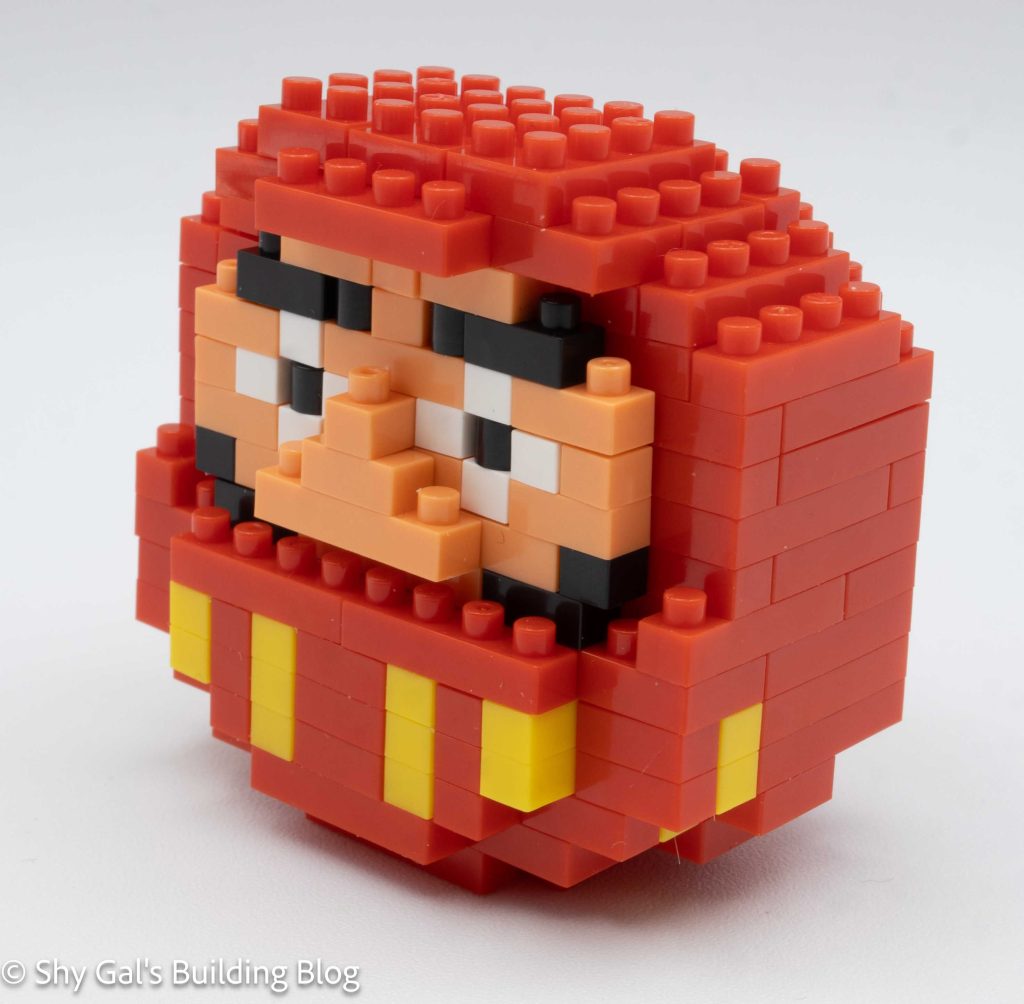
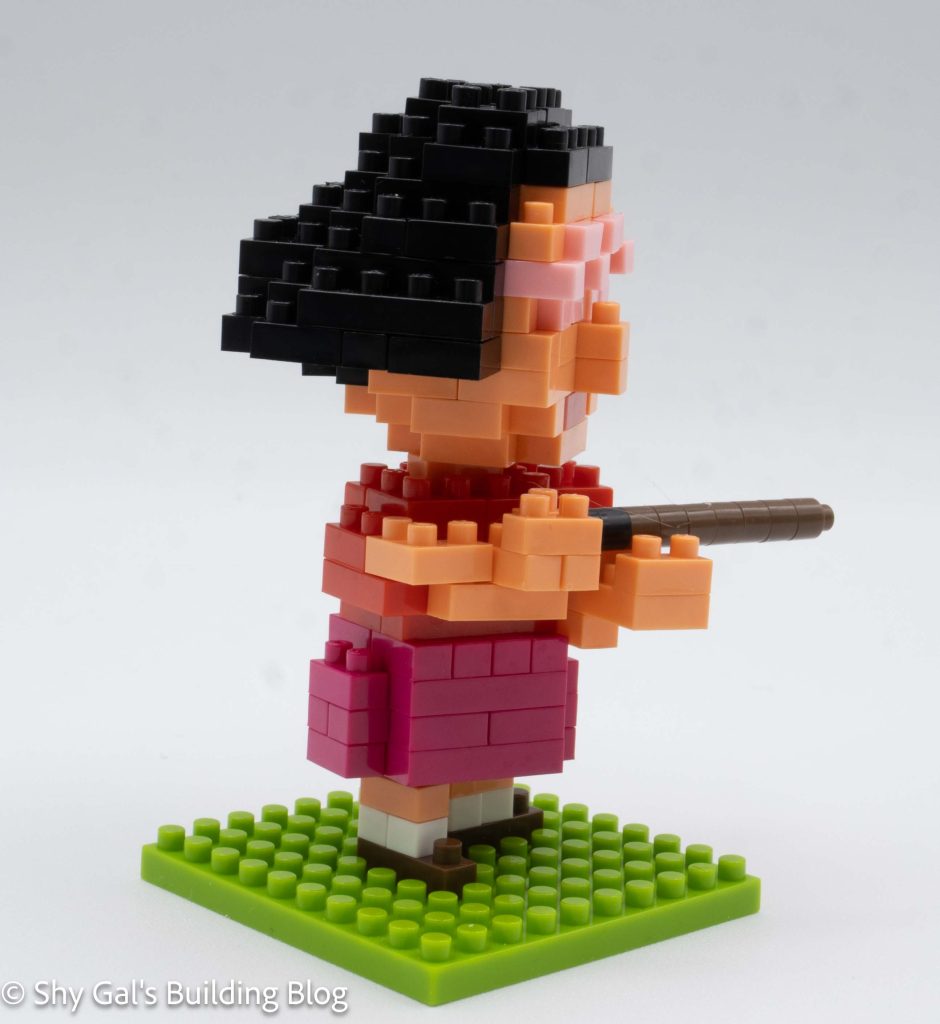
The head is by far the most difficult section to build. This is because of the glasses. The head starts with a base that builds up in layers. There are several sections where there are overhangs held on by one stud. The glasses are tricky because they are created with 1×1 and 1×2 with 1 stud on top. Getting everything lined up is tricky.
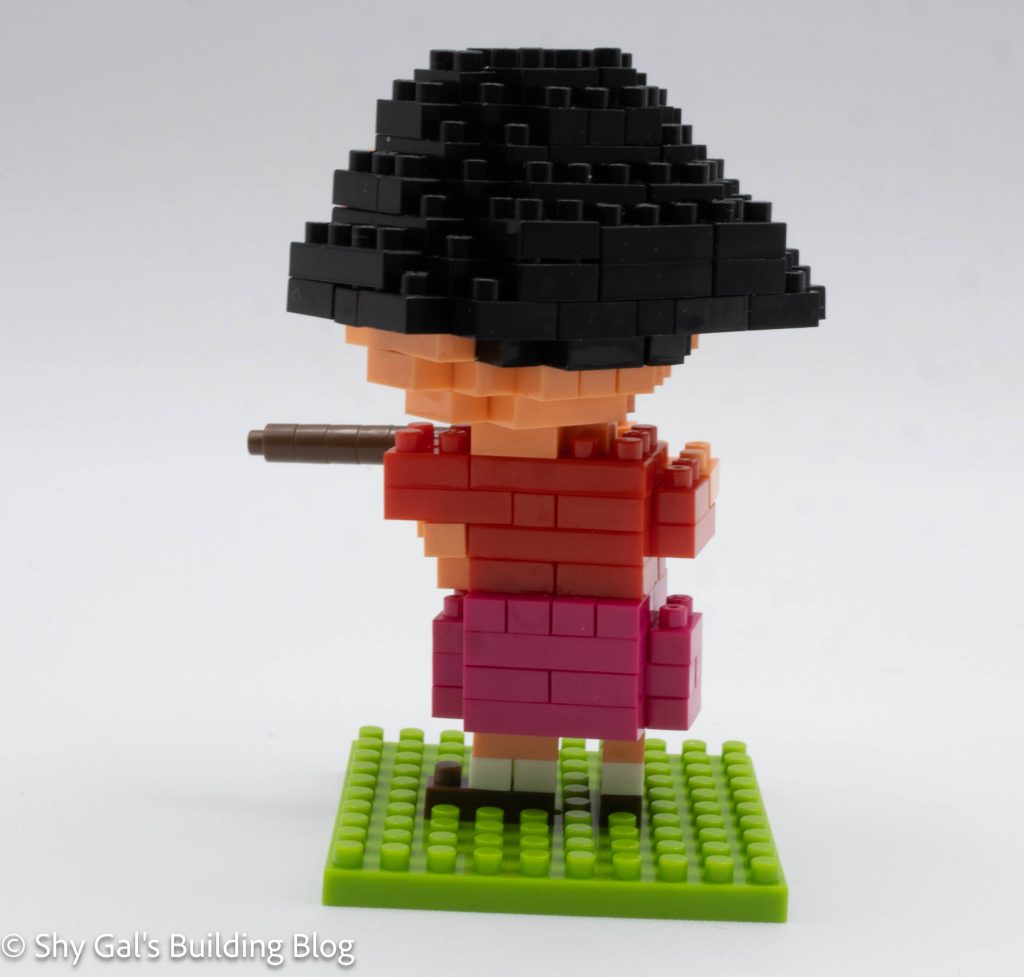
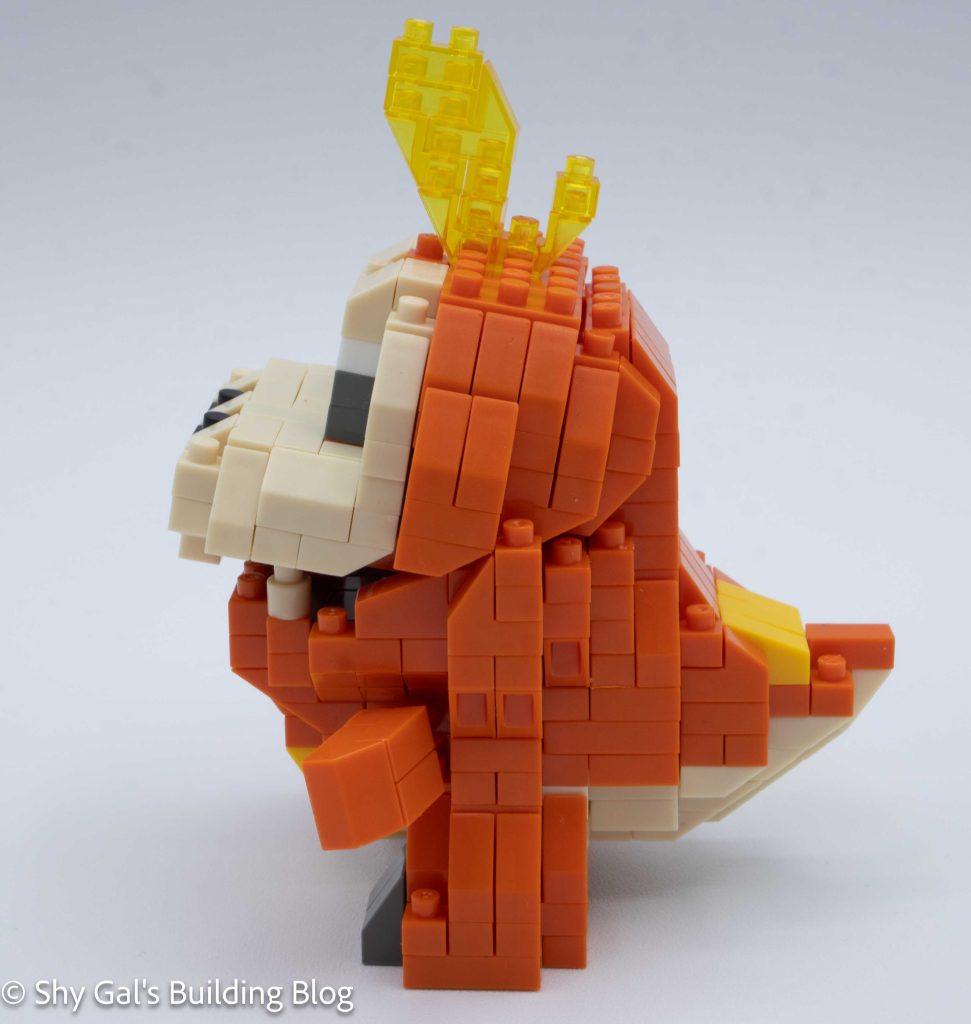
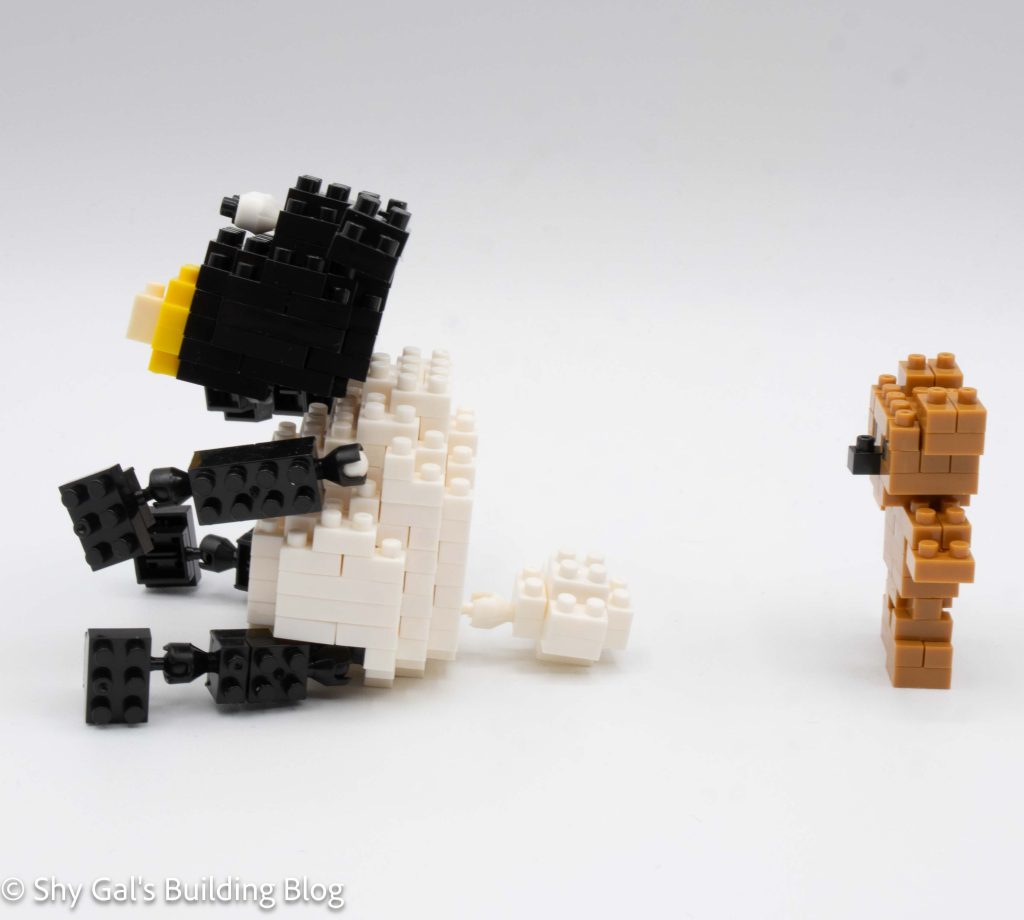
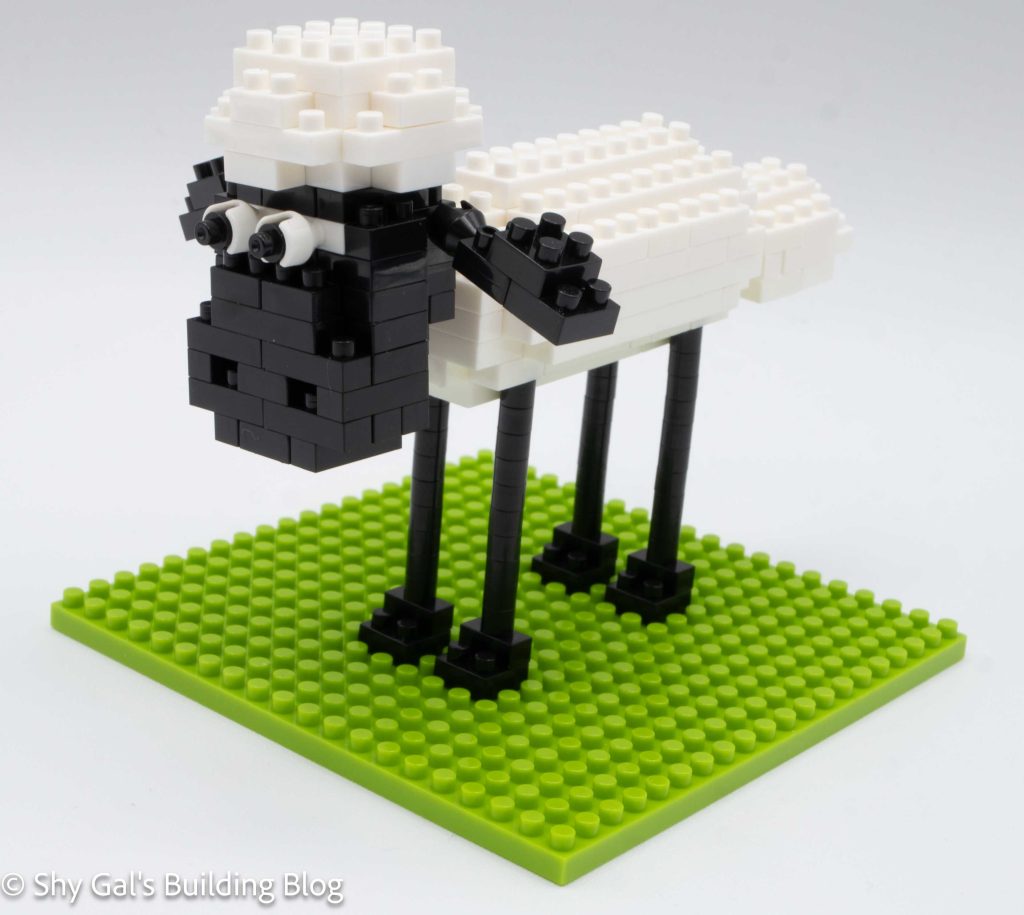
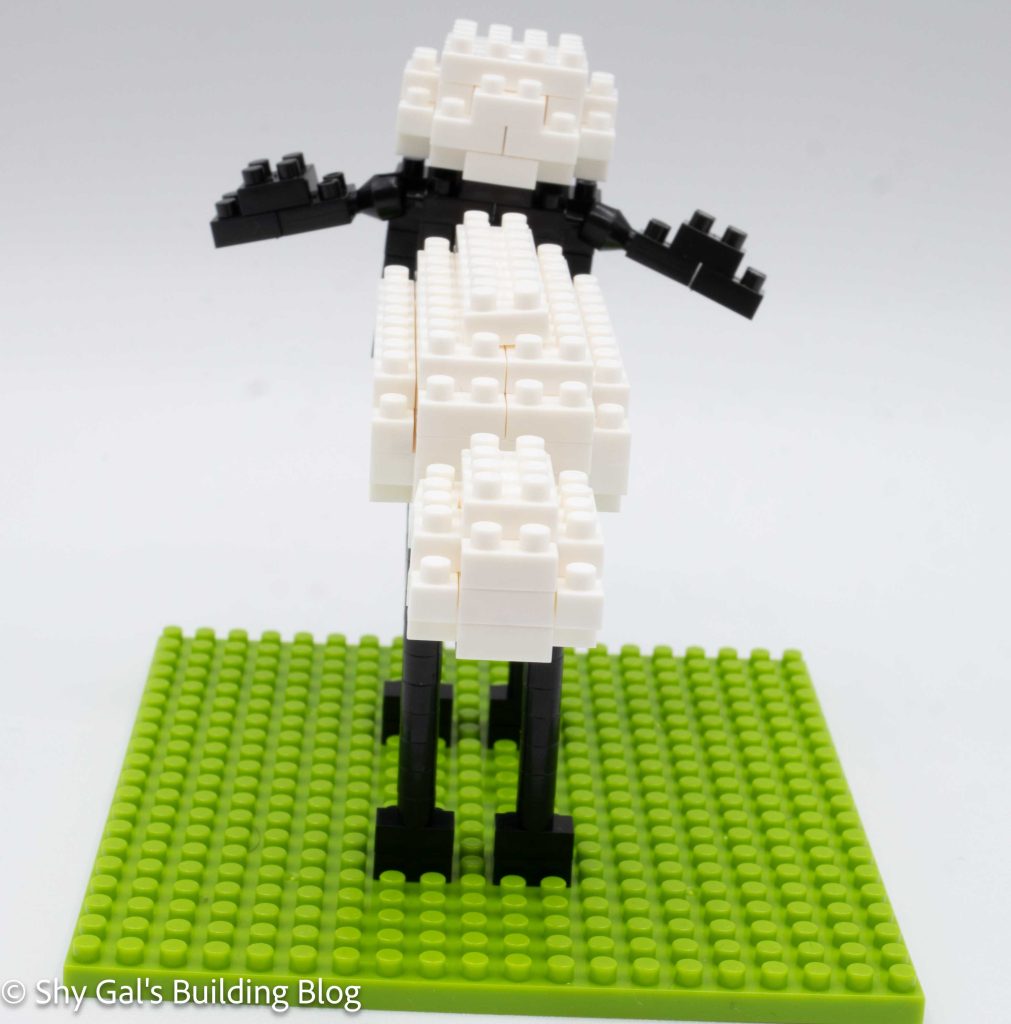
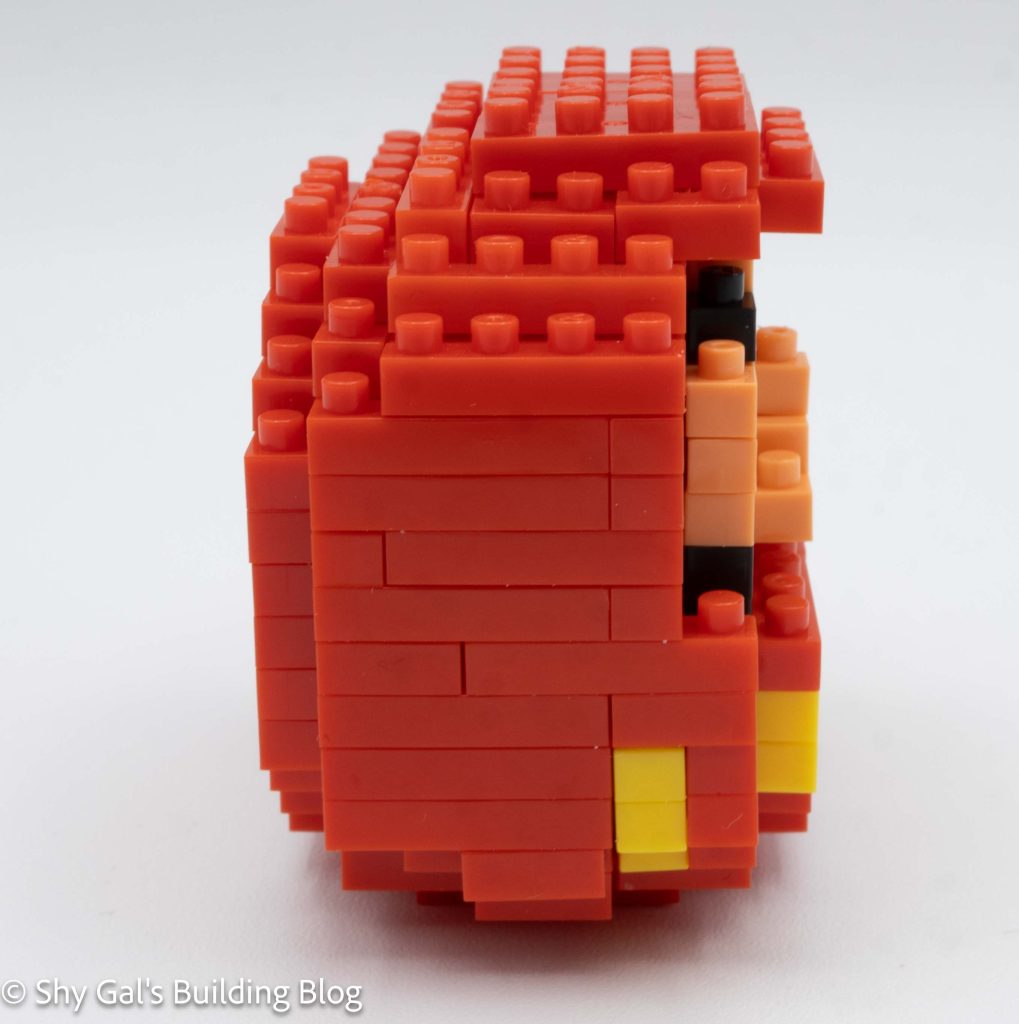
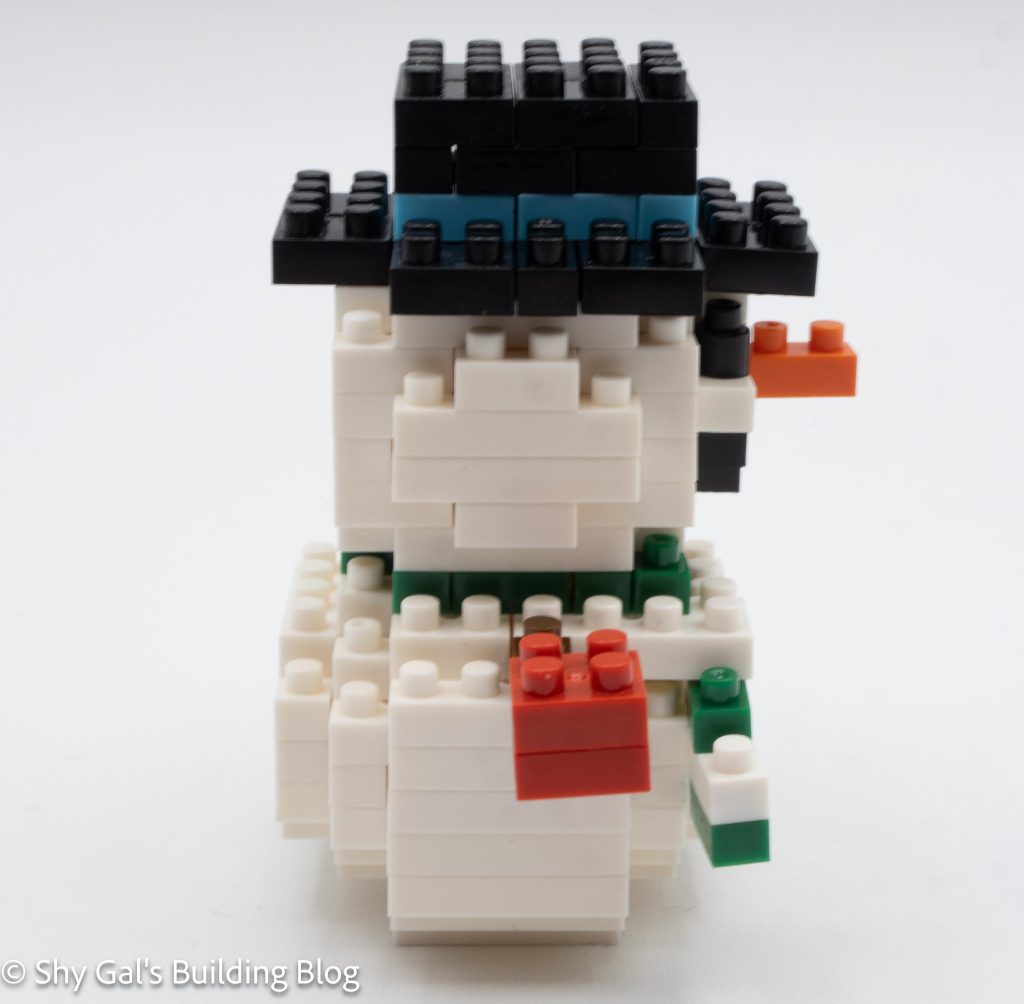
The skirt and body were fairly straightforward. The hardest part was building the arms. Once again, each arm was held in place with one stud. The arms are locked in place, so once they are put together, they have an easy time staying in place.
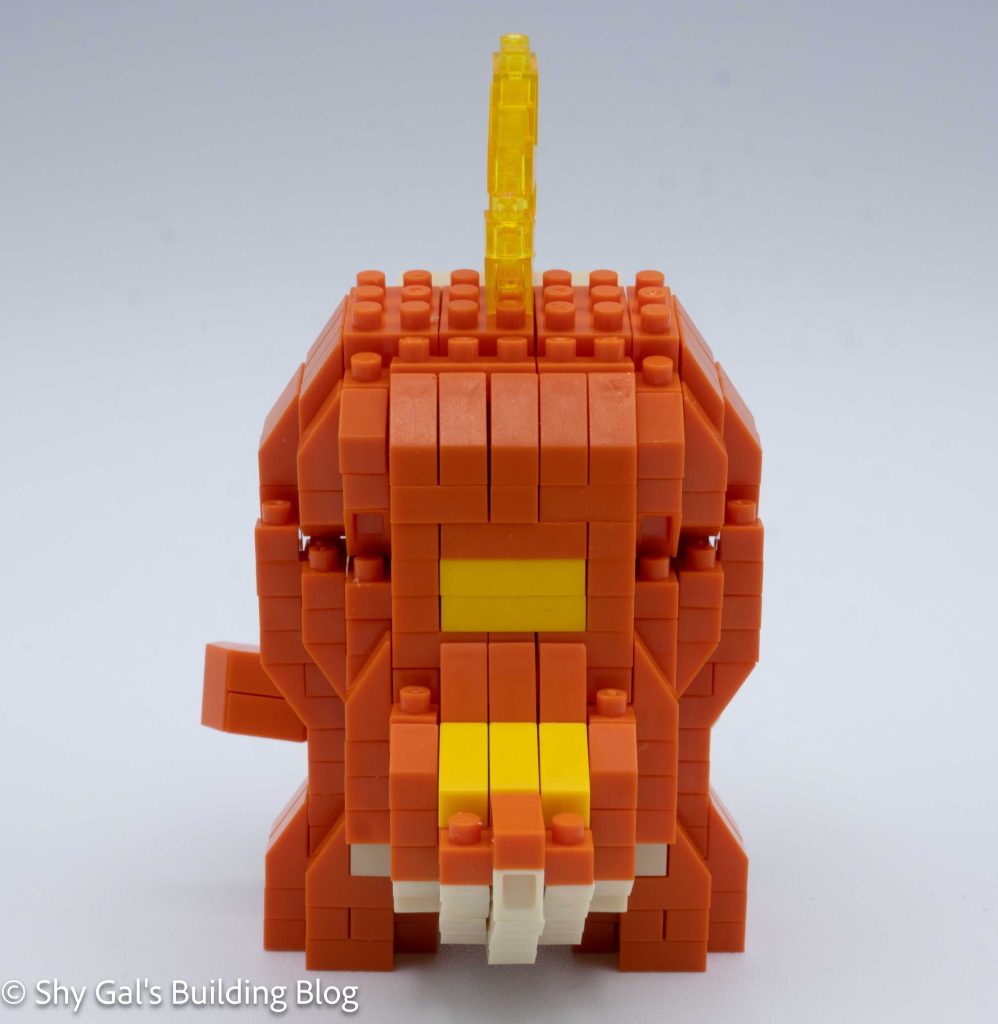
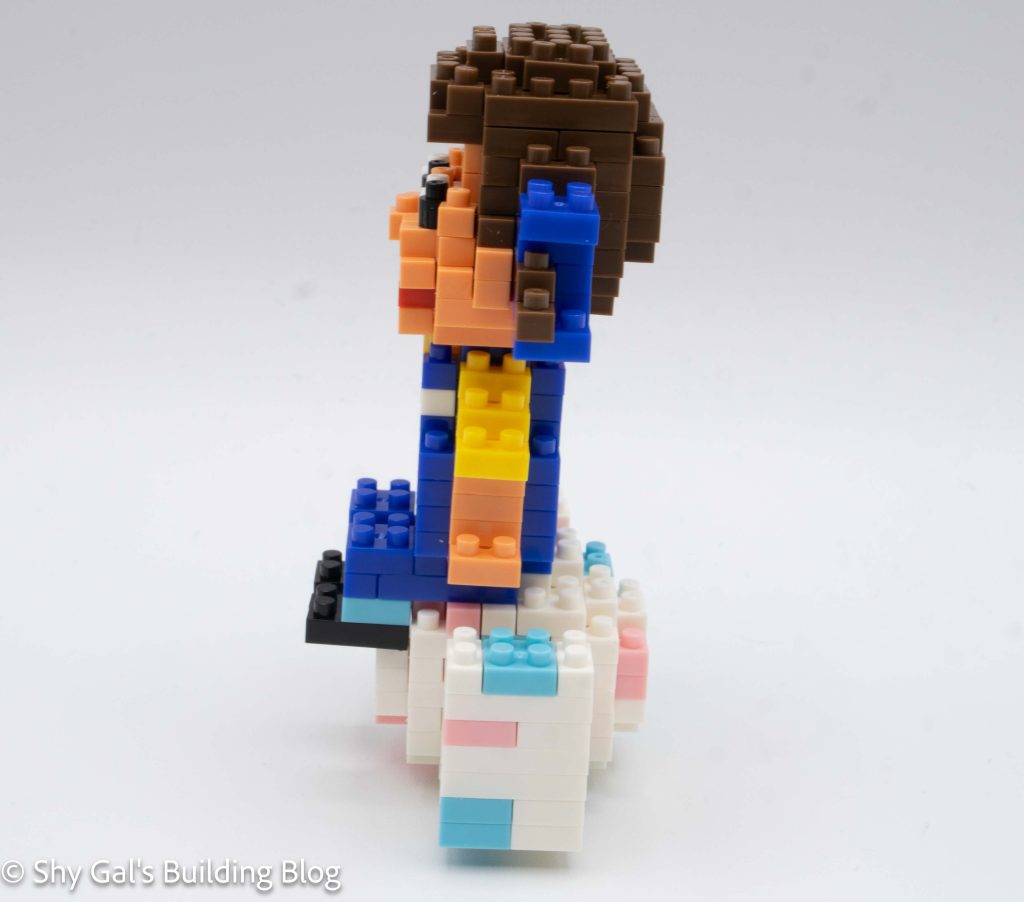
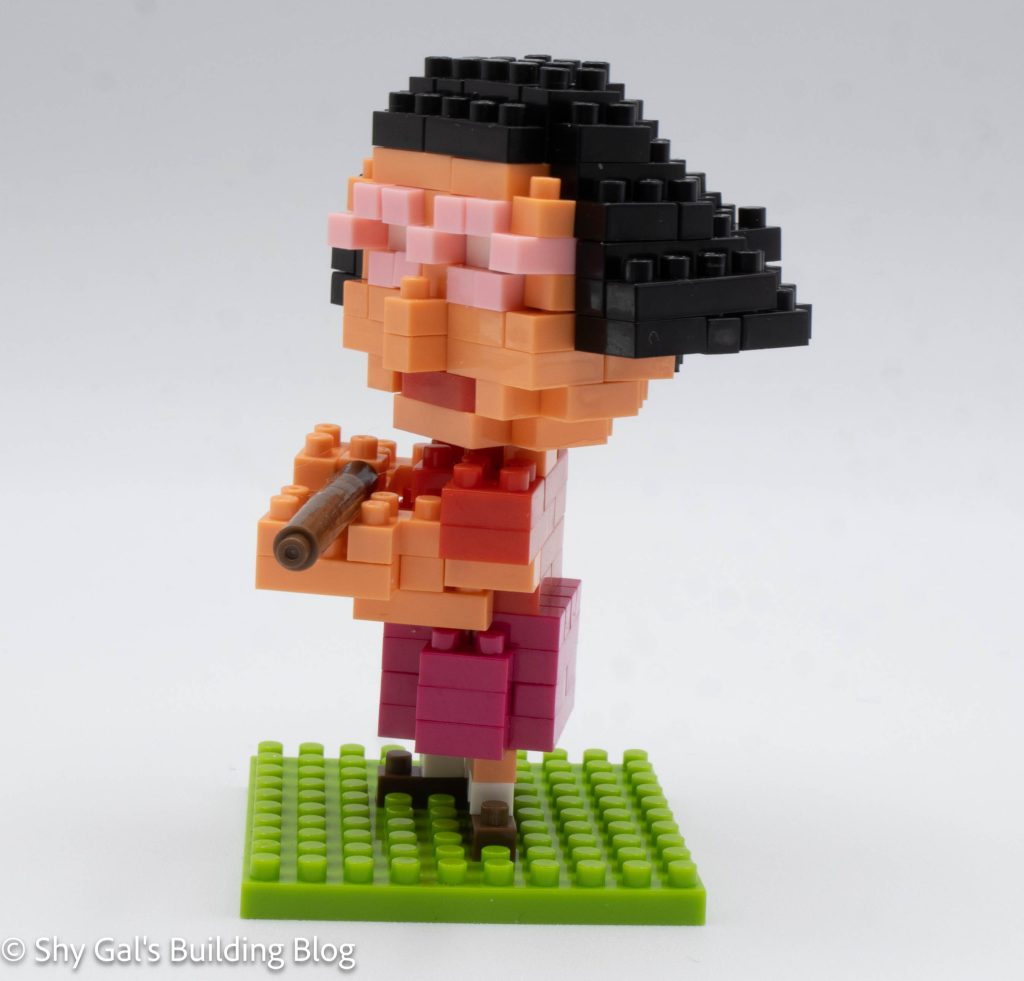
The base section is very straightforward and is simply attaching the legs to the base.
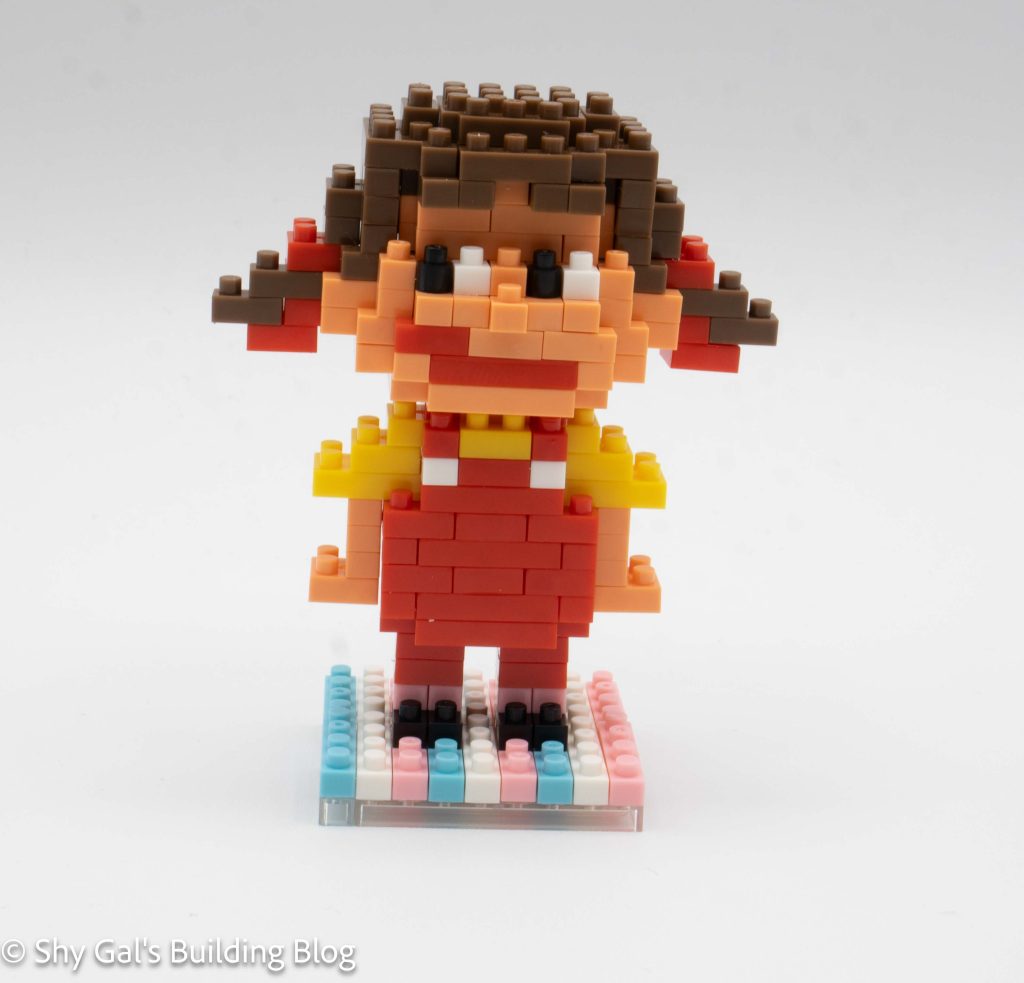
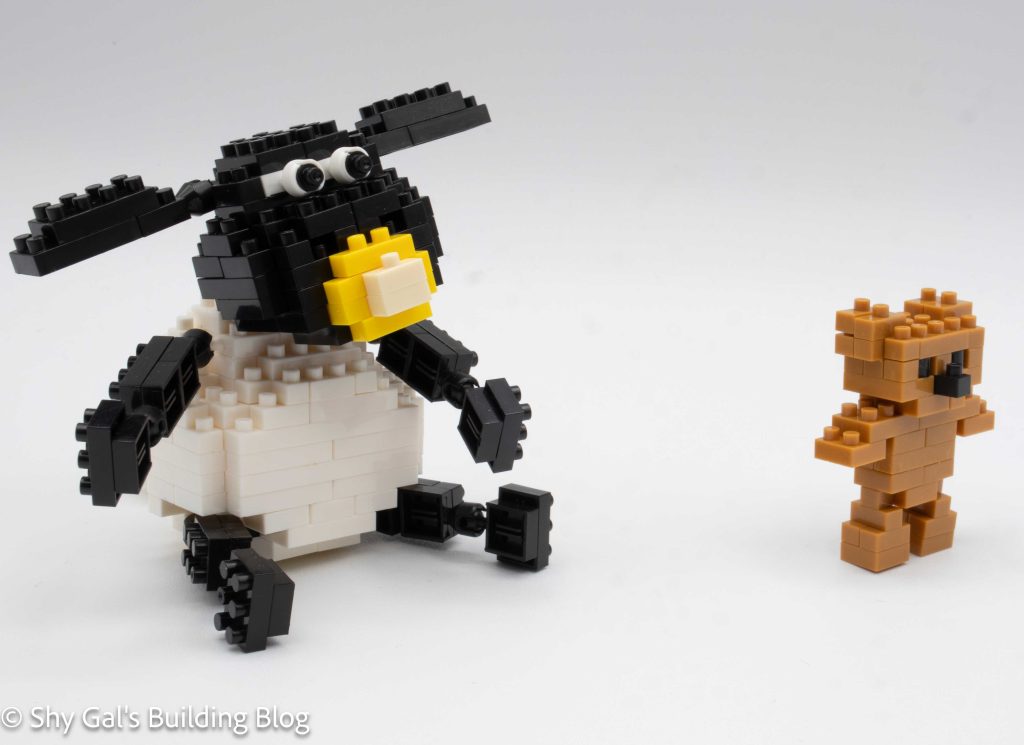
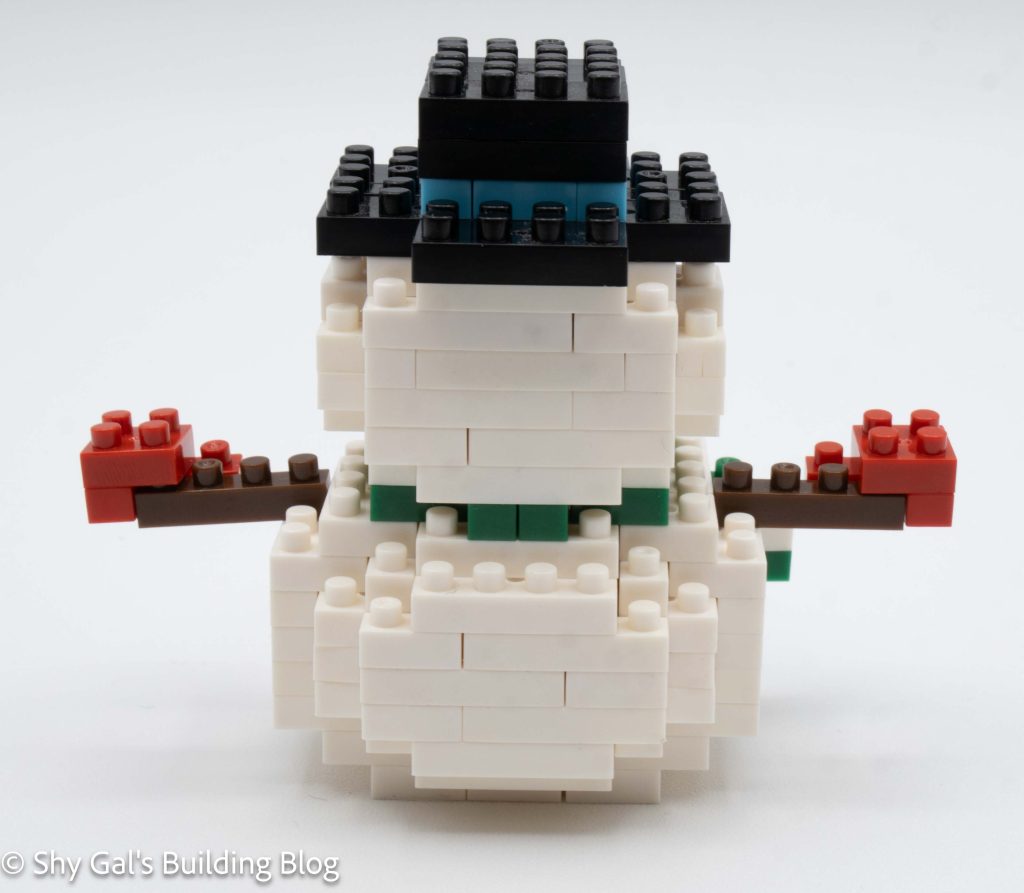
The hardest part was was putting the final build together. Each section is at an angle. There isn’t really much guidance on where to put each section.
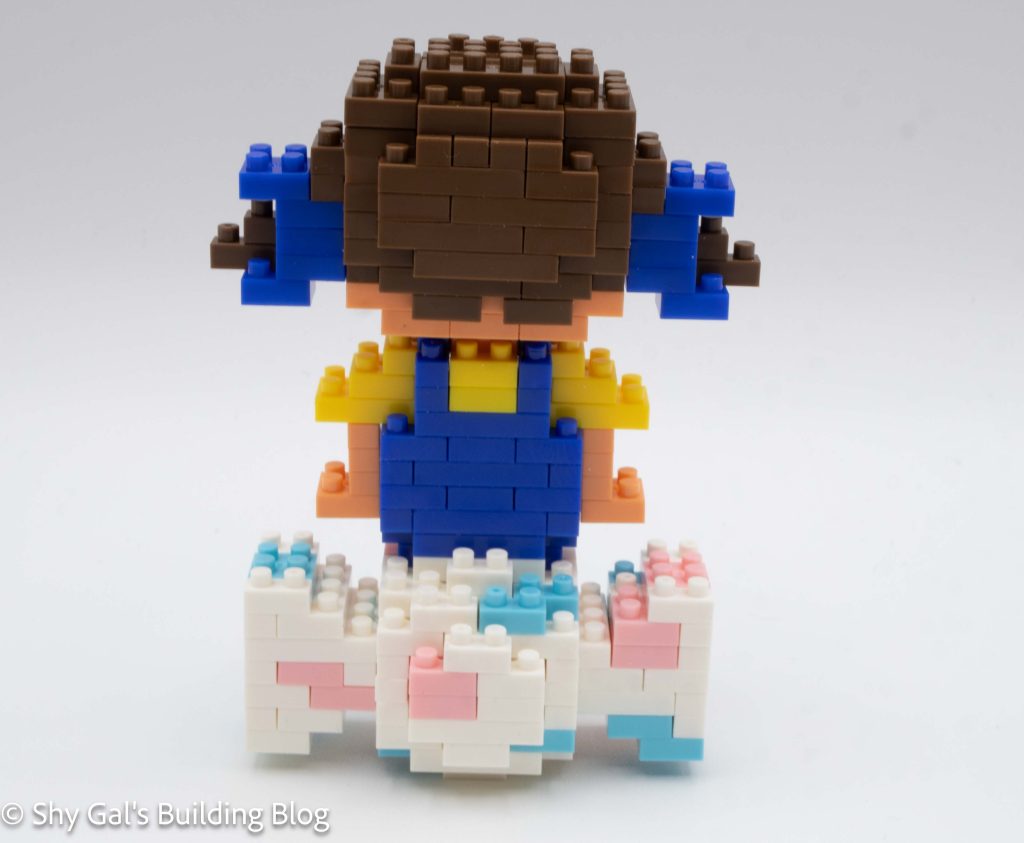
Things I liked:
- I like the depth and detail in the glasses
Things I didn’t like:
- I didn’t like the lack of guidance as to how to put the sections together