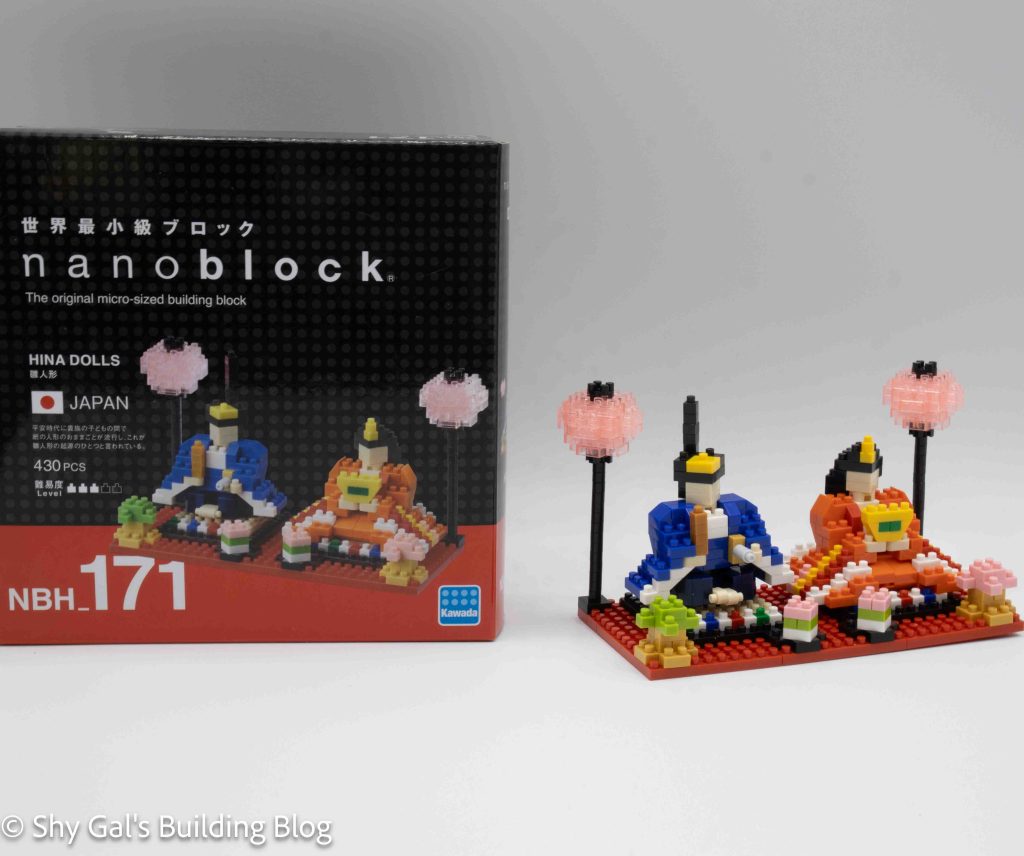
This post is a review of the nanoblock Hina Dolls build. Hina Dolls is part of the nanoblock Sights to See collection. Wondering what else is part of the Sights to See collection? Click here for a list.
Number: NBH_171
Country: Japan
Number of Pieces: 430
Difficulty Rating: 3/5
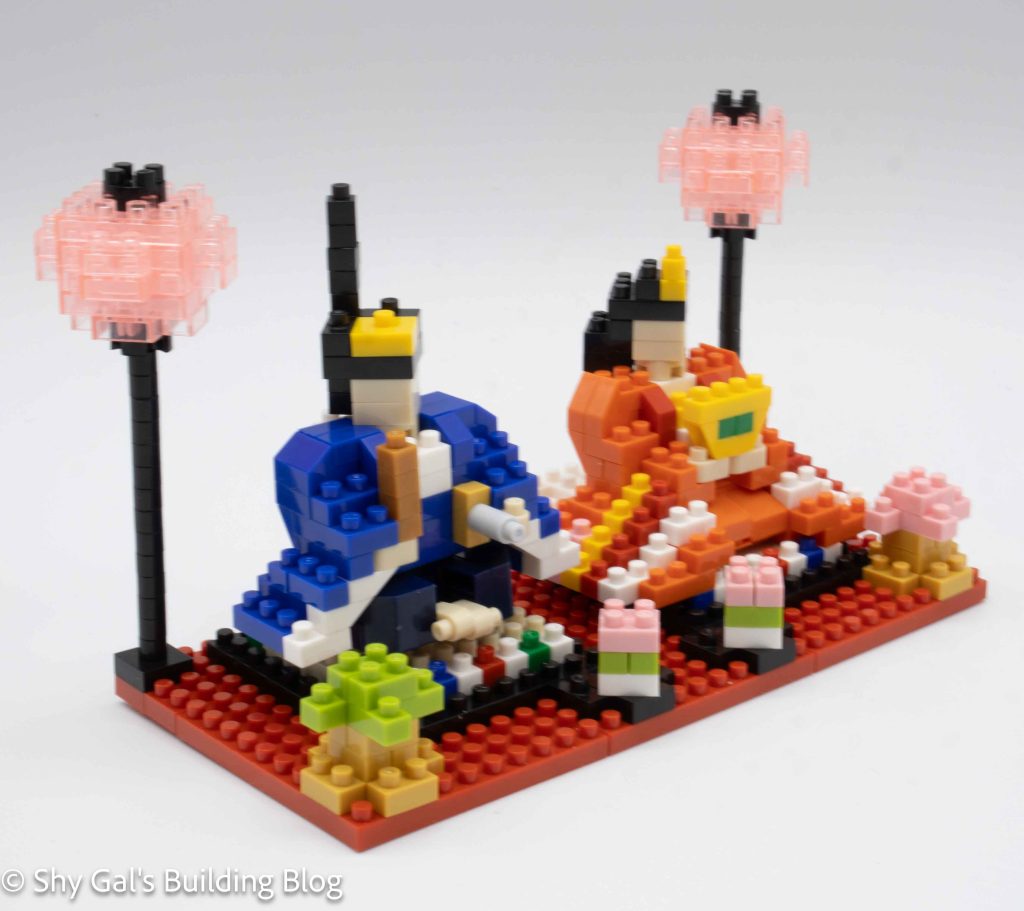
This build is for the emperor and empress dolls from the traditional girl’s day doll set. These dolls traditionally sit on top of the stand of dolls.
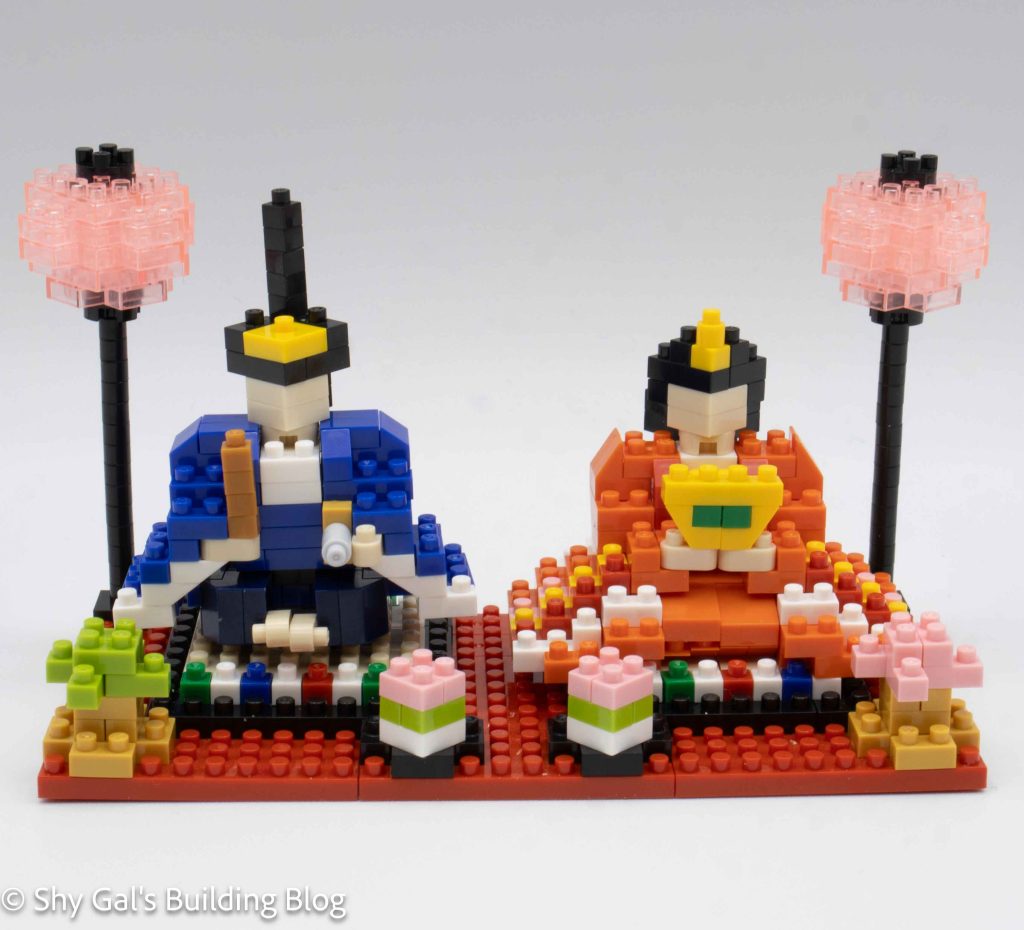
There are several sections to this build, including the base, the empress, the emperor, and the final details.
The base begins with 3 10×10 red square bases. The row took up most of my nanoblock pad, but I was still able to lay out the bricks. Then more red bricks are added to the back to create the entire base layer for the bricks. Next, the details for the pillows that the dolls sit on are added. These details are still visible on the final build so it didn’t feel like a waste adding the details.
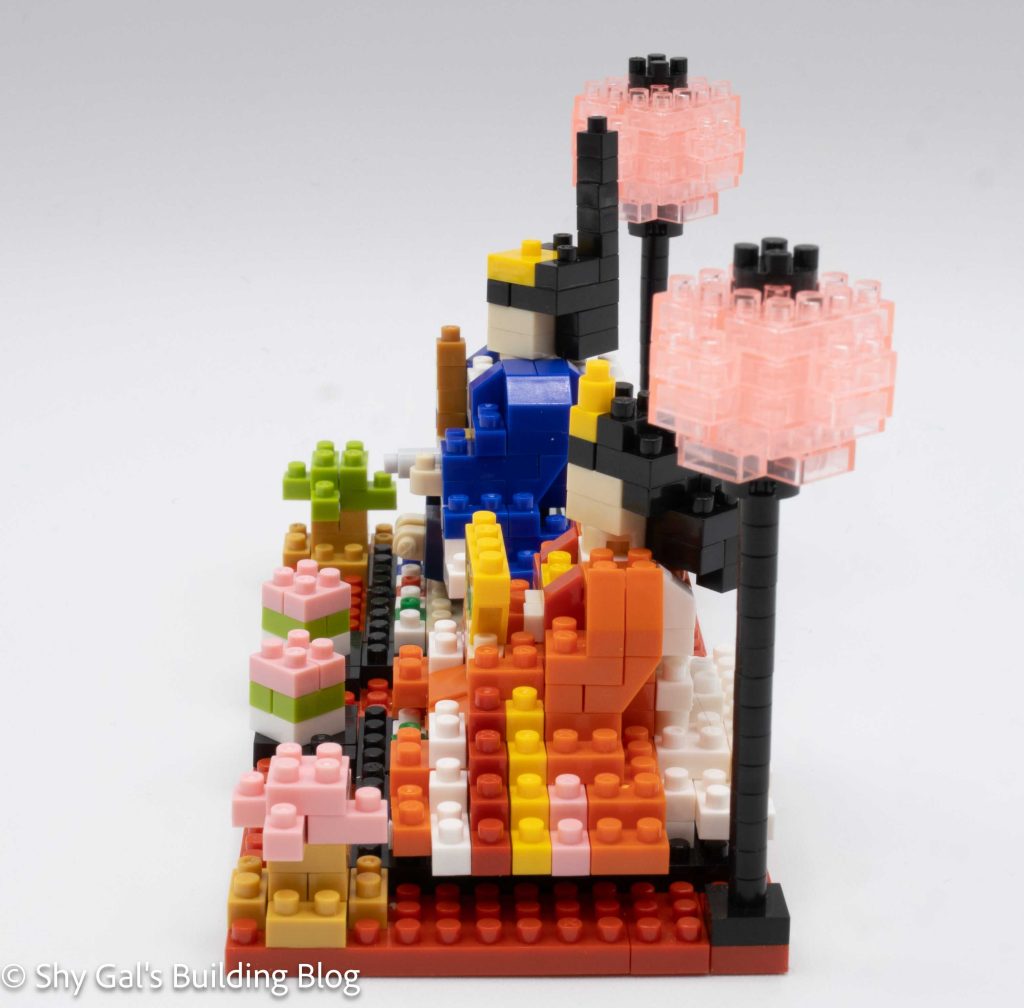
The second section is the empress doll. She is built directly on the base in layers. There are a lot of details that make up her kimono, so I needed to be careful when adding each layer to make sure the stripes lined up. Other than the detail, the build was fairly straightforward other than the head. The instructions for the head were clear, but it was a bit challenging to see where the finished sections would end up.
The third section is the emperor doll. He is built off the base and added to the base once the doll is complete. I had a lot of trouble with the emperor. This is because of the Dark Blue bricks. The bricks looked black when I was building the kit, so I kept needing to take sections apart when I noticed I had used the wrong color. It was also very difficult to tell which shade of blue I was supposed to use when looking at the directions, and not every brick had a color pointing to it.
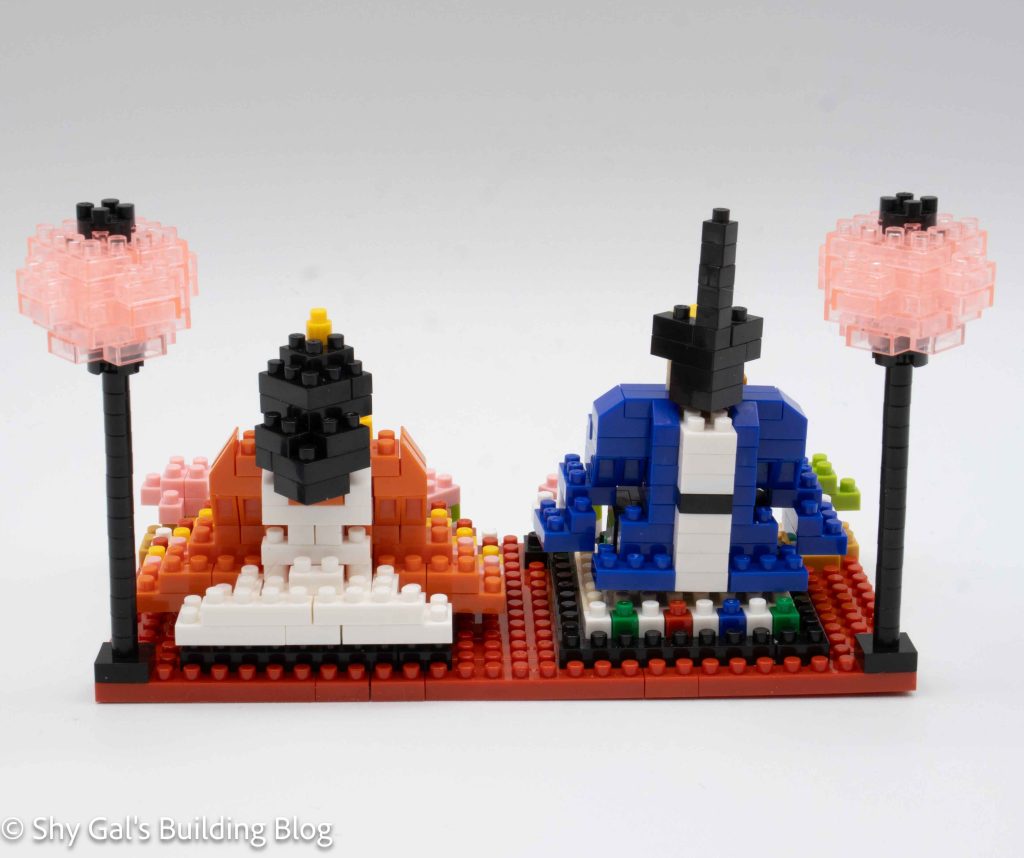
The emperor begins by putting the spine and upper torso together. Then, the legs and hips are built and attached to the main section. Finally, the head is built and attached to the body. I had a bit of difficulty figuring out where exactly the emperor went when I attached him to the base, but I think my final build looks fine.
The last set of steps is to build the details of the platform. This includes lanterns, bonsai trees, and mochi. Each section is very straightforward. The hardest part was moving the finished build once I attached the lanterns because they were so delicate.
Things I liked:
- I really like the amount of detail that is added to each of the dolls in this build
Things I didn’t like:
- I didn’t like how the multiple shades of blue were handled in the directions