Review of nanoblock Hina Dolls NBH_171

Hina Dolls build and box

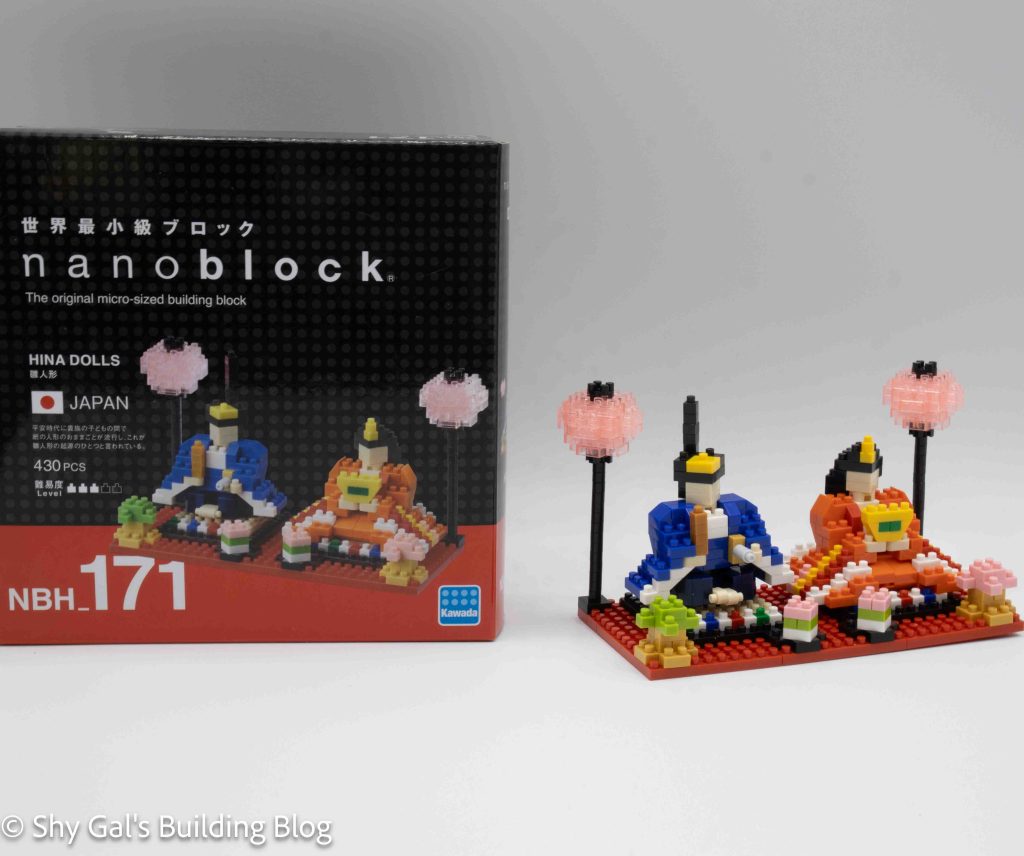
This post is a review of the nanoblock Hina Dolls build. Hina Dolls is part of the nanoblock Sights to See collection. Wondering what else is part of the Sights to See collection? Click here for a list.

Number: NBH_171

Country: Japan

Number of Pieces: 430

Difficulty Rating: 3/5
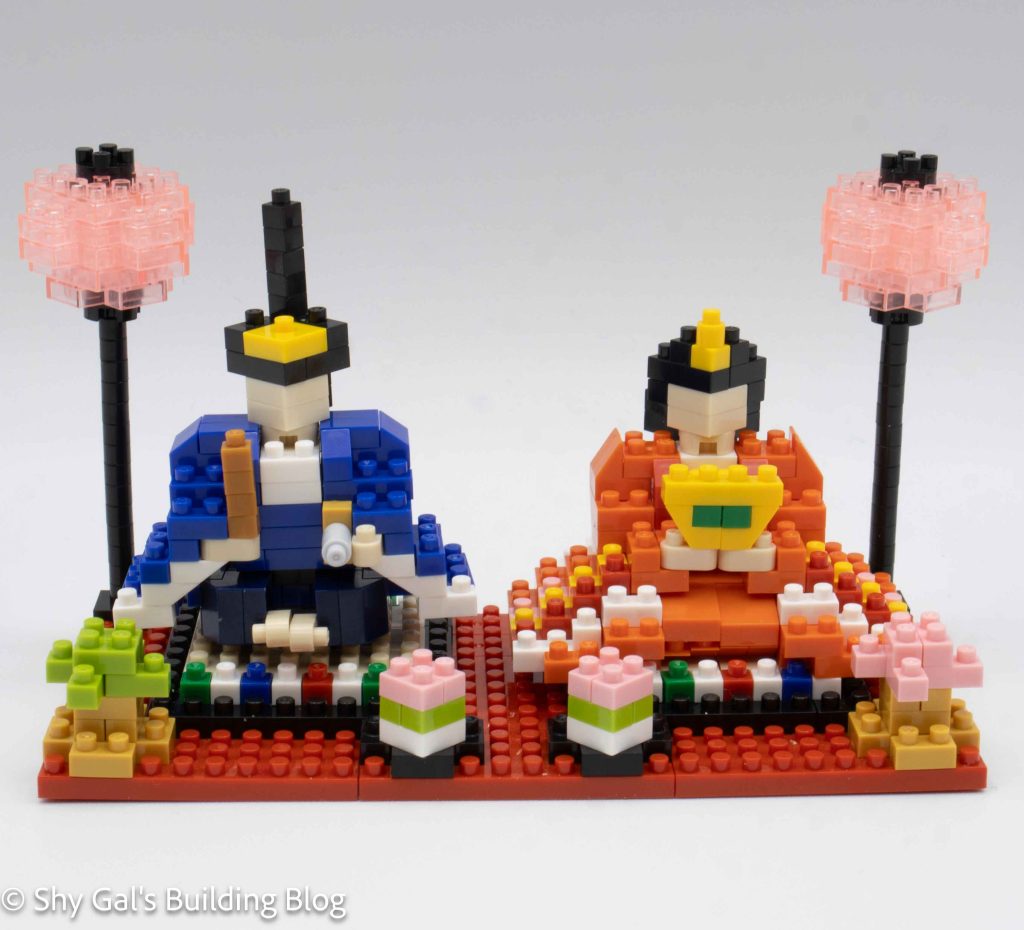
Hina Dolls build front view

This build is for the emperor and empress dolls from the traditional girl’s day doll set. These dolls traditionally sit on top of the stand of dolls.

There are several sections to this build, including the base, the empress, the emperor, and the final details.

The base begins with 3 10×10 red square bases. The row took up most of my nanoblock pad, but I was still able to lay out the bricks. Then more red bricks are added to the back to create the entire base layer for the bricks. Next, the details for the pillows that the dolls sit on are added. These details are still visible on the final build so it didn’t feel like a waste adding the details.
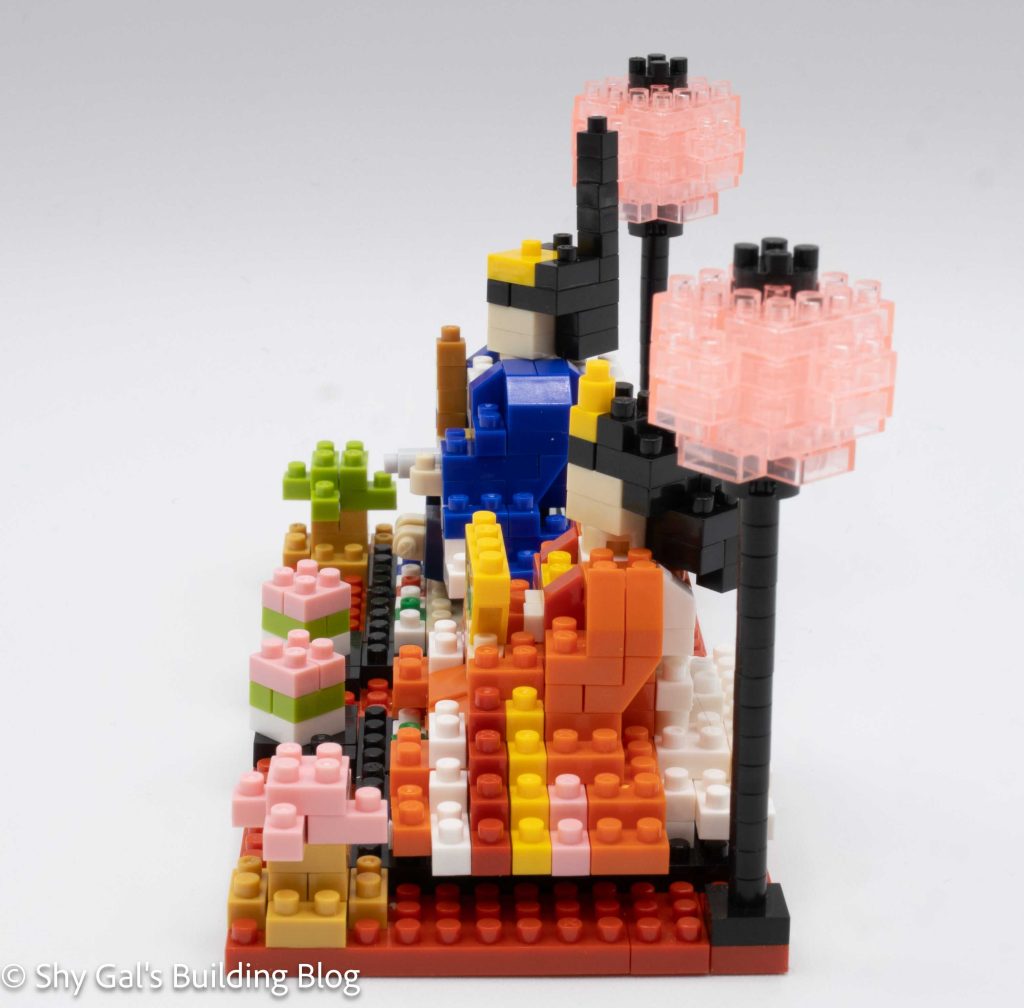
Hina Dolls build side view

The second section is the empress doll. She is built directly on the base in layers. There are a lot of details that make up her kimono, so I needed to be careful when adding each layer to make sure the stripes lined up. Other than the detail, the build was fairly straightforward other than the head. The instructions for the head were clear, but it was a bit challenging to see where the finished sections would end up.

The third section is the emperor doll. He is built off the base and added to the base once the doll is complete. I had a lot of trouble with the emperor. This is because of the Dark Blue bricks. The bricks looked black when I was building the kit, so I kept needing to take sections apart when I noticed I had used the wrong color. It was also very difficult to tell which shade of blue I was supposed to use when looking at the directions, and not every brick had a color pointing to it.
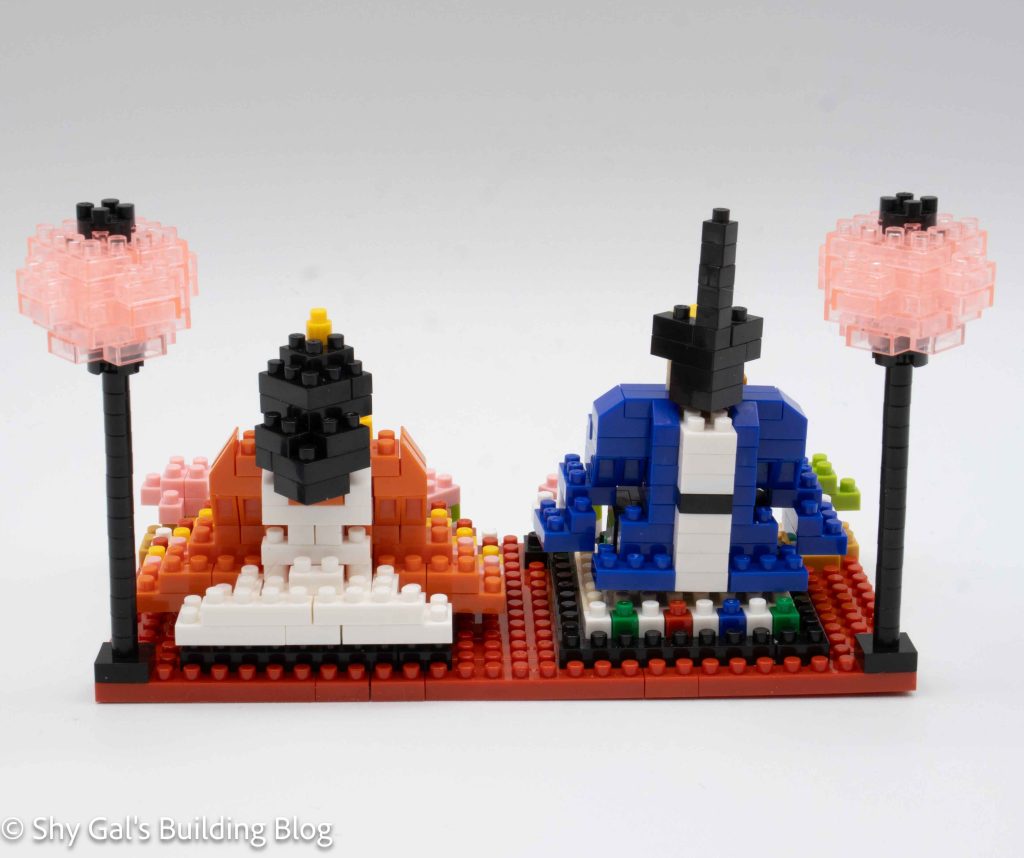
Hina Dolls build back view

The emperor begins by putting the spine and upper torso together. Then, the legs and hips are built and attached to the main section. Finally, the head is built and attached to the body. I had a bit of difficulty figuring out where exactly the emperor went when I attached him to the base, but I think my final build looks fine.

The last set of steps is to build the details of the platform. This includes lanterns, bonsai trees, and mochi. Each section is very straightforward. The hardest part was moving the finished build once I attached the lanterns because they were so delicate.
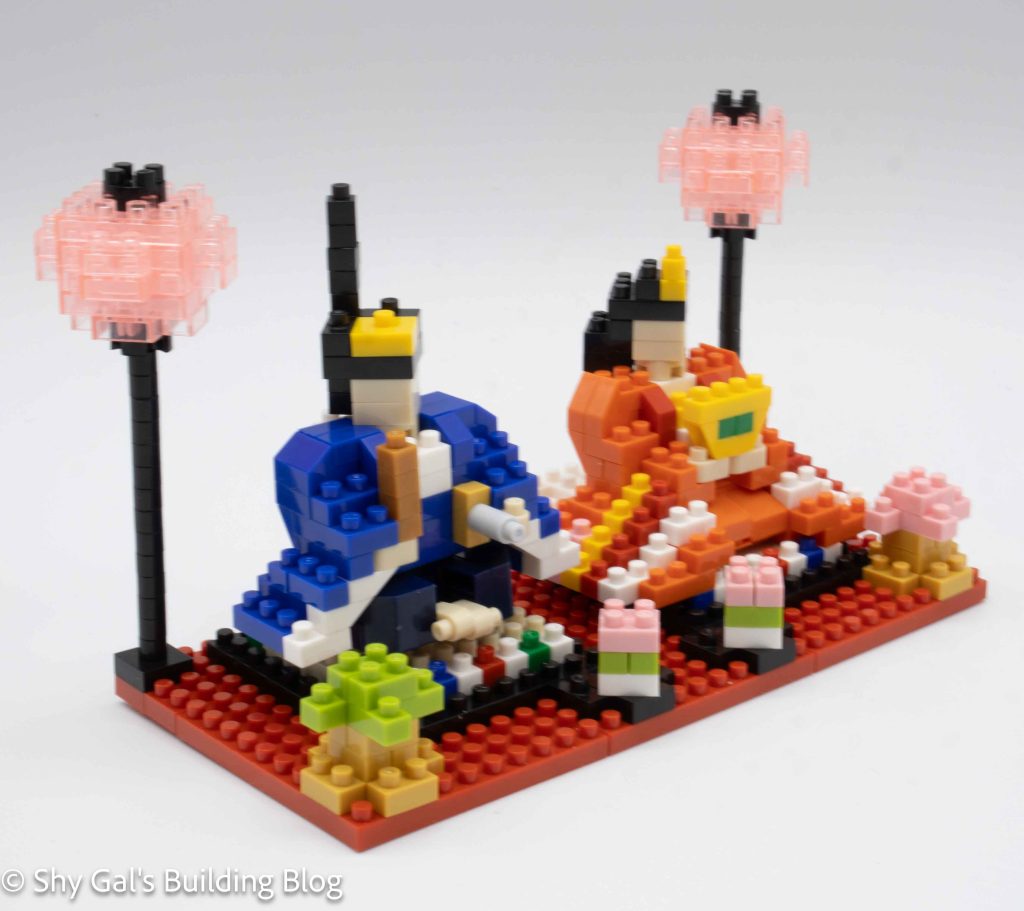
Hina Dolls build front 3/4 view

Things I liked:

  • I really like the amount of detail that is added to each of the dolls in this build

Things I didn’t like:

  • I didn’t like how the multiple shades of blue were handled in the directions
Review of nanoblock miffy & house NBH_013

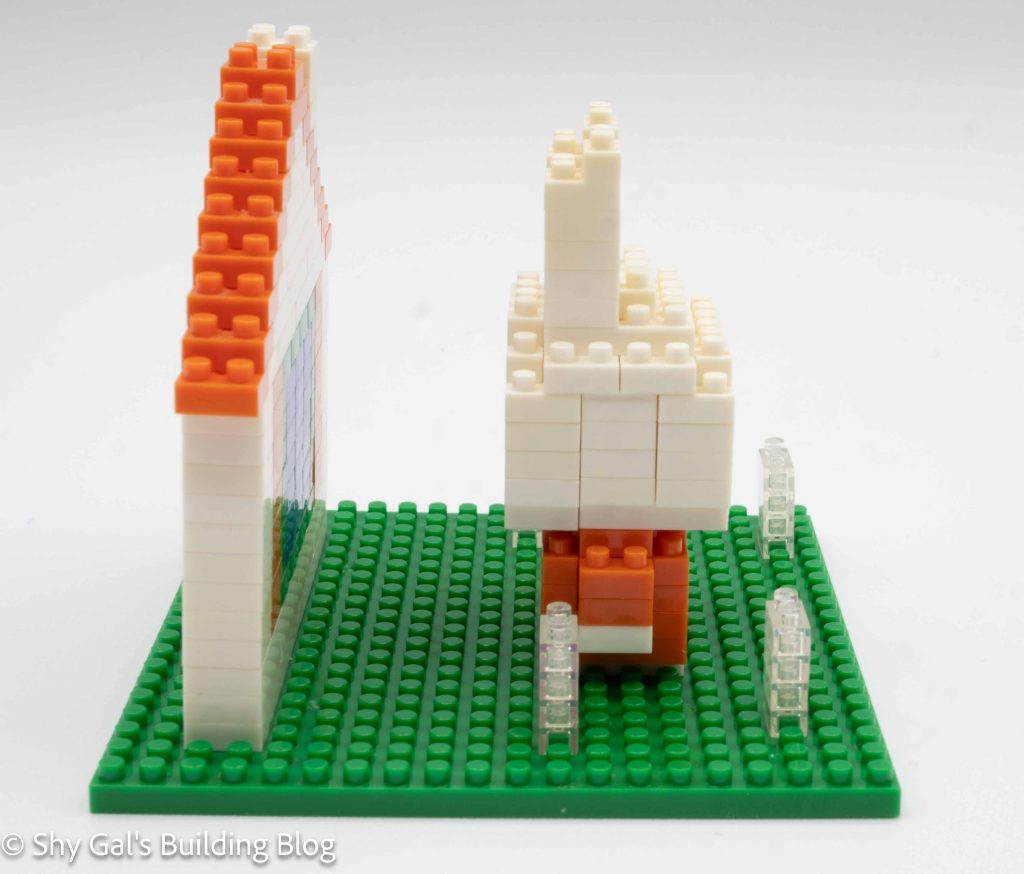
miffy & house build front view

This post is a review of the nanoblock miffy & house build. miffy & house is part of the nanoblock Sights to See collection. Wondering what else is part of the Sights to See collection? Click here for a list.

Number: NBH_013

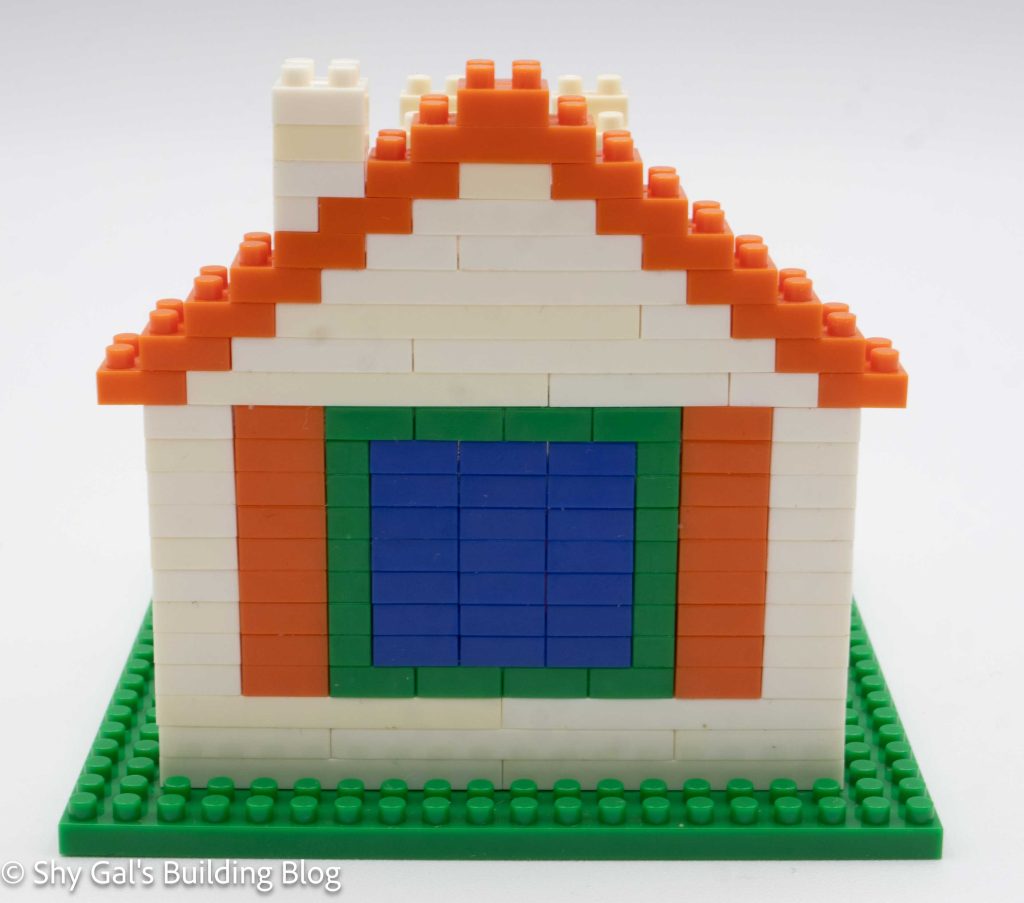
miffy & house build side view

I bought this kit used. This means miffy had already been built because a sticker is used to create the face. I didn’t get a box when I bought this kit, so I don’t know how many pieces or what the difficulty is.

I bought this kit used, knowing I would at least get the instructions. I ended additionally getting all the bricks to complete the kit. Sadly, however, the white has become yellow with age. The discolored bricks may be visible in my photographs.

miffy & house build back view

The instructions for this kit didn’t include the kit number, so I needed to look that up to get the correct number.

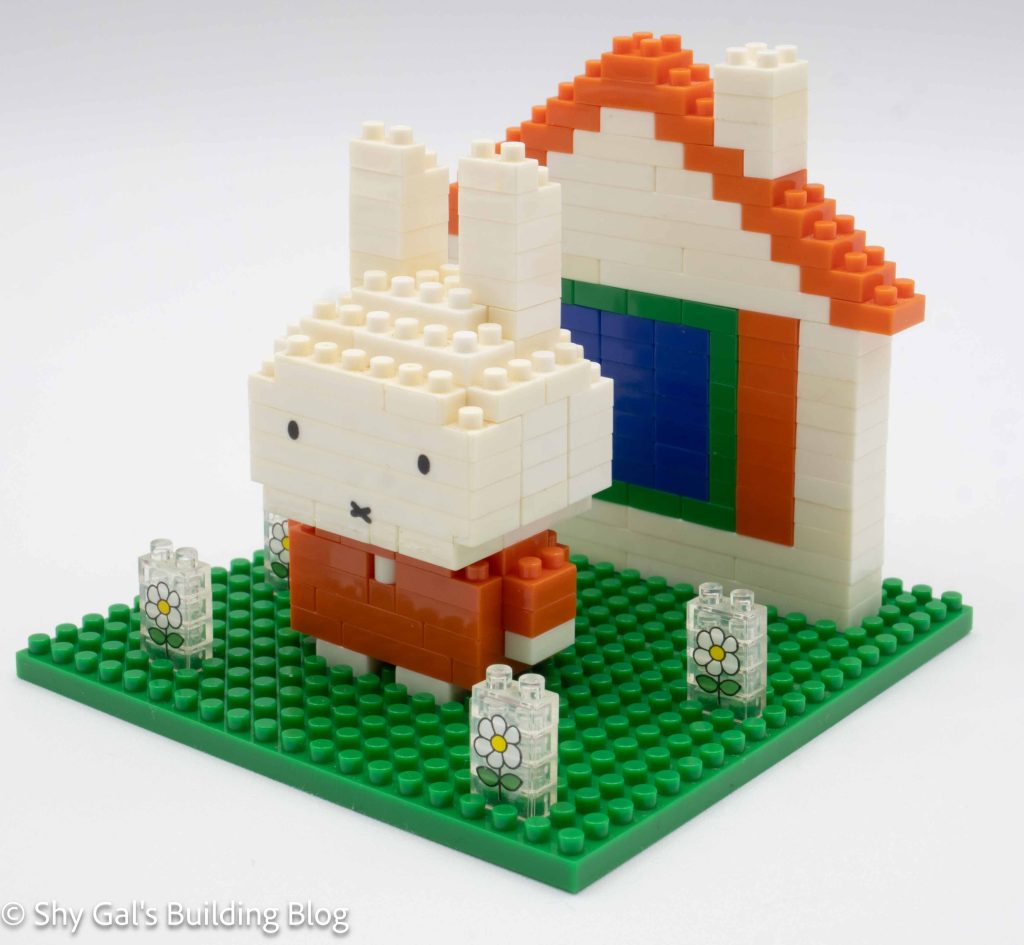
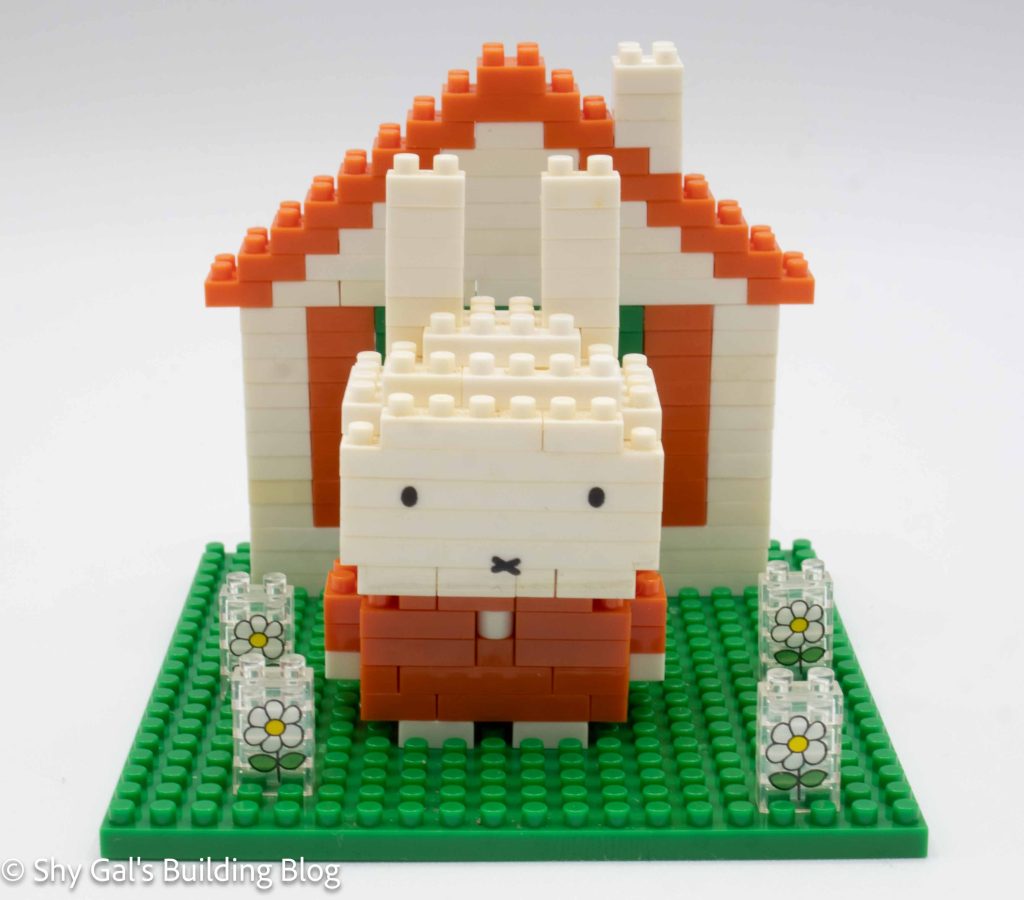
This build is miffy, standing on a green patch of grass with flowers and a house behind her.

Since this kit uses stickers to create the face, miffy came already built. I looked at the instructions to build her and they are very straightforward. The only thing that isn’t clear is when to add the sticker. This is because the kit is so old that there are no English instructions for how to complete the kit.

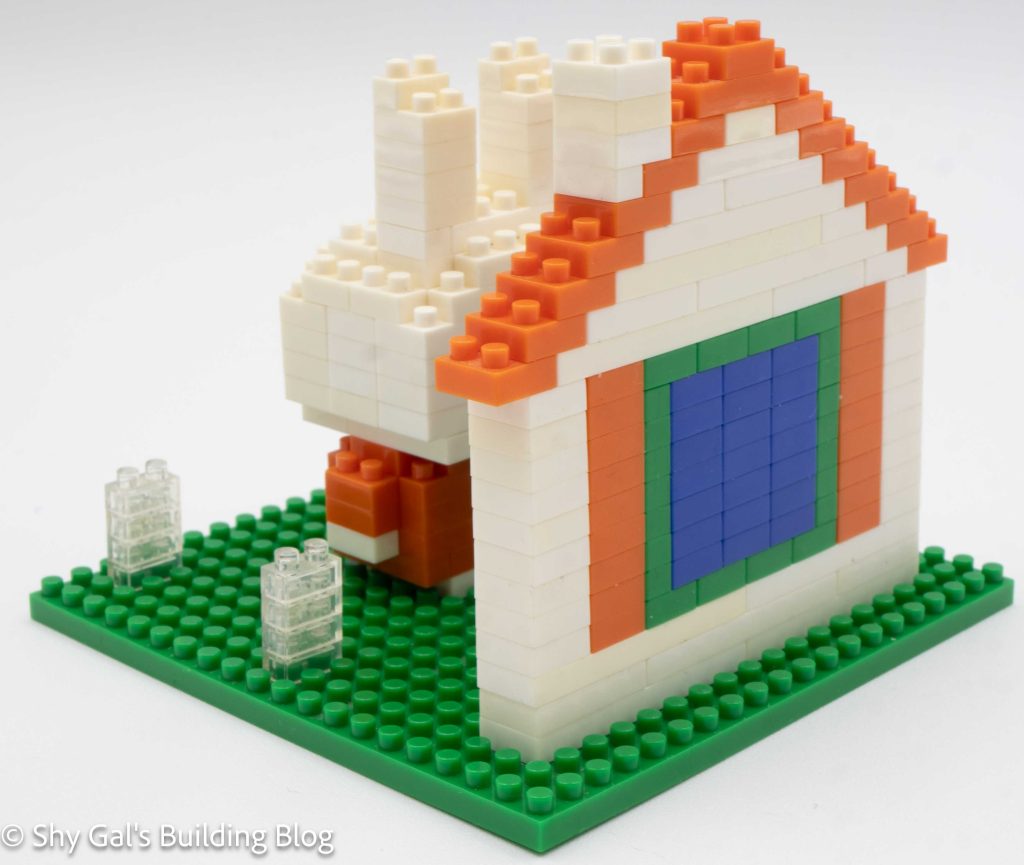
miffy & house build back 3/4 view

The house section of the build is also fairly simple. The hardest part is step 2, where several towers of bricks are added with no overlap so the tower can easily be pushed off. Once I added the first couple steps of the roof, all the towers were locked into place and no longer moved.

The flowers also came completed in my kit because they have stickers but were very straightforward if I needed to build them myself

miffy & house build front 3/4 view

Things I liked:

  • I like the flowers on the clear bricks and how they add some nice detail to the build

Things I didn’t like:

  • I’m not a fan of stickers that cover multiple bricks because it means I can’t take the build parts to store it

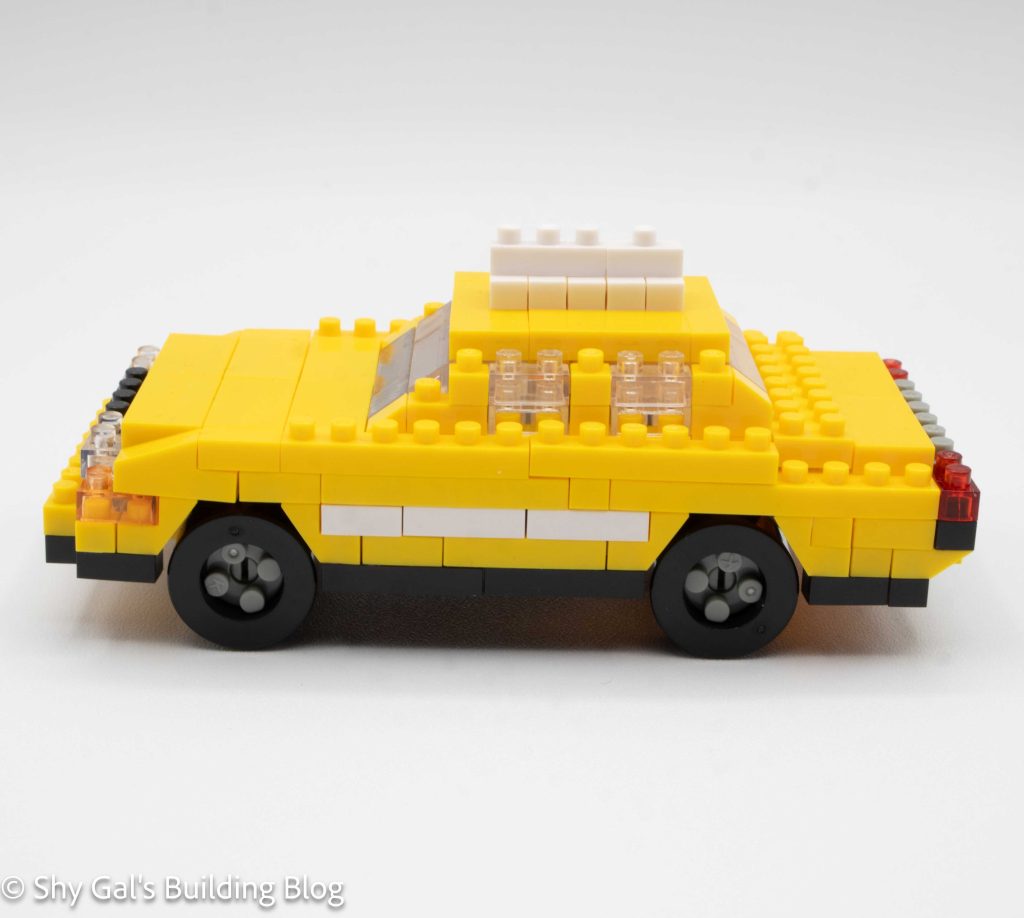
Review of nanoblock New York Taxi NBH_114

New York Taxi build side view

This post is a review of the nanoblock New York Taxi build. The New York Taxi is part of the nanoblock Sights to See collection. Wondering what else is part of the Sights to See collection? Click here for a list.

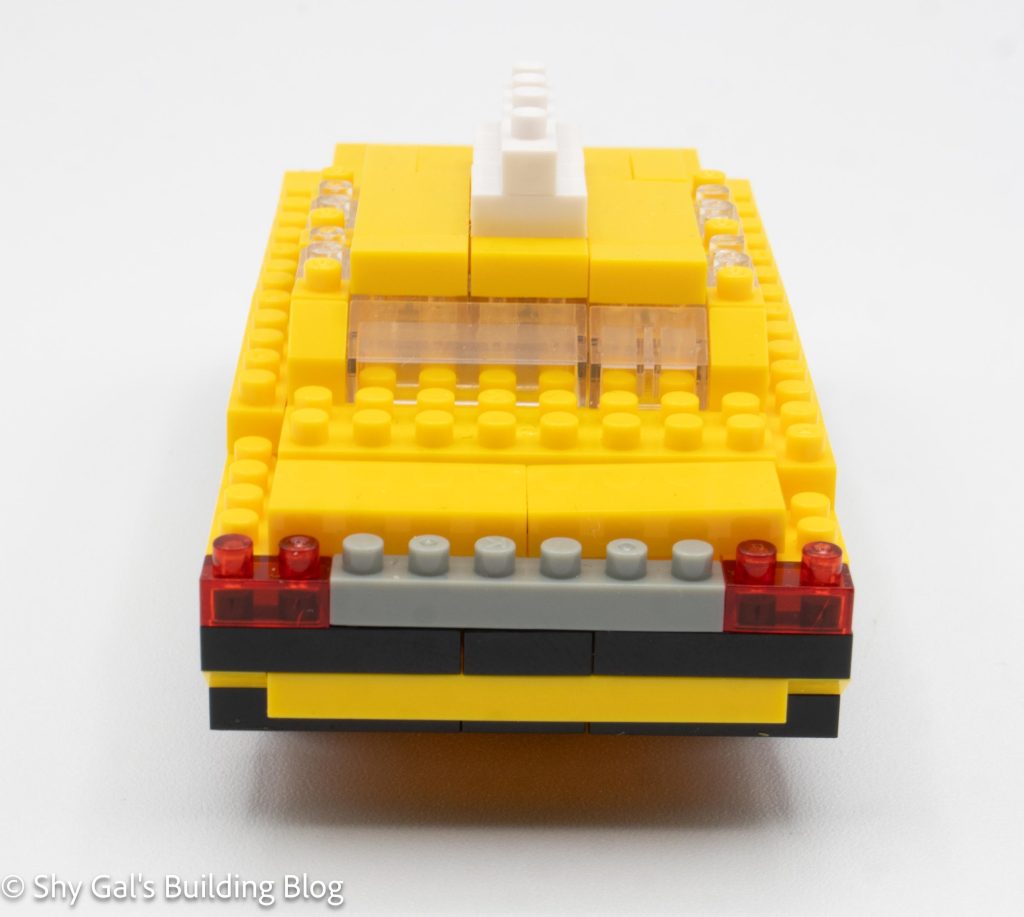
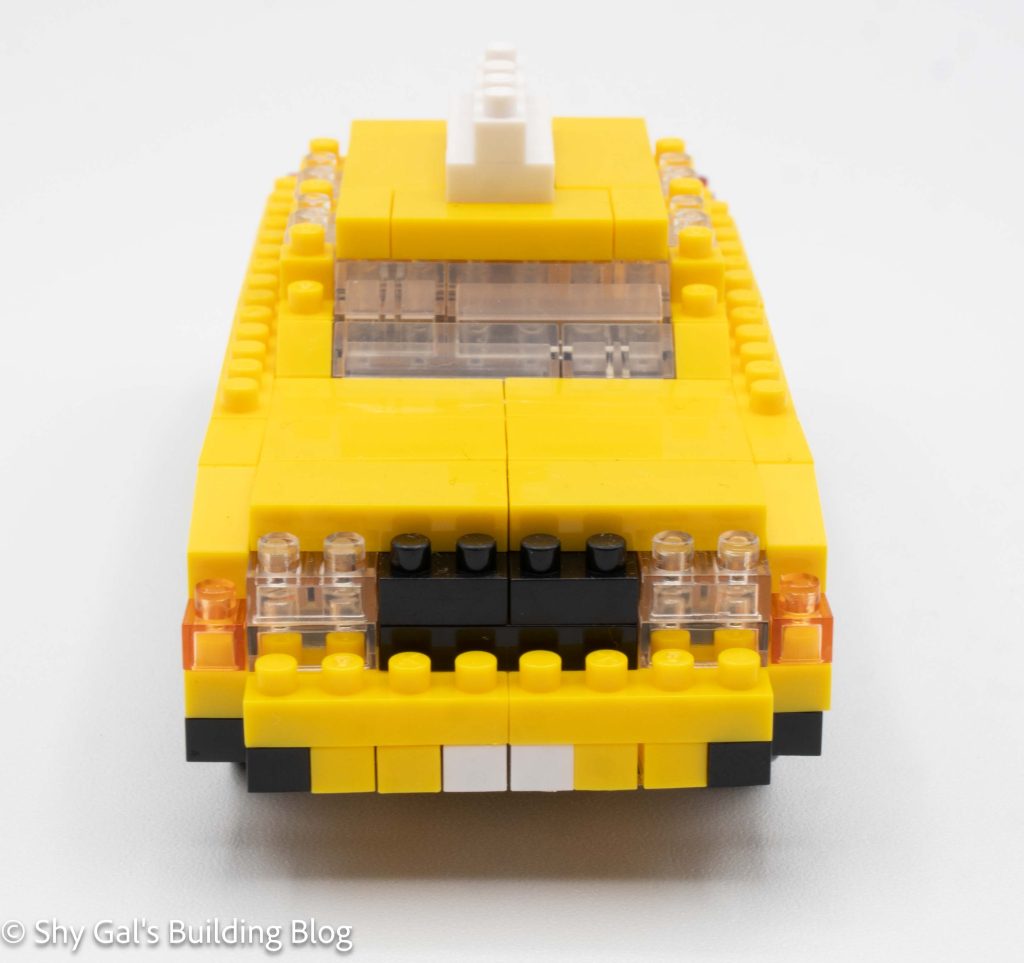
New York Taxi build back view

Number: NBH_114

Country: USA

Difficulty Rating: 2/5

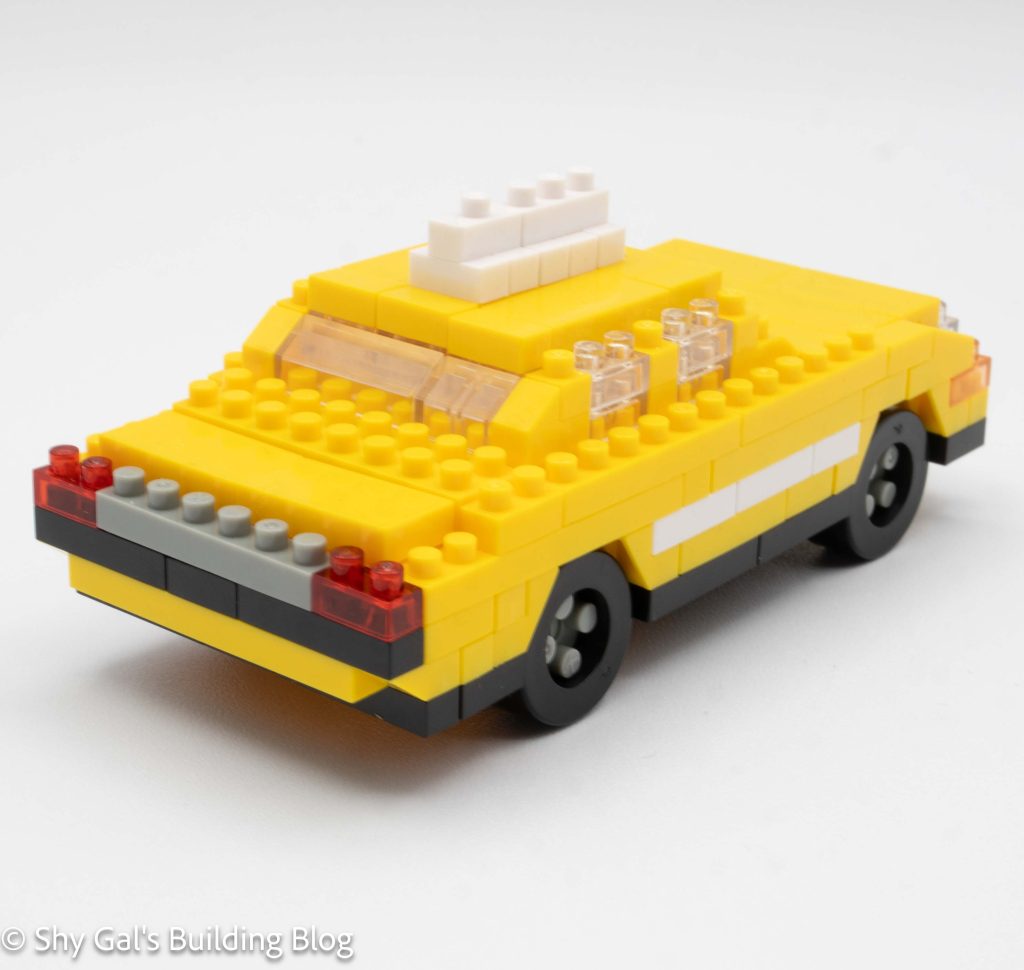
New York Taxi build back 3/4 view

I bought this kit in an auction containing several kits that didn’t have boxes so I don’t have the box for this kit.

The build begins with building the front bumper of the taxi. The next several steps build up the front bumper some more and the main body of the car. After building the main body of the car, you build the back bumper of the car. At this point, the build is fragile because many little sections are connected, but there aren’t any bricks on top holding the sections in place.

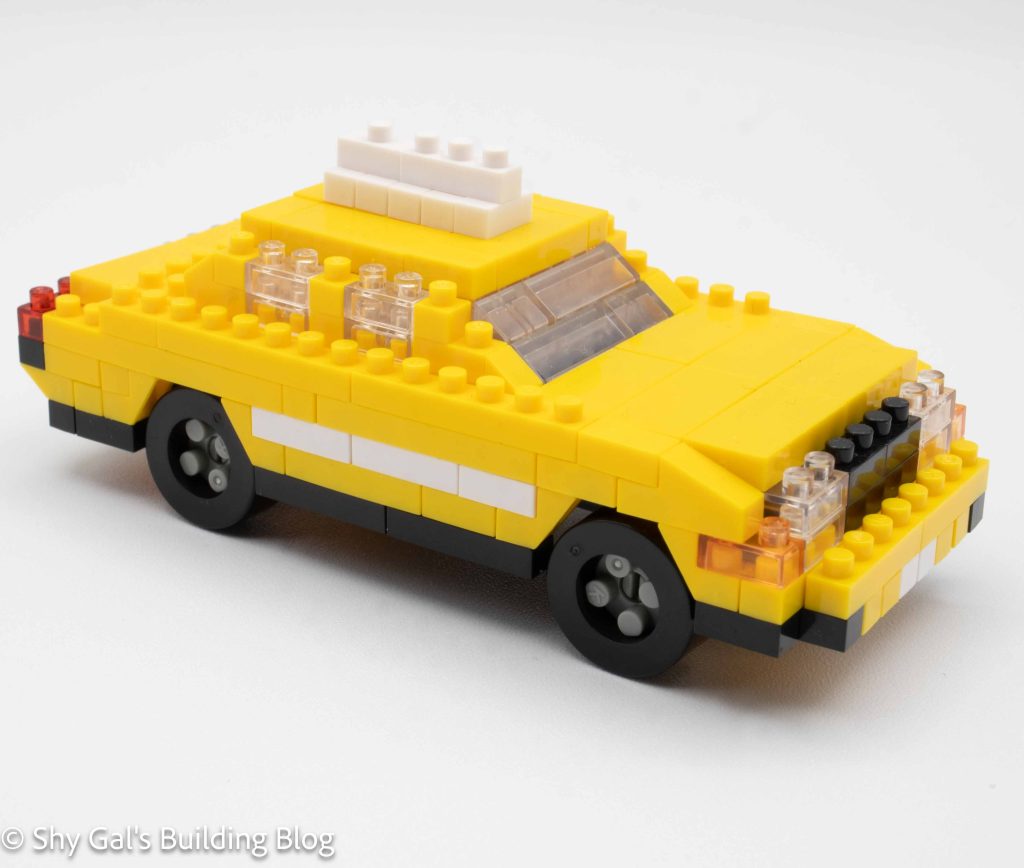
New York Taxi build front 3/4 view

The next step is to puts the hood on the car. It also places bricks on all the segments from the prior steps, holding them in place.

The next several steps add the windows and eventually the roof. I find that the area connecting the roof to the windows is awkward and blocky. Eventually, you add the sign on the top of the taxi.

The final step is to connect the wheels that move to the build.

Things I liked:

  • I really like that the wheels on the model move

Things I didn’t like:

  • Overall the build is blocky, which I don’t really like especially compared to the London Taxi

Review of nanoblock Minivan NBH_142

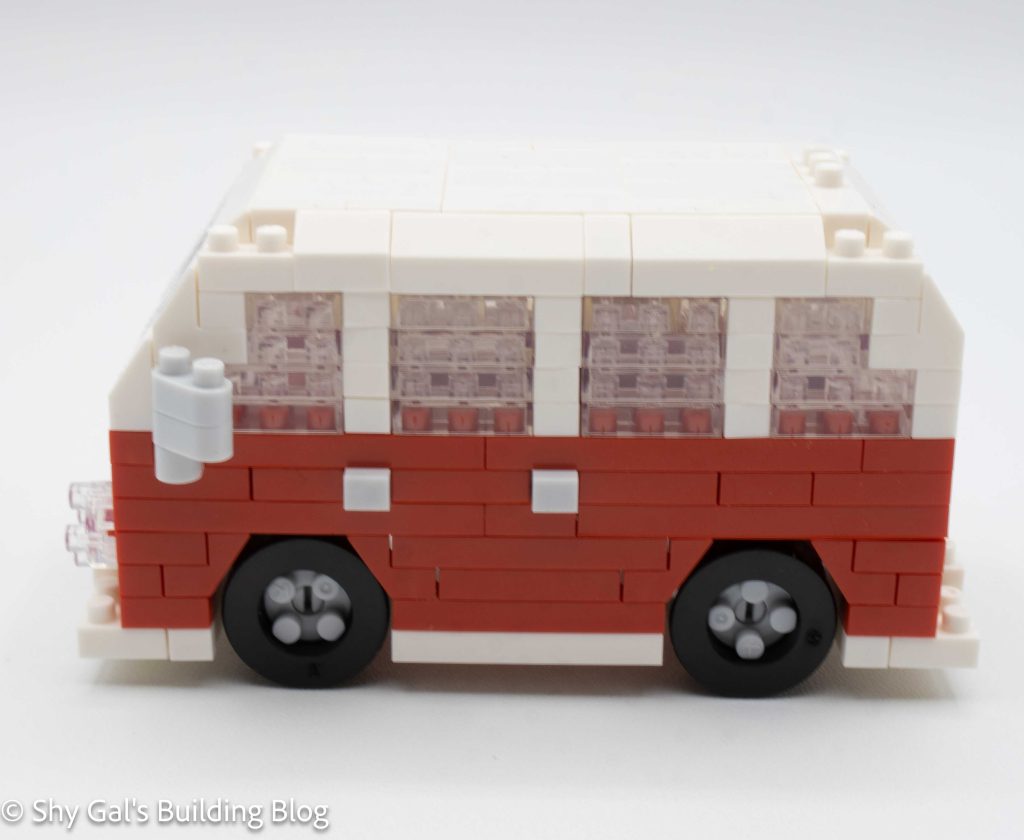
Minivan build side view

This post is a review of the nanoblock Minivan build. The Minivan is part of the nanoblock Sights to See collection. Wondering what else is part of the Sights to See collection? Click here for a list.

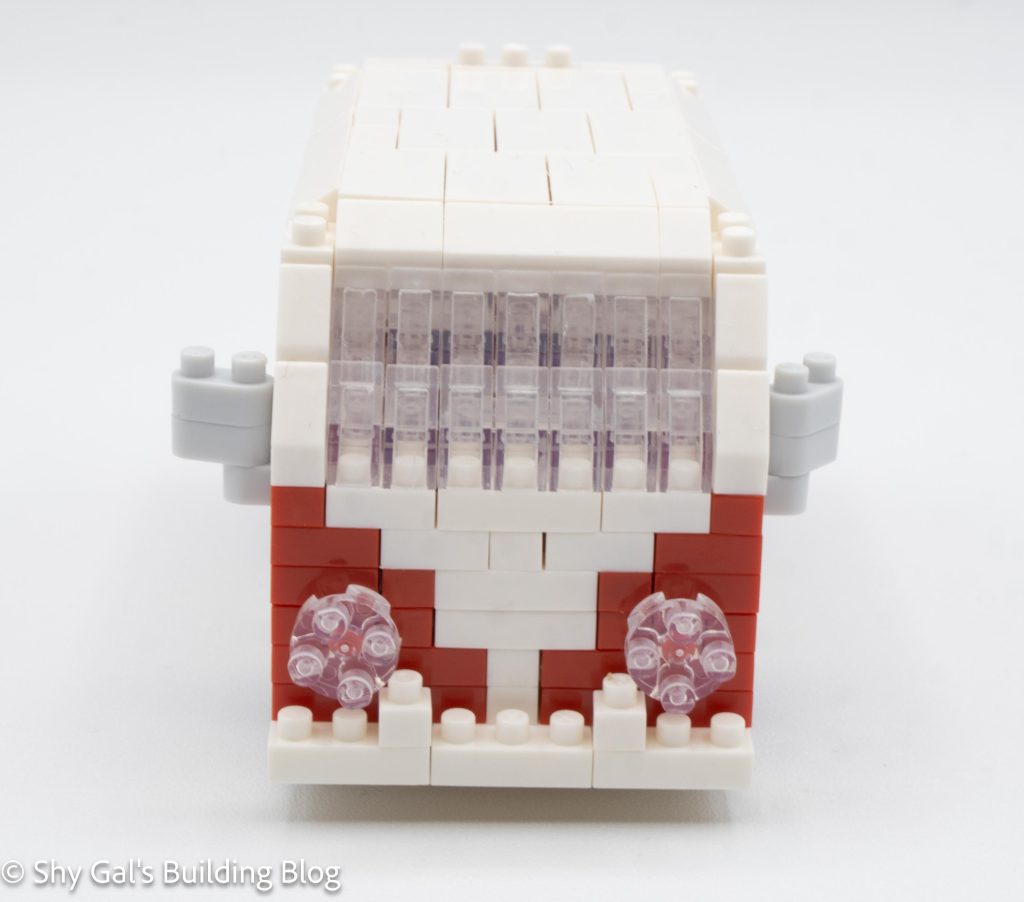
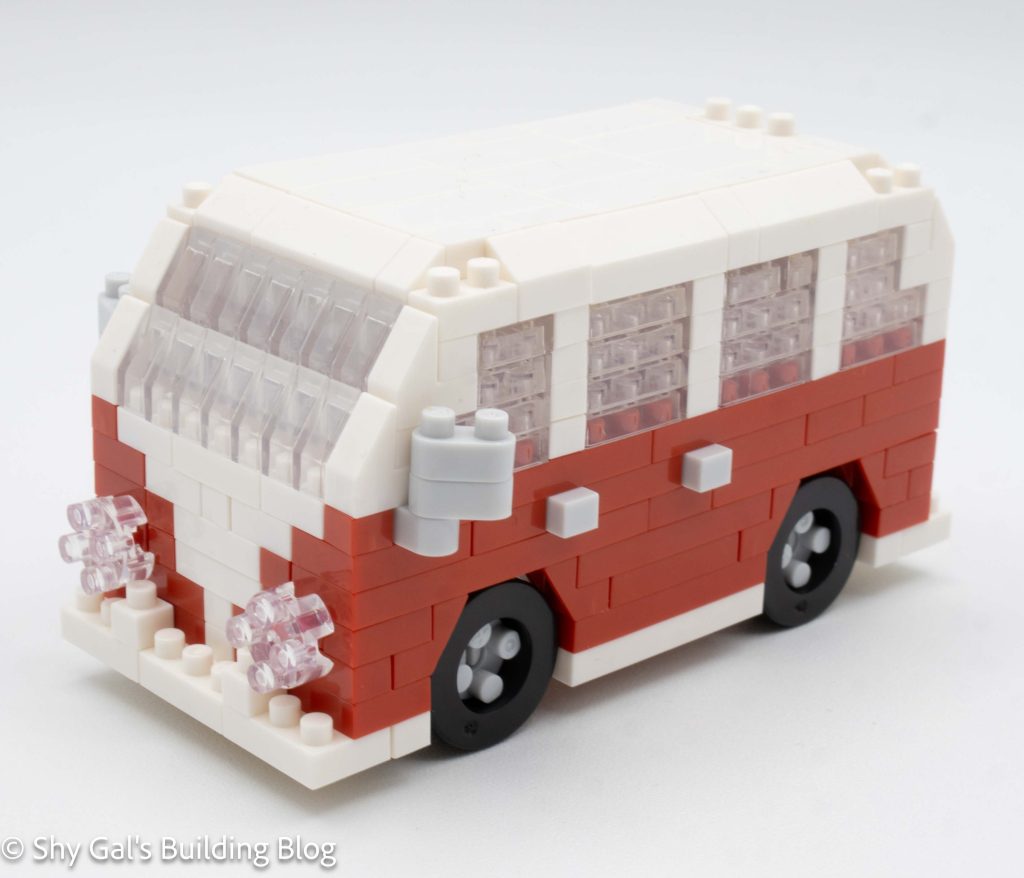
To me, this build looks like the classic Volkswagen vans. I really like how the build is shaped in the classic, familiar shape.

Number: NBH_142 

Difficulty Rating: 3/5

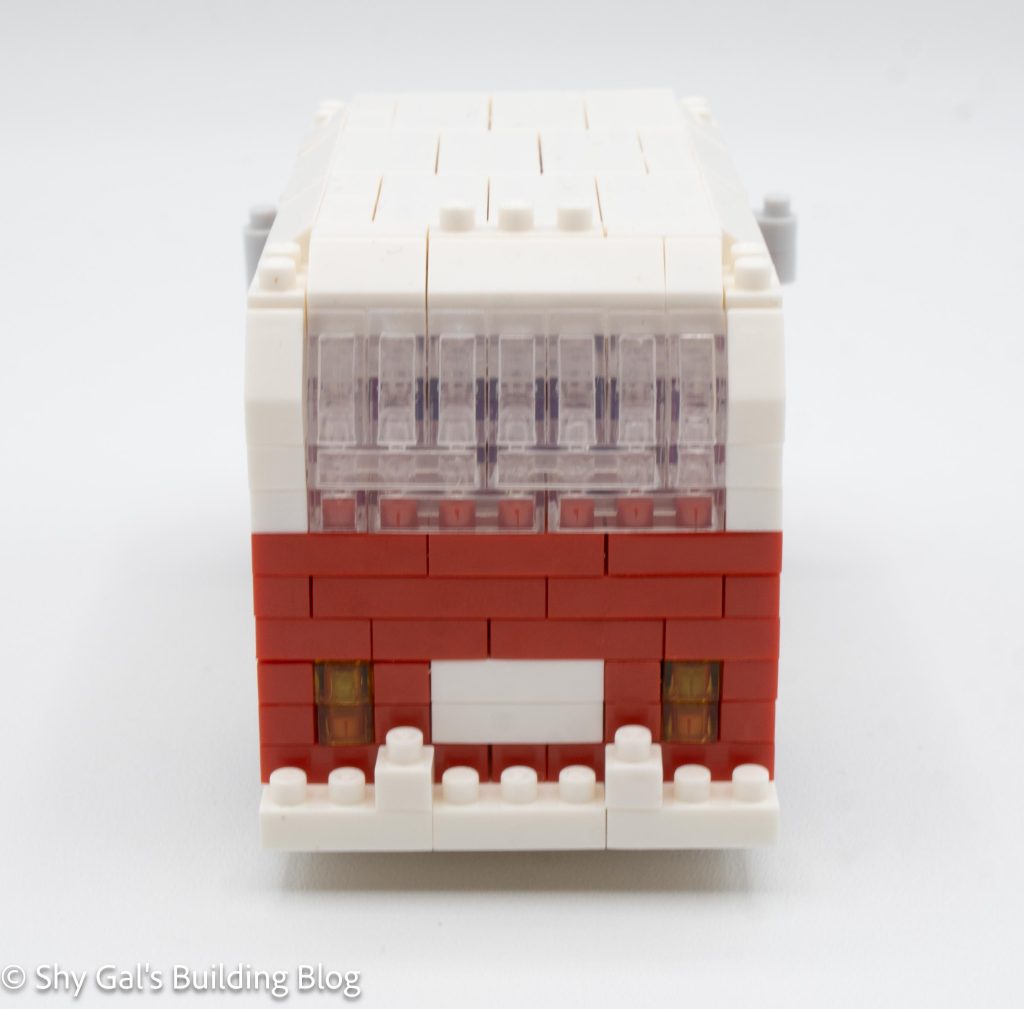
Minivan build back view

I bought this kit in an auction containing several kits that didn’t have boxes, so I don’t have the box for this kit.

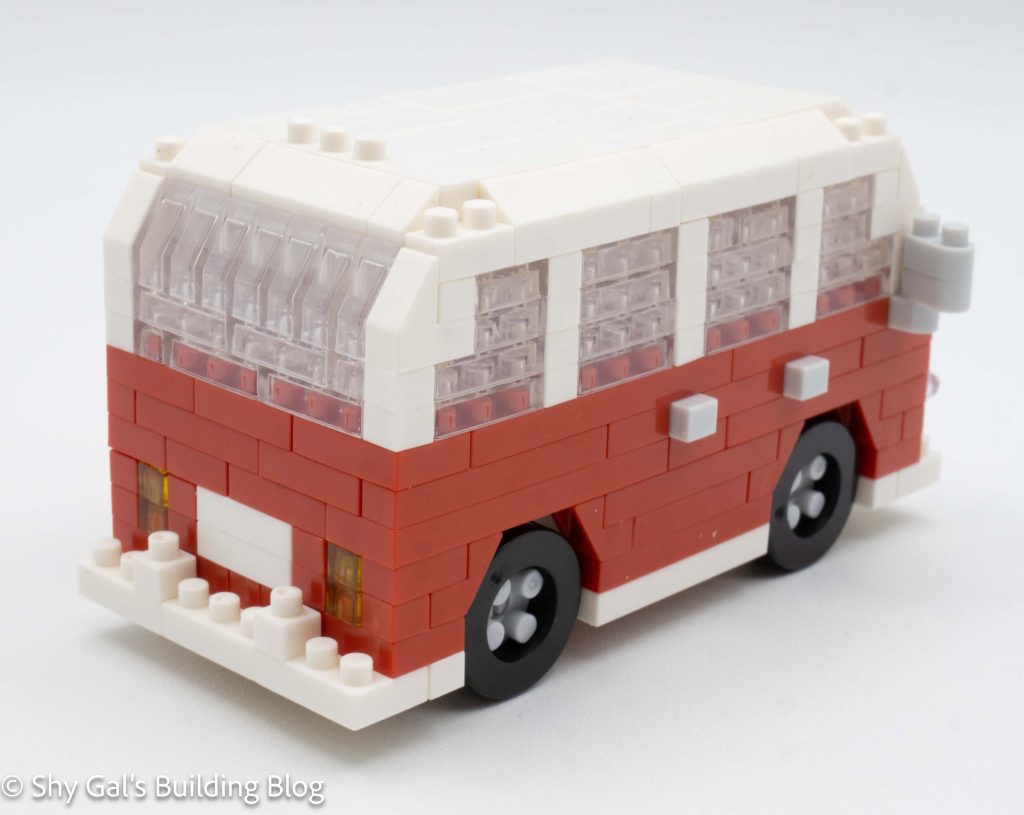
Minivan build back 3/4 view

The first couple steps of the build are creating the outside frame of the minivan. This step is fairly straightforward as long as you make sure to follow the arrows. I really like the details of the door handles sticking out slightly from the build.

The next steps are to create the windows. On the edge of the windows is a white slanted piece. However, in the kit, there are 2 types of white slanted pieces, and it is hard to tell when to use each piece. Other than that, adding the windows is fairly straightforward for a few layers.

Minivan build front view

The next step is adding the side view mirrors (unique to this vehicle build) and the roof.

The next few steps create the wheel wells. This also adds the lights on the minivan.

The final step is to attach the moveable wheels to the build.

Minivan build front 3/4 view

Things I liked:

  • I really like it when the vehicle models move like this one

Things I didn’t like:

  • Since the windows are stacks of not interlocked bricks, if you don’t put the bricks down just so the windows can fall out