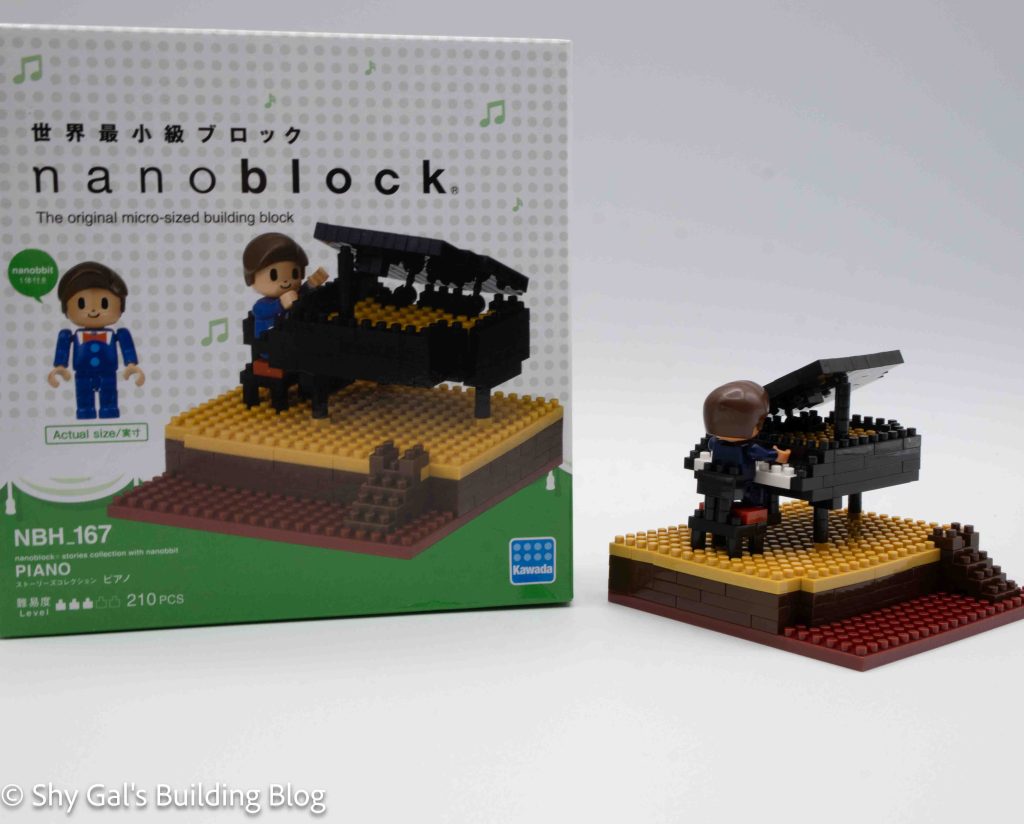
This post is a review of the nanoblock Piano build. The Piano is part of the nanoblock Sights to See collection. Wondering what else is part of the Sights to See collection? Click here for a list.
Number: NBH_167
Number of Pieces: 210
Difficulty Rating: 3/5
This was the first build that I have built that came with a nanobbit. I was surprised by how many pieces went into the nanobbit came in but it was very simple to put it together.
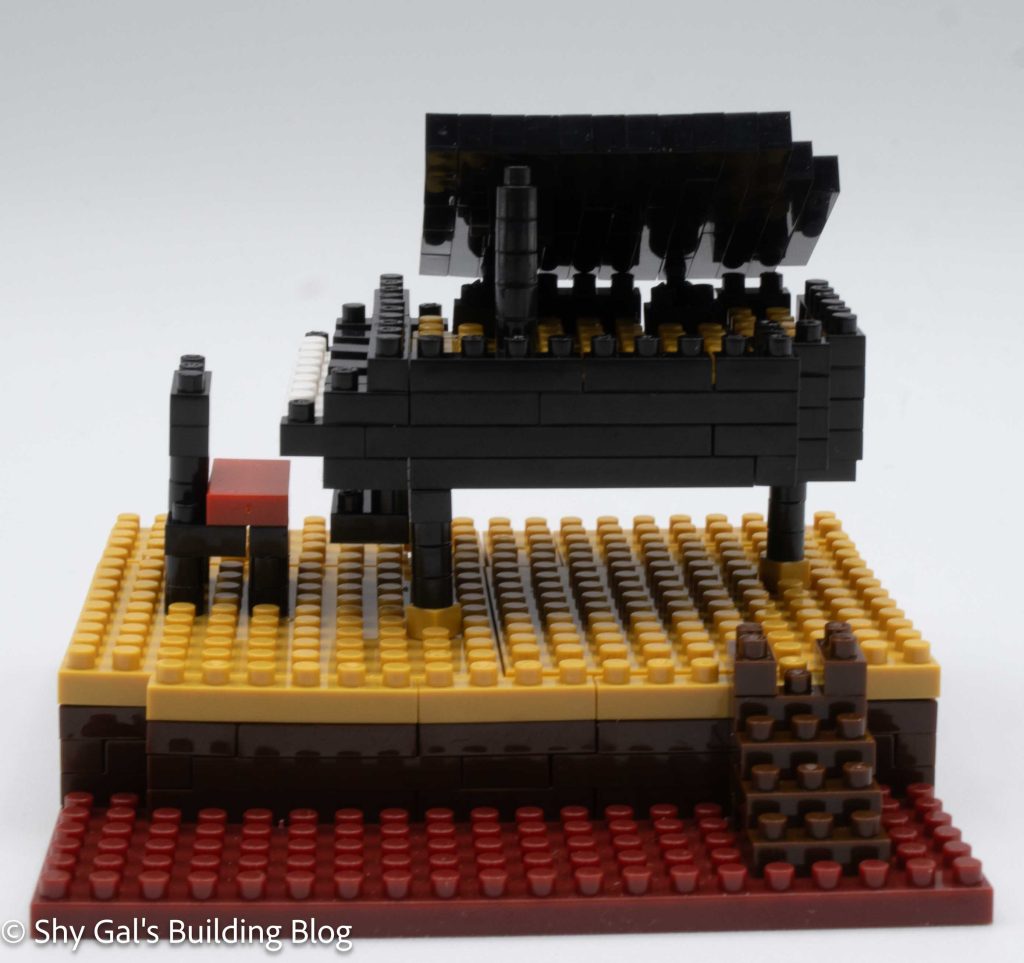
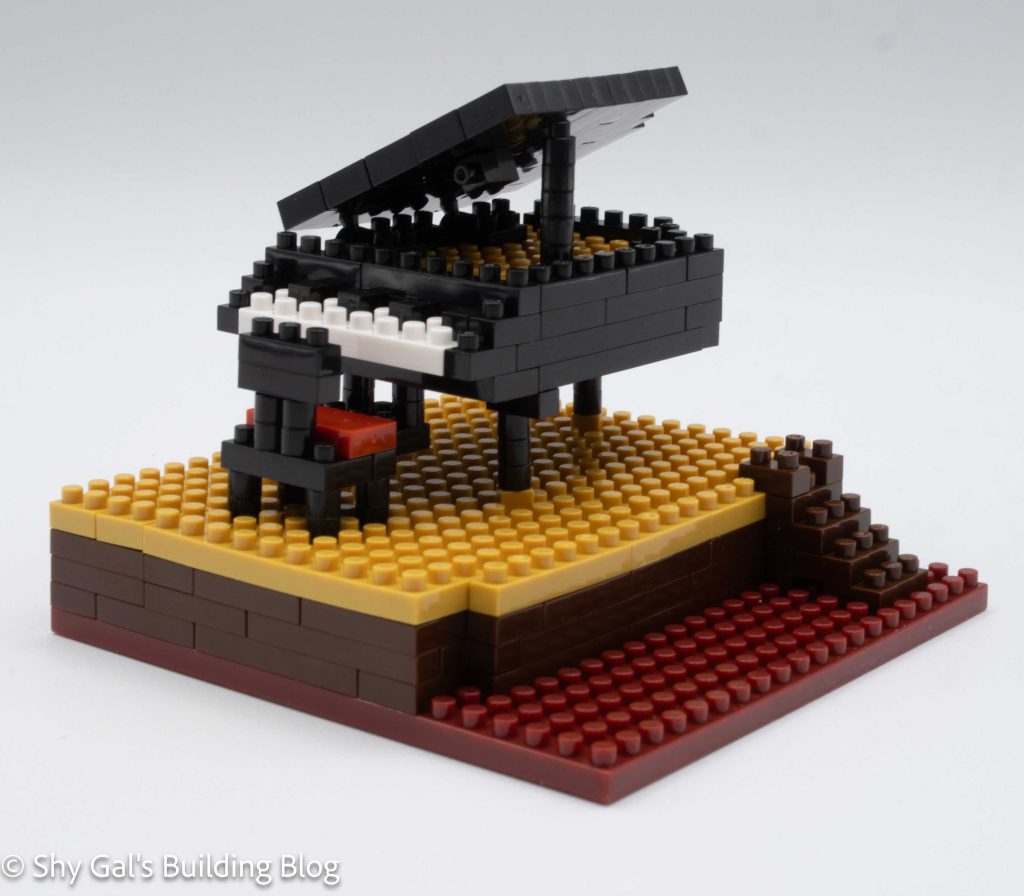
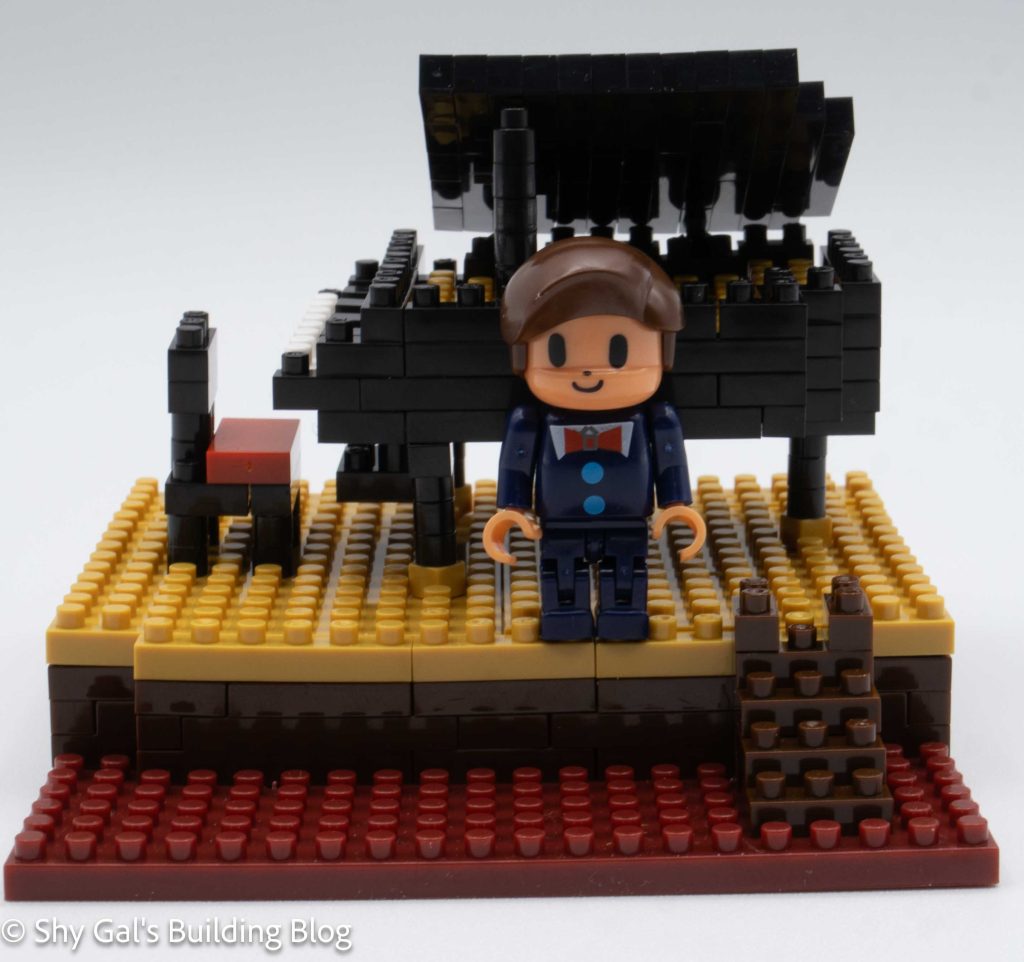
The build begins with creating the stage to place the piano on. It begins with a large maroon base plate. From there the outline of the stage is added in layers. Then the top stage is put into place. The final step is to add the attachment points for the bench and piano.
The next step is adding the piano bench, which is extremely straightforward.
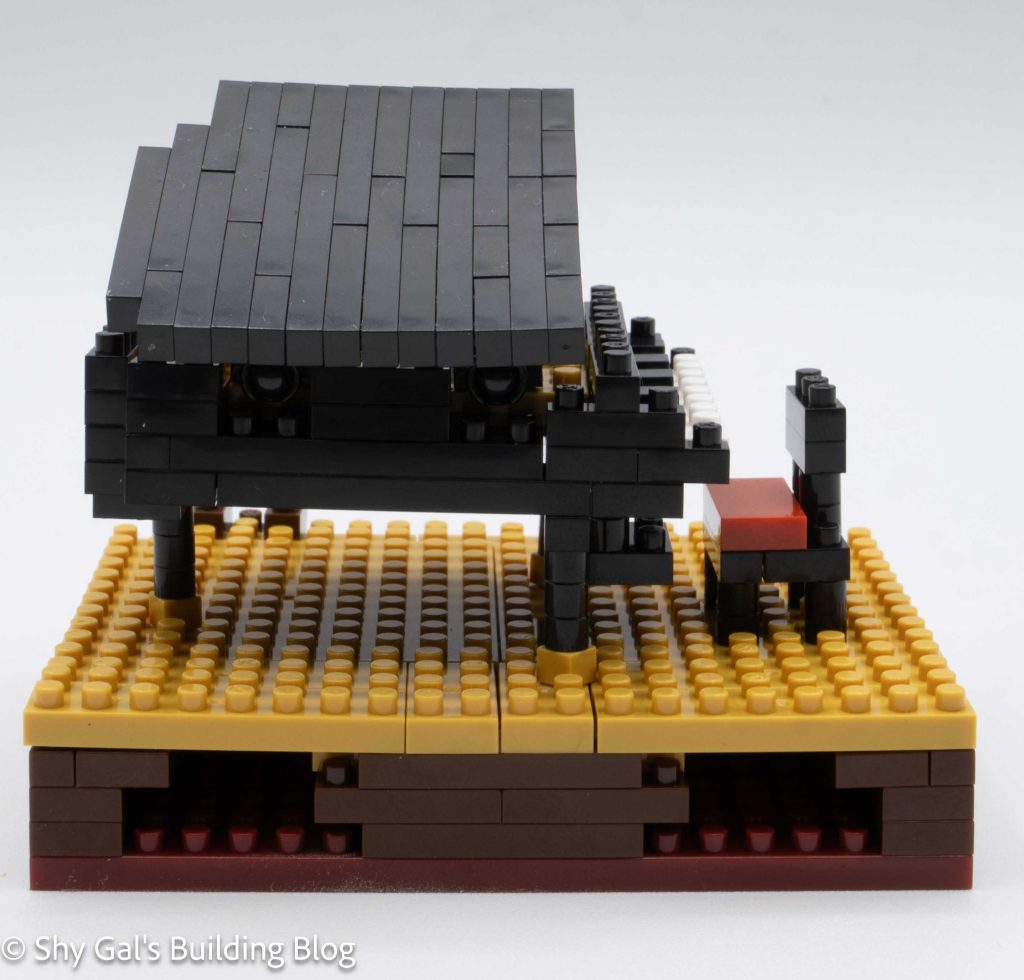
The next step is to build the main body of the piano. It begins by building the outline in black. After building the outline you add the backboard of the piano and the keys. Then you build a wall of the piano and attach the joint of the ball joint so that you can attach the top. Connect the piano to the base.
The final step is to create a wall of black bricks with a pair of balls from ball joints that create the top of the piano. Once you connect it, the piano is finished
Things I liked:
- I feel that the scale between the nanobbit and the piano is reasonable
Things I didn’t like:
- I wish that the nanobbit was able to stand on the base plate with both feet