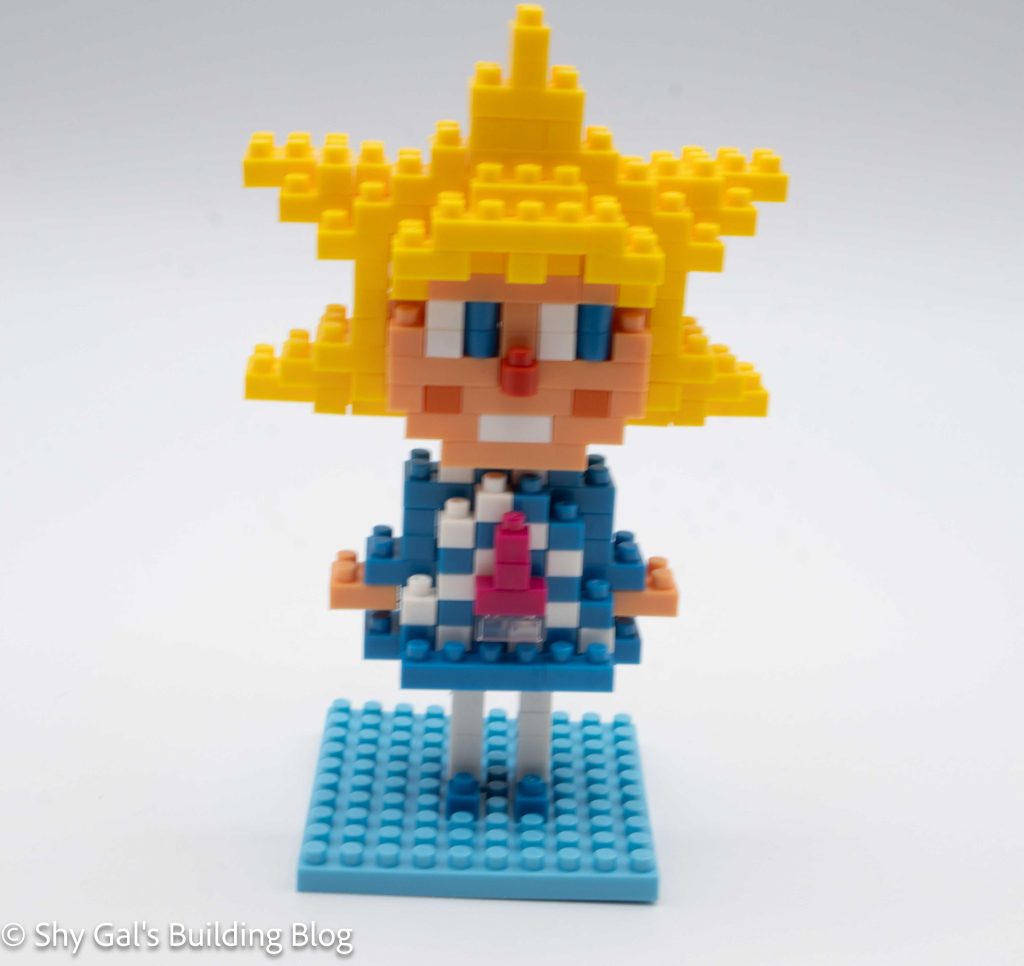
Review of nanoblock Sorakara-chan NBH_046

Sorakara-chan build front view

This post is a review of the nanoblock Sorakara-chan build. Sorakara-chan is part of the nanoblock Sights to See collection. Wondering what else is part of the Sights to See collection? Click Here for a list.

Sorakara-chan is the mascot from Tokyo Skytree.

Number: NBH_046 

Difficulty Rating: 3
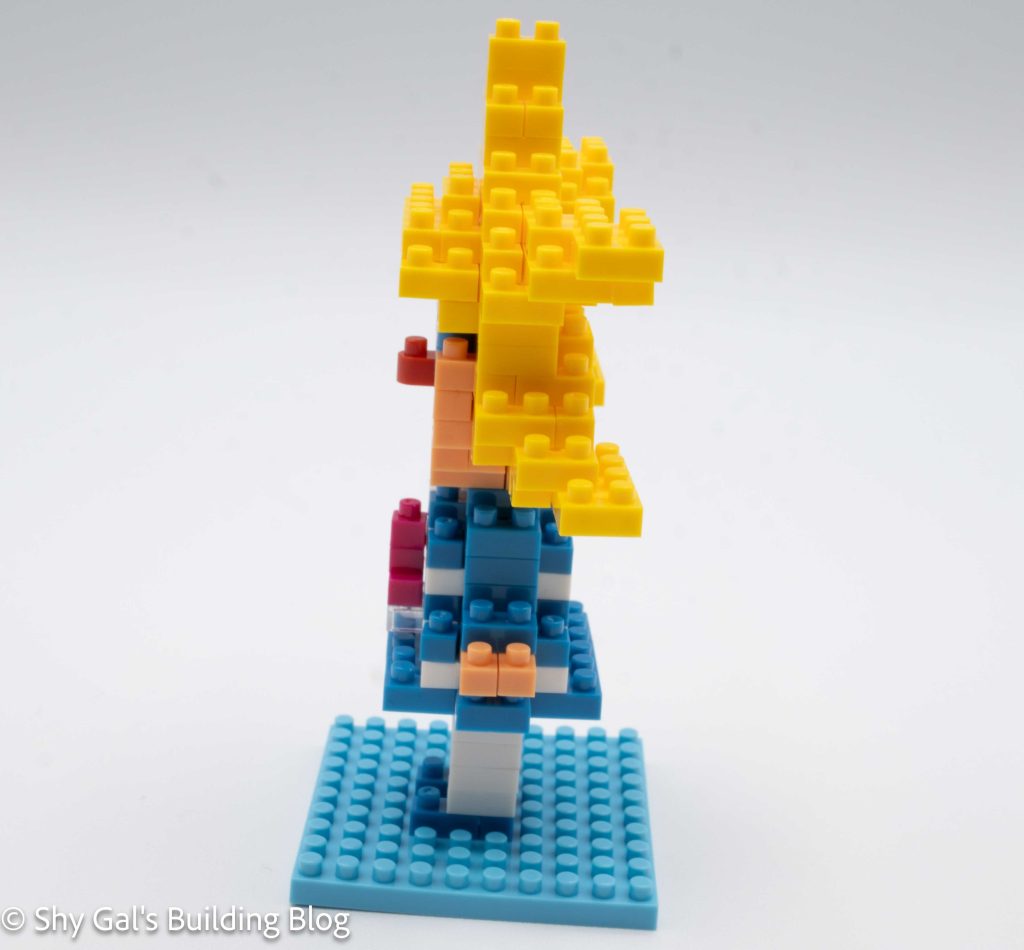
Sorakara-chan build side view

I bought this kit in an auction containing several kits that didn’t have boxes, so I don’t have the box for this kit.

This build is broken up into 3 sections. There is the head, body, and base.
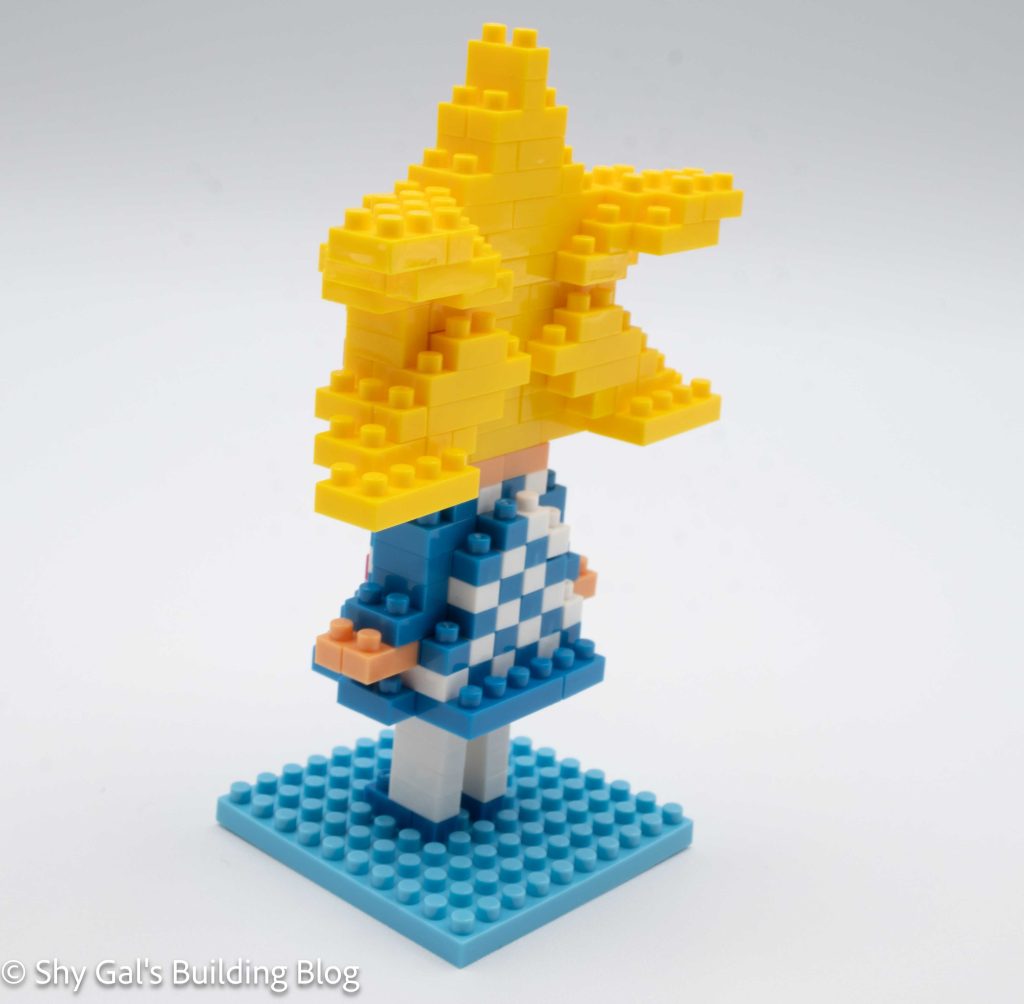
Sorakara-chan build back 3/4 view

The head is by far the most complicated part of the build. The first few layers go up fairly straightforwardly. After a few layers, you begin adding all the points to her star-shaped hair. A few steps create the back of her head which are a bit hard to follow. The rest of the star points are created by adding layers to the top of the head section.

The body is straightforward if you are careful to make sure you select the correct color. It goes up in simple layers however, each layer switches off between white and blue. This creates the pattern of Sorakara-chan’s dress.
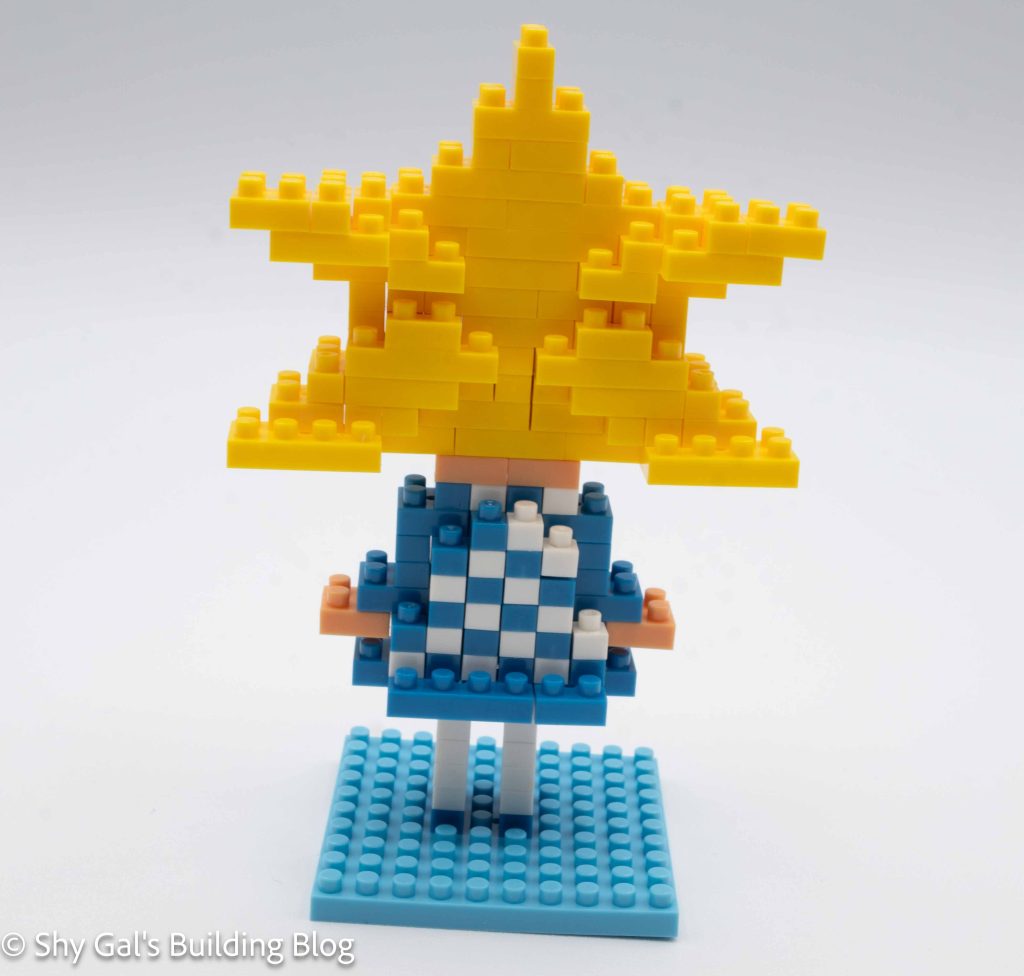
Sorakara-chan build back view

The final section is the baseplate. You only need to add her feet and legs to the final build.

The final step is to connect all the sections. Centering the body section is a bit tricky because the body is even and the space for the legs is odd. The head is easy to attach.
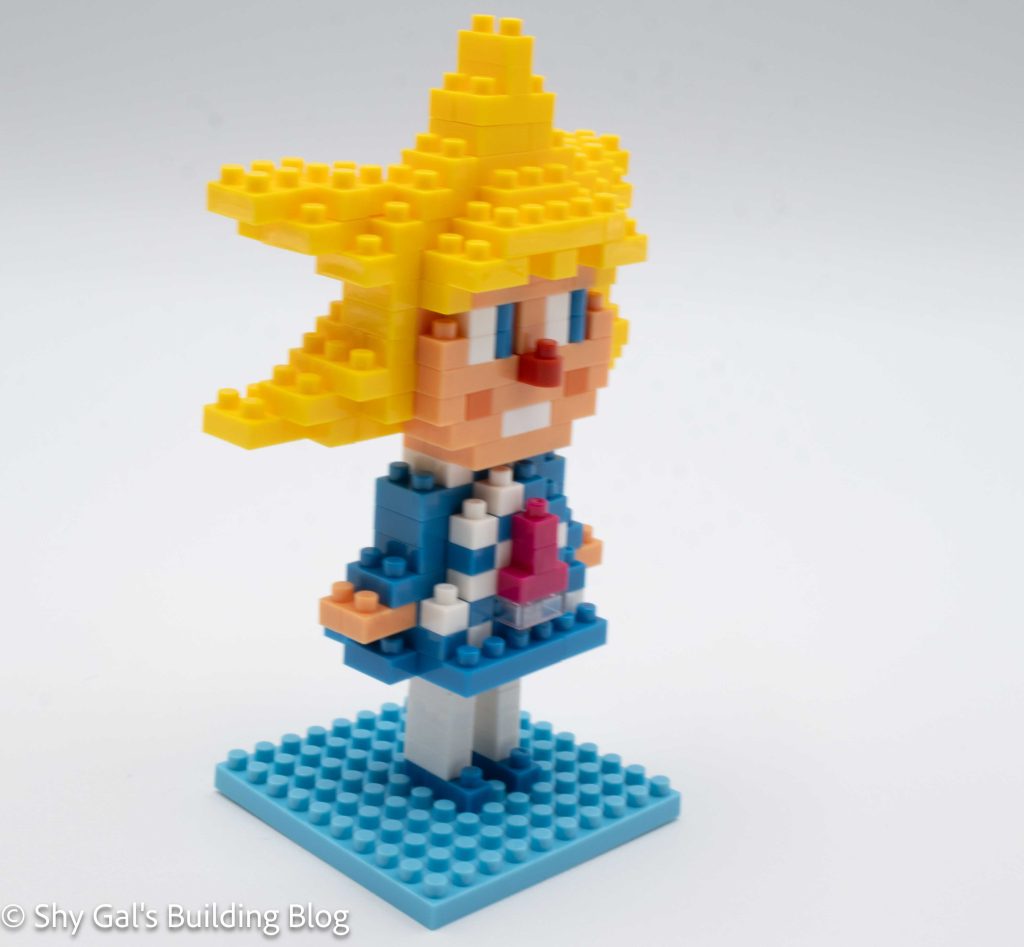
Sorakara-chan build front 3/4 view

Things I liked:

  • I really like her hair and how many angles are created with the nanoblock

Things I didn’t like:

  • I wish the base was a different color because it makes for a lot of blue
Review of nanoblock Daruma NBH_195

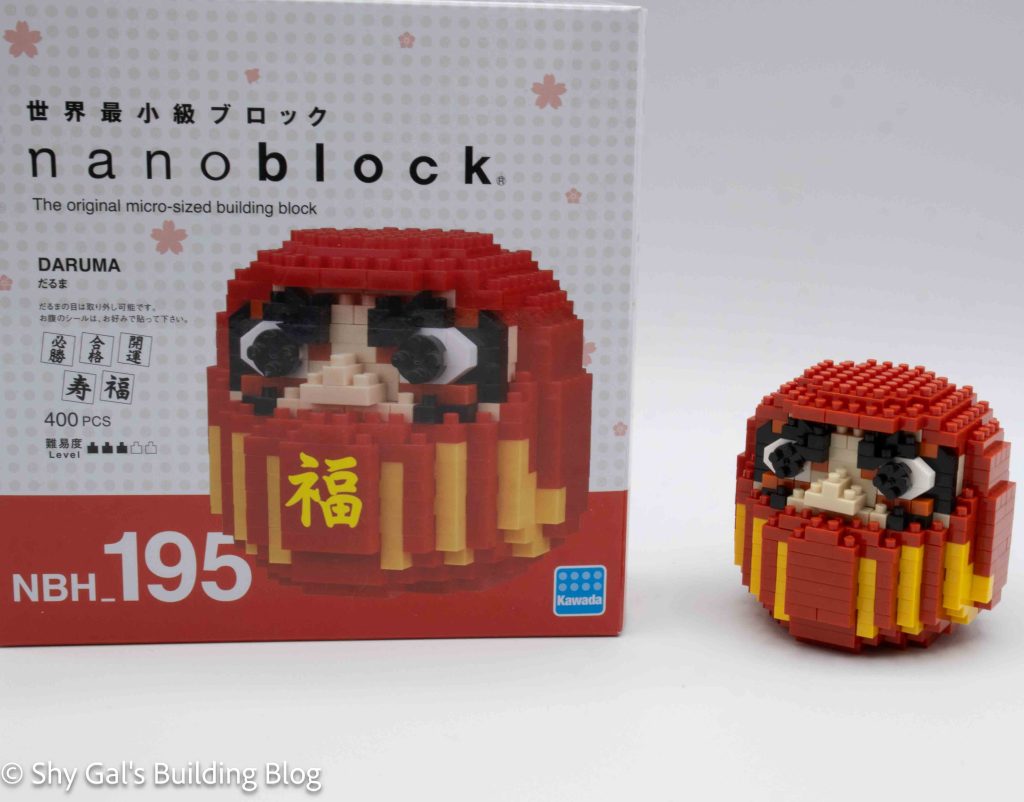
Daruma build and box

This post is a review of the nanoblock Daruma build. Daruma is part of the nanoblock Sights to See collection. Wondering what else is part of the Sights to See collection? Click here for a list.

Number: NBH_195

Number of Pieces: 400

Difficulty Rating: 3/5

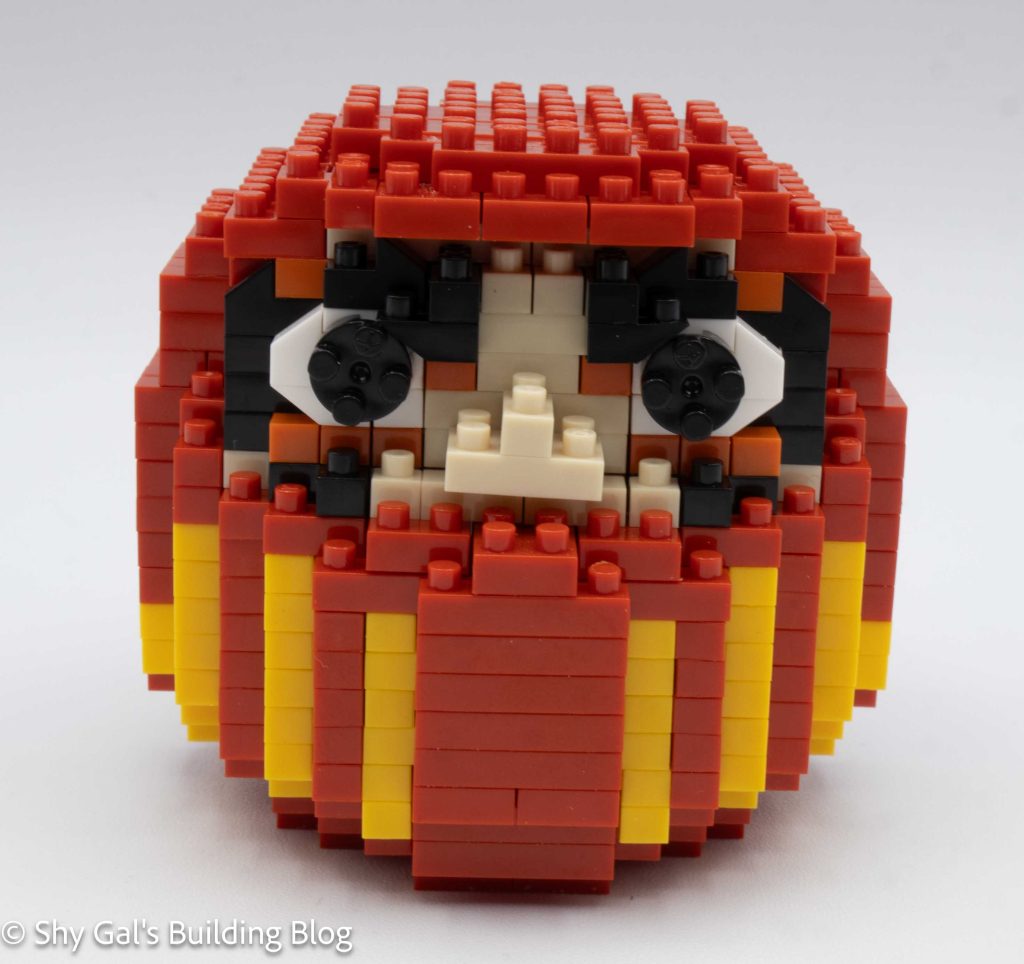
Daruma build front view

The Dauma doll begins with a layer of red bricks. I laid the base out on my nanoblock pad to keep everything lined up.

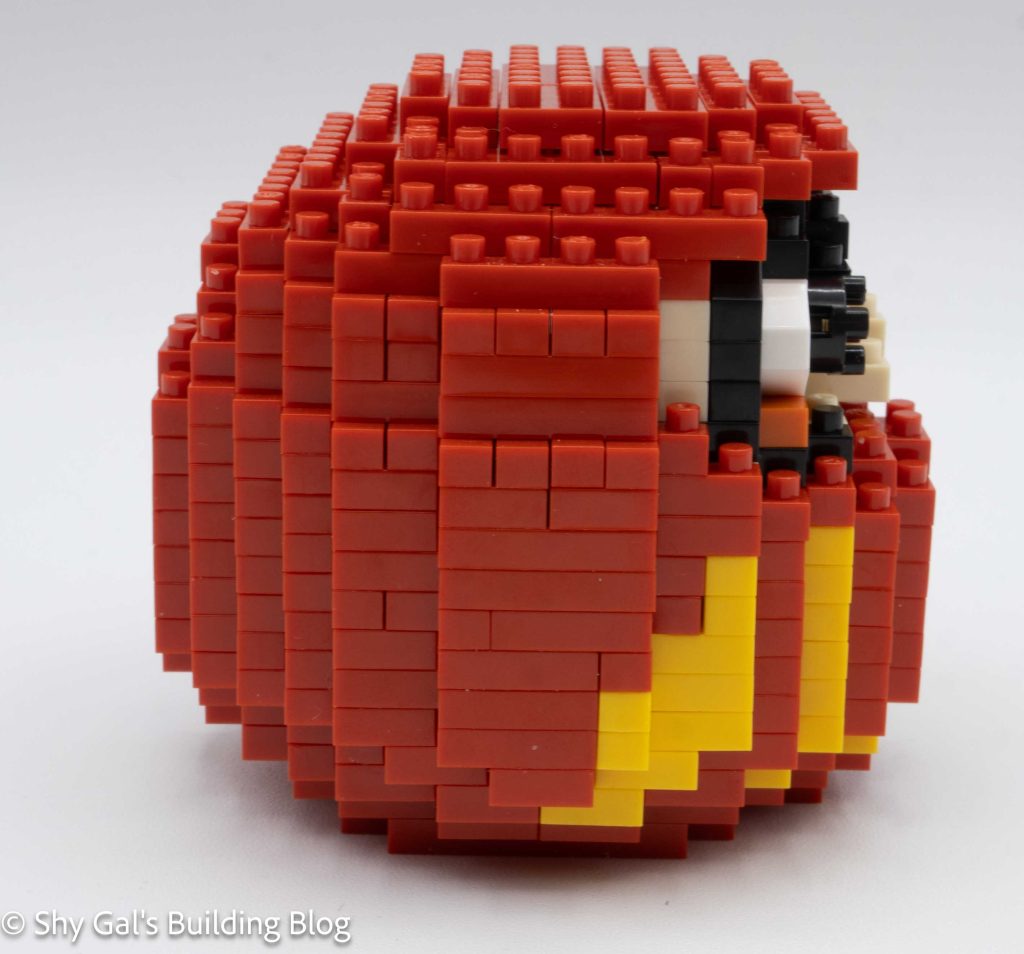
Daruma build side view

After a couple layers, the yellow stripes become visible. The layers trade around what exactly is in a layer so that one yellow brick remains visible while all the rest of the yellow is covered by red. There are some very neat tricks to keep just one corner of yellow visible.

After several layers of yellow and red, I began to build the face. The face is made up of black, orange, and skin-tone bricks. I like the addition of the orange to add some detail to the face. I also really like how nanoblock used all sorts of bricks to create curves in the face and the eyebrows.

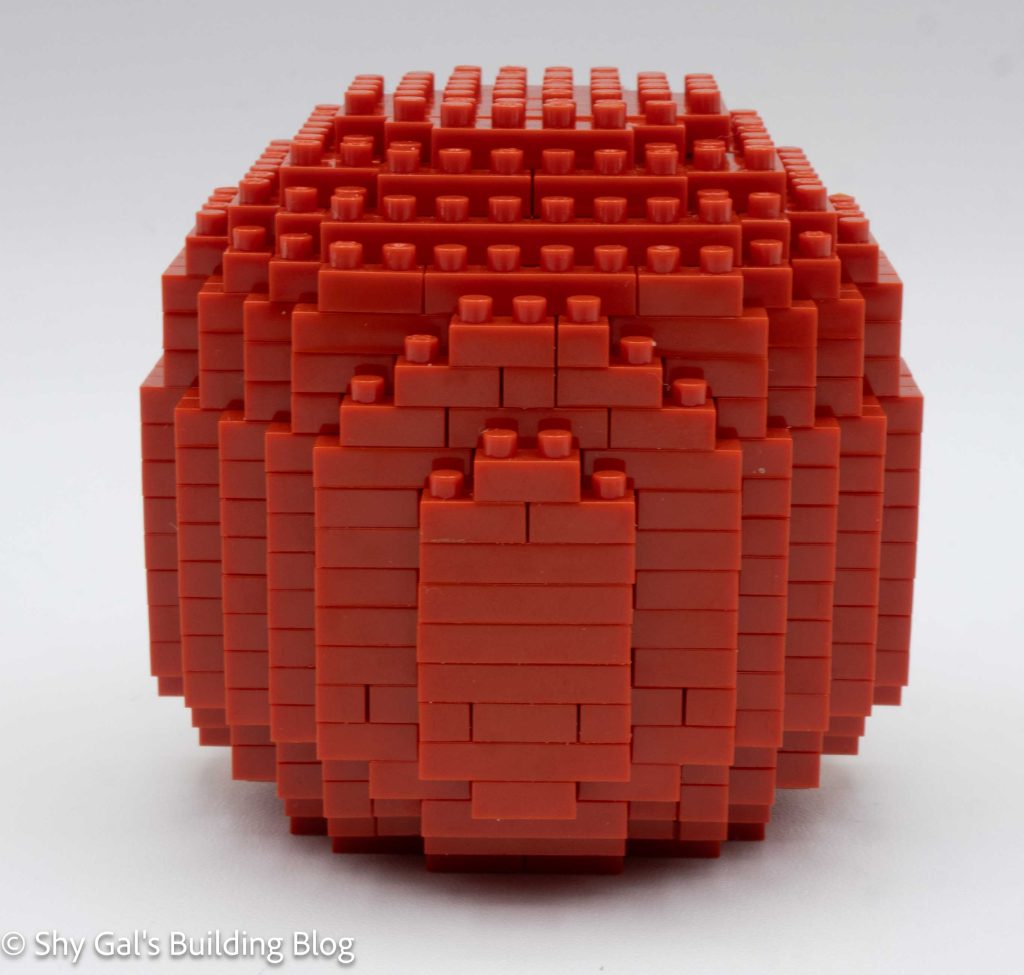
Daruma build back view

The Daruma is then closed up to finish the build. The kit comes with several different kanji stickers, but since I’m not sure what any of them are, I chose not to put any on my doll.

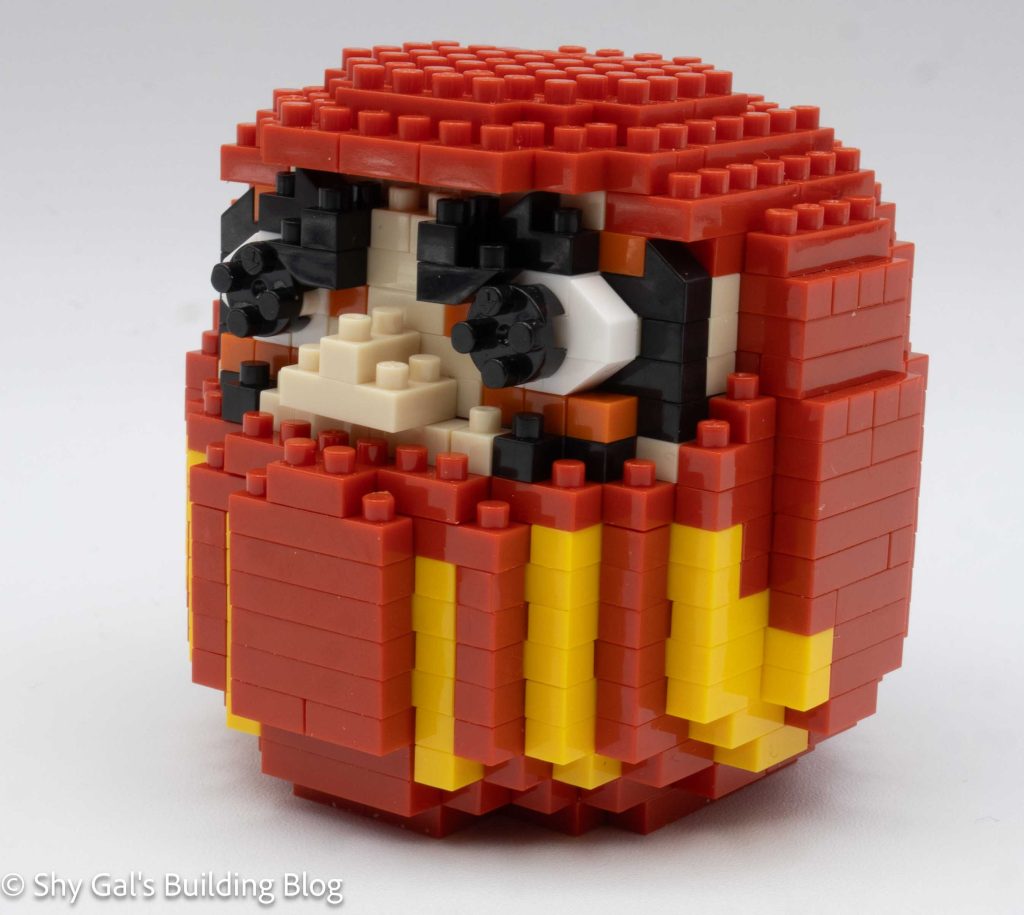
The final step is to add the eyes. Normally, if you make a wish on the Daruma, you fill in one eye when you make the wish and the other eye when the wish comes true. I chose to put both eyes on my doll for the photos.

Daruma build front 3/4 view

Things I liked:

  • I really like that this build is close to the size of the actual Daruma dolls I have seen

Things I didn’t like:

  • I didn’t like how the directions look like the eye is attached using the center of the round brick when it actually attached using the one of the edge holes

Review of nanoblock Piano NBH_167

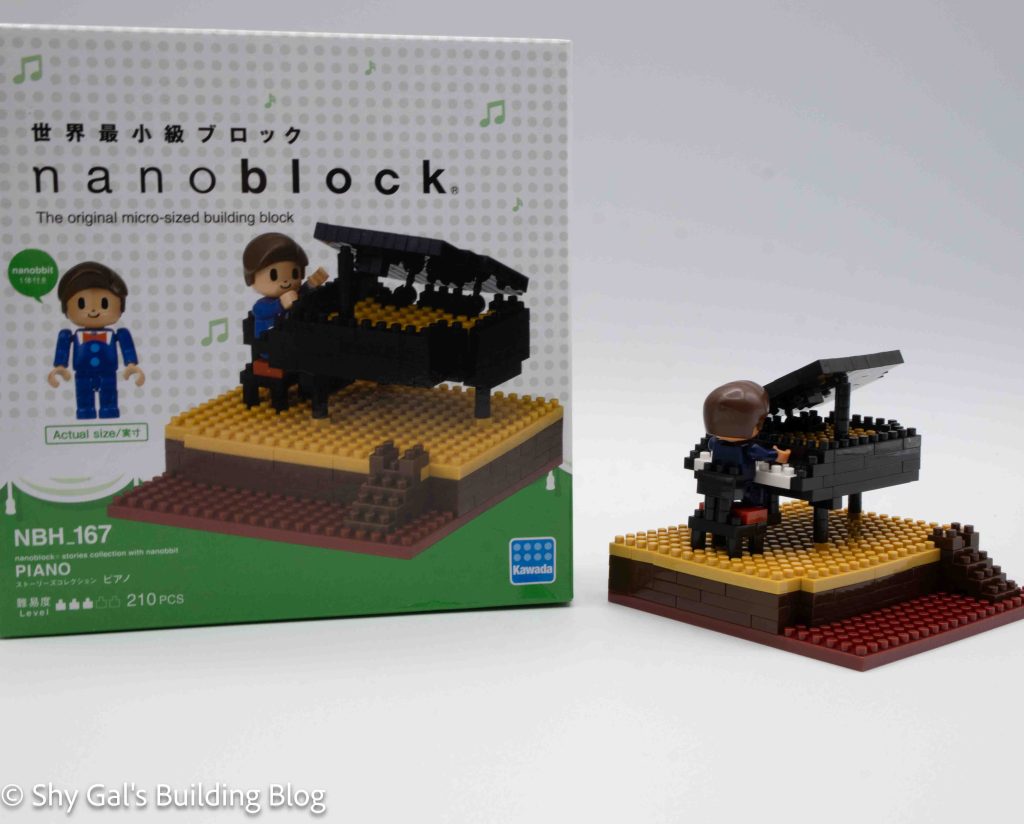
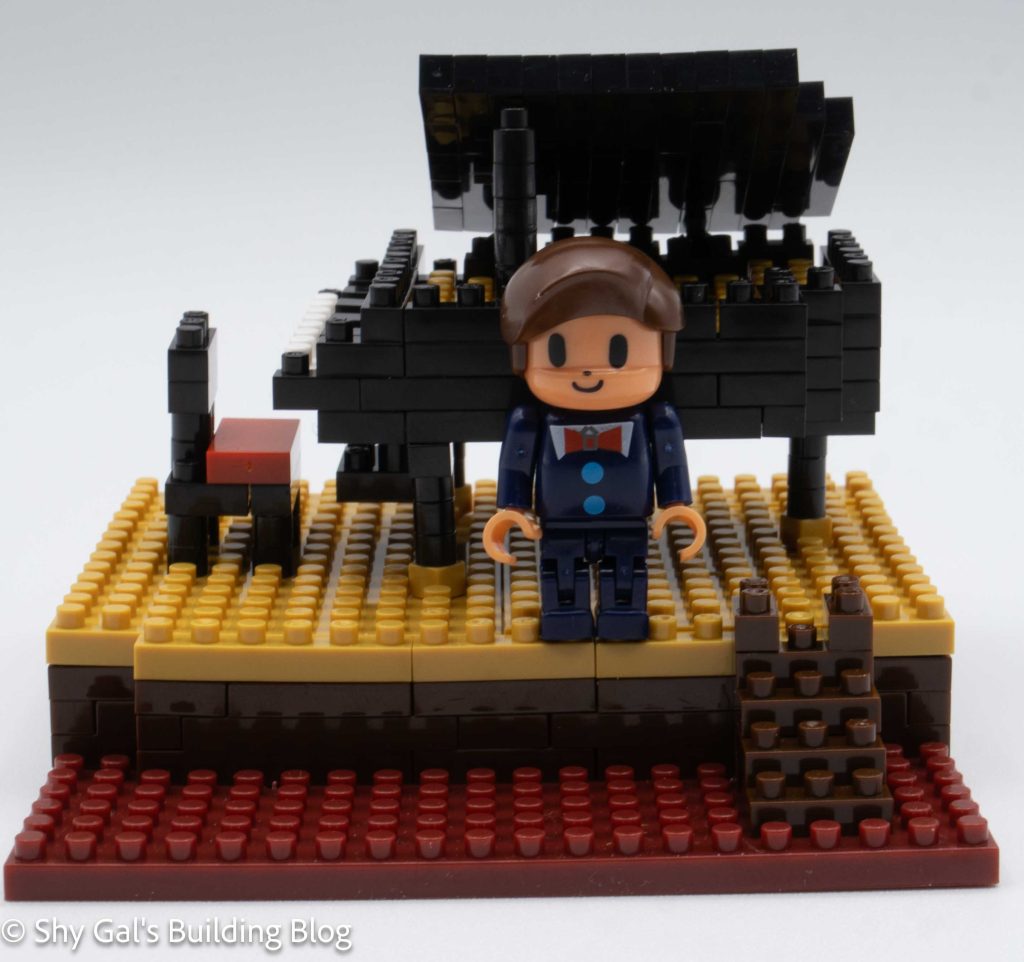
Piano build and box

This post is a review of the nanoblock Piano build. The Piano is part of the nanoblock Sights to See collection. Wondering what else is part of the Sights to See collection? Click here for a list.

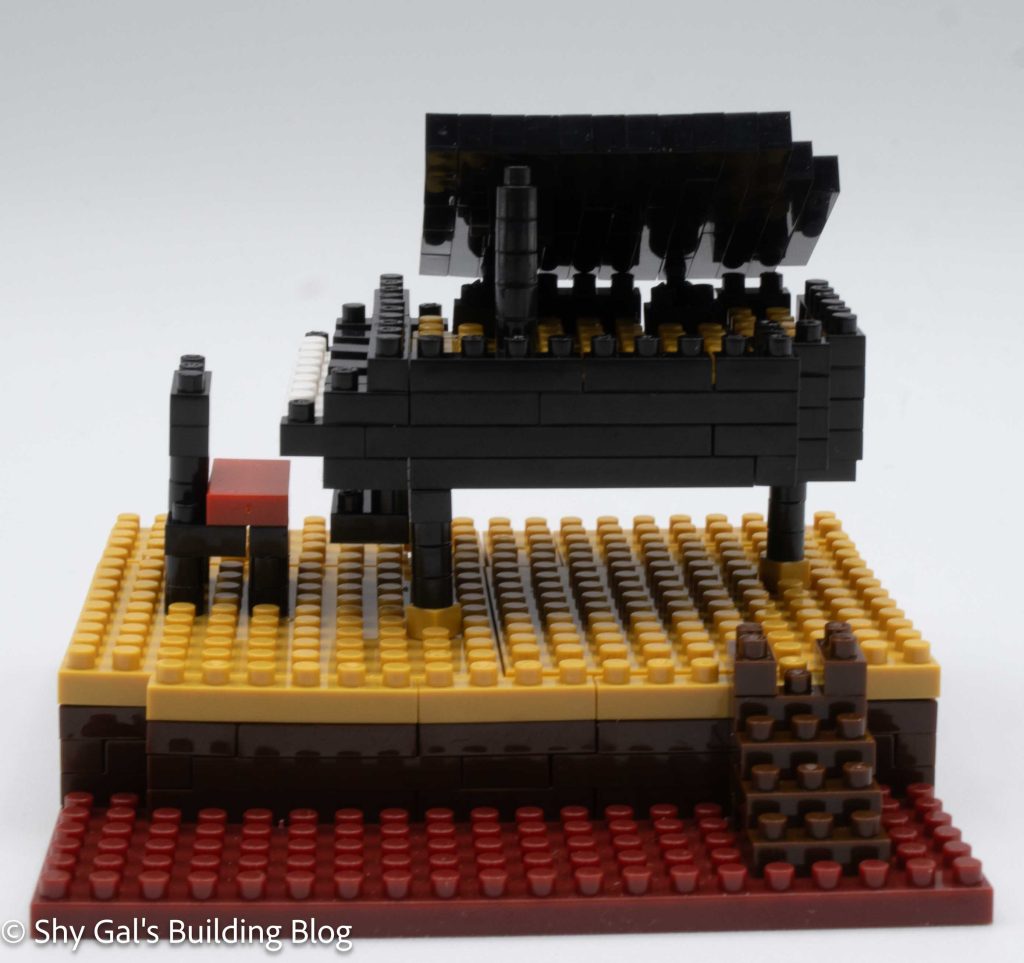
Piano build front view

Number: NBH_167

Number of Pieces: 210

Difficulty Rating: 3/5

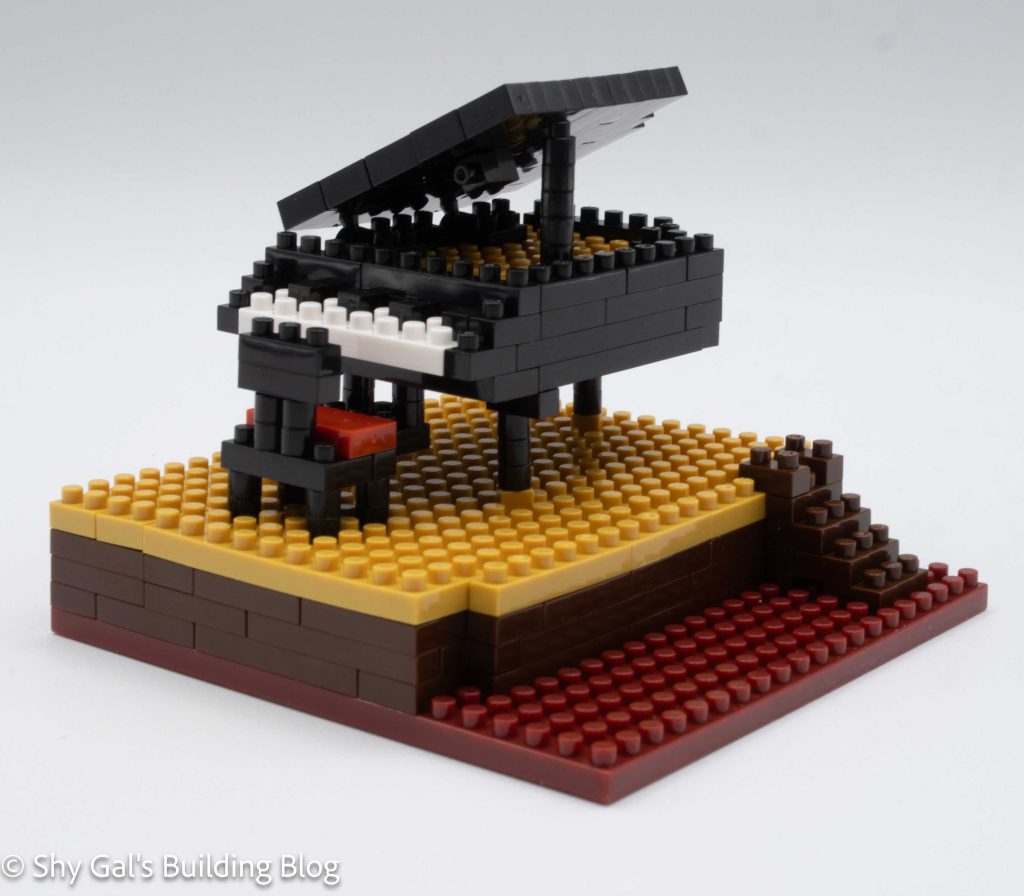
Piano build front 3/4 view

This was the first build that I have built that came with a nanobbit. I was surprised by how many pieces went into the nanobbit came in but it was very simple to put it together.

The build begins with creating the stage to place the piano on. It begins with a large maroon base plate. From there the outline of the stage is added in layers. Then the top stage is put into place. The final step is to add the attachment points for the bench and piano.

The next step is adding the piano bench, which is extremely straightforward.

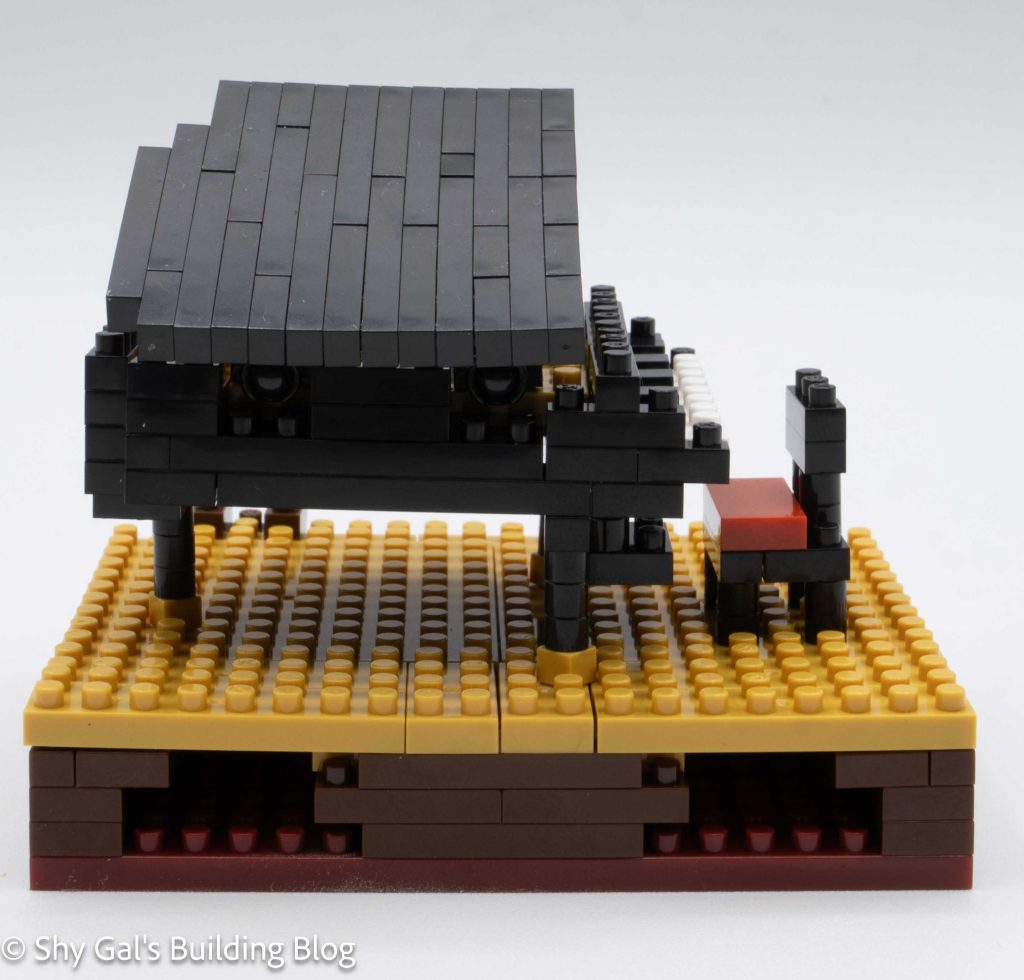
Piano build back view

The next step is to build the main body of the piano. It begins by building the outline in black. After building the outline you add the backboard of the piano and the keys. Then you build a wall of the piano and attach the joint of the ball joint so that you can attach the top. Connect the piano to the base.

The final step is to create a wall of black bricks with a pair of balls from ball joints that create the top of the piano. Once you connect it, the piano is finished

Piano build front view with nanobit

Things I liked:

  • I feel that the scale between the nanobbit and the piano is reasonable

Things I didn’t like:

  • I wish that the nanobbit was able to stand on the base plate with both feet

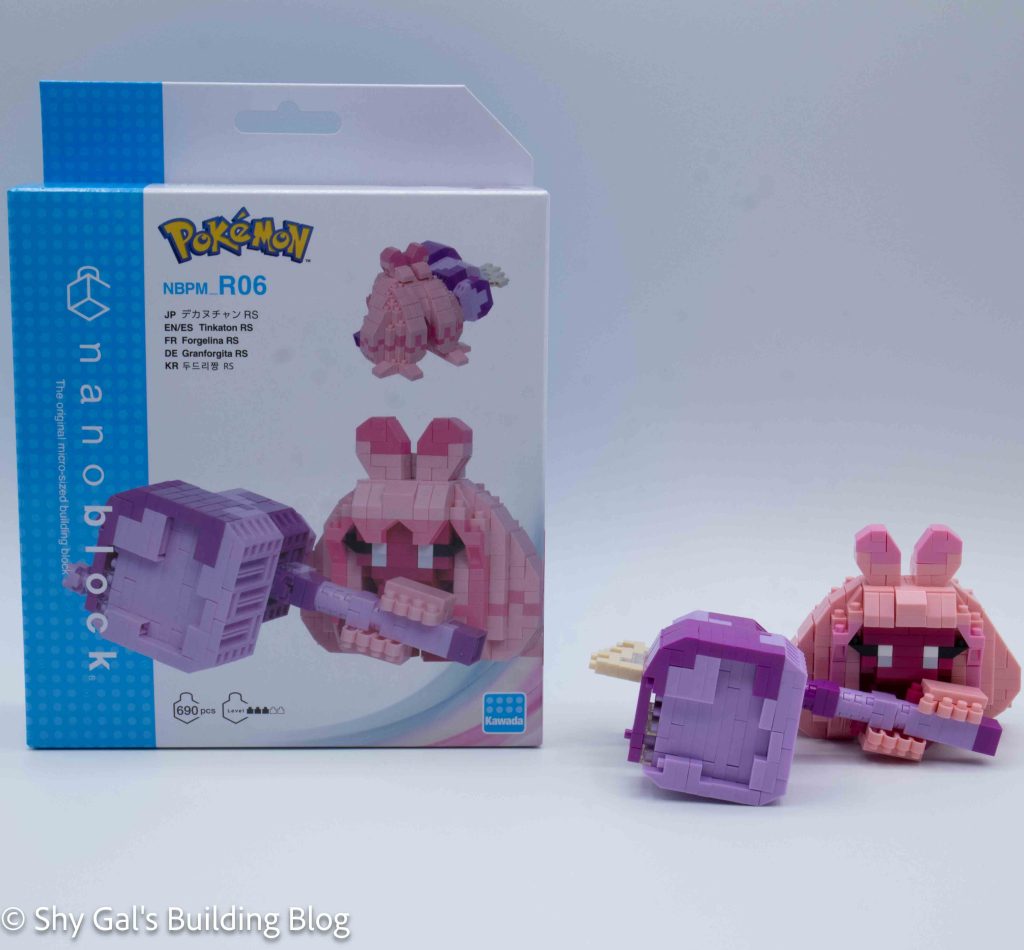
Review of nanoblock Tinkaton RS NBPM_R06

Tinkaton RS build and box

This post is a review of the nanoblock Tinkaton RS build. Tinkaton RS is part of the nanoblock Pokemon collection. Wondering what else is part of the Pokemon collection? Click here for a list.

Number: NBPM_R06

Number of Pieces: 690

Difficulty Rating: 3/5

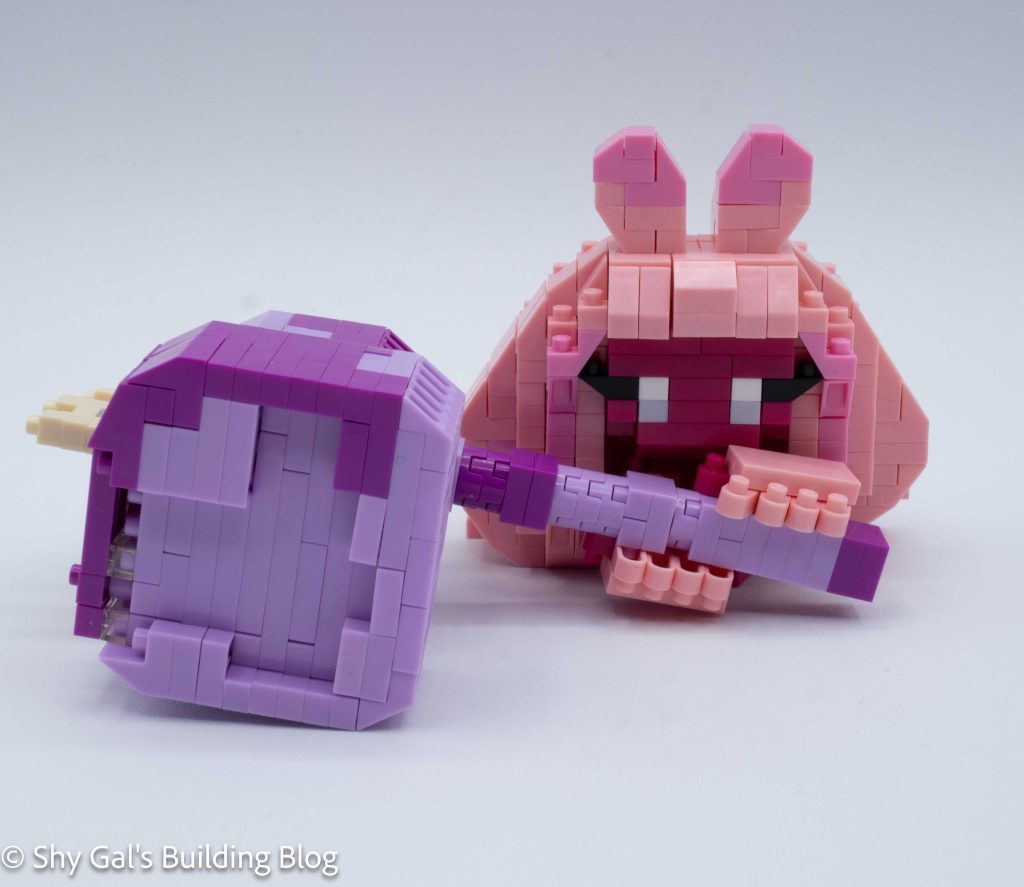
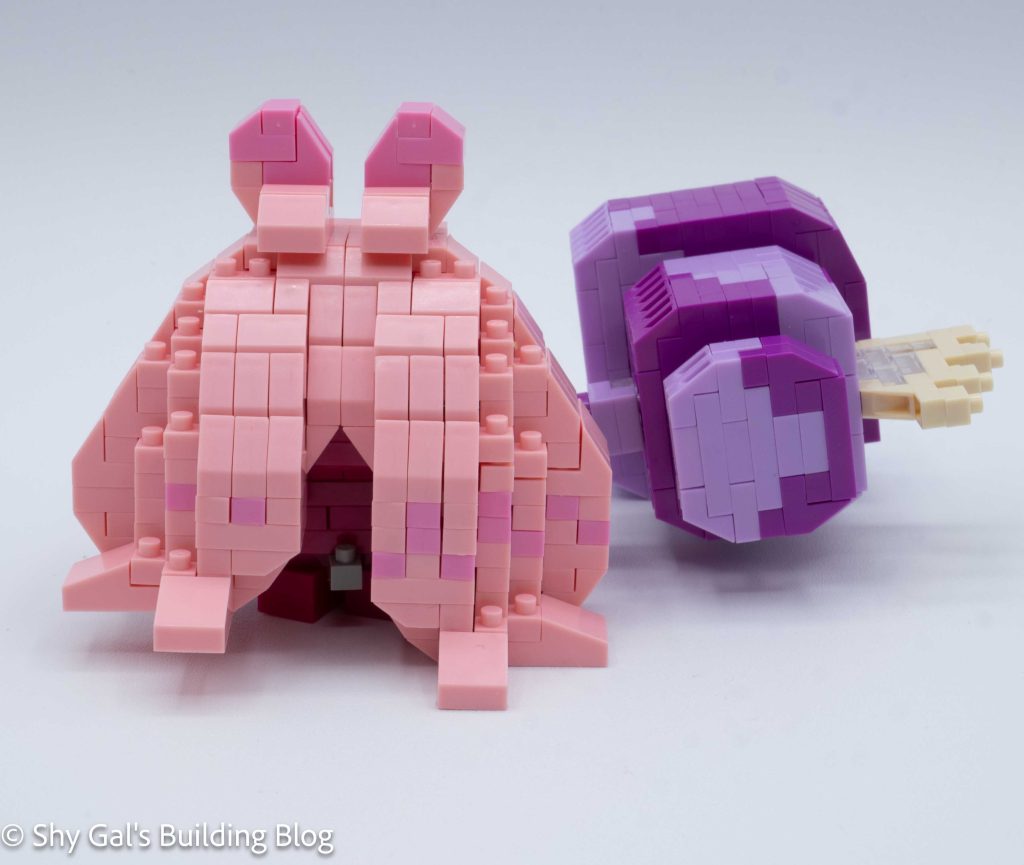
Tinkaton RS build front view

I found this kit incredibly difficult because the colors on the printed instructions don’t match or come close to the actual brick color.

The first step is to build a small body. I was surprised that there were ball joints since I couldn’t see them on the box.

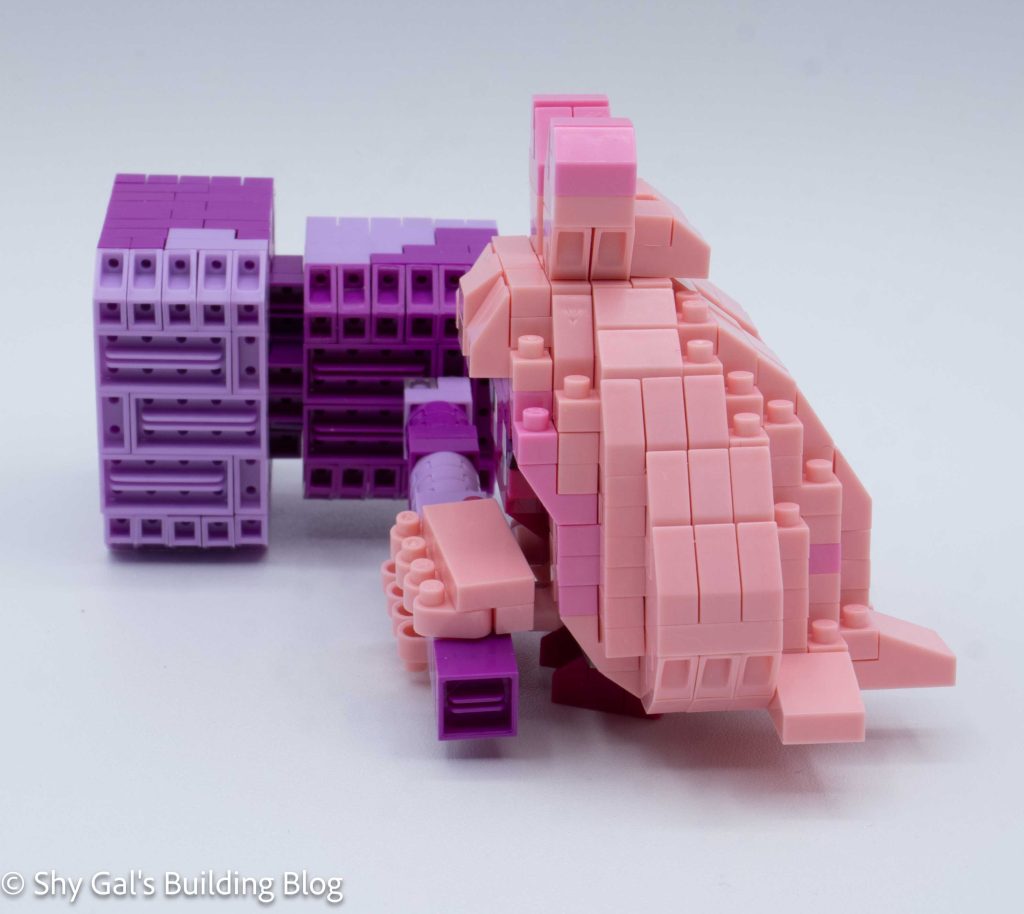
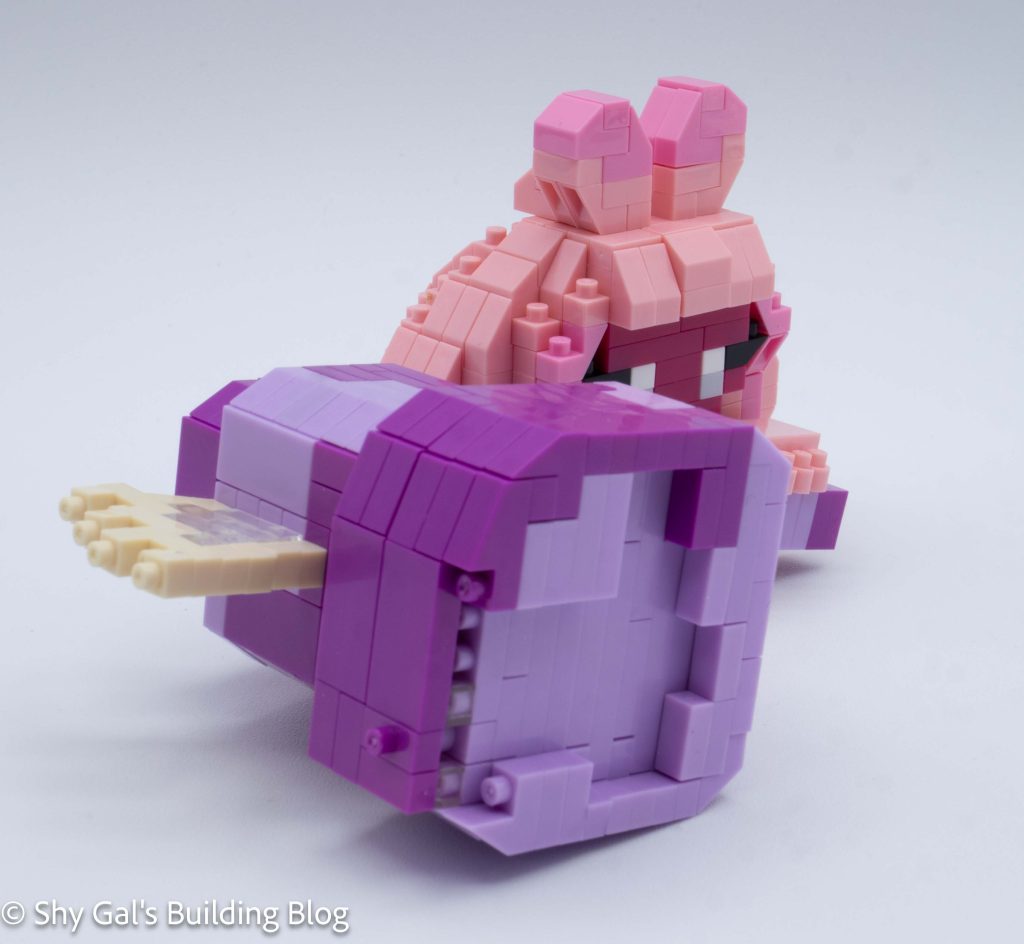
Tinkaton RS build side view

The next step is to build the main section of the head. This includes the eyes.

The next section is to build the bottom of the hair. It is built in 2 sections, left and right. They are supposed to be near mirror images of each other. I goofed up and missed a layer on one side, but I didn’t notice until I had attached the hair sections. I tried to separate the bricks but couldn’t get a gap so I just left the layer out.

The next step is to finish the top of the hair. This was fairly straightforward.

Tinkaton RS build back view

Now, it is time to build Tinkaton’s massive hammer.

The first step is to build the head of the hammer. The hardest part was figuring out what colors to use where because the colors are so different.

Then, it was time to build the handle. This was fairly straightforward, and I like how Tinkaton’s hands are added to hold the hammer.

The final step is to attach the hammer to Tinkaton.

Tinkaton RS build front 3/4 view

Things I liked:

  • I feel like this build gets the essential things that make up Tinkaton

Things I didn’t like:

  • I didn’t like how the instructions didn’t match the colors of the actual brick

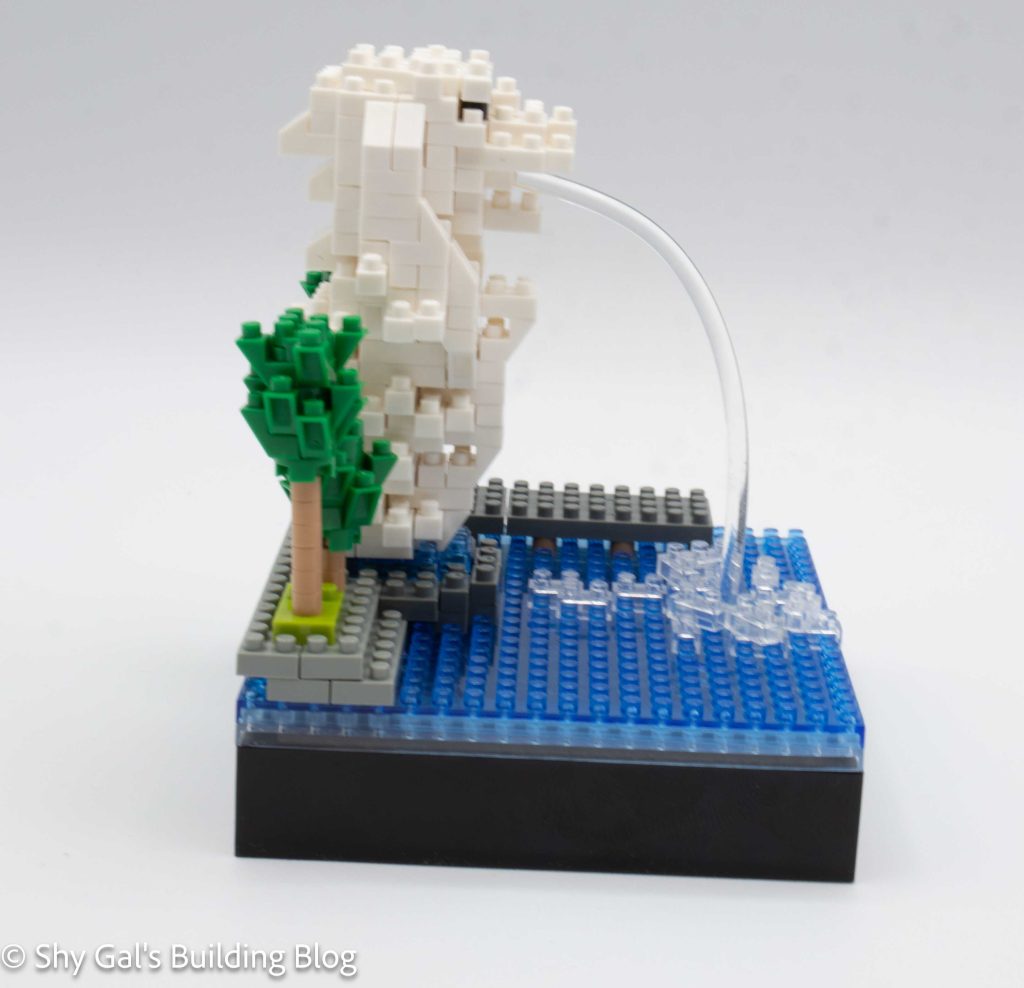
Review of nanoblock Optical fiber LED+ Merlion NBH_158

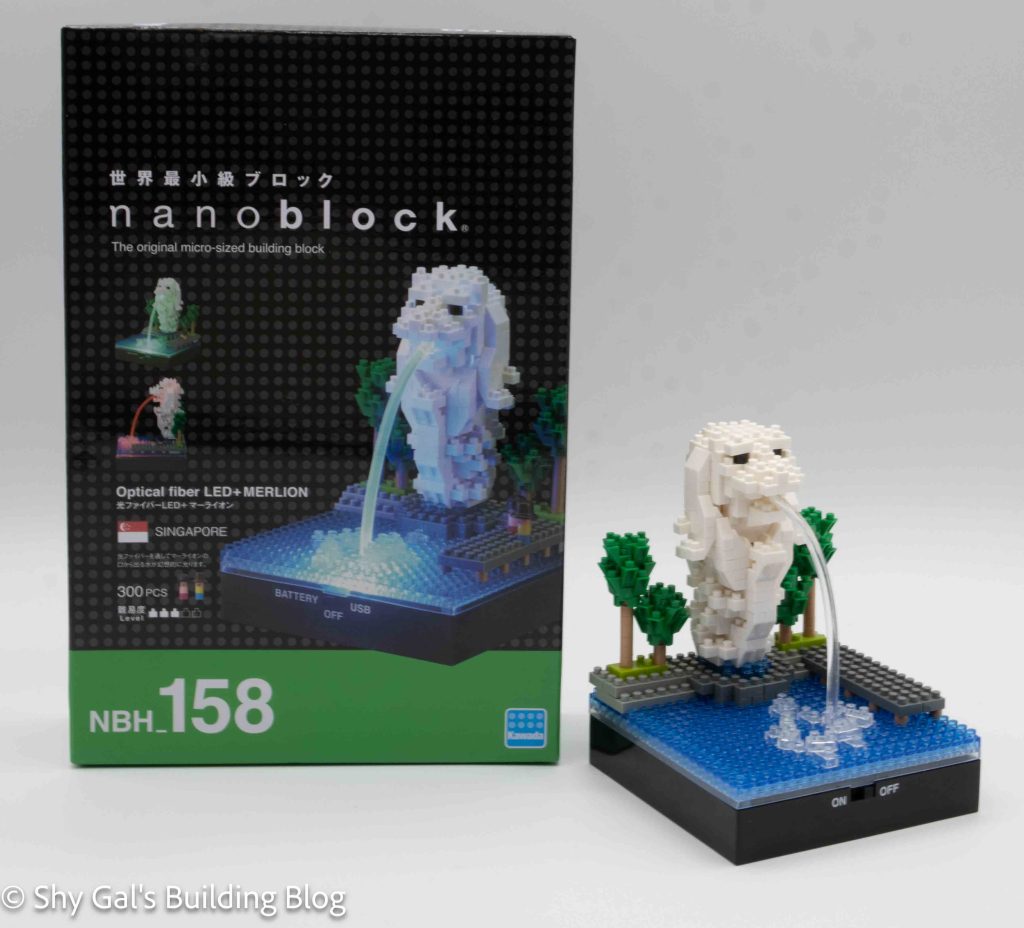
Optical fiber LED+ Merlion build and box

This post is a review of the nanoblock Optical fiber LED+ Merlion build. Optical fiber LED+ Merlion is part of the nanoblock Sights to See collection. Wondering what else is part of the Sights to See collection? Click here for a list.

Number: NBH_158

Country: Singapore 

Number of Pieces: 300

Difficulty Rating: 3/5

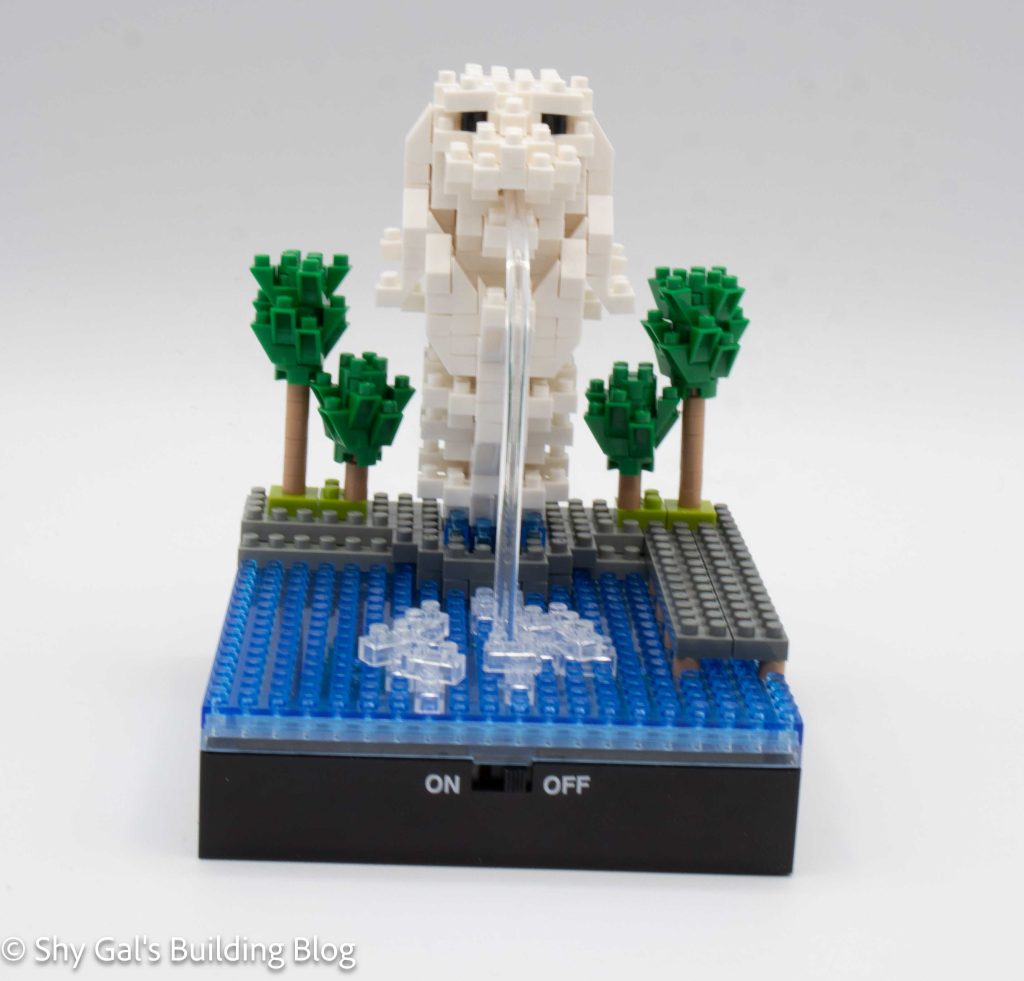
Optical fiber LED+ Merlion off build front view

The Merlion is the official mascot of Singapore. I believe this build is the 8.6m tall statue at Merlion Park but there are several other statues around Singapore.

Optical fiber LED+ Merlion off build side view

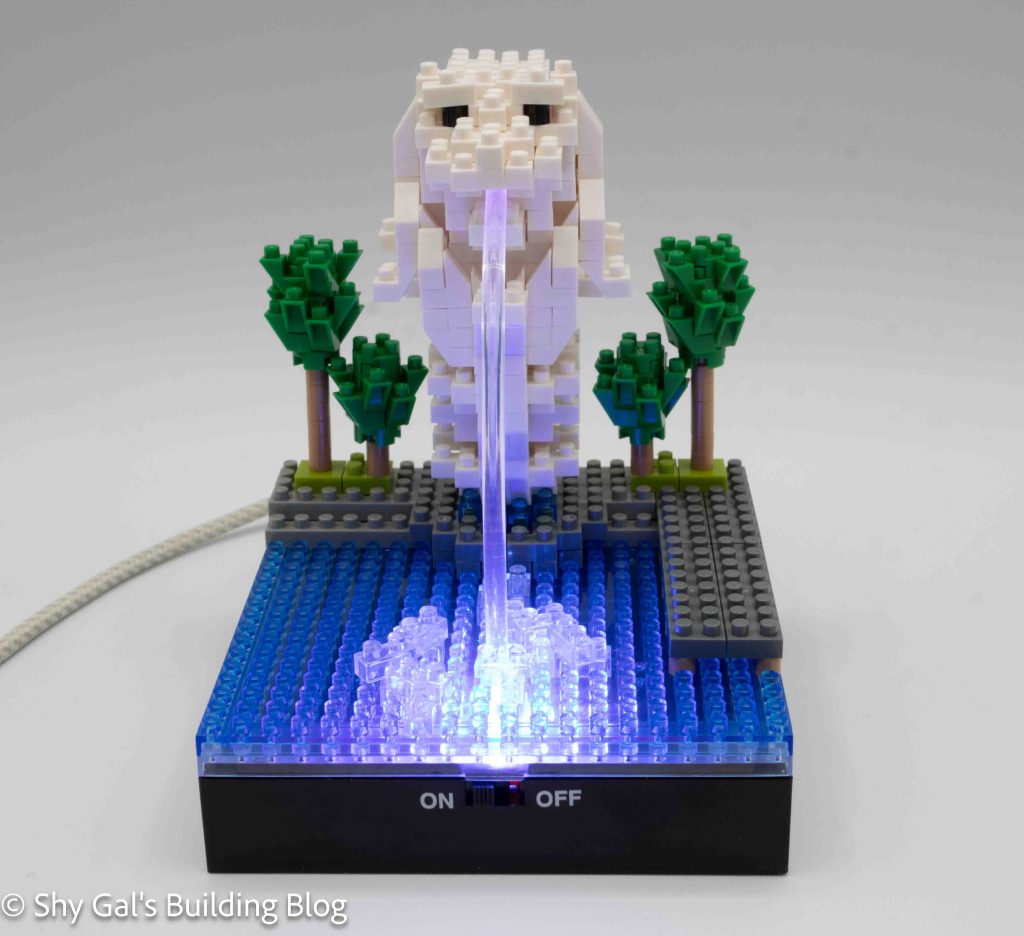
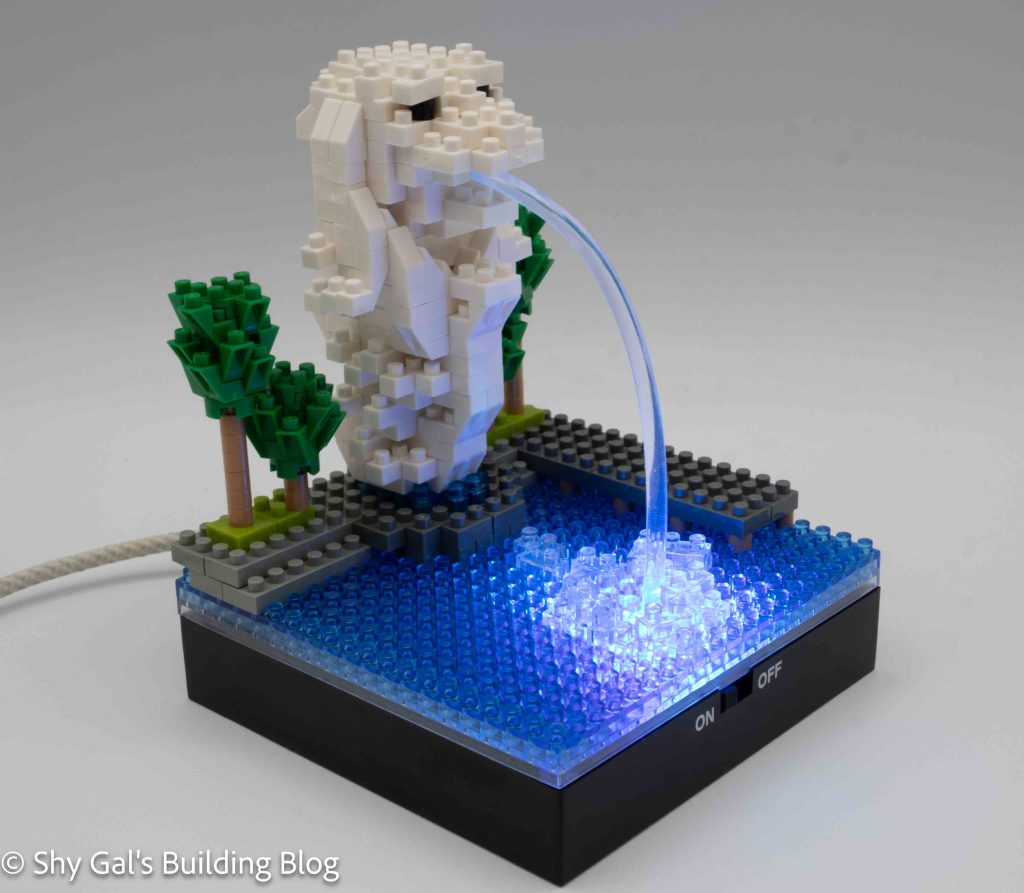
This is a lit version of the nanoblock Merlion build number NBH_105. There is an optical fiber that directs the light from the NB-26 LED base plate.

The first step is to prepare the base of the fountain. The first step is to attach the blue plate making sure you end up with the holes lined up. Then you add the docks and the splashes in the water.

Optical fiber LED+ Merlion ok build front view

Most of this build is to create the actual Merlion. Overall the steps to build the Merlion are pretty straightforward. In a few cases, it is a bit tricky to tell where exactly to place the bricks depth-wise. Sadly once I had built several layers of my Merlion I noticed there were some gaps between layers. When I pushed tried to push the layer together, things would fall off instead of the build getting closer together.

The final step is to build the trees. They are very straightforward. Getting the taller trees to stand up straight was a bit tricky.

Optical fiber LED+ Merlion on build front 3/4 view

Things I liked:

  • I really like how the build looks when it is lit up
  • I like that when it is not lit up how it still looks like a normal fountain

Things I didn’t like:

  • When I noticed that there were gaps partway down, I couldn’t push them in place without the whole build collapsing

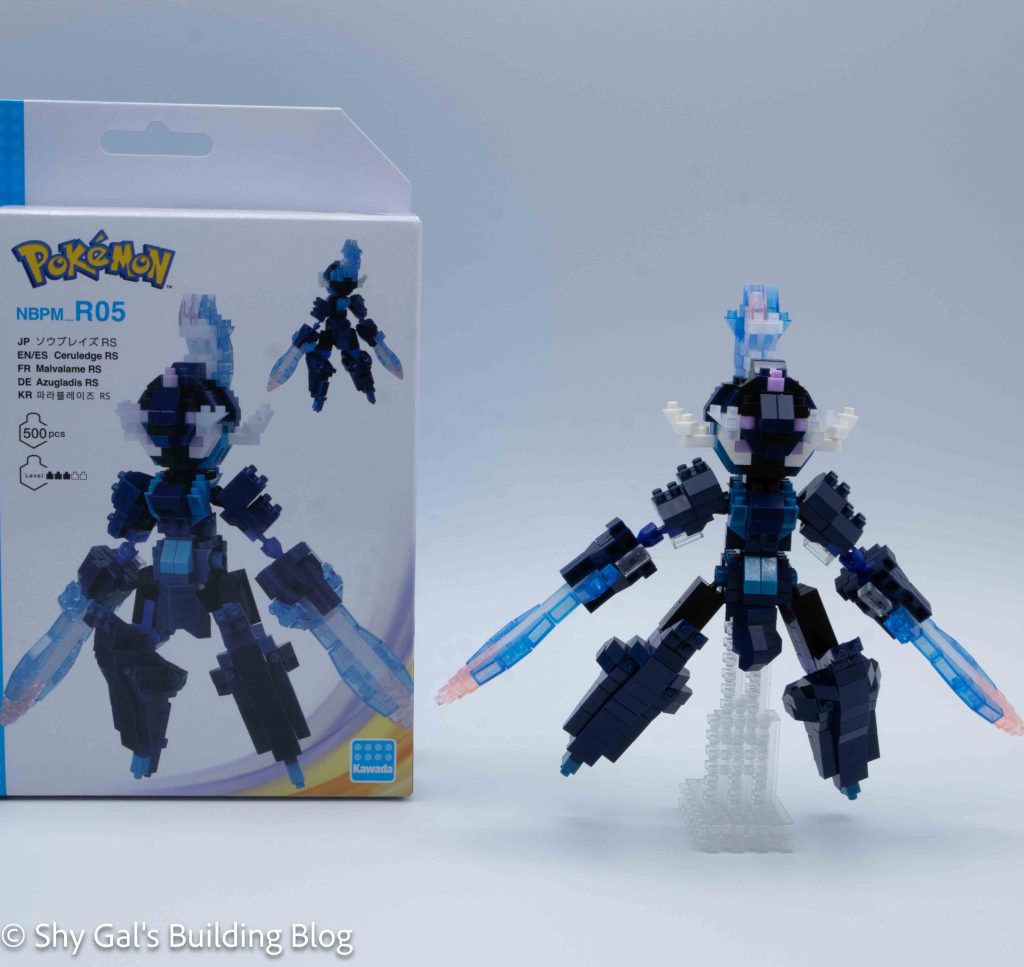
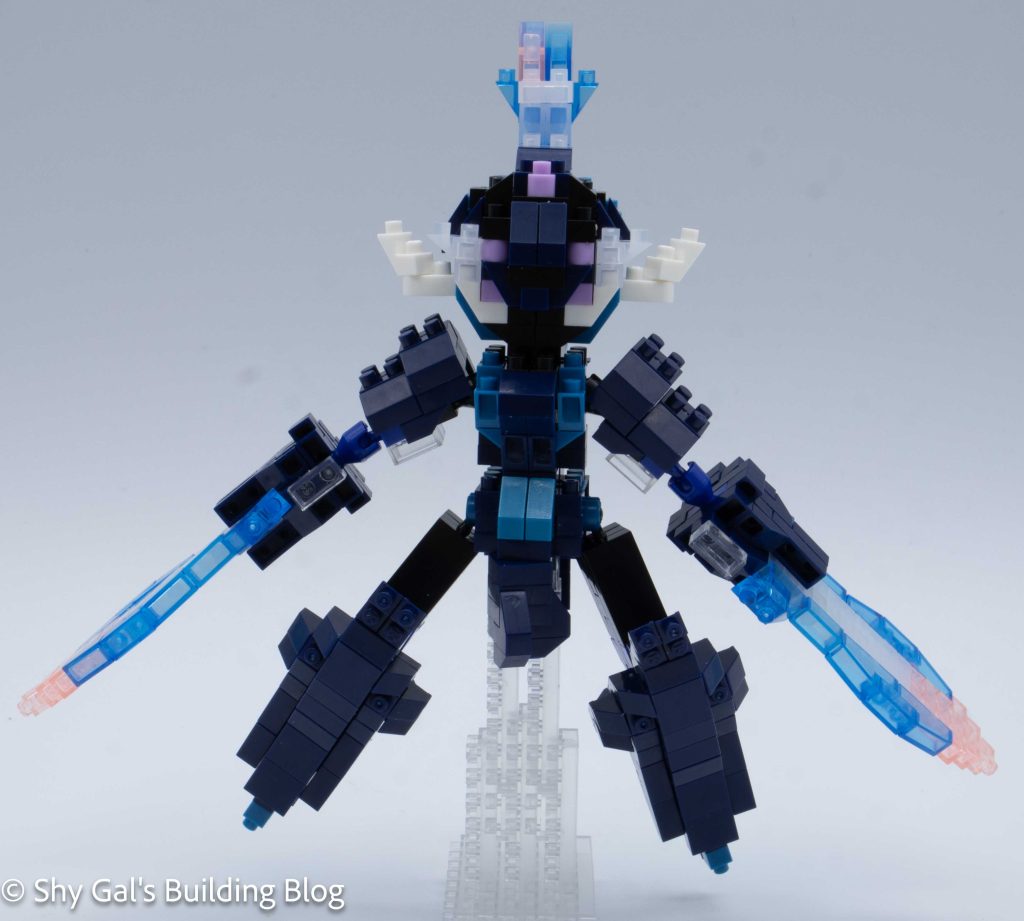
Review of nanoblock Ceruledge RS NBPM_R05

Ceruledge RS build and box

This post is a review of the nanoblock Ceruledge RS build. Ceruledge RS is part of the nanoblock Pokemon collection. Wondering what else is part of the Pokemon collection? Click here for a list.

Number: NBPM_R05

Number of Pieces: 500

Difficulty Rating: 3/5

Ceruledge RS build front view

Ceruledge is built in several small pieces that are all connected to each piece. Other than telling whether bricks were navy or black, each step was very straightforward.

Ceruledge was a bit more tricky than Armarouge because of the use of navy and black pieces and the fact that it is hard to tell the difference between the two colors in poor lighting.

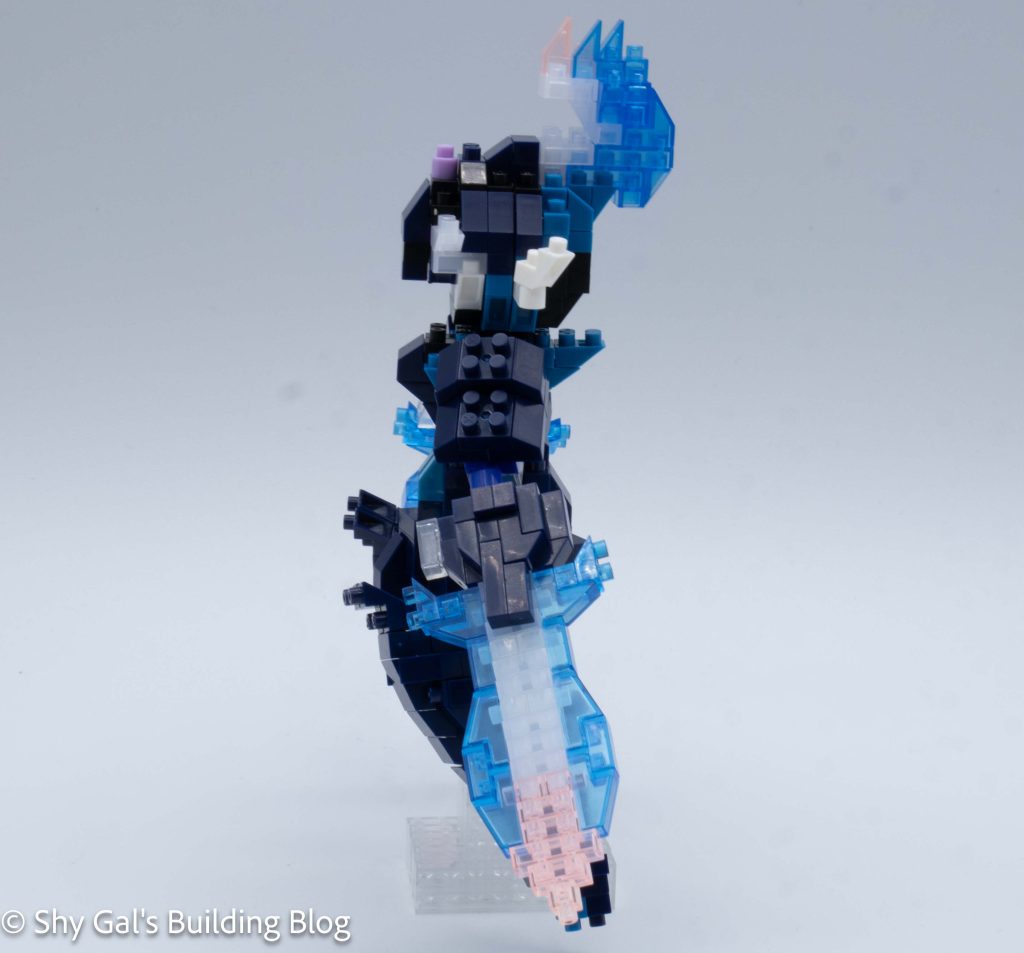
Ceruledge RS build side view

The first step is to build the hips. These are only a few steps that are quickly completed.

The next step is to build is to build the 2 legs. There is one set of directions for each leg so that the legs are correctly mirrored.

The next step was to build the torso. It added the ball joints for the arms and the head connection.

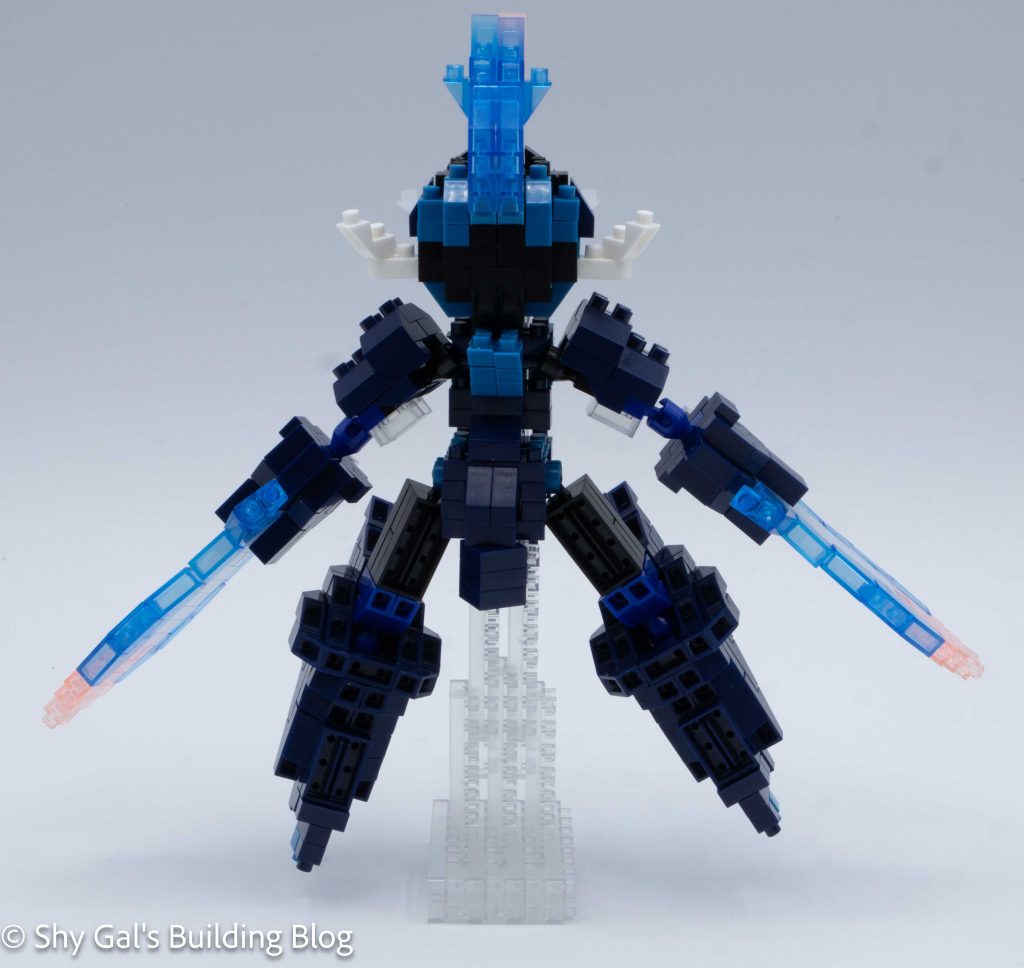
Ceruledge RS build back view

The next step is to build the arms. I really like the use of clear bricks to make the blades. Once again, each arm has a set of directions to ensure things are correctly mirrored.

The next step is to build the stand. I really like how they gave Ceruledge a stand since there is no way it would be able to stand on its own.

The final step was to build the head. For some reason, I suddenly started having difficulty telling which blue to use based on the printed instructions. I was able to figure out which colors to use and was able to build the head.

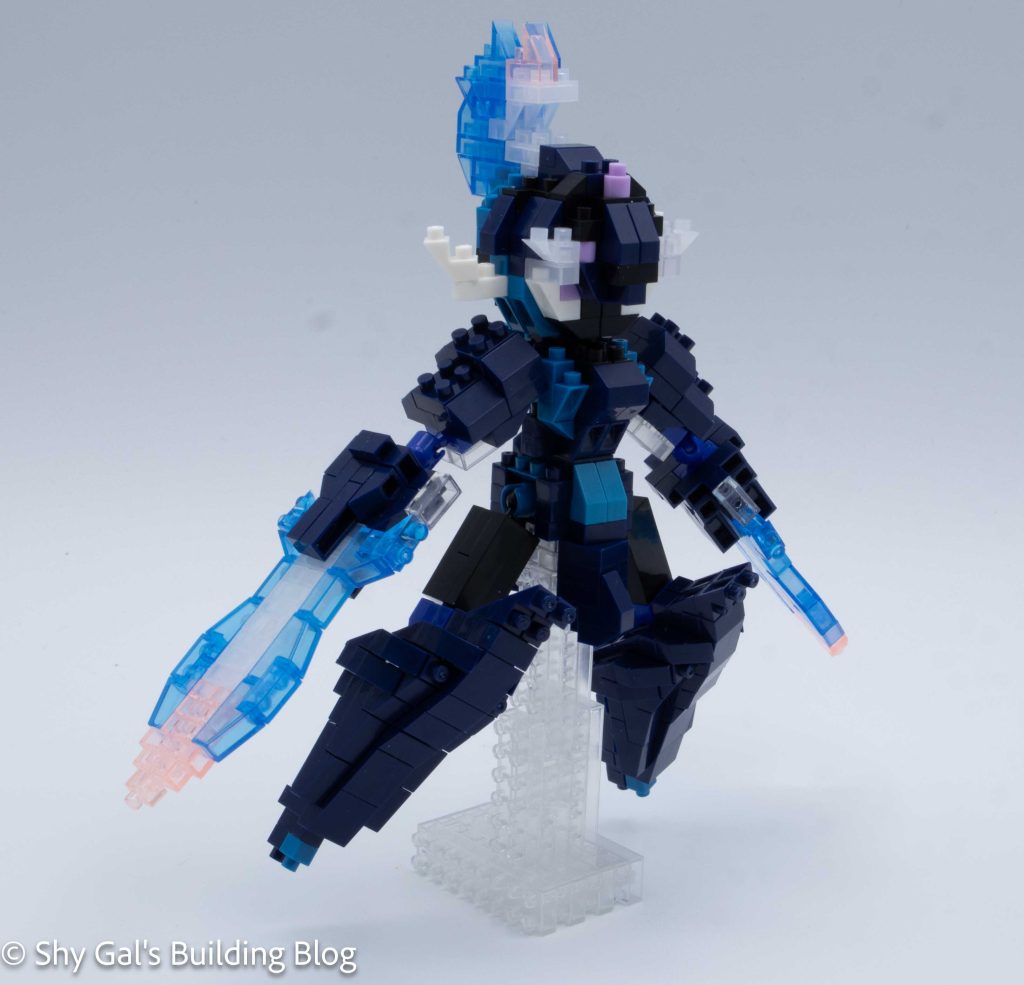
Ceruledge RS build front 3/4 view

Things I liked:

  • I really like that they gave you a stand so the model is able to stand up

Things I didn’t like:

  • I didn’t like how it was hard to tell which shade of blue to use looking at the instructions, and not every step said which blue to use