Review of nanoblock Peko NBH_039

Peko build and box

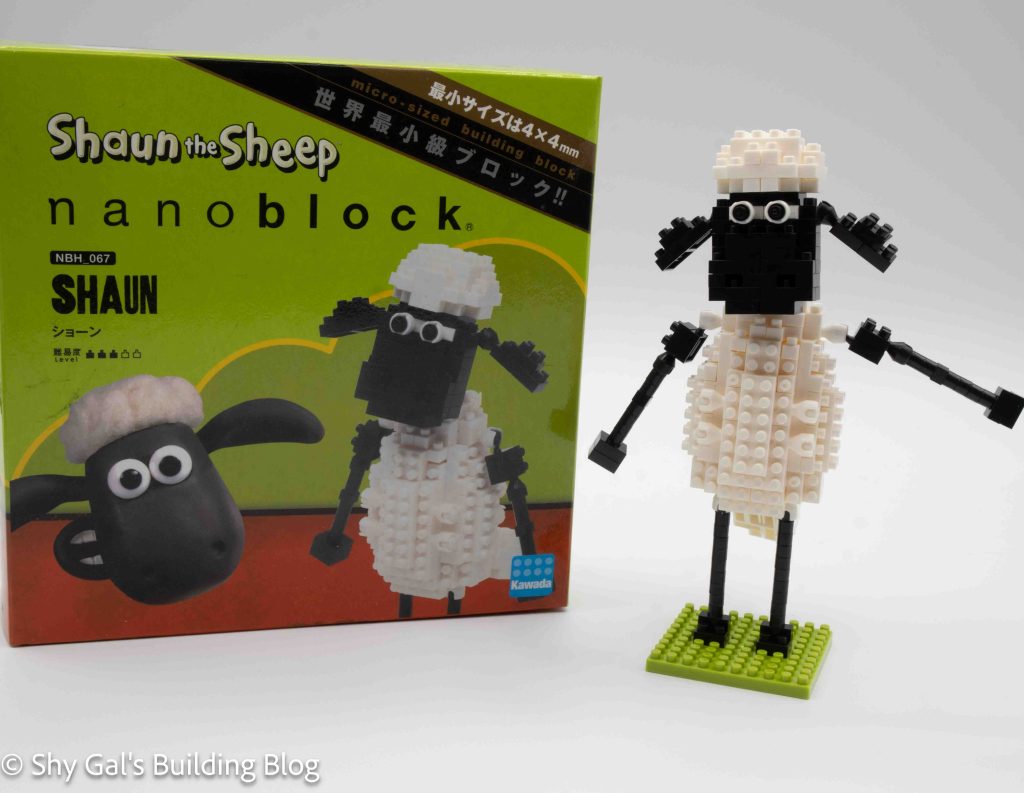
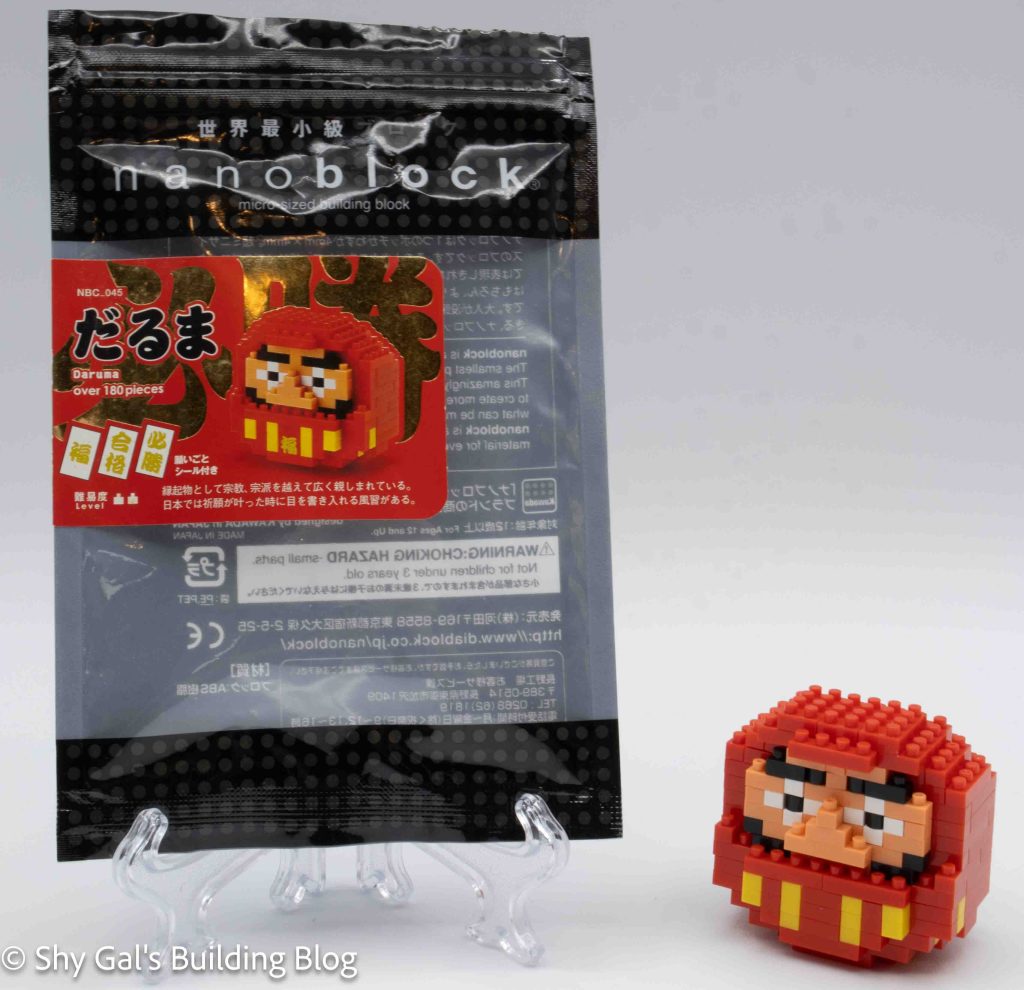
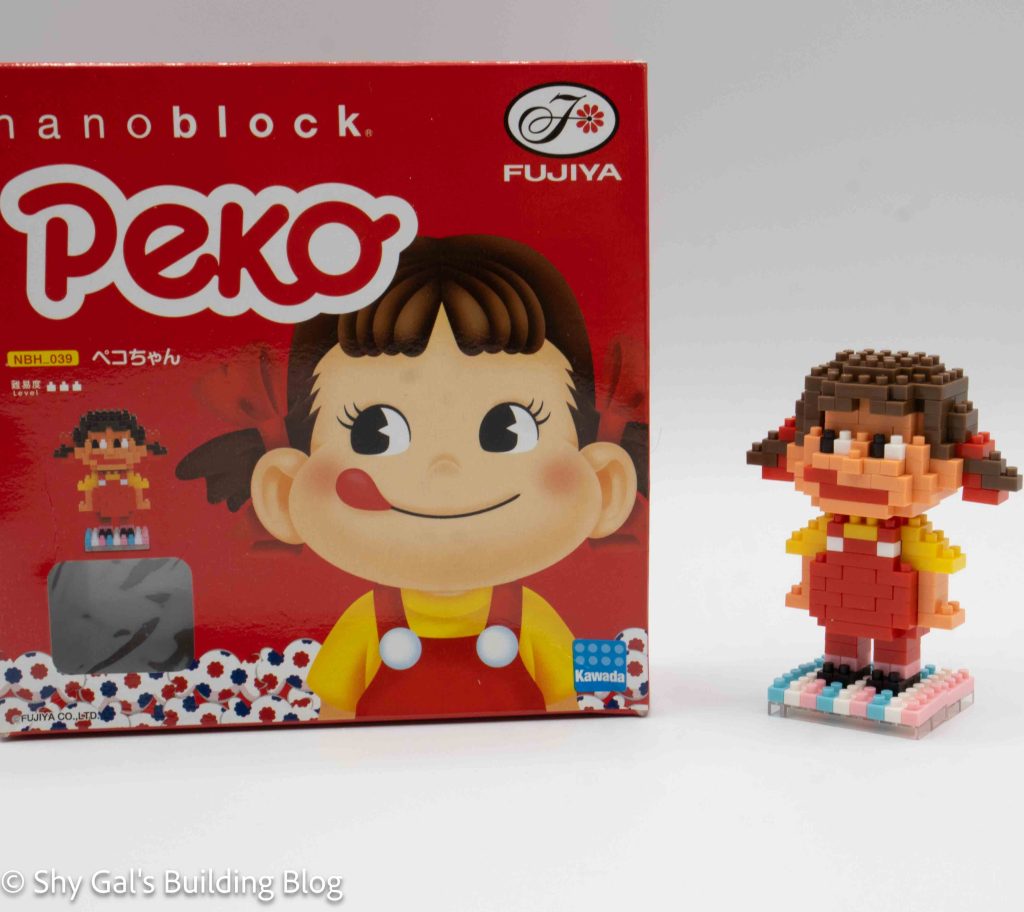
This post is a review of the nanoblock Peko build. Peko is part of the nanoblock Sights to See collection. Wondering what else is part of the Sights to See collection? Click here for a list.

Number: NBH_039

Difficulty Rating: 3/5

Peko build front view

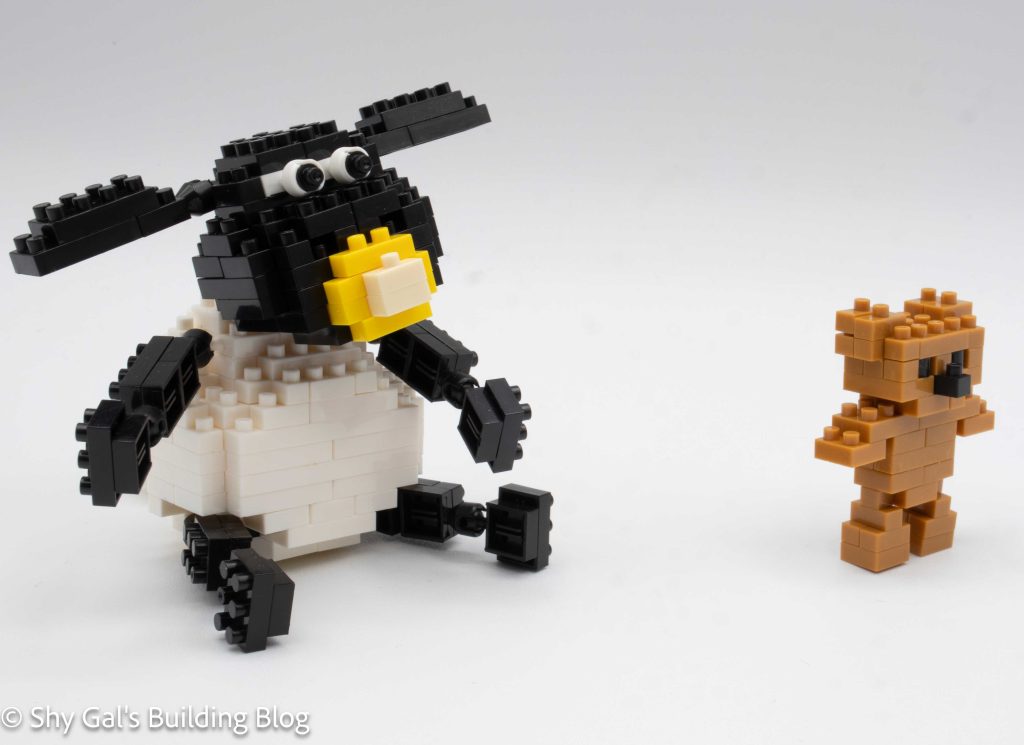
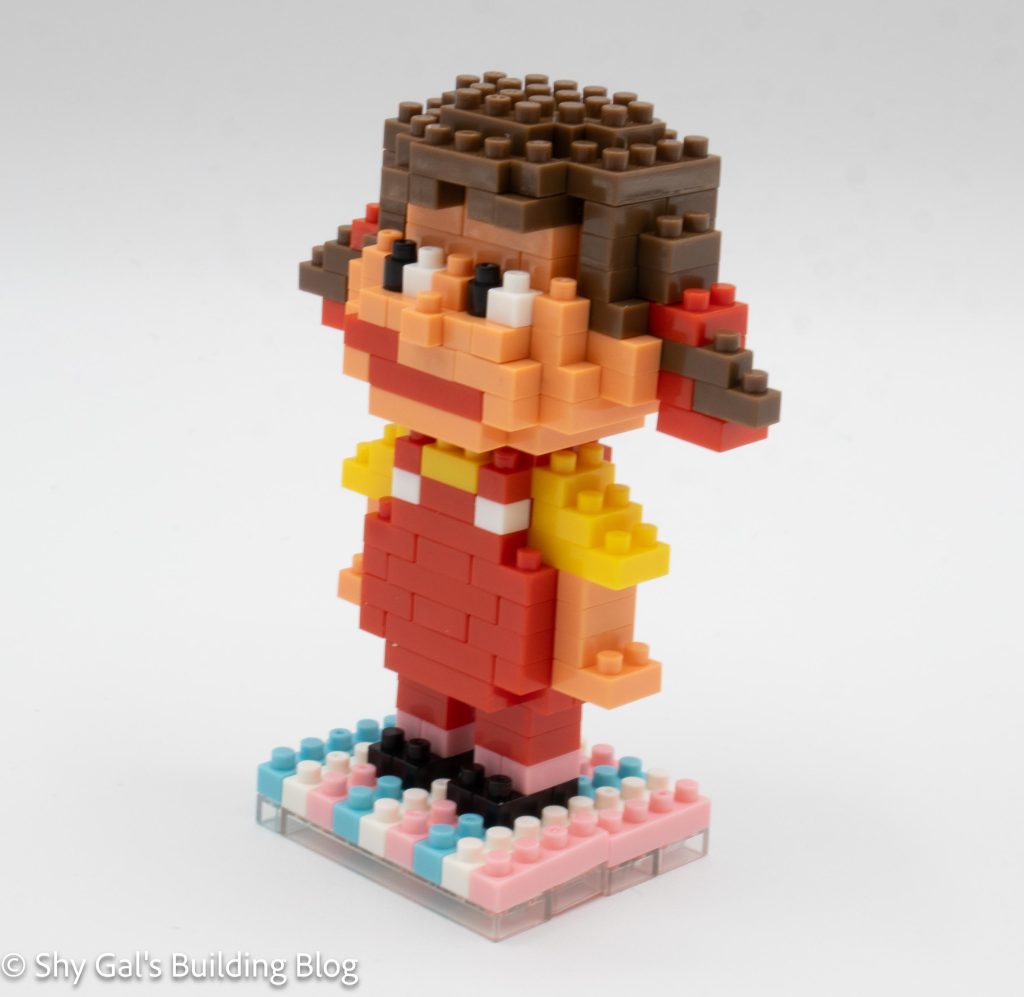
Peko is an unusual package because her name is written in Japanese characters, whereas most of the other kits are written in English or Romanji. It’s also strange because all the imagery I can find of Peko has her name written in Romanji, not Katakana. Peko is one of the mascots for a confectionery shop in Japan named Fujiya. She has been around since the 1950s.

Peko build side view

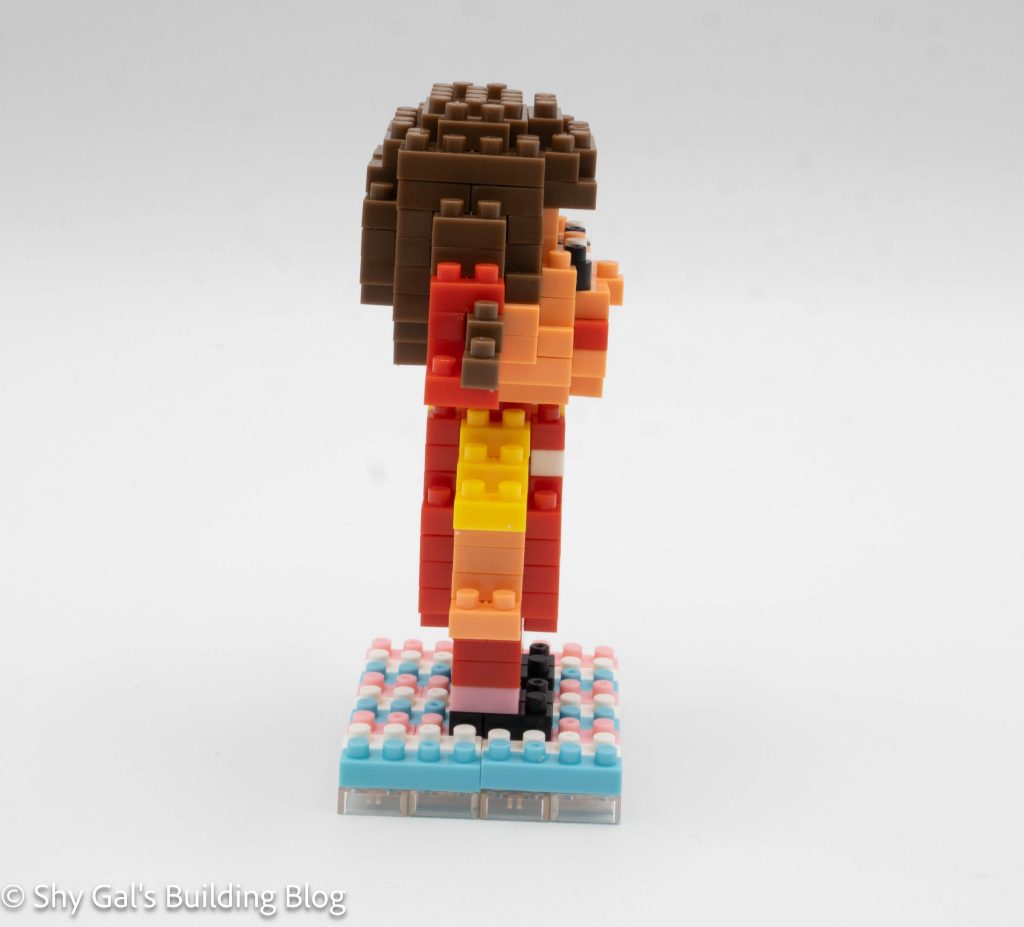
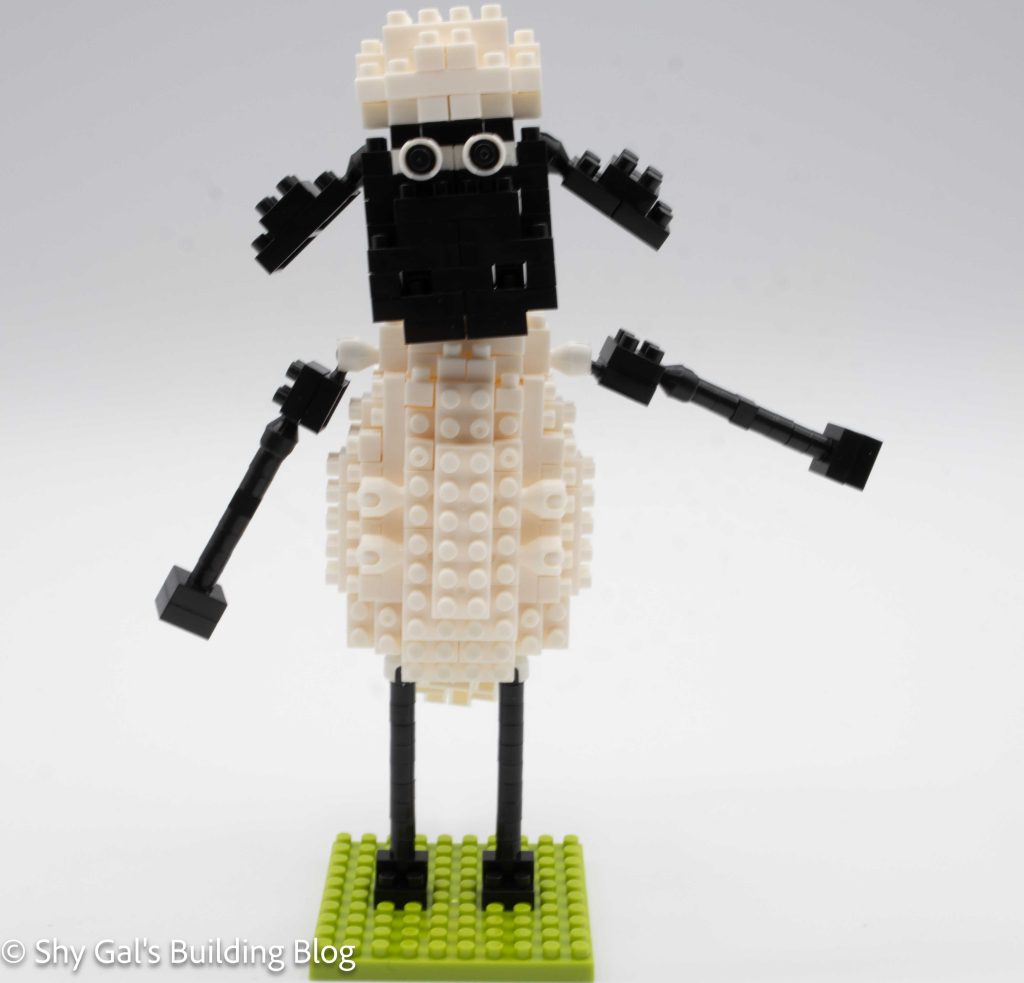
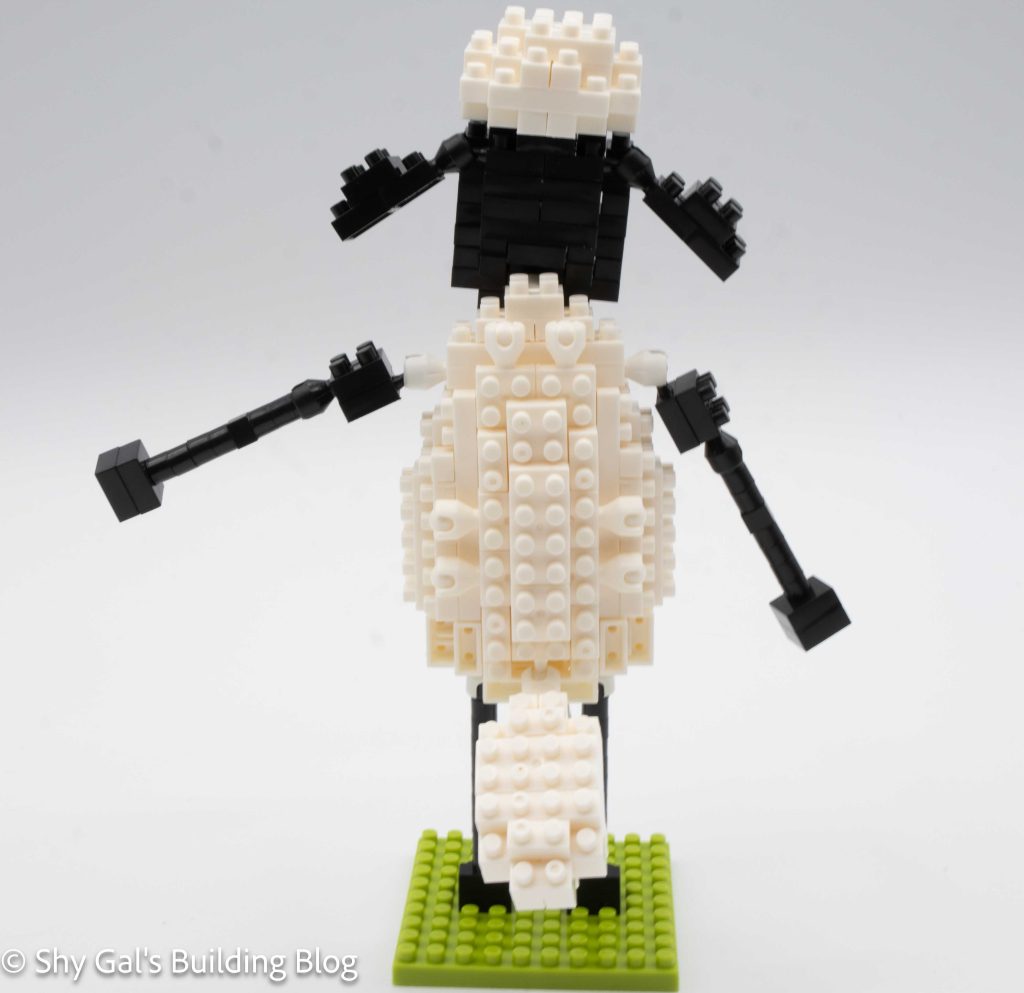
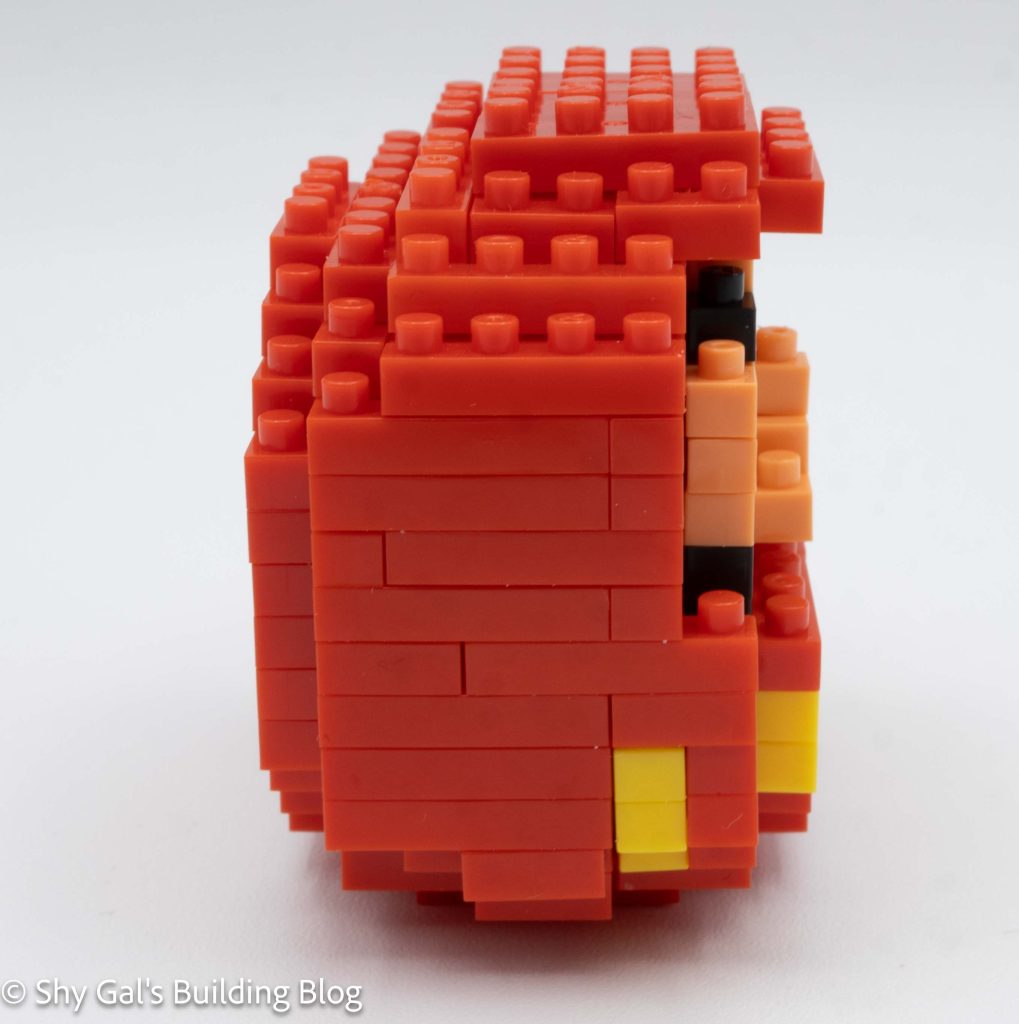
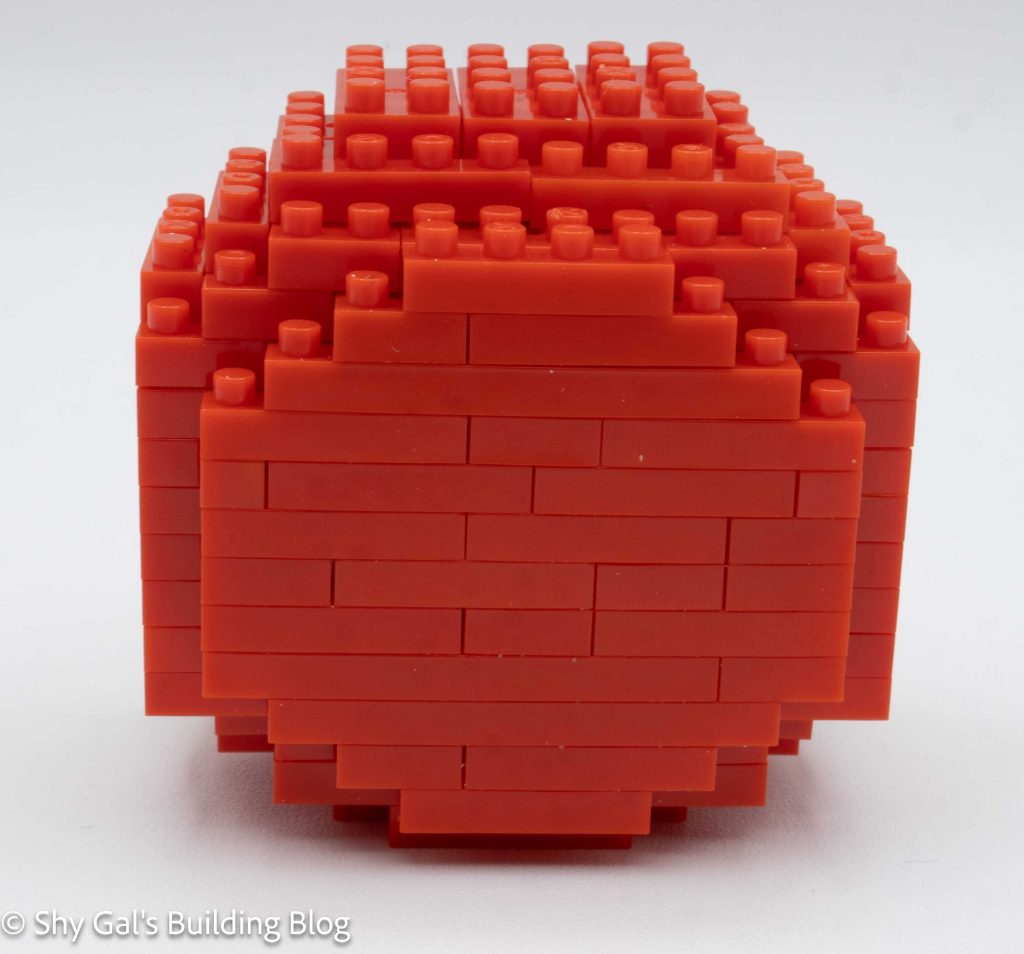
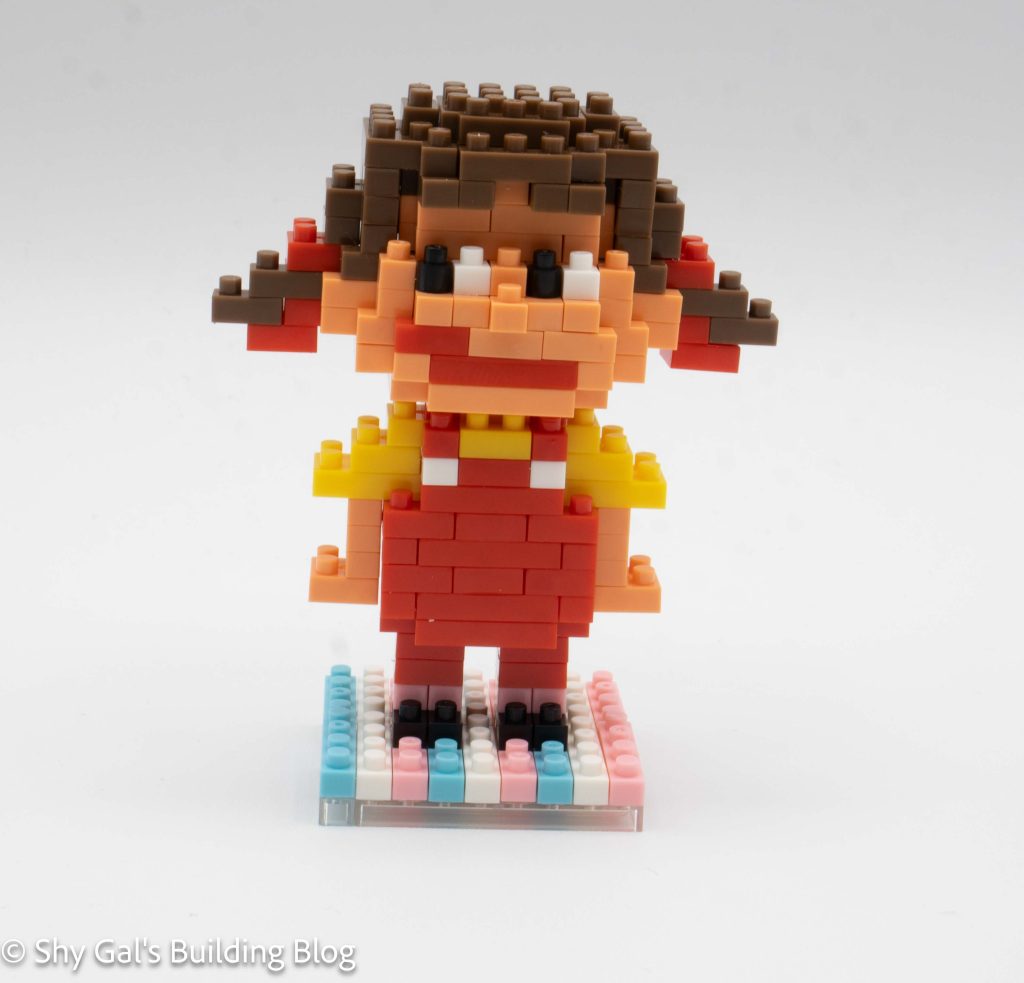
This build has 3 major sections. There is the base, the head, and the body.

At first glance, the base appears to be square, but it is actually a 9×8 rectangle. This means that the rectangle needs to be built. I laid the clear bricks out on my nanoblock pad, and the second layer holds all the bricks in place. Then, all I needed to do was add the feet and legs.

Peko build back view

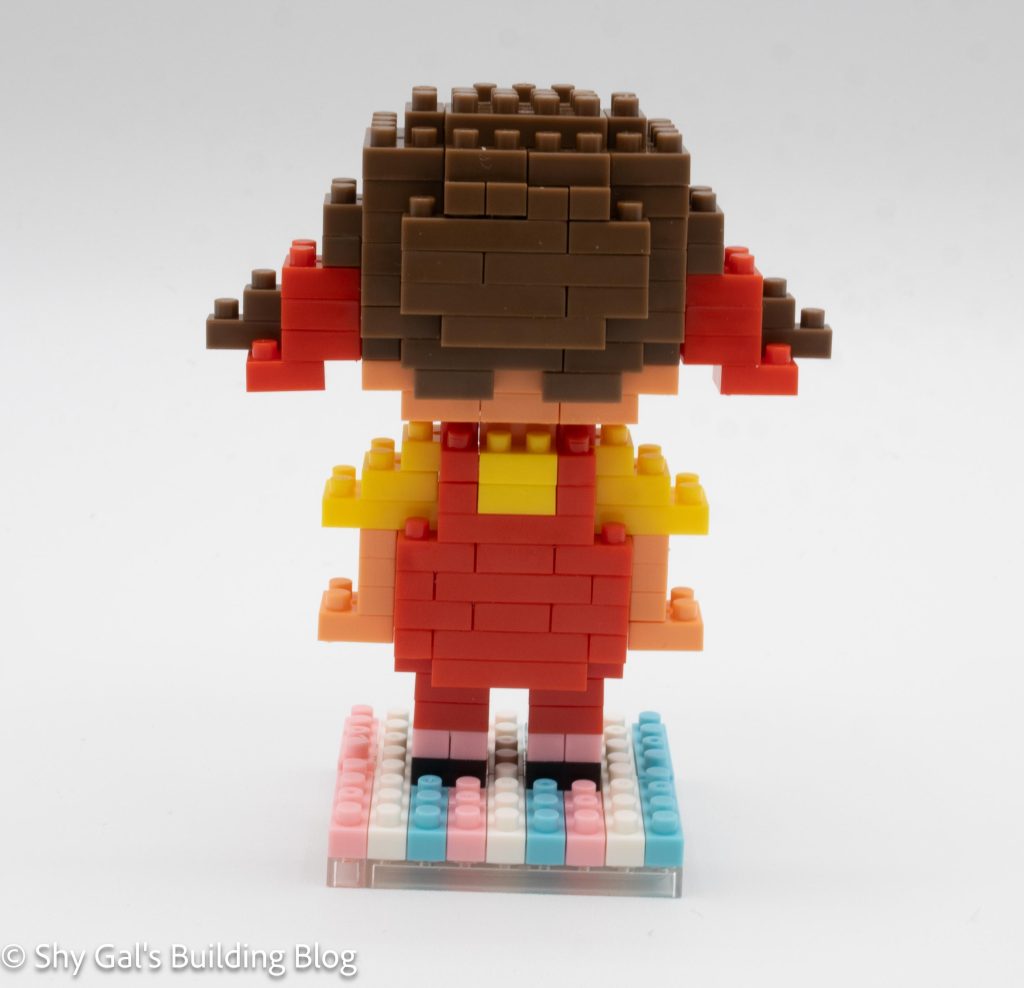
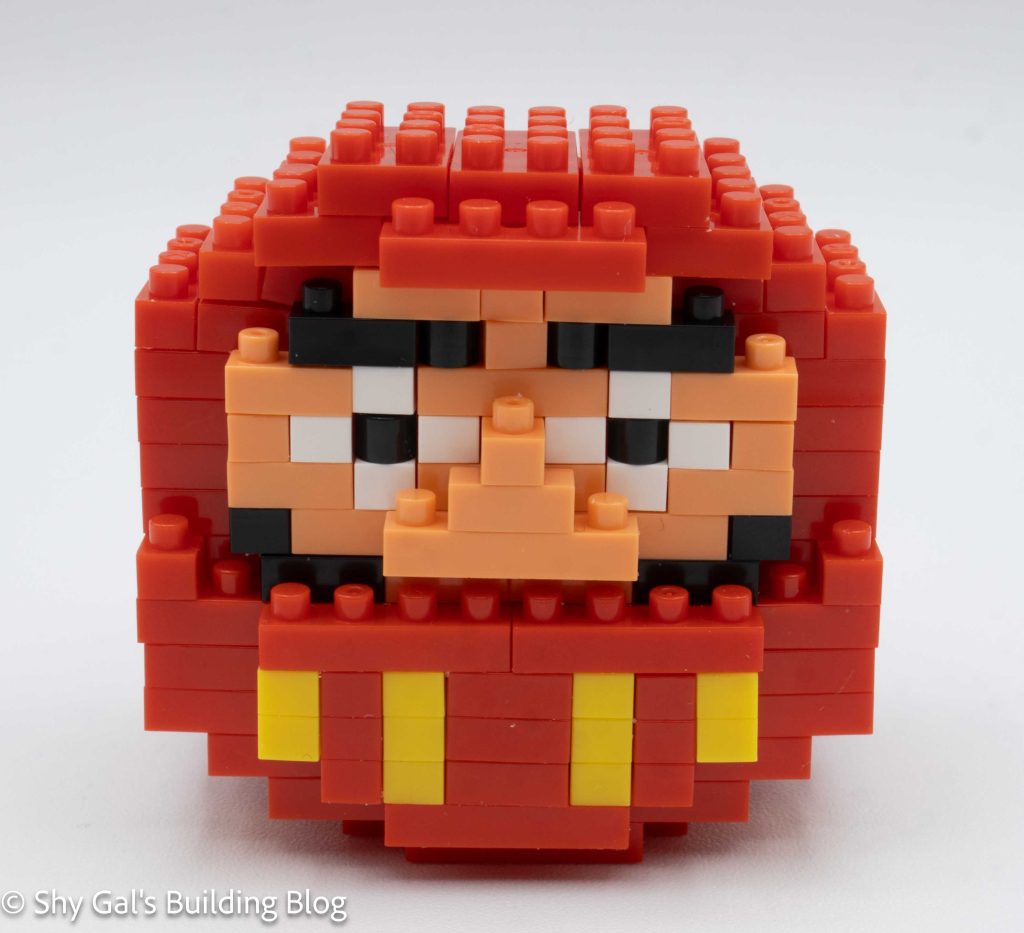
The head is truly a marvel in getting things to line up. This is because there are a huge number of bricks that have space for 2 studs on the bottom and only 1 stud on top. These bricks require extra work to make sure everything lines up properly. The instructions were very clear, but it could be a bit difficult to tell where the off shifts were.

The body is by far the most straightforward part of the build. I simply laid the base layer of bricks out on my nanoblock pad and build the body in normal layers.
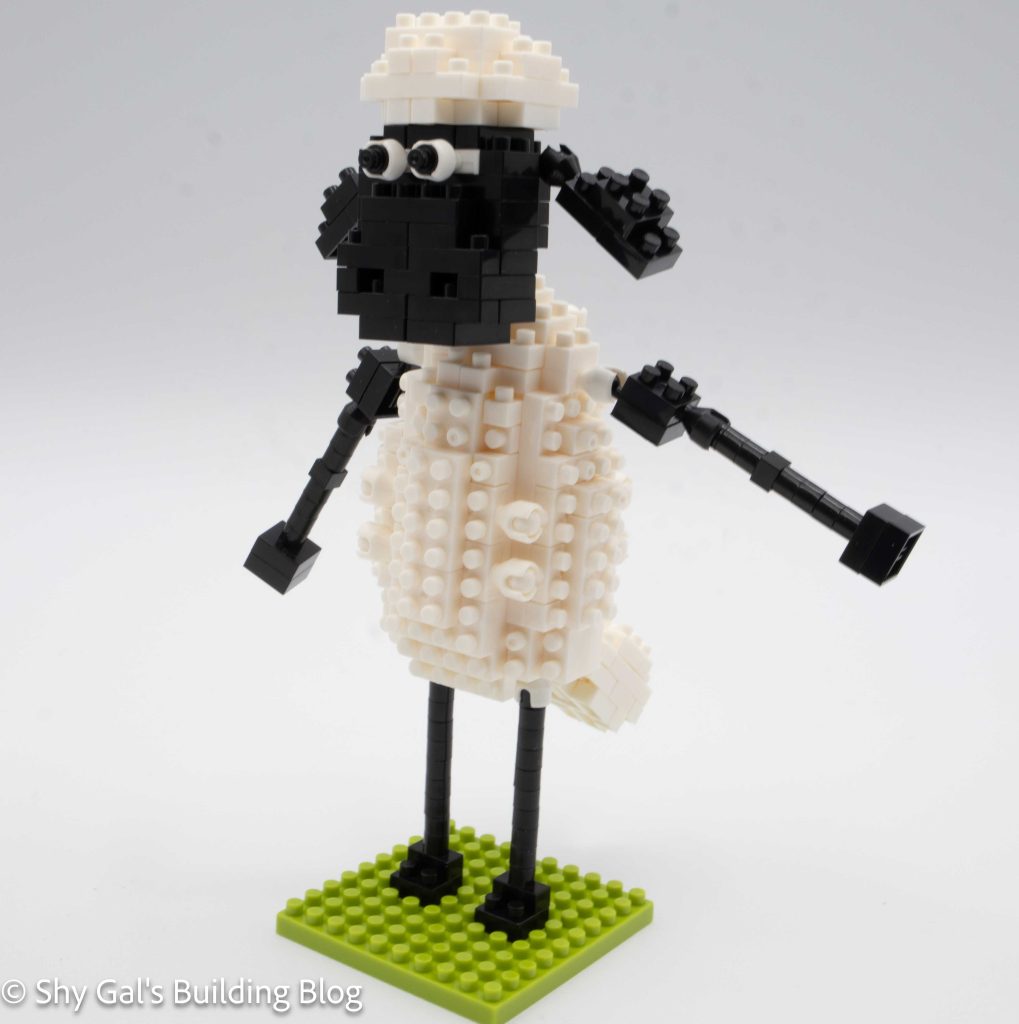
Peko front 3/4 view

Things I liked:

  • I really like how the build catches details of Peko-chan, such as her tongue being out and the buttons in her overalls

Things I didn’t like:

  • I don’t like the large brick that represents her mouth. Peko-chan appears to only have a smile with her tongue out, so making her seem like her mouth open is an odd choice

Review of nanoblock Shaun the Sheep – Timmy NBH_068

Timmy build front view

This post is a review of the nanoblock Shaun the Sheep – Timmy build. Timmy is part of the nanoblock Sights to See collection. Wondering what else is part of the Sights to See collection? Click here for a list.

Number: NBH_068

Difficulty Rating: 2/5

Timmy build front 3/4 view

Timmy is one of the many characters in the Shaun the Sheep tv series. This build is created by connecting sets of ball joints together to create a posable sheep.

I bought this kit in an auction containing several kits that didn’t have boxes so I don’t have the box for this kit.

This build is broken up into 5 sections. There is the head, body, tail, arms, and teddy bear.

The head begins with a base layer of yellow and black bricks. I couldn’t build the head on my pad because the yellow brick on the base is off-center from the rest of the bricks. The head goes up in layers. It creates Timmy’s pacifier and the core of his head. Creating the eyes was a bit tricky because it’s putting round 1×1 into the socket of the ball joint. The eyes were super tight in this case. The last step is to build and add the ears via ball joints.

Timmy build side view

The body begins with a base layer of white bricks. The second layer includes the ball side of the joint for the base legs. From there, building the body is mostly building the outside of a sphere. The top of the sphere has the balls for the front legs and head.

The tail is very straightforward. It is 3 layers of white bricks.

The arms on the top and bottom of Timmy are slightly different. Both are chains of black ball joints with a hoof brick on the end.

Timmy build back view

Once you have built each section, you need to connect the arms, head, and tail to the body. Once you connect the head, the legs need to curl forward to hold the build-up.

In addition to the sheep, Timmy has a teddy bear. Overall, the teddy bear is pretty straightforward. The trickiest part is getting everything set in the right direction, but it was fairly clear overall.

Timmy build front 3/4 view

Things I liked:

  • I really like how posable the build is.

Things I didn’t like:

  • I think the eyes would have been better if it had been a black socket with a colored eye instead of a white socket

Review of nanoblock Shaun the Sheep NBH_040

Shaun the Sheep build and box

This post is a review of the nanoblock Shaun the Sheep build. Shaun the Sheep is part of the nanoblock Sights to See collection. Wondering what else is part of the Sights to See collection? Click here for a list.

Number: NBH_040

Country: UK 

Difficulty Rating: 2

Shaun the Sheep build front view

This build is divided into four sections: the head, the body, the tail, and the base.

The tail is a very straightforward 4 layers of white bricks.

Shaun the Sheep build front 3/4 view

The head begins with a layer of black bricks. The head goes up in layers, leaving gaps that create the nose. To create the eyes, you take a socket and put a round 1×1 into the socket. I’m not a fan of this technique, but it does get the job done by creating the eyes. After adding the eyes, you add the white to the top of Shaun’s head. The last part of the head is adding the ears.

I started the body on my pad but after a couple layers, I did most of the building in my hands. The body section is straightforward and creates a hollow tube for the body.

Shaun the Sheep build side view

At this point, I connected the head, body, and tail together to create one complete unit.

The last section is adding the legs to the base. Creating each leg was very straightforward since all I needed to do was count 10 1x1s. The hardest part was making sure that I counted where exactly to put the build so that it was properly centered.

The last step was to add the body unit to the legs. I was surprised by how easy it was to get the body attached to the legs.

Shaun the Sheep build back view

Things I liked:

  • How easy it was to connect the body to the legs

Things I didn’t like:

  • I don’t like the technique for creating the eyes

Review of nanoblock Shaun the Sheep – Shaun NBH_067

Shaun the Sheep build and box

This post is a review of the nanoblock Shaun the Sheep – Shaun build. Shaun is part of the nanoblock Sights to See collection. Wondering what else is part of the Sights to See collection? Click here for a list.

This is the second Shaun build. The first build was NBH_040, and Shaun stands on all 4 legs. This build has Shaun standing on 2 legs.

Shaun the Sheep build front view

Number: NBH_067

Difficulty Rating: 3/5

Shaun the Sheep build side view

Shaun is one of the many characters in the Shaun the Sheep tv series. This build is created by connecting sets of ball joints together to create a posable sheep.

This build is broken up into 5 sections. There is the head, body, tail, arms, and legs.

The body is the first major section of the build. It begins with creating smaller builds A-E. Each section is made up of white bricks and is very straightforward. The next step is to connect sections A-E to create the actual body of the sheep. I think this is a creative way to build the body instead of it being a solid layer of bricks.

Shaun the Sheep build back view

After connecting all the sections, it is time to build the tail. The tail has very simple instructions. After building the tail, it is attached to the body.

The next step is to build the head. I was able to easily build the head using my pad. The hardest part was getting the eyes in place because getting the 1×1 in the socket was a bit challenging. I really like the poof of wool on Shaun’s head.

The final 2 sections can be built in unison. The sections are the arms and legs. Both sections are simple chains of bricks that require counting the number of bricks properly.

The final step is to connect all the sections with the ball joints. The hardest part is keeping the head attached because the top brick doesn’t have bricks on top of it to lock it into place.

Shaun the Sheep build front 3/4 view

Things I liked:

  • I really like how the main body is created by creating the various sections that are all connected

Things I didn’t like:

  • I think the eyes would have been better if it had been a black socket with a colored eye instead of a white socket
  • The socket that holds the head in place isn’t locked in place, so it can easily fall off.

Review of nanoblock Daruma NBC_045

Daruma build and package

This post is a review of the nanoblock Daruma build. Daruma is part of the nanoblock Mini Collection series. Wondering what else is part of the Mini Collection? Click here for a list.

Number: NBC_045

Number of Pieces: 180

Difficulty Rating: 2

Daruma build front view

This build begins with a layer of red bricks that I lay out on my nanoblock pad. The body goes up in layers of red and, eventually, yellow. It is a bit tricky to follow what exactly happens because, in several places, pieces are added to the underside of a brick that is being added.

Daruma build side view

After a few layers, the base of the face is added. From that point, only the side and back are added to the build until the sections begin to curve in.

The next step is to build the face. This was by far the hardest part of the build because the instructions aren’t clear as to what size brick to use. It took my quite a bit of guessing and trial and error to find the right combination.

Daruma build back view

After building the face, the face section gets added to the body section. The body section is then closed up, and the build is complete.

This kit comes with 3 Kanji stickers. Since I’m not sure what the stickers say and I don’t normally put stickers on my builds, I chose not to put a sticker on this build.

Daruma build front 3/4 view

Things I liked:

  • I really like how the finished face looks for so small of a build

Things I didn’t like:

  • I wish that the instructions had been clearer in several places